Home>Interior Design>How To Hang Acoustic Panels On The Ceiling
Interior Design
How To Hang Acoustic Panels On The Ceiling
Modified: August 22, 2024
Enhance your interior design with the perfect solution for sound control. Learn how to hang acoustic panels on the ceiling for a stylish and functional space.
(Many of the links in this article redirect to a specific reviewed product. Your purchase of these products through affiliate links helps to generate commission for Storables.com, at no extra cost. Learn more)
Introduction
Welcome to our comprehensive guide on how to hang acoustic panels on the ceiling. If you’re looking to enhance the sound quality and aesthetics of your space, installing acoustic panels is an excellent solution. Whether you are designing a home theater, recording studio, or a room for musical practice, properly hung acoustic panels can significantly improve the sound absorption and overall ambiance of the room.
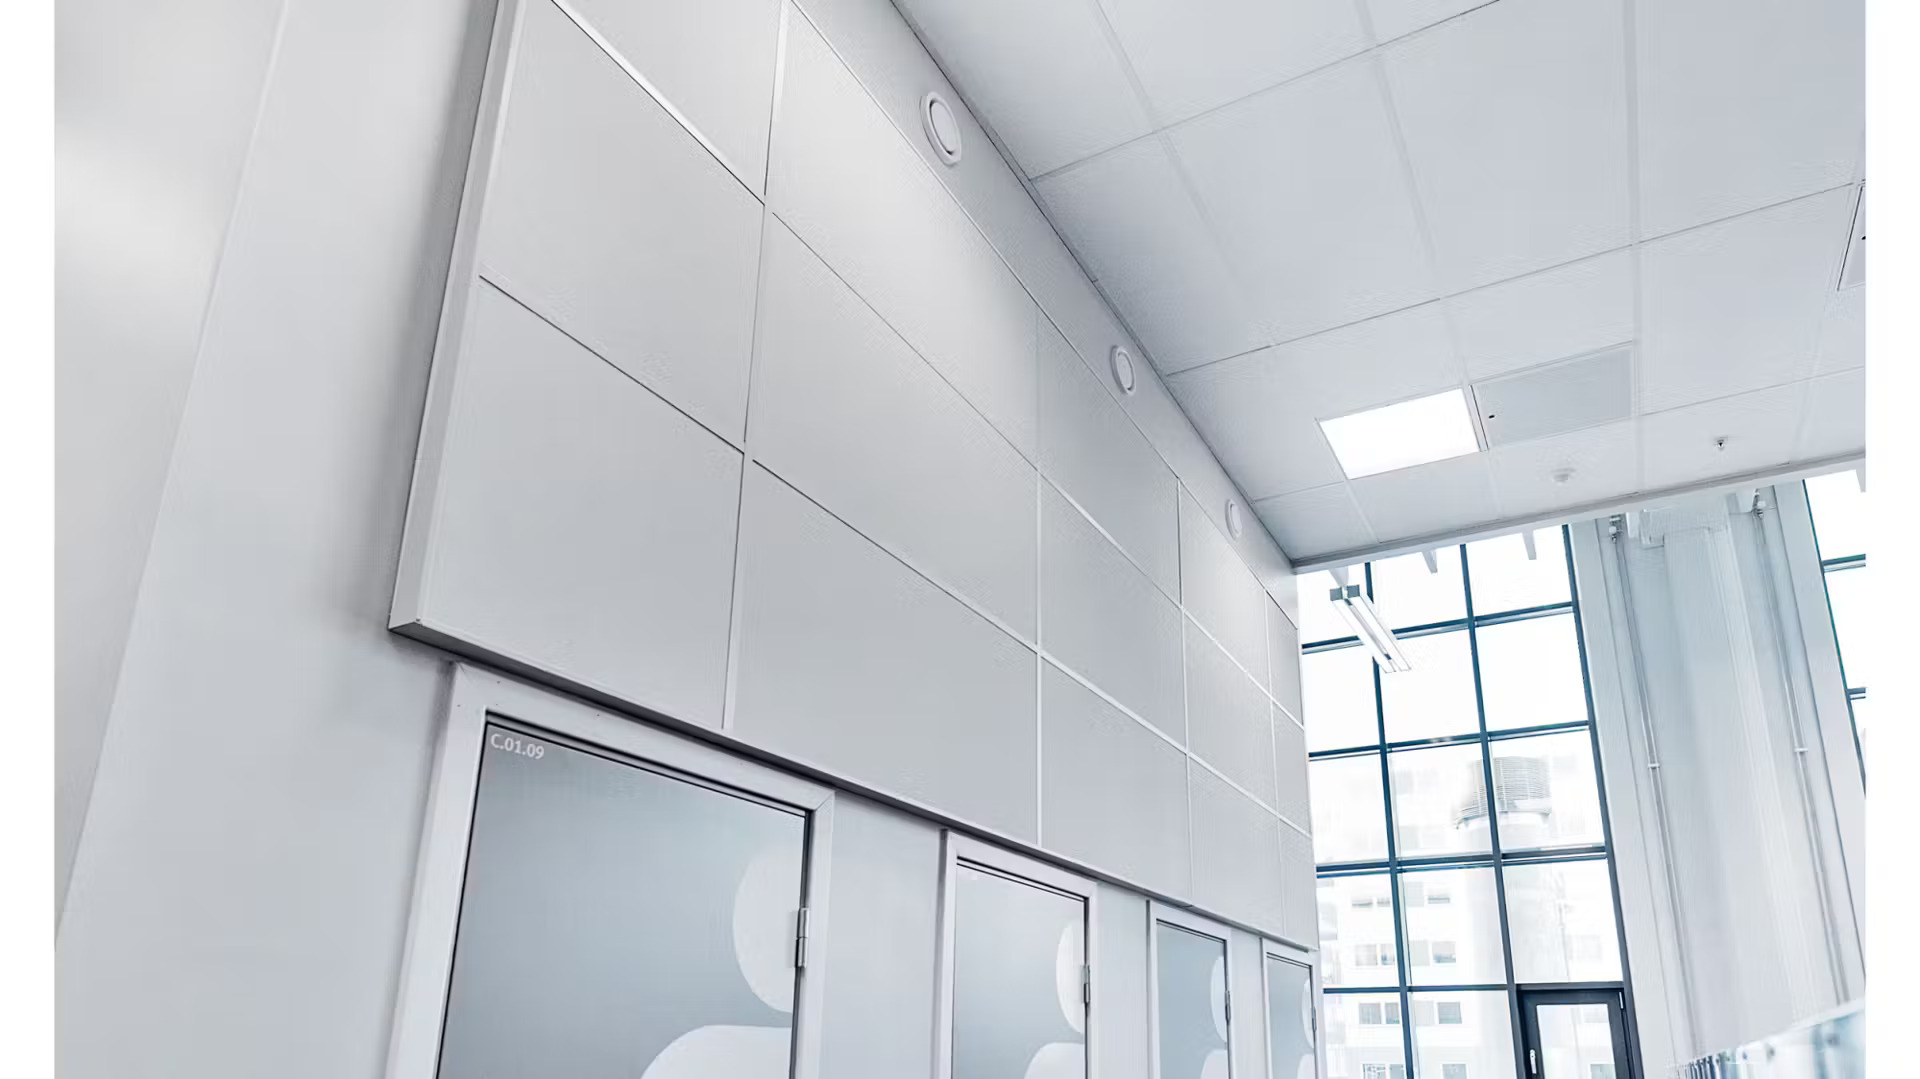
Acoustic panels are panels made of sound-absorbing materials, strategically placed to reduce echoes, reverberation, and unwanted noise reflections. Hanging these panels on the ceiling not only improves the acoustics of the room but also adds a visually pleasing element to the space. Whether you are an interior designer or a DIY enthusiast, this guide will walk you through the process of hanging acoustic panels on the ceiling, helping you create a professionally soundproofed and aesthetically pleasing environment.
Before we dive into the step-by-step process, let’s first discuss the importance of choosing the right location for hanging the acoustic panels on the ceiling. Selecting the right location will maximize the effectiveness of the panels and ensure optimal sound absorption.
Key Takeaways:
- Enhance sound and aesthetics
Hanging acoustic panels on the ceiling improves sound quality and adds visual appeal to your space. Consider the room’s purpose and balance functionality with aesthetics for optimal placement. - Optimize sound absorption
Adjust the placement of acoustic panels to optimize sound absorption. Experiment with panel orientation, monitor room acoustics, and seek professional advice for the best results.
Read more: What Are Acoustic Panels
Choosing the Right Location
When it comes to hanging acoustic panels on the ceiling, it’s crucial to choose the right location. The goal is to strategically place the panels to maximize their sound absorption capabilities and minimize unwanted noise reflections. Here are a few factors to consider when selecting the ideal location:
1. Identify the Problem Areas: Begin by assessing the room and identifying the areas with the most significant acoustic issues. These problem areas may include spots with echo, excessive reverberation, or high noise reflections. By focusing on these areas, you can target your efforts and improve the overall sound quality of the room.
2. Calculate the Reflection Points: Sound reflects off surfaces such as walls, floors, and ceilings. By measuring the distance between the seating area and the reflective surfaces, you can determine the reflection points. Hanging the acoustic panels at these reflection points will help minimize the sound reflections and create a more controlled and balanced acoustic environment.
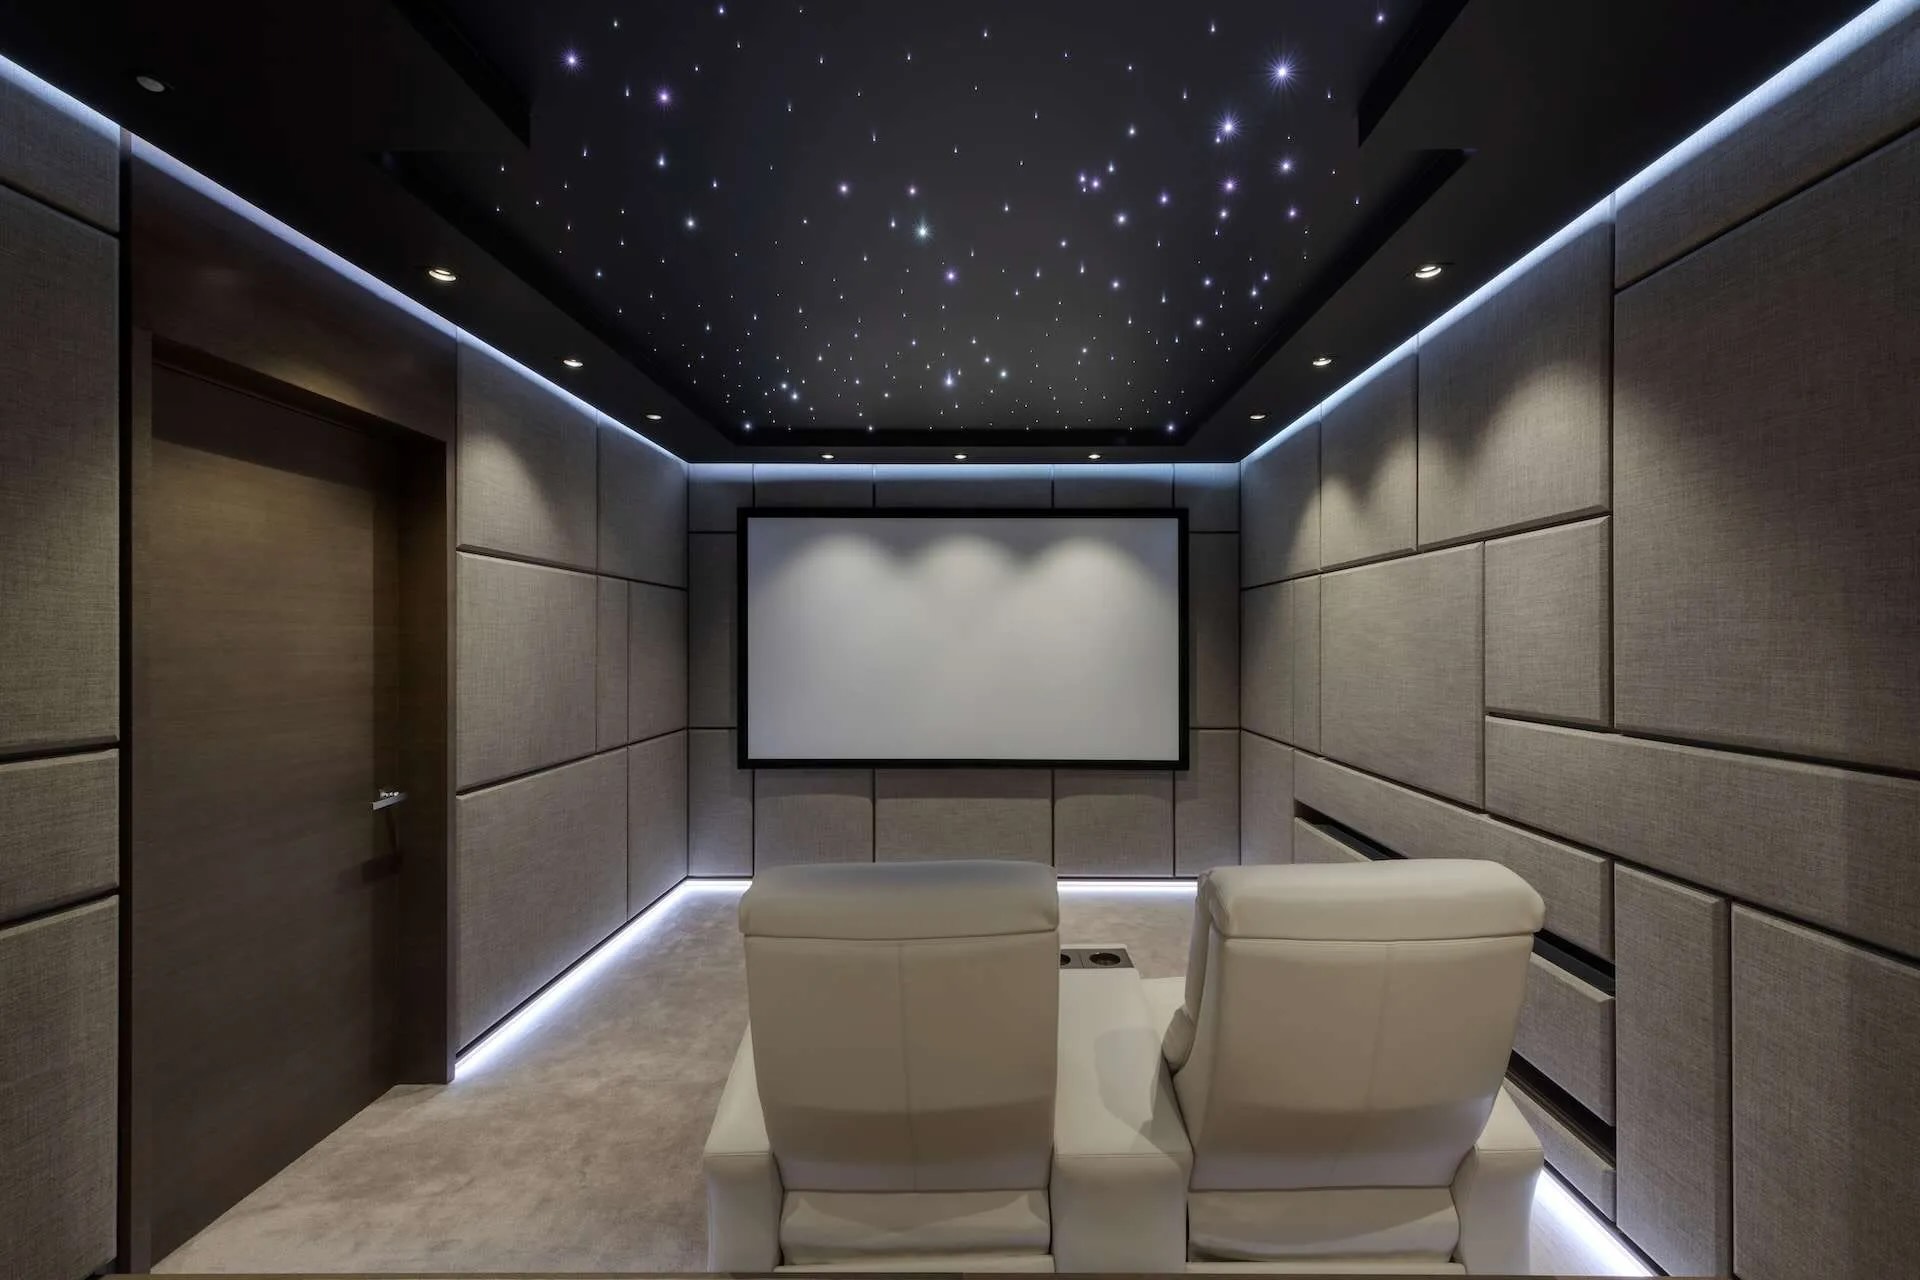
3. Consider the Room’s Purpose: The purpose of the room will also influence the placement of the acoustic panels. For example, in a home theater, you may want to focus on the areas where the sound from the speakers bounces off the ceiling. In a recording studio, you may need to target the areas where sound leakage can occur. By considering the specific requirements of the room, you can effectively determine the best locations for hanging the panels.
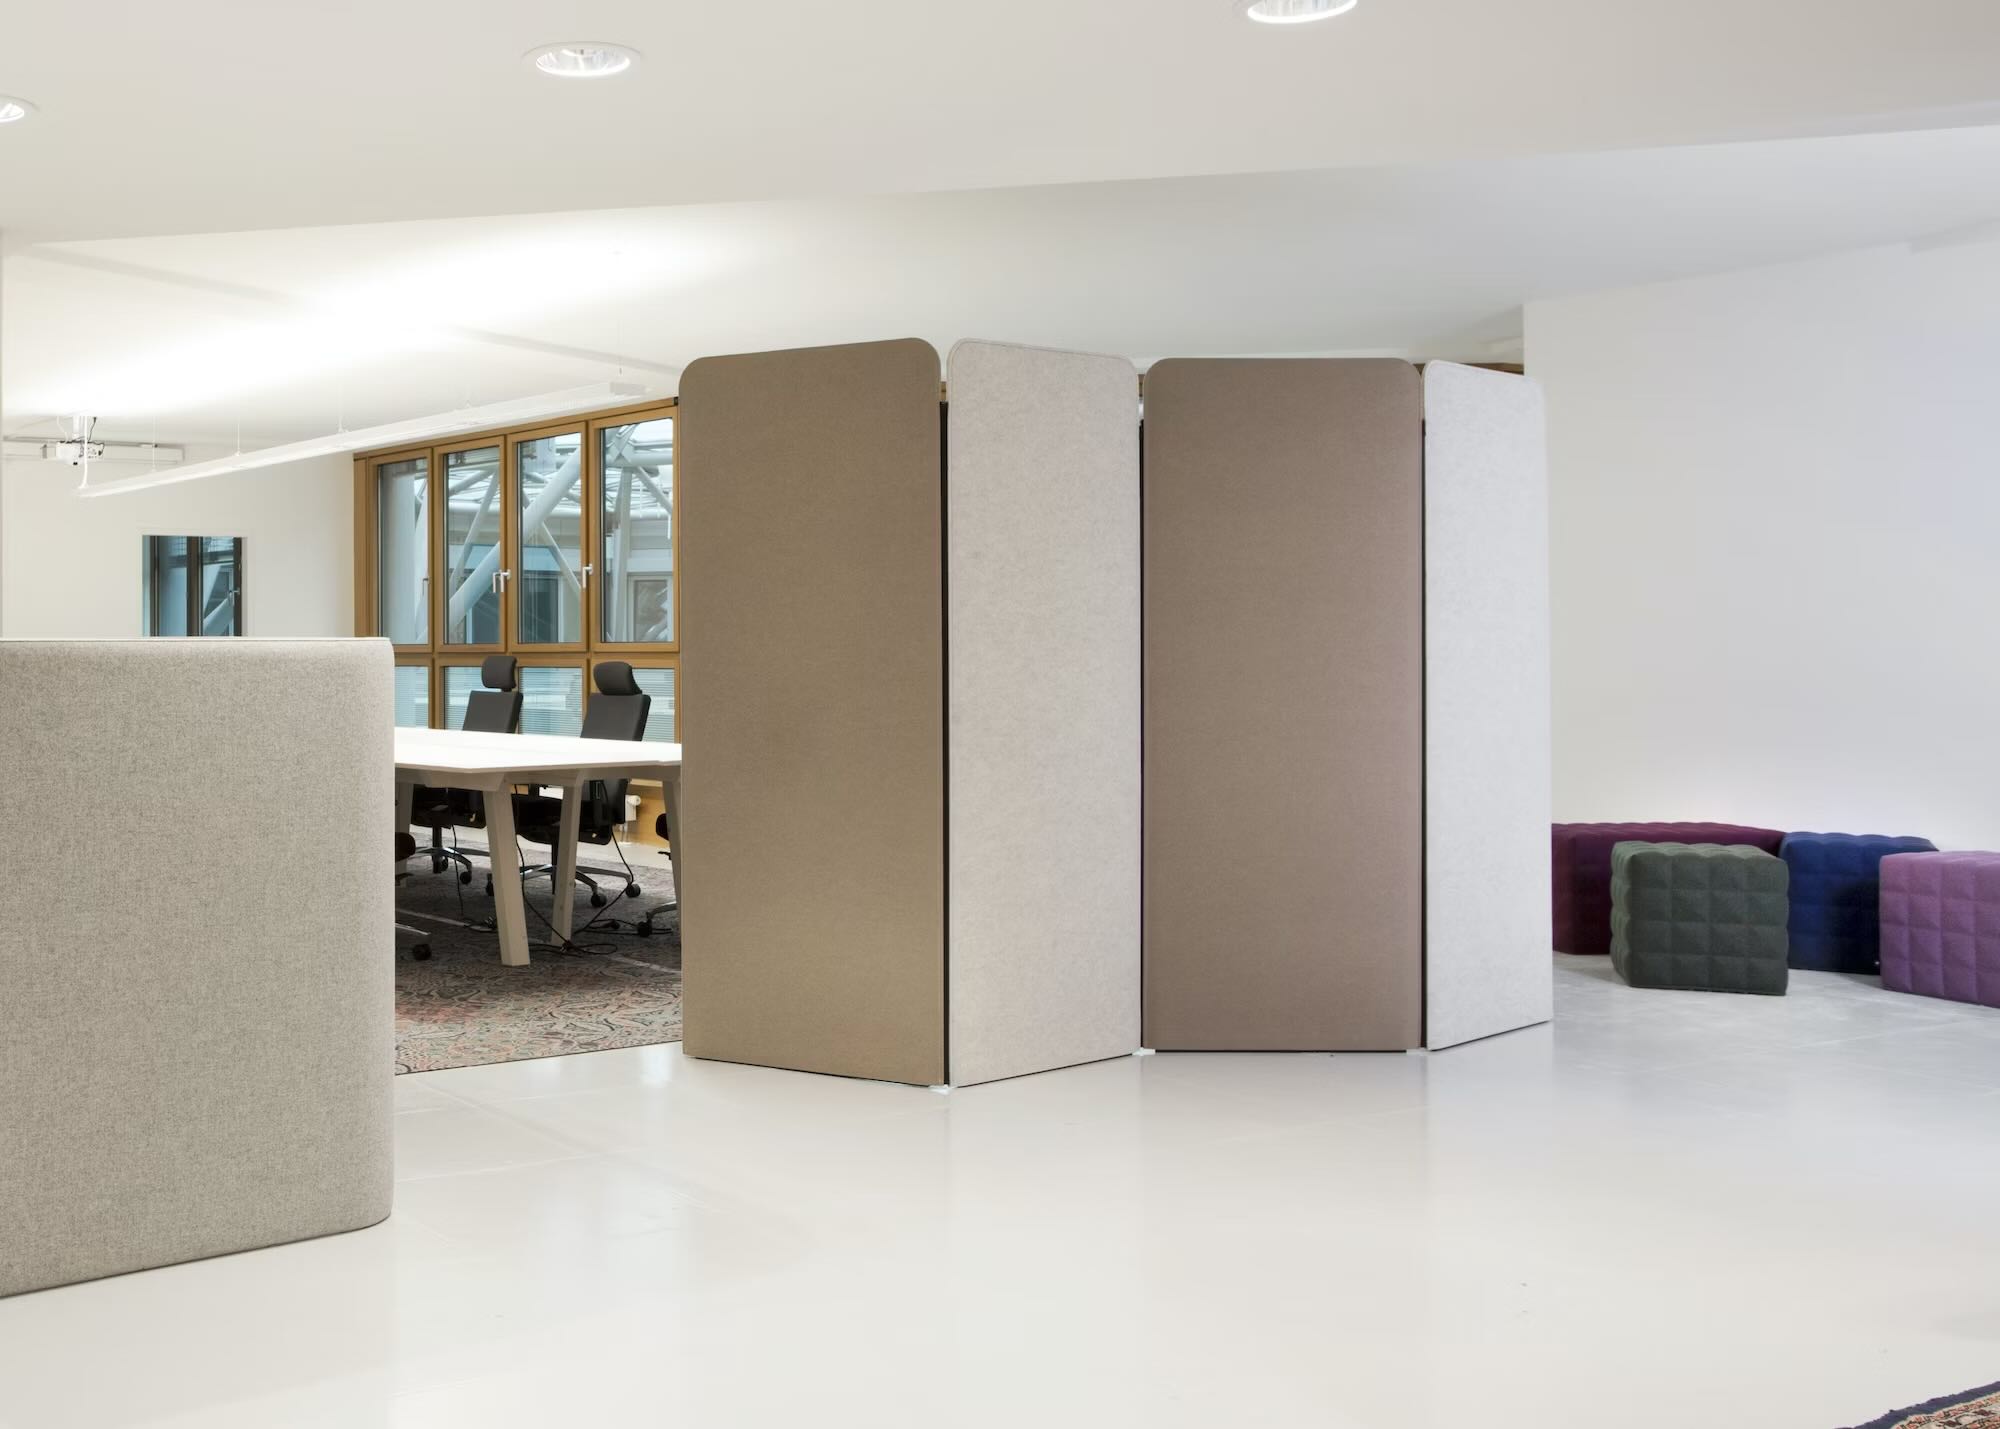
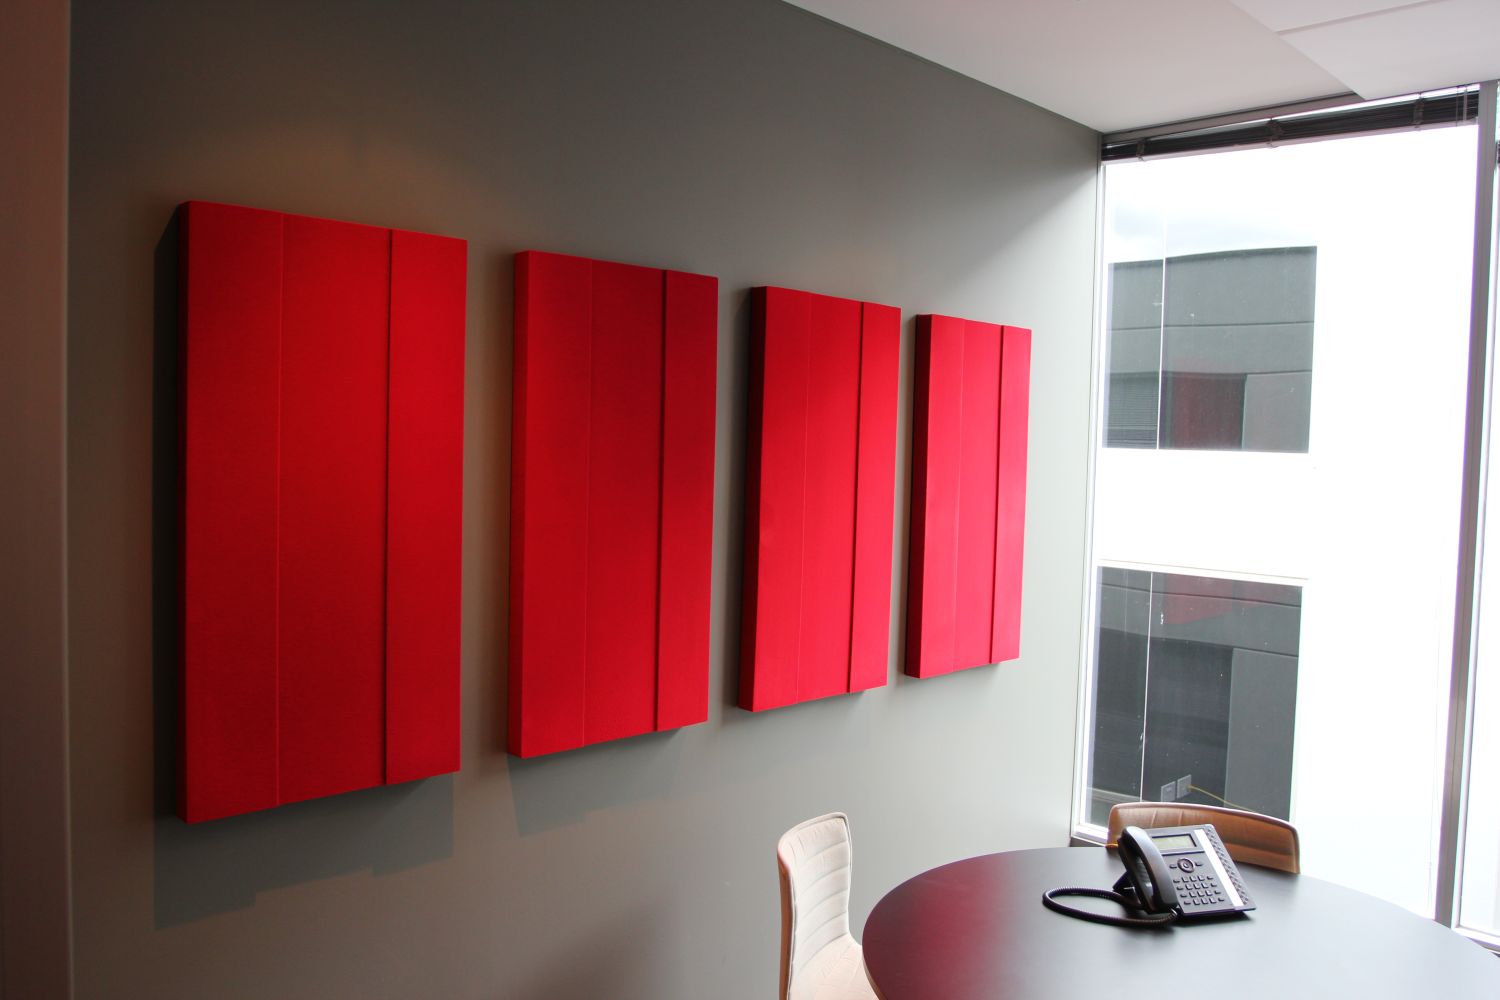
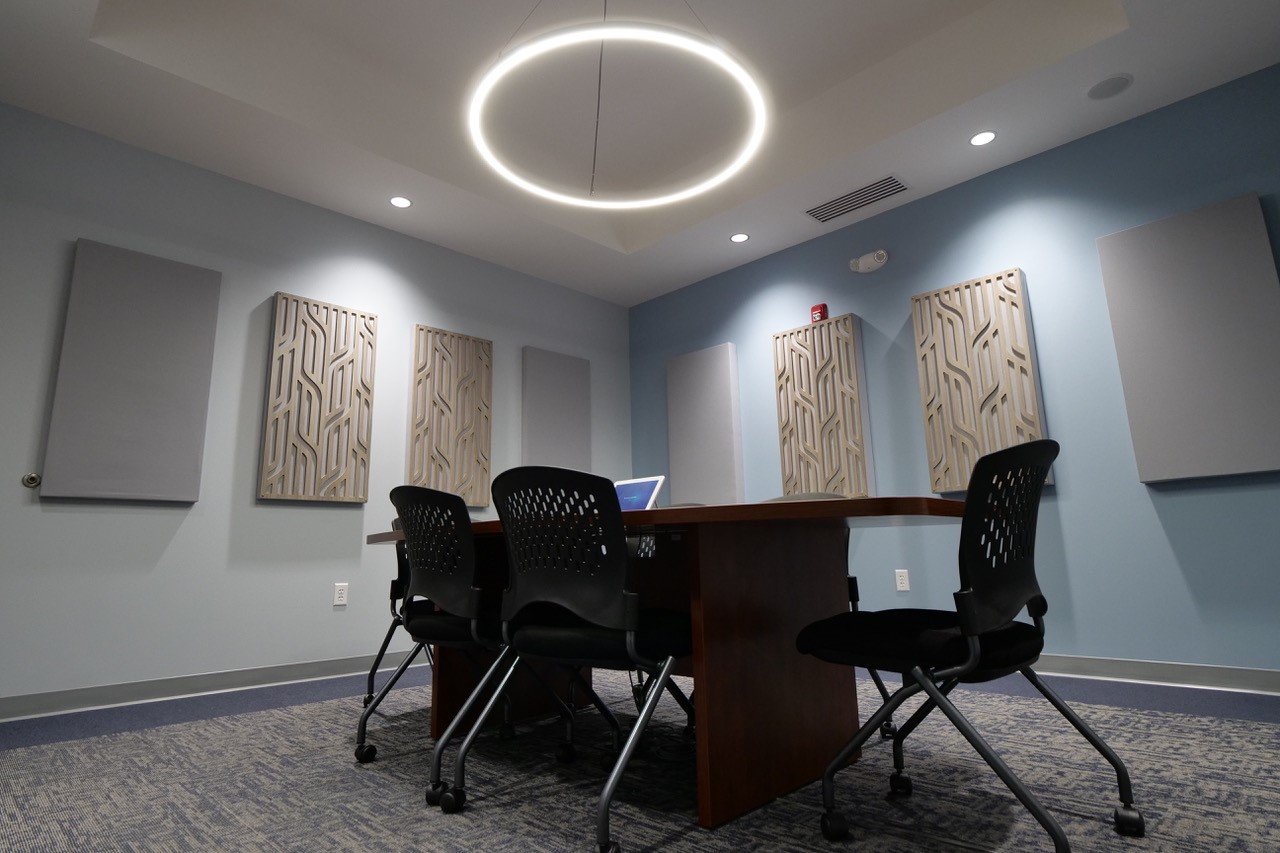
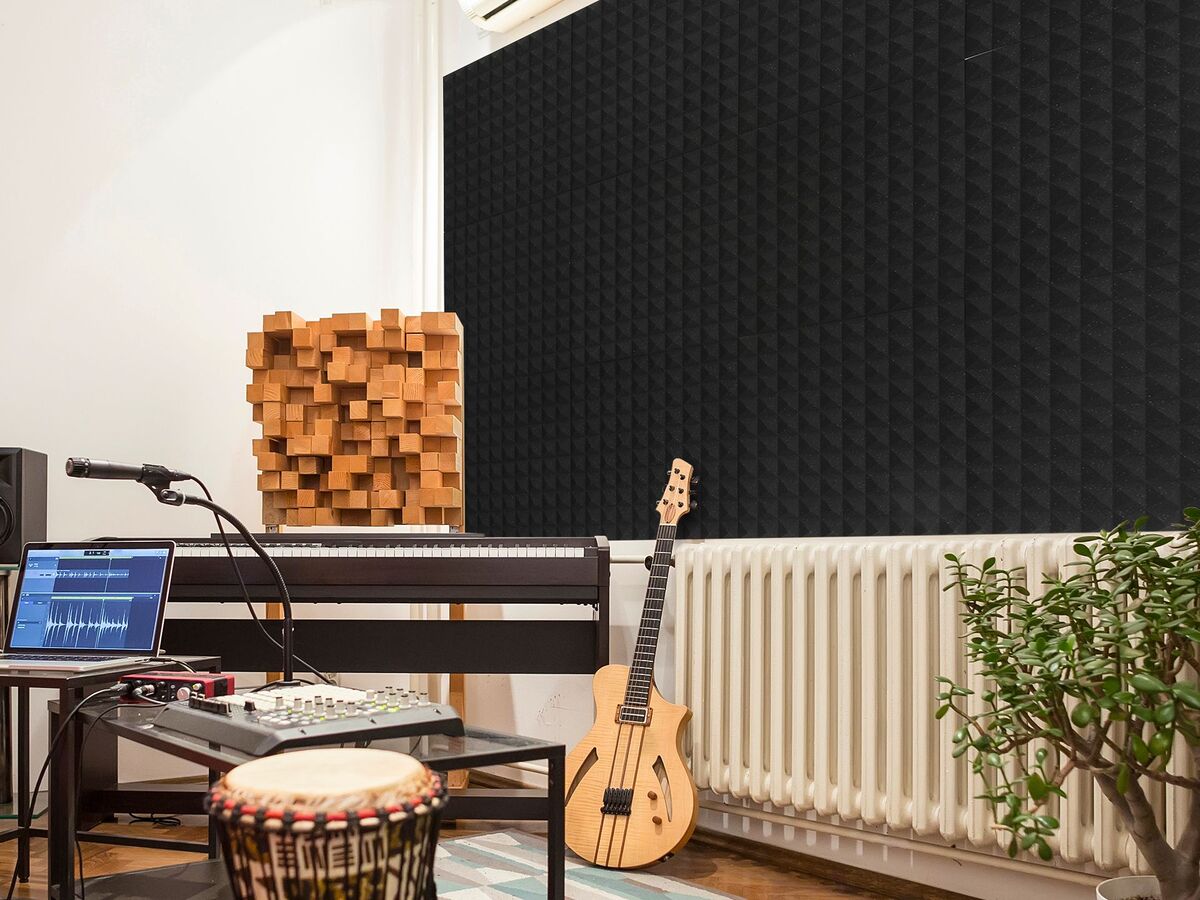
4. Balance Aesthetics and Functionality: While the primary purpose of acoustic panels is to improve sound quality, it’s important to strike a balance between functionality and aesthetics. Consider the overall design of the room and how the panels will blend in with the existing decor. Opt for panels that complement the color scheme and style of the space while still fulfilling their acoustic purpose.
By taking these factors into account, you can identify the most appropriate locations to hang the acoustic panels on the ceiling. Once you have determined the ideal spots, it’s time to measure and mark the ceiling for installation.
Measuring and Marking the Ceiling
Before you can start hanging acoustic panels on the ceiling, you need to accurately measure and mark the locations where the panels will be installed. Here’s a step-by-step guide on how to measure and mark the ceiling:
1. Gather the Necessary Tools: To ensure precise measurement and marking, gather a measuring tape, a pencil, and a laser level. These tools will help you achieve accuracy and consistency throughout the process.
2. Determine the Panel Placement: Refer to the chosen locations from the previous step and decide on the specific arrangement of the acoustic panels. Consider factors such as panel size, shape, and distance between panels to create a visually pleasing pattern.
3. Measure the Ceiling Area: Starting from one end of the wall, use a measuring tape to determine the length and width of the ceiling area where the panels will be installed. It’s important to measure both dimensions accurately to ensure proper panel placement and alignment.
4. Mark the Panel Placement: Using a pencil, mark the exact spots on the ceiling where the panels will be hung. For precise marking, you can use a laser level to create straight and leveled lines along the ceiling. This will help maintain a uniform look and ensure the panels are evenly spaced.
5. Double-Check the Measurements: Once you have marked the panel placement, double-check the measurements to ensure accuracy. Verify that the marked spots align with the chosen locations and are suitable for the size and arrangement of the acoustic panels.
6. Adjust and Fine-Tune: If needed, make any necessary adjustments to the marked spots. Keep in mind any structural limitations, building codes, or obstructions that may affect the installation process. Consult with a professional if you have any doubts or concerns about the viability of the marked locations.
By following these steps, you can accurately measure and mark the ceiling for the installation of acoustic panels. The next step involves preparing the ceiling for the installation process.
Preparing the Ceiling for Installation
Before you can hang acoustic panels on the ceiling, it’s important to properly prepare the ceiling surface. This step ensures that the panels are securely attached and that the installation process goes smoothly. Here are the steps to prepare the ceiling for installation:
1. Clean the Ceiling: Start by cleaning the ceiling surface to remove any dust, dirt, or debris. Use a soft cloth or a vacuum cleaner with a brush attachment to gently clean the entire area where the panels will be installed. A clean surface will ensure better adhesion and improve the overall appearance of the finished installation.
2. Check for Ceiling Condition: Inspect the condition of the ceiling for any cracks, holes, or imperfections. If you notice any significant damages, such as water stains or structural issues, it’s essential to address those before proceeding with the installation. Repair any damages to ensure a stable and even surface for mounting the panels.
3. Consider Ceiling Compatibility: Depending on the type of acoustic panels you’re using and the ceiling material, you may need to consider compatibility. Some panels require specific mounting techniques or hardware that are suitable for the ceiling surface. Ensure that the panels and the ceiling are compatible to avoid any issues during installation.
4. Assess Ceiling Load-Bearing Capacity: Before installing acoustic panels on the ceiling, it’s essential to assess the load-bearing capacity of the ceiling. Acoustic panels can have varying weights depending on their material and size. Consult with a structural engineer or a professional installer to ensure that the ceiling can support the weight of the panels without any risks of damage or structural compromise.
5. Make Necessary Preparations: If required, make any necessary preparations for the installation process. This may include adding additional support structures, reinforcing the ceiling, or installing mounting hardware such as screws, anchors, or adhesive strips. Follow the manufacturer’s instructions and guidelines for the specific type of panels you’re using.
By properly preparing the ceiling surface, you can ensure a smooth and secure installation of the acoustic panels. Once the ceiling is ready, you can proceed to the next step of attaching the mounting hardware.
When hanging acoustic panels on the ceiling, use sturdy hooks or eye screws to securely attach the panels. Make sure to evenly distribute the weight and consider using a professional for larger installations.
Attaching Mounting Hardware
Attaching the right mounting hardware is crucial for securely hanging acoustic panels on the ceiling. The type of hardware you choose will depend on the weight and material of the panels, as well as the ceiling surface. Here’s a step-by-step guide on how to attach mounting hardware for acoustic panels:
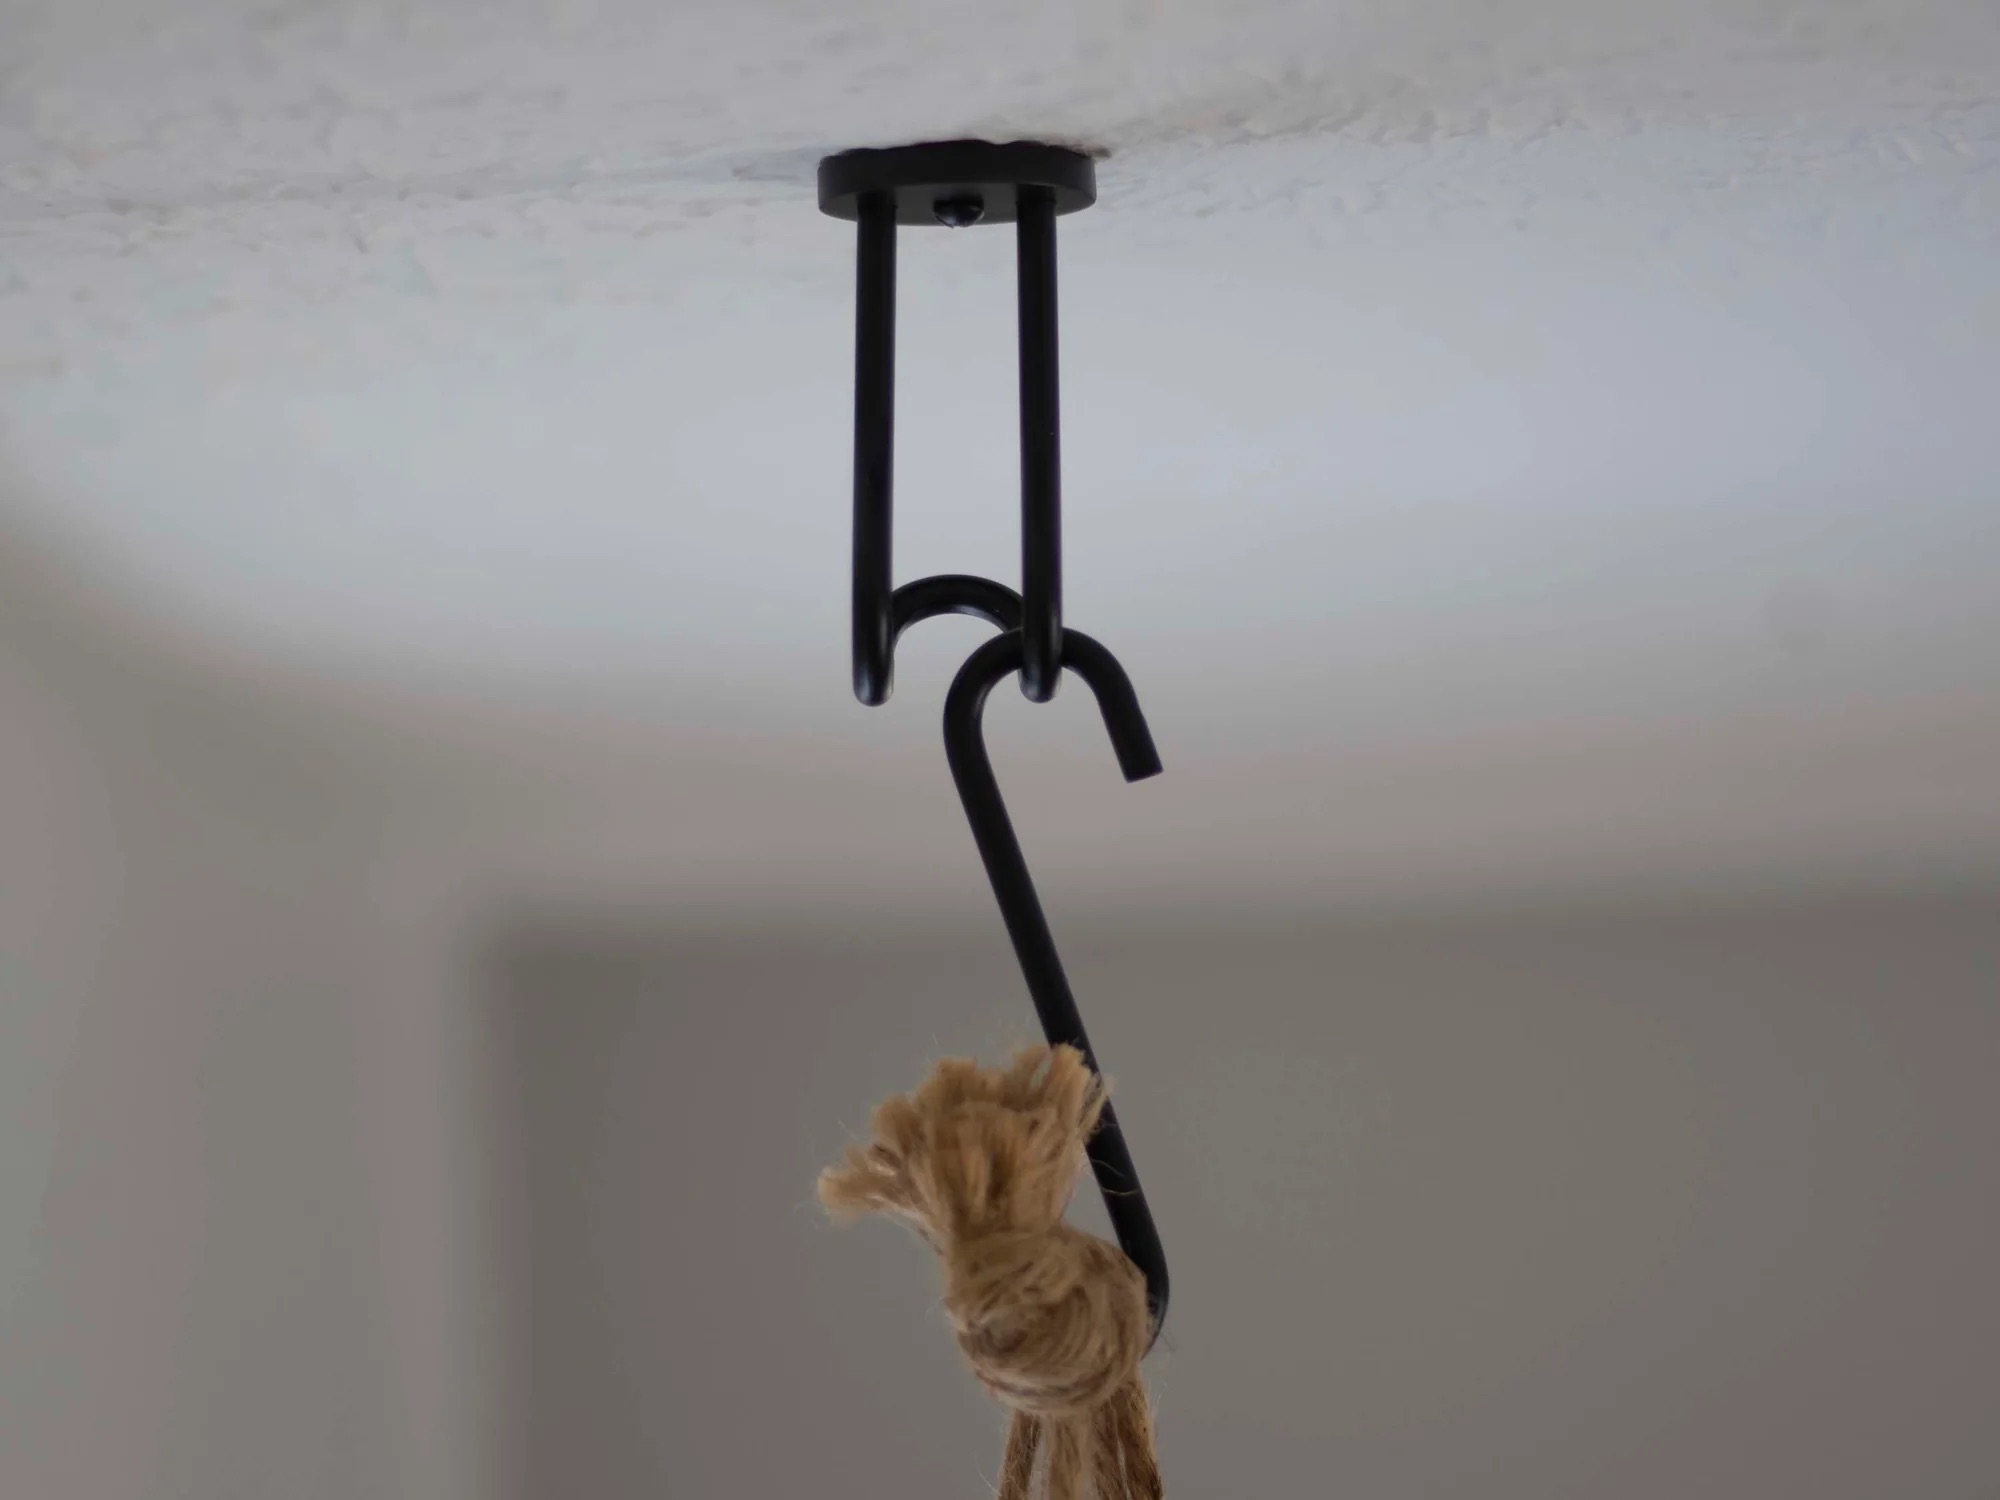
1. Determine the Type of Mounting Hardware: There are various types of mounting hardware available, such as brackets, clips, hooks, or adhesive strips. Consider the weight and size of your acoustic panels, as well as the recommended mounting method provided by the manufacturer. Choose the appropriate hardware that will provide secure and stable support.
2. Measure and Mark the Mounting Points: Referencing the marked spots on the ceiling, measure and mark the corresponding locations for the mounting hardware. Ensure that the marks align with the configuration of the panels and are appropriately spaced according to the manufacturer’s guidelines.
3. Pre-drill Holes: If you’re using brackets or hooks, pre-drill holes at the marked spots on the ceiling. Use a drill bit that is slightly smaller than the size of the screws or anchors to ensure a snug fit. If necessary, consult the manufacturer’s instructions for specific drilling guidelines or any additional hardware required.
4. Install the Mounting Hardware: Insert the screws or anchors into the pre-drilled holes and tighten them securely. If using adhesive strips, carefully follow the manufacturer’s instructions to attach them to the ceiling surface. Ensure that the mounting hardware is level and properly aligned with the markings.
5. Test the Stability: After installing the mounting hardware, give them a gentle tug or shake to ensure they are securely attached to the ceiling. Check for any signs of movement or instability. If necessary, make any adjustments or reinforce the hardware to ensure a stable foundation for hanging the acoustic panels.
6. Repeat the Process: Repeat steps 2-5 for each marked spot on the ceiling to install all the necessary mounting hardware for hanging the acoustic panels. Double-check the alignment and stability of each hardware installation.
By following these steps, you can properly attach the mounting hardware for the acoustic panels. With the hardware in place, it’s time to move on to the exciting part – hanging the acoustic panels on the ceiling.
Read also: 15 Amazing Ceiling Acoustic Panels For 2025
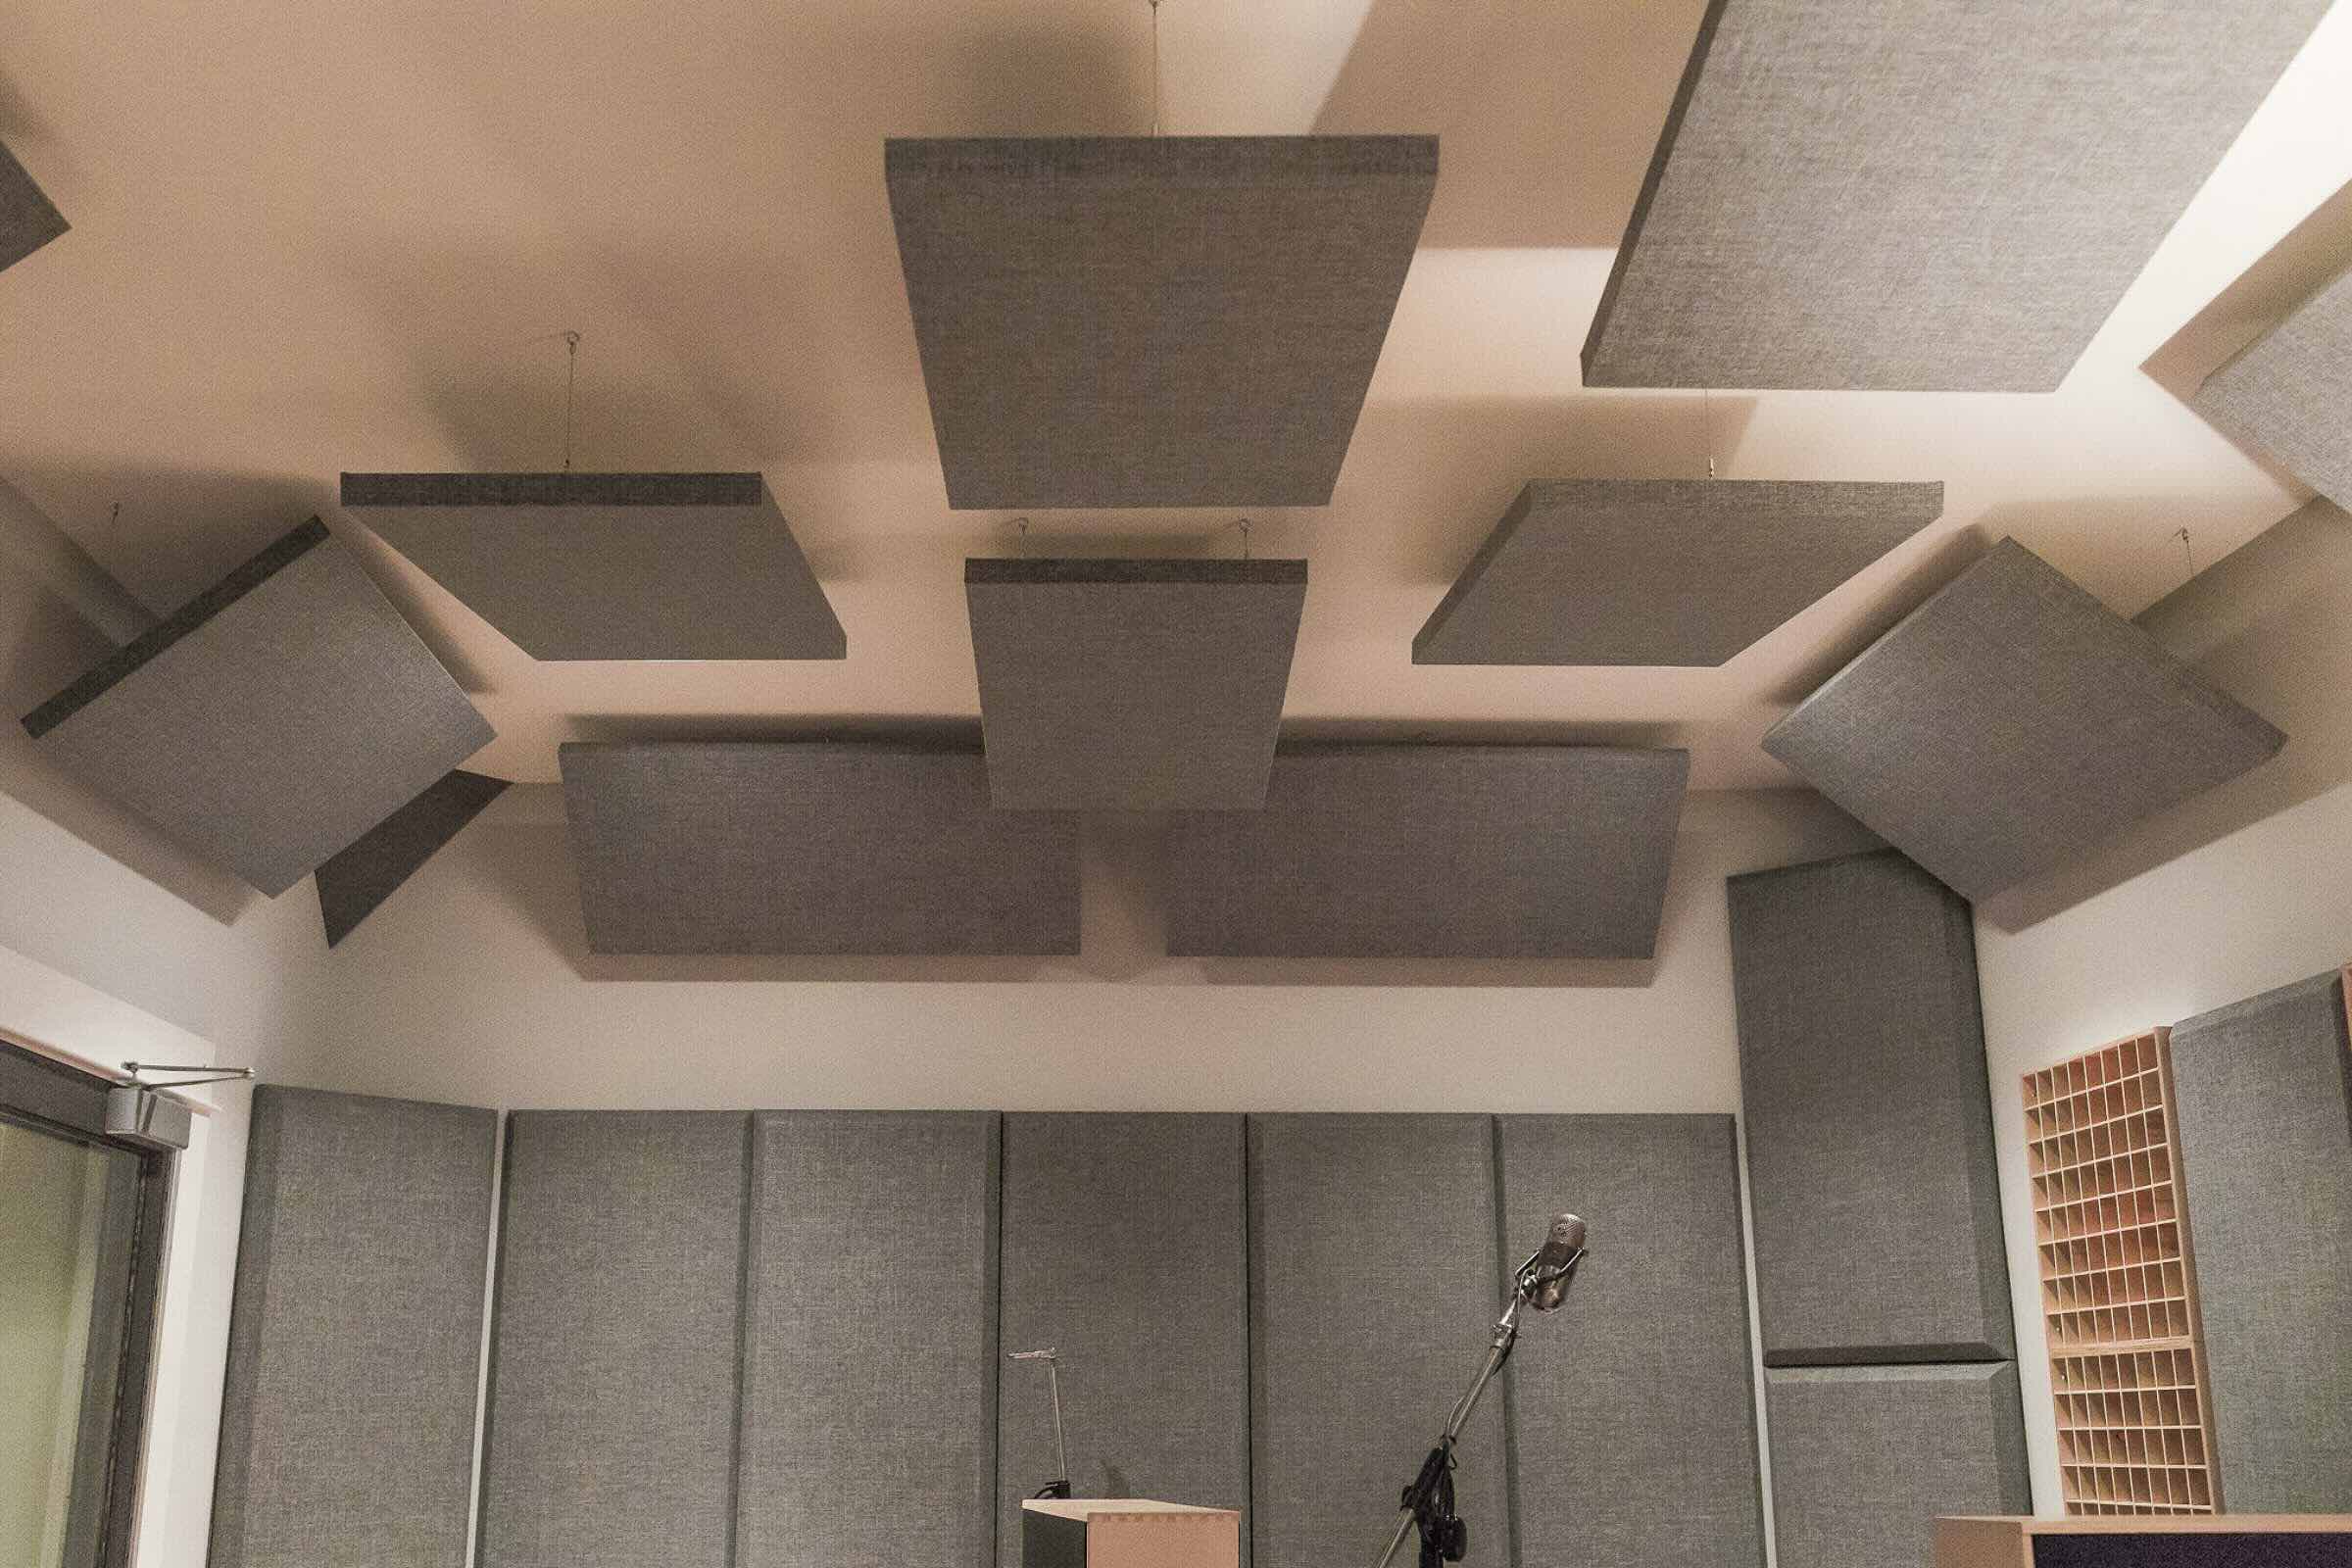
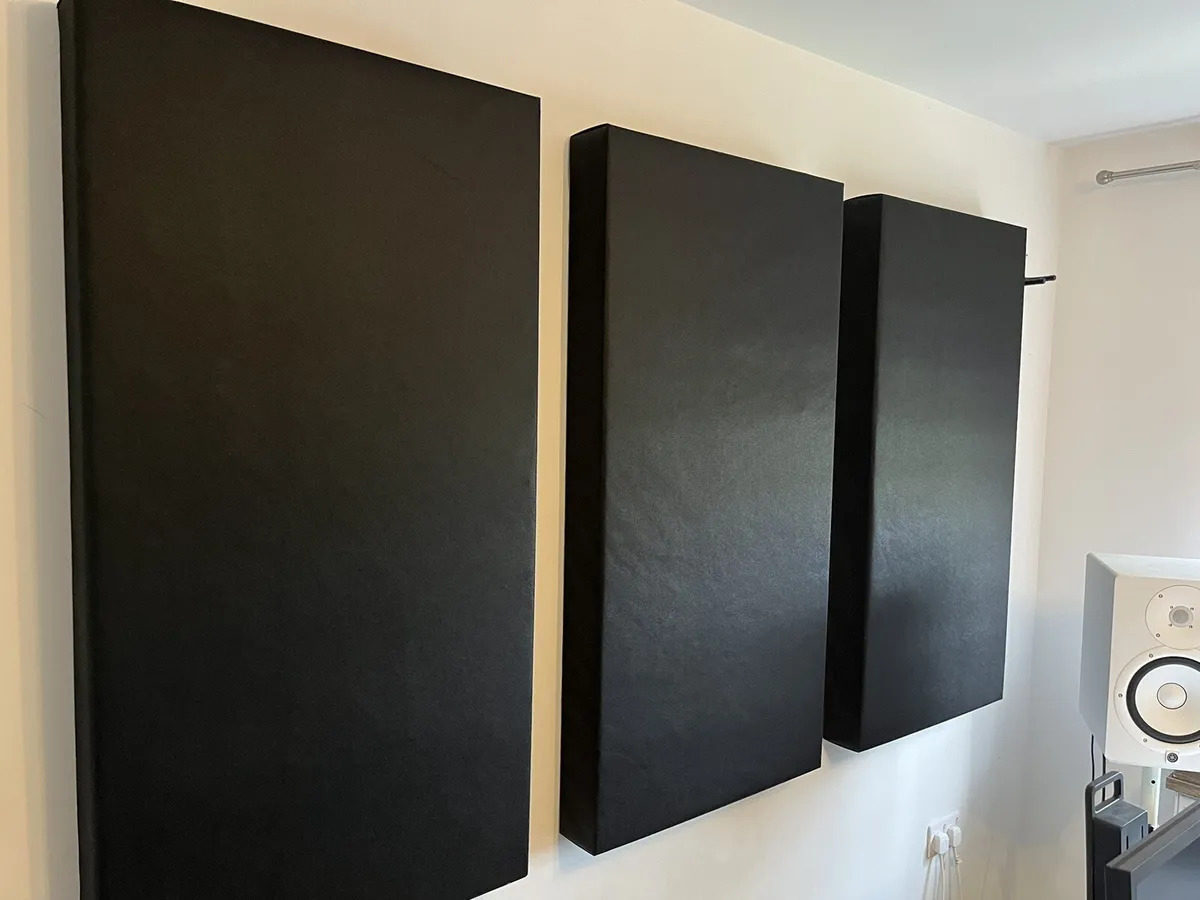
Hanging the Acoustic Panels
Now that the mounting hardware is securely attached to the ceiling, it’s time to hang the acoustic panels. This step involves carefully positioning the panels and ensuring they are properly aligned and attached to the hardware. Here’s a step-by-step guide on hanging acoustic panels on the ceiling:
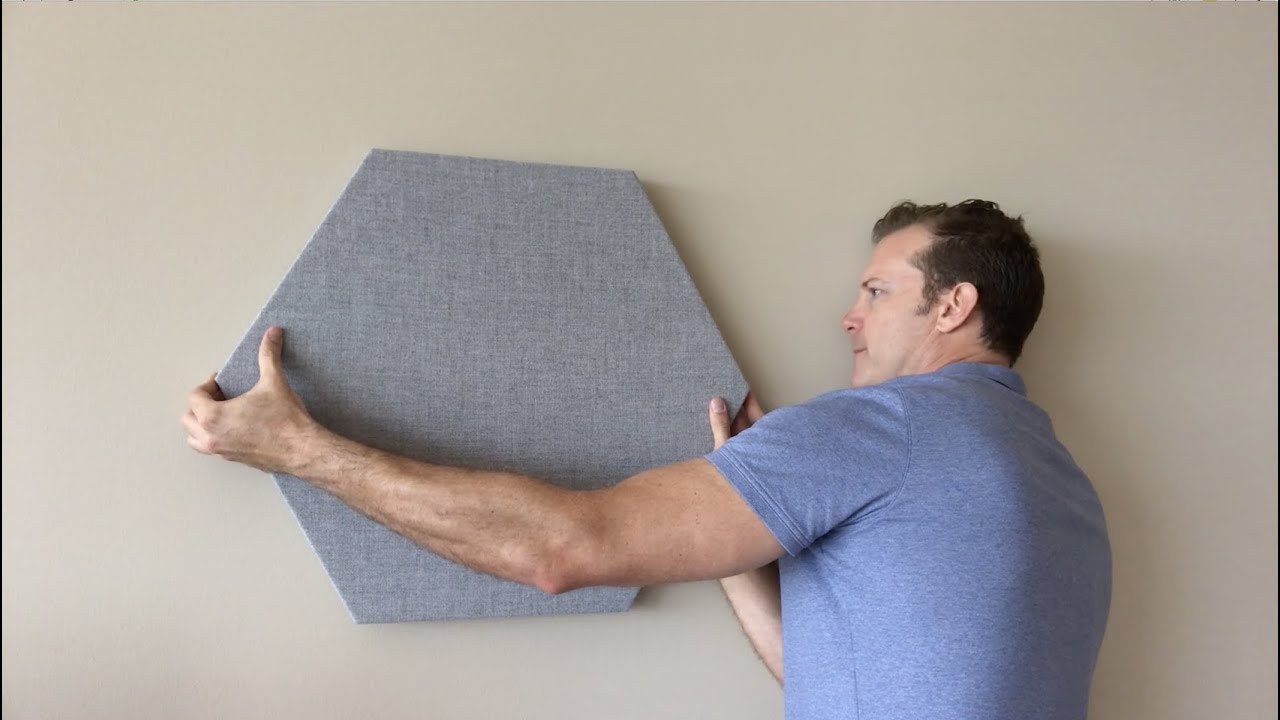
1. Prepare the Panels: Before hanging the panels, make sure they are clean and free from any dust or debris. This will ensure a clean and professional installation. If needed, you can use a soft cloth or brush to gently clean the panels.
2. Lift the Panel: Lift the first acoustic panel, taking care not to damage the panel or the mounting hardware on the ceiling. It’s always a good idea to have a second person assist with the lifting, especially if the panels are large or heavy.
3. Align the Panel: Position the panel over the corresponding mounting hardware on the ceiling, aligning it with the marks you made during the preparation stage. Take your time to ensure that the panel is correctly aligned both vertically and horizontally.
4. Attach the Panel to the Hardware: Depending on the type of mounting hardware you’re using, follow the manufacturer’s instructions to attach the panel securely. This may involve sliding the panel onto hooks, inserting it into brackets, or pressing it firmly onto adhesive strips. Ensure that the panel is secure and snugly attached to the hardware.
5. Repeat the Process: Repeat steps 2-4 for each acoustic panel, moving from one marked spot on the ceiling to the next. Take care to ensure that the panels are evenly spaced and aligned with the desired layout or pattern.
6. Step Back and Assess: Once all the panels are hung, step back and assess the overall look and arrangement. Verify that the panels are level, properly aligned, and visually appealing. Make any necessary adjustments if you notice any inconsistencies or areas that require attention.
Hanging acoustic panels on the ceiling can significantly improve the sound absorption and aesthetic quality of your space. By following these steps, you can safely and effectively hang the panels, creating a more pleasant and acoustically balanced environment.
However, it’s important to note that the placement of acoustic panels may require some adjustment and fine-tuning based on your specific room and acoustic needs. It’s always a good idea to consult with an acoustic expert or sound engineer to ensure the optimal placement and effectiveness of the panels in your space.
Next, we’ll discuss how to adjust the placement of the panels for optimal sound absorption and address any final touches and recommendations.
Adjusting the Placement
After hanging the acoustic panels on the ceiling, it’s essential to assess their placement and make any necessary adjustments for optimal sound absorption. Here’s a step-by-step guide on how to adjust the placement of the panels:
1. Evaluate the Sound: Take some time to listen to the sound in the room and identify any areas that still have excessive echo or sound reflections. Pay attention to the areas that may require additional sound absorption or areas where the sound quality is not balanced.
2. Move the Panels: Start by moving individual panels to different spots on the ceiling. Experiment with different positions to find the best placement for maximum sound absorption. You can try moving panels closer together or spreading them out to achieve a more balanced sound environment.
3. Test and Compare: As you adjust the placement of the panels, listen to the sound in the room and compare it with the previous setup. Pay attention to the changes in echo, reverberation, and overall sound quality. Continue experimenting with different panel configurations until you achieve the desired acoustic effect.
4. Consider Additional Panels: If you find that certain areas still require more sound absorption, consider adding additional panels to those specific locations. This could involve adjusting the overall layout or adding smaller panels to fill in gaps and address areas with excessive noise reflections.
5. Seek Professional Advice: For a more precise assessment of the acoustic performance, consider consulting with a sound engineer or acoustic expert. They can provide valuable insights and recommendations based on their expertise and experience.
6. Fine-Tune the Panel Placement: Once you have made the necessary adjustments and achieved the desired sound absorption, make sure to securely reattach the panels to the mounting hardware. Ensure that they are level, aligned, and properly fitted to maintain their appearance and effectiveness.
By taking the time to adjust the placement of the acoustic panels, you can optimize their sound absorption capabilities and create a more balanced and pleasant acoustic environment. Continuously monitor and evaluate the sound quality in the room to identify any areas that may require further adjustment or improvement.
In addition to adjusting the placement, there are a few final touches and recommendations to consider to ensure the effectiveness and longevity of your acoustic panels.
Final Touches and Recommendations
Once you have hung the acoustic panels on the ceiling and adjusted their placement for optimal sound absorption, there are a few final touches and recommendations to consider. These will help enhance the effectiveness and longevity of your acoustic panels. Here’s what you should keep in mind:
1. Regular Maintenance: Regularly clean and maintain the acoustic panels to keep them performing at their best. Use a soft cloth or a vacuum with a brush attachment to remove dust and debris from the panels. Avoid using harsh chemicals or abrasive materials that could damage the panel surface.
2. Panel Orientation: Consider the orientation of the acoustic panels to maximize their effectiveness. Experiment with different panel orientations, such as vertical or horizontal, to determine the configuration that provides the best sound absorption for your specific room and desired acoustic goals.
3. Monitor Room Acoustics: Periodically evaluate the room acoustics to ensure that the panels are still effectively reducing echoes, reverberation, and unwanted noise reflections. As the usage or purpose of the room changes over time, you may need to reassess the placement of the panels and make necessary adjustments.
4. Add Decorative Elements: If desired, you can incorporate decorative elements into the acoustic panel design to further enhance the aesthetics of the room. Some acoustic panels come with customizable options, allowing you to choose different colors, patterns, or textures that align with your interior design vision.
5. Consider Complementary Soundproofing: Keep in mind that while acoustic panels can improve sound absorption within a room, they may not address external noise issues. If noise from outside the room is a concern, consider incorporating additional soundproofing techniques, such as adding weatherstripping to doors or installing soundproof curtains or window treatments.
6. Consult with Professionals: If you’re unsure about the placement, design, or overall effectiveness of the acoustic panels, don’t hesitate to consult with professionals. Acoustic consultants or interior designers with expertise in sound treatment can provide valuable insights and recommendations tailored to your specific needs.
By paying attention to these final touches and recommendations, you can ensure that your acoustic panels continue to provide optimal sound absorption and contribute to a comfortable and acoustically balanced environment.
Remember, the effectiveness of acoustic panels may vary depending on the specific room dimensions, materials used, and your desired acoustic goals. Experiment with different configurations and seek professional advice when needed to achieve the best possible sound quality in your space.
Now that you have completed the installation and fine-tuning of your acoustic panels, enjoy the improved sound experience and the visually pleasing ambiance they bring to your room!
Frequently Asked Questions about How To Hang Acoustic Panels On The Ceiling
Was this page helpful?
At Storables.com, we guarantee accurate and reliable information. Our content, validated by Expert Board Contributors, is crafted following stringent Editorial Policies. We're committed to providing you with well-researched, expert-backed insights for all your informational needs.


0 thoughts on “How To Hang Acoustic Panels On The Ceiling”