Home>Interior Design>How To Create A Winter Flower Arrangement By Philippa Craddock
Interior Design
How To Create A Winter Flower Arrangement By Philippa Craddock
Modified: August 17, 2024
Learn how to create stunning winter flower arrangements for your home with interior designer Philippa Craddock. Get expert tips and inspiration to elevate your interior design this season.
(Many of the links in this article redirect to a specific reviewed product. Your purchase of these products through affiliate links helps to generate commission for Storables.com, at no extra cost. Learn more)
Introduction
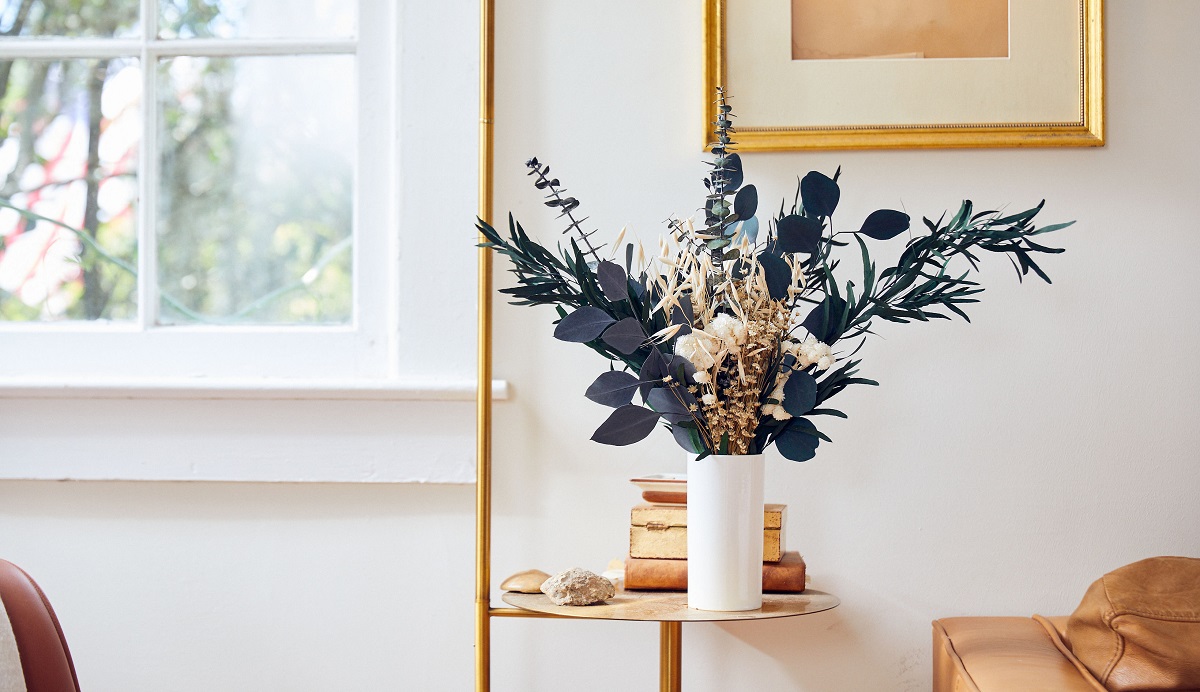
Winter is a season known for its cold temperatures and barren landscapes. But just because nature seems to go into hibernation, doesn’t mean you can’t bring a burst of life and beauty into your home. One of the best ways to do this is by creating a winter flower arrangement.
A winter flower arrangement is not only a stunning centerpiece that can brighten up any room, but it also serves as a reminder of the vibrant colors and scents of the warmer months. It adds a touch of elegance and freshness to your home, creating a welcoming and inviting atmosphere.
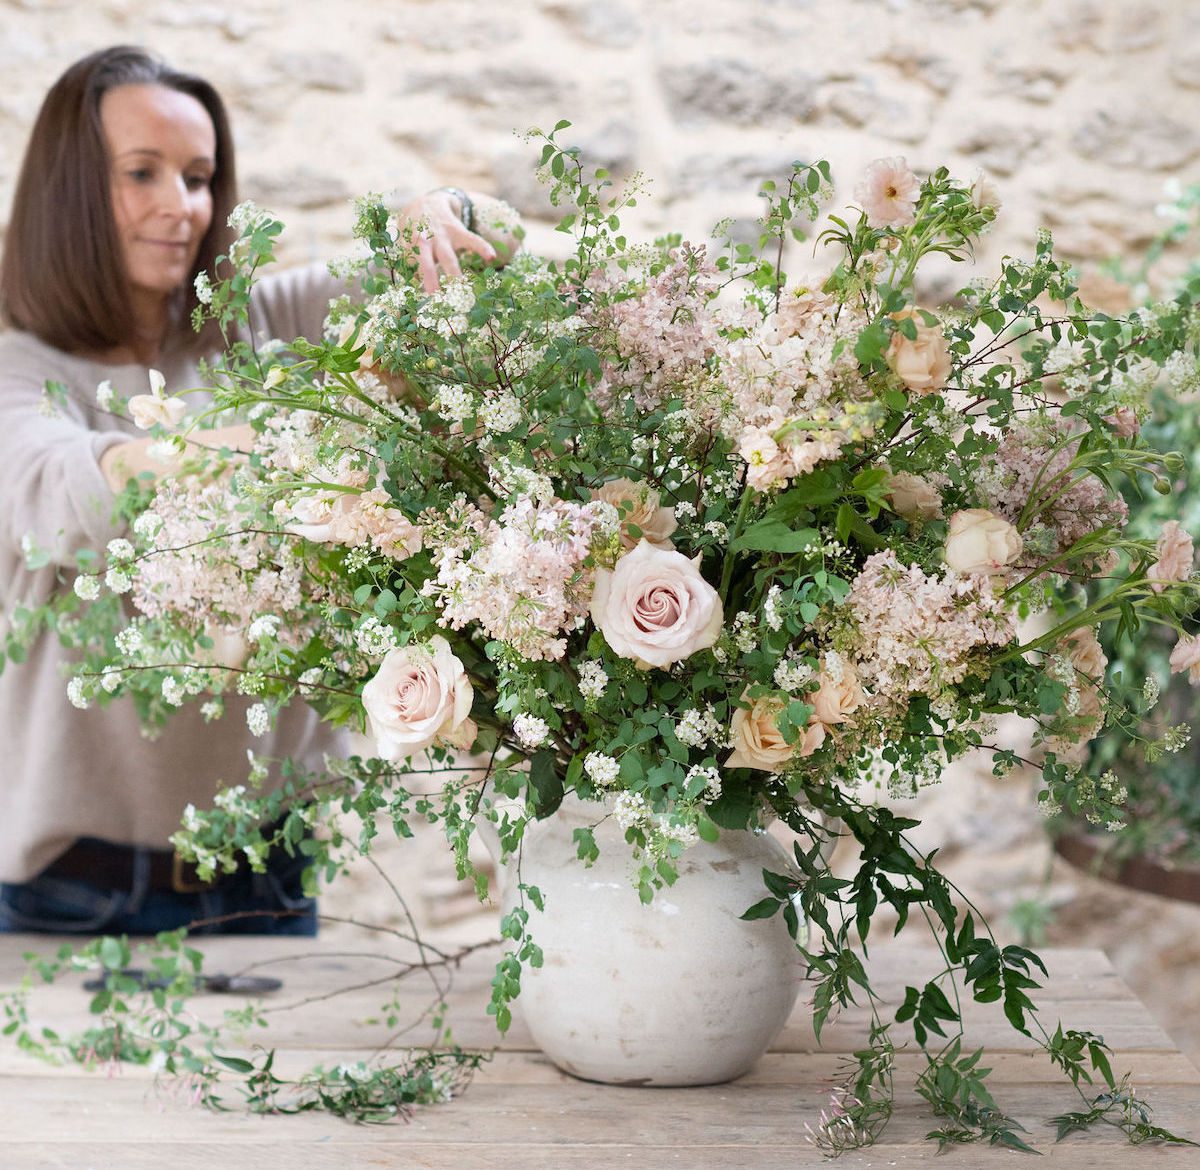
But how do you go about creating a winter flower arrangement that is both visually appealing and long-lasting? In this article, renowned floral designer Philippa Craddock shares her expert tips and step-by-step guide to help you create a winter flower arrangement that will be the envy of all.
Philippa Craddock is no stranger to the world of floral design. Her work has graced the halls of Buckingham Palace and Kensington Palace, and she has been the florist of choice for high-profile clients such as Prince Harry and Meghan Markle. With her years of experience and impressive portfolio, Philippa is the perfect guide to help you create a stunning winter flower arrangement.
Whether you’re a seasoned floral enthusiast or a beginner looking to try your hand at flower arranging, this article will provide you with the knowledge and inspiration you need to create a beautiful and Instagram-worthy winter flower arrangement.
So let’s dive in and discover Philippa Craddock’s expert tips on choosing the right flowers, selecting a suitable container, gathering necessary materials, preparing the flowers and greenery, and creating a stunning winter flower arrangement that will be the focal point of your home.
Key Takeaways:
- Bring the beauty of winter indoors with a stunning flower arrangement featuring hardy blooms like winter roses and amaryllis, complemented by seasonal elements like pinecones and berries for a vibrant and inviting home decor.
- Elevate your winter flower arrangement by choosing the right container, incorporating fragrant flowers, and adding festive accessories. Enjoy the creative process and share your unique floral creation to bring warmth and joy to your space.
Choosing the Right Flowers
When it comes to creating a winter flower arrangement, selecting the right flowers is crucial. With the lack of vibrant blooms available during the winter season, it’s important to choose flowers that are hardy, long-lasting, and able to withstand the cooler temperatures.
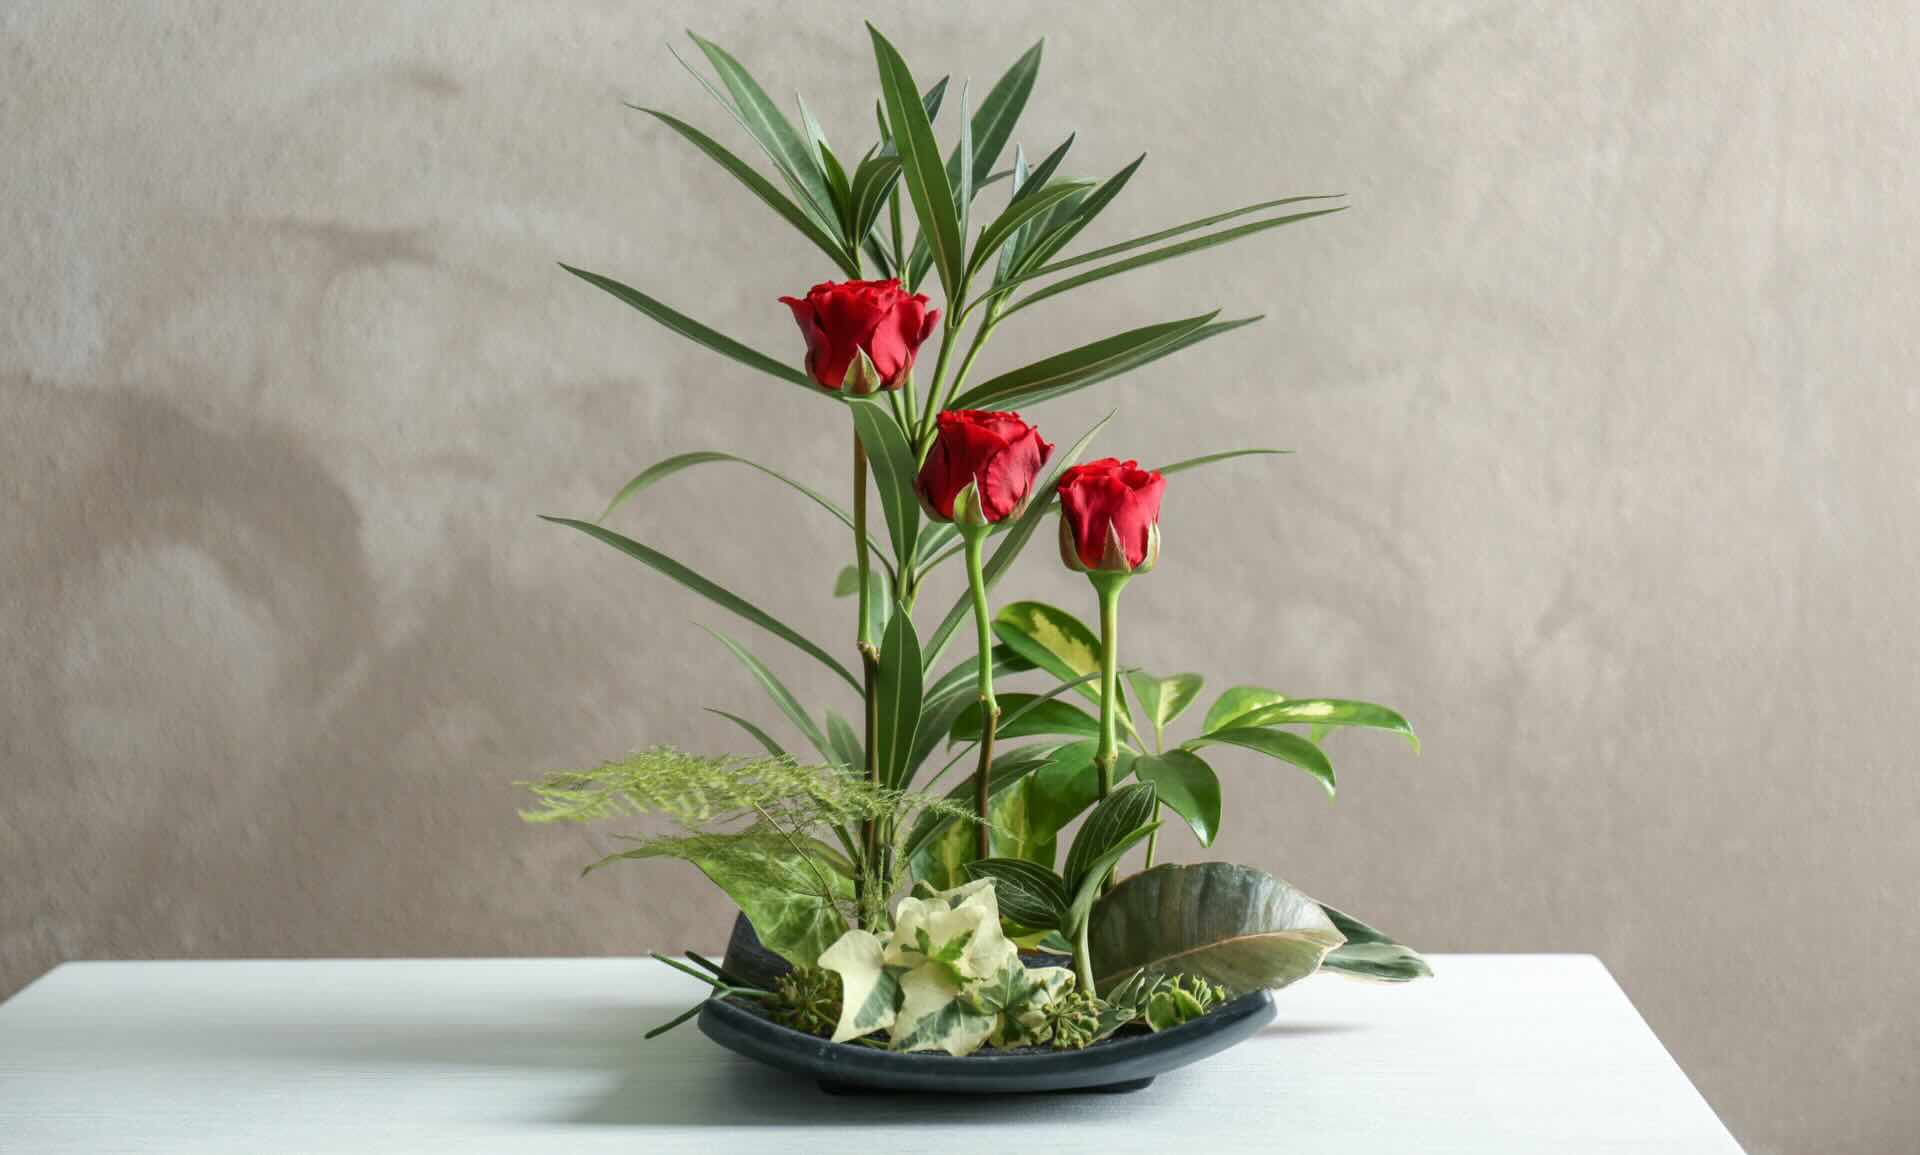
One of the best flower choices for a winter arrangement is the classic winter rose, also known as hellebore. These flowers come in a variety of colors, from soft pinks to deep purples, and their delicate petals add a touch of elegance to any arrangement.
Amaryllis is another popular winter flower that can make a stunning focal point in your arrangement. With its tall, sturdy stems and large, trumpet-shaped blooms, amaryllis adds a dramatic and eye-catching element.
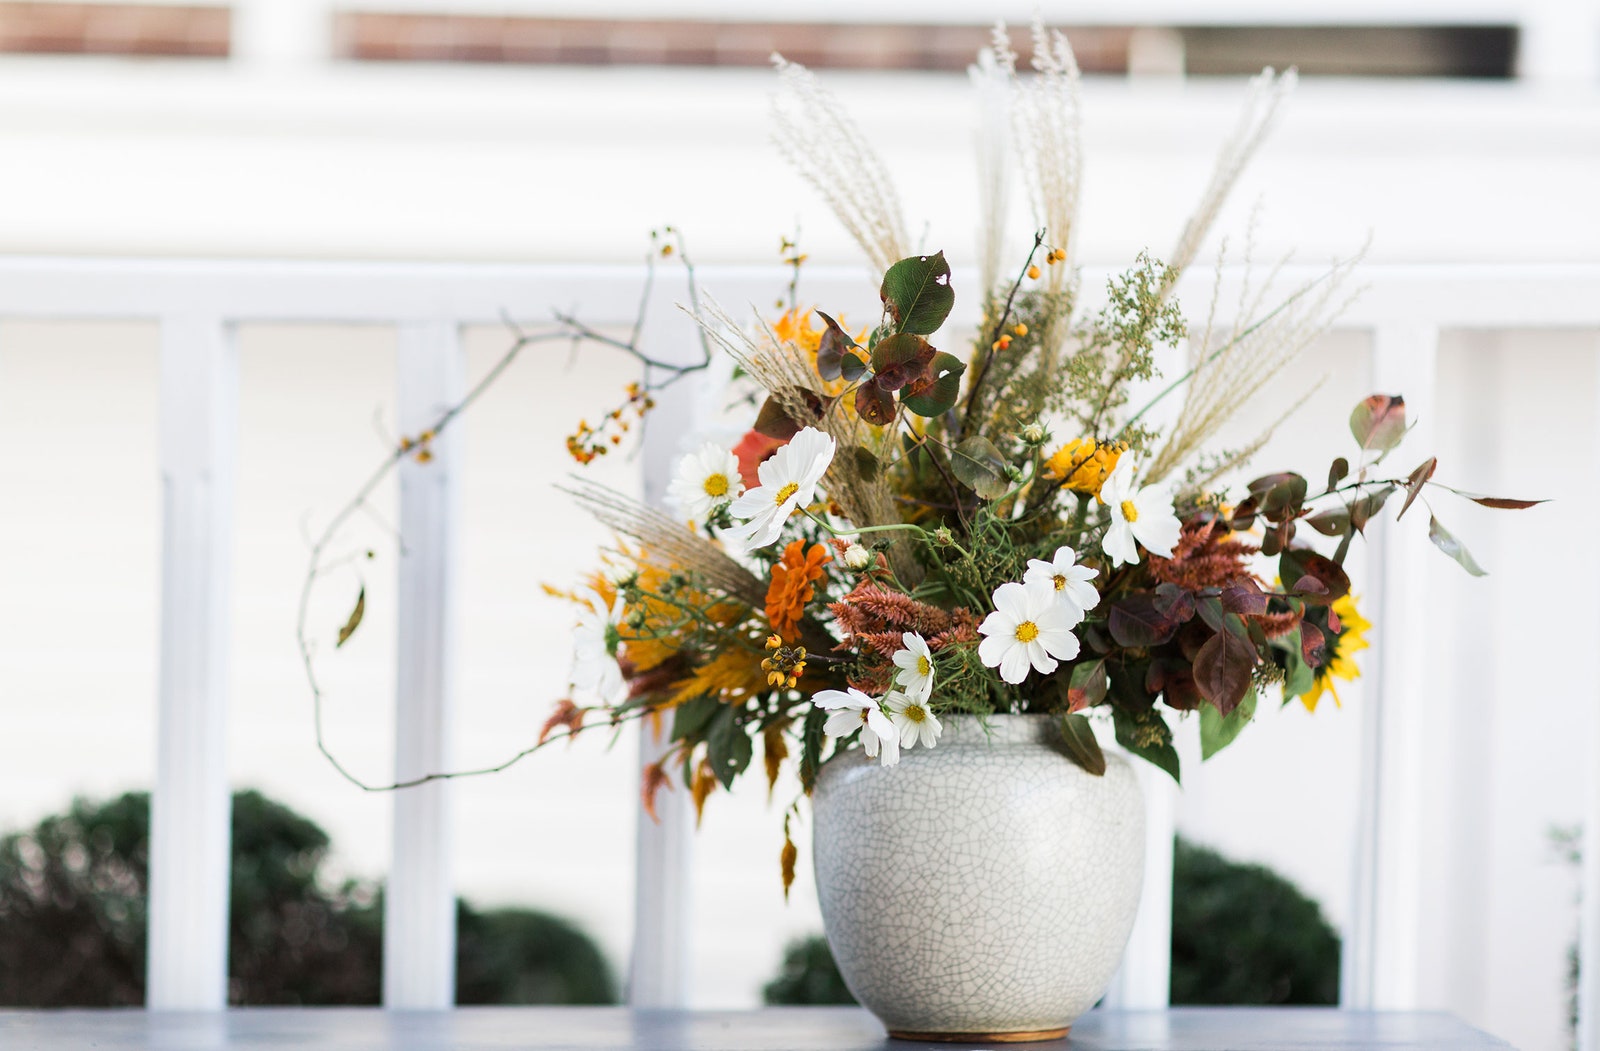
Pinecones, branches, and berries can also be incorporated into your arrangement to give it a more winter-themed look. These natural elements add texture and depth, creating visual interest.
When choosing flowers, consider the color palette you want to achieve. While winter is often associated with cool and neutral tones, don’t be afraid to incorporate pops of color to add vibrancy to your arrangement. Deep reds, purples, and even bright oranges can beautifully contrast with the winter landscape.
It’s also important to consider the size and shape of the flowers. Opt for larger, statement blooms like amaryllis or hellebore as focal points, and use smaller, delicate flowers as filler or accents.
Lastly, take into account the longevity of the flowers. Choose varieties that have a longer vase life, such as roses or carnations, to ensure your arrangement stays fresh for as long as possible.
Remember, let your creativity shine through when choosing the flowers for your winter arrangement. Experiment with different combinations and textures to create a unique and visually captivating display that brings the beauty of winter indoors.
Selecting a Suitable Container
Once you’ve chosen the perfect assortment of winter flowers, the next step is to select a suitable container for your arrangement. The right container can not only complement the flowers but also enhance the overall aesthetic of the arrangement.
When it comes to winter flower arrangements, there are a few key factors to consider when selecting a container:
1. Size: The size of the container should be proportionate to the number and size of the flowers you plan to use. You want the container to provide enough space for the flowers to breathe and for the arrangement to have a balanced look. Avoid containers that are too small, as they can overcrowd the flowers and make it difficult to arrange them properly.
2. Shape: Different shapes of containers can create varying visual effects. A tall, cylindrical vase can add height and drama to your arrangement, while a wide, shallow bowl can give a more expansive and airy feel. Consider the overall style and theme you want to achieve and choose a container shape that aligns with it.
3. Material: The material of the container can have a significant impact on the overall look and feel of the arrangement. Clear glass vases are versatile and allow the flowers to take center stage. Ceramic vases can provide a more rustic or artistic touch. Metallic or mirrored containers can add a touch of glamour. Consider the style of your home and the desired aesthetic when choosing the material of the container.
4. Color: The color of the container should complement the flowers and enhance their beauty. Opt for neutral colors like white, ivory, or black for a timeless and classic look. Alternatively, you can choose a container in a contrasting color to create a bold and eye-catching statement.
5. Seasonal Elements: To further enhance the winter theme of your arrangement, consider incorporating seasonal elements into your container choice. Wooden boxes, birch bark containers, or even repurposed items like antique teapots or baskets can add a charming and cozy touch to your winter flower arrangement.
Remember that the container serves as the foundation for your arrangement. It should showcase the flowers while complementing your overall design theme. Take your time to find the perfect container that brings out the beauty of your winter flowers and elevates the visual impact of your arrangement.
Gathering Necessary Materials
Once you have chosen the right flowers and selected a suitable container, it’s time to gather the necessary materials to create your winter flower arrangement. Having all the materials prepared beforehand will help streamline the process and ensure a smooth and enjoyable flower arranging experience.
Here are the essential materials you will need:
1. Floral Foam: Floral foam serves as the base for your arrangement, providing support and hydration to the flowers. Make sure to choose a floral foam specifically designed for fresh flowers and soak it in water until fully saturated before placing it in your container.
2. Pruning Shears: A sharp pair of pruning shears is essential for cutting and trimming the flowers and greenery. It’s best to use a clean and sharp pair to ensure clean cuts and prevent damage to the stems.
3. Water: Fill a clean container with fresh water to keep your flowers hydrated. Change the water every two to three days to maintain the freshness of your arrangement.
4. Floral Tape: Floral tape is useful for securing the floral foam in the container and creating a grid pattern on top to help support the stems and keep them in place.
5. Greenery: Gather a variety of seasonal greenery to add volume, texture, and depth to your arrangement. Options such as pine branches, eucalyptus, or magnolia leaves work well for winter arrangements.
6. Focal Flowers: The focal flowers are the star of the arrangement, so choose a few statement blooms that will draw attention. This could be winter roses, amaryllis, or other large, eye-catching flowers.
7. Filler Flowers and Accents: To add interest and fill in the gaps, select smaller flowers or accents like pinecones, berries, or baby’s breath. These will help create a balanced and visually appealing arrangement.
8. Floral Wire or Picks: Floral wire or picks can be handy for attaching and securing delicate or heavy elements such as berries, pinecones, or branches to the arrangement.
Having all these materials ready beforehand will ensure a smooth and efficient flower arranging process. Take the time to gather everything you need and organize them in a well-lit workspace before diving into the creation process.
Now that you have your materials ready, it’s time to move on to the next steps: preparing the flowers and greenery, and creating the base of your winter flower arrangement.
Preparing the Flowers and Greenery
Before you start arranging your winter flowers, it’s important to properly prepare them to ensure their longevity and optimal appearance in your arrangement. Here are a few steps to follow when preparing your flowers and greenery:
1. Trim the Stems: Using sharp pruning shears, trim the stems of your flowers at an angle. This creates a fresh cut and allows the flowers to better absorb water, keeping them hydrated and healthy for longer. Remove any leaves that would be submerged in water to prevent bacterial growth.
2. Remove Thorns: If you are working with roses or other thorny flowers, carefully remove the thorns along the stems. This not only makes it easier to handle the flowers but also prevents them from causing any injuries when arranging or handling the arrangement.
3. Hydrate the Flowers: Place the trimmed stems of your flowers into a bucket of water immediately after cutting them. Allow them to hydrate for a few hours or overnight before arranging them. This will ensure that the flowers have absorbed enough water and are at their freshest and most vibrant state.
4. Condition the Greenery: Treat the greenery in a similar way by trimming the stems and placing them in water. However, some types of greenery, like eucalyptus, benefit from having their stems smashed or split slightly at the ends to promote better water absorption.
5. Remove Wilted Petals: Carefully inspect your flowers and remove any wilted or damaged petals or blooms. This will ensure that only the freshest and most beautiful flowers make it into your arrangement.
By taking the time to prepare your flowers and greenery properly, you are setting the stage for a visually stunning winter flower arrangement that will last longer and maintain its beauty. Once your flowers and greenery are ready, it’s time to move on to creating the base of your arrangement.
When creating a winter flower arrangement, incorporate seasonal elements like evergreen branches, pine cones, and berries for a festive touch.
Read more: Creating A Cozy Winter Porch
Creating the Base of the Arrangement
The base of your winter flower arrangement serves as the foundation and structure for the rest of the flowers and greenery. It sets the shape and overall design of the arrangement. Follow these steps to create a solid base:
1. Prepare the Container: If desired, line the container with floral foam by cutting it to fit and placing it inside. Use floral tape to secure the foam in place, ensuring it doesn’t move when adding flowers and greenery. Alternatively, you can use a floral frog or grid to anchor the stems in the container.
2. Create a Grid: To help with stability and arrangement, use floral tape to create a grid pattern on top of the foam or container. This grid will keep the stems in place while allowing you to easily insert flowers at the desired angles.
3. Start with Greenery: Begin by adding the greenery to the base. Start with larger, statement pieces and place them evenly around the container. These greenery pieces will establish the overall shape and structure of the arrangement.
4. Build Layers: Layer the greenery by adding shorter stems towards the front and taller stems towards the back. This creates depth and dimension in the arrangement. Make sure to distribute the greenery evenly to achieve a balanced look.
5. Consider Proportions: As you add greenery, step back and assess the arrangement from different angles. Make adjustments if necessary to ensure the overall proportions are pleasing to the eye. Avoid creating a perfectly symmetrical arrangement; instead, aim for a natural and organic feel.
6. Leave Space for Flowers: Keep in mind the areas where you plan to insert your focal flowers and leave empty spaces within the arrangement to accommodate them. These empty spaces will act as natural resting spots for the larger blooms.
Creating a solid base for your winter flower arrangement sets the stage for a visually appealing and well-structured design. Take your time to arrange the greenery and assess the proportions before moving on to adding the focal flowers and other elements.
Now that you have a strong foundation, it’s time to move on to the next step: adding the focal flowers to your winter flower arrangement.
Adding Focal Flowers
Now that you have created a solid base with the greenery, it’s time to add the focal flowers to your winter flower arrangement. These statement blooms will be the center of attention and bring a pop of color and visual interest to your design. Follow these steps to add the focal flowers:
1. Assess Placement: Take a step back and observe the arrangement from different angles. Identify the areas where you want the focal flowers to be placed. Consider the height, spacing, and overall balance of the arrangement as you decide on the placement.
2. Begin with the Largest Blooms: Start by inserting the largest focal flowers into the arrangement. These could be winter roses, amaryllis, or any other large blooms you have chosen. Insert them at varying heights, ensuring they are evenly distributed throughout the arrangement.
3. Create a Visual Flow: To create movement and visual interest, position the focal flowers in a way that leads the eye from one bloom to another. Angle the stems and position the blooms slightly off-center to give a natural and dynamic look.
4. Cluster or Disperse: Depending on the size and quantity of your focal flowers, you can choose to cluster them together to create an impact or disperse them throughout the arrangement for a more scattered and natural appearance. Experiment with different arrangements to see what works best for your desired aesthetic.
5. Fill in the Spaces: Once your larger focal flowers are in place, fill in any empty spaces with smaller focal flowers or additional blooms. These blooms should support the larger ones and add depth and dimension to the arrangement.
As you add the focal flowers, continue to step back and assess the arrangement to ensure the overall balance and proportion are visually pleasing. Make adjustments as needed to achieve a cohesive and beautiful design.
Adding the focal flowers is a critical step in creating a captivating winter flower arrangement. These blooms will be the stars of the show and bring life and vibrancy to your design. After adding the focal flowers, it’s time to incorporate foliage and fillers to complete the arrangement.
Incorporating Foliage and Fillers
Once you have added the focal flowers to your winter flower arrangement, it’s time to incorporate foliage and fillers. These elements add texture, volume, and a sense of lushness to the arrangement, creating a visually captivating and balanced design. Follow these steps to incorporate foliage and fillers:
1. Choose Complementary Greenery: Select a variety of foliage that complements the colors and style of your arrangement. This could include eucalyptus, pine branches, magnolia leaves, or any other seasonal greenery. Consider the shape, texture, and color of the foliage to achieve a cohesive look.
2. Trim and Position the Foliage: Trim the stems of the foliage at an angle and insert them into the floral foam or arrangement base. Start by placing larger foliage pieces towards the back and sides of the arrangement to create a backdrop and frame for the focal flowers.
3. Create Depth and Texture: Layer the foliage by adding shorter stems towards the front and taller stems towards the back. This will create depth and add visual interest to the arrangement. Arrange the foliage in a way that complements the shape and size of the focal flowers.
4. Add Fillers for Texture and Color: Fillers such as baby’s breath, berries, or small flowers can be used to fill in any gaps and add texture and pops of color. Insert them strategically throughout the arrangement, spacing them evenly and ensuring they don’t overpower or compete with the focal flowers.
5. Step Back and Assess: Regularly step back and observe the arrangement from different angles. Make adjustments as needed to ensure the foliage and fillers are well-balanced and create a harmonious composition with the focal flowers.
Incorporating foliage and fillers enhances the overall look and feel of your winter flower arrangement. The interplay between the focal flowers, greenery, and fillers creates a captivating and visually dynamic display.
Now that you have incorporated foliage and fillers, it’s time to focus on achieving balance in your arrangement.
Balancing the Arrangement
Creating a well-balanced winter flower arrangement is key to achieving a visually pleasing and harmonious design. Balance refers to the distribution of elements within the arrangement, such as the size, color, and placement of flowers and foliage. Follow these tips to achieve balance in your arrangement:
1. Size and Proportion: Consider the size and proportion of each element in the arrangement. Ensure that the focal flowers, greenery, and fillers are proportionate to each other, creating a balanced visual impact. Avoid overcrowding or overwhelming the arrangement with too many large blooms or foliage.
2. Color Harmony: Pay attention to the colors of the flowers, foliage, and fillers you are using. Aim for a harmonious color palette that complements each other. You can achieve this through analogous colors (colors that are next to each other on the color wheel) or complementary colors (colors that are opposite each other on the color wheel).
3. Placement: Strategically place the elements throughout the arrangement to achieve balance. Distribute the focal flowers, greenery, and fillers evenly so that no area of the arrangement looks sparse or overloaded. Avoid clustering all the elements in one section of the arrangement.
4. Height and Depth: Create varying heights and depths within the arrangement to add dimension and visual interest. Use taller stems of foliage or focal flowers towards the back and shorter stems towards the front. This creates depth and prevents the arrangement from appearing flat.
5. Symmetry or Asymmetry: Decide whether you want to create a symmetrical or asymmetrical arrangement. A symmetrical arrangement is balanced by mirroring the elements on either side, while an asymmetrical arrangement creates visual interest through a more organic and unrestrained composition.
6. Negative Space: Don’t forget about the importance of negative space in balancing the arrangement. Negative space refers to the empty spaces within the arrangement. Allow enough breathing room between the flowers and foliage to prevent the arrangement from feeling crowded. This enhances the overall balance and allows each element to shine.
Continuously step back and observe your arrangement from different angles to ensure it appears well-balanced from all perspectives. Make adjustments as necessary by adding or rearranging elements to achieve a composition that is visually appealing and harmonious.
Now that you have achieved balance in your arrangement, it’s time to add the finishing touches and consider some additional tips for creating a stunning winter flower arrangement.
Read more: How To Create Hanging Floral Arrangements
Finishing Touches and Tips
Now that you have created a well-balanced and visually captivating winter flower arrangement, it’s time to add the finishing touches and consider some additional tips to elevate your design. Here are some suggestions for adding those final touches and making your arrangement truly stand out:
1. Trim and Adjust: Take a final look at your arrangement and trim any stray branches, foliage, or flowers that may be sticking out or detracting from the overall appearance. Make any necessary adjustments to ensure a clean, polished look.
2. Consider Fragrance: If you want to enhance the overall experience of your arrangement, consider adding fragrant flowers or foliage. Flowers like paperwhites or hyacinths can provide a delightful aroma that adds an extra dimension to your arrangement.
3. Enhance with Accessories: Consider incorporating accessories that enhance the winter theme of your arrangement. Add pine cones, ornaments, or winter berries for a festive touch. Use decorative ribbons, bows, or metallic accents to elevate the arrangement’s elegance and create a visually stunning display.
4. Pay Attention to Placement: Place your winter flower arrangement in a location where it will be showcased and enjoyed. Consider placing it on a mantel, dining table, or entryway to make a statement and bring warmth and beauty to the space.
5. Water and Care: To extend the lifespan of your arrangement, make sure to regularly check the water levels and top up when necessary. Keep the arrangement away from direct sunlight, drafts, or heat sources to prevent wilting. Remove any spent flowers or foliage promptly to maintain the freshness of the arrangement.
6. Enjoy and Share: Finally, take the time to appreciate and enjoy your winter flower arrangement. The beauty and fragrance it brings to your space can create a cozy and inviting atmosphere. Share your creation with others by taking photos and sharing them on social media or inviting friends and family over to admire your artistic creation.
Remember, practice makes perfect when it comes to flower arranging. Don’t be afraid to experiment, try different flower combinations, and let your creativity flow. Each arrangement you create is a unique expression of your personal style and artistic vision.
With these finishing touches and tips in mind, your winter flower arrangement is ready to shine as a stunning centerpiece that will bring joy and beauty to your home throughout the cold winter months.
Frequently Asked Questions about How To Create A Winter Flower Arrangement By Philippa Craddock
Was this page helpful?
At Storables.com, we guarantee accurate and reliable information. Our content, validated by Expert Board Contributors, is crafted following stringent Editorial Policies. We're committed to providing you with well-researched, expert-backed insights for all your informational needs.


0 thoughts on “How To Create A Winter Flower Arrangement By Philippa Craddock”