Home>Interior Design>How To Grout Tiles: Step-by-step
Interior Design
How To Grout Tiles: Step-by-step
Modified: August 28, 2024
Learn how to grout tiles with our step-by-step guide. Achieve a flawless interior design with our expert tips and tricks.
(Many of the links in this article redirect to a specific reviewed product. Your purchase of these products through affiliate links helps to generate commission for Storables.com, at no extra cost. Learn more)
Introduction
Welcome to the world of interior design! Adding tiles to your space is a fantastic way to enhance its beauty and functionality. And when it comes to tiling, one essential step is grouting. Grout not only fills the gaps between tiles, but it also provides structural support and ensures a strong bond between each tile. In this article, we will guide you through the process of grouting tiles step by step, helping you achieve professional-looking results.
Grouting tiles may sound like a daunting task, but with the right tools and techniques, it can be a rewarding DIY project. Whether you are grouting a backsplash in your kitchen, a shower wall, or a tiled floor, our comprehensive guide will walk you through each stage, ensuring that your grout lines are clean, even, and long-lasting.
Before we delve into the step-by-step process, it’s essential to gather all the necessary materials. This includes grout powder, a grout float, a grout sponge, a bucket, a mixing paddle, and a sealant (optional). Additionally, you’ll need a damp cloth, protective gloves, and safety goggles.
Once you have all your materials in place, it’s time to prepare the surface for grouting. This involves cleaning the tiles and removing any debris or adhesive residue. A clean surface is essential for achieving a smooth and uniform grout finish. Make sure the tiles are dry before proceeding to the next step.
Next, you’ll need to mix the grout powder with water according to the manufacturer’s instructions. Use a small amount of water at first and gradually add more to achieve the desired consistency. A thick, paste-like consistency is generally recommended.
With the grout mixed, it’s time to apply it to the tiles. Start by using the grout float to spread the grout diagonally across the tiles, ensuring that the gaps are completely filled. Work in small sections to prevent the grout from drying out before you can clean it.
Key Takeaways:
- Achieve professional-looking grout results by following our step-by-step guide. From gathering materials to applying a grout sealer, transform your space with beautifully grouted tiles.
- Proper maintenance, including regular cleaning and sealing, is essential for preserving the appearance and longevity of grouted tiles. Follow our tips for stunning, long-lasting results.
Read more: How To Tile A Backsplash: Step By Step
Step 1: Gather materials
Before you begin grouting your tiles, it’s important to gather all the necessary materials. Having everything you need on hand will save you time and ensure a smooth grouting process. Here is a list of essential materials:
- Grout powder: Choose a grout color that complements your tiles and matches your design aesthetic. Make sure to select a grout type suitable for your specific tile material.
- Grout float: This tool is used to spread the grout evenly across the tiles. It has a rubber surface that helps push the grout into the gaps.
- Grout sponge: A grout sponge is essential for removing excess grout from the tiles. Look for a sponge that is specifically designed for grouting to ensure effective cleaning without damaging the grout lines.
- Bucket: You’ll need a bucket to mix the grout powder with water. Make sure the bucket is clean and free from any contaminants.
- Mixing paddle: A mixing paddle is used to blend the grout powder with water. This can be attached to a power drill for easier and faster mixing.
- Sealant (optional): A grout sealer is recommended to protect the grout from stains, moisture, and mold. This is particularly important for areas prone to water exposure, such as shower walls or backsplashes.
- Damp cloth: Keep a damp cloth nearby to wipe off any excess grout from the tiles during the cleaning process.
- Protective gloves: It’s important to protect your hands from the chemical components of the grout. Wear gloves to prevent skin irritation.
- Safety goggles: Grouting can create dust particles that may irritate your eyes. Wearing safety goggles can protect your eyes from any potential harm.
By having all these materials ready and within reach, you’ll be able to complete the grouting process smoothly and efficiently. It’s also a good idea to check the manufacturer’s instructions for any specific tools or materials recommended for the grout you are using.
Now that you have gathered all the necessary materials, you’re ready to move on to the next step: preparing the surface for grouting.
Step 2: Prepare the surface
Preparing the surface before grouting is an essential step that ensures a clean and successful grouting process. Here’s how you can prepare your surface for grouting:
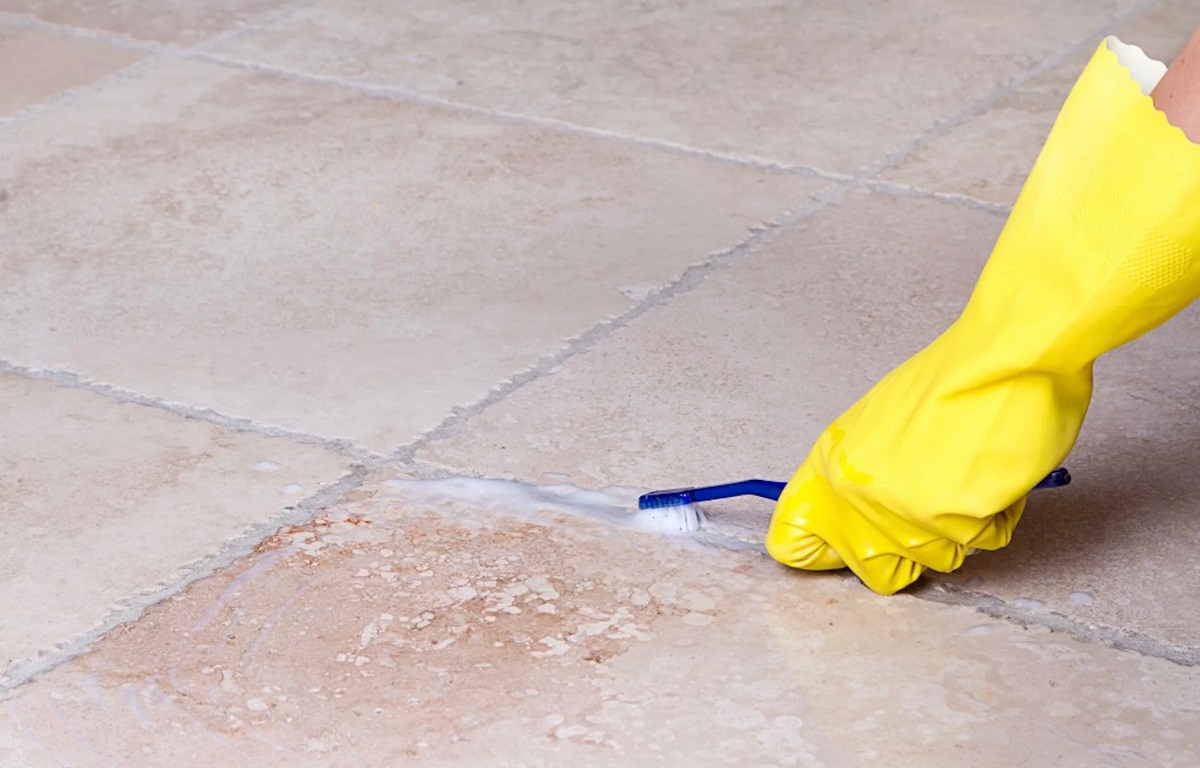
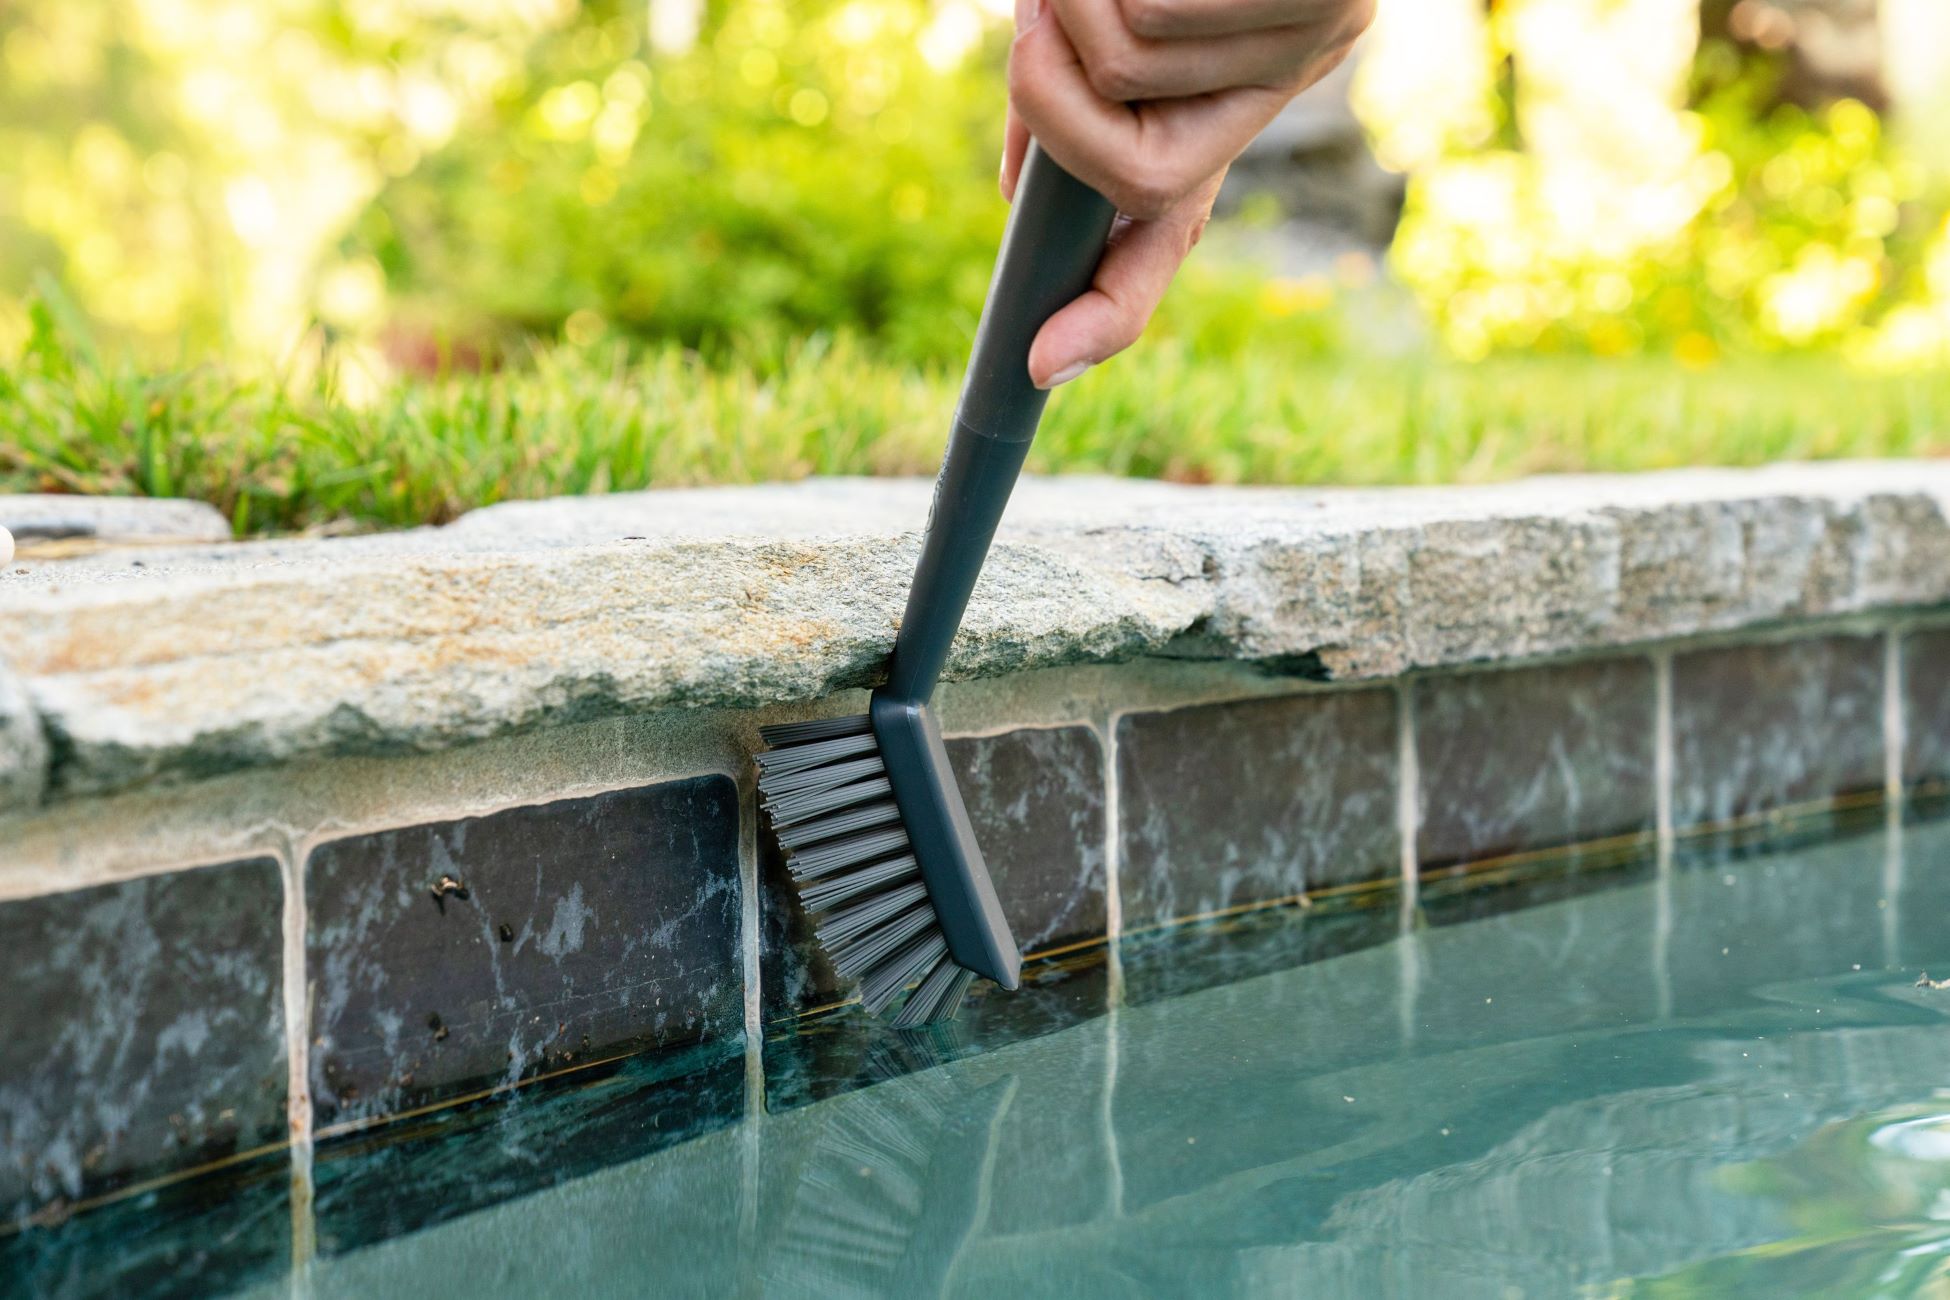
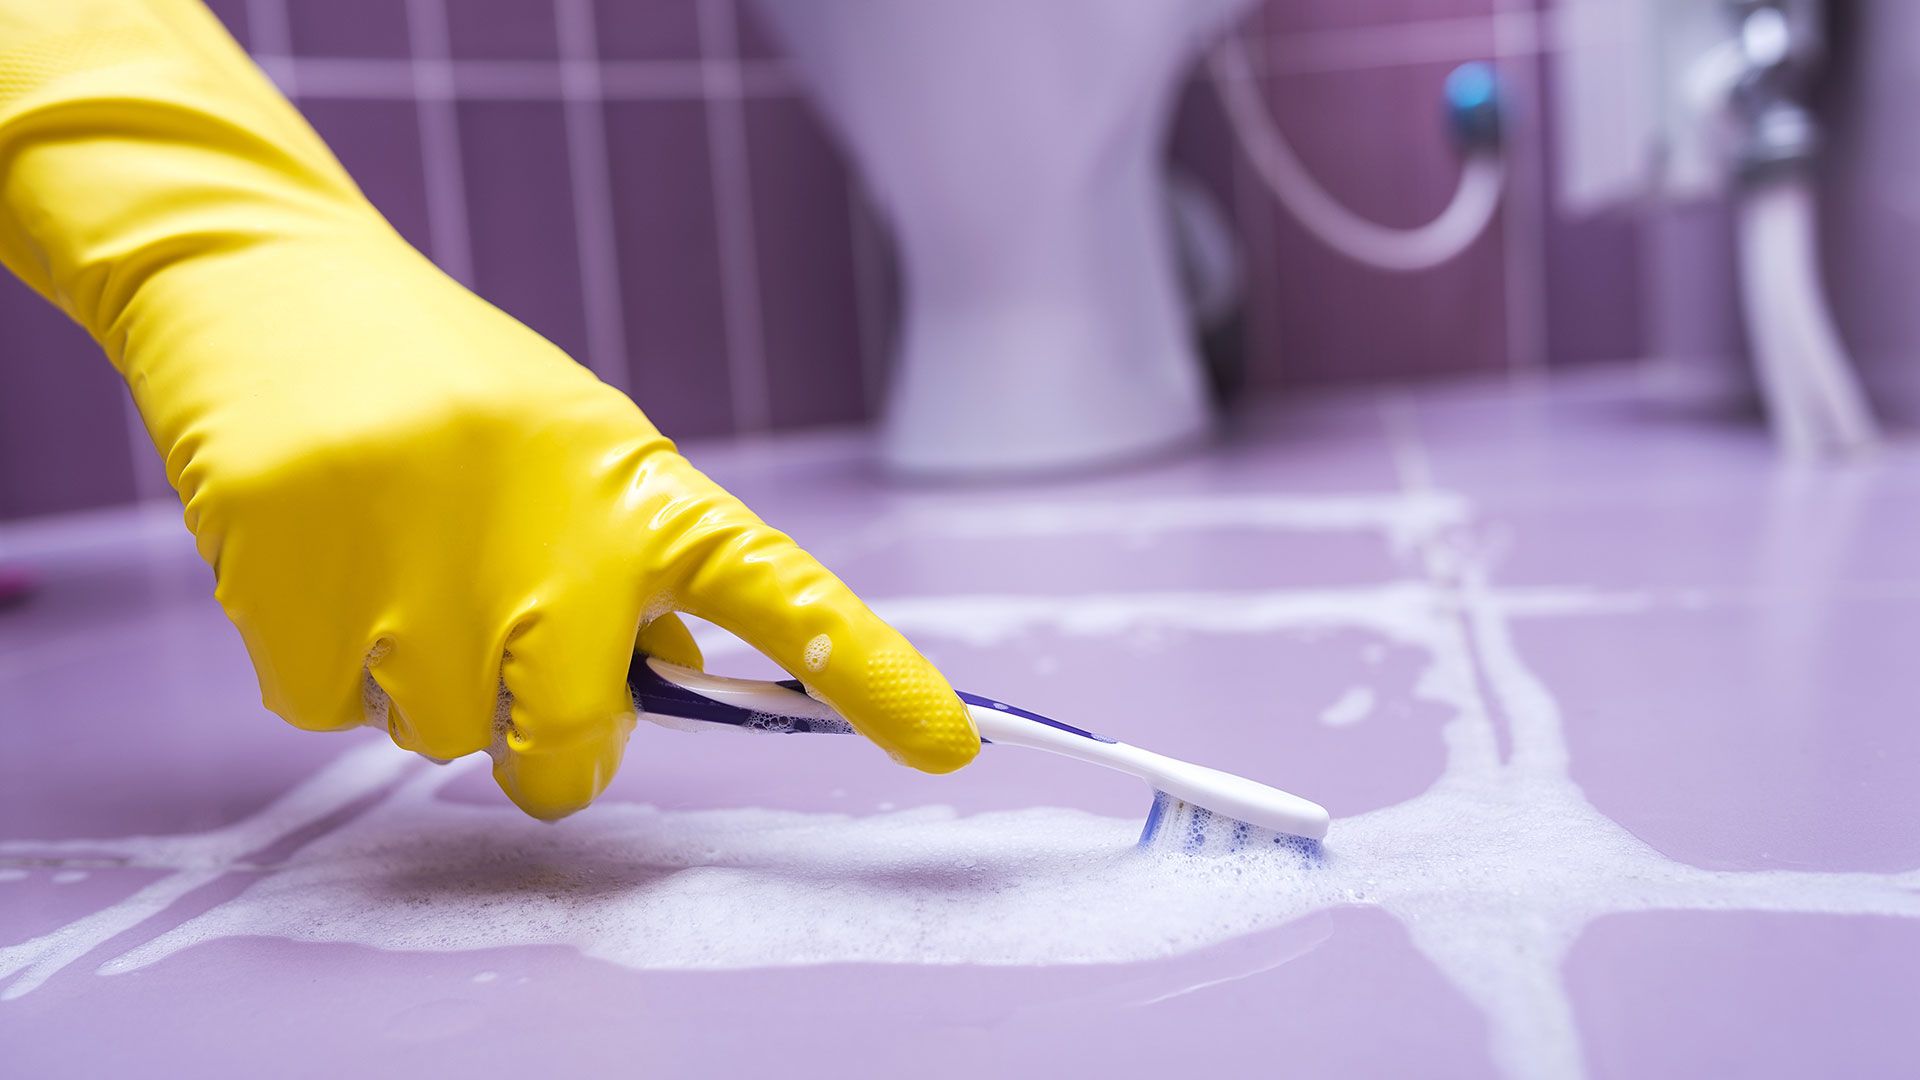
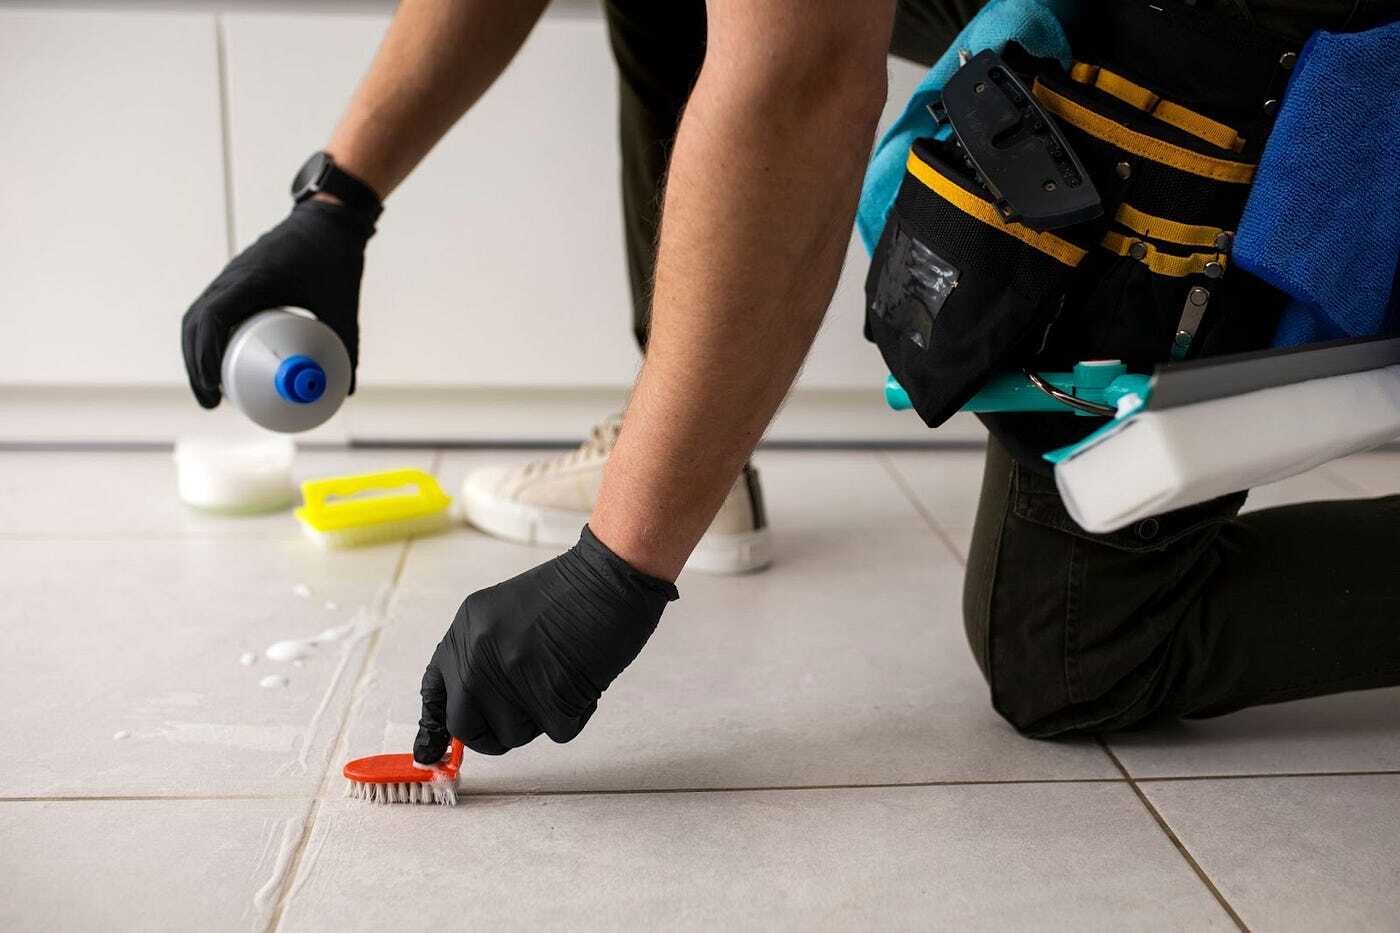
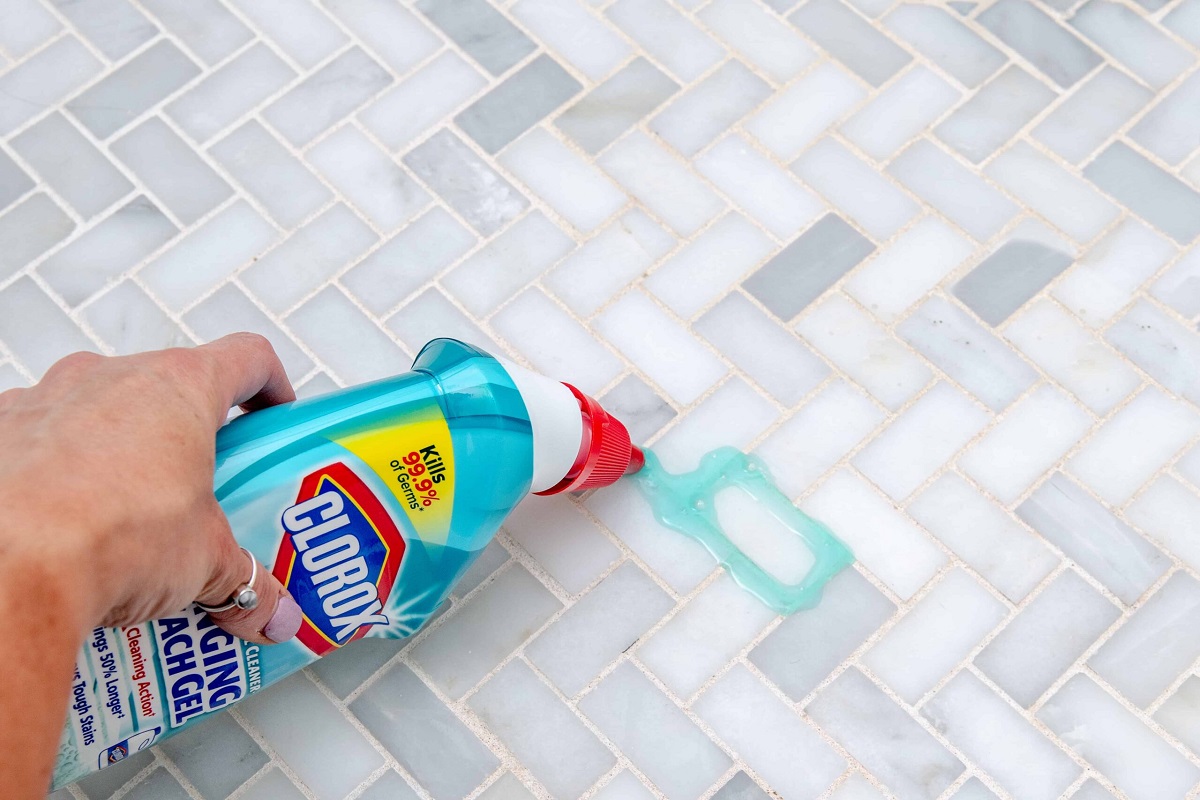
- Clean the tiles: Start by thoroughly cleaning the tiles to remove any dirt, dust, or debris. Use a mild detergent and warm water to scrub the surface with a sponge or cloth. Pay extra attention to areas with visible stains or spills. Once cleaned, rinse the tiles with clean water and allow them to dry completely. A clean surface will allow the grout to adhere properly to the tiles.
- Remove adhesive residue: If you have recently installed the tiles, there might be adhesive residue left behind. Use a scraper or a putty knife to carefully scrape off any excess adhesive. Be gentle to avoid scratching or damaging the tiles. Wipe away any residue with a clean cloth or sponge.
- Repair any damaged tiles: Inspect the tiles for any cracks, chips, or loose pieces. If you come across any damaged tiles, it’s important to replace them before grouting. Cracks or loose tiles can compromise the stability and appearance of the tiled surface. Carefully remove the damaged tile using a chisel and replace it with a new one. Ensure that it is properly secured and leveled.
- Protect adjacent surfaces: If you are grouting tiles near adjacent surfaces, such as countertops or baseboards, it’s a good idea to protect them from potential grout stains. Cover these surfaces with masking tape or plastic sheeting to prevent any accidental spillage or splatters onto them.
- Check the grout lines: Inspect the grout lines between the tiles. Look for any cracks or gaps that need to be touched up or filled with additional adhesive. It’s important to have evenly spaced and leveled grout lines for a professional finish. Use a grout rake or a small chisel to remove any loose or uneven grout.
By thoroughly preparing the surface, you ensure that the grout adheres properly to the tiles and that you have a smooth and even finish. Take your time during this step to ensure that the tiles are clean, any adhesive residue is removed, damaged tiles are replaced, and adjacent surfaces are protected. Once you have completed these preparations, you can move on to the next step: mixing the grout.
Step 3: Mix the grout
Now that you have prepared the surface, it’s time to mix the grout. The right consistency is crucial for achieving a strong and durable grout line. Follow these steps to mix the grout properly:
- Read the instructions: Start by reading the manufacturer’s instructions on the grout packaging. This will provide specific guidance on the water-to-grout ratio and mixing time.
- Wear protective gear: Before you begin mixing the grout, put on your protective gloves and safety goggles to ensure your safety.
- Prepare the mixing container: Use a clean bucket or a mixing container specifically designed for grout. Make sure it is clean and free from any dirt or debris. Having a container with measurement marks will help you achieve the accurate ratio of grout to water.
- Measure the grout powder: Using the recommended ratio from the manufacturer’s instructions, measure the appropriate amount of grout powder and pour it into the mixing container. It’s best to start with a small amount and gradually add more if needed.
- Add water: Slowly pour water into the mixing container while continuously stirring the grout powder. It’s essential to add the water gradually to achieve the desired consistency. Use a mixing paddle or a trowel to blend the mixture thoroughly.
- Observe consistency: Aim for a consistency that is thick and paste-like. The grout should not be too runny or too stiff. It should hold its shape without being too watery or dry.
- Let the mixture rest: Once the grout is thoroughly mixed, let the mixture rest for a few minutes. This process, known as “slaking,” allows the grout powder to absorb the water fully and ensures a smoother consistency.
- Check consistency again: After the slaking period, check the consistency of the grout again. If it has become too stiff, you can add a little more water and mix it again. Conversely, if it is too runny, you can add a small amount of grout powder to thicken it up.
Remember, the consistency of the grout is crucial for proper application and strong adhesion. Take your time to achieve the desired grout consistency before moving on to the next step. Once the grout is fully mixed, you’re ready for the exciting part: applying the grout to the tiles.
Step 4: Apply the grout
With the grout mixture prepared, it’s time to apply it to the tiles. Proper application is essential to ensure that the grout fills the gaps evenly and creates a clean, finished look. Here’s how to apply the grout:
- Start with a small area: It’s best to work in small sections, about 3 to 4 square feet at a time, to prevent the grout from drying out before you can clean it.
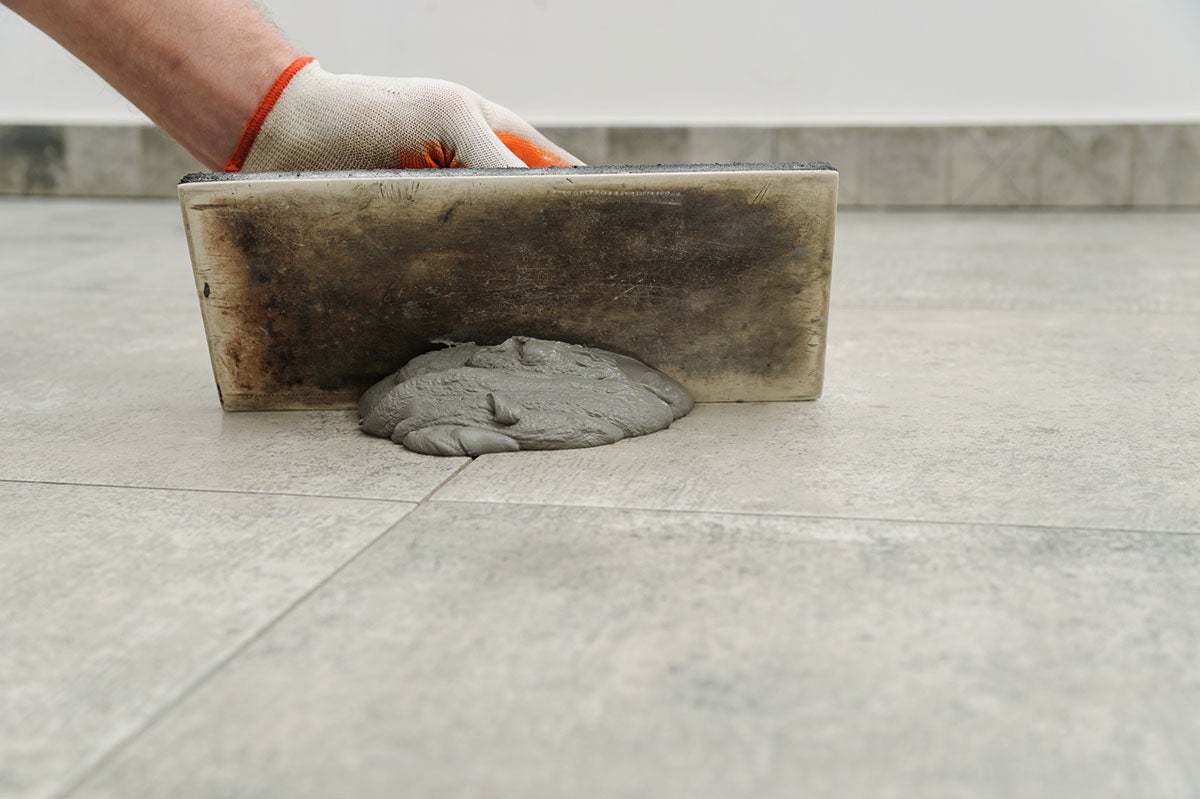
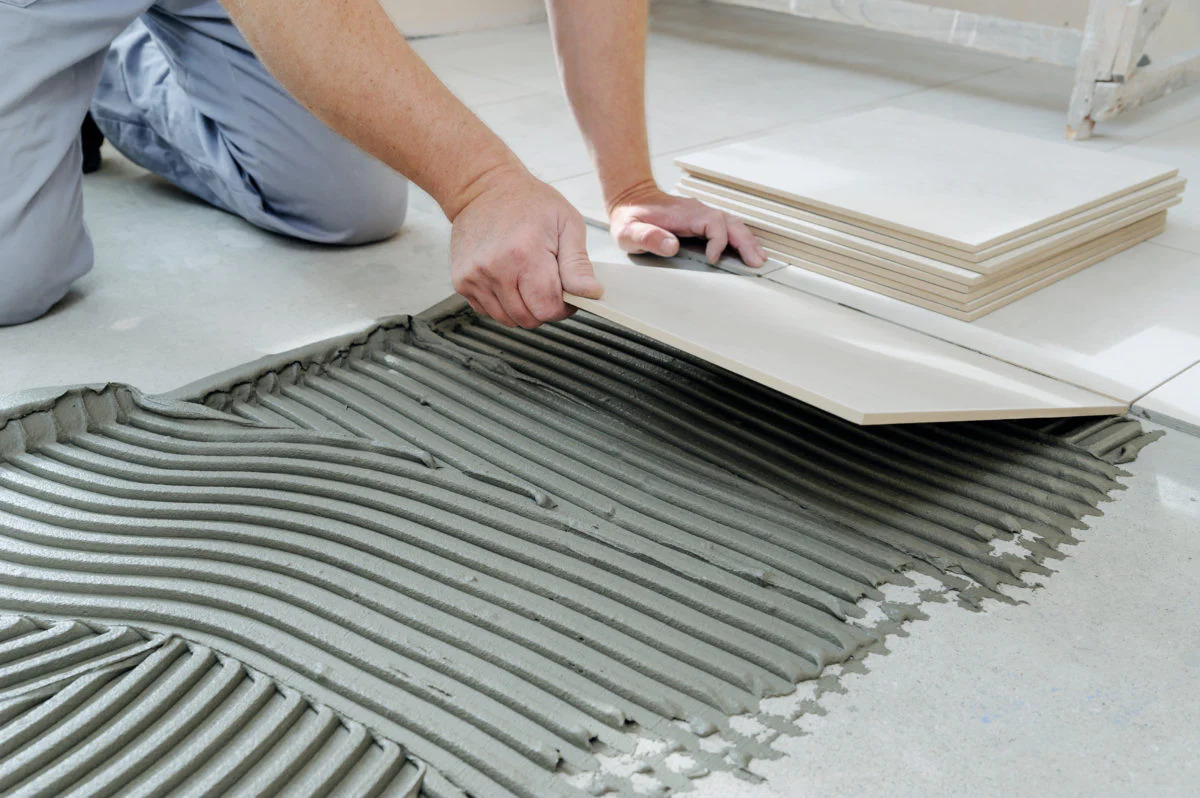
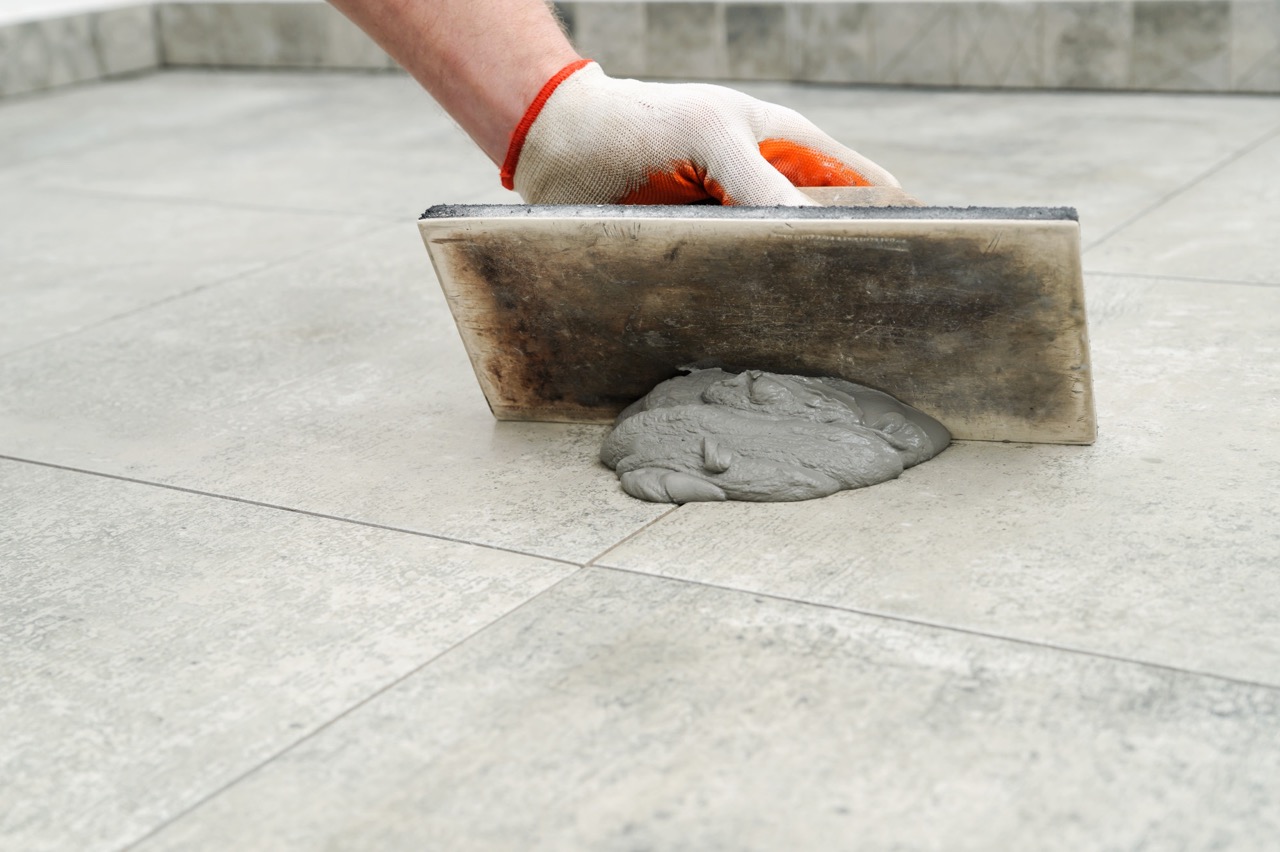
- Hold the grout float at a 45-degree angle: Hold the grout float at a 45-degree angle and apply pressure to push the grout into the gaps between the tiles. Use a sweeping motion to ensure that the grout fills the spaces completely.
- Work diagonally: Spread the grout diagonally across the tiles. This helps to ensure that the grout gets into all the gaps and creates a uniform finish.
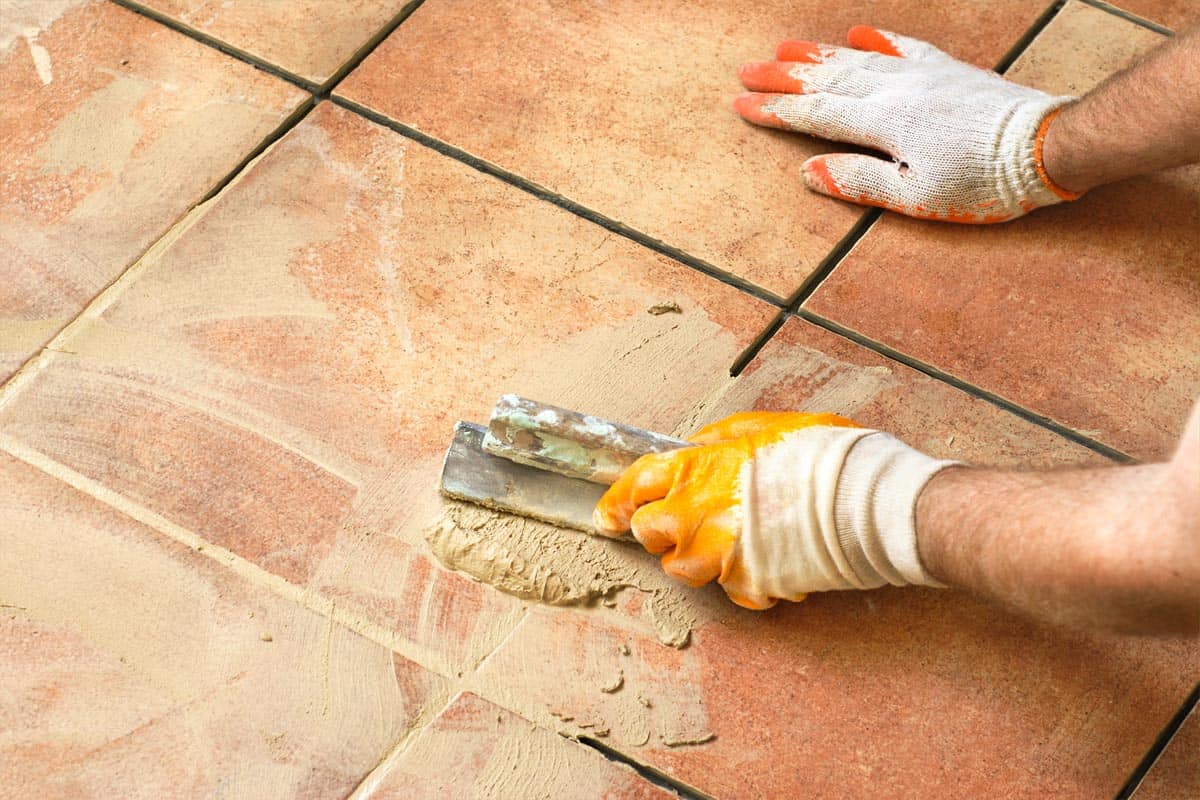
- Clean as you go: As you apply the grout, use the grout float to remove any excess grout from the tile surface. This will help prevent the grout from drying on the tiles, making it harder to clean later.
- Fill each gap: Pay attention to each gap between the tiles and make sure they are completely filled with grout. Use the edge of the grout float to scrape any excess grout from the surface. The grout lines should be even and level with the tiles.
- Repeat the process: Continue applying grout in small sections until the entire tiled area is covered.
Remember to work efficiently and consistently to maintain a wet edge. This means that the newly applied grout should always be adjacent to the previously applied grout. This ensures that the grout lines blend seamlessly.
Once you have finished applying the grout to the tiles, allow it to set for a short period, usually around 15 to 20 minutes. This allows the grout to firm up slightly before you move on to the next step: cleaning the tiles.
When grouting tiles, work in small sections at a time to ensure the grout doesn’t dry out before you can clean it off the tiles. This will result in a more even and professional finish.
Read more: How To Tile And Grout A Floor
Step 5: Clean the tiles
After applying the grout, it’s crucial to clean the tiles to remove any excess grout and achieve a clean, polished finish. Here’s how to clean the tiles effectively:
- Wait for the right time: Before you start cleaning, allow the grout to set for the recommended time specified by the manufacturer. This usually ranges from 15 to 30 minutes.
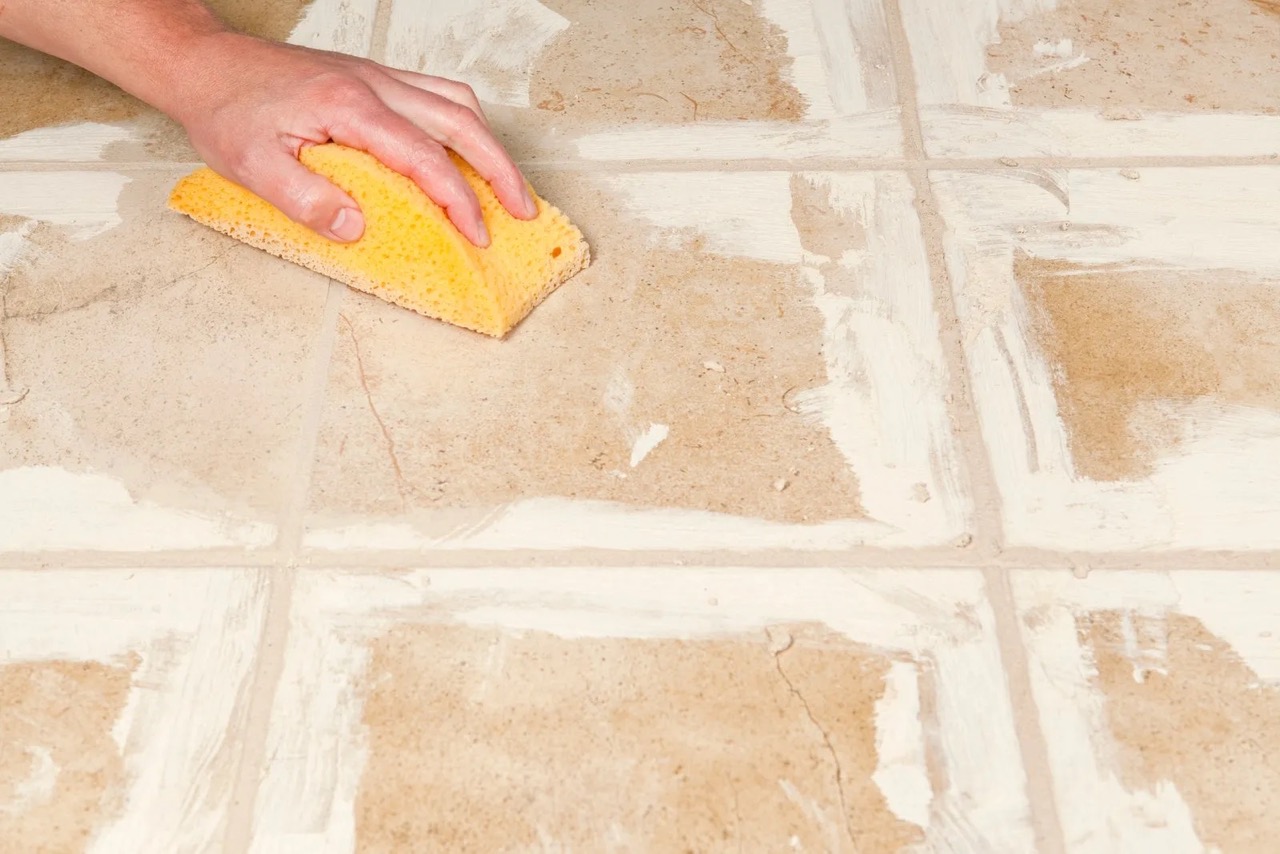
- Dampen a grout sponge: Dampen a grout sponge with clean water. Make sure the sponge is moist but not soaking wet.
- Gently wipe the tiles: Holding the grout sponge at a 45-degree angle, wipe diagonally across the tiles. This helps to remove excess grout from the surface without disturbing the freshly applied grout in the gaps.
- Rinse the sponge frequently: Rinse the grout sponge in clean water frequently to prevent grout buildup on the sponge. This ensures that you are effectively cleaning the tiles and not transferring grout residue.
- Wring out excess water: After rinsing the sponge, make sure to wring out any excess water before continuing to clean the tiles. Too much water on the sponge can remoisten the grout and result in a hazy finish.
- Pay attention to the grout lines: As you clean the tiles, pay special attention to the grout lines. Make sure to remove any excess grout from the gaps using the edge or corner of the grout sponge.
- Clean in small sections: Work in small sections, constantly rinsing and wringing out the grout sponge as you clean. This helps to ensure that you are effectively removing grout residue without spreading it across the tiles.
- Check for haze: After cleaning, inspect the tiles for any grout haze or residue. If you notice any haze, use a soft, clean cloth to buff the tiles gently and remove the haze.
It’s important to clean the tiles carefully and avoid using excessive force, as this can dislodge the freshly applied grout. Take your time and be thorough in your cleaning process to achieve a clean and polished look.
Once the tiles are clean, allow them to dry completely before moving on to the next step, which is allowing the grout to cure.
Step 6: Allow the grout to cure
After cleaning the tiles, it’s essential to give the grout sufficient time to cure and harden. Curing is a critical step that allows the grout to reach its maximum strength and durability. Here’s what you need to know about allowing the grout to cure:
- Follow the manufacturer’s recommendations: The curing time can vary based on the type of grout you are using. Check the manufacturer’s instructions for specific guidelines on how long the grout needs to cure before it is ready for regular use.
- Avoid excessive moisture: During the curing process, it’s important to keep the grout as dry as possible. Avoid excessive moisture, such as water spills or high humidity, as it can interfere with the grout’s ability to cure properly.
- Protect the grout: While the grout is curing, avoid stepping on or placing heavy objects on the tiled surface. This can damage the grout and prevent it from setting properly.
- Maintain proper ventilation: Ensure that the area where the grout is curing is properly ventilated. Good airflow promotes proper drying and curing of the grout.
- Observe the grout color: As the grout cures, it may undergo a color change. The wet grout may appear darker than the final cured color. Allow the grout to fully dry to assess the final color.
- Be patient: Curing time can range from a few hours to several days, depending on various factors such as humidity and temperature. Be patient and resist the temptation to use or disturb the grout until it has fully cured.
It is crucial to allow the grout to cure properly for optimal results. Rushing this step can lead to weakened grout and a compromised tile installation. Take the time to ensure that the grout cures fully before proceeding to the next step, which is applying a grout sealer (optional).
Note: The curing time provided by the manufacturer is a general guideline. Environmental factors and specific grout types can affect the curing process. Follow the manufacturer’s instructions and observe the grout’s appearance and hardness to determine if it has sufficiently cured.
Step 7: Apply grout sealer (optional)
Applying a grout sealer is an optional but beneficial step to protect the grout from stains, moisture, and mold. A grout sealer creates a protective barrier on the grout surface, extending its lifespan and maintaining its appearance. Follow these steps to apply a grout sealer:
- Choose the right sealer: There are various types of grout sealers available, including water-based, solvent-based, and penetrating sealers. Consider the type of tile and grout you have and choose a sealer that is suitable for your specific needs.
- Prepare the area: Before applying the grout sealer, ensure that the tiles and grout are clean and dry. Remove any dust or debris from the surface using a soft, clean cloth or a vacuum cleaner.
- Read the instructions: Carefully read the manufacturer’s instructions provided with the grout sealer. Each sealer may have specific application instructions and curing times.
- Apply the sealer: Use a small brush or a foam applicator to apply the grout sealer onto the grout lines. Work in small sections, applying a thin and even coat of sealer. Avoid getting the sealer on the tile surface, as it may leave a residue.
- Let the sealer penetrate: Allow the grout sealer to penetrate the grout lines for the recommended time specified by the manufacturer. This typically ranges from a few minutes to several hours.
- Remove excess sealer: After the recommended penetration time, use a clean cloth to wipe away any excess sealer from the tile surface. Be careful not to disturb the sealer on the grout lines.
- Allow the sealer to cure: Let the grout sealer cure according to the manufacturer’s instructions. This may take a few hours or longer, depending on the type of sealer used.
- Apply a second coat (optional): If recommended by the manufacturer, you may apply a second coat of grout sealer after the initial coat has cured. Follow the same application process for the second coat.
Applying a grout sealer can help prolong the lifespan of your grout and protect it from stains and moisture. It is particularly beneficial in areas prone to water exposure, such as showers or kitchen backsplashes. However, it’s important to note that a grout sealer is not a foolproof solution and regular maintenance is still necessary to keep your grout looking its best.
Now that you have applied the grout sealer (if desired), you are almost done with the grouting process. The final step involves some touch-ups to ensure a flawless finish.
Step 8: Final touch-ups
After completing the grouting process, it’s time to give your project the final touches to ensure a flawless and professional finish. These final touch-ups will help enhance the overall appearance of the tiled surface. Here’s what you need to do:
- Inspect the grout lines: Carefully examine the grout lines to check for any areas that may need additional grout. If you notice any gaps or low spots, use a grout float to fill them in with a small amount of grout. Smooth out the grout with the float.
- Clean the tiles (if needed): After making any touch-ups to the grout, wipe the tiled surface with a damp cloth or sponge to remove any remnants of grout. This will help ensure that the tiles are clean and free from any residue.
- Finish the edges: Pay attention to the edges where the tiles meet walls, countertops, or other surfaces. Use a small tool, such as a plastic scraper or your finger, to create clean and sharp edges along these areas. This will give your tiled surface a professional look.
- Check for haze: Once the grout has fully cured, inspect the tiles for any remaining haze or residue. If you notice any, dampen a clean cloth with water and gently wipe the tiles in a circular motion to remove it. Avoid using excessive force or abrasive materials that could damage the grout or tiles.
- Polish the tiles: For an extra touch of shine, you can use a dry cloth to buff the tiles gently. This will enhance their appearance and give them a polished finish.
By addressing these final touch-ups, you can ensure that your grouted tiles look professionally finished. Take your time and pay attention to detail to achieve a stunning and flawless tiled surface.
With the final touch-ups complete, you have successfully grouted your tiles and transformed your space with a beautiful tiled surface. Congratulations on completing the grouting process!
Remember, proper maintenance of the grout is important to preserve its appearance and longevity. Regular cleaning and sealing, along with routine upkeep, will help ensure that your grouted tiles remain in excellent condition for years to come.
Thank you for following our step-by-step guide on how to grout tiles. We hope this article has been helpful in achieving your desired results. Happy grouting!
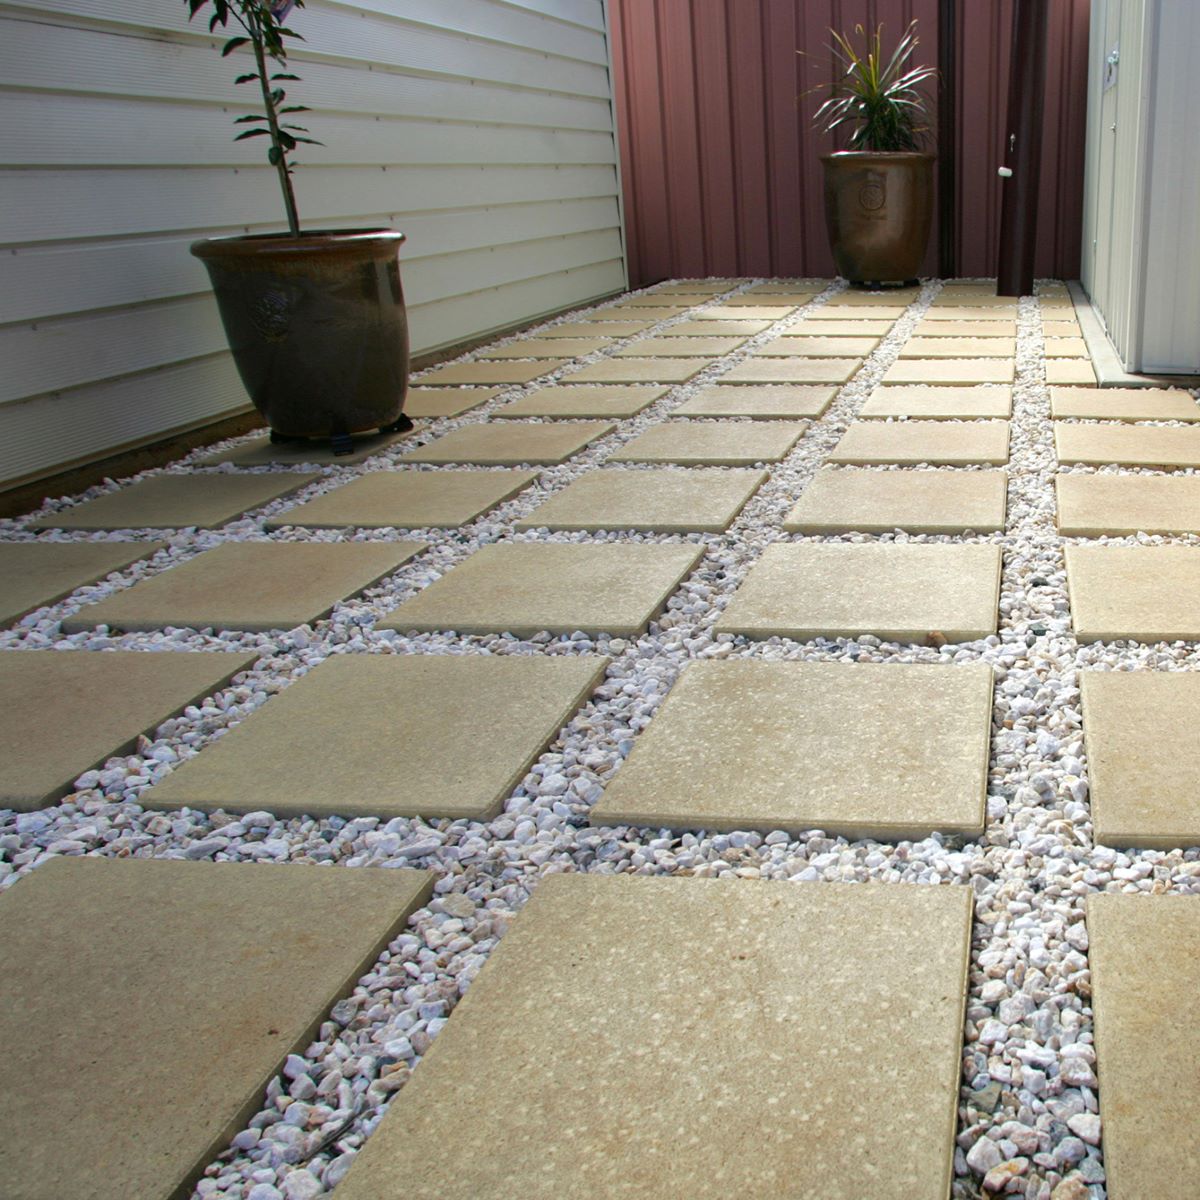
Read more: How To Grout Outdoor Tiles
Conclusion
Congratulations on successfully completing the grouting process! By following our step-by-step guide, you have transformed your space with beautifully grouted tiles. Whether you were grouting a backsplash, a shower wall, or a floor, the techniques and tips provided in this article have helped you achieve a professional and polished finish.
Grouting tiles may initially seem like a daunting task, but with the right tools, materials, and techniques, it can be a rewarding and enjoyable DIY project. Remember to gather all the necessary materials, prepare the surface properly, mix the grout to the right consistency, and apply it diligently to ensure even and clean grout lines. Taking the time to clean the tiles thoroughly and allowing the grout to cure will further enhance the longevity and appearance of your tiled surface.
If desired, applying a grout sealer can provide added protection to your grout lines, safeguarding them from stains, moisture, and mold. Lastly, don’t forget the final touch-ups to ensure a flawless finish, from filling any gaps to polishing and cleaning the tiles.
As you enjoy your newly grouted tiles, remember to maintain them properly. Regular cleaning, occasional resealing, and avoiding abrasive cleaners will help preserve the beauty and longevity of your grouted tiles.
We hope this comprehensive guide has provided you with the knowledge and confidence to tackle your grouting projects with ease. Whether you’re a seasoned DIY enthusiast or a beginner, proper grouting techniques will help you achieve professional-looking results every time.
Thank you for choosing our step-by-step guide on how to grout tiles. We hope you find it helpful and informative, and we wish you success in all your future grouting endeavors. Happy tiling!
Frequently Asked Questions about How To Grout Tiles: Step-by-step
Was this page helpful?
At Storables.com, we guarantee accurate and reliable information. Our content, validated by Expert Board Contributors, is crafted following stringent Editorial Policies. We're committed to providing you with well-researched, expert-backed insights for all your informational needs.


0 thoughts on “How To Grout Tiles: Step-by-step”