Home>Interior Design>Organizing A Craft Room: 10 Ways To Store Your Stash In Style
Interior Design
Organizing A Craft Room: 10 Ways To Store Your Stash In Style
Modified: October 20, 2024
Discover 10 stylish interior design solutions to organize your craft room and store your stash in a clutter-free manner. Transform your space with these creative organizing ideas!
(Many of the links in this article redirect to a specific reviewed product. Your purchase of these products through affiliate links helps to generate commission for Storables.com, at no extra cost. Learn more)
Introduction
When it comes to interior design, one area that often gets overlooked is the craft room. Whether you’re an avid DIYer, a passionate scrapbooker, or a creative artist, having a properly organized craft room is essential. After all, a cluttered and chaotic space can hinder your creativity and make it difficult to find the tools and materials you need.
In this article, we will explore 10 stylish ways to store your craft supplies and keep your craft room neat and tidy. From open shelving to stackable containers, these storage solutions will not only help you stay organized but also add a touch of style to your space.
So, if you’re ready to transform your craft room into an organized oasis, let’s dive in!
Key Takeaways:
- Transform your craft room into an organized oasis with stylish storage solutions like open shelving, clear plastic bins, and labelled mason jars. Maximize space, protect supplies, and unleash your creativity in a clutter-free environment.
- Embrace the versatility of storage options such as pegboard wall storage, rolling carts, and stackable containers to create a functional and visually appealing craft room. Customize your organization, infuse personal style, and enjoy a well-organized space that inspires creativity.
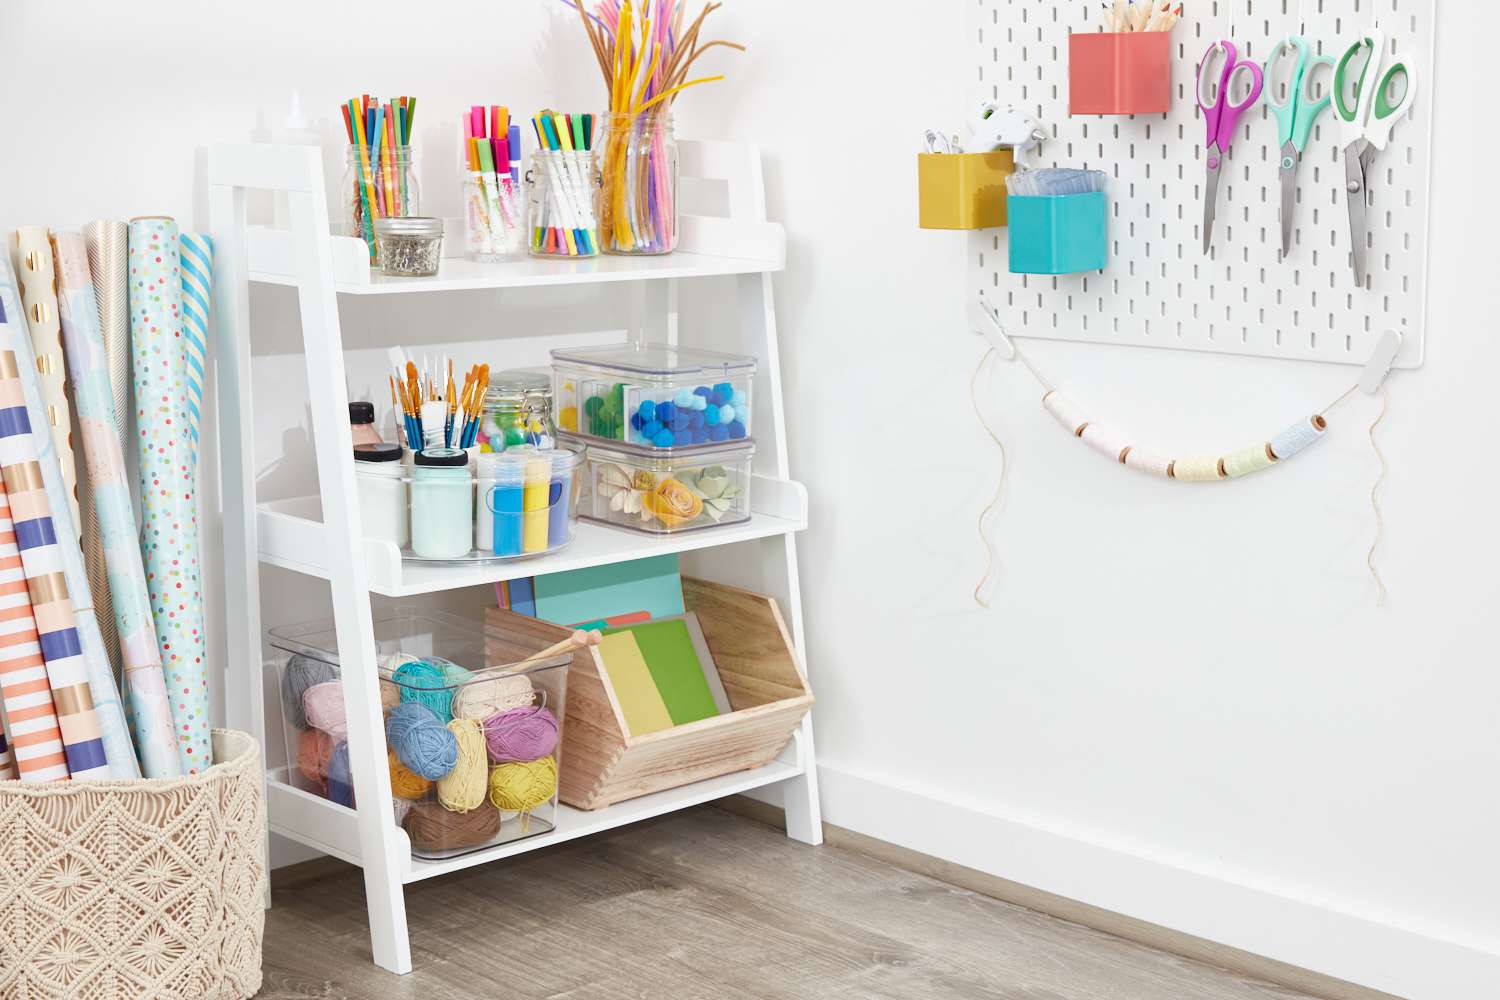
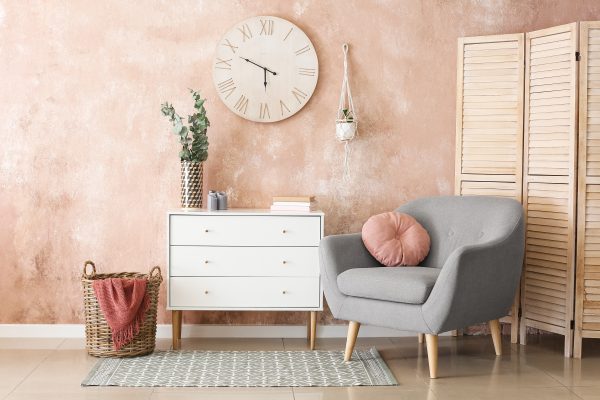
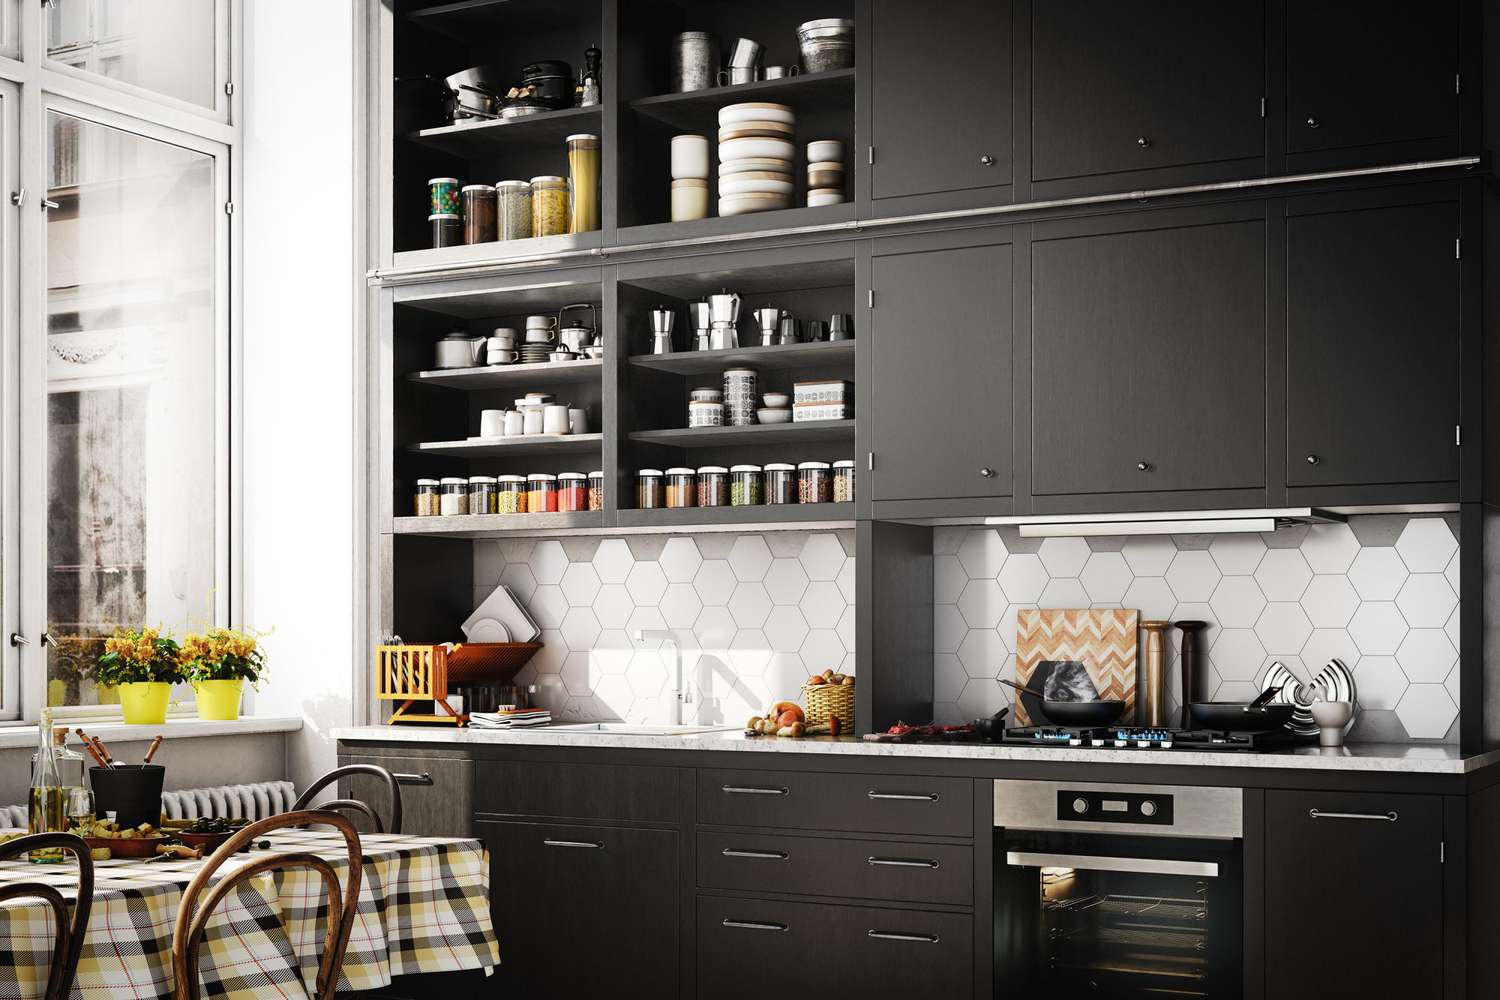
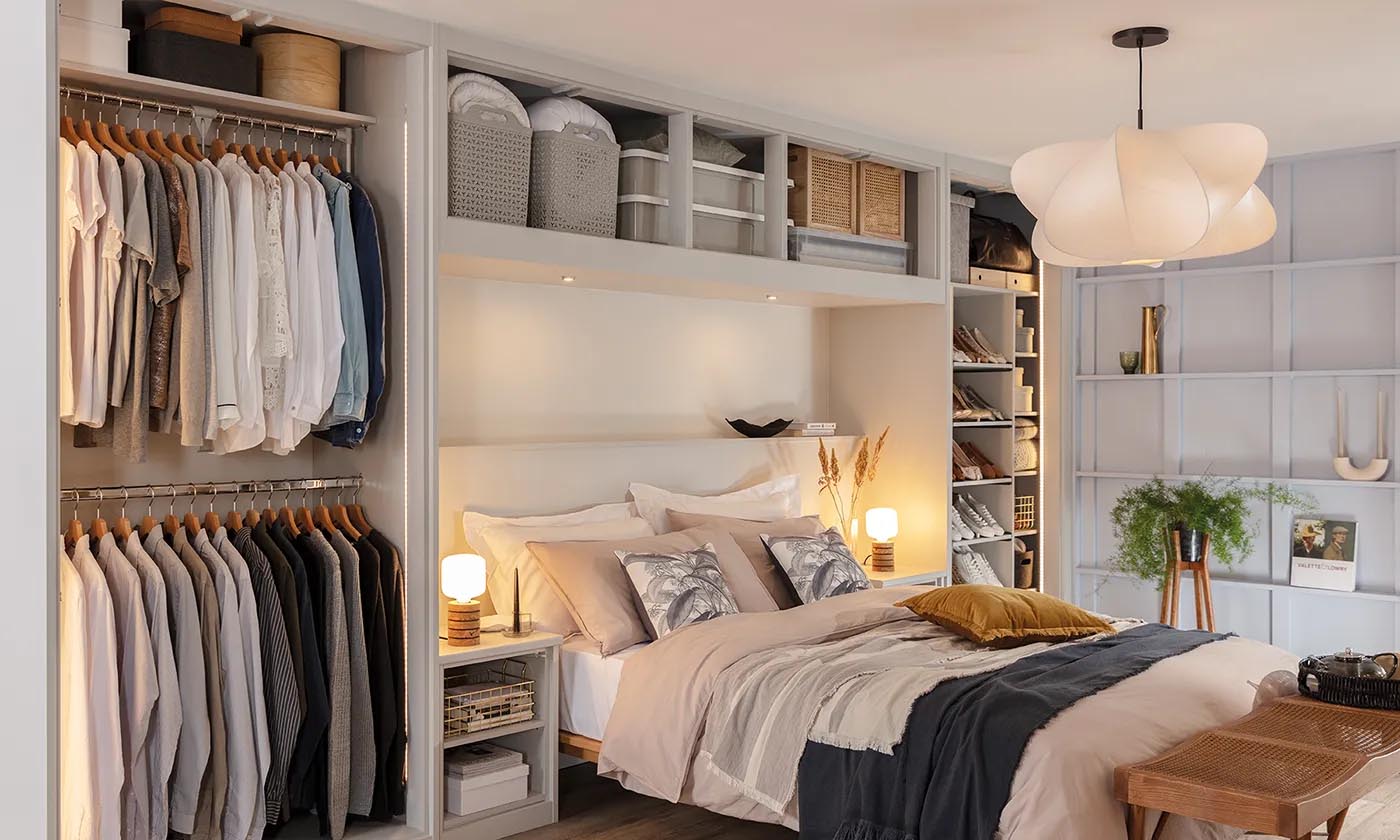
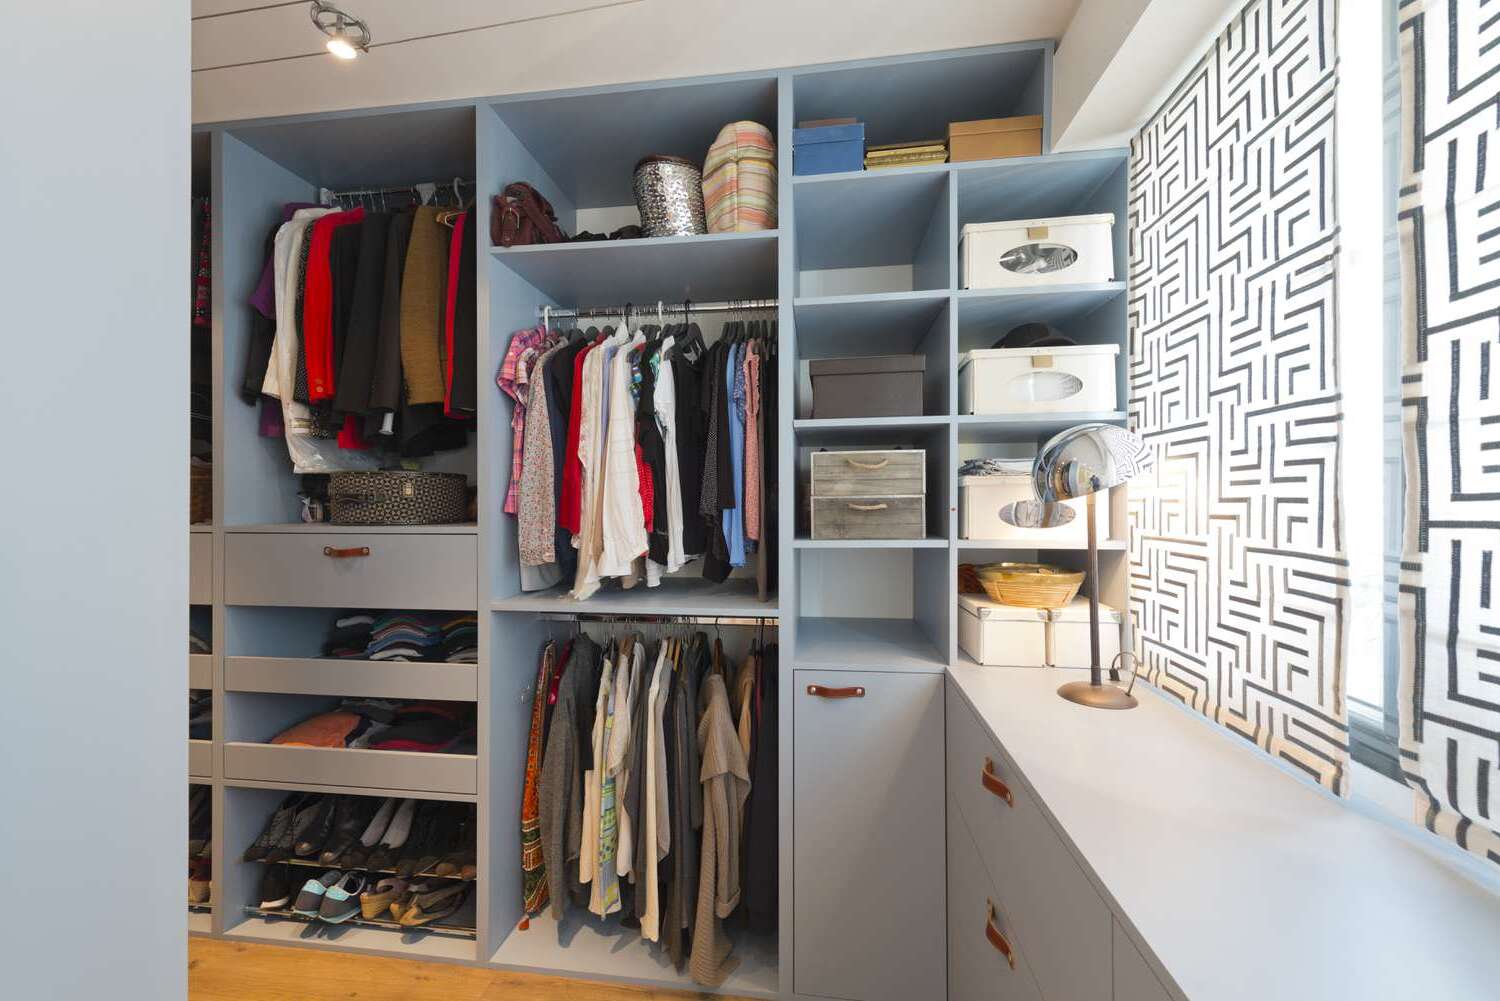
Open Shelving
Open shelving is a versatile and stylish storage option for any craft room. Not only does it provide ample space to display and store your supplies, but it also adds a decorative touch to the room. You can choose from a variety of materials and styles to match your aesthetic preferences.
One advantage of open shelving is that it allows you to easily see and access your supplies. You can categorize your items and display them in decorative baskets or bins for a more organized look. This not only keeps everything within reach but also adds a visual appeal to your craft room.
Another benefit of open shelving is that it can be customized to fit your specific needs. You can add adjustable shelves or install a combination of different-sized shelves to accommodate items of various heights. This flexibility ensures that you can make the most of your available space and keep everything well-organized.
To optimize space further, consider utilizing the vertical space above your open shelving. You can hang small baskets or containers from the underside of the shelves to store frequently used items or small tools. This way, you maximize storage capacity without sacrificing valuable tabletop or counter space.
When implementing open shelving, it’s important to keep your supplies organized. Group similar items together and clearly label each section so that you can easily find what you’re looking for. This will not only help you stay organized but also make the crafting process more efficient and enjoyable.
Additionally, consider the aesthetic aspect of open shelving. Explore different ways to arrange your supplies, such as by color or by theme, to create a visually pleasing display. You can also incorporate decorative elements, like small plants or artwork, to add a personal touch to your craft room.
In summary, open shelving is a practical and stylish solution for organizing your craft room. It offers easy access to your supplies, customizable storage options, and the opportunity to showcase your creativity. So, consider incorporating open shelving into your craft room design for a functional and visually appealing space.
Clear Plastic Bins
When it comes to organizing your craft supplies, clear plastic bins are a practical and versatile option. These bins are transparent, allowing you to easily see the contents without having to open them. They come in various sizes, making them suitable for storing different types of supplies.
The key advantage of using clear plastic bins is their ability to keep your craft room neat and organized. You can group similar items together and store them in separate bins, making it easier to find what you need. Additionally, the clear design allows you to quickly locate specific items without having to rummage through multiple containers.
Another benefit of clear plastic bins is their ability to protect your supplies from dust, dirt, and moisture. By storing your materials in these bins, you can ensure that your craft supplies remain in excellent condition for future use.
To enhance the organization within the bins, consider using dividers or small containers for smaller items like beads, buttons, or paintbrushes. This will help prevent them from getting mixed up and make it easier to find the specific items you need.
Furthermore, clear plastic bins can be easily stacked, allowing you to maximize vertical space in your craft room. This is particularly useful if you have limited floor space or if you want to create a more streamlined and organized look.
When using clear plastic bins, it’s important to label each bin to ensure that you can easily identify the contents. You can use adhesive labels or a label maker to create clear and legible labels for each bin. This will save you time and effort when searching for specific supplies.
Consider storing the most frequently used items in transparent bins within easy reach, while keeping less frequently used supplies in higher or harder-to-reach areas. This will optimize your craft room space and ensure that you can easily access the supplies you need.
Incorporating clear plastic bins into your craft room not only organizes and protects your supplies, but it also creates a clean and visually appealing space. So, invest in a collection of clear plastic bins and transform your craft room into an organized haven that sparks creativity.
Pegboard Wall Storage
Pegboard wall storage is a practical and visually appealing solution for organizing your craft supplies. This versatile storage system consists of a perforated board that can be mounted on the wall, allowing you to hang various tools and materials.
One of the main advantages of using pegboard wall storage is its ability to maximize vertical space. By utilizing the wall, you free up valuable floor and countertop space, making your craft room feel more spacious and organized. Plus, having your supplies within easy reach will help you work more efficiently.
The beauty of pegboard storage is its versatility. The perforated board allows you to customize the storage layout according to your needs. You can easily rearrange or add hooks, baskets, and shelves to accommodate different-sized supplies. This flexibility means that you can adapt the storage system as your craft room evolves.
When setting up your pegboard wall storage, consider grouping similar items together. Hang hooks to hold scissors, rulers, or paintbrushes. Attach baskets to store small tools or accessories. Place shelves to display jars of buttons or spools of thread. By organizing your supplies in this way, you’ll always know where to find what you need.
Another benefit of pegboard storage is the visual impact it creates. The colorful tools and supplies hanging on the pegboard can add a decorative touch to your craft room. Use this opportunity to incorporate your favorite colors or choose a pegboard that matches your overall design aesthetic.
To further enhance the organization of your pegboard storage, use labels or tags to indicate the contents of each hook or basket. This will make it even easier to locate specific items and maintain a clutter-free work area.
When installing the pegboard, make sure it is securely mounted to the wall. You can use anchors or wall studs to ensure stability, especially if you plan to hang heavier items. Take into consideration the weight capacity and size of the hooks and shelves you choose to avoid overloading the pegboard.
In summary, pegboard wall storage is an excellent choice for organizing your craft supplies. It maximizes vertical space, offers flexibility in storage arrangements, and adds a decorative element to your craft room. So, install a pegboard and enjoy the convenience and functionality it brings to your creative space.
Mason Jars
Mason jars are not just for preserving food; they are also a fantastic storage solution for your craft room. These versatile glass jars are available in various sizes and can be used to store a wide range of craft supplies.
One of the advantages of using mason jars is their transparency. You can easily see the contents of each jar, making it convenient to locate specific items. Additionally, the glass material provides a durable and airtight seal, protecting your supplies from dust, moisture, and pests.
Mason jars are especially useful for storing small and loose items such as buttons, beads, sequins, or ribbons. By organizing these items in separate jars, you can keep them neatly contained and prevent them from getting lost or tangled.
Aesthetically speaking, mason jars have a timeless charm that can add a rustic or vintage touch to your craft room decor. You can leave the jars as is or customize them by adding labels, ribbons, or decorative accents that reflect your personal style.
When it comes to organizing your mason jars, consider arranging them on open shelves, in a drawer, or even hanging them from a pegboard. Group similar items together and label each jar to easily identify the contents. This way, you’ll have a visually pleasing display while keeping your supplies organized.
For added functionality, you can attach the lids of the mason jars to the underside of a shelf or a cabinet. This allows you to easily screw the jar onto the lid, creating a convenient storage solution that keeps your supplies within reach.
If you have limited space, you can use a wall-mounted or rotating mason jar organizer. These organizers allow you to store and display multiple jars while saving valuable counter or tabletop space.
In summary, mason jars are a versatile and charming storage option for your craft supplies. They provide transparency, protection, and a decorative touch to your craft room. So, gather your mason jars and start organizing your materials in style.
Labelled Mason Jars
When it comes to organizing your craft supplies, using labelled mason jars is a game-changer. Not only do they offer all the benefits of regular mason jars, but the addition of labels takes the organization to a whole new level.
Labelled mason jars provide a clear and concise way to identify the contents of each jar, making it incredibly easy to find what you need. This is especially useful if you have multiple jars of similar items such as different colors of buttons or various sizes of beads.
To label your mason jars, there are several options available. You can use adhesive labels, chalkboard labels, or even write directly on the jar with a permanent marker. Choose a labeling method that suits your preference and the aesthetic of your craft room.
When labelling your jars, make sure to use descriptive and specific labels. For example, if you’re storing different types of buttons, label each jar with the specific type (e.g., “wooden buttons,” “plastic buttons”). This will make it easier to quickly locate the exact type of button you need for your project.
Another advantage of labelled mason jars is that they create a visually appealing and uniform look in your craft room. The consistent labelling adds a sense of order and professionalism to your space. Plus, you can easily change or update the labels as your crafting supplies evolve.
Consider arranging your labelled mason jars on open shelving, a dedicated craft cart, or in a drawer for easy access. Group similar items together and arrange the jars in a way that is visually pleasing. This not only promotes efficient organization but also makes your craft space look beautiful and inviting.
If you prefer a more creative and personalized approach, you can get crafty with your labels. Use decorative letter stickers, colorful washi tape, or even hand-painted designs to make each label unique and reflective of your personal style.
In summary, labelled mason jars are an excellent way to take your craft room organization to new heights. They provide clear identification of your supplies, create a uniform look, and add a touch of creativity to your space. So, gather your mason jars and labels, and start organizing your craft supplies in a stylish and efficient manner.
Use clear storage containers to easily see what’s inside and label them for quick access. This will help you stay organized and find what you need without digging through piles of supplies.
Hanging Wall Organizers
Hanging wall organizers are a practical storage solution for your craft room, especially if you have limited floor or counter space. These organizers come in various styles, such as fabric pockets, wire baskets, or even shoe organizers, and can be easily mounted on the wall.
One of the main advantages of using hanging wall organizers is their ability to maximize vertical space. By utilizing the wall, you free up valuable surface area and keep your supplies within reach. This is particularly useful for small items that tend to get lost or cluttered on a tabletop.
When choosing hanging wall organizers, consider the types of supplies you need to store. If you have a variety of small craft tools or brushes, fabric pocket organizers with multiple compartments are ideal. On the other hand, if you have larger items like rolls of ribbon or scrapbooking papers, wire basket or file holder organizers work best.
Hang the wall organizer near your crafting area for easy access to frequently used supplies. Be sure to secure the organizer properly, using sturdy hooks or wall anchors, to ensure it can hold the weight of your supplies.
One creative idea to enhance the organization of hanging wall organizers is to add labels or tags to each pocket or basket. This allows you to categorize your supplies and easily find what you’re looking for, saving you time and effort during your crafting sessions.
An additional advantage of hanging wall organizers is their portability. If you have limited wall space or if you like to switch up your craft room’s layout, you can easily move the organizers to different areas without any hassle.
Besides organizing your craft supplies, hanging wall organizers can also serve as a decorative element in your craft room. Choose organizers in colors or patterns that match your overall design aesthetic. You can even add a touch of personalization by incorporating decorative elements such as ribbons, flowers, or small artworks.
In summary, hanging wall organizers provide an efficient and space-saving storage solution for your craft room. They maximize vertical space, keep your supplies within easy reach, and can be personalized to match your style. So, install a couple of hanging wall organizers and enjoy the convenience and organization they bring to your creative space.
Rolling Carts
Rolling carts are a versatile and convenient storage solution for your craft room. These mobile units come with wheels, allowing you to easily move them around and access your supplies wherever you need them.
One of the main advantages of using rolling carts is their portability. You can keep your craft supplies organized and within reach by having a rolling cart nearby while you work. This is particularly useful if you like to move around your craft room or if you need to take your supplies to a different room or location.
When choosing a rolling cart, consider the size and number of shelves or drawers it offers. This will depend on the amount and type of supplies you have. Opt for a cart with adjustable shelves or spacious drawers to accommodate various sizes of craft materials.
Use the different compartments of the rolling cart to store specific categories of supplies. For example, you can dedicate one drawer or shelf to paper and stationery, another for adhesives and embellishments, and one for tools and brushes.
To enhance organization, consider using small bins, trays, or dividers within the drawers or on the shelves. This will help keep similar items grouped together and prevent them from getting mixed up or tangled. Additionally, you can label each section to easily identify the contents.
Another benefit of rolling carts is their ability to serve as a portable work station. You can place your cutting mat, crafting tools, and materials on the cart’s surface, allowing you to move your work area wherever you need it. This is particularly useful if you have limited workspace or if you want to craft in different areas of your home.
When not in use, you can easily tuck the rolling cart away in a corner or under a table, keeping your craft room neat and organized. The compact size and mobility of the cart make it a space-saving storage solution, especially for smaller craft rooms or multi-purpose spaces.
Lastly, rolling carts also offer an opportunity for customization and personalization. You can add hooks or clips to the sides of the cart to hang tools or ribbons. Consider decorating the cart with adhesive vinyl, patterned contact paper, or even fabric to match your craft room’s style and make it uniquely yours.
In summary, rolling carts are a practical and versatile storage solution for your craft room. With their mobility and customizable features, you can easily access your supplies and create a functional workspace. So, invest in a rolling cart and enjoy the convenience and organization it brings to your crafting experience.
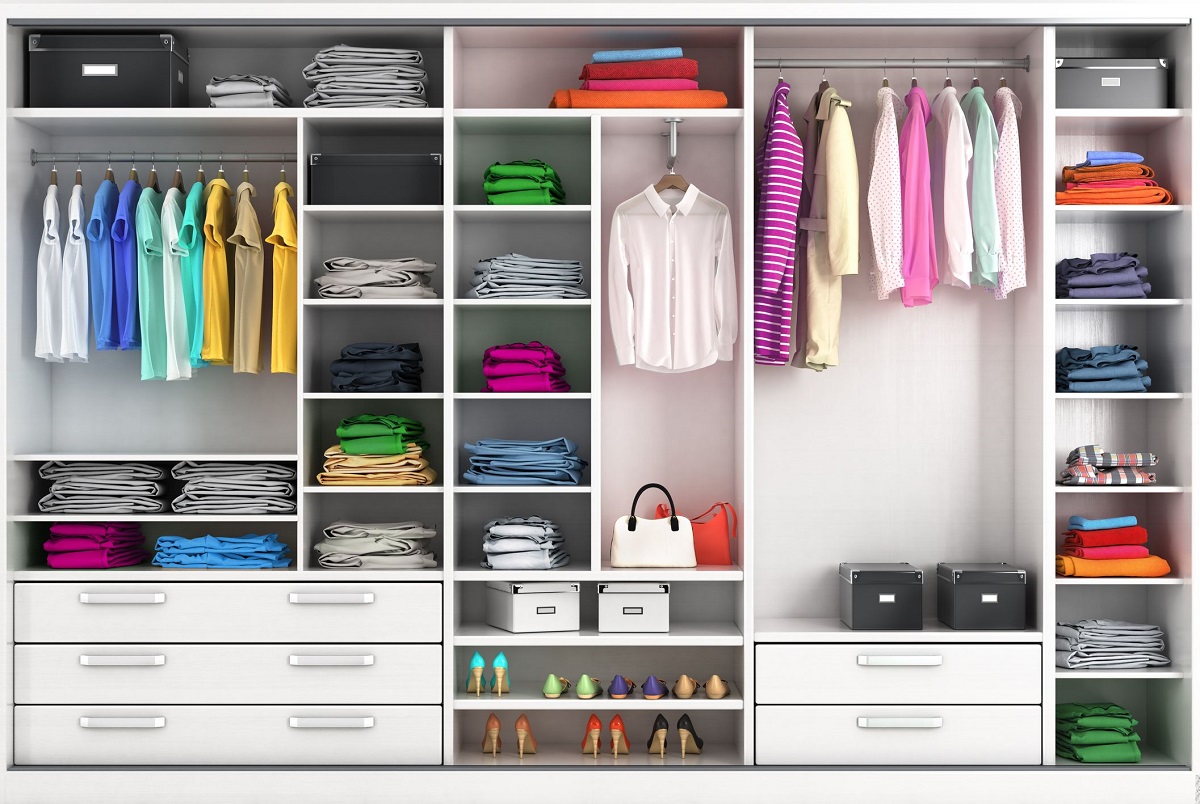
Drawer Dividers
Drawer dividers are a simple yet highly effective organizing tool for your craft room. As the name suggests, these dividers are used to create separate compartments within drawers, allowing you to neatly store and categorize your supplies.
One of the main advantages of using drawer dividers is their ability to maximize the space within your drawers. By creating separate sections, you can utilize the entire drawer area efficiently and prevent items from getting mixed up or tangled.
When choosing drawer dividers, consider the size and material that will best suit your needs. You can opt for adjustable dividers made of plastic or bamboo, or use DIY options such as small bins, trays, or even repurposed containers.
Start by assessing the type of supplies you have and how you want to divide them. For example, you can allocate one section for pens and markers, another for scissors and cutting tools, and one for small crafting accessories.
Organize your supplies in a way that makes sense to you and your workflow. Arrange them based on frequency of use or by categories such as color, type, or project. This will not only make it easier to find what you need, but also streamline your crafting process.
Drawer dividers are not limited to organizing small items. You can also use them to store larger items such as paper pads, sketchbooks, or fabric swatches. Simply adjust the dividers or use wider compartments to accommodate these items.
In addition to optimizing storage space, drawer dividers also provide protection for your supplies. By keeping them in separate compartments, you minimize the risk of damage or breakage that may occur when items are clumped together.
Another benefit of using drawer dividers is their ability to adapt to your changing needs. As your craft supplies evolve, you can easily rearrange or add new dividers to accommodate different-sized items or create new sections.
Lastly, consider using labels or tags to identify each section and make it easier to locate specific supplies. You can use adhesive labels or even create your own DIY labels using colored paper or washi tape.
In summary, drawer dividers are an essential tool for organizing your craft room. They maximize space, protect your supplies, and allow for easy customization. So, invest in some dividers and transform your drawers into well-organized compartments for your crafting materials.
Over-the-Door Organizers
If you’re looking to maximize storage space in your craft room, consider using over-the-door organizers. These versatile storage solutions hang over the back of a door, creating additional storage without taking up valuable floor or wall space.
One of the key advantages of over-the-door organizers is their ability to utilize vertical space. Instead of letting the back of the door go to waste, you can transform it into a functional storage area for your craft supplies.
When choosing an over-the-door organizer, consider the size, number of pockets, and type of materials it is made of. You can find organizers with multiple pockets, baskets, or even hooks, depending on the specific needs of your craft supplies.
Over-the-door organizers are particularly useful for storing smaller items, such as craft paints, markers, or sewing notions. The individual pockets or compartments keep these items neatly contained and easily accessible.
Consider categorizing your craft supplies and allocating specific pockets or compartments for each category. This will ensure that everything has its designated place and make it easier to locate specific items when needed. You can even label each pocket or use clear pockets to quickly identify the contents.
In addition to smaller items, over-the-door organizers can also accommodate larger supplies like scrapbooking papers, fabric swatches, or even rolls of wrapping paper. You can use the pockets or baskets to keep these items upright and prevent them from getting wrinkled or damaged.
Another advantage of over-the-door organizers is their versatility. They can be used not only on craft room doors but also on closet doors or even inside cabinets. This allows you to customize your storage based on the layout and available space in your craft room.
If you have an over-the-door organizer with hooks, you can hang lightweight tools or accessories, such as scissors or ribbons. This keeps them easily accessible and prevents them from becoming tangled or lost.
Lastly, over-the-door organizers are convenient when it comes to decluttering your craft room. If you have limited storage options or constantly find yourself struggling with a messy work area, these organizers provide a quick and efficient solution for keeping your supplies neatly organized.
In summary, over-the-door organizers are a fantastic storage solution for maximizing space in your craft room. They make use of vertical space, offer versatility in storage options, and help keep your supplies categorized and easily accessible. Install one on your craft room door and enjoy the benefits of a well-organized and clutter-free workspace.
Stackable Storage Containers
When it comes to efficient and space-saving storage, stackable containers are a perfect solution for your craft room. These containers are designed to fit together securely, allowing you to stack them vertically, making the most of your available space.
One of the main advantages of using stackable storage containers is their ability to create a clean and organized look in your craft room. Instead of having supplies scattered around, you can neatly stack containers on shelves or in cabinets, maximizing the available space.
Stackable containers come in various sizes and shapes, making them versatile for storing different types of craft supplies. You can find containers with removable dividers or multiple compartments, allowing you to customize the space based on the items you need to store.
Organize your supplies by category and assign each category to a specific container. For example, you might have one container for paints and brushes, another for yarn and knitting needles, and another for scrapbooking papers. This type of organization ensures that you can easily locate and access the supplies you need for each type of project.
One of the key benefits of stackable storage containers is their ability to save space. By vertically stacking containers, you utilize the height of your shelves or cabinets and leave more surface area free for working or displaying other items.
Consider using clear or transparent containers, as they allow you to quickly see the contents of each container without having to open them. This makes it easy to find what you need at a glance, saving you time and effort during your crafting sessions.
When choosing stackable containers, ensure that they are sturdy and have secure latching mechanisms to keep your supplies safe. The lids should fit snugly, preventing any dust or moisture from entering the containers and affecting your craft materials.
If you have limited shelf or cabinet space, you can also consider using stackable containers on a rolling cart or under-the-bed storage. This allows you to maximize storage capacity and easily move your supplies around when needed.
Lastly, label each stackable container so that you can quickly identify the contents. You can use adhesive labels, label makers, or even create your own personalized labels for a visually appealing touch.
In summary, stackable storage containers provide a practical and space-saving solution for organizing your craft room. They allow you to neatly store your supplies, maximize storage capacity, and easily access the items you need. Invest in a set of stackable containers and give your craft room a clean and organized look.
Conclusion
Organizing your craft room is essential for creating a productive and enjoyable space to unleash your creativity. By implementing these 10 stylish storage solutions, you can transform your craft room into a well-organized oasis that inspires and promotes efficiency.
From open shelving to stackable containers, each storage option offers unique benefits that cater to different types of craft supplies. Open shelving provides a versatile and decorative solution for displaying and storing your materials. Clear plastic bins and labelled mason jars offer transparency and protection for smaller items. Pegboard wall storage maximizes vertical space and customizable storage arrangements. Hanging wall organizers provide convenient access to frequently used tools and accessories. Rolling carts offer mobility and compact storage for small craft rooms. Drawer dividers help you maximize drawer space and keep supplies neatly categorized. Over-the-door organizers make use of vertical space and keep frequently used items within reach. And finally, stackable storage containers save space and create a clean and organized look.
When organizing your craft room, it’s important to consider your specific needs and the type of supplies you have. Group similar items together, label everything clearly, and arrange your materials in a manner that makes sense to you. This will make it easier for you to find what you need when inspiration strikes.
Additionally, don’t forget to infuse your own personal style and creativity into the organization process. Add decorative touches, incorporate your favorite colors, and make your craft room a reflection of your unique personality.
By implementing these stylish storage solutions and keeping your craft supplies organized, you’ll create a space that sparks creativity, enhances productivity, and allows your artistic talents to flourish. So, roll up your sleeves, get organized, and enjoy your revamped craft room!
Frequently Asked Questions about Organizing A Craft Room: 10 Ways To Store Your Stash In Style
Was this page helpful?
At Storables.com, we guarantee accurate and reliable information. Our content, validated by Expert Board Contributors, is crafted following stringent Editorial Policies. We're committed to providing you with well-researched, expert-backed insights for all your informational needs.


0 thoughts on “Organizing A Craft Room: 10 Ways To Store Your Stash In Style”