Home>Interior Design>The Best Way To Stain Wood: 4 Time-Saving Tips From Experts

Interior Design
The Best Way To Stain Wood: 4 Time-Saving Tips From Experts
Modified: December 7, 2023
Discover the best way to stain wood with these time-saving tips from interior design experts. Achieve professional-quality results with minimal effort.
(Many of the links in this article redirect to a specific reviewed product. Your purchase of these products through affiliate links helps to generate commission for Storables.com, at no extra cost. Learn more)
Introduction
Welcome to the world of interior design, where every detail and element plays a crucial role in creating a beautiful and inviting space. One aspect of interior design that holds immense importance is wood staining. Wood staining not only enhances the natural beauty of the wood but also protects and preserves it for years to come.
Staining wood is a skill that requires both knowledge and expertise. Whether you are a DIY enthusiast or a professional interior designer, knowing the best way to stain wood can save you time, effort, and frustration. In this article, we will explore four time-saving tips from experts that will help you achieve stunning results when staining wood.
Key Takeaways:
- Achieve professional-looking results and save time by preparing the wood properly before staining. Clean, sand, fill gaps, and use wood conditioner for a flawless finish.
- Choose the right stain color, test it, and apply efficiently for a successful wood staining project. Finish and seal the wood to protect and enhance its beauty.
Tip 1: Preparing the Wood before Staining
The key to achieving a flawless wood staining finish lies in properly preparing the wood before applying any stain. Here are some essential steps to follow:
- Clean the surface: Begin by thoroughly cleaning the wood surface to remove any dirt, dust, or grease. You can use a mild detergent mixed with water and a soft cloth or sponge to gently clean the surface. Rinse the wood with clean water and allow it to dry completely.
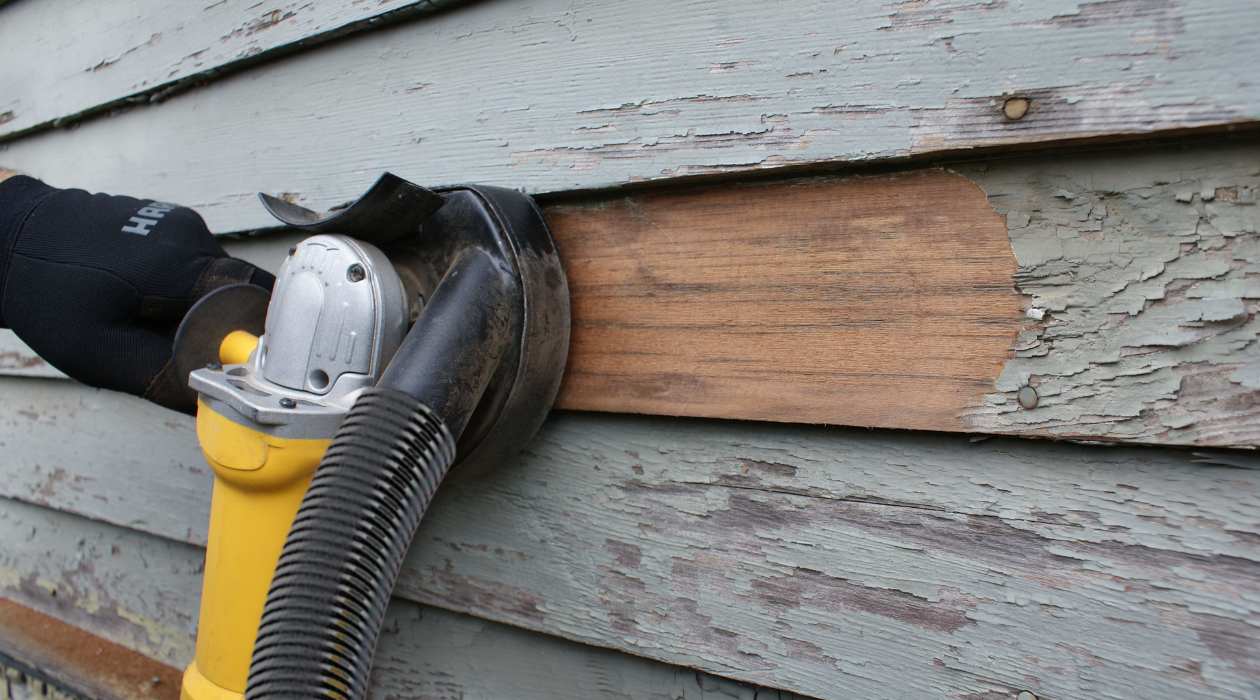
- Sand the wood: Sanding the wood surface is crucial to achieve a smooth and even stain application. Start with a coarse-grit sandpaper to remove any roughness or imperfections. Gradually progress to finer-grit sandpaper to create a polished surface. Always sand in the direction of the wood grain to prevent any scratches.
- Fill the gaps: If you are working with wood that has visible cracks or gaps, it is important to fill them before staining. You can use wood filler or putty to fill the gaps and ensure a seamless finish. Follow the instructions on the filler product for the best results.
- Apply a wood conditioner: Some types of woods, such as pine or maple, tend to absorb stain unevenly, resulting in blotchy finishes. To prevent this, consider applying a wood conditioner before staining. A wood conditioner helps the stain to be absorbed more evenly, resulting in a smoother and more consistent color.
By following these preparatory steps, you will create a clean canvas for the stain, allowing it to penetrate the wood evenly and create a beautiful finish. Taking the time to prepare the wood properly will ultimately save you time in the staining process and yield professional-looking results.
Tip 2: Choosing the Right Stain and Tools
Selecting the appropriate stain and tools is crucial for a successful wood staining project. Here are some tips to help you make the right choices:
- Determine the desired finish: Before choosing a stain, consider the end result you want to achieve. Do you want a light, natural look or a darker, more dramatic effect? Decide on the color and intensity of the stain based on your desired aesthetic.
- Consider the wood type: Different types of wood have varying characteristics, including their ability to absorb stains. Keep in mind that certain woods, such as oak or mahogany, may require different types of stains or techniques to achieve the desired result. Research the best stain options for the specific wood you are working with.
- Test the stain: It’s always a good idea to test the stain on a small, inconspicuous area of the wood before applying it to the entire surface. This will allow you to evaluate the color, penetration, and overall compatibility of the stain with the wood.
- Invest in quality tools: Using high-quality brushes, applicators, and cloths can significantly impact the final outcome of your wood staining project. Quality tools ensure even application and minimize streaks or brush marks. Choose tools that are specifically designed for wood staining to achieve the best results.
By selecting the right stain color and type for your wood, conducting tests, and using quality tools, you will ensure a smooth and successful staining process. Making the right choices from the beginning will save you time and effort in correcting any mistakes or inconsistencies later on.
When staining wood, always sand with the grain to avoid scratches. Sanding against the grain can cause damage and make the stain appear uneven.
Tip 3: Applying the Stain Efficiently
Once you have prepared the wood and selected the right stain, it’s time to apply the stain. The way you apply the stain can significantly impact the final outcome. Here are some tips for applying the stain efficiently:
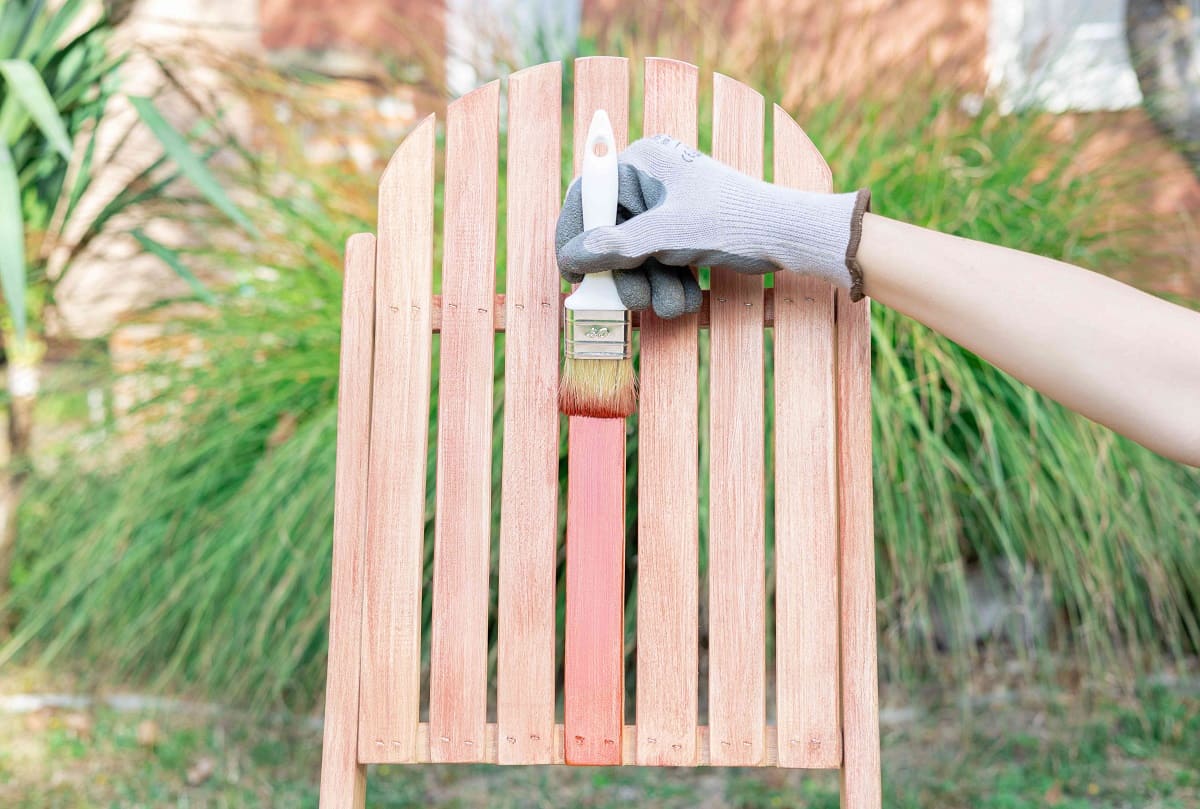
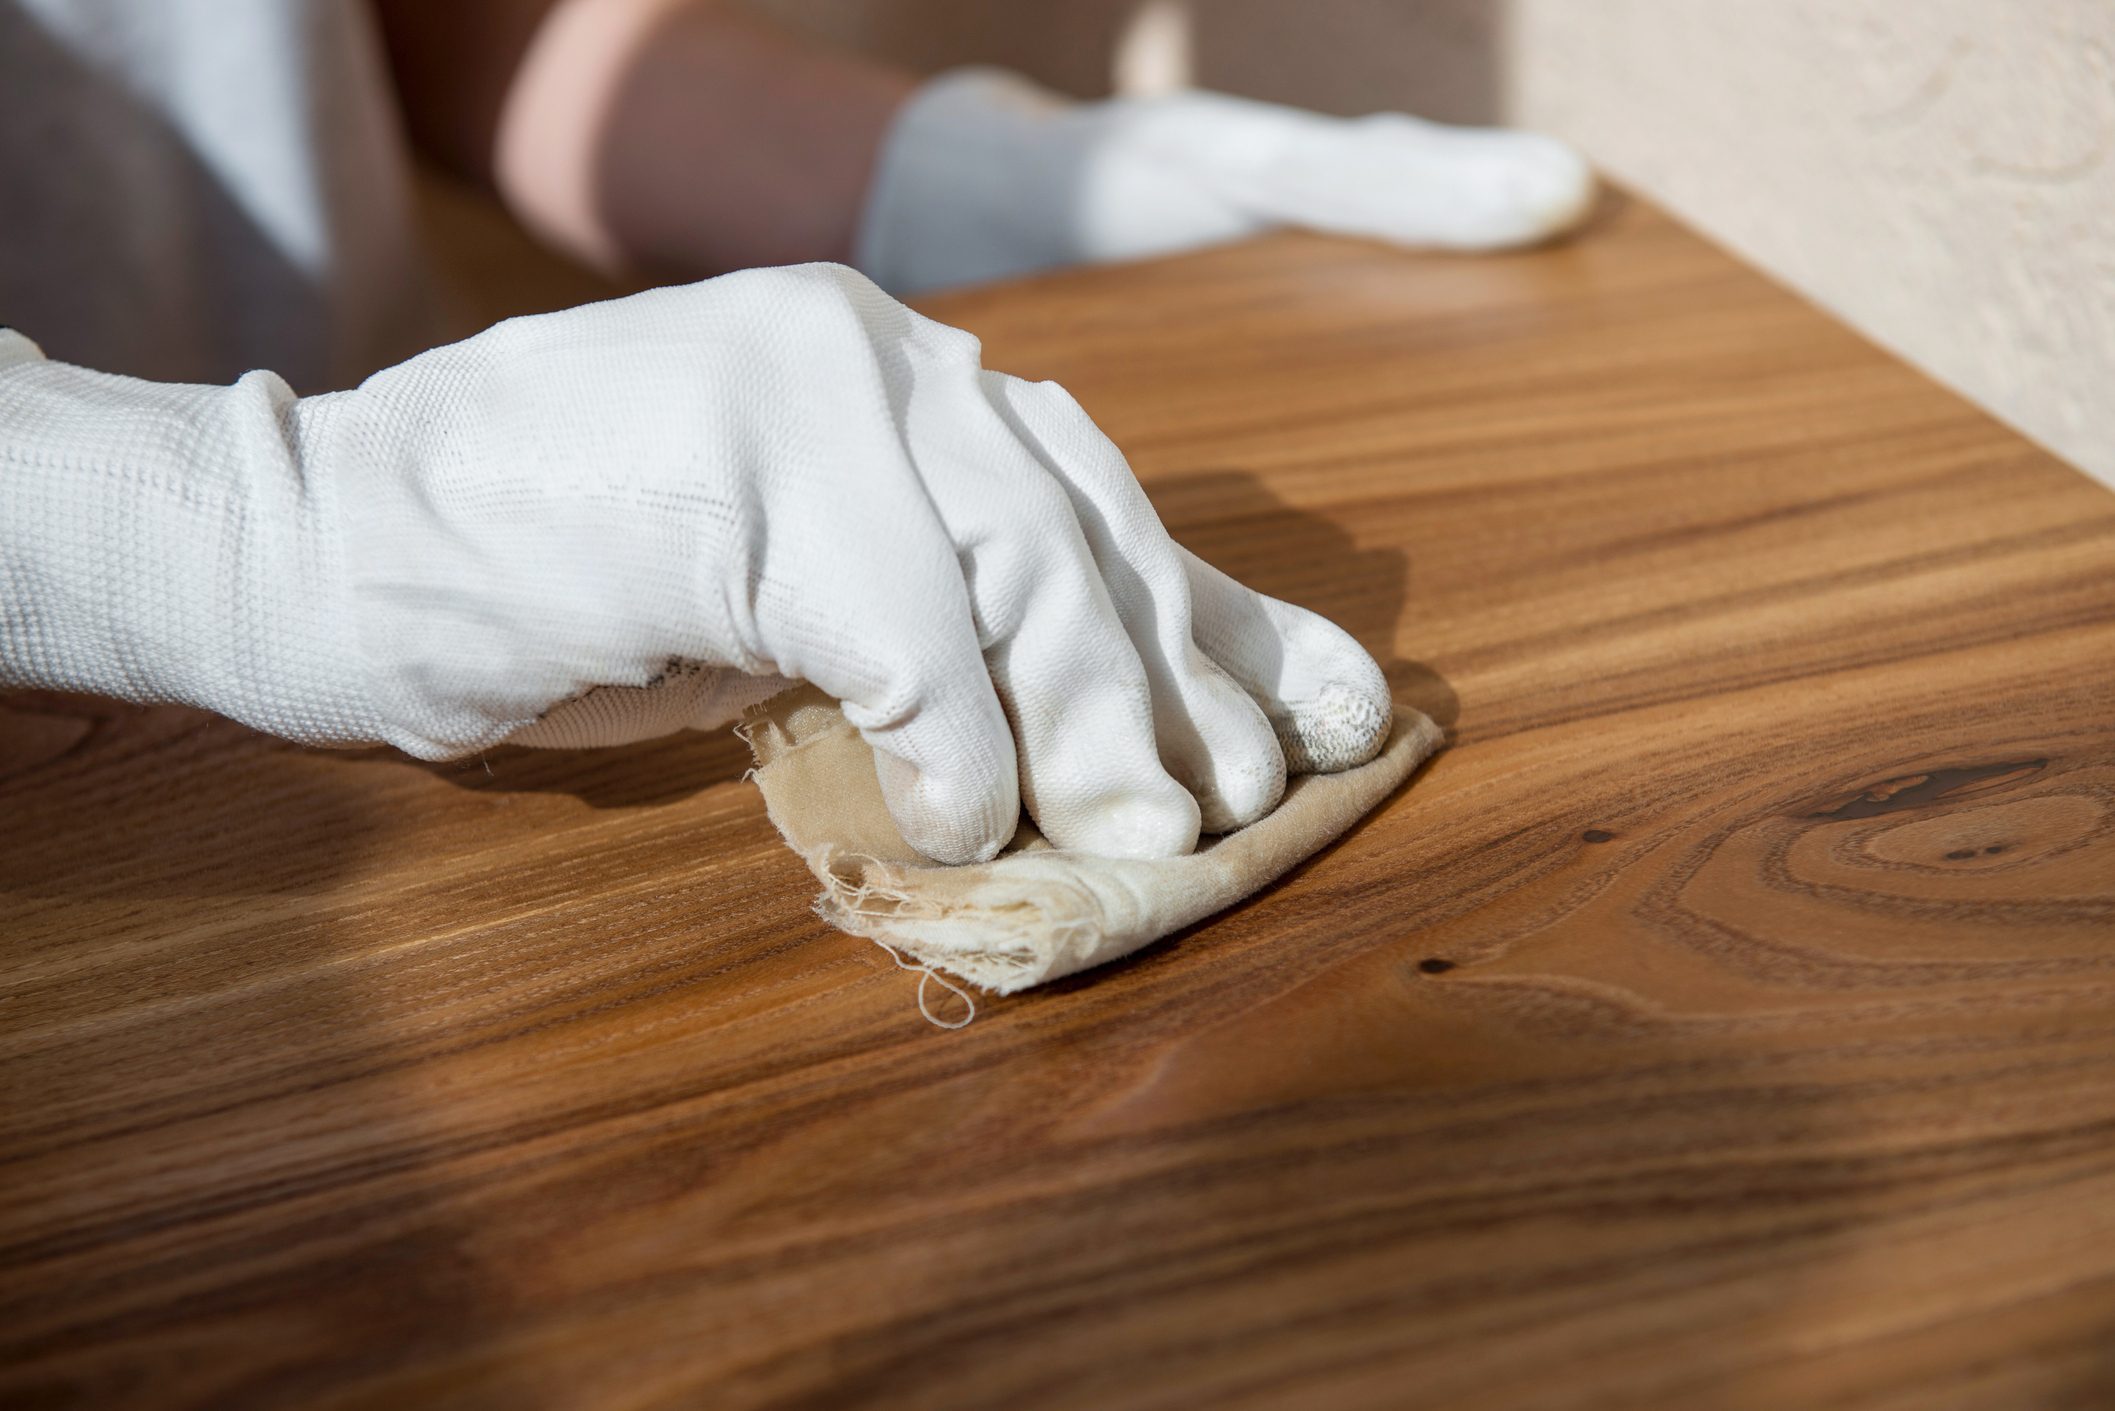
- Use gloves and protective gear: Stains can be messy and may contain chemicals, so it’s important to protect your hands and skin. Wear gloves and consider using protective eyewear and a mask to safeguard yourself from fumes.
- Stir the stain: Before applying the stain, give it a good stir to ensure even distribution of pigments and color. This step is crucial as it ensures consistent color throughout the staining process.
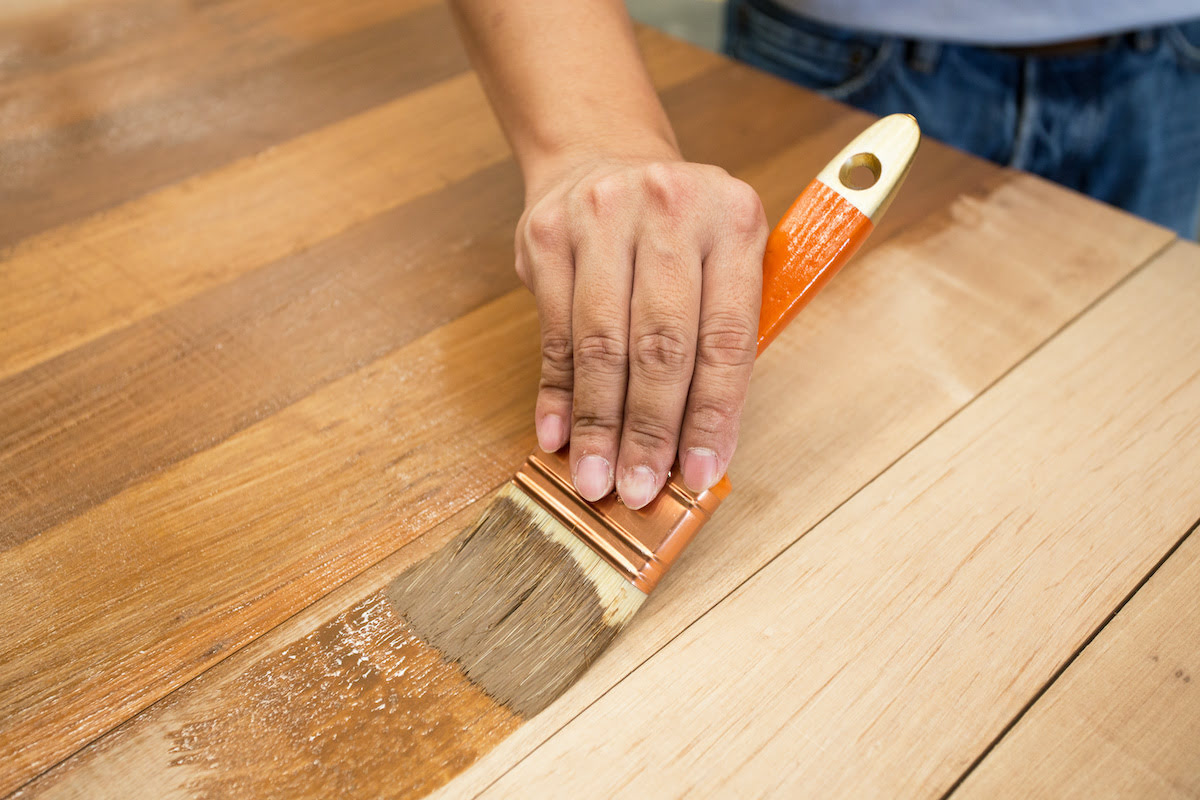
- Apply in the direction of the grain: Always apply the stain in the direction of the wood grain to achieve an even finish. This technique helps the stain to penetrate and highlight the natural beauty of the wood.
- Work in small sections: It’s best to work in small sections when applying the stain. This allows you to focus on one area at a time, ensuring that the stain does not dry too quickly or unevenly.
- Wipe off excess stain: After applying the stain, use a clean, lint-free cloth to gently wipe off any excess stain. This step helps to prevent streaks and blotches and ensures a more uniform appearance.
Remember to follow the manufacturer’s instructions for drying time and any additional coats, if required. Applying the stain efficiently with these tips will save you time and effort and result in a beautiful, smoothly stained wood surface.
Tip 4: Finishing and Sealing the Stained Wood
After you have applied the stain and achieved your desired color and coverage, it’s important to finish and seal the stained wood to protect it and enhance its longevity. Here are some essential steps to follow:
- Allow the stain to dry completely: Before proceeding with the finishing and sealing process, ensure that the stain is completely dry. Follow the manufacturer’s instructions for the recommended drying time.
- Choose the right finish: There are various finishes available, such as polyurethane, varnish, or lacquer. Select a finish that suits the type of wood and the level of durability and sheen you desire. Matte, satin, and gloss finishes are common options.
- Apply the finish: Use a brush, sponge, or cloth to apply the finish evenly over the stained wood. Follow the grain of the wood and work in small sections. Allow the finish to dry according to the manufacturer’s instructions.
- Sand between coats: If you apply multiple coats of the finish, lightly sand the surface between each coat to create a smooth and even finish. Use a fine-grit sandpaper and be gentle to avoid damaging the stained wood.
- Protect with a sealant: Consider using a sealant, such as a clear polyurethane coating, to provide an additional layer of protection to the stained wood. This step will help guard against moisture, UV rays, and general wear and tear.
Finishing and sealing the stained wood not only enhances its appearance but also extends its lifespan. It provides a protective barrier that keeps the wood looking fresh and beautiful for years to come.
By following these tips for finishing and sealing, you will ensure a professional and long-lasting result for your stained wood project. Take the time to choose the right finish and apply it with care, and you will enjoy the beauty of your stained wood for many years to come.
Conclusion
Staining wood is a rewarding process that allows you to showcase the natural beauty of wood while protecting it from the elements. By following these four time-saving tips from experts, you can achieve professional-looking results and save time and effort along the way.
Preparation is key when it comes to wood staining. Taking the time to clean, sand, and fill any gaps in the wood will provide a smooth and even surface for the stain to adhere to. Choosing the right stain color and type, as well as investing in quality tools, will contribute to the overall success of your project.
When it comes to applying the stain, remember to work in small sections, apply in the direction of the grain, and wipe off any excess for a uniform finish. Lastly, don’t forget to finish and seal the stained wood to protect it and enhance its longevity.
By following these tips and putting in the effort to stain wood properly, you can transform any space and bring out the natural elegance of the wood. So, let your creative juices flow and embark on your next wood staining project with confidence!
Frequently Asked Questions about The Best Way To Stain Wood: 4 Time-Saving Tips From Experts
Was this page helpful?
At Storables.com, we guarantee accurate and reliable information. Our content, validated by Expert Board Contributors, is crafted following stringent Editorial Policies. We're committed to providing you with well-researched, expert-backed insights for all your informational needs.







0 thoughts on “The Best Way To Stain Wood: 4 Time-Saving Tips From Experts”