Home>Storage Ideas>Living Room Storage>How To Remove Stains From Wood Floors So They Look Good As New
Living Room Storage
How To Remove Stains From Wood Floors So They Look Good As New
Modified: October 27, 2024
Learn how to remove stains from wood floors and make them look good as new with our easy-to-follow guide. Transform your living room storage with these simple tips!
(Many of the links in this article redirect to a specific reviewed product. Your purchase of these products through affiliate links helps to generate commission for Storables.com, at no extra cost. Learn more)
Introduction
Welcome to the ultimate guide on how to remove stains from wood floors! Wood floors add beauty and warmth to any living space, but they can be susceptible to stains and spills over time. Whether you have water-based stains, oil-based stains, or pesky pet stains, don’t worry – we’ve got you covered.
Wood floor stains can range from gentle discoloration to deep penetrating marks. Understanding the type of stain you are dealing with is essential for effective removal. In this article, we will walk you through the step-by-step process of identifying, preparing, and treating various types of stains on your wood floors.
Before we dive into the specifics, it’s important to note that proper maintenance and regular cleaning of your wood floors can significantly reduce the chances of stains. Be sure to follow the manufacturer’s recommendations for routine care and always clean up spills promptly to minimize the risk of permanent damage.
Now, let’s get started on our journey to revitalize your wood floors by removing those stubborn stains!
Key Takeaways:
- Proper preparation, identification of stain types, and gentle cleaning techniques are essential for effectively removing water-based, oil-based, pet, and deep-set stains from wood floors, restoring their natural beauty.
- Implementing protective measures, regular maintenance, and considering sanding and refinishing when necessary can help prolong the life and stunning appearance of wood floors, ensuring they remain a timeless and elegant addition to any home.
Read more: How To Remove Wood Stain From Brick
Understanding Wood Floor Stains
Wood floor stains can be caused by a variety of factors, including spills, pet accidents, water damage, and even everyday wear and tear. Understanding the different types of stains will help you determine the best approach to treatment.
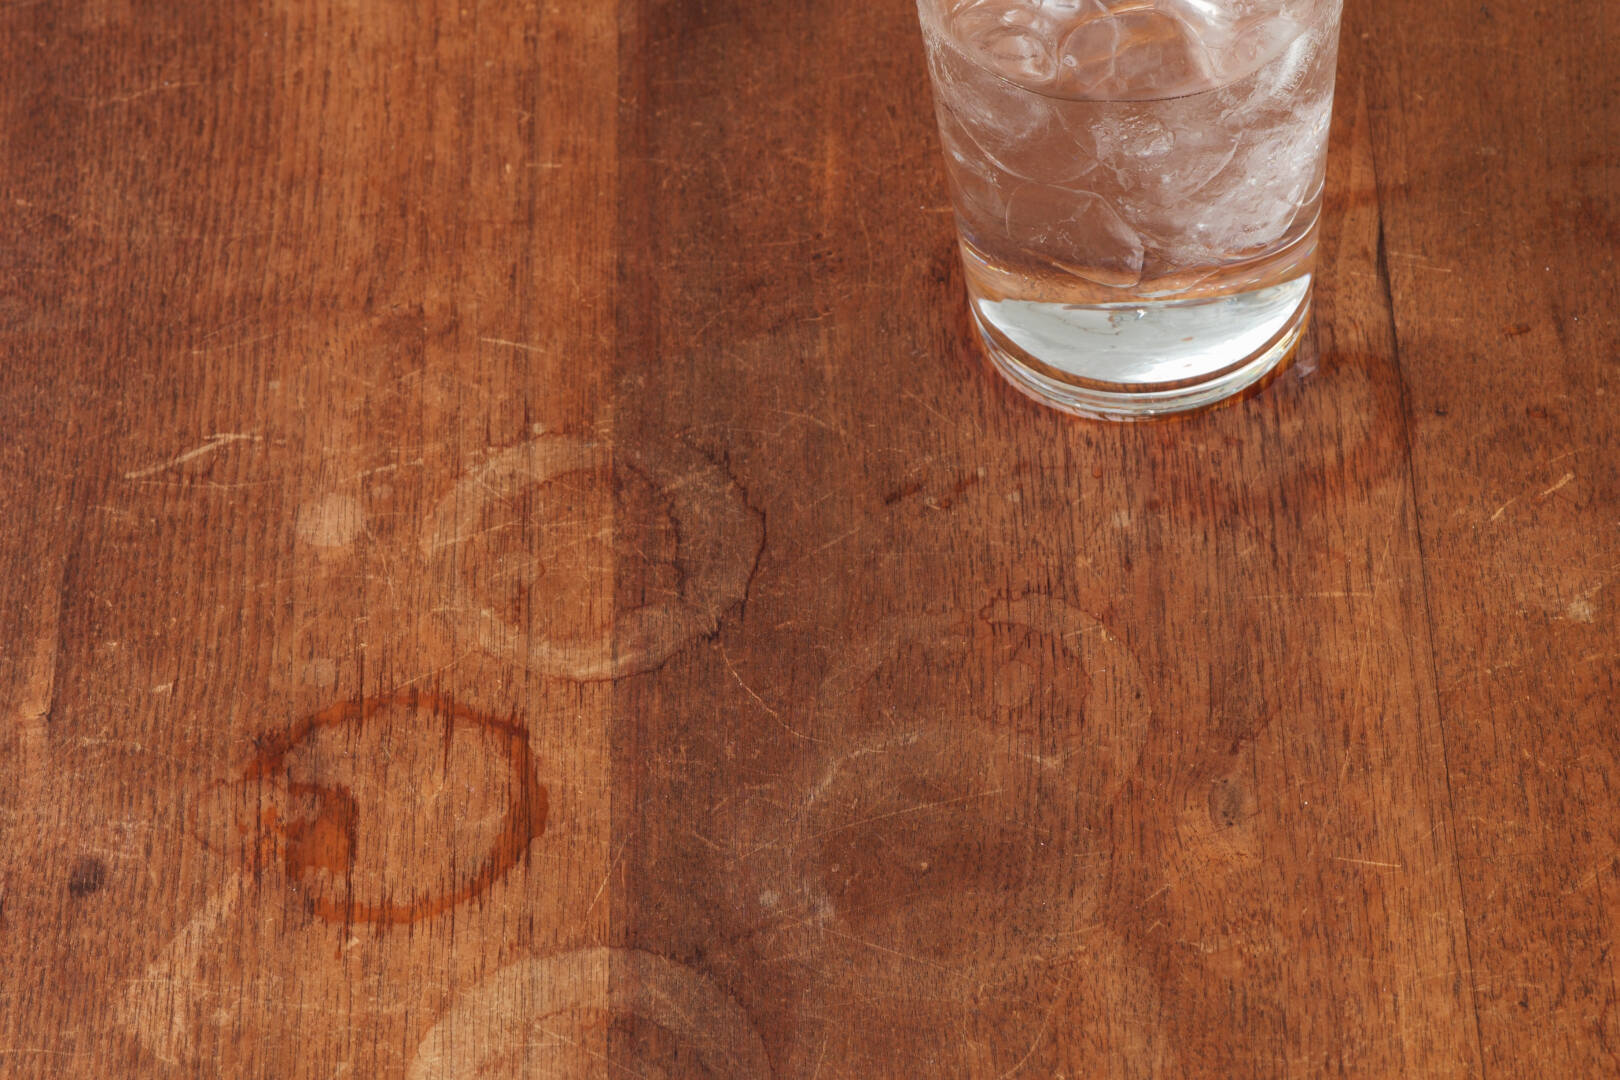
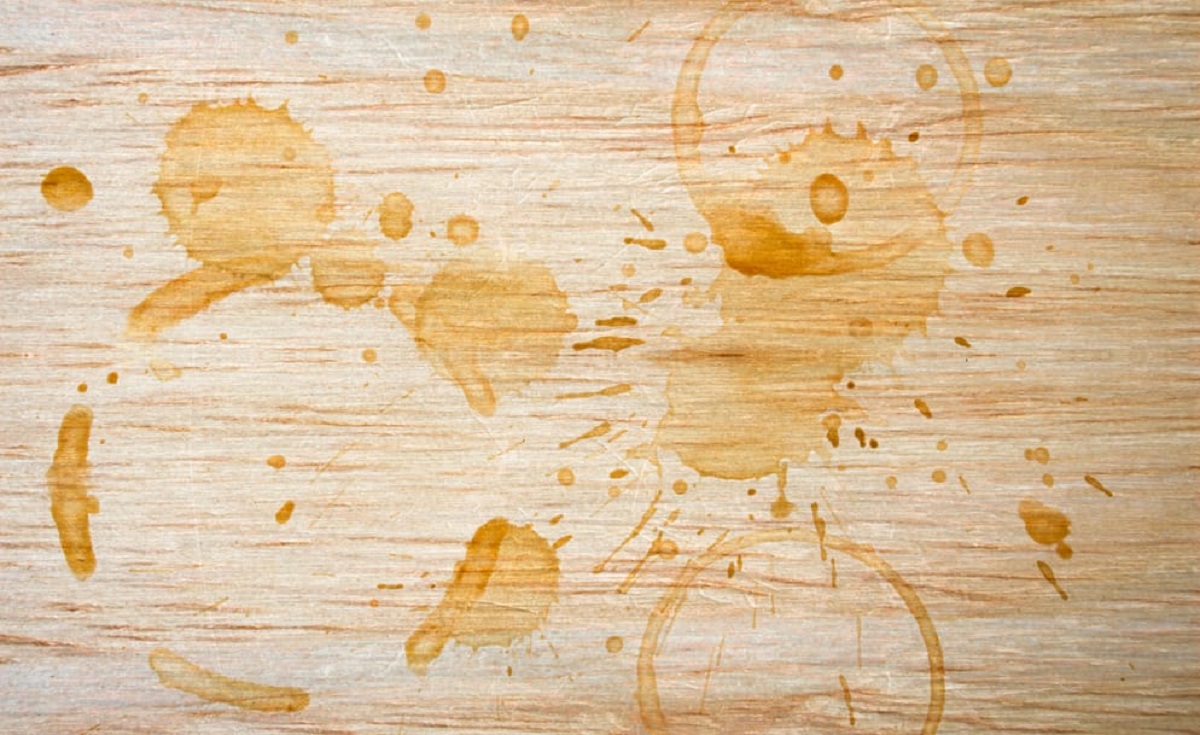
1. Water-Based Stains: These stains occur when liquids like water, juice, or coffee penetrate the wood surface and discolor it. They are generally lighter in color and may appear as discolored spots or rings on the floor.
2. Oil-Based Stains: Oil-based stains are typically caused by substances like cooking oil, grease, or wax. These types of stains tend to darken the affected area and can be more challenging to remove than water-based stains.
3. Pet Stains: Accidents happen, especially if you have furry friends at home. Pet stains can contain urine or other waste materials that can deeply penetrate the wood and leave behind stubborn discoloration and odor.
4. Deep Set Stains: Over time, certain stains can become deeply set into the wood, making them more challenging to remove. These stains may require a combination of methods, such as sanding and refinishing, to achieve optimal results.
It’s crucial to identify the type of stain on your wood floors before attempting any removal techniques. Different stains require different approaches to ensure the best possible outcome and prevent causing further damage to your flooring.
In the following sections, we will provide step-by-step instructions on how to remove each type of stain effectively. So, let’s roll up our sleeves and learn how to restore the natural beauty of your wood floors!
Preparing the Wood Floor
Before you begin the stain removal process, it’s essential to properly prepare the wood floor. This preparation ensures that you can effectively treat the stain without causing additional damage. Follow these important steps:
1. Clear the Area: Start by removing any furniture, rugs, or other items from the area where the stain is located. This will give you a clear workspace and prevent any obstacles during the cleaning process.
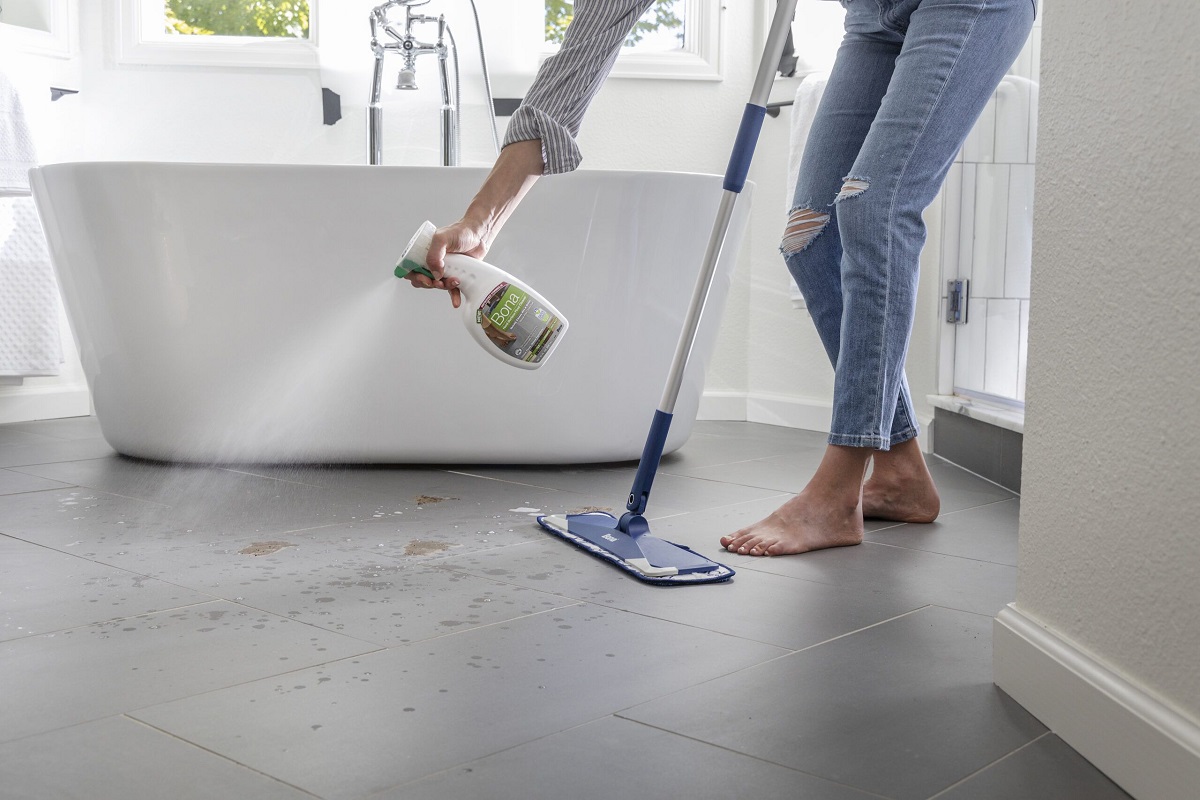
2. Clean the Surface: Thoroughly sweep the floor to remove loose dirt, dust, and debris. Use a soft-bristle broom or a vacuum cleaner with a floor attachment to ensure that the surface is free from any loose particles that can scratch the wood.
3. Determine the Finish: Different wood floor finishes may require specific treatment methods. Check whether your floor has a polyurethane, wax, or oil finish. This information will guide you in choosing the appropriate cleaning solutions and techniques.
4. Test an Inconspicuous Area: Before applying any cleaning or stain removal products to the stained area, test them on a small, inconspicuous part of the floor. This step is crucial to ensure that the cleaning solution or product does not cause any adverse effects or further damage to the wood.
5. Gather the Necessary Supplies: Make sure you have all the tools and supplies you will need for the stain removal process. This may include clean microfiber cloths, soft-bristle brushes, a bucket of warm water, mild wood floor cleaner or vinegar, hydrogen peroxide, mineral spirits, and protective gloves.
By taking the time to prepare the wood floor properly, you set the stage for successful stain removal. Now that you have a clean and clear workspace, it’s time to tackle those unsightly stains on your wood floors. In the upcoming sections, we will provide you with detailed instructions on how to remove water-based, oil-based, and pet stains, as well as deal with deep-set stains on your wood floors.
Removing Water-Based Stains
Water-based stains on wood floors, such as those caused by spills or condensation, can be relatively easier to remove compared to other types of stains. Here’s a step-by-step guide to help you get rid of water-based stains:
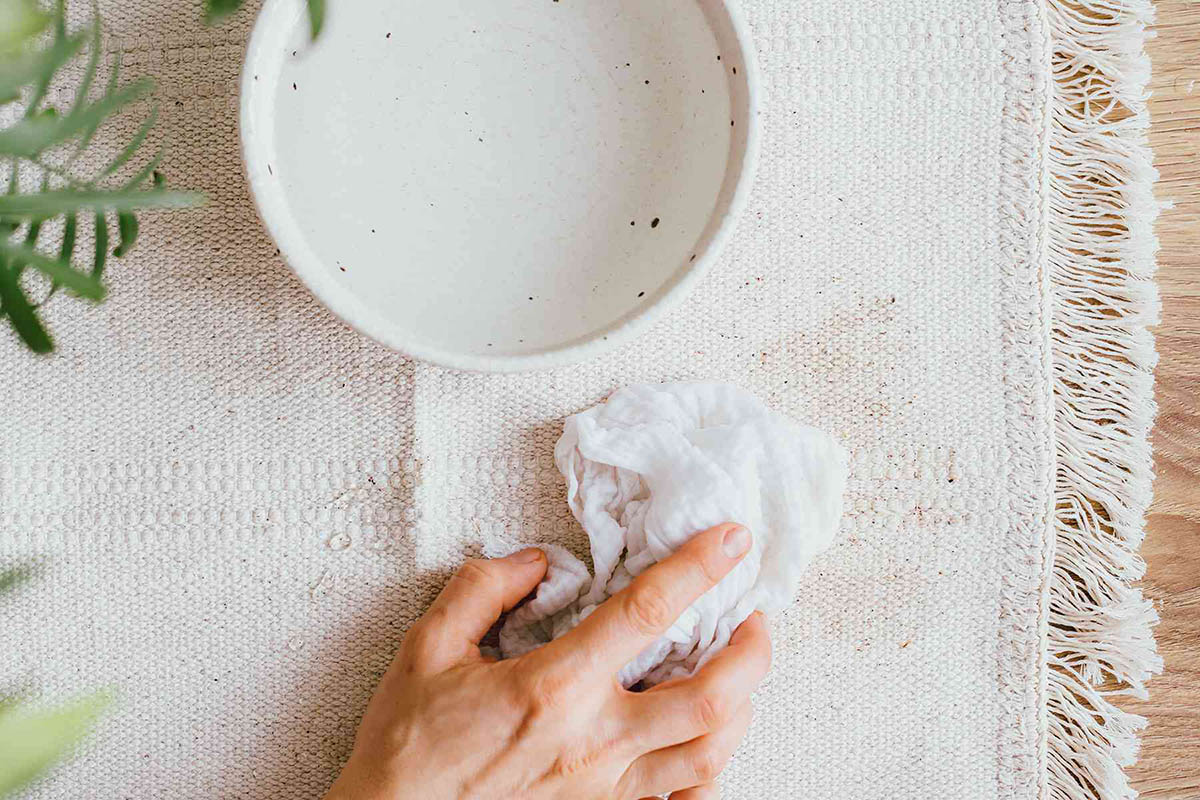
1. Blot the Stain: If the water-based stain is fresh, start by blotting the affected area immediately to remove excess liquid. Use a clean, absorbent cloth or paper towels to gently blot the stain without rubbing it, as this can spread the stain further.
2. Prepare a Cleaning Solution: In a bucket, mix a mild wood floor cleaner with warm water according to the manufacturer’s instructions. Alternatively, you can create a natural cleaning solution by mixing equal parts vinegar and water.
3. Clean the Stained Area: Dip a soft cloth or sponge into the cleaning solution and wring out any excess liquid. Gently wipe the stained area, following the grain of the wood. Avoid applying excessive moisture to prevent damage to the wood floor.
4. Rinse with Clean Water: After cleaning, dampen another cloth or sponge with plain water and wipe the area to remove any residue from the cleaning solution. This step helps prevent any potential buildup that could affect the floor’s appearance in the long run.
5. Dry Thoroughly: Once you have finished cleaning, use a dry, clean cloth or paper towels to absorb any excess moisture from the floor. Allow the area to air dry completely before allowing foot traffic or replacing furniture on the surface.
In most cases, this gentle cleaning method should effectively remove water-based stains from wood floors. However, for tougher stains or older and more deeply penetrated marks, additional steps or alternative removal methods may be required. Remember, prevention is always the best approach, so be sure to address spills and moisture immediately to minimize the risk of staining your wood floors.
Removing Oil-Based Stains
Oil-based stains on wood floors, such as those caused by cooking oil or grease, can be more stubborn and challenging to remove. However, with the right approach and patience, you can effectively tackle these stains. Follow these steps to remove oil-based stains from your wood floors:
1. Blot the Stain: If the oil-based stain is fresh, blot the area immediately with a clean cloth or paper towels to soak up as much of the oil as possible. Avoid rubbing the stain, as this can push the oil deeper into the wood fibers.
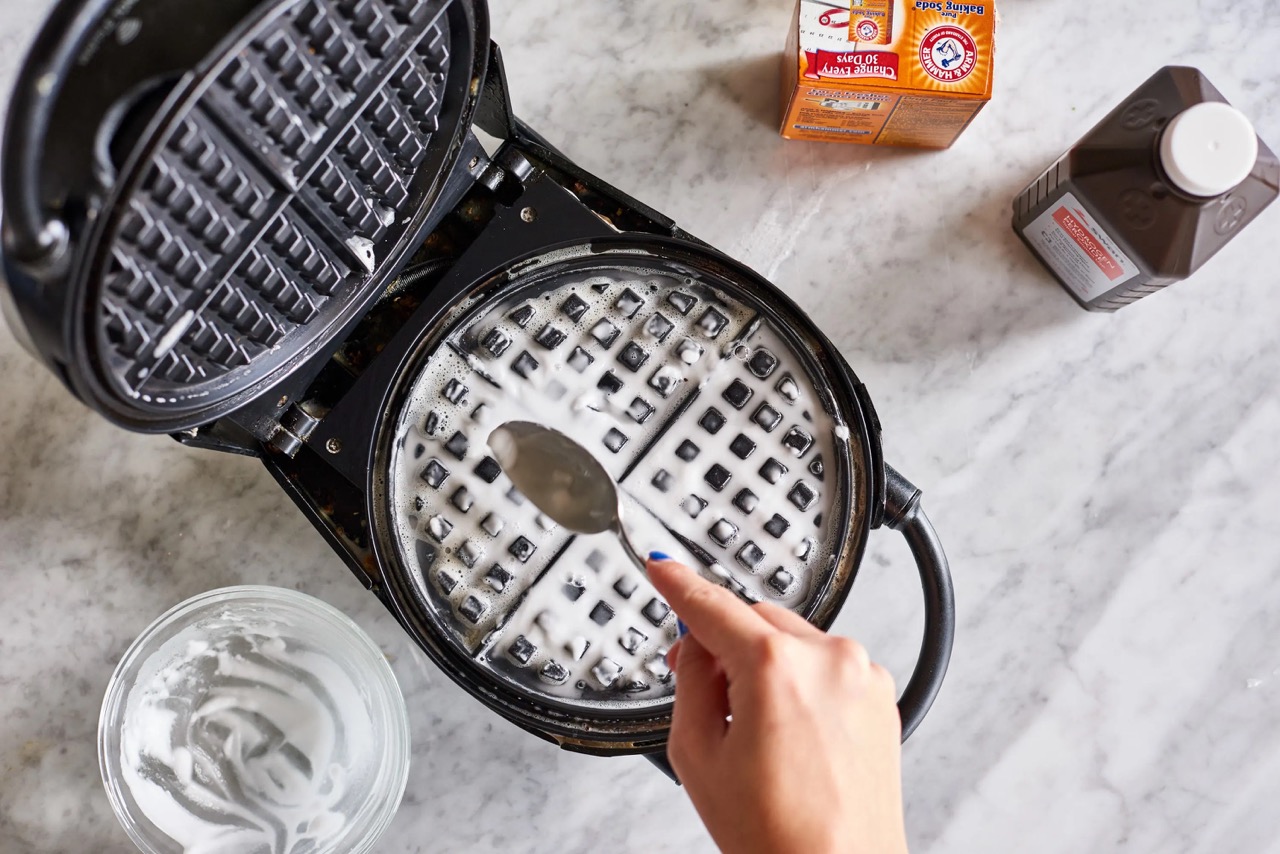
2. Absorb the Oil: Sprinkle a generous amount of baking soda or cornstarch directly onto the stained area. These absorbent powders will help draw out the oil from the wood. Allow it to sit for several hours or overnight to maximize its effectiveness.
3. Vacuum or Sweep: After the baking soda or cornstarch has absorbed the oil, use a vacuum cleaner or a broom to remove the powder from the floor. Be gentle to avoid scratching the wood surface.
4. Apply a Cleaning Solution: Create a mixture of warm water and mild dish soap or a commercial wood floor cleaner. Dampen a soft cloth or sponge in the solution and gently scrub the stained area, following the direction of the wood grain.
5. Rinse and Dry: Rinse the cloth or sponge with clean water, wring out any excess moisture, and then wipe the area again to remove any residue from the cleaning solution. Pat the floor dry with a clean cloth or paper towels to ensure it is thoroughly dry.
If the oil-based stain remains after following these steps, you may need to use a stronger solution or consult a professional for further assistance. Avoid using harsh chemicals or abrasive cleaning agents, as they can damage your wood floors. Always test any new cleaning products or methods on a small, inconspicuous area before applying them to the entire stained area.
Remember, prevention is key to minimizing oil-based stains on your wood floors. Regularly clean and maintain your floors to prevent the buildup of grease and oil. Additionally, using rugs or mats in high-traffic areas can help protect your wood floors from potential stains.
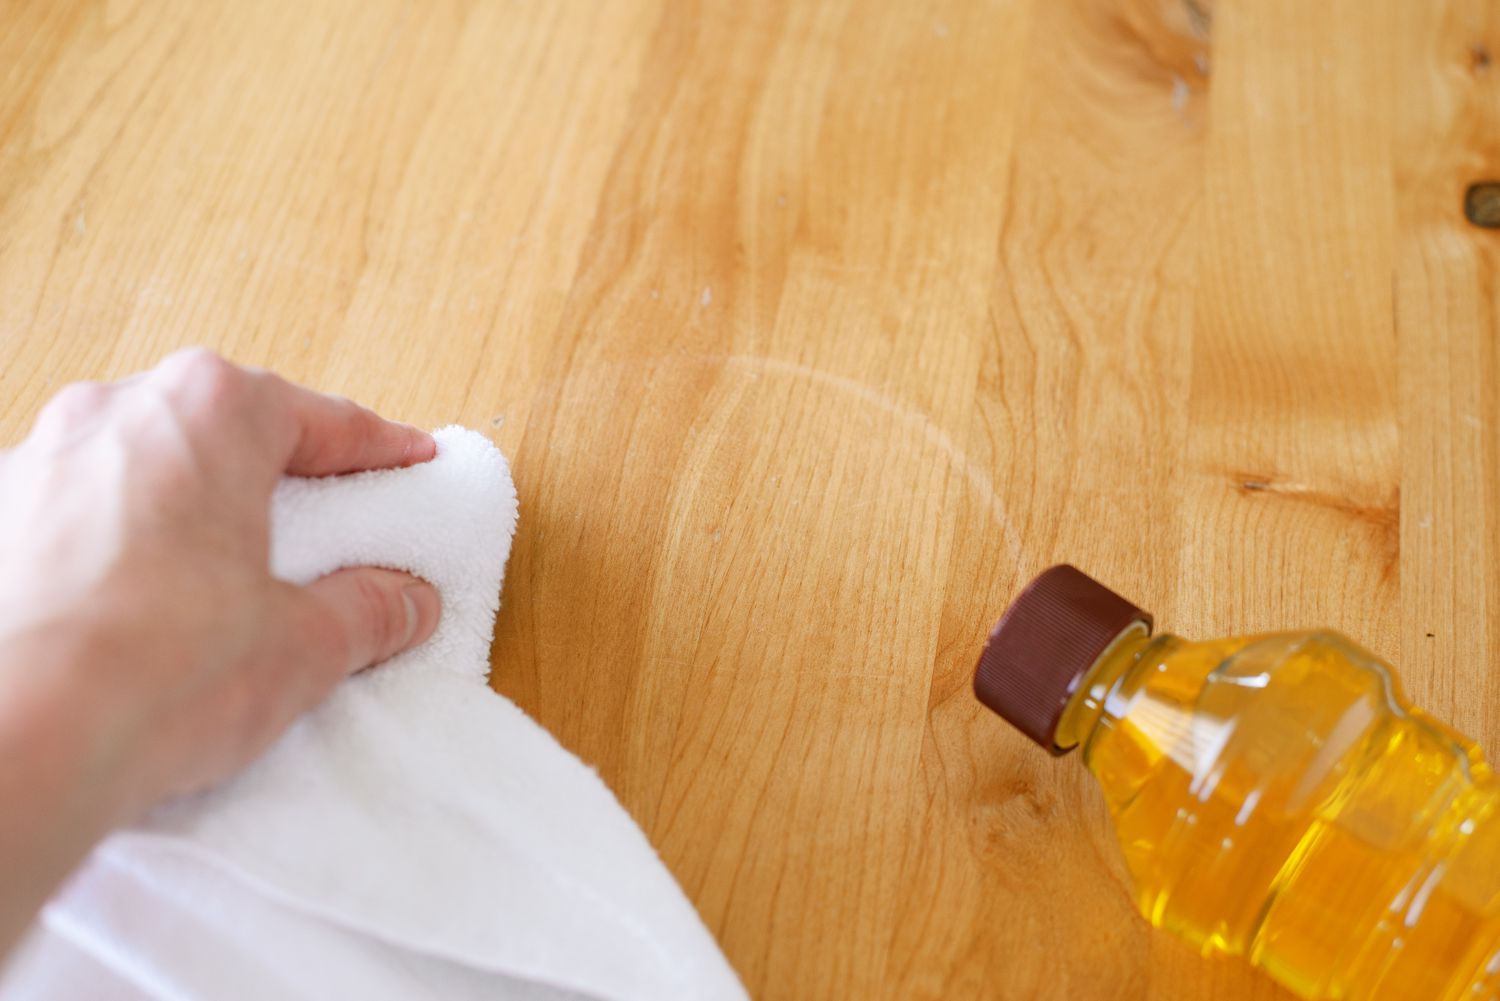
Use a mixture of equal parts water and vinegar to gently scrub the stain on the wood floor. Avoid using harsh chemicals that can damage the wood.
Read more: How To Remove Stain From Hardwood Floor
Removing Pet Stains
For pet owners, dealing with accidents on wood floors can be a common occurrence. The key to successfully removing pet stains is prompt action and using the right techniques. Here’s a step-by-step guide to help you effectively tackle pet stains on your wood floors:
1. Blot the Stain: If the pet stain is fresh, immediately blot the area with paper towels or a clean cloth to absorb as much of the urine or pet waste as possible. Avoid rubbing the stain, as this can spread it further and penetrate deeper into the wood.
2. Neutralize the Odor: To combat the odor associated with pet stains, mix a solution of equal parts water and white vinegar. Gently pour or spray the mixture onto the stained area and let it sit for a few minutes to neutralize the odor.
3. Clean the Stained Area: After neutralizing the odor, prepare a cleaning solution by mixing mild dish soap with warm water. Dampen a soft cloth or sponge in the solution and gently scrub the stained area, following the direction of the wood grain.
4. Rinse and Dry: Rinse the cloth or sponge with clean water, wring out any excess moisture, and then wipe the area again to remove any soap residue. Pat the floor dry with a clean cloth or paper towels to ensure it is thoroughly dry.
5. Treat Stubborn Stains: If the pet stain has already set into the wood, you may need to use a specialized enzymatic cleaner specifically designed for pet stains. These cleaners break down the organic matter and eliminate the odor at the source. Follow the instructions provided by the manufacturer for the best results.
6. Sanding and Refinishing: In severe cases where the pet stain has deeply penetrated the wood and cannot be completely removed, you may need to consider sanding and refinishing the affected area. This process involves sanding down the stained wood to remove the top layers and then applying a fresh coat of stain and finish to restore the appearance of the floor.
Remember, prevention is essential when it comes to pet stains on wood floors. Properly train your pets and provide them with designated areas to avoid accidents. Additionally, regularly clean up any messes promptly to prevent them from seeping into the wood and causing long-term damage.
By following these steps and taking quick action, you can effectively remove pet stains from your wood floors and maintain a clean and odor-free environment.
Treating Deep Set Stains
Deep-set stains on wood floors can be more challenging to remove, as they have penetrated deeper into the wood fibers. However, with the right approach and a bit of effort, you can minimize their appearance. Follow these steps to treat deep-set stains on your wood floors:
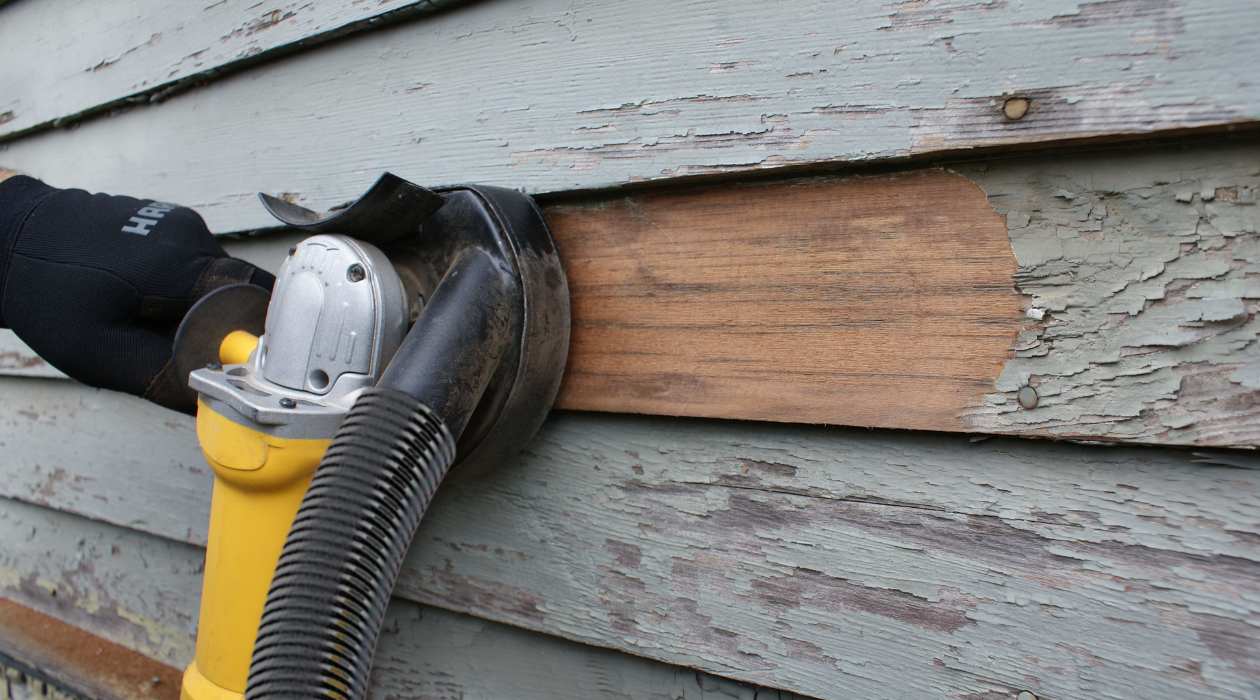
1. Sanding the Stained Area: Start by sanding the stained area using fine-grit sandpaper. Be sure to sand gently and follow the grain of the wood to avoid causing further damage. Sanding helps to remove the top layers of the stained wood, exposing fresh layers underneath.
2. Apply a Wood Bleach: If the stain persists after sanding, you may need to use a wood bleach to lighten the area. Choose a bleach specifically designed for wood floors and follow the manufacturer’s instructions carefully. Apply the bleach using a clean cloth or brush and allow it to sit for the recommended time.
3. Neutralize and Remove the Bleach: After the bleach has had time to work, neutralize it by rinsing the area with a mixture of water and vinegar. This step helps prevent any residual bleach from continuing to lighten the wood or causing further damage. Wipe away the excess moisture with a clean cloth or paper towels.
4. Assess the Results: Once the bleached area has dried, evaluate the results. If the stain has lightened significantly but is still visible, you may need to repeat the bleaching process or try alternative stain removal methods. Remember that some stains may be more stubborn and may require professional assistance or more extensive refinishing.
5. Sand and Refinish the Floor: In more severe cases where the stain cannot be fully removed, you may need to consider sanding and refinishing the entire affected section of the floor. This process involves sanding down the wood to remove the stained layers and then applying a fresh coat of stain and finish to restore the floor’s appearance. Professional assistance may be required for this step to ensure a smooth and even refinishing.
It’s important to keep in mind that deep-set stains may not always be completely removed, especially if they have penetrated deeply into the wood. However, by following these steps and assessing the results, you can significantly improve the appearance of the stained area on your wood floors.
Sanding and Refinishing the Wood Floor
If your wood floor has stains that cannot be completely removed or if you want to give your floor a fresh new look, sanding and refinishing may be the solution. Sanding and refinishing involves removing the top layers of the wood to eliminate stains, scratches, and wear, and then applying a new finish to restore its original beauty. Here are the steps to sand and refinish your wood floor:
1. Prepare the Area: Clear the room of furniture, rugs, and any other items that could interfere with the sanding process. Cover nearby surfaces and openings to protect them from dust and debris. Open windows or use fans for ventilation during the process.
2. Sanding: Rent a floor sander or hire a professional with the necessary equipment for the sanding process. Start with a coarse-grit sandpaper to remove the existing finish and any stains. Gradually work your way up to finer grits to achieve a smooth surface. Sand with the grain of the wood, moving in a back-and-forth motion, and pay extra attention to the stained areas.
3. Clean the Dust: After sanding, thoroughly clean the floor to remove all the dust and debris. Use a vacuum cleaner with a brush attachment, followed by a damp mop or cloth. Ensure that the surface is completely dry before proceeding.
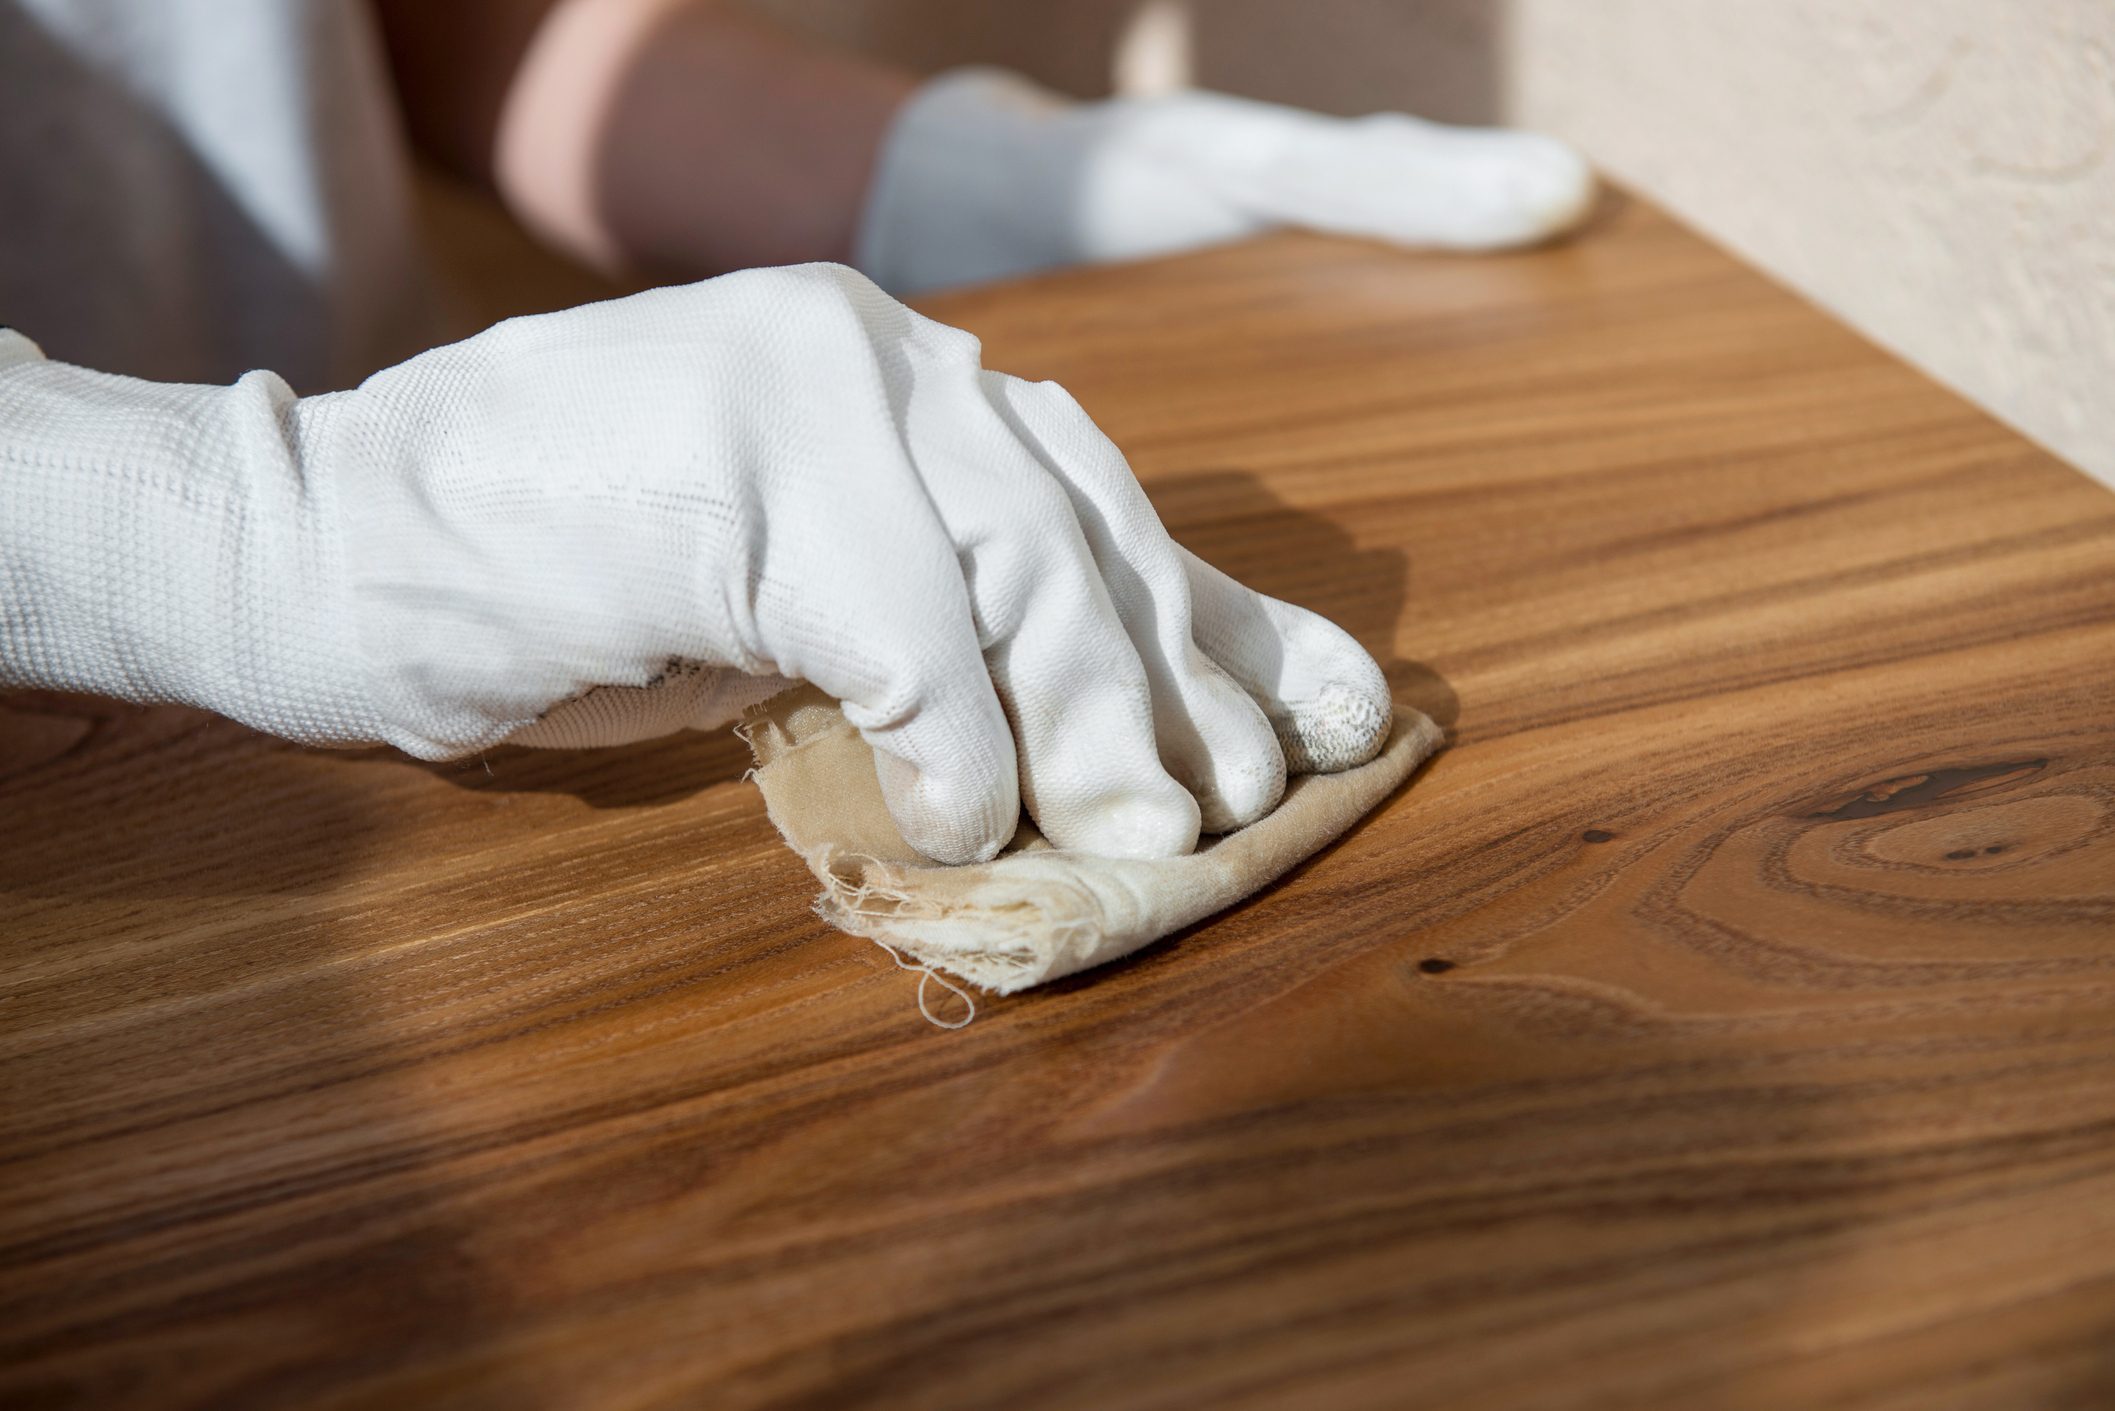
4. Stain (Optional): If you want to change the color of the wood or further conceal any remaining stains, apply a wood stain following the manufacturer’s instructions. Wipe off any excess stain to achieve the desired color. Allow the stain to dry completely before proceeding.
5. Apply Finish: Apply the chosen finish to protect and enhance the wood. There are various options available, such as polyurethane, oil-based finishes, or water-based finishes. Follow the manufacturer’s instructions on application techniques and drying times. Apply multiple coats, allowing each coat to dry before applying the next. Lightly sand between each coat for a smooth finish.
6. Let It Cure: Once the final coat of finish has been applied, allow the floor to cure for the recommended time before putting furniture back in place or allowing foot traffic. Curing times may vary depending on the type and brand of finish used, so be sure to check the instructions.
By sanding and refinishing your wood floor, you can completely transform the look and feel of your space while also effectively removing stains and restoring its natural beauty. This process may require skill and experience, so if you’re unsure, it’s best to consult a professional to ensure the best possible results.
Protecting and Maintaining Wood Floors
After removing stains or refinishing your wood floors, it’s important to implement proper maintenance and protective measures to keep them looking beautiful for years to come. Here are some essential tips for protecting and maintaining your wood floors:
1. Use Rugs and Mats: Place rugs or mats at entryways, high-traffic areas, and under furniture to prevent dirt, grit, and moisture from being tracked onto the wood floor. These protective barriers can help minimize scratches and stains.
2. Clean Regularly: Establish a regular cleaning routine for your wood floors. Sweep or vacuum regularly to remove dirt, dust, and debris that can scratch the surface. Use a microfiber mop or damp cloth to gently clean the floor, avoiding excessive water that can seep into the wood.
3. Wipe up spills immediately: Promptly clean up any spills or accidents to prevent them from seeping into the wood and causing stains or damage. Use a soft cloth or paper towel to absorb the liquid, and then clean the area with a damp cloth if necessary.
4. Avoid Harsh Chemicals: When cleaning your wood floors, avoid using harsh chemicals or abrasive cleaners that can strip away the finish or damage the wood. Instead, opt for mild wood floor cleaners or natural solutions such as vinegar and water mixtures.
5. Protect from Furniture: Place felt pads or furniture protectors under the legs of furniture to prevent scratches and dents when moving or rearranging. Regularly check the pads for wear and replace if necessary.
6. Control Humidity Levels: Wood floors can be sensitive to fluctuations in humidity, which can cause the wood to expand or contract. Use a humidifier or dehumidifier to maintain a stable indoor humidity level between 40-60% to preserve the integrity of the wood.
7. Trim Pet Nails: Keep your pets’ nails trimmed to prevent scratches on the wood floor. Consider using protective booties for your pets or creating designated areas for them to minimize any potential accidents or damage.
8. Schedule Professional Maintenance: Periodically, consider hiring professionals to perform deep cleaning, polishing, or maintenance on your wood floors. They have the expertise and tools to ensure your floors remain in optimal condition.
By implementing these protective and maintenance measures, you can prolong the life of your wood floors and keep them looking stunning for years to come. Remember, prevention and regular care are the keys to maintaining the natural beauty and durability of your wood floors.
Read more: How To Apply Stain To Wood Floor
Conclusion
Wood floors add a timeless and elegant touch to any home, but they can be susceptible to stains and wear over time. However, with the right knowledge and techniques, you can successfully remove stains from your wood floors and restore them to their former glory.
In this comprehensive guide, we’ve covered the various types of stains that can affect wood floors, from water-based and oil-based stains to pet accidents and deep-set stains. We provided step-by-step instructions on how to tackle each type effectively, emphasizing the importance of proper preparation, using the right cleaning solutions, and following best practices for stain removal.
We also explored the option of sanding and refinishing for those stubborn stains or when you want to refresh the look of your wood floors. This process involves carefully sanding the surface to remove imperfections and applying a fresh coat of finish to protect and enhance the beauty of the wood.
To ensure the long-lasting beauty of your wood floors, we discussed essential maintenance and protective measures. Cleaning regularly, promptly addressing spills, using rugs or mats, and protecting the floor from furniture can go a long way in maintaining the integrity of the wood and preventing damage.
Remember, proper care and maintenance are key to preserving the natural beauty and longevity of your wood floors. By following the tips and techniques outlined in this guide, you can enjoy the stunning aesthetics and warmth that wood floors bring to your living space for many years to come.
So, roll up your sleeves, gather your cleaning supplies, and get ready to remove those stains. Your wood floors are waiting to be rejuvenated!
Frequently Asked Questions about How To Remove Stains From Wood Floors So They Look Good As New
Was this page helpful?
At Storables.com, we guarantee accurate and reliable information. Our content, validated by Expert Board Contributors, is crafted following stringent Editorial Policies. We're committed to providing you with well-researched, expert-backed insights for all your informational needs.

0 thoughts on “How To Remove Stains From Wood Floors So They Look Good As New”