Home>Storage Ideas>Bedroom Storage>How To Properly Load A Washing Machine For The Best Clean Every Time
Bedroom Storage
How To Properly Load A Washing Machine For The Best Clean Every Time
Modified: September 1, 2024
Learn the proper way to load your washing machine for the best clean every time. Discover essential tips and tricks for maximizing bedroom storage.
(Many of the links in this article redirect to a specific reviewed product. Your purchase of these products through affiliate links helps to generate commission for Storables.com, at no extra cost. Learn more)
Introduction
Welcome to our comprehensive guide on how to properly load a washing machine for the best clean every time. Whether you’re a laundry expert or just starting to tackle your own household chores, understanding the correct way to load your washing machine is crucial for achieving optimal results.
Properly loading a washing machine involves more than just stuffing your clothes inside and pressing start. By following these step-by-step instructions, you’ll not only ensure that your garments come out clean and fresh, but you’ll also extend the life of your machine and protect your clothing from damage.
From sorting your laundry to adjusting the water temperature and cycle settings, we’ll cover all the essential techniques and tips to make the most out of your washing machine. So, let’s dive in and discover how to load your machine like a pro!
Key Takeaways:
- Properly sorting laundry by color and fabric type is crucial for preventing damage and achieving optimal cleaning results in the washing machine.
- Checking the machine’s capacity, measuring detergent, and adjusting water temperature are key steps to ensure efficient and effective cleaning for every load of laundry.
Read more: How To Clean A Front Load Washer With Bleach
Step 1: Sort your laundry
The first step in properly loading a washing machine is to sort your laundry. This is an important step because it helps prevent color bleeding, fabric damage, and uneven cleaning. Here’s how to do it:
- Separate by color: Divide your laundry into separate piles based on color. This includes whites, darks, brights, and delicates. Sorting by color helps to prevent color transfer, ensuring that your whites stay white and your darks don’t fade.
- Sort by fabric type: Identify different fabric types in your laundry, such as cotton, synthetic, delicate materials, and heavy fabrics. Sorting by fabric type helps to prevent damage to delicate items and ensures that each fabric receives the appropriate care.
- Check for stains and special requirements: Before loading your machine, examine each garment for stains or special care instructions. Treat stains and follow any specific cleaning directions to ensure the best results.
By taking the time to sort your laundry, you’ll avoid potential mishaps and achieve better overall cleaning results. It’s worth the extra effort to ensure that your clothes are treated properly and come out looking their best.
Step 2: Check the washing machine capacity
Now that you’ve sorted your laundry, it’s important to take a moment to check the capacity of your washing machine. Every machine has a specific load capacity, which indicates the maximum weight of laundry it can handle in one cycle. Here’s how to determine the capacity of your machine:
- Refer to the user manual: If you’re unsure about your washing machine’s capacity, consult the user manual. It will provide you with detailed information about the maximum load weight.
- Check the drum size: In most cases, the drum size is directly related to the machine’s capacity. Measure the dimensions of your machine’s drum to assess its capacity. Alternatively, you can look for the capacity label inside the drum or on the back of the machine.
It’s essential to load only up to the recommended capacity of your washing machine. Overloading can result in poor cleaning efficiency, excessive wear and tear on the machine, and even damage to your clothes. On the other hand, underloading wastes water and energy.
Remember, it’s better to split your laundry into multiple loads if necessary. This way, each load will be cleaned thoroughly, and you’ll achieve the best possible results. By taking the time to check your washing machine’s capacity, you’ll ensure efficient and effective cleaning every time.
Step 3: Measure and add detergent
Now that you’ve sorted your laundry and determined the capacity of your washing machine, it’s time to measure and add the appropriate amount of detergent. Using the right amount of detergent is crucial for achieving clean and fresh-smelling clothes. Here’s how to do it:
- Read the detergent packaging: Different detergents have varying recommended amounts depending on the load size. Refer to the packaging of your chosen detergent to find the proper measurement guidelines.
- Consider the level of dirtiness: If your clothes are heavily soiled, you may need to use slightly more detergent. Conversely, for lightly soiled garments, you can use a slightly smaller amount.
- Use a measuring cup or dispenser: To ensure accurate measurements, use a measuring cup or dispenser specifically designed for liquid or powder detergent. Avoid guessing or eyeballing the amount, as this can result in using too much or too little detergent.
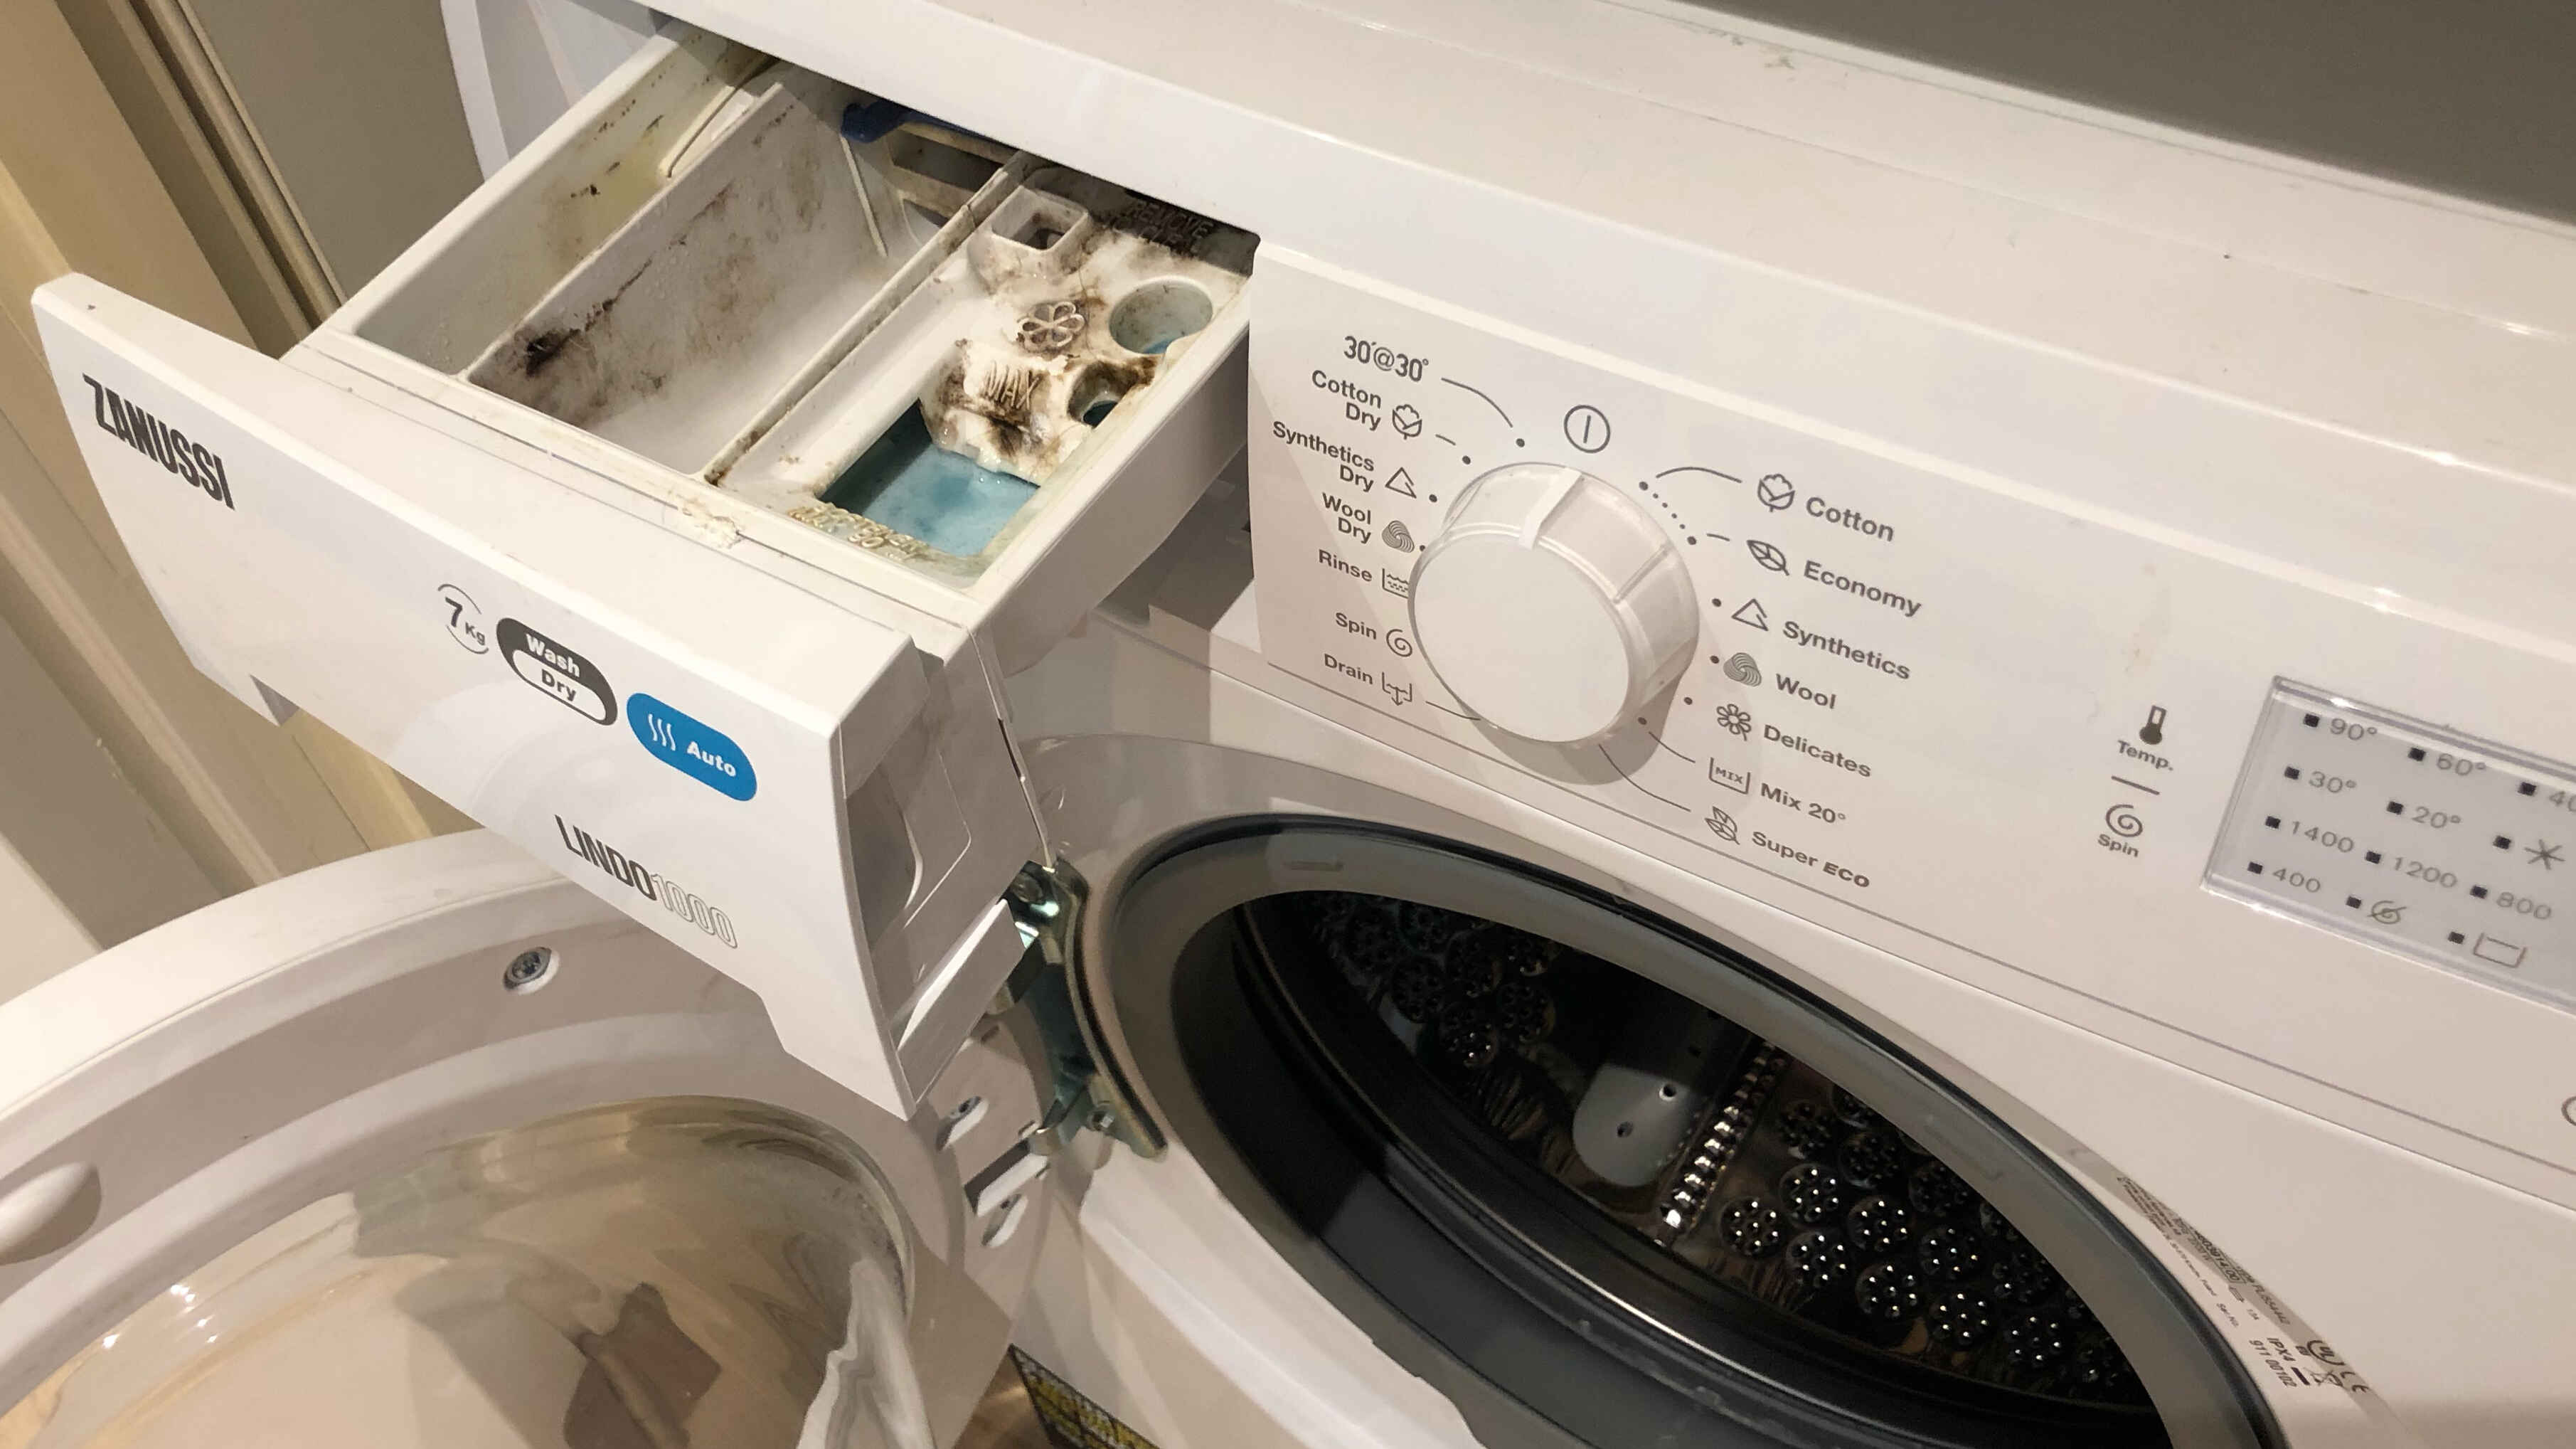
- Follow the machine’s recommendations: Some washing machines have built-in detergent dispenser compartments. If your machine has this feature, follow the recommended fill lines to add the detergent at the appropriate stage of the wash cycle.
By measuring and adding the correct amount of detergent, you’ll achieve optimal cleaning results without wasting excess product. Overusing detergent can leave residue on your clothes and cause your machine to require more rinsing cycles. On the other hand, using too little detergent may result in inadequate cleaning.
Remember to store your detergent in a cool and dry place, following the manufacturer’s instructions for the best shelf life. By following these steps, you’ll ensure that your laundry is properly cleaned and fresh-smelling with every wash.
Step 4: Load large items first
When it comes to loading your washing machine, it’s essential to start with the larger items. This ensures a balanced and efficient wash cycle, allowing all garments to be properly cleaned. Follow these steps to load large items:
- Place large items at the bottom: Start by placing large items, such as blankets, bed sheets, and towels, at the bottom of the machine. These bulky items will provide a solid base for the rest of the load.
- Distribute weight evenly: As you add large items, distribute the weight evenly to prevent the machine from becoming unbalanced during the wash cycle. Uneven weight distribution can lead to excessive vibrations and may even damage the machine.
- Avoid overcrowding: While it may be tempting to load as much as possible into a single cycle, be cautious not to overload your machine. Overcrowding can result in poor agitation and inadequate cleaning. Leave enough room for water and detergent to circulate throughout the load.
By loading large items first, you create a stable foundation in the washing machine and allow other garments to maneuver freely. This ensures that all items are properly cleaned, without tangling or twisting during the wash cycle.
Also, keep in mind the weight restrictions of your machine. Heavy items, such as comforters or large rugs, may exceed the weight capacity of your washing machine. In such cases, it’s often best to take these items to a laundromat with commercial-grade machines.
By following these steps, you’ll optimize the performance of your washing machine and achieve the best possible clean for your large items.
Read more: How To Deep Clean Top Load Washer
Step 5: Place delicate items in mesh bags
Delicate items require extra care to ensure they’re not damaged during the washing process. One effective way to protect these garments is by placing them in mesh laundry bags. Here’s how to safely handle delicate items:
- Gather your delicate items: Identify any garments that require special handling due to their delicate nature, such as lingerie, lace items, and fine fabrics like silk or cashmere.
- Select appropriate mesh bags: Use mesh laundry bags specifically designed for delicates. These bags have smaller holes that prevent snags and provide a level of protection during the wash cycle.
- Place delicate items in the bags: Carefully put the delicate garments into individual mesh bags, ensuring they have enough space to move freely. Avoid overstuffing the bags to allow for proper cleaning and rinsing.
- Secure the bags: Close the mesh bags securely to prevent garments from slipping out during the wash cycle. Some mesh bags have drawstrings or zippers, while others require a simple knot.
Using mesh bags for delicate items offers multiple benefits. First, it protects the garments from being stretched, snagged, or tangled with other clothing or washing machine components. Second, the mesh allows water and detergent to circulate freely, ensuring proper cleaning.
Keep in mind that even with the use of mesh bags, it’s still important to select gentle or delicate cycles for these items. This reduces the agitation and minimizes the risk of damage.
By following these steps and using mesh bags, you’ll keep your delicate items safe while still achieving a thorough cleaning in your washing machine.
Sort laundry by color and fabric type. Fill the machine with the appropriate amount of detergent. Avoid overloading the machine to allow for proper agitation and thorough cleaning.
Step 6: Separate colors and fabrics
Separating your laundry by color and fabric is a crucial step to prevent color bleeding, fabric damage, and fading. By following these guidelines, you’ll ensure that your clothes maintain their vibrancy and longevity:
- Divide by color: Sort your laundry into separate piles based on color groups—whites, darks, brights, and lights. This prevents colors from bleeding onto each other, keeping your whites bright and your darks rich.
- Separate by fabric type: Sort your laundry into different piles based on fabric type, such as cotton, synthetic, denim, and delicate materials. This allows for proper care and prevents damage to delicate fabrics during the wash cycle.
- Consider water temperature: When separating your laundry, take into account the water temperature requirements of each type of fabric. Some fabrics require cold water while others benefit from warmer temperatures. Separating by fabric type allows you to adjust the water temperature accordingly.
Separating colors and fabrics minimizes the risk of color transfer and fabric damage. It also ensures that different types of fabrics receive the appropriate treatment during the wash cycle, leading to better cleaning results.
While it may take a little more effort to separate your laundry, the payoff is well worth it. Your clothes will maintain their original colors and fabrics, extending their lifespan and keeping them looking their best.
By following these guidelines, you’ll achieve cleaner and more vibrant clothes while protecting them from potential damage during the washing process.
Step 7: Close zippers and fasten buttons
Before loading your laundry into the washing machine, take a moment to close zippers and fasten buttons. This step helps protect your clothing from damage and prevents garments from getting tangled with other items during the wash cycle. Here’s what you need to do:
- Check for open zippers: Inspect each garment for any open zippers. Be sure to check pockets, pants, hoodies, and jackets. Closing zippers prevents them from snagging or damaging other clothing, as well as the washing machine’s drum.
- Fasten buttons and hooks: Securely fasten any buttons, hooks, or clasps on your clothing items. This prevents them from catching on other garments, reducing the risk of buttons coming loose or fabrics tearing.
- Tie drawstrings: If your clothing has drawstrings, like hoodies or sweatpants, tie them securely. This prevents them from becoming tangled during the wash cycle or getting caught in the washing machine’s agitator.
By taking the time to close zippers, fasten buttons, and tie drawstrings, you’ll protect your clothing from unnecessary wear and tear. It also ensures a smoother washing process, minimizing the chances of garments getting entangled or damaged during the cycle.
Additionally, closed zippers and fastened buttons help prevent damage to the washing machine itself. Sharp objects, like open zippers, can scratch the machine’s drum, potentially leading to costly repairs.
By incorporating this simple step into your laundry routine, you’ll extend the life of your clothing, keep them looking their best, and enhance the overall efficiency of your washing machine.
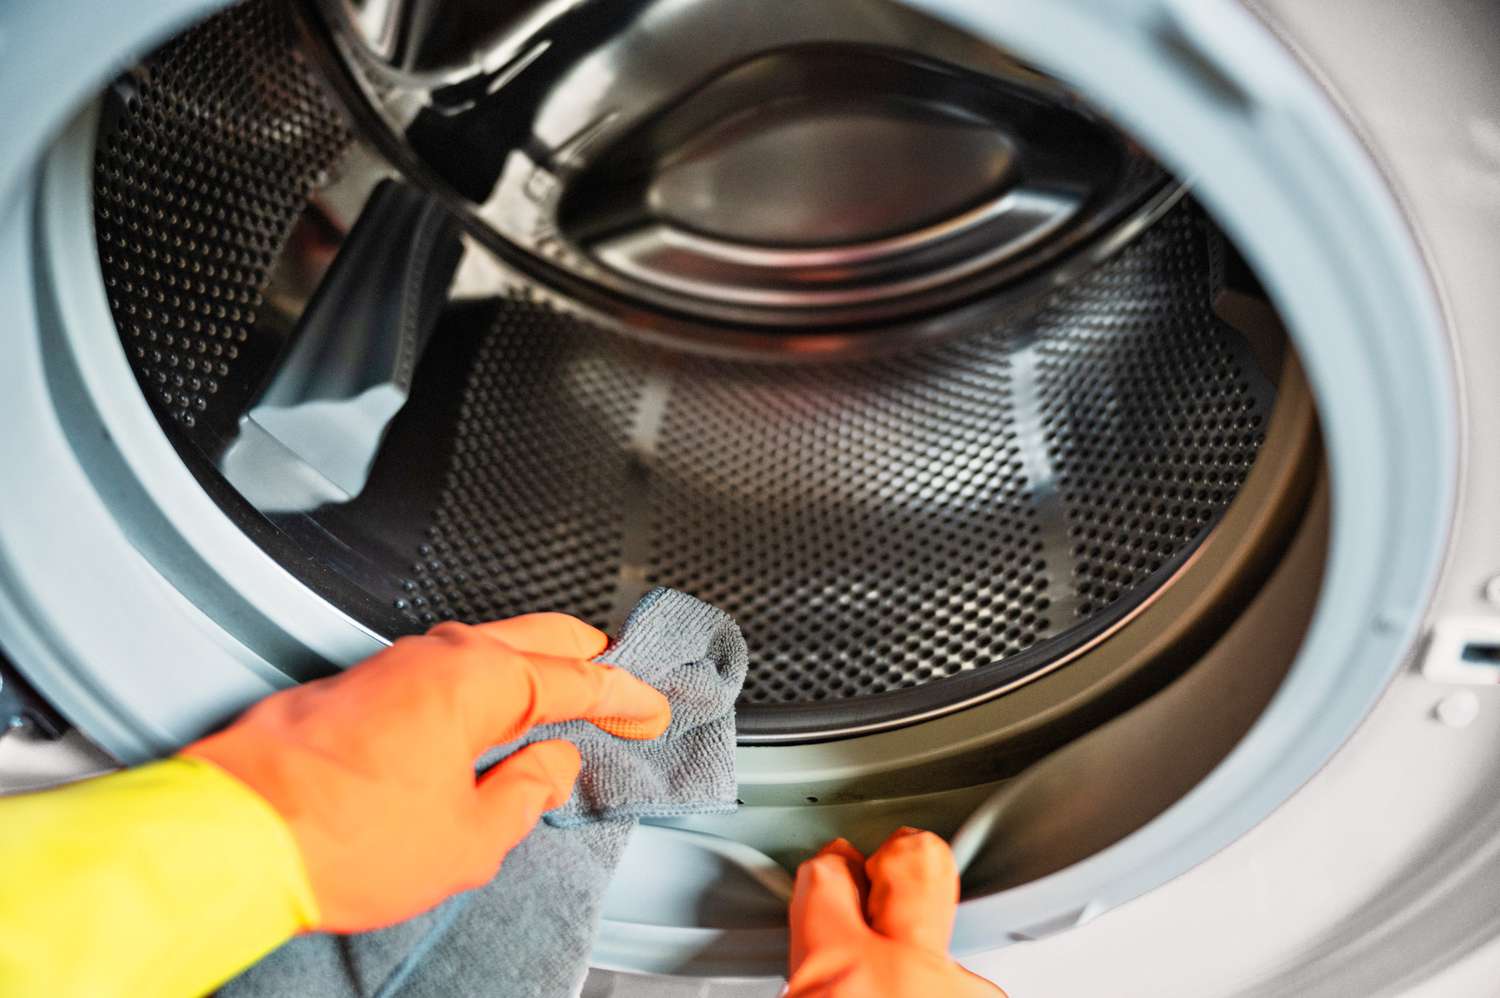
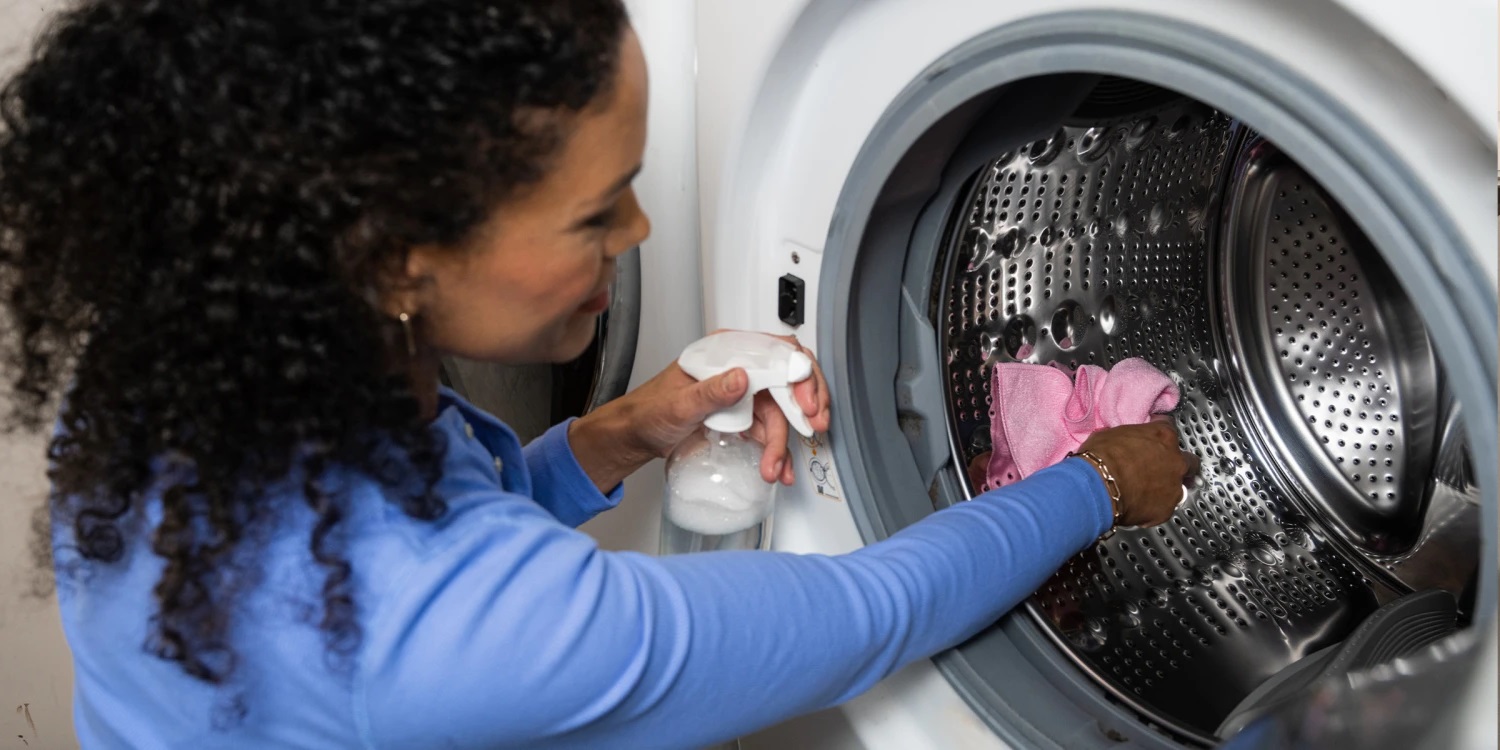
Step 8: Fill the machine without overloading
Properly loading your washing machine involves finding the right balance between maximizing the load size and avoiding overloading. Overloading the machine can lead to inadequate cleaning, increased wear and tear on the appliance, and potential damage to your clothing. Here’s how to fill the machine without overloading:
- Leave enough space: When loading your laundry, make sure to leave enough space for the clothes to move around freely in the drum. Overcrowding can prevent proper water and detergent circulation, resulting in poor cleaning performance.
- Follow the machine’s capacity: Refer to the manufacturer’s guidelines to determine the maximum recommended load size for your specific washing machine. These guidelines usually consider both weight and volume capacity.
- Observe the water level: Take note of the water level when the machine is on. If the water is consistently above the clothes, it’s a sign that you may be overloading the machine. Adjust the load size accordingly.
- Account for bulkiness: Be mindful of bulky items that take up a lot of space, such as blankets or jackets. These items may require more room to allow for proper water flow and movement.
By filling your washing machine without overloading, you’ll ensure that each garment is thoroughly cleaned. Adequate space allows the water and detergent to reach every article of clothing, resulting in a more effective wash.
Remember, it’s better to split your laundry into multiple loads if necessary. This ensures that each load is properly cleaned and prevents any strain on the washing machine.
By following these guidelines, you’ll maintain the efficiency of your washing machine, keep your clothes in good condition, and achieve optimal cleaning results with each load.
Read more: How To Clean A Samsung Top Load Washer
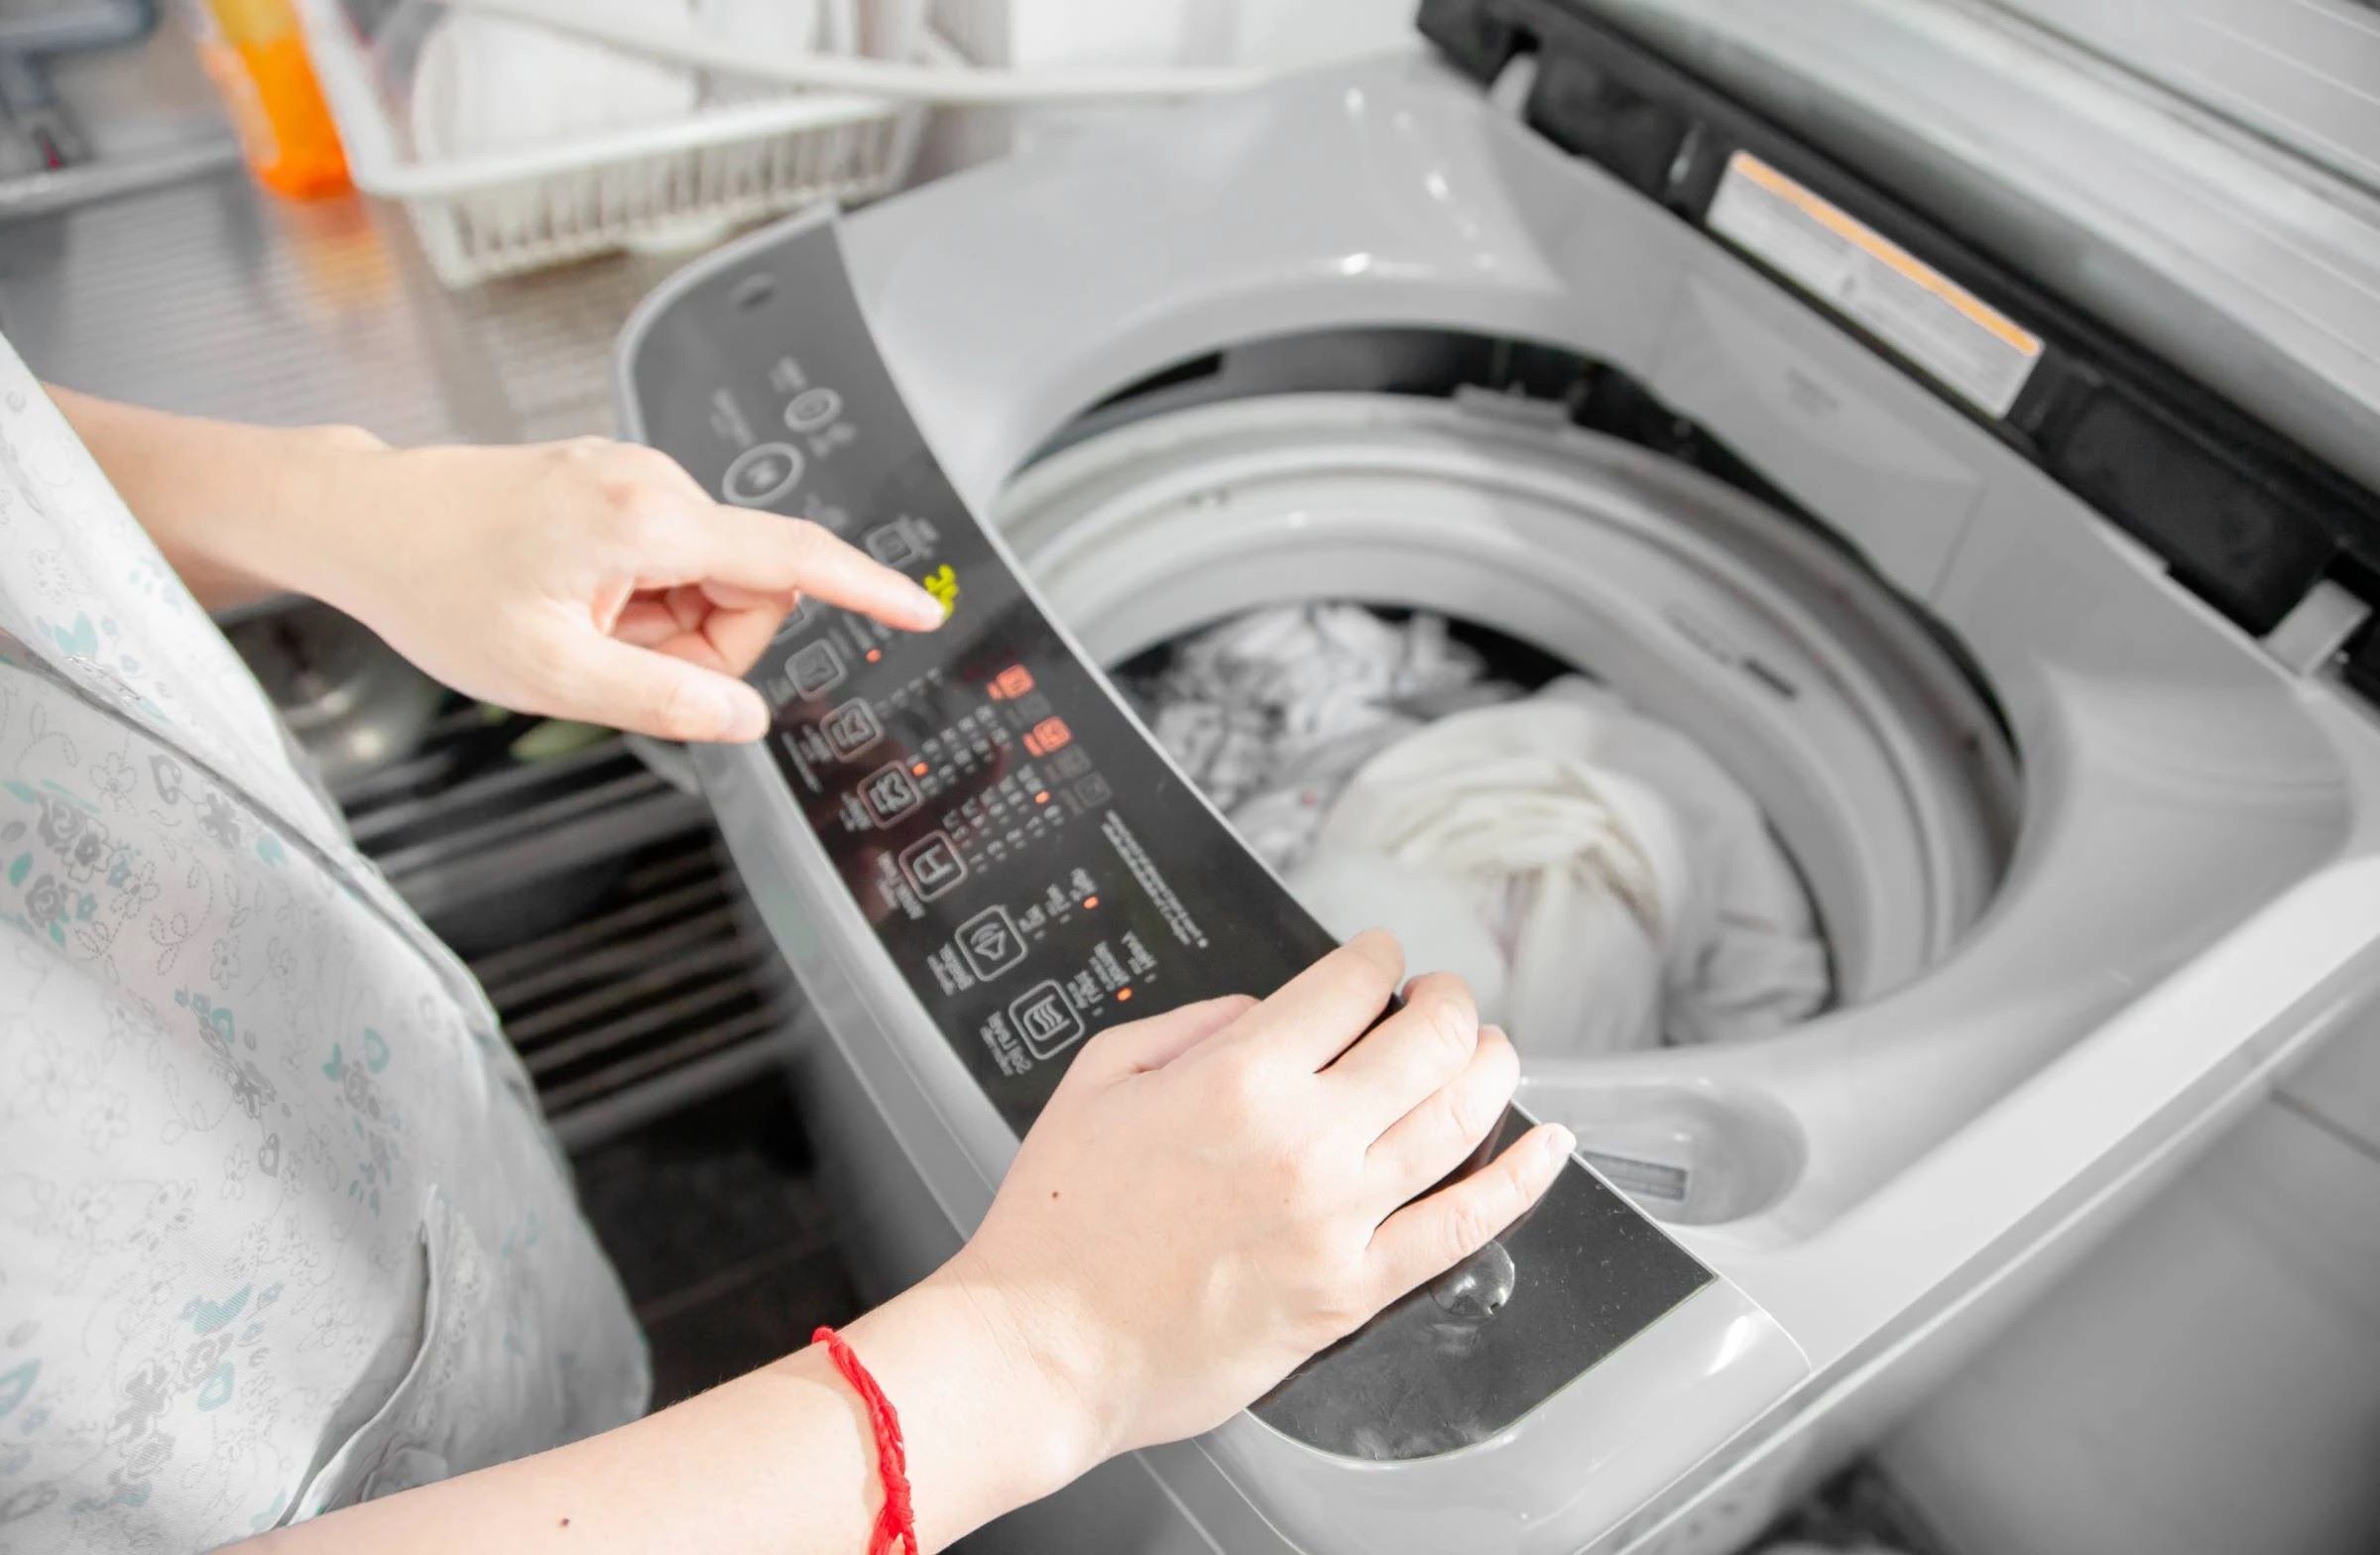
Step 9: Adjust water temperature and cycle settings
Adjusting the water temperature and cycle settings on your washing machine is crucial for achieving the best clean for your specific laundry needs. Different fabrics and levels of dirtiness require different water temperatures and wash cycles. Here’s how to adjust these settings:
- Refer to garment care labels: Check the care labels on your clothing to determine the recommended water temperature and cycle settings. Garments may require cold, warm, or hot water, depending on the fabric and stain level.
- Sort laundry by temperature: Group your laundry into separate piles based on temperature settings (e.g., cold, warm, hot). This enables you to wash similar fabrics together and adjust the water temperature accordingly.
- Select appropriate cycle: Choose the appropriate wash cycle based on the fabric and level of dirtiness. Common options include normal, delicate, permanent press, and heavy-duty. Some machines also offer additional specialty cycles, such as sportswear or bedding.
- Consider additional settings: Depending on your washing machine, you may have additional settings such as pre-soak, extra rinse, or extended wash times. These settings can help customize the cleaning process according to your specific needs.
Properly adjusting the water temperature and cycle settings ensures that your clothes are cleaned effectively while maintaining their quality. Using the right settings helps to remove stains, dirt, and odors, while also preventing damage to delicate fabrics.
Additionally, using colder water temperatures can save energy, as heating water accounts for a significant portion of a washing machine’s energy consumption. However, it’s important to balance energy efficiency with the need for thoroughly clean clothes.
By following these steps and adjusting the water temperature and cycle settings, you’ll optimize the cleaning process and achieve the best results for each load of laundry.
Step 10: Start the wash cycle
After carefully sorting, measuring detergent, closing zippers, and adjusting the necessary settings, it’s time to start the wash cycle. This final step sets the cleaning process in motion. Here’s how to start the wash cycle:
- Add fabric softener (optional): If desired, add fabric softener or laundry scent boosters at this stage. These products can help to impart a fresh scent and enhance the softness of your clothes.
- Close the lid or door: Ensure that the lid or door of the washing machine is securely closed before initiating the wash cycle. This is important for the machine to function properly and maintain water and detergent within the drum.
- Select the appropriate cycle: Choose the wash cycle that aligns with your laundry’s needs. This can include factors such as fabric type, level of dirtiness, and desired agitation intensity.
- Adjust additional settings (if applicable): If your washing machine offers additional settings, such as extra rinse or extended wash times, customize them according to your preferences and the specific requirements of the load.
- Press the start button: Once you’ve confirmed all settings, press the start button to initiate the wash cycle. Depending on the machine, there may be a slight delay before the water begins to fill the drum.
Once the wash cycle begins, allow the machine to complete the process. Avoid opening the machine mid-cycle, as this can disrupt the cleaning process and potentially result in water spillage.
As the cycle progresses, the machine will agitate the laundry, allowing the detergent to penetrate the fabrics and remove stains and dirt. The duration of the wash cycle will vary depending on the selected settings.
Once the wash cycle is complete, you can proceed to transfer the clean laundry to the dryer or hang it up to air dry, depending on your preferred method.
By following these steps and starting the wash cycle correctly, you’ll complete the cleaning process and ensure that your clothes come out fresh, clean, and ready to wear.
Conclusion
Congratulations! You’ve now learned the step-by-step process for properly loading a washing machine and achieving the best clean every time. By following these guidelines, you can ensure that your laundry comes out fresh, clean, and well-maintained. Here’s a recap of the steps:
- Sort your laundry by color and fabric.
- Check the washing machine’s capacity.
- Measure and add the appropriate amount of detergent.
- Load large items first, distributing weight evenly.
- Place delicate items in mesh bags for added protection.
- Separate laundry by color and fabric type.
- Close zippers and fasten buttons to prevent damage.
- Fill the machine without overloading.
- Adjust water temperature and cycle settings according to garment care labels.
- Start the wash cycle and allow it to complete.
By incorporating these steps into your laundry routine, you’ll not only achieve cleaner clothes but also extend the life of your washing machine and protect your garments from unnecessary wear and tear.
Remember to refer to the user manual of your specific machine for any additional guidance or features. Each machine may have unique settings and specifications that can further enhance the cleanliness and care of your laundry.
Now that you’re equipped with the knowledge of properly loading a washing machine, it’s time to put it into practice and enjoy the fresh, clean results. Happy laundering!
Frequently Asked Questions about How To Properly Load A Washing Machine For The Best Clean Every Time
Was this page helpful?
At Storables.com, we guarantee accurate and reliable information. Our content, validated by Expert Board Contributors, is crafted following stringent Editorial Policies. We're committed to providing you with well-researched, expert-backed insights for all your informational needs.


0 thoughts on “How To Properly Load A Washing Machine For The Best Clean Every Time”