Home>Kitchen & Cooking>Food Storage Solutions>How To Organize Canned Food In Pantry
Food Storage Solutions
How To Organize Canned Food In Pantry
Published: March 2, 2024
Discover effective food storage solutions and learn how to organize canned food in your pantry for easy access and efficient space utilization.
(Many of the links in this article redirect to a specific reviewed product. Your purchase of these products through affiliate links helps to generate commission for Storables.com, at no extra cost. Learn more)
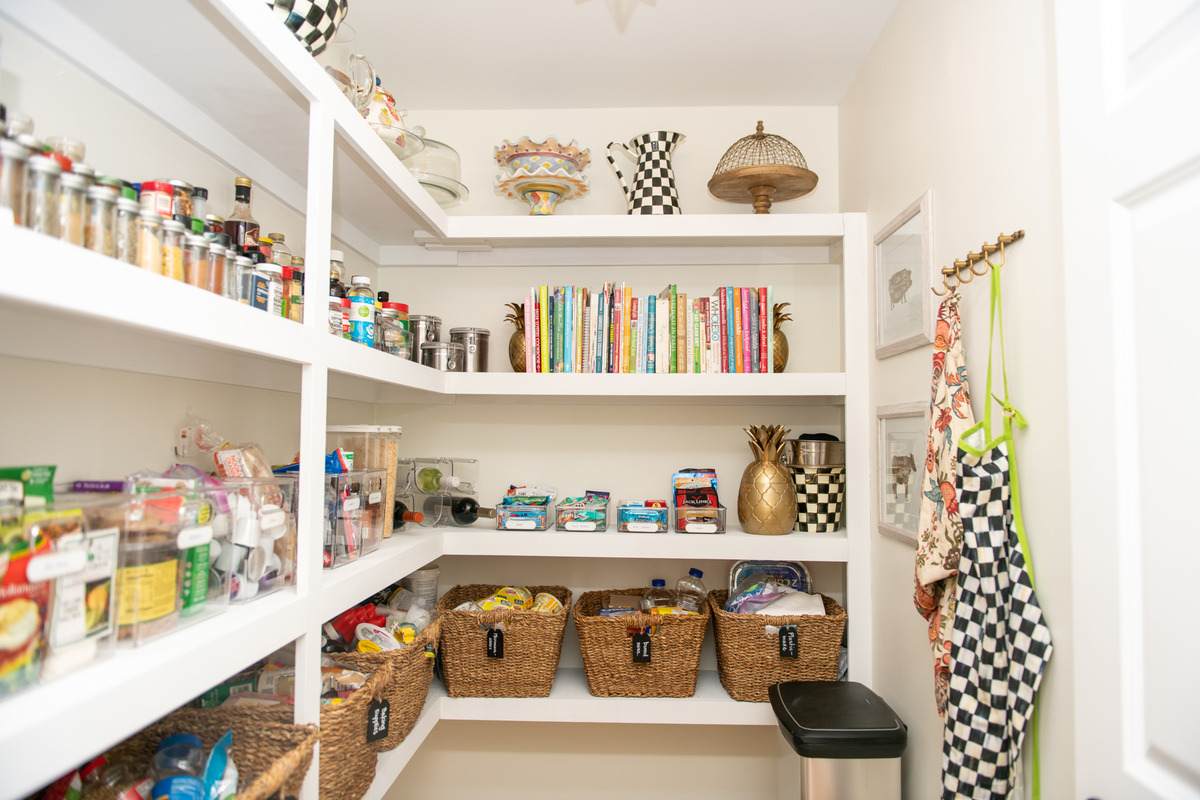
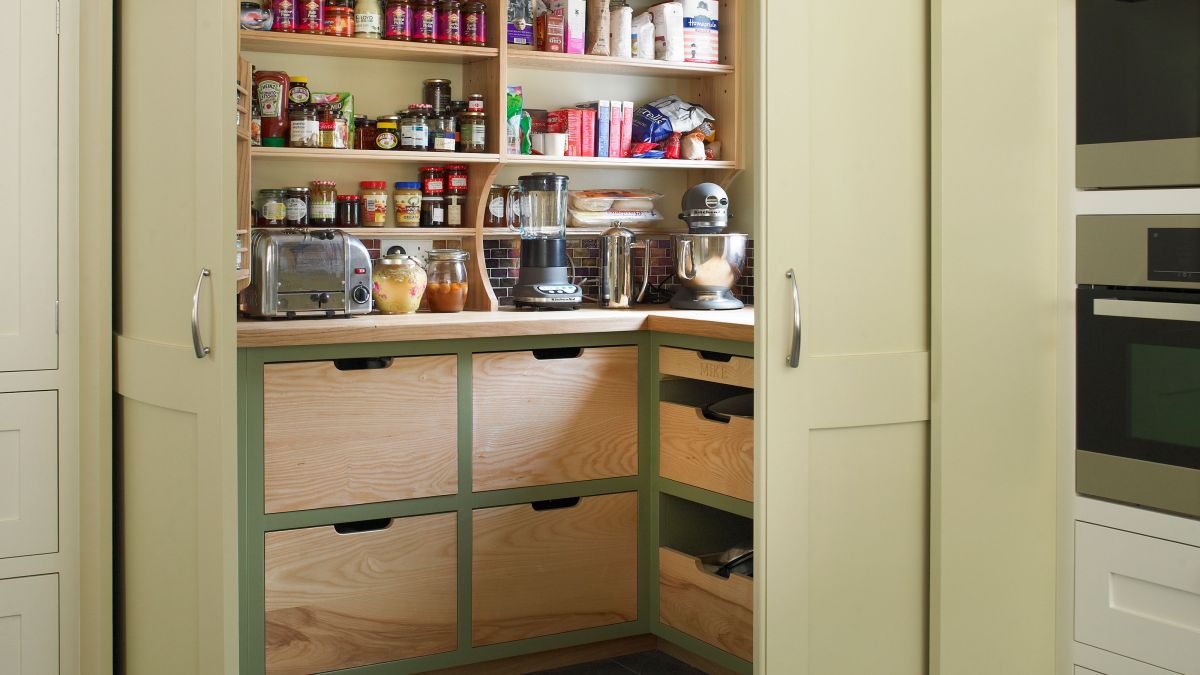
Assessing Your Pantry Space
Before you start organizing your canned food in the pantry, it's essential to assess the available space. Here's how to do it:
-
Take Inventory: Begin by taking stock of the canned goods you have. This will give you an idea of the amount of space you'll need to allocate for storage.
-
Measure the Shelves: Measure the dimensions of your pantry shelves to determine how much space you have to work with. This will help you decide on the types of storage containers and organization systems that will fit best.
-
Consider Accessibility: Take note of which shelves are easily accessible and which ones are harder to reach. This will help you prioritize the placement of frequently used items.
-
Evaluate Unused Spaces: Look for any unused or underutilized spaces in your pantry, such as the back of the door or the sides of shelves. These areas can often be optimized for additional storage.
By assessing your pantry space thoroughly, you can effectively plan the organization of your canned goods to maximize efficiency and accessibility.
Key Takeaways:
- Assess your pantry space, measure shelves, and consider accessibility to plan canned food organization effectively for maximum efficiency and accessibility.
- Choose clear, airtight, stackable, and label-friendly containers to keep canned food fresh, organized, and visually appealing in your pantry.
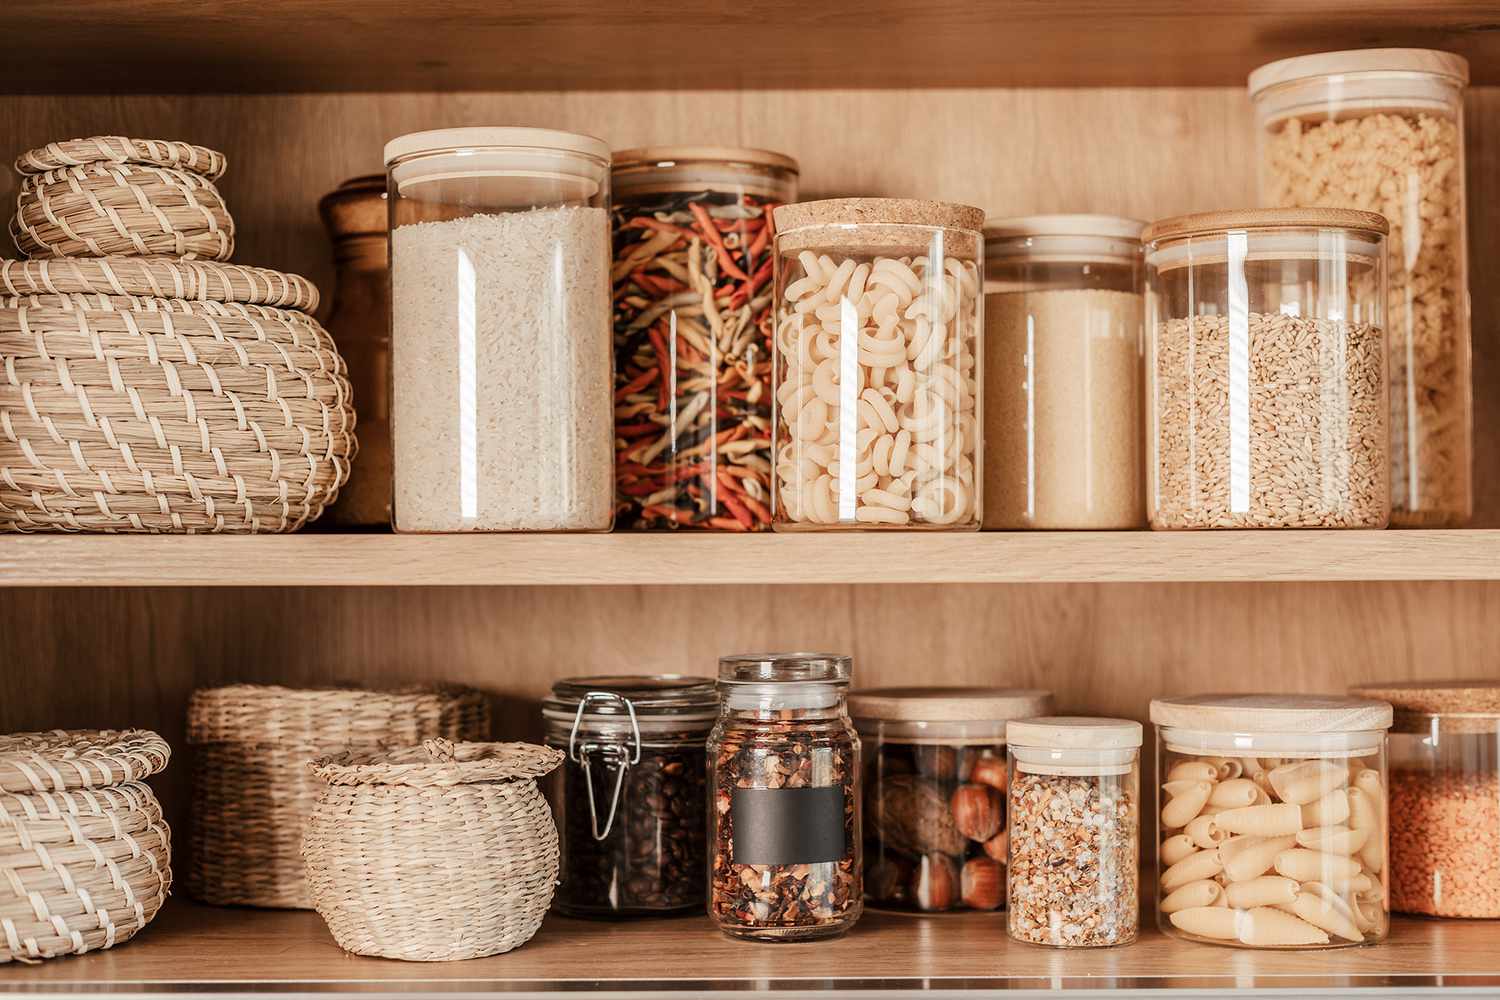
Choosing the Right Storage Containers
When it comes to organizing canned food in your pantry, selecting the right storage containers is crucial for maintaining freshness and maximizing space. Here's how to choose the best containers for your canned goods:
-
Consider Material: Opt for clear, airtight containers made of plastic or glass. Clear containers allow you to see the contents at a glance, while airtight seals help preserve the freshness of the canned food.
-
Size Matters: Select containers that are appropriately sized to accommodate the varying dimensions of canned goods. This will help prevent wasted space and ensure a snug fit for each item.
-
Stackable Design: Look for containers that are stackable to make the most of vertical space in your pantry. Stackable containers help utilize the height of your shelves efficiently.
-
Label-Friendly: Choose containers with smooth, flat surfaces for easy labeling. This will enable you to clearly mark the contents and expiration dates, keeping your pantry organized and your canned goods easily identifiable.
-
Versatility: Opt for containers that can be used for a variety of canned goods, from soups and vegetables to fruits and sauces. Versatile containers provide flexibility as your pantry stock evolves.
By carefully selecting the right storage containers for your canned food, you can ensure that your pantry remains well-organized, visually appealing, and conducive to maintaining the quality of your food items.
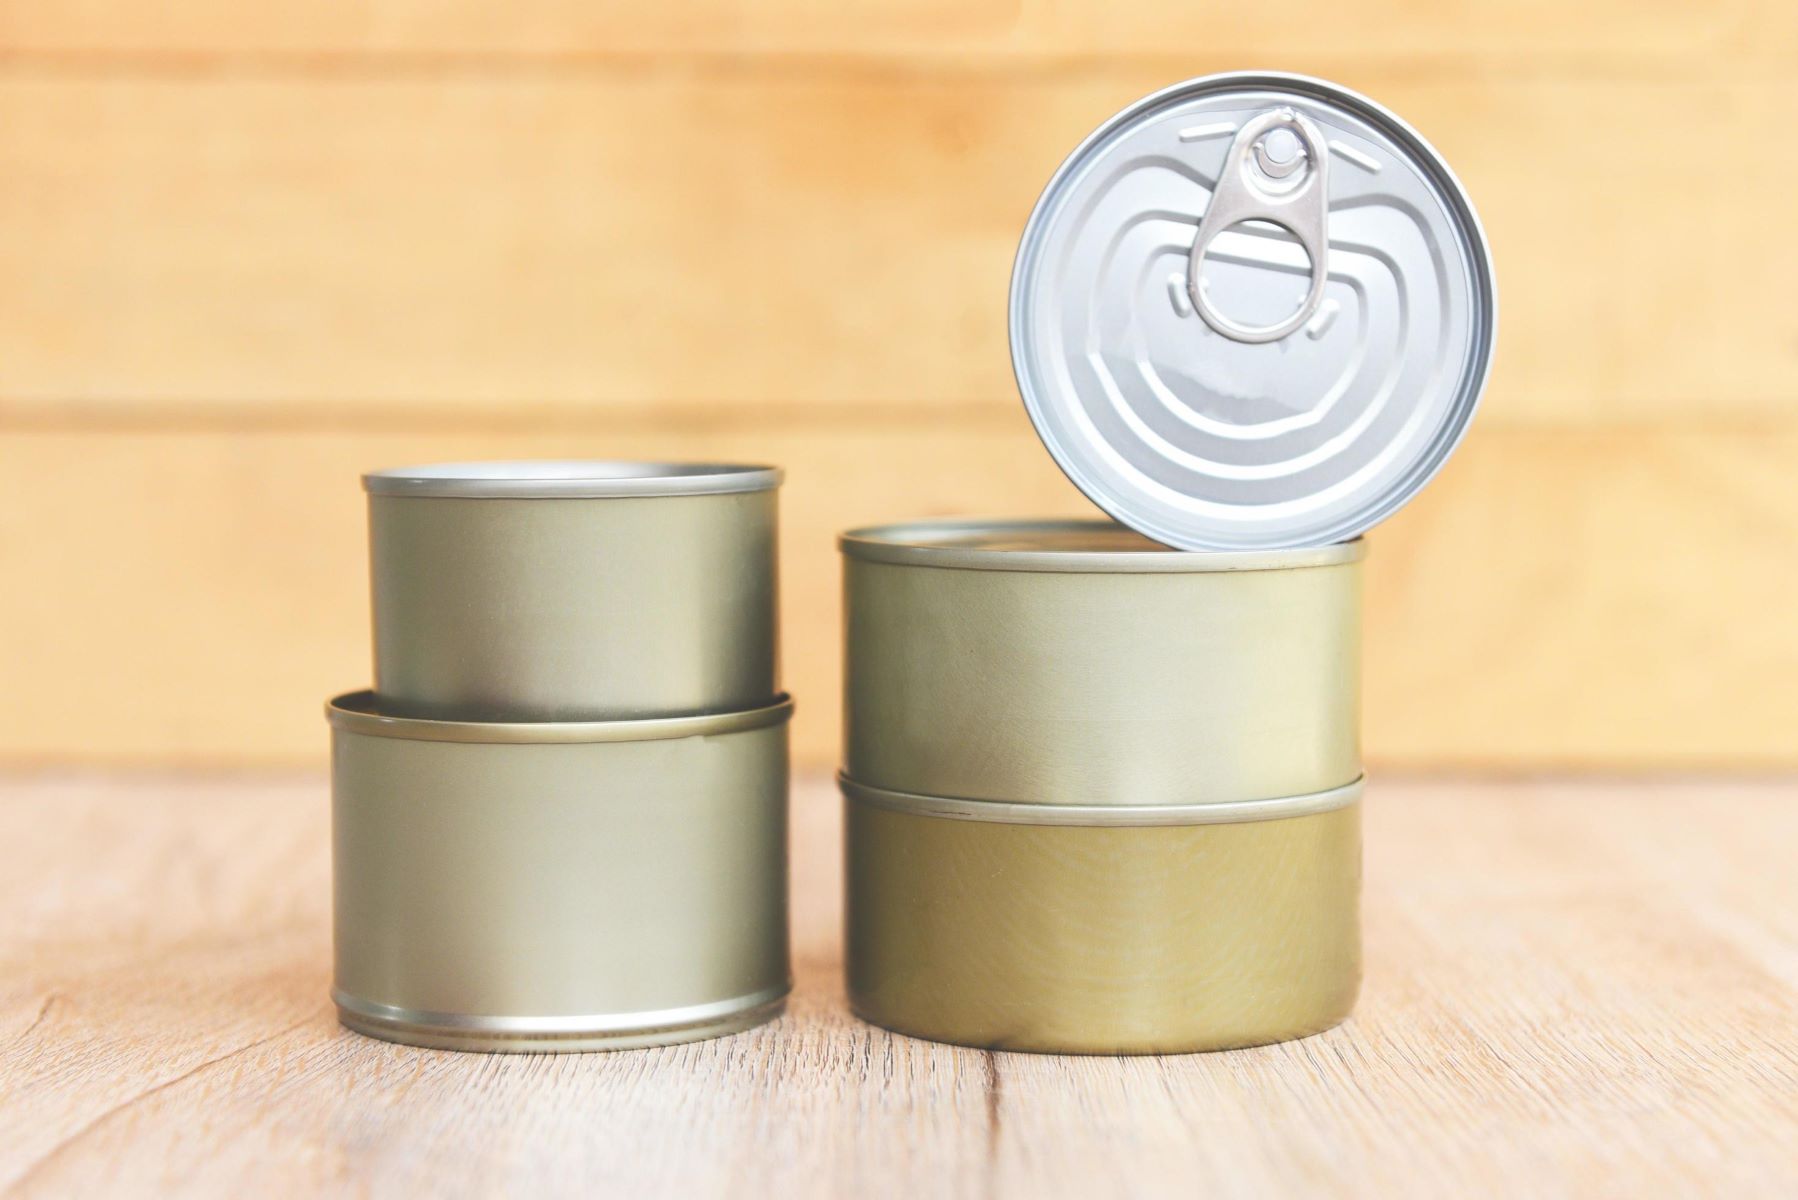
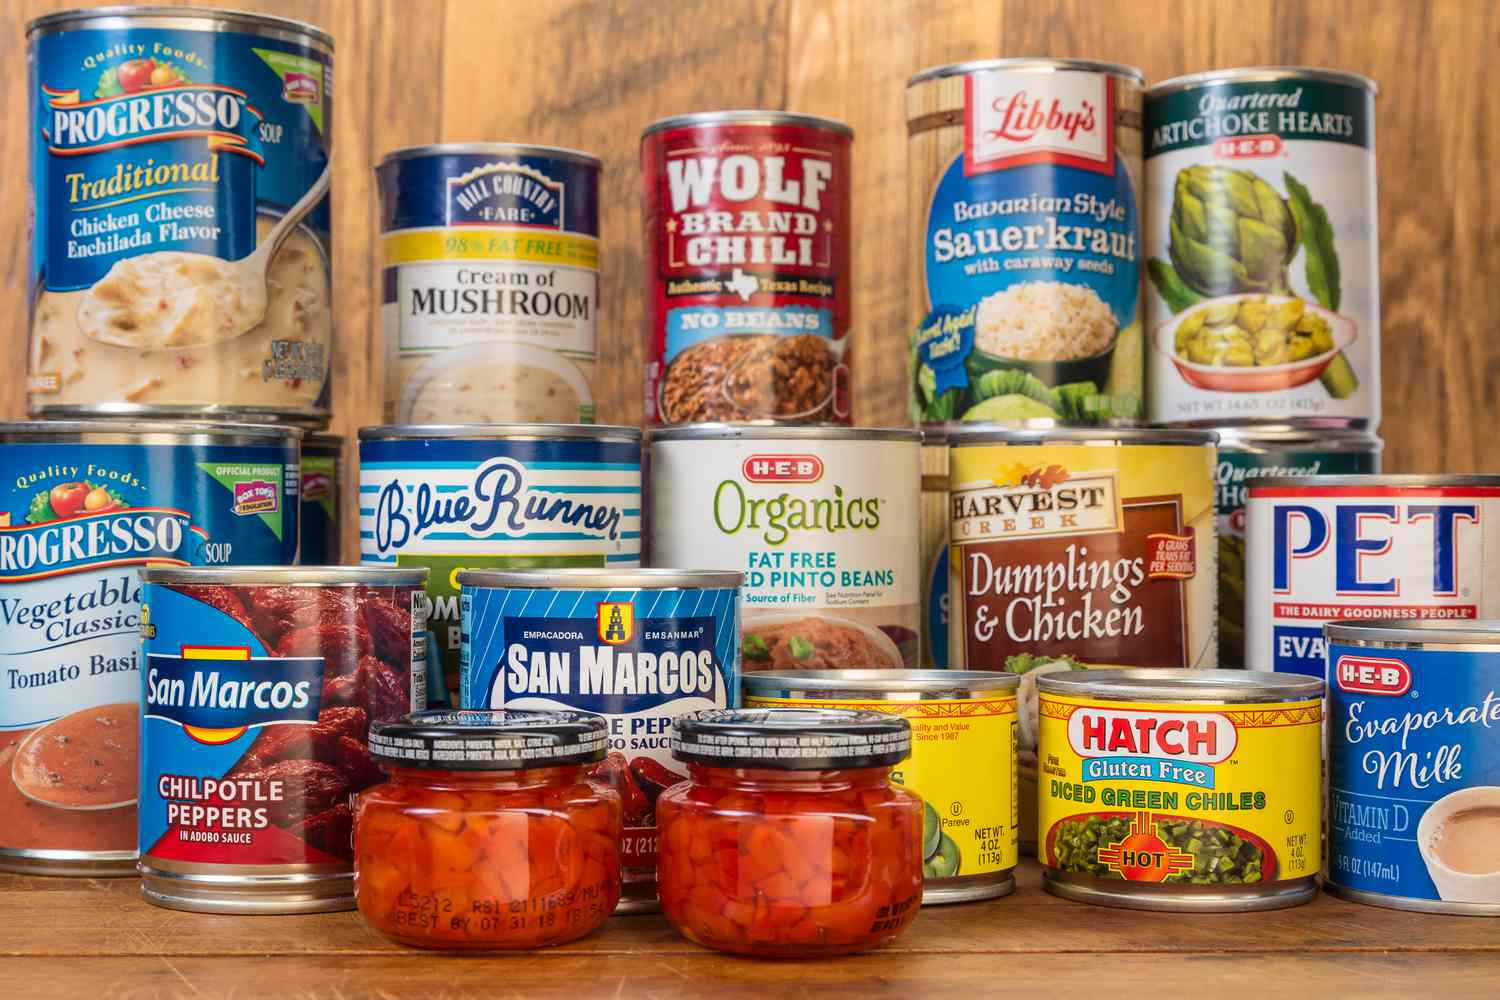
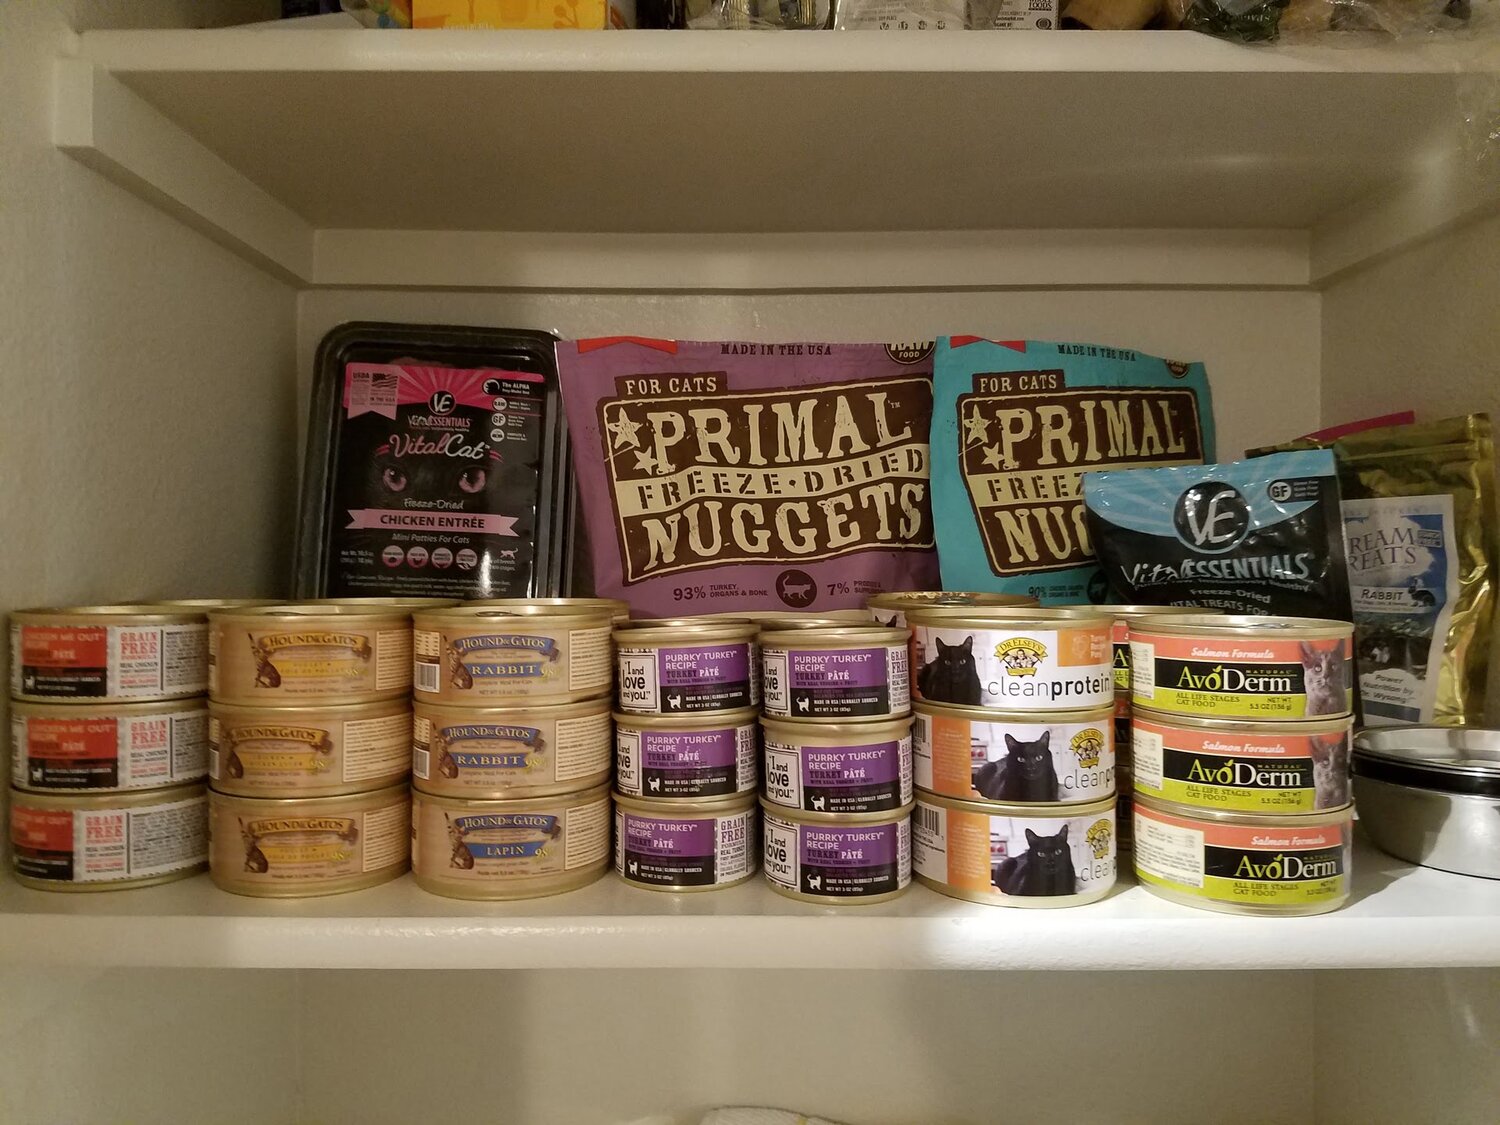
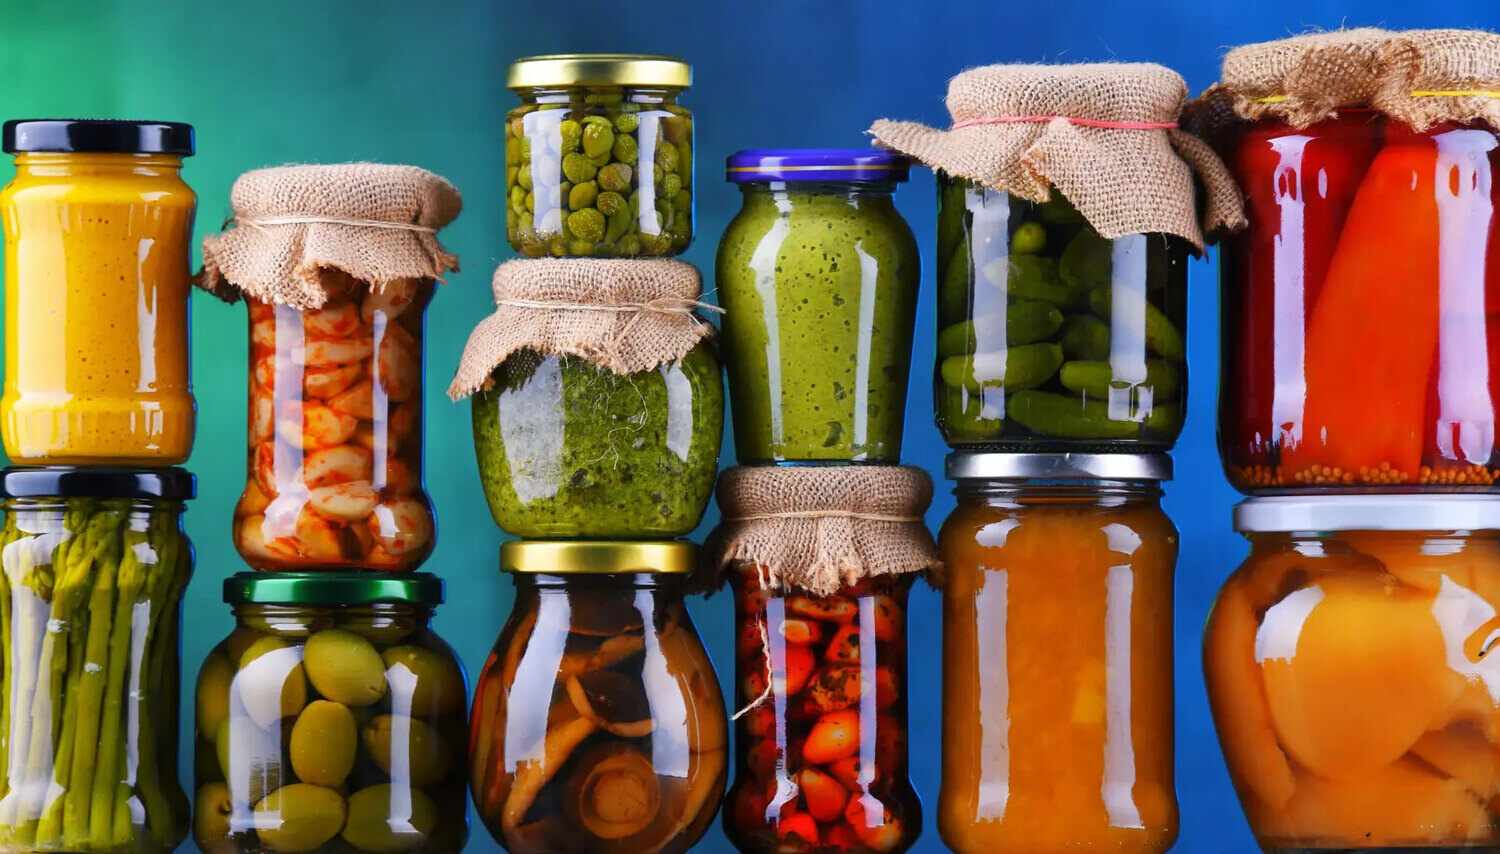
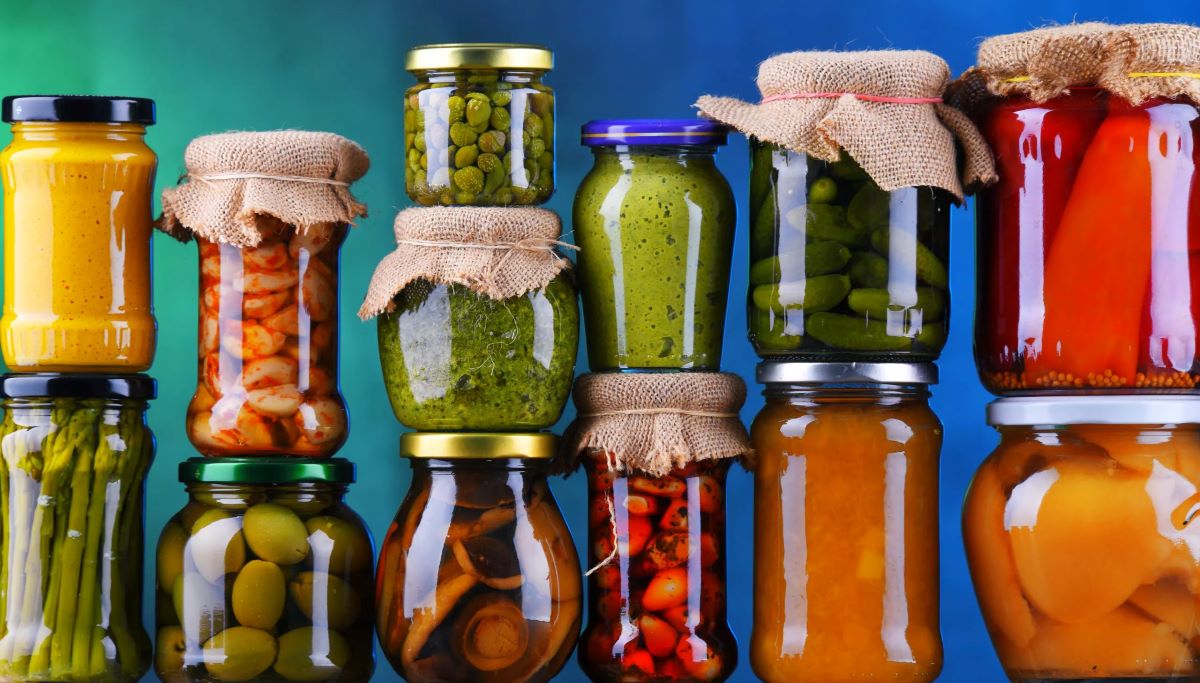
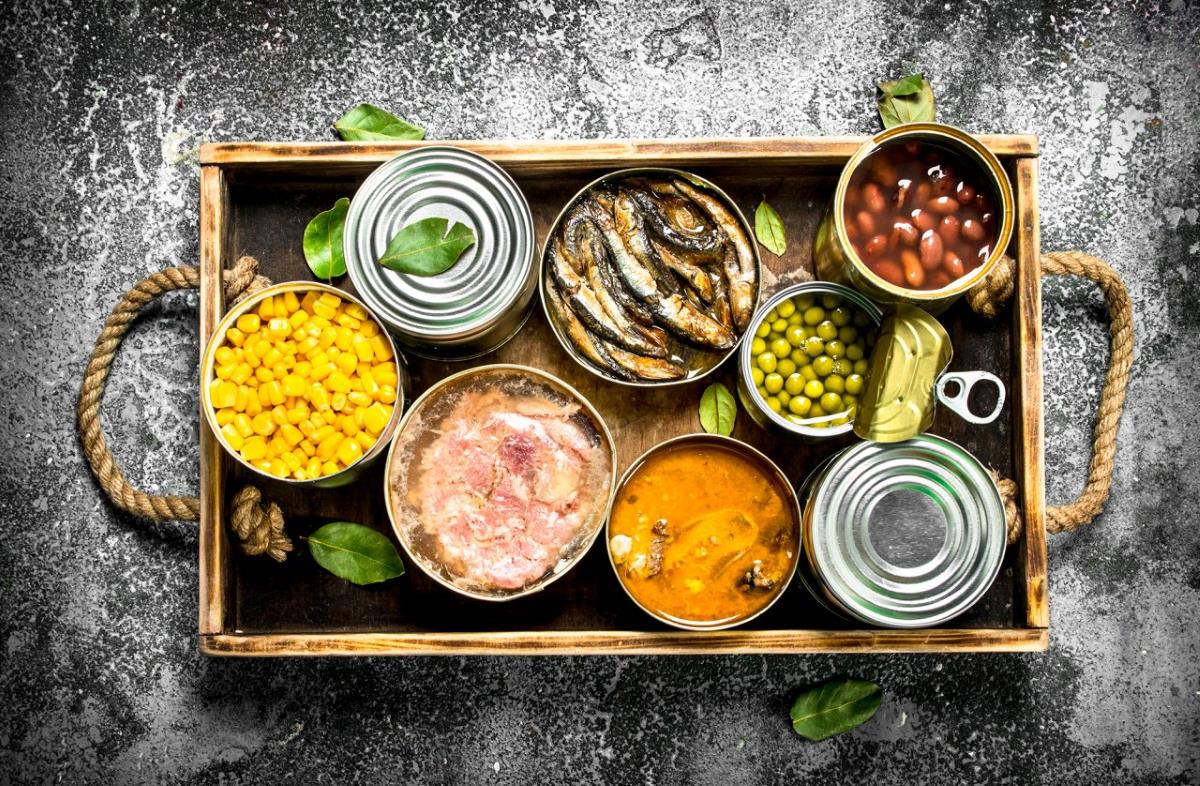
Sorting and Categorizing Your Canned Goods
When it comes to organizing your canned goods in the pantry, sorting and categorizing them is a game-changer. Here's how to do it effectively:
-
Group by Category: Start by grouping similar items together. For example, create categories for soups, vegetables, fruits, sauces, and beans. This makes it easier to locate specific items when you need them.
-
Consider Usage Frequency: Arrange your canned goods based on how frequently you use them. Place frequently used items at eye level or within easy reach for convenience. Items that are used less often can be stored on higher or lower shelves.
-
Expiration Dates: Check the expiration dates on your canned goods and organize them accordingly. Place items with the earliest expiration dates at the front, so they are used first. This helps prevent food waste and ensures that you're consuming the oldest items first.
-
Size and Shape: Consider the size and shape of the cans when categorizing. Stack cans of the same size and shape together to maximize space and create a neat, uniform appearance.
-
Utilize Baskets or Bins: Use baskets or bins to further categorize your canned goods. For example, you can use a basket for all your canned fruits or a bin for different types of soups. This adds an extra layer of organization and makes it easier to pull out specific groups of items.
By sorting and categorizing your canned goods, you can streamline the process of finding what you need, minimize clutter, and maintain a well-organized pantry that makes meal preparation a breeze.
Use a tiered shelf organizer to maximize space and visibility in your pantry. Group similar canned foods together and label shelves for easy access.
Creating a Labeling System
Creating a labeling system for your canned goods is a crucial step in maintaining an organized pantry. Here's how to establish an effective labeling system:
-
Consistent Format: Choose a consistent format for your labels, whether it's handwritten labels, printed stickers, or adhesive tags. Consistency in the format creates a cohesive look and makes it easier to identify items at a glance.
-
Clear and Legible: Ensure that your labels are clear and legible. Use a bold marker or a legible font if you're printing labels. This is especially important for quick identification, particularly if you have a large pantry with numerous canned goods.
-
Include Expiration Dates: Incorporate expiration dates on your labels to keep track of the shelf life of your canned goods. This helps in rotating items and using the oldest ones first, reducing the risk of food waste.
-
Placement: Place labels on the front of the containers for easy visibility. If using bins or baskets, consider labeling the front of the storage containers as well. This makes it effortless to locate specific items without having to move multiple cans around.
-
Color Coding: Consider using color-coded labels to categorize different types of canned goods. For instance, use a specific color for vegetables, another for fruits, and a different one for soups. This visual cue can expedite the process of finding specific items.
-
Utilize a Label Maker: If you prefer a more polished look, invest in a label maker. Label makers offer a variety of font styles and sizes, ensuring a professional and uniform appearance for all your canned goods.
By implementing a labeling system, you can significantly enhance the organization of your pantry, making it easier to locate items, keep track of expiration dates, and maintain a visually appealing storage space for your canned goods.
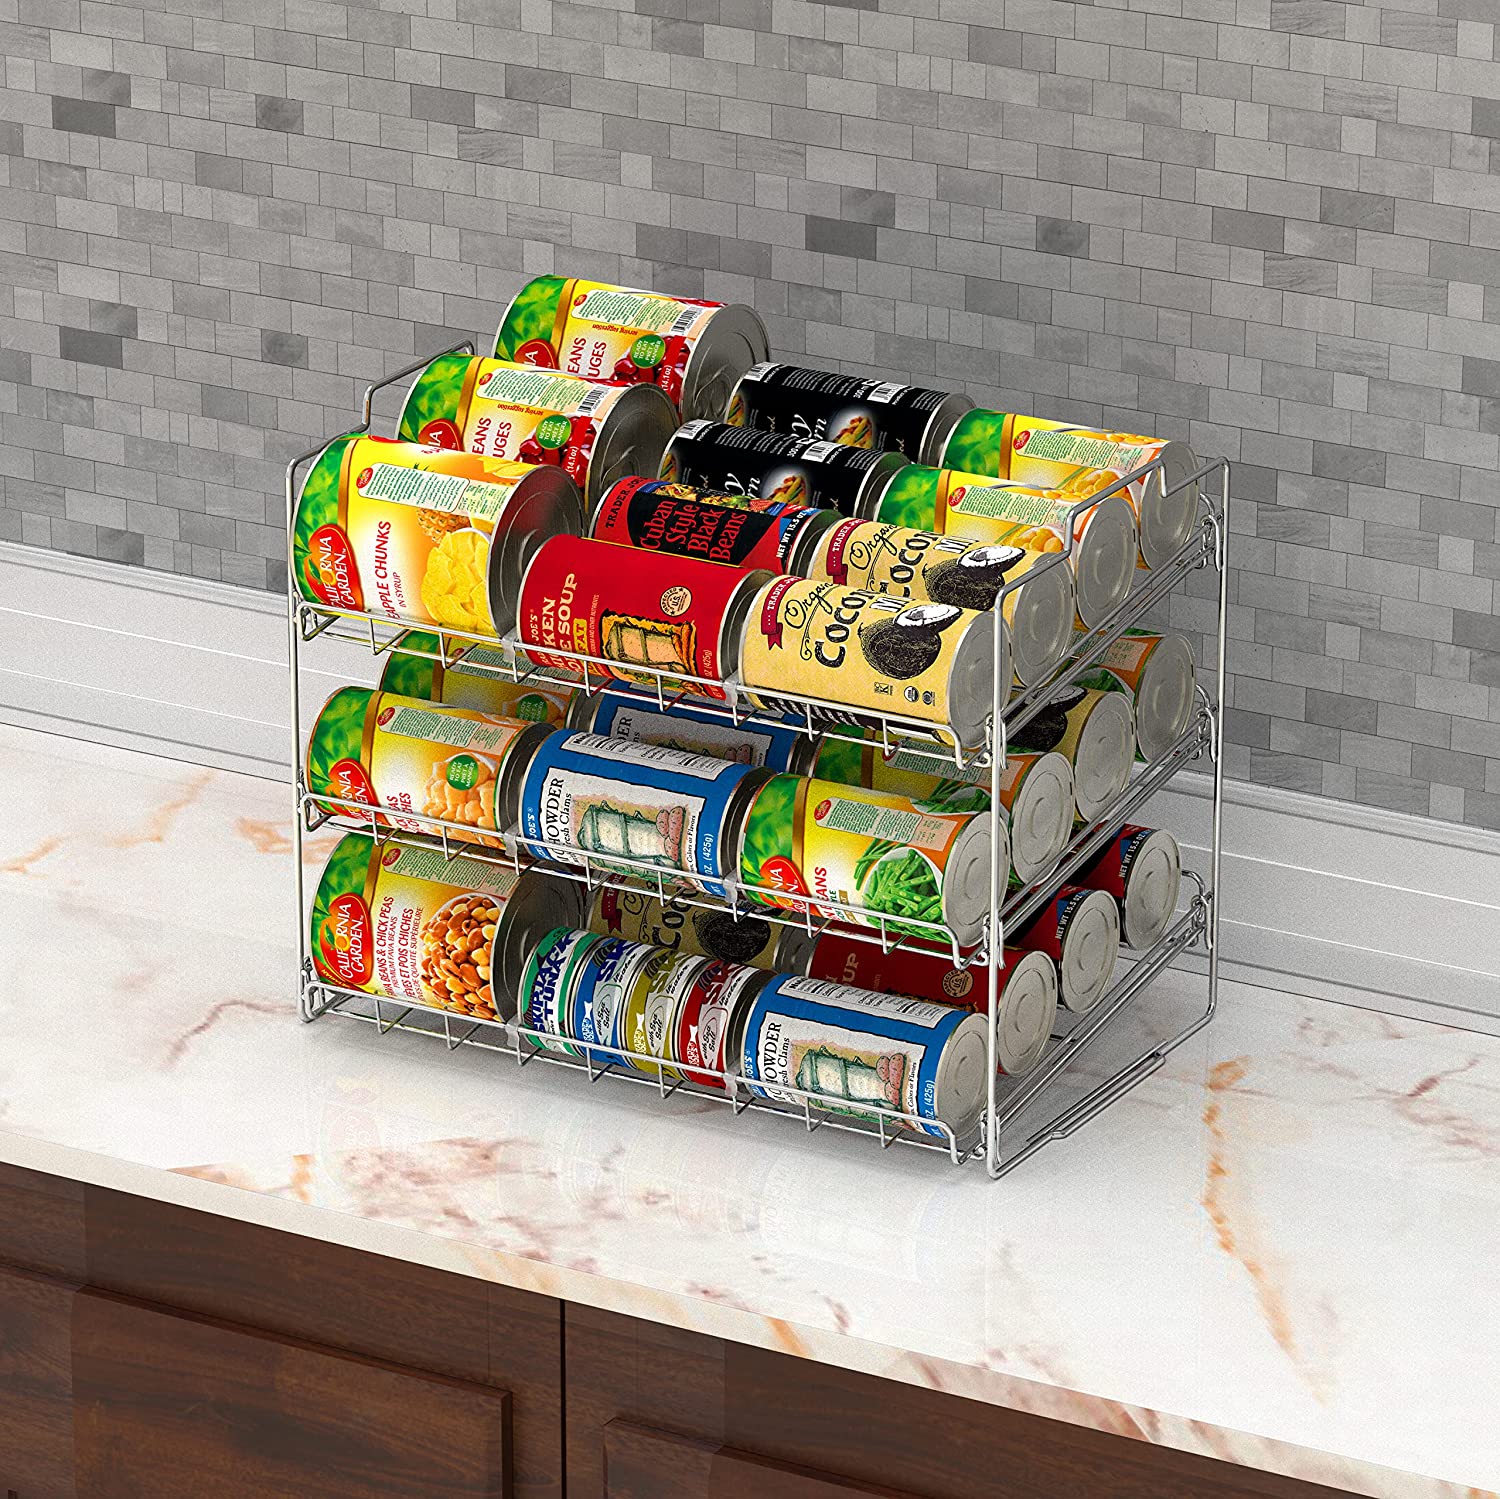
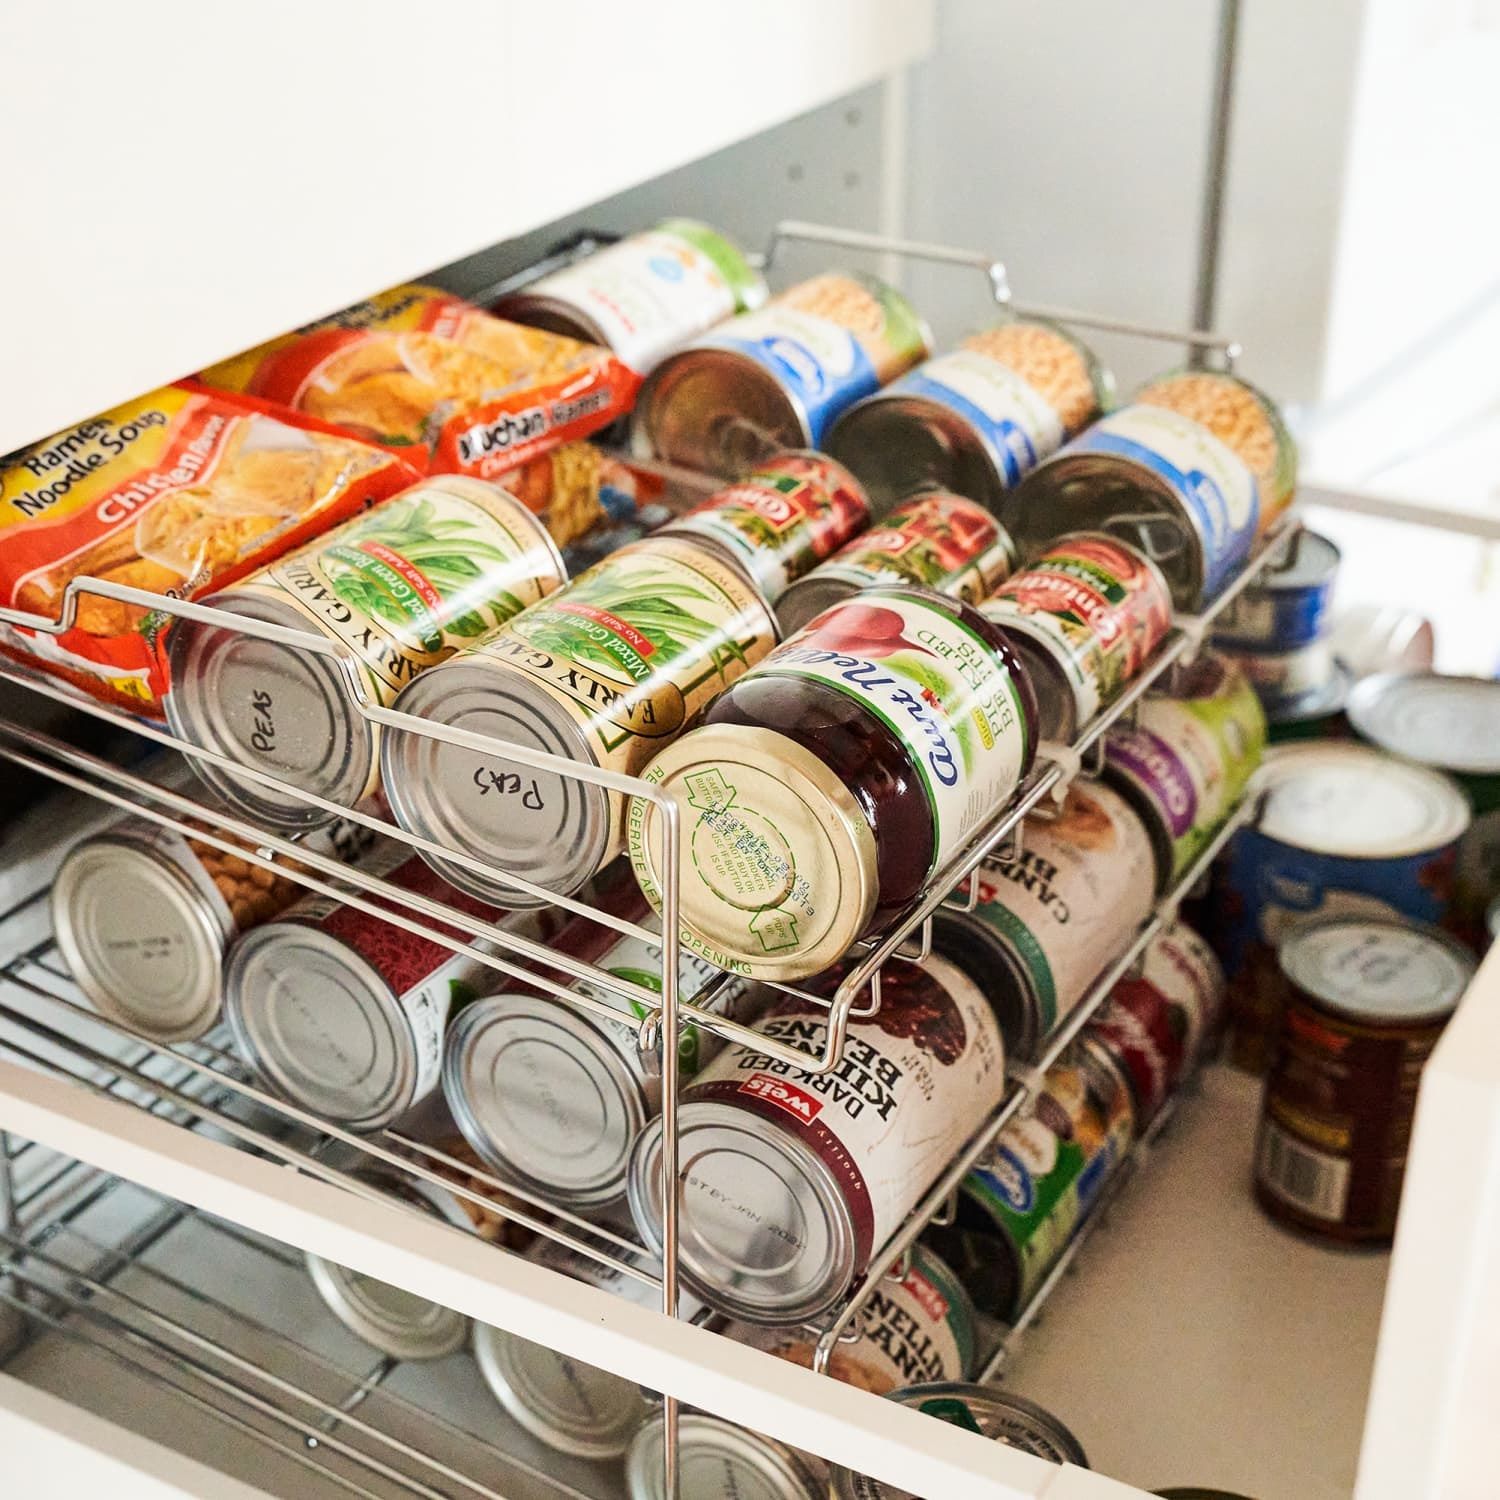
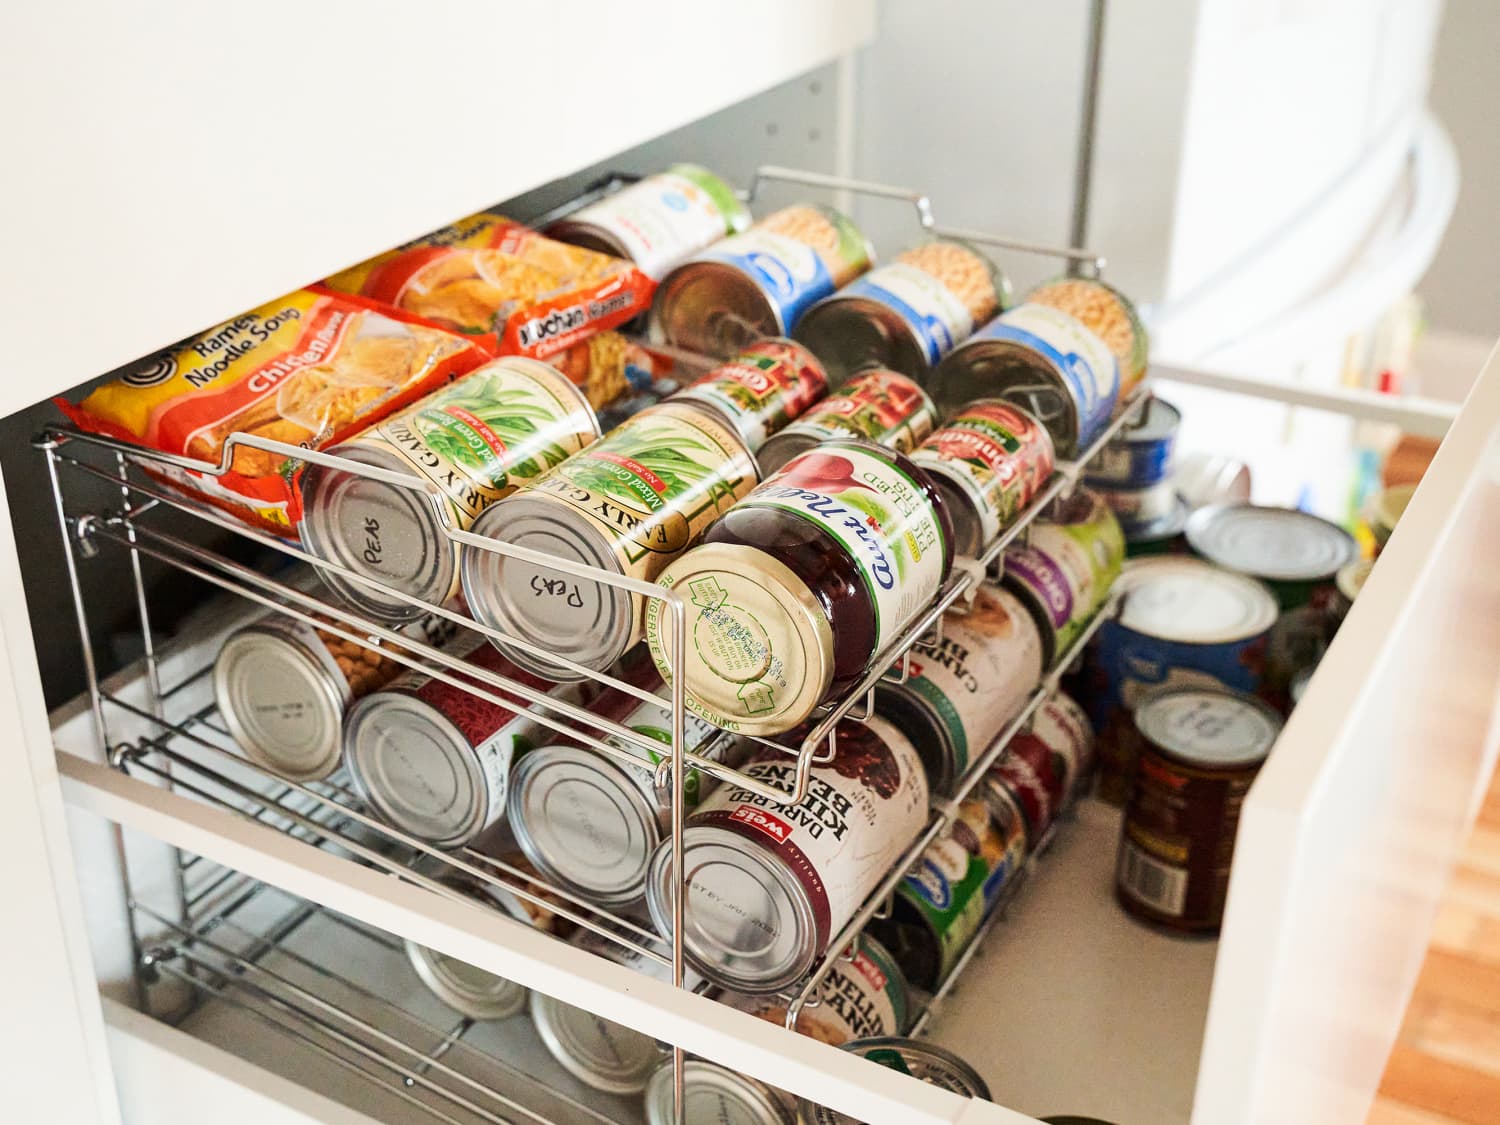
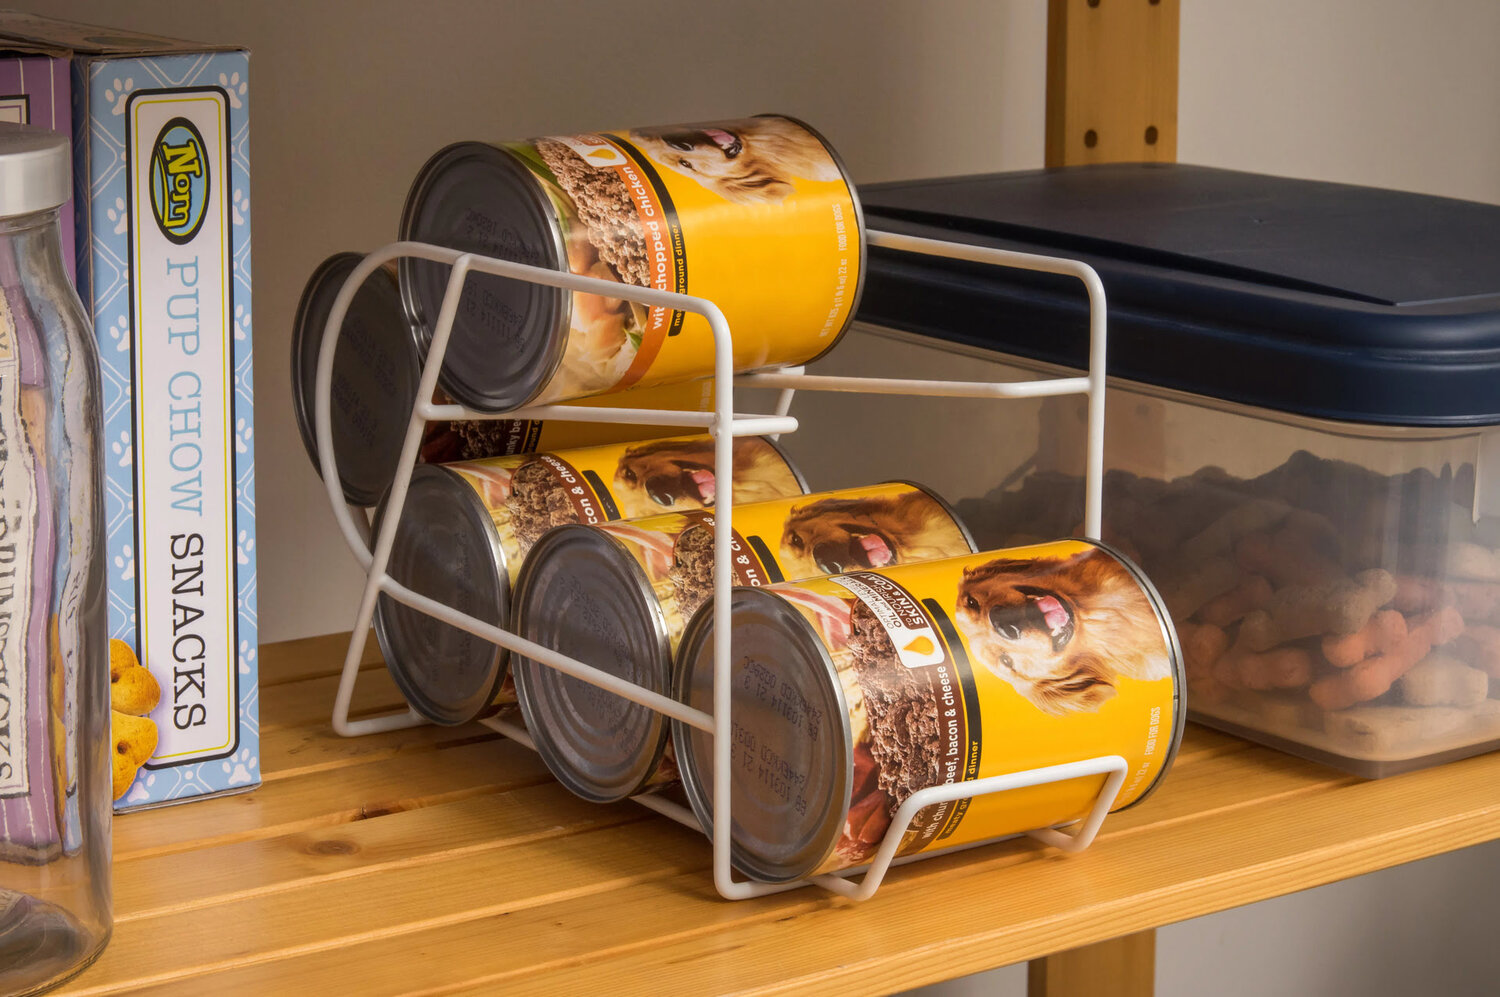
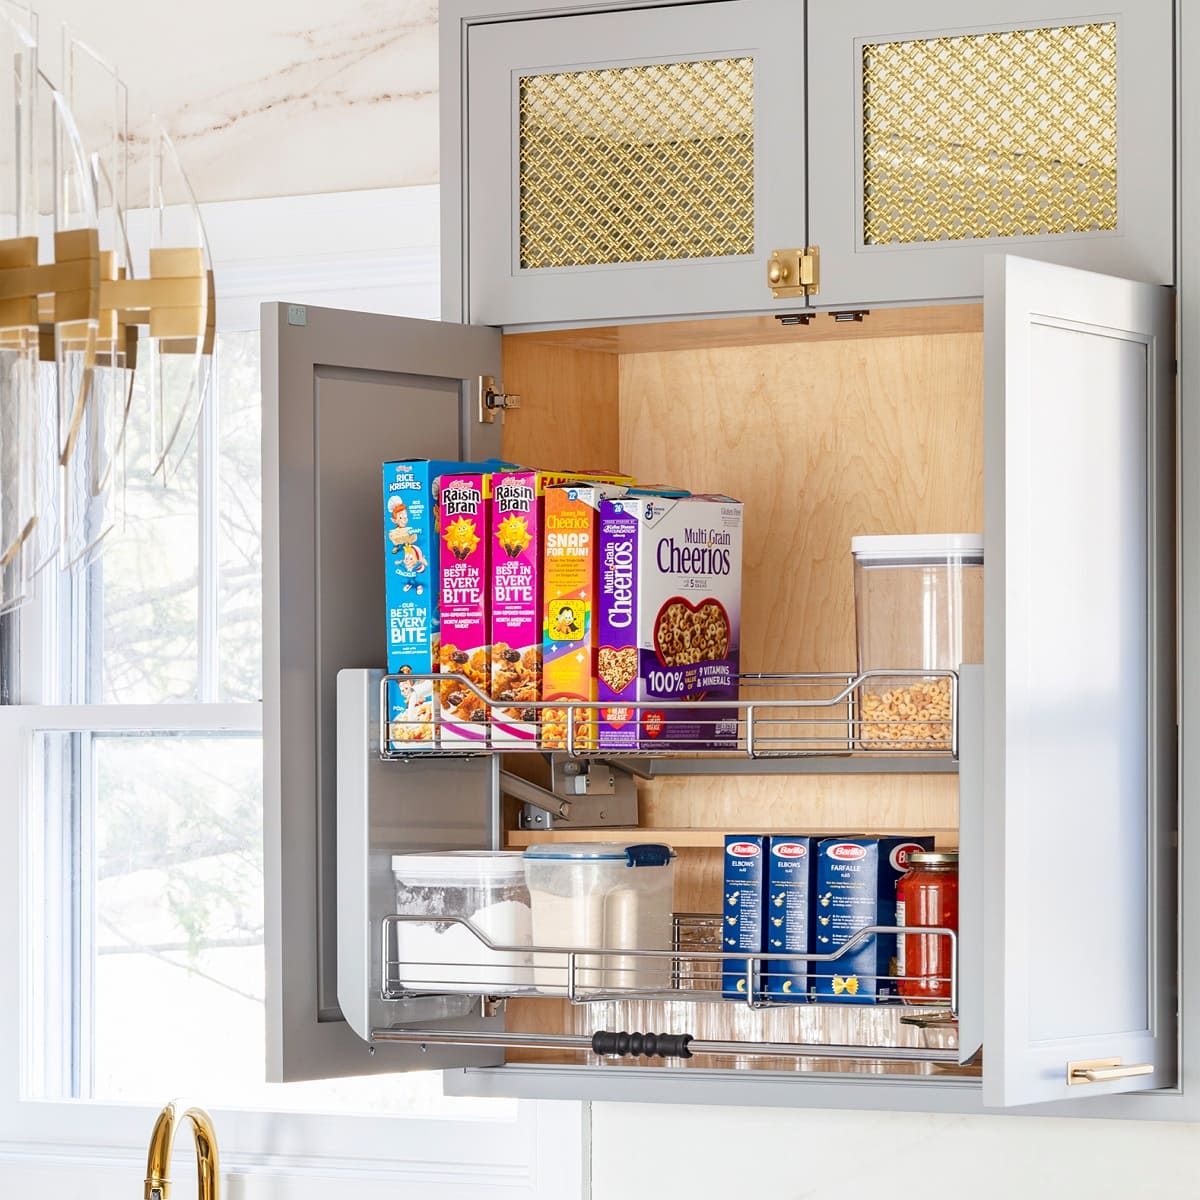
Utilizing Vertical Space with Racks or Shelves
Maximizing vertical space in your pantry is a game-changer when it comes to organizing canned food. Here's how to make the most of your pantry's vertical space with racks or shelves:
-
Adjustable Shelving: Consider installing adjustable shelves in your pantry. This allows you to customize the height between shelves to accommodate different sizes of canned goods. Adjustable shelving provides flexibility and ensures that no vertical space is wasted.
-
Over-the-Door Organizers: Utilize the back of your pantry door with over-the-door organizers. These handy storage solutions come in various configurations, featuring shelves or pockets that can hold an array of canned goods. Over-the-door organizers are ideal for small pantries or for those looking to free up shelf space.
-
Stackable Racks: Invest in stackable racks specifically designed for canned goods. These racks allow you to stack multiple layers of cans, effectively doubling or tripling the storage capacity of a single shelf. Look for racks with angled shelves for easy access and visibility of the labels.
-
Under-Shelf Baskets: Make use of under-shelf baskets that can be attached beneath existing shelves. These baskets provide additional storage space for smaller canned items or can be used to store items such as spices or seasoning packets, freeing up shelf space for larger canned goods.
-
Wall-Mounted Shelves: If your pantry has available wall space, consider installing wall-mounted shelves. These shelves can be used to store canned goods that are not frequently accessed, keeping them organized and out of the way while maximizing the use of vertical space.
By utilizing vertical space with racks or shelves, you can significantly increase the storage capacity of your pantry, keep canned goods easily accessible, and create a well-organized and efficient storage system for your food items.
Frequently Asked Questions about How To Organize Canned Food In Pantry
Was this page helpful?
At Storables.com, we guarantee accurate and reliable information. Our content, validated by Expert Board Contributors, is crafted following stringent Editorial Policies. We're committed to providing you with well-researched, expert-backed insights for all your informational needs.
0 thoughts on “How To Organize Canned Food In Pantry”