Home>Maintenance & Safety>Child & Elderly Safety at Home>How To Install A Backless Booster Seat
Child & Elderly Safety at Home
How To Install A Backless Booster Seat
Modified: August 17, 2024
Learn how to properly install a backless booster seat for child and elderly safety at home. Follow these steps to ensure a secure and reliable installation.
(Many of the links in this article redirect to a specific reviewed product. Your purchase of these products through affiliate links helps to generate commission for Storables.com, at no extra cost. Learn more)
Introduction
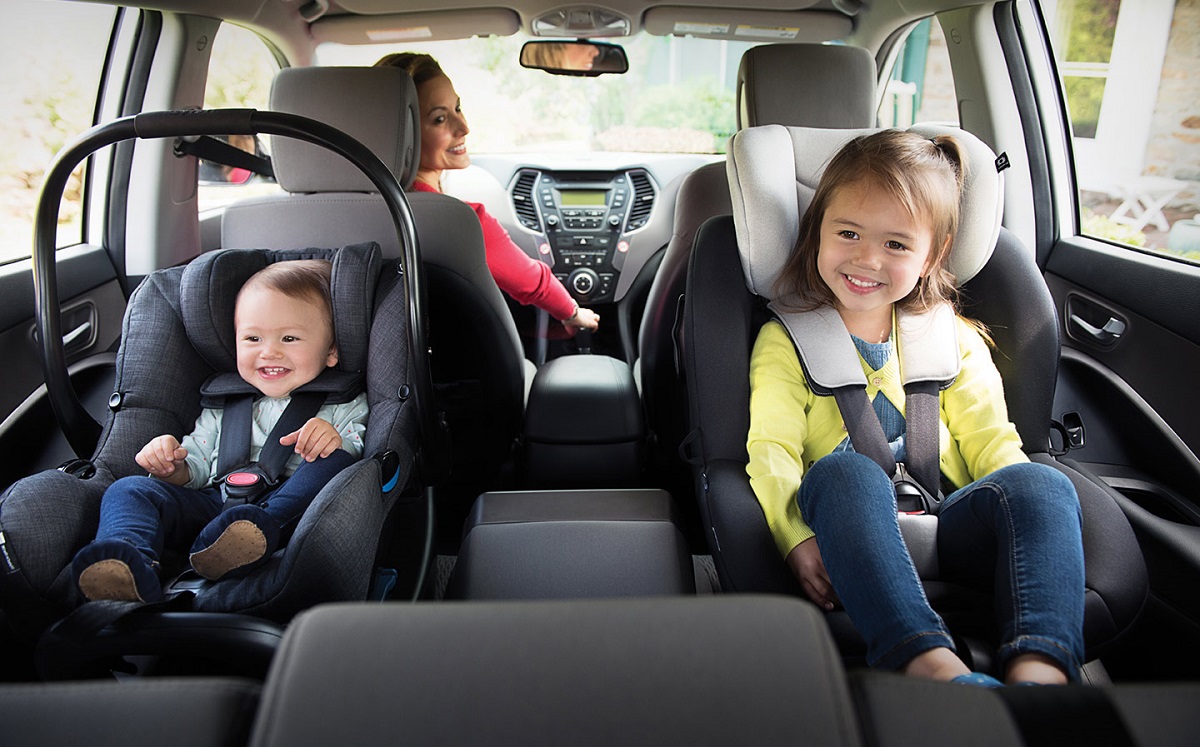
Installing a backless booster seat is a crucial step in ensuring the safety of children while traveling in a vehicle. Whether it's a short trip to the grocery store or a long road journey, having the right booster seat properly installed can significantly reduce the risk of injury in the event of a collision. Understanding the correct installation process is essential for parents, caregivers, and anyone responsible for the well-being of young passengers.
In this comprehensive guide, we will walk you through the step-by-step process of installing a backless booster seat. By following these instructions, you can provide a secure and comfortable seating arrangement for children, giving you peace of mind as you embark on your travels. From choosing the right seat to testing for stability, each step is designed to ensure that the booster seat is installed correctly and optimally serves its purpose.
The safety of children in vehicles is a top priority, and installing a backless booster seat is a proactive measure to safeguard their well-being. As we delve into the installation process, it's important to remember that the goal is not just to secure the booster seat, but to create a protective environment that minimizes the risk of injury in the event of sudden stops or accidents. With this in mind, let's proceed to the first step: choosing the right seat.
Key Takeaways:
- Choose a backless booster seat that fits your child’s age, weight, and height, meets safety standards, and is compatible with your vehicle for a secure and comfortable ride.
- Prepare the vehicle, position the booster seat correctly, secure it tightly, and conduct stability tests to ensure your child’s safety during car rides.
Read more: How Tall For A Backless Booster Seat
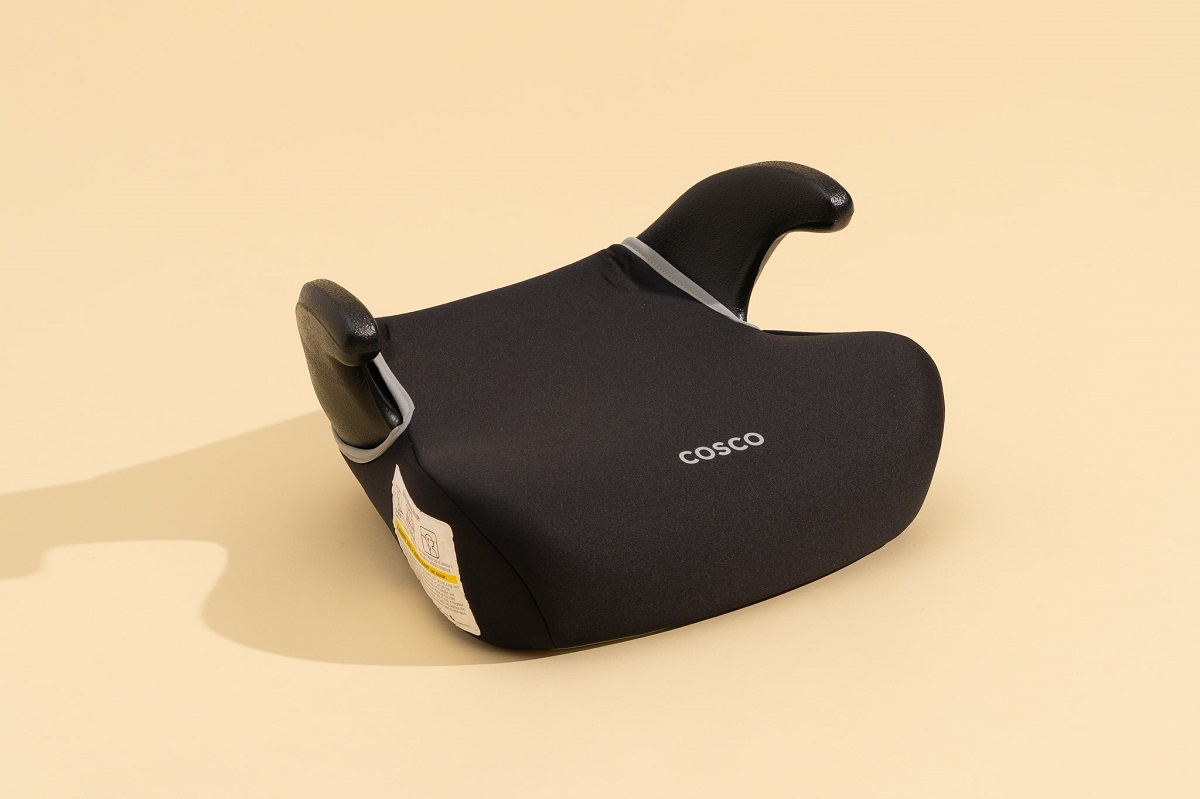
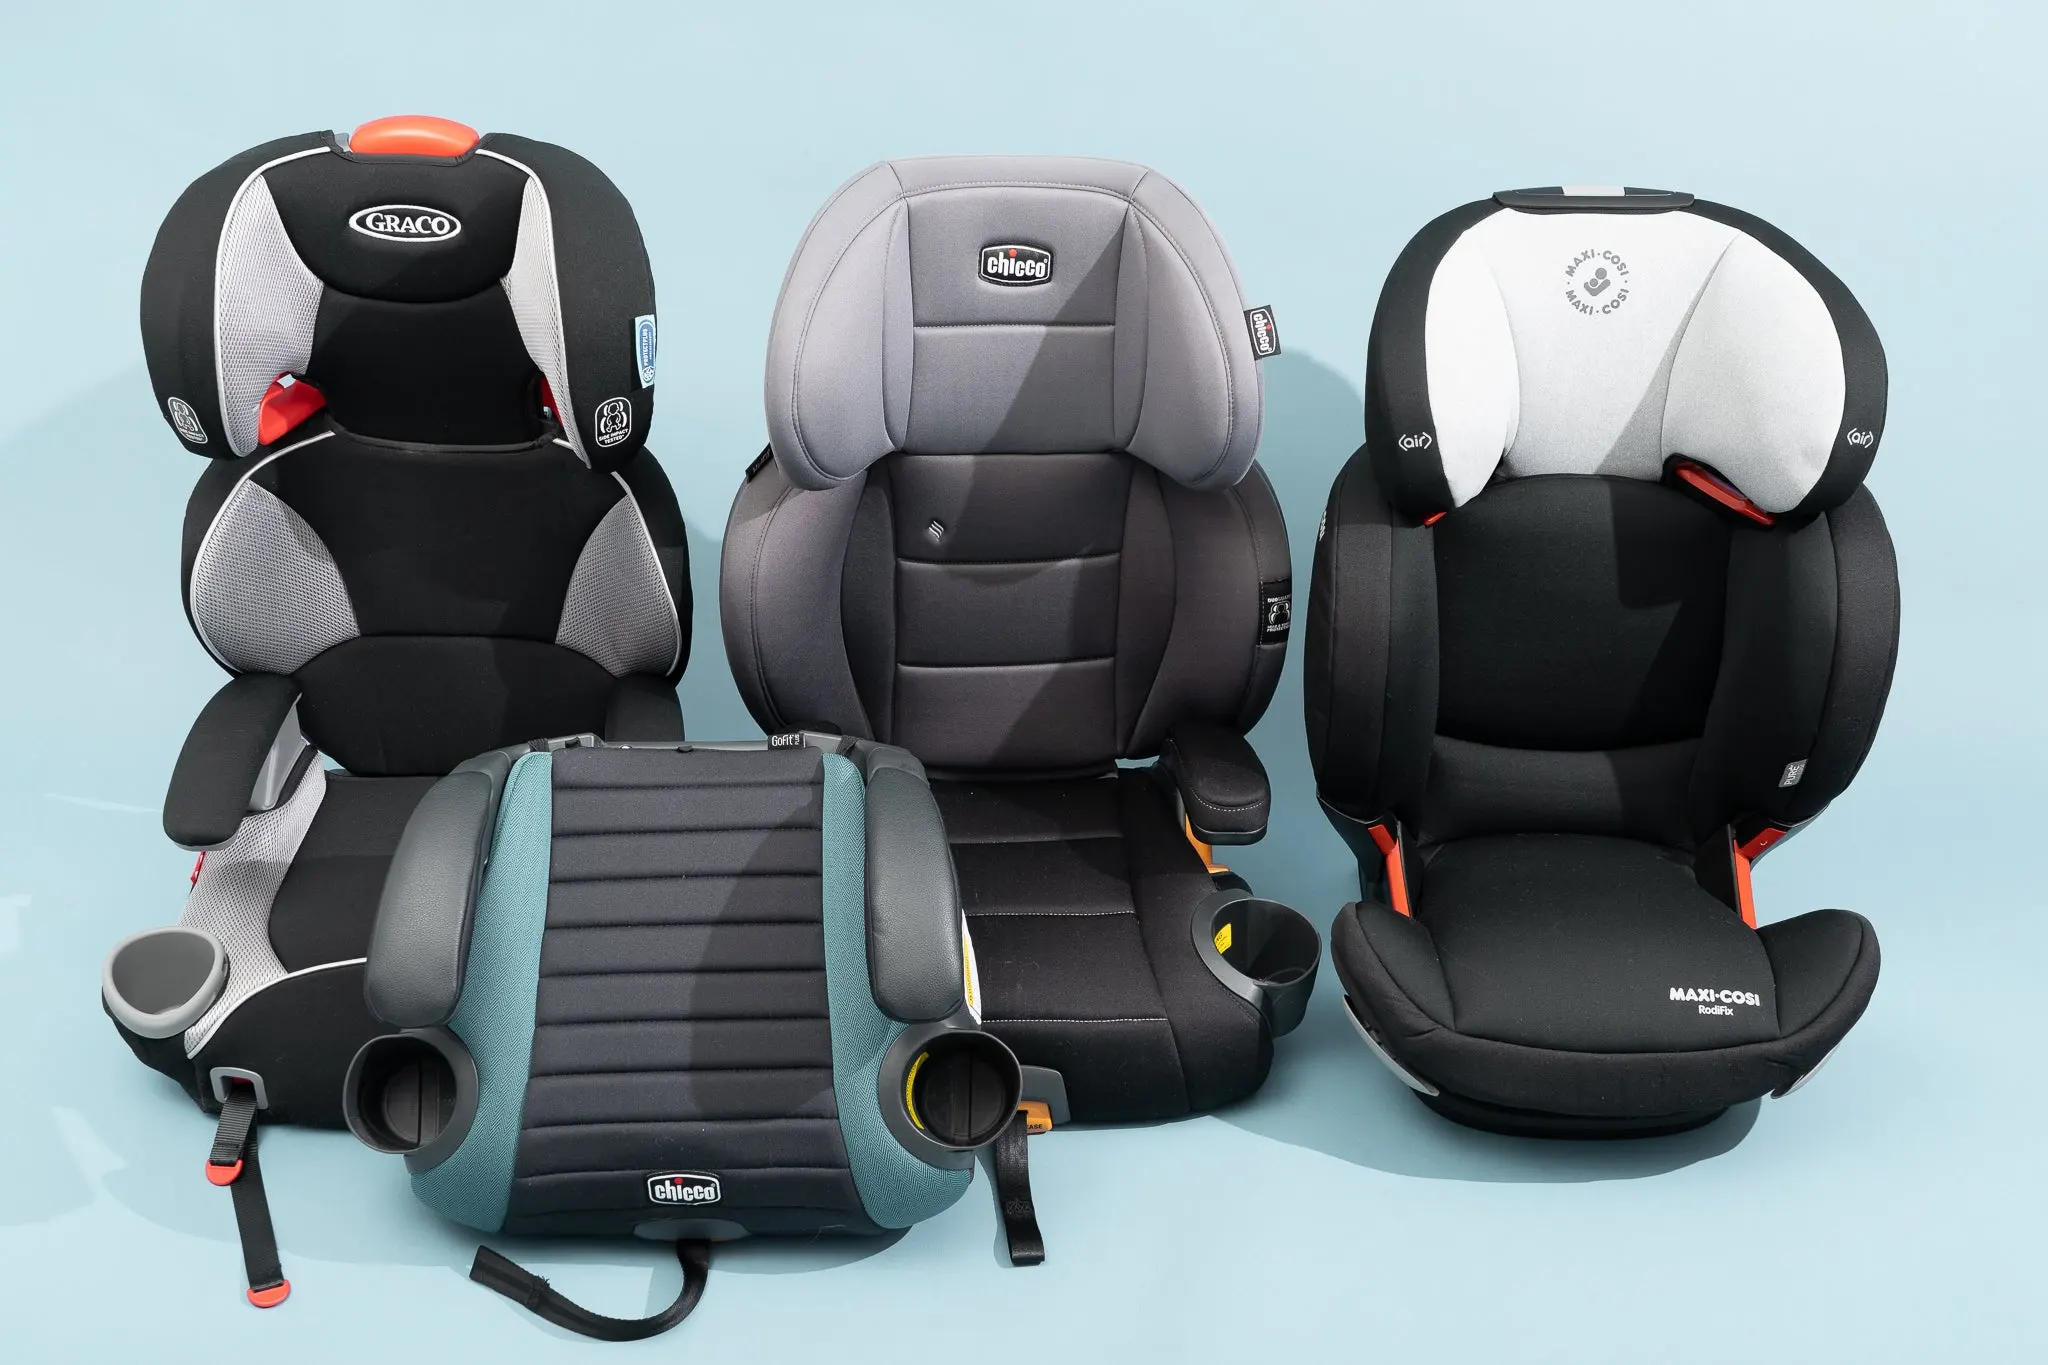
Step 1: Choose the Right Seat
Selecting the right backless booster seat is the foundational step in ensuring the safety and comfort of a child during car rides. When choosing a booster seat, it's essential to consider the child's age, weight, and height to ensure a proper fit. Most backless booster seats are designed for children who have outgrown their forward-facing car seats and are at least 4 years old. It's important to check the manufacturer's guidelines to ensure that the booster seat is suitable for the child's specific measurements.
Additionally, look for booster seats that have passed rigorous safety standards and are approved by regulatory bodies. This can typically be verified by checking for the seat's compliance with Federal Motor Vehicle Safety Standard 213. Ensuring that the booster seat meets these standards provides an added layer of confidence in its ability to protect the child in the event of a collision.
Consider the design and features of the booster seat as well. Look for a seat with adequate padding and support to provide comfort during long rides. Some booster seats also come with adjustable armrests and cup holders, which can enhance the child's overall experience and make the journey more enjoyable.
Furthermore, it's important to take into account the vehicle in which the booster seat will be installed. Some booster seats may be better suited for certain vehicle models, so it's advisable to consider the compatibility of the seat with the car's seating configuration and safety features.
Lastly, budget considerations and user reviews can also play a role in the decision-making process. While it's important to prioritize safety and quality, finding a booster seat that aligns with your budget and has positive feedback from other users can provide valuable insights into the overall satisfaction and performance of the seat.
By carefully considering these factors, you can choose a backless booster seat that not only meets safety standards but also provides a comfortable and secure seating solution for your child. Once the right seat has been selected, the next step is to prepare the vehicle for the installation process.
Step 2: Prepare the Vehicle
Before installing the backless booster seat, it's crucial to prepare the vehicle to ensure a smooth and secure installation process. Proper preparation of the vehicle sets the stage for creating a safe and stable seating environment for the child. Here's a detailed guide on how to prepare the vehicle for the booster seat installation:
-
Clear the Seating Area: Begin by clearing the seating area where the booster seat will be placed. Remove any items such as toys, food wrappers, or other debris that may interfere with the installation process. Ensuring a clean and clutter-free seating area not only facilitates the installation but also minimizes potential hazards inside the vehicle.
-
Inspect the Seat Belt: Check the condition of the seat belt in the seating position where the booster seat will be installed. Ensure that the seat belt is functioning properly, without any signs of fraying or damage. It's important to verify that the seat belt retracts and locks smoothly, as this is essential for securing the booster seat effectively.
-
Adjust the Headrest: If the vehicle's seat has an adjustable headrest, consider adjusting it to an appropriate position that complements the booster seat installation. Lowering or removing the headrest, if possible, can prevent interference and ensure a snug fit for the booster seat against the vehicle's seatback.
-
Review the Vehicle Manual: Refer to the vehicle's manual for specific instructions or recommendations related to installing child safety seats. Some vehicles may have unique features or guidelines for installing booster seats, and consulting the manual can provide valuable insights tailored to the vehicle's design.
-
Check for LATCH Compatibility: If the vehicle is equipped with Lower Anchors and Tethers for Children (LATCH) systems, familiarize yourself with the location and compatibility of the LATCH anchors. While backless booster seats typically rely on the vehicle's seat belt for installation, understanding the LATCH system can be beneficial for certain seating configurations and future reference.
By meticulously preparing the vehicle for the booster seat installation, you can lay the groundwork for a successful and secure seating arrangement. With the vehicle ready, the next step is to position the booster seat in accordance with the recommended guidelines, ensuring optimal safety and comfort for the child during travels.
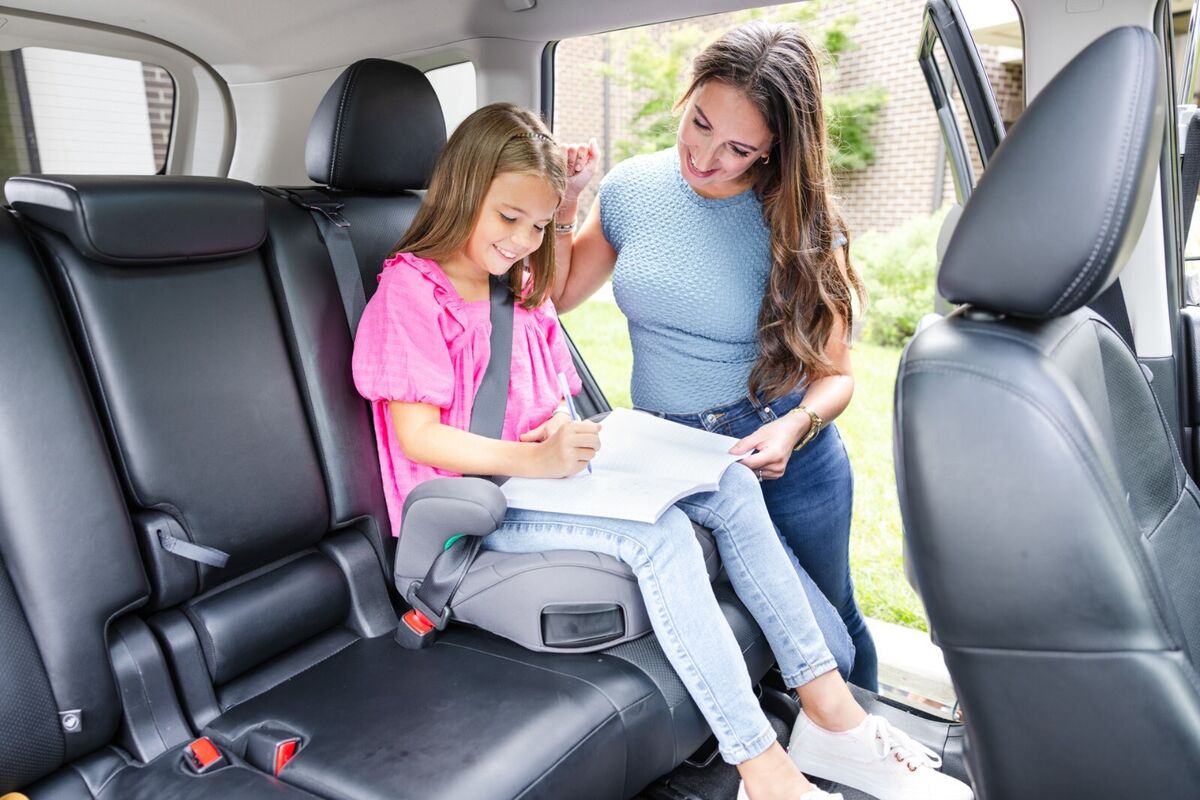
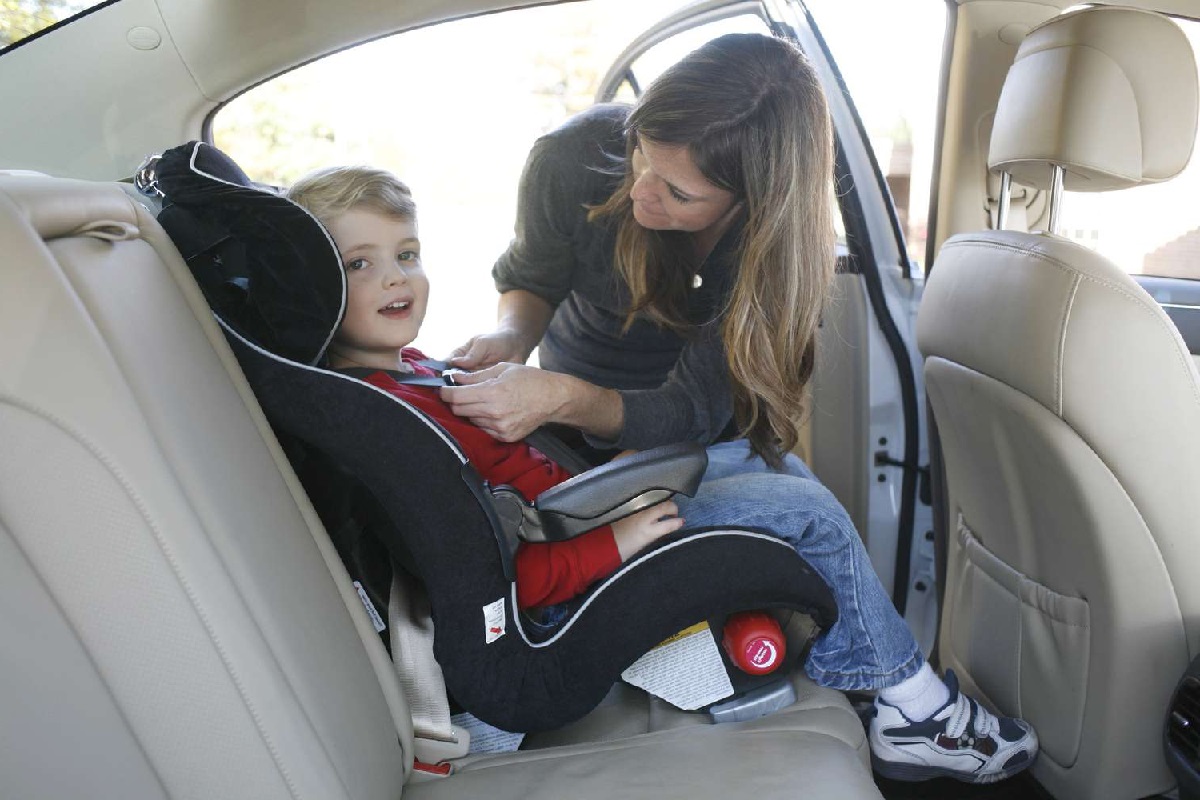
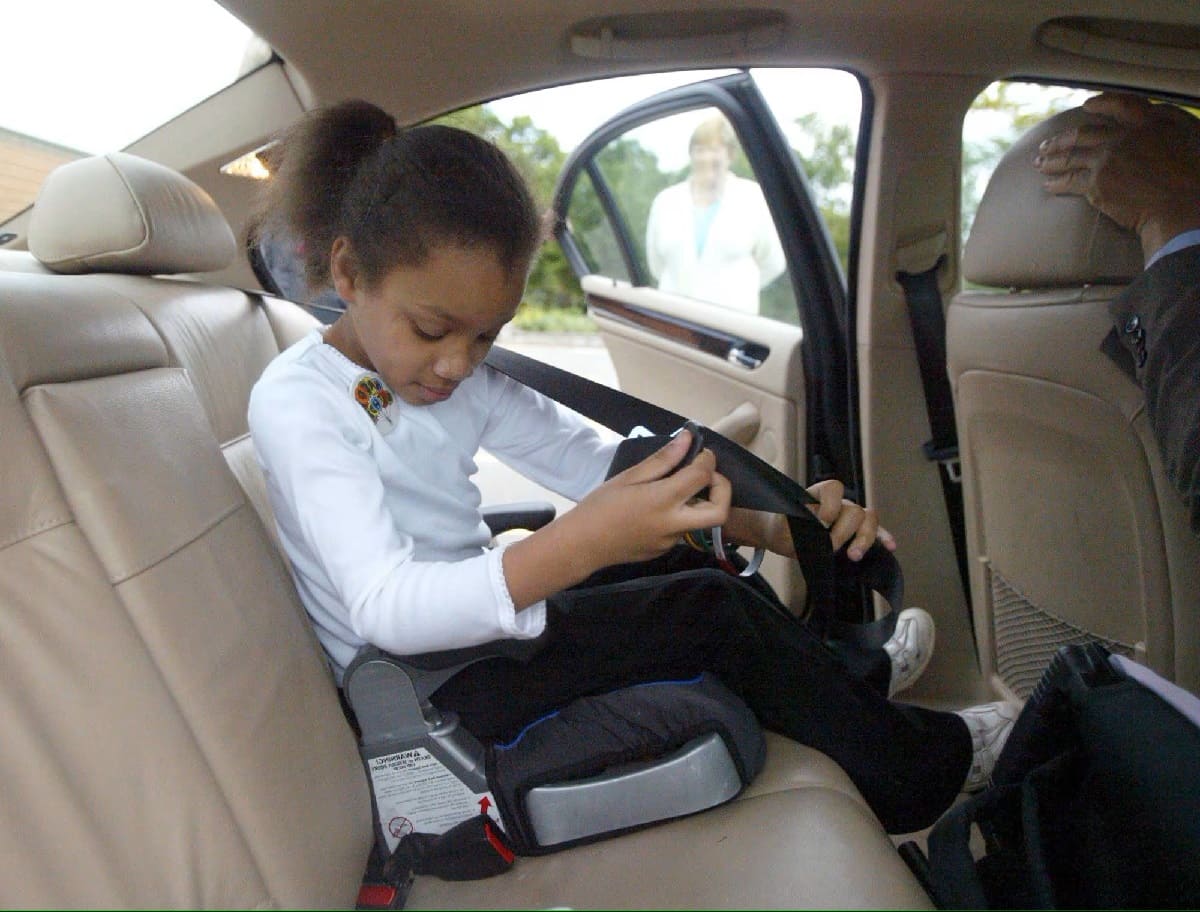
Step 3: Position the Booster Seat
Proper positioning of the backless booster seat is critical to ensure optimal safety and comfort for the child during car rides. By following the recommended guidelines for positioning the booster seat, you can create a secure seating arrangement that minimizes the risk of injury in the event of sudden stops or collisions. Here's a detailed overview of how to position the booster seat effectively:
-
Select the Seating Location: Identify the appropriate seating position in the vehicle for installing the backless booster seat. It's important to choose a seating position with a lap and shoulder belt, as the booster seat relies on these restraints for securing the child. Additionally, consider the child's age and any specific recommendations provided by the booster seat manufacturer regarding seating positions.
-
Place the Booster Seat: Position the backless booster seat on the vehicle's seat, ensuring that it rests firmly against the seatback. The booster seat should be centered on the seating surface, aligning it with the lap and shoulder belt anchor points. Verify that the booster seat sits flat and does not wobble or tilt when pressure is applied.
-
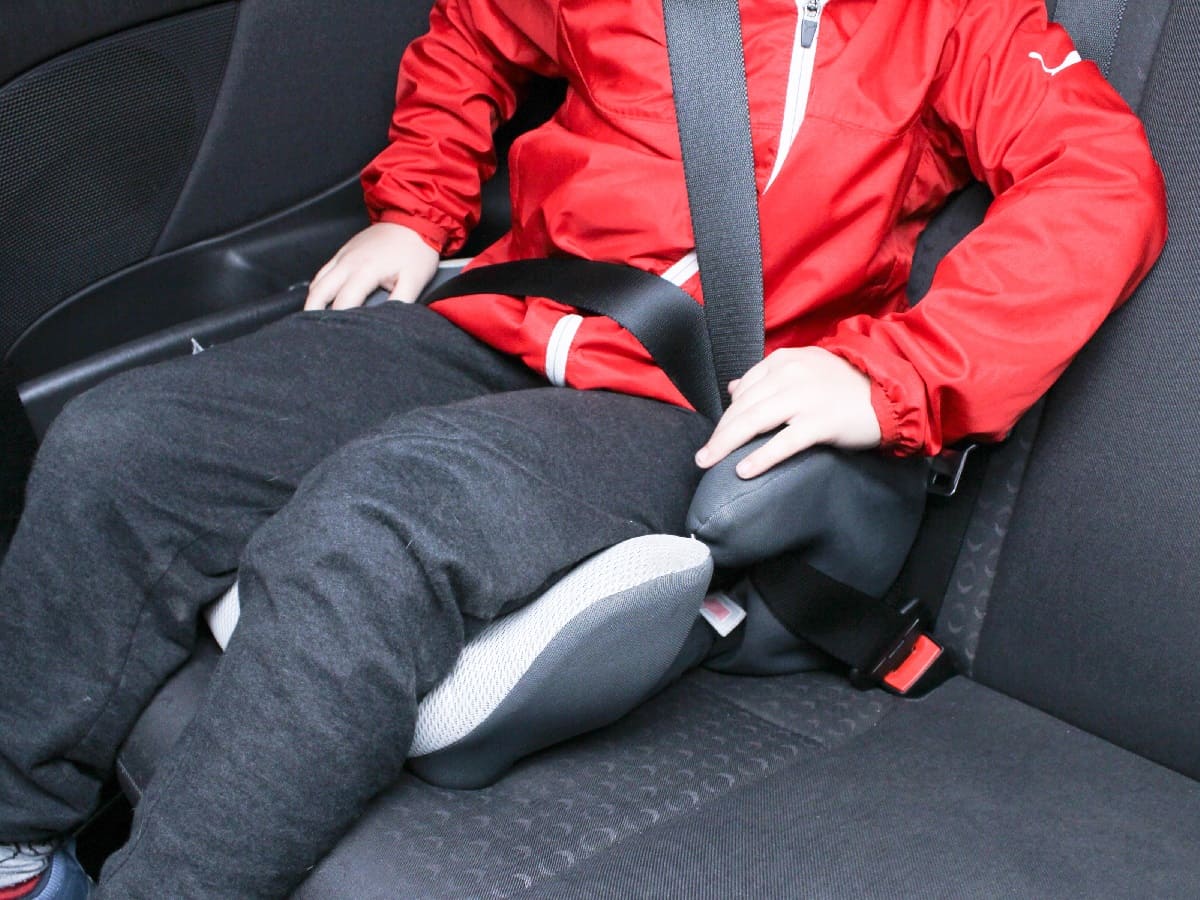
Adjust the Seat Belt: Guide the vehicle's lap and shoulder belt through the designated belt guides on the booster seat. The lap belt should rest low across the child's hips and upper thighs, while the shoulder belt should cross the child's chest and shoulder without contacting the neck or face. Proper belt positioning is essential for distributing crash forces and restraining the child effectively.
-
Check for Interference: Ensure that the booster seat does not interfere with the vehicle's seat belt system or any other safety features. Verify that the seat belt can be buckled and unbuckled smoothly without obstruction. Additionally, confirm that the booster seat does not impede the functionality of the vehicle's airbags, if present.
-
Assess Visibility and Comfort: Consider the child's visibility and comfort from the seated position. The booster seat should provide an elevated yet secure seating arrangement that allows the child to see out of the vehicle's windows. Additionally, ensure that the child can sit comfortably without experiencing any discomfort or strain.
By meticulously positioning the backless booster seat in accordance with these guidelines, you can establish a secure and stable seating arrangement that prioritizes the safety and well-being of the child. Once the booster seat is properly positioned, the next step is to secure the seat in place to prevent movement during travels.
When installing a backless booster seat, make sure the vehicle’s seat belt fits snugly across the child’s lap and shoulder, and that the seat is securely positioned on the vehicle seat. Always follow the manufacturer’s instructions for proper installation.
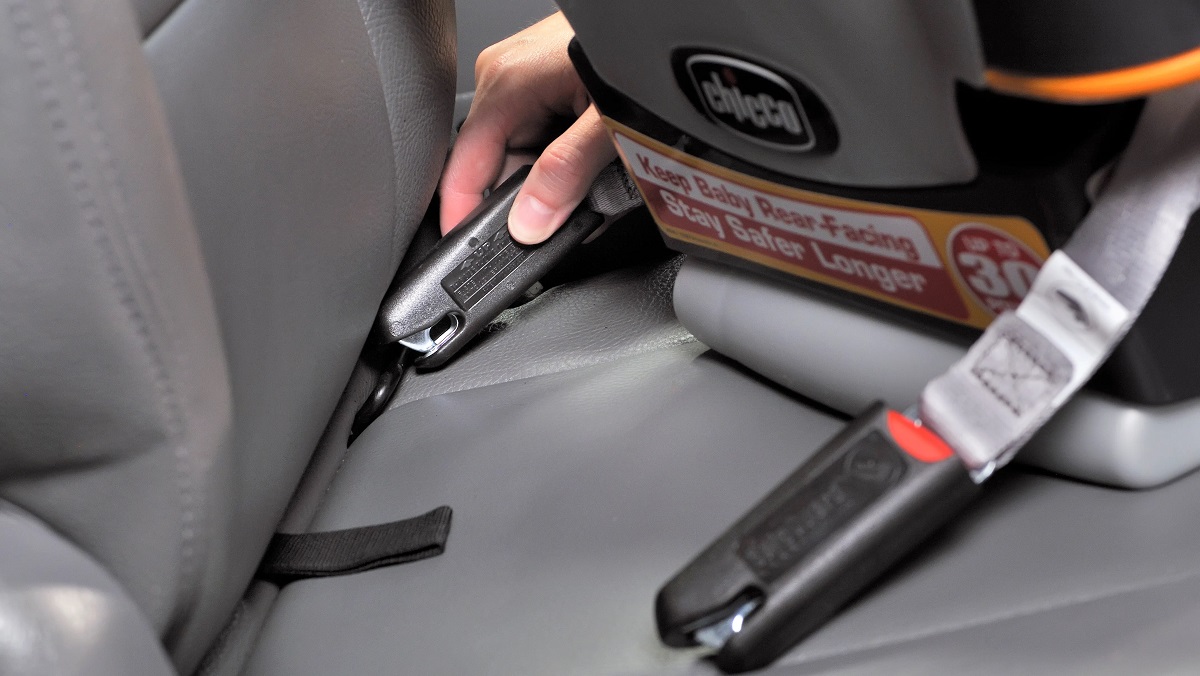
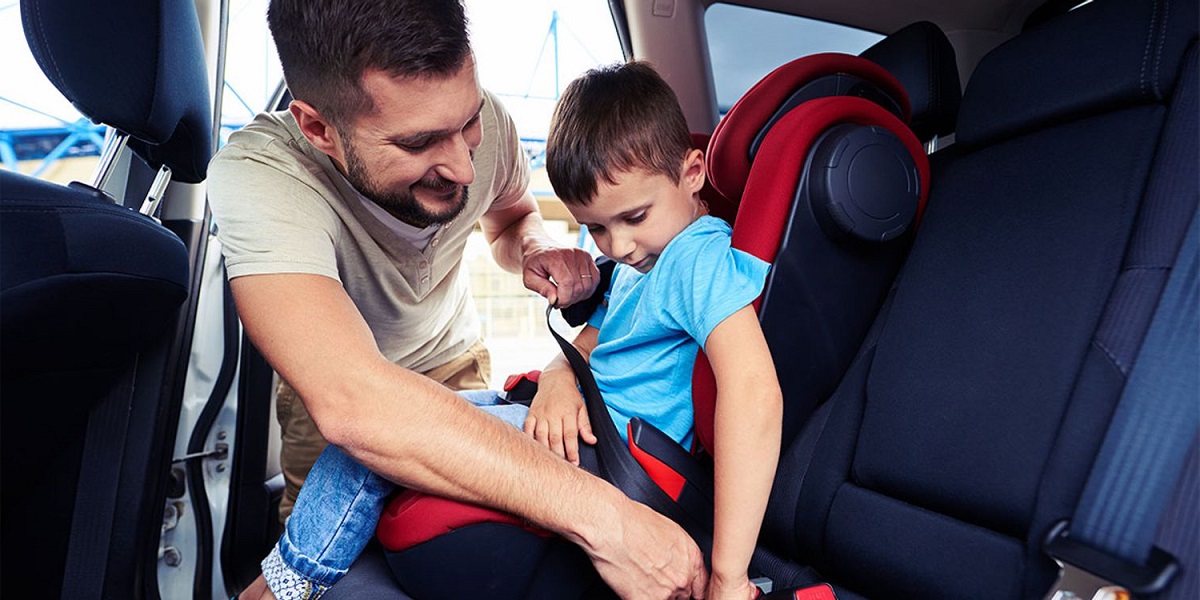
Step 4: Secure the Seat
Securing the backless booster seat is a critical step in ensuring the safety and stability of the child during car rides. Properly securing the seat not only minimizes the risk of injury in the event of sudden stops or collisions but also provides peace of mind for the driver and passengers. Here's a detailed guide on how to effectively secure the backless booster seat in the vehicle:
-
Anchor the Booster Seat: Begin by ensuring that the backless booster seat is anchored securely to the vehicle's seat. Press down firmly on the booster seat while pulling the seat belt to remove any slack. This helps to establish a snug connection between the booster seat and the vehicle's seat, reducing the likelihood of movement during travels.
-
Engage the Seat Belt: Pull the vehicle's seat belt across the booster seat, ensuring that it is threaded through the designated belt guides and rests in the appropriate position. Buckle the seat belt securely, and verify that it is positioned snugly against the booster seat without any twists or tangles. The seat belt should be free from slack, holding the booster seat firmly in place.
-
Test for Tightness: After securing the seat belt, perform a gentle yet firm tug on the belt to assess the tightness of the connection. The booster seat should remain stable and immobile, indicating that the seat belt is effectively restraining the seat. If there is excessive movement or slack, readjust the seat belt and anchor points to achieve a secure fit.
-
Verify Belt Positioning: Double-check the positioning of the lap and shoulder belt on the child while seated in the booster seat. The lap belt should rest low across the child's hips and upper thighs, while the shoulder belt should cross the chest and shoulder without contacting the neck or face. Proper belt positioning is essential for distributing crash forces and protecting the child in the event of a collision.
-
Follow Manufacturer's Instructions: It's crucial to adhere to the specific installation guidelines provided by the booster seat manufacturer. Different booster seats may have unique features or requirements for securing the seat in the vehicle. By following the manufacturer's instructions, you can ensure that the seat is secured in accordance with the intended design and functionality.
By meticulously following these steps, you can effectively secure the backless booster seat, creating a stable and protective seating arrangement for the child. Once the seat is securely in place, the final step is to test for stability to confirm that the installation process has been successful.
Read more: How To Secure A Backless Booster Seat
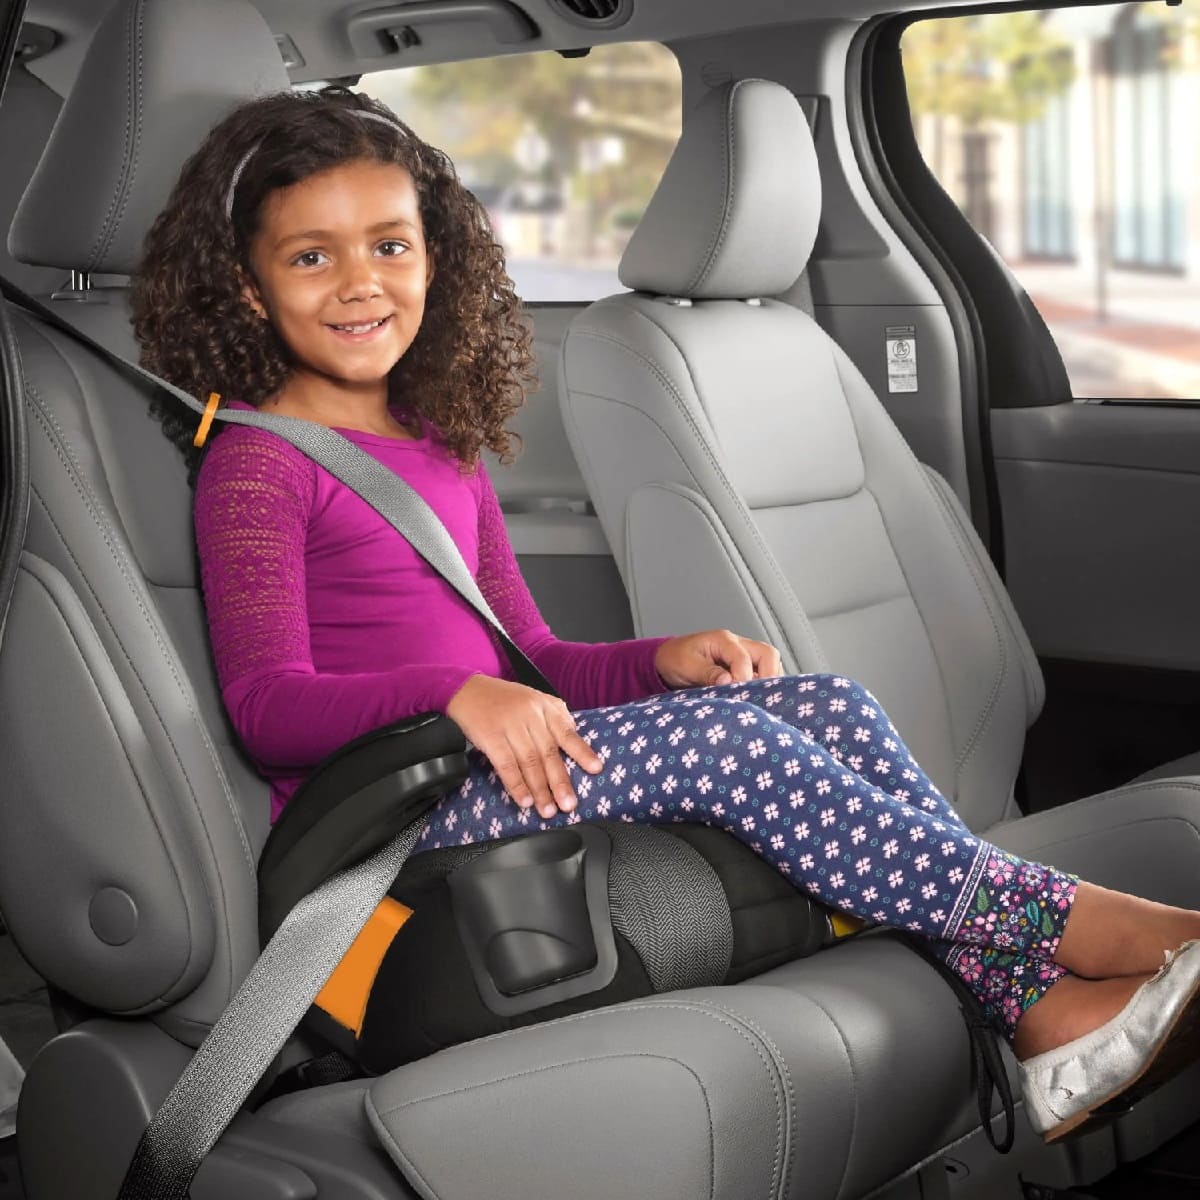
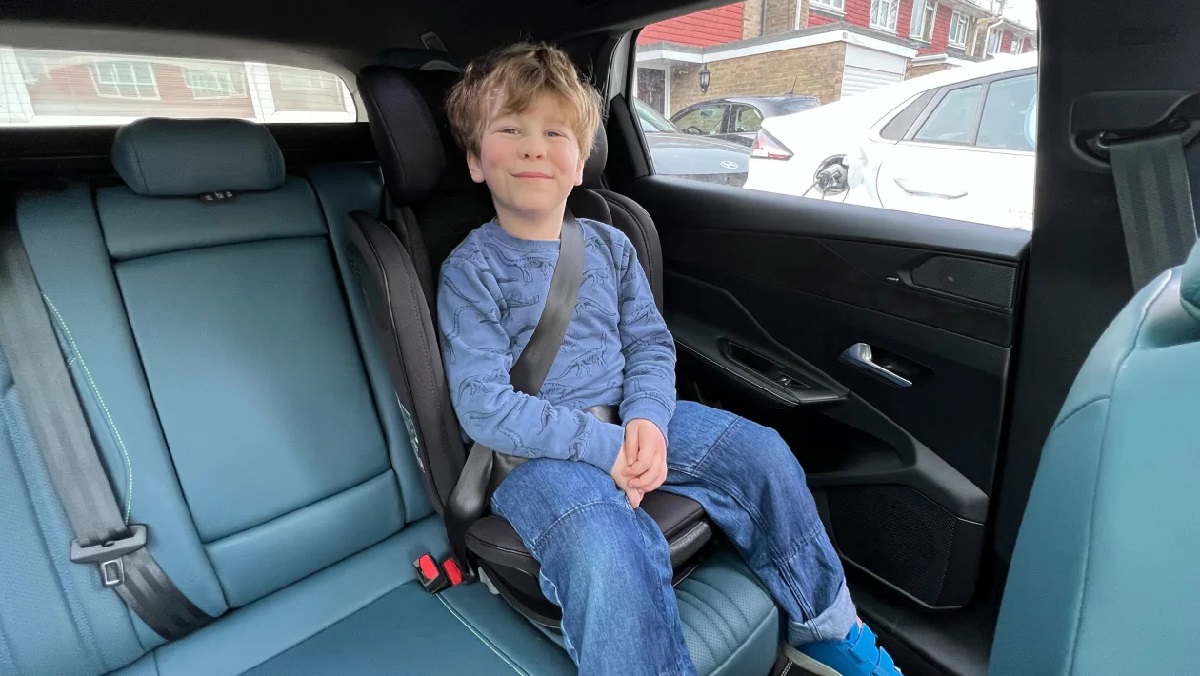
Step 5: Test for Stability
After securing the backless booster seat in the vehicle, it is crucial to perform a comprehensive stability test to ensure that the installation is robust and capable of providing a secure seating environment for the child. Testing for stability involves assessing the integrity of the booster seat's connection to the vehicle's seat and verifying that the seat remains stationary and well-positioned during normal driving conditions and potential emergency scenarios.
Here's a detailed guide on how to conduct a thorough stability test for the backless booster seat:
-
Firmness Check: Begin by applying firm pressure to the booster seat, simulating the force that may occur during sudden stops or changes in vehicle speed. Press down on the seat and attempt to shift it from side to side. The booster seat should remain firmly anchored to the vehicle's seat, exhibiting minimal to no movement. Any excessive shifting or instability indicates the need for reevaluation and potential readjustment of the seat's positioning and securing mechanism.
-
Dynamic Movement Assessment: With the booster seat secured, gently simulate the vehicle's movements by rocking the seat back and forth. This action helps assess the seat's ability to maintain stability and resist displacement during dynamic driving conditions. The booster seat should exhibit resilience against movement, showcasing its capacity to remain in place even when subjected to mild dynamic forces.
-
Seat Belt Retraction Test: Pull the seat belt out from its retracted position and allow it to retract back into the mechanism. As the seat belt retracts, observe the interaction between the belt and the booster seat. The retraction process should occur smoothly, without causing the booster seat to shift or dislodge from its secured position. Any irregularities or disruptions in the seat belt's retraction may indicate potential issues with the seat's stability and anchoring.
-
Realistic Driving Simulation: If possible, take the vehicle for a brief test drive, paying attention to the behavior of the booster seat during acceleration, deceleration, and cornering. Observe the seat for any signs of movement or instability, particularly when encountering road imperfections or making turns. The booster seat should remain steadfast and immobile, providing assurance of its ability to withstand real-world driving conditions.
-
Child Occupancy Test: Finally, have the child sit in the booster seat and fasten the seat belt according to the recommended guidelines. Observe the child's comfort and the stability of the booster seat with the added weight. The seat should maintain its secure positioning and provide a stable and comfortable seating arrangement for the child.
By meticulously conducting these stability tests, you can ascertain the effectiveness of the backless booster seat installation and address any potential concerns related to stability and security. A stable and well-secured booster seat is essential for safeguarding the child's well-being and ensuring a safe and enjoyable travel experience.
Conclusion
In conclusion, the installation of a backless booster seat is a fundamental aspect of child safety in vehicles. By following the step-by-step process outlined in this guide, caregivers and parents can ensure that children are provided with a secure and comfortable seating arrangement during car rides. From choosing the right seat to conducting stability tests, each step contributes to the overall goal of creating a protective environment that minimizes the risk of injury in the event of sudden stops or collisions.
The first step, choosing the right backless booster seat, involves considering the child's age, weight, and height, as well as prioritizing safety standards and compatibility with the vehicle. Selecting a booster seat that meets these criteria sets the stage for a successful installation process.
Preparing the vehicle for the booster seat installation is equally crucial. Clearing the seating area, inspecting the seat belt, adjusting the headrest, and reviewing the vehicle manual are essential preparatory measures that contribute to the overall safety of the seating arrangement.
Positioning the booster seat in accordance with recommended guidelines ensures that the child is seated securely and comfortably. Proper belt positioning and the absence of interference with the vehicle's safety features are key considerations during this step.
Securing the seat effectively involves anchoring the booster seat, engaging the seat belt, and testing for tightness to ensure a stable connection. Adhering to the manufacturer's instructions is paramount in this phase to guarantee that the seat is secured as intended.
Finally, conducting comprehensive stability tests, including firmness checks, dynamic movement assessments, seat belt retraction tests, and realistic driving simulations, provides assurance of the booster seat's ability to withstand real-world driving conditions and maintain stability.
By meticulously following each step and conducting thorough assessments, caregivers and parents can have confidence in the effectiveness of the backless booster seat installation. Prioritizing the safety and well-being of children in vehicles is a responsibility that requires attention to detail and a commitment to creating a protective environment. With the proper installation of a backless booster seat, caregivers can embark on journeys with the assurance that children are seated securely and protected, allowing for safe and enjoyable travels for all passengers.
Frequently Asked Questions about How To Install A Backless Booster Seat
Was this page helpful?
At Storables.com, we guarantee accurate and reliable information. Our content, validated by Expert Board Contributors, is crafted following stringent Editorial Policies. We're committed to providing you with well-researched, expert-backed insights for all your informational needs.
0 thoughts on “How To Install A Backless Booster Seat”