Home>Maintenance & Safety>Child & Elderly Safety at Home>How To Remove A Graco Booster Seat
Child & Elderly Safety at Home
How To Remove A Graco Booster Seat
Modified: March 2, 2024
Learn how to safely remove a Graco booster seat and ensure child and elderly safety at home with our step-by-step guide. Protect your loved ones with proper seat removal techniques.
(Many of the links in this article redirect to a specific reviewed product. Your purchase of these products through affiliate links helps to generate commission for Storables.com, at no extra cost. Learn more)
Introduction
Removing a Graco booster seat is a straightforward process that ensures the safety and comfort of your child. Whether you're transitioning to a different car seat or need to clean the booster seat, understanding the proper steps is essential. By following the guidelines provided by Graco, you can efficiently remove the booster seat without any hassle. This article will walk you through the step-by-step process, ensuring that you can complete the task with ease and confidence.
Ensuring the safety of your child during car rides is paramount, and part of this responsibility involves using the appropriate car seat and ensuring it is properly installed and maintained. Graco booster seats are designed with the utmost care and consideration for your child's safety, and knowing how to remove them correctly is crucial for both the seat's longevity and your child's well-being.
In the following sections, we will delve into the specific steps required to remove a Graco booster seat. From unbuckling the seat belt to cleaning the booster seat, each step is outlined in detail to provide you with a comprehensive understanding of the process. By the end of this guide, you will feel confident in your ability to remove the booster seat efficiently and effectively.
Let's dive into the step-by-step process of removing a Graco booster seat to ensure that your child's safety is always a top priority.
Key Takeaways:
- Safely removing a Graco booster seat involves unbuckling the seat belt and lifting the seat out of the car. This ensures a secure and comfortable environment for your child during car rides.
- Cleaning the booster seat is crucial for maintaining a safe and hygienic space for your child. Follow Graco’s cleaning guidelines to keep the seat in excellent condition for future use.
Step 1: Unbuckle the Seat Belt
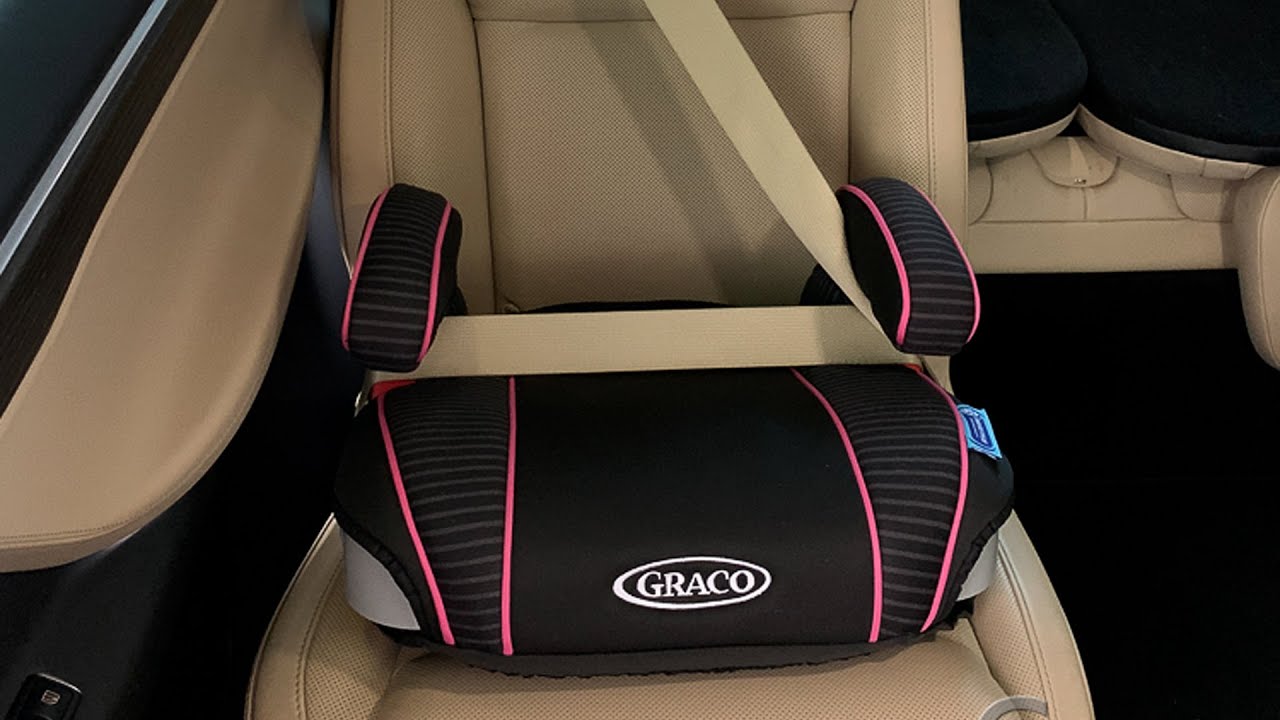
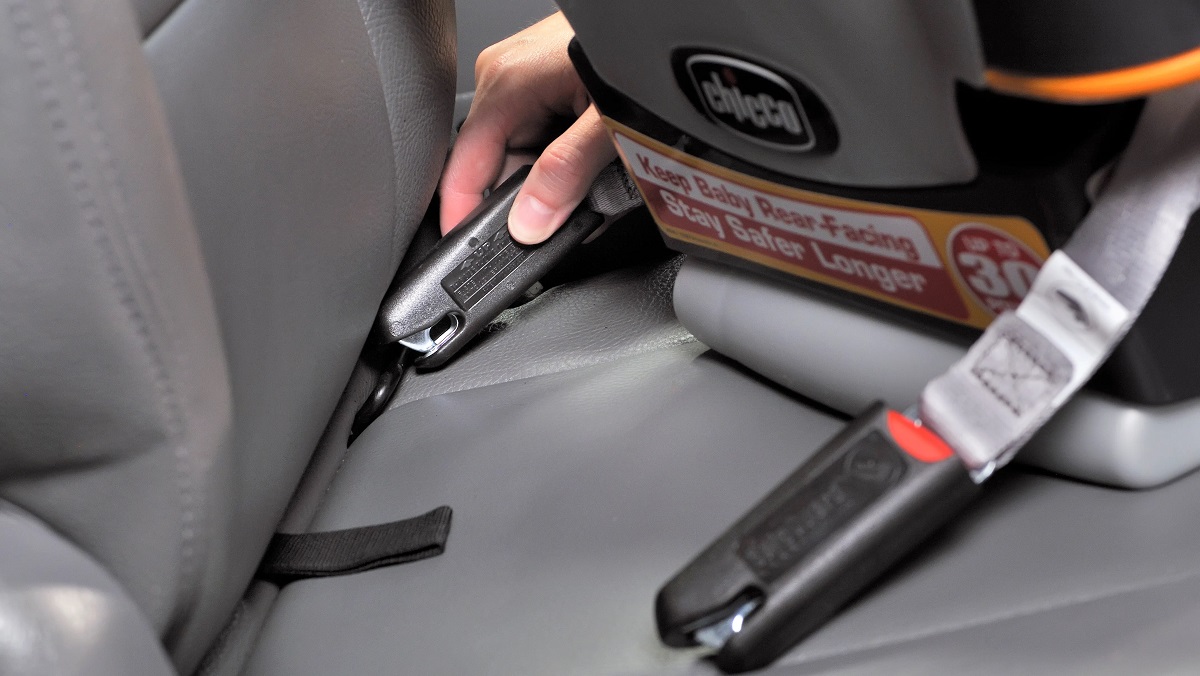
The first step in removing a Graco booster seat is to unbuckle the seat belt that secures the booster seat in place. This is a crucial step as it ensures that the booster seat can be safely detached from the vehicle's seat. To begin, locate the seat belt buckle that is securing the booster seat. Depending on the model of the booster seat, the seat belt may be threaded through the back of the booster seat or secured around the armrests.
Once you have located the seat belt buckle, press the release button to unbuckle the seat belt. It's important to do this carefully to avoid any sudden movements that could startle your child if they are seated in the booster seat. Gently guide the seat belt out of the booster seat's belt path, ensuring that it is completely free from any restraints.
After unbuckling the seat belt, it's a good practice to inspect the belt for any twists or tangles. Straightening the seat belt ensures that it can be easily retracted and used again when installing a different car seat or reattaching the booster seat. Additionally, taking a moment to ensure that the seat belt is in good condition and free from any damage is essential for the safety of your child.
By carefully unbuckling the seat belt and inspecting it for any issues, you are taking the necessary steps to ensure that the booster seat can be safely removed from the vehicle. This attention to detail and commitment to safety is a testament to the importance you place on your child's well-being during car rides.
With the seat belt unbuckled and inspected, you are now ready to proceed to the next step in removing the Graco booster seat from your vehicle. This process ensures that the booster seat can be safely and efficiently detached, allowing for seamless transitions or maintenance as needed.
Step 2: Remove the Booster Seat
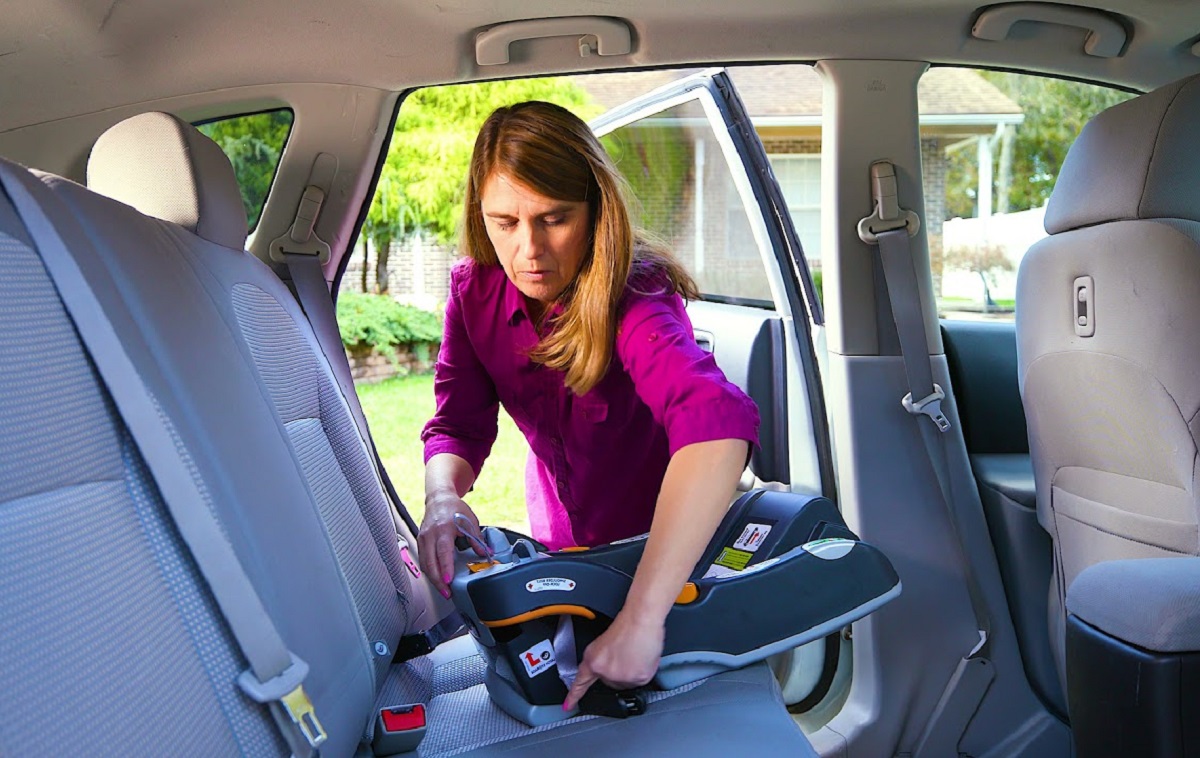
With the seat belt unbuckled and the booster seat ready for removal, the next step is to carefully lift the booster seat out of the vehicle. Before proceeding, it's important to ensure that your child is not seated in the booster seat. Once you have confirmed that the booster seat is unoccupied, you can proceed with removing it from the vehicle.
To remove the booster seat, firmly grasp the seat with both hands, ensuring that you have a secure grip on the seat's base and back. Lift the booster seat upward, taking care to avoid any sudden movements that could cause the seat to shift or tip over. By lifting the booster seat straight upward, you can safely detach it from the vehicle's seat.
As you lift the booster seat, be mindful of its weight and size to prevent any strain on your back or arms. Graco booster seats are designed to be lightweight and portable, making them easy to handle during removal. However, it's always a good practice to lift with your legs to minimize any potential strain on your back.
Once the booster seat is lifted clear of the vehicle's seat, carefully maneuver it through the vehicle's door opening. Take care to avoid scraping or bumping the booster seat against the door frame or any other surfaces. By maintaining a steady and controlled movement, you can ensure that the booster seat is safely removed without any damage to the seat or the vehicle's interior.
With the booster seat successfully removed from the vehicle, you have completed the essential steps to ensure the safety and comfort of your child. Whether you are transitioning to a different car seat or need to clean the booster seat, the proper removal process is crucial for maintaining the seat's integrity and functionality.
By following these steps, you have demonstrated a commitment to your child's safety and well-being during car rides. The careful and attentive approach to removing the booster seat reflects your dedication to providing a secure and comfortable environment for your child while traveling.
With the booster seat removed from the vehicle, you are now ready to proceed with any necessary maintenance or transitions, knowing that you have completed the removal process with precision and care.
Step 3: Clean the Booster Seat
Cleaning the booster seat is an essential aspect of maintaining a safe and hygienic environment for your child. Over time, booster seats can accumulate dirt, crumbs, and spills, making regular cleaning a necessary task. By following the recommended cleaning guidelines provided by Graco, you can ensure that the booster seat remains in optimal condition for your child's use.
Gather Cleaning Supplies
Before beginning the cleaning process, gather the necessary supplies to effectively clean the booster seat. You will need a mild detergent or Graco-recommended cleaning solution, warm water, a soft-bristled brush or cloth, and a clean towel or cloth for drying. It's important to use gentle cleaning agents to avoid damaging the booster seat's fabric or components.
Read more: How To Remove A Booster Seat
Spot Cleaning
Start by addressing any visible stains or spills on the booster seat. Prepare a cleaning solution by mixing a small amount of mild detergent with warm water. Dip the soft-bristled brush or cloth into the cleaning solution and gently spot clean the affected areas. Take care to avoid oversaturating the fabric, as excessive moisture can lead to mold or mildew growth.
Cleaning the Harness and Buckle
If your Graco booster seat includes a harness system, it's essential to clean the harness straps and buckle regularly. Use a damp cloth and mild detergent to wipe down the harness straps, ensuring that any dirt or residue is removed. For the buckle, carefully remove it from the booster seat and clean it using a damp cloth. Avoid using harsh chemicals or abrasive cleaning agents on the harness and buckle to prevent damage.
Fabric Care
For fabric-covered booster seats, it's important to follow the manufacturer's recommendations for cleaning. Some Graco booster seats feature removable and machine-washable seat pad covers, allowing for easy maintenance. If the seat pad cover is machine washable, carefully remove it according to the manufacturer's instructions and launder it using a gentle cycle and mild detergent. Allow the seat pad cover to air dry thoroughly before reattaching it to the booster seat.
Drying and Reassembly
After cleaning the booster seat components, ensure that they are thoroughly dried before reassembly. Use a clean towel or cloth to blot excess moisture from the fabric and harness components. Allow the booster seat to air dry in a well-ventilated area, away from direct sunlight. Once all components are completely dry, reassemble the booster seat according to the manufacturer's instructions.
By following these cleaning guidelines, you can maintain a clean and hygienic environment for your child while ensuring that the booster seat remains in excellent condition. Regular cleaning not only promotes a safe and comfortable seating experience but also extends the longevity of the booster seat for future use.
With the booster seat now clean and ready for use, you have completed the essential steps to ensure that your child's safety and comfort are always a top priority.
Read more: What Is A Booster Seat
Conclusion
In conclusion, the process of removing a Graco booster seat encompasses essential steps that prioritize the safety and well-being of your child. By carefully unbuckling the seat belt, lifting the booster seat from the vehicle, and following proper cleaning guidelines, you have demonstrated a commitment to maintaining a secure and hygienic environment for your child during car rides.
The meticulous approach to unbuckling the seat belt ensures that the booster seat can be safely detached from the vehicle's seat, minimizing any potential risks or hazards. This attention to detail reflects your dedication to ensuring that every aspect of your child's car seat usage is handled with care and precision.
Lifting the booster seat from the vehicle requires a steady and controlled approach, emphasizing the importance of safe handling and proper lifting techniques. By prioritizing the careful removal of the booster seat, you have shown a deep understanding of the significance of maintaining a secure and stable seating environment for your child.
Furthermore, the thorough cleaning process outlined for the booster seat underscores your commitment to providing a clean and hygienic space for your child. By following the recommended cleaning guidelines and utilizing gentle cleaning agents, you have taken proactive measures to ensure that the booster seat remains in optimal condition for your child's use.
Ultimately, the process of removing a Graco booster seat is not only about practicality but also about the dedication and care you invest in safeguarding your child's well-being. Each step in the removal process reflects your unwavering commitment to creating a safe, comfortable, and clean environment for your child during car rides.
As you continue to prioritize your child's safety and comfort, the knowledge and understanding gained from this guide will serve as a valuable resource in maintaining the integrity and functionality of the Graco booster seat. Your proactive approach to booster seat maintenance and removal sets a commendable standard for ensuring that your child's safety is always a top priority.
With the booster seat removed, cleaned, and ready for use, you can proceed with confidence, knowing that you have completed the removal process with diligence and care. Your commitment to your child's safety shines through in every step of the process, reflecting the unwavering dedication of a responsible and caring parent.
Frequently Asked Questions about How To Remove A Graco Booster Seat
Was this page helpful?
At Storables.com, we guarantee accurate and reliable information. Our content, validated by Expert Board Contributors, is crafted following stringent Editorial Policies. We're committed to providing you with well-researched, expert-backed insights for all your informational needs.


0 thoughts on “How To Remove A Graco Booster Seat”