Home>Maintenance & Safety>Child & Elderly Safety at Home>How To Install A Booster Seat With A Back
Child & Elderly Safety at Home
How To Install A Booster Seat With A Back
Modified: February 29, 2024
Learn how to properly install a booster seat with a back for optimal child and elderly safety at home. Follow these step-by-step instructions for a secure installation. Protect your loved ones today!
(Many of the links in this article redirect to a specific reviewed product. Your purchase of these products through affiliate links helps to generate commission for Storables.com, at no extra cost. Learn more)
Introduction
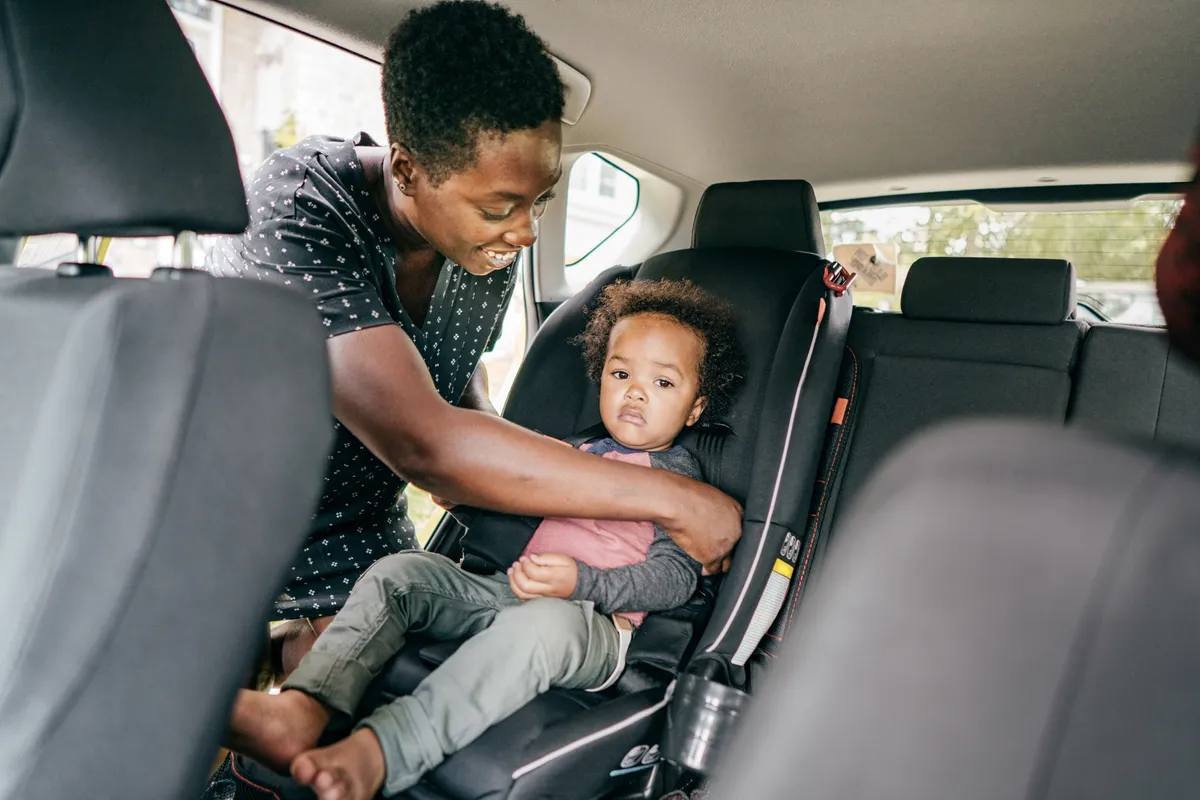
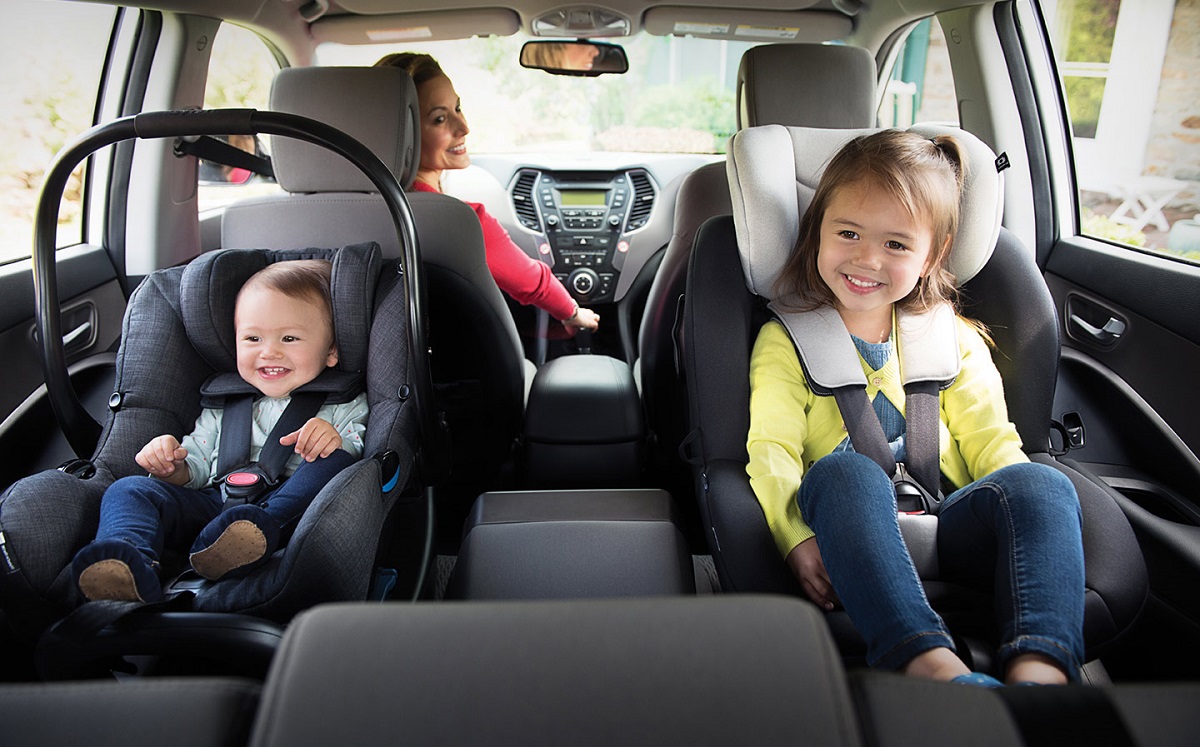
Installing a booster seat with a back is a crucial step in ensuring the safety of young passengers during car journeys. As children grow, transitioning from a car seat to a booster seat becomes necessary to provide them with the proper support and protection. Booster seats are designed to elevate a child to the correct height, allowing the vehicle's seat belt to fit them securely. However, the effectiveness of a booster seat greatly depends on the correct installation and positioning within the vehicle.
In this comprehensive guide, we will walk you through the essential steps to properly install a booster seat with a back. By following these instructions, you can help safeguard your child's well-being and provide them with a secure and comfortable ride. From selecting the right booster seat to ensuring its stability, each step plays a vital role in creating a safe environment for your young passenger.
As a responsible caregiver, it's important to stay informed about the best practices for child safety in vehicles. By mastering the installation process for a booster seat, you can contribute to the overall safety of your child and promote a culture of awareness and preparedness. Let's delve into the step-by-step process of installing a booster seat with a back, empowering you to make informed decisions and take proactive measures to protect your child during car travel.
Key Takeaways:
- Choose the right booster seat that fits your child’s age, weight, and height. Look for safety-approved seats with features like adjustable headrests and LATCH systems for added stability. Involving your child in the selection process can make transitioning to a booster seat more positive and cooperative.
- Position and secure the booster seat properly in the vehicle. Choose a safe seating location, ensure compatibility, and adjust the seat belt for a snug fit. Test the booster seat for stability to create a secure and comfortable environment for your child during car journeys.
Read more: How To Install A Booster Seat
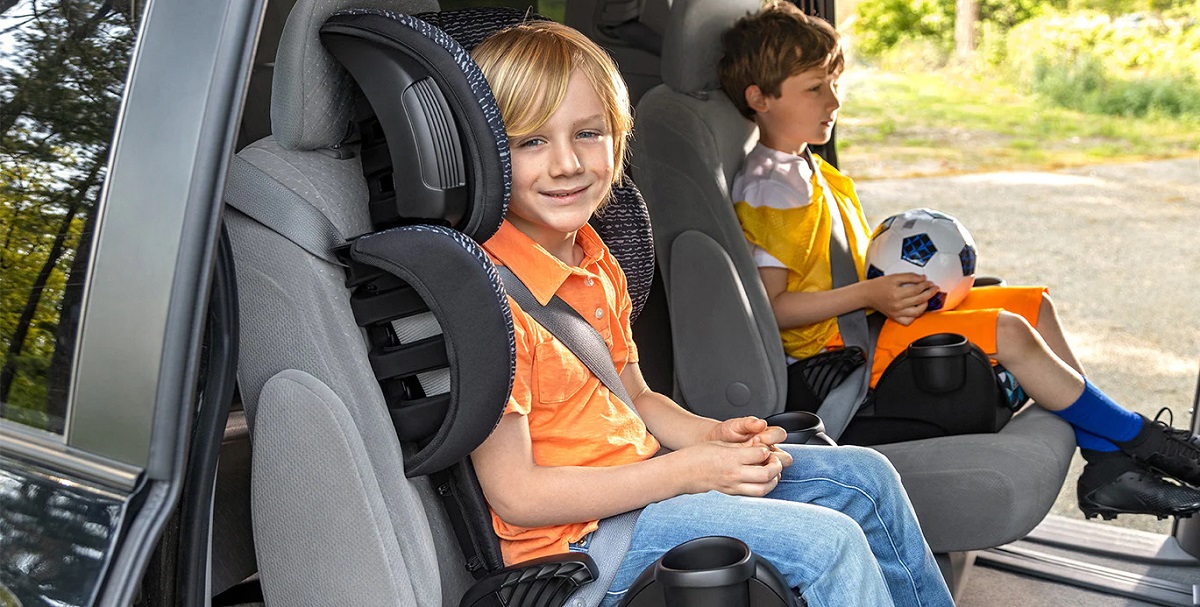
Step 1: Choose the Right Booster Seat
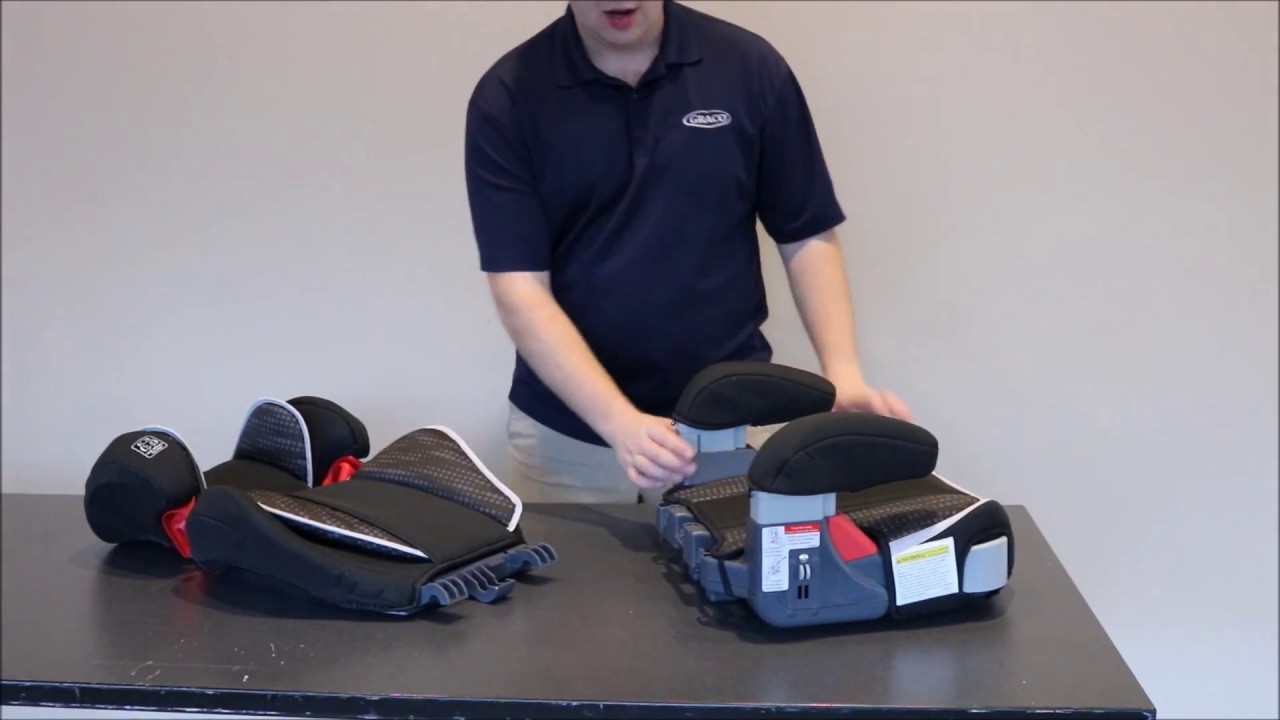
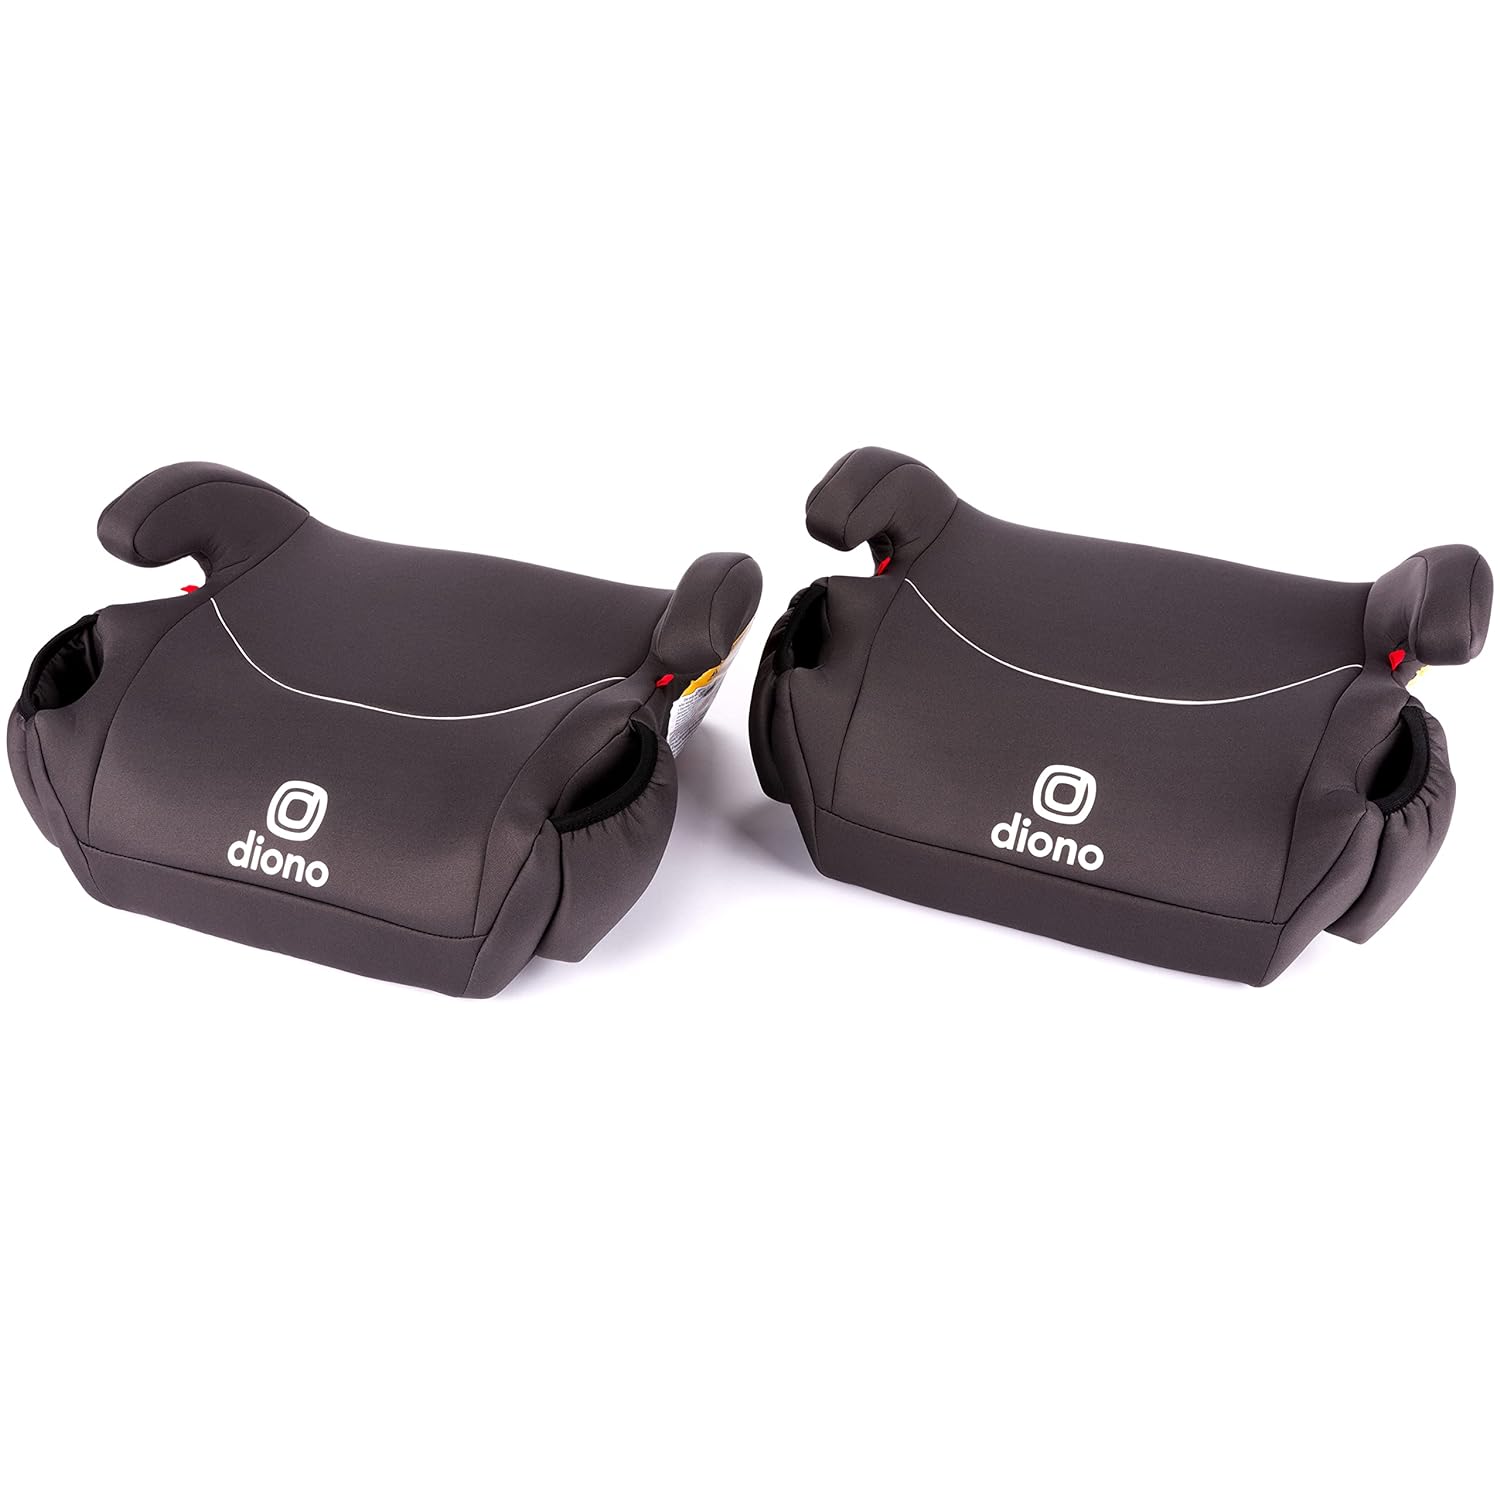
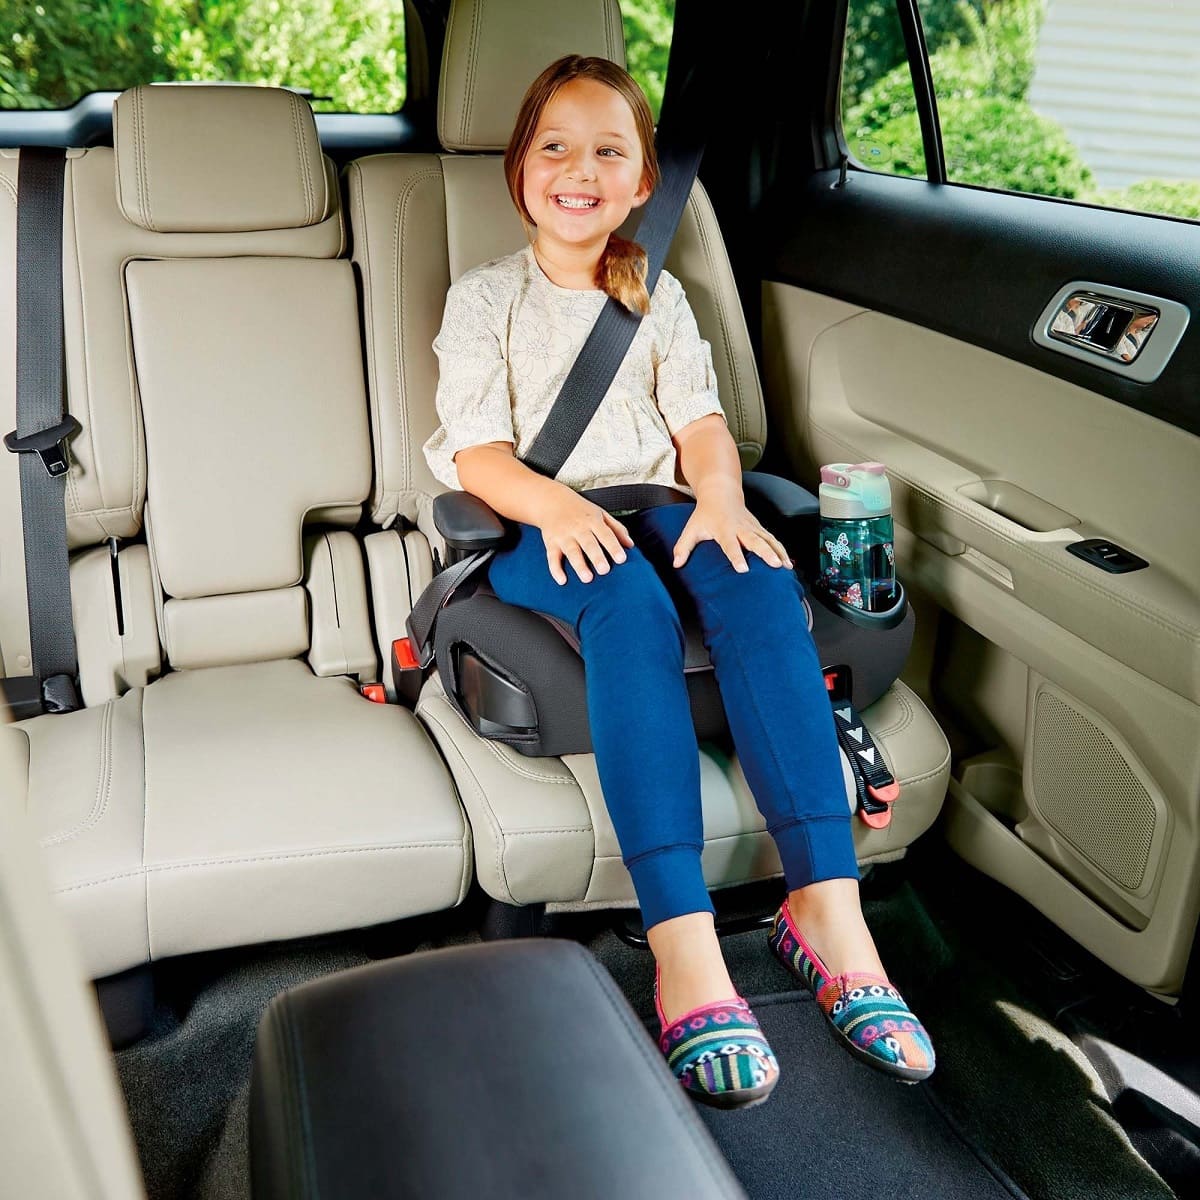
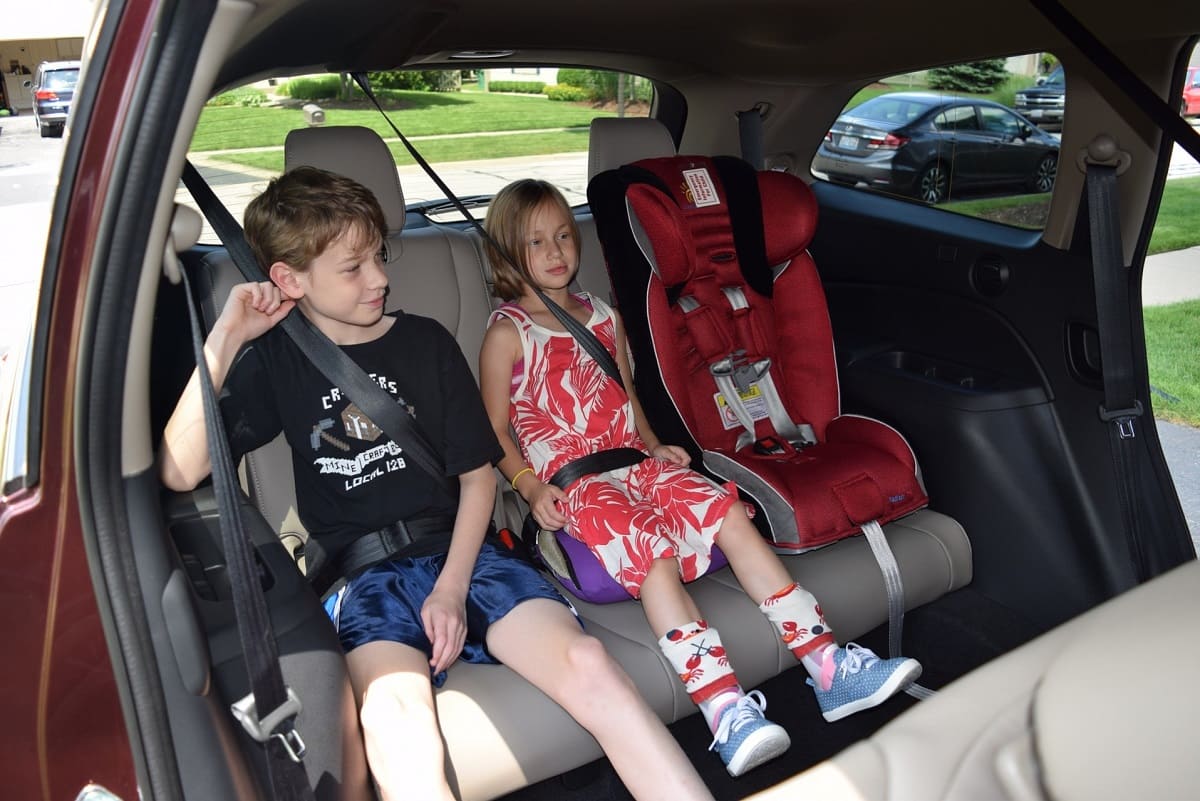
Selecting the right booster seat is the foundational step in ensuring the safety and comfort of your child during car journeys. When choosing a booster seat, it's essential to consider your child's age, weight, and height to determine the most suitable option. There are two main types of booster seats: high-back boosters and backless boosters. High-back boosters provide head and neck support, making them ideal for vehicles without headrests or for children who need additional support. On the other hand, backless boosters are more compact and suitable for older children who have outgrown their forward-facing car seats but still require a boost to position the seat belt correctly.
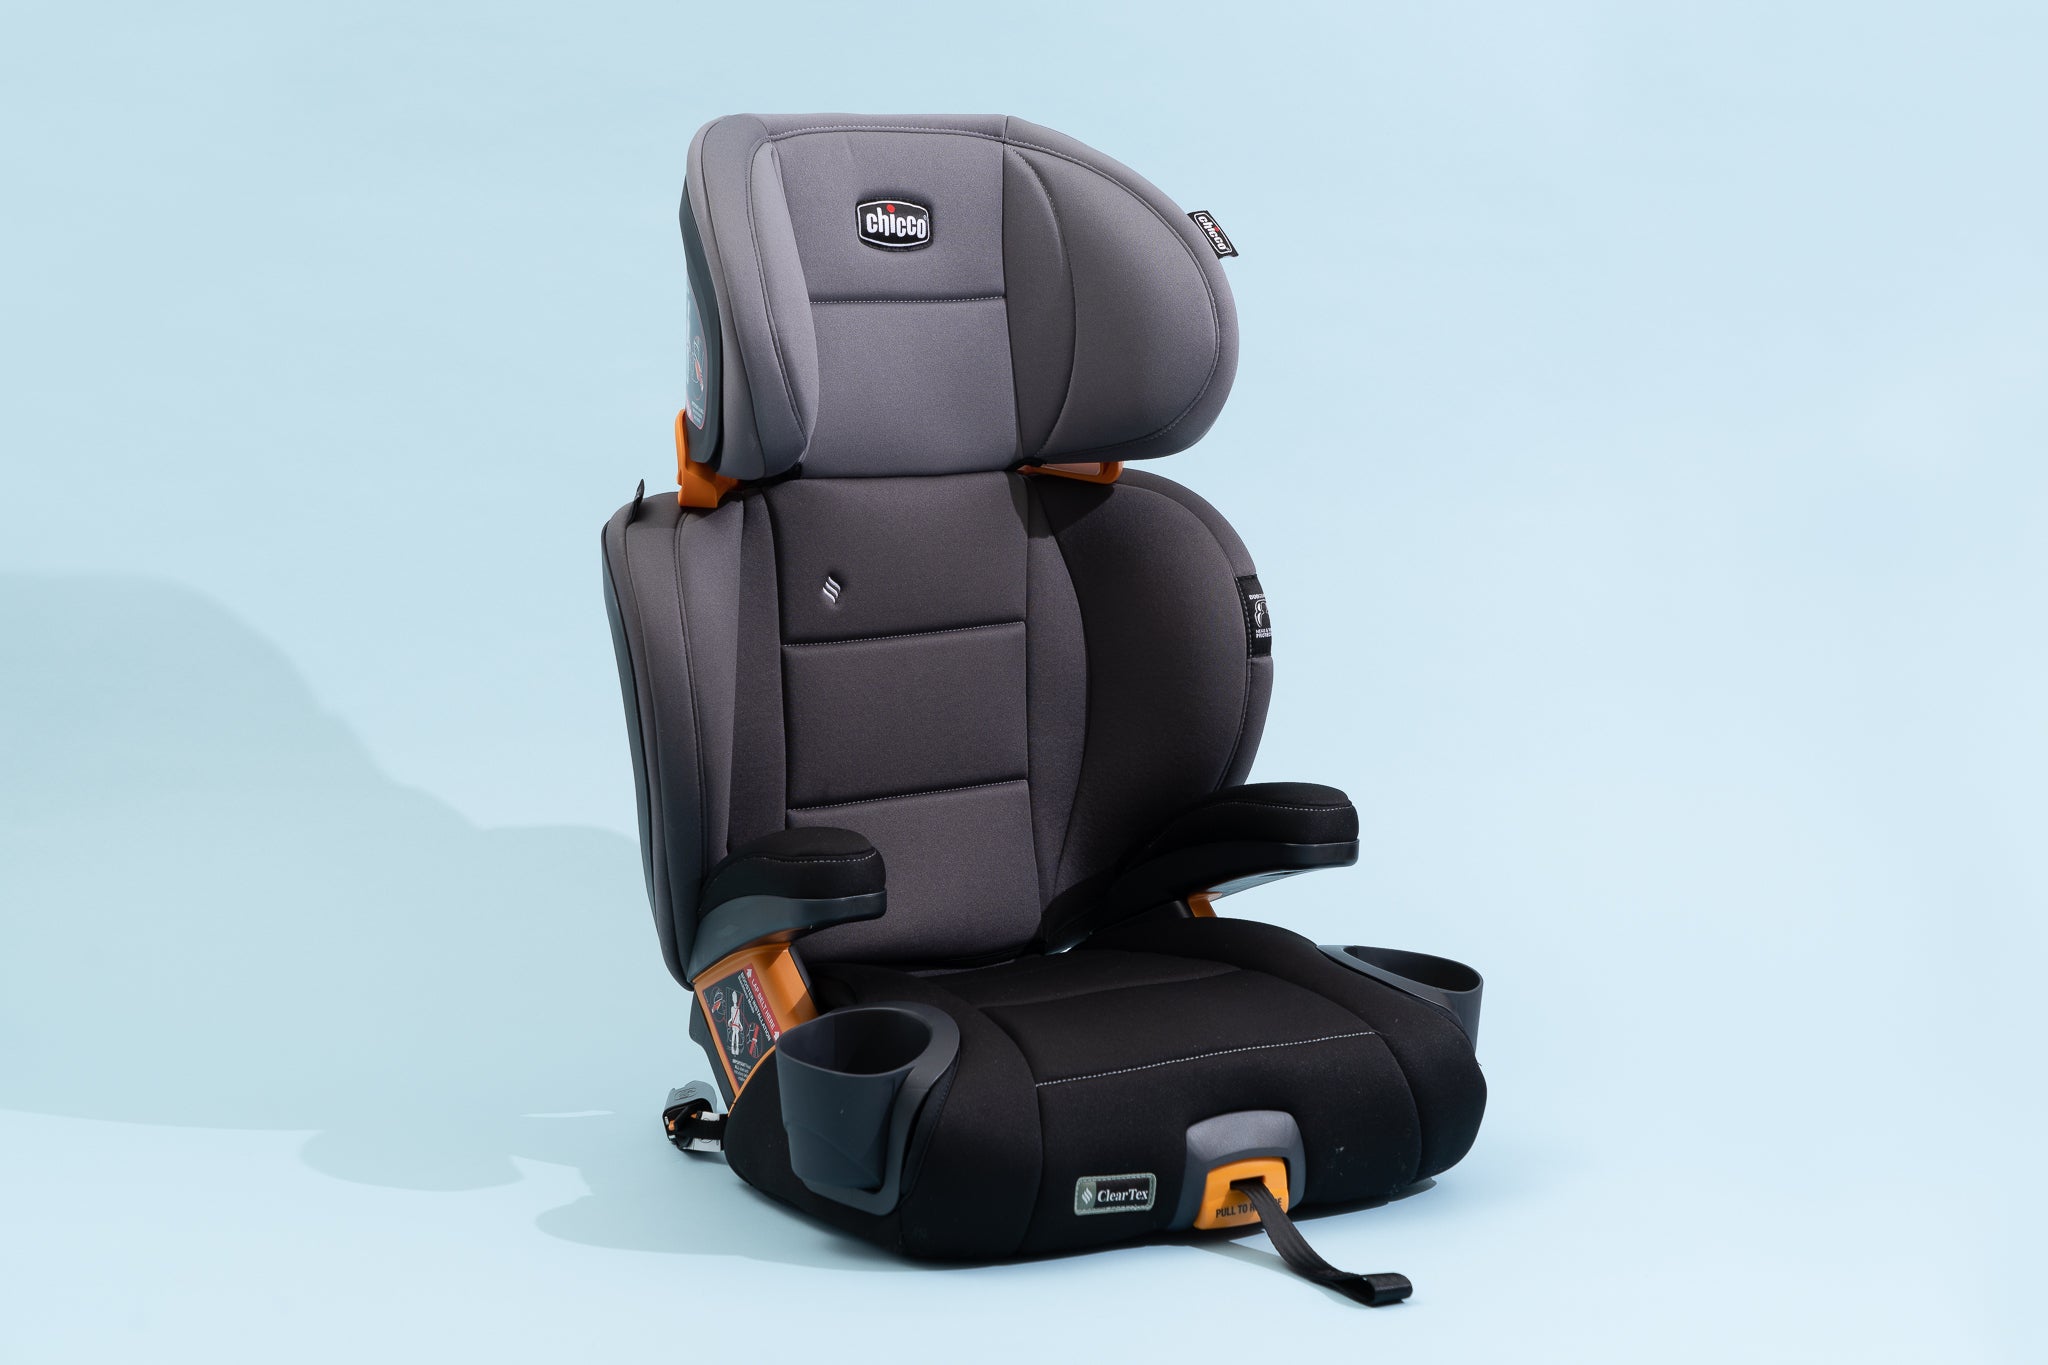
It's crucial to select a booster seat that complies with safety standards and regulations. Look for seats that have been tested and approved by regulatory bodies such as the National Highway Traffic Safety Administration (NHTSA) or the Juvenile Products Manufacturers Association (JPMA). Additionally, consider the specific features of the booster seat, such as adjustable headrests, padded armrests, and energy-absorbing foam, which can enhance both safety and comfort for your child.
Furthermore, take into account the design and compatibility of the booster seat with your vehicle. Some booster seats are equipped with LATCH (Lower Anchors and Tethers for Children) systems, which can provide added stability when installed in the vehicle. Ensure that the booster seat fits securely in your car and that it allows the seat belt to rest properly across your child's shoulder and lap.
When making your selection, it's advisable to involve your child in the process, allowing them to try out the booster seat to assess its comfort and fit. This involvement can also help alleviate any apprehension your child may have about transitioning to a booster seat, fostering a positive and cooperative approach to car safety.
By carefully considering these factors and involving your child in the decision-making process, you can choose a booster seat that not only meets safety standards but also provides a comfortable and secure ride for your young passenger. Remember, the right booster seat is a crucial element in ensuring your child's safety and well-being during car travel.
Step 2: Position the Booster Seat in the Vehicle
Proper positioning of the booster seat within the vehicle is essential for ensuring optimal safety and comfort for your child during car journeys. Follow these steps to position the booster seat correctly:
-
Select the Appropriate Seating Location: Choose a seating position in the vehicle that allows the booster seat to be securely installed and provides the best protection for your child. The back seat is generally the safest location for children, especially in vehicles equipped with airbags, as the force of an airbag deployment can pose a risk to young passengers.
-
Check for Compatibility: Ensure that the booster seat is compatible with the selected seating position in your vehicle. Some booster seats may have specific requirements regarding the type of seating configuration they can be used with, so refer to the manufacturer's guidelines to confirm compatibility.
-
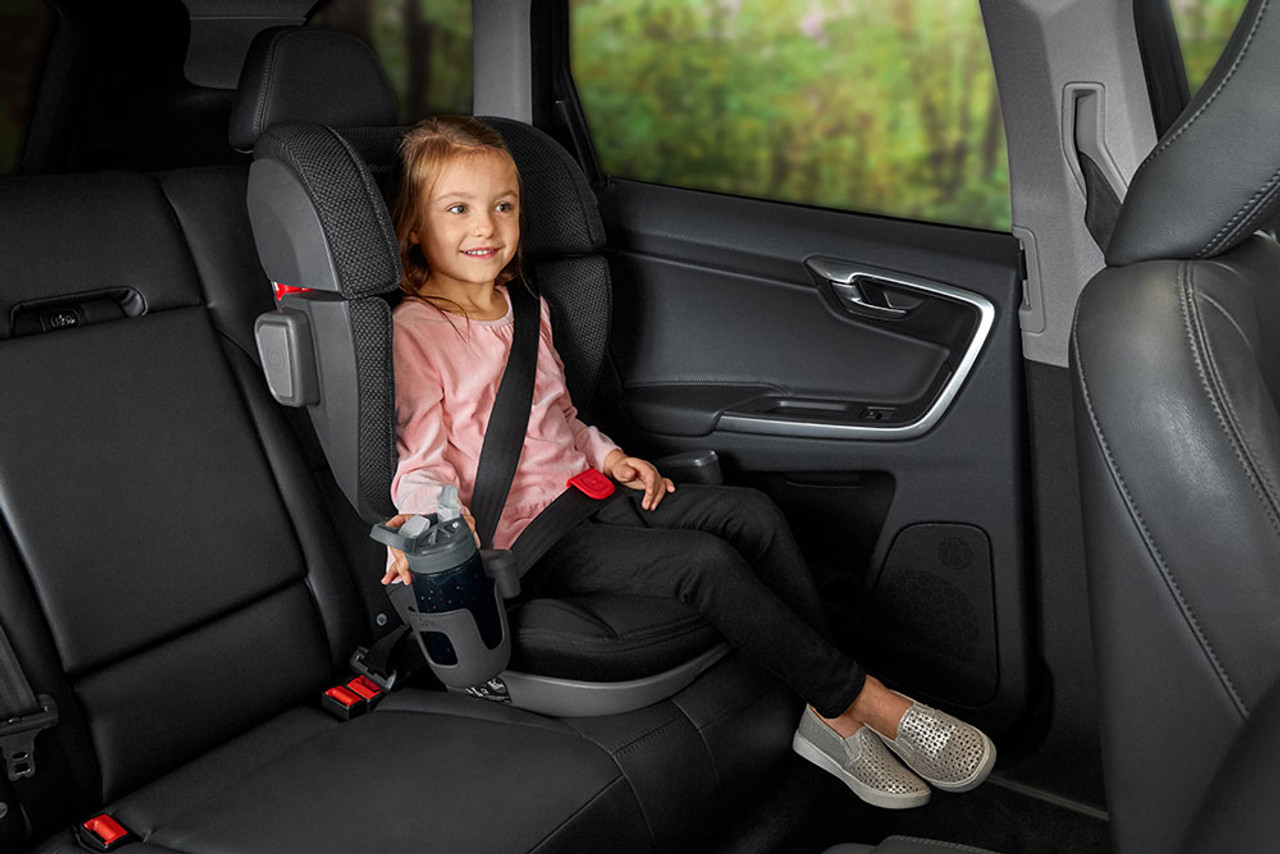
Position the Booster Seat: Place the booster seat on the vehicle seat, ensuring that it rests firmly against the backrest. If the booster seat has a high back, align it with the vehicle's seat back to provide optimal support for your child's head and neck.
-
Adjust for Stability: If the booster seat is equipped with a LATCH system, use the lower anchors and tethers to secure the seat to the vehicle. Follow the manufacturer's instructions for proper installation and ensure that the booster seat remains stable and immobile once secured.
-
Check for Clearance: Confirm that the booster seat does not obstruct the vehicle's seat belt buckle or interfere with the proper positioning of the seat belt across your child's shoulder and lap. The seat belt should lay flat and snugly across your child without any twists or obstructions.
-
Evaluate Visibility and Comfort: Consider the visibility and comfort of your child in the chosen seating position. Ensure that the booster seat provides a clear line of sight for your child, allowing them to see out of the vehicle's windows without any obstructions. Additionally, assess the overall comfort of the seating location to ensure a pleasant and secure ride for your young passenger.
By meticulously positioning the booster seat in the vehicle, you can create a safe and comfortable environment for your child during car travel. Proper placement of the booster seat contributes to the overall effectiveness of the safety measures and enhances the overall experience for your child as a passenger.
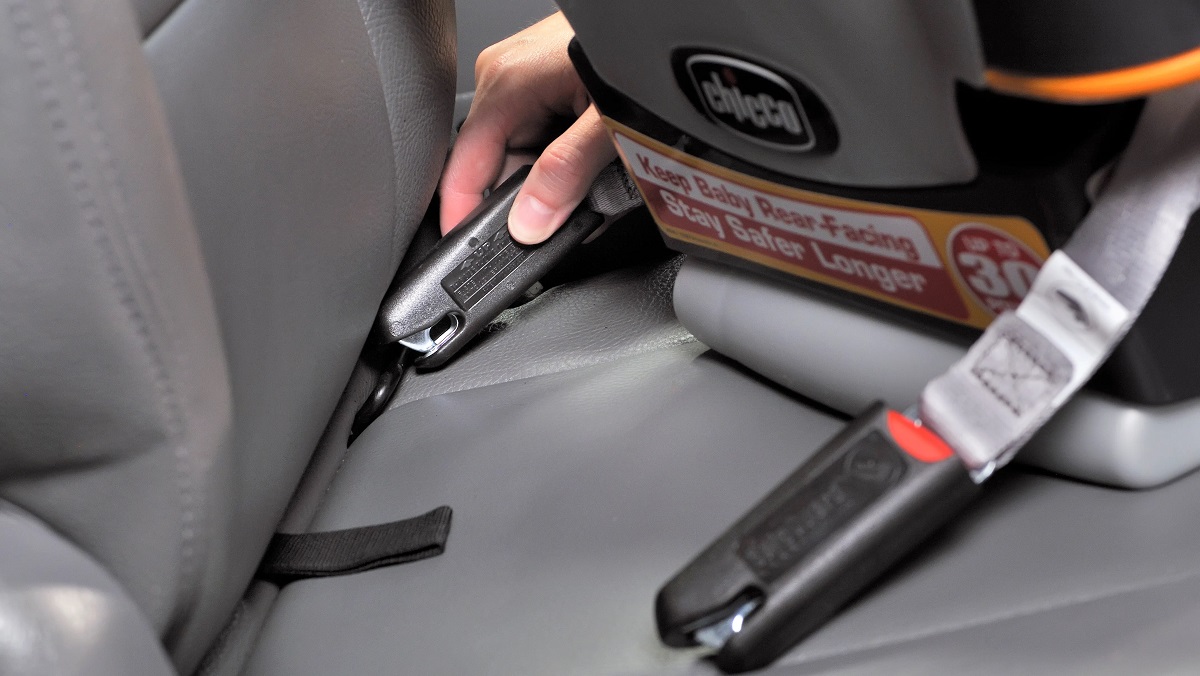
Step 3: Secure the Booster Seat with the Seat Belt
Securing the booster seat with the seat belt is a critical step in ensuring the safety and stability of your child's seating arrangement in the vehicle. Follow these detailed instructions to properly secure the booster seat:
-
Thread the Seat Belt Through the Correct Path: Begin by threading the vehicle's seat belt through the designated path on the booster seat. Most booster seats are equipped with guides or markings that indicate the correct positioning of the seat belt. Ensure that the seat belt is routed through these guides to facilitate proper placement and alignment.
-
Buckle the Seat Belt and Remove Slack: Once the seat belt is threaded through the designated path, buckle it securely. Then, gently pull the seat belt to remove any slack. It's essential to eliminate any excess slack in the seat belt to prevent it from loosening during the journey and to maintain a snug and secure fit around your child.
-
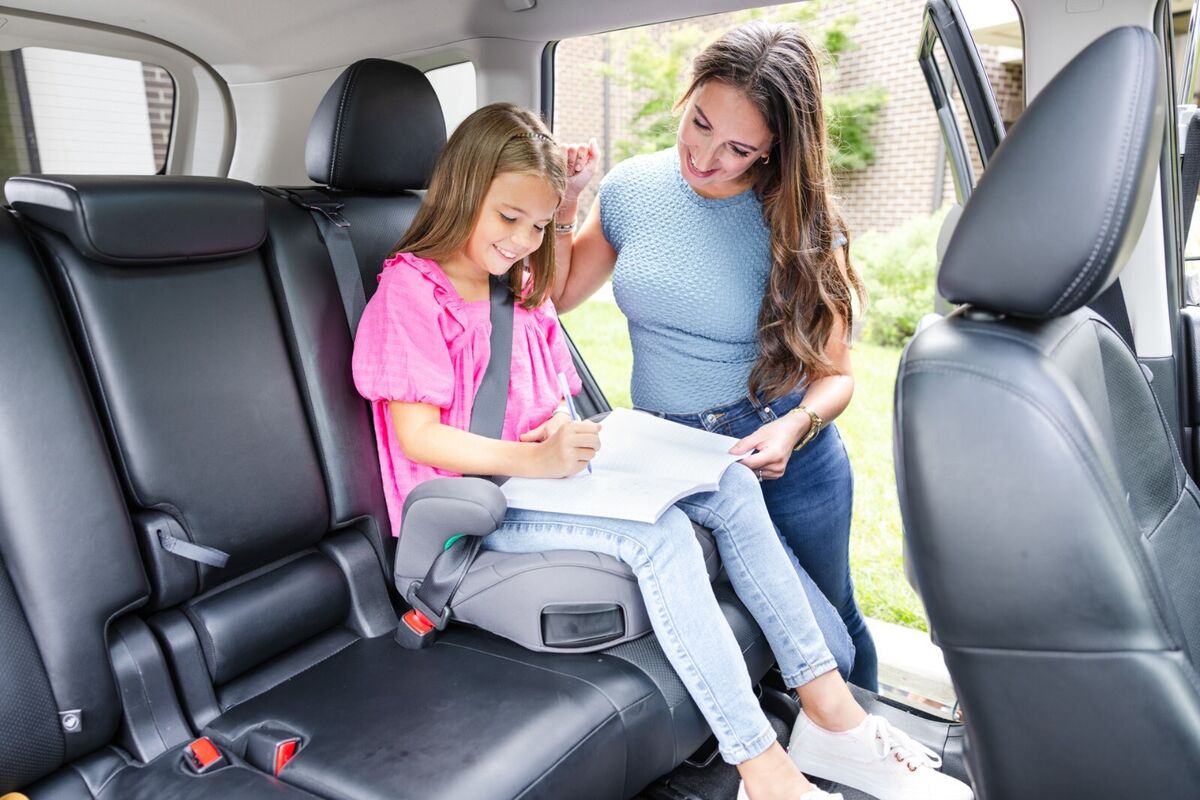
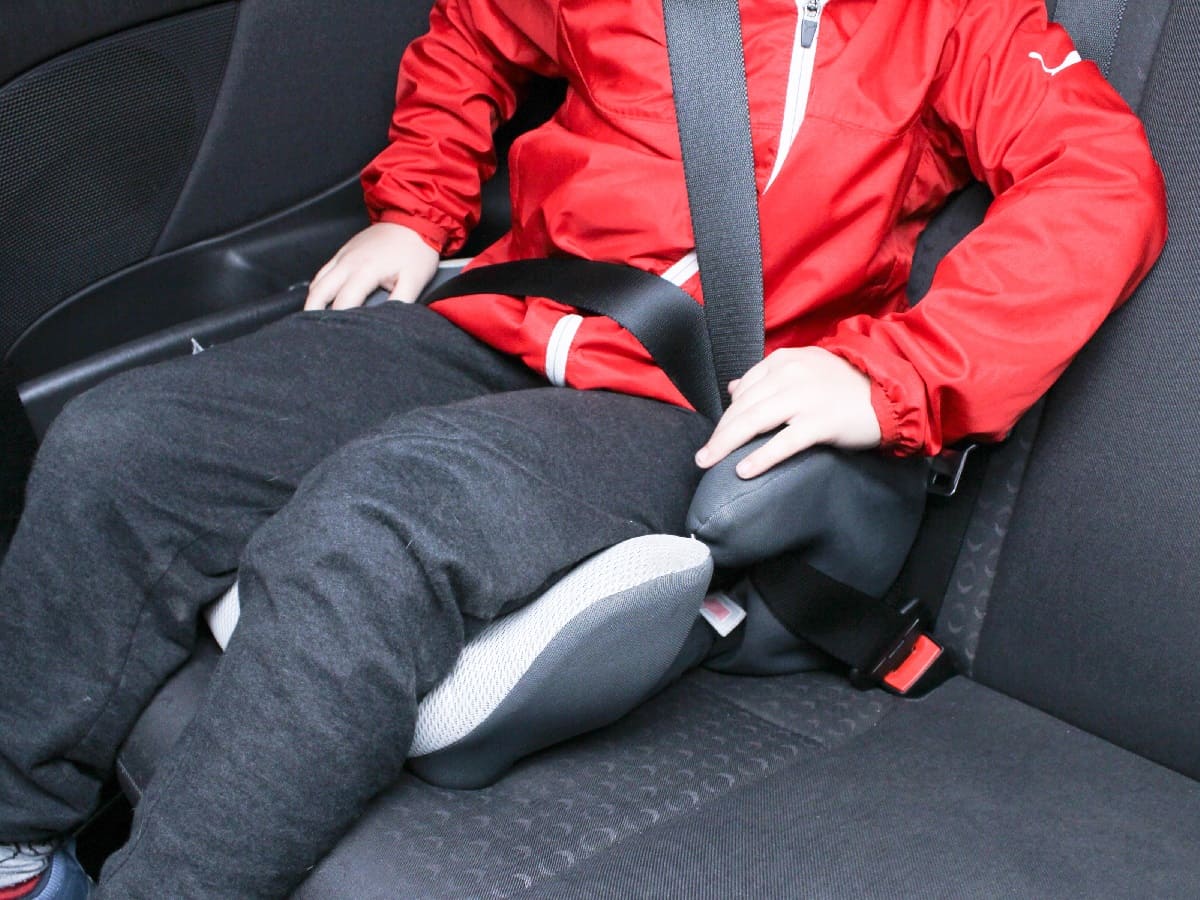
Ensure Proper Positioning of the Shoulder Belt: The vehicle's shoulder belt should rest comfortably across your child's shoulder, avoiding contact with their neck or face. Adjust the height of the shoulder belt guide on the booster seat, if applicable, to ensure that the shoulder belt aligns properly with your child's shoulder.
-
Position the Lap Belt Correctly: The lap belt of the vehicle's seat belt should rest low across your child's hips and upper thighs, not across their abdomen. This positioning helps distribute the force of a potential impact over the stronger pelvic bones, reducing the risk of injury.
-
Check for Twists and Tangles: Before finalizing the installation, carefully inspect the seat belt to ensure that it is free of twists, tangles, or knots. A twisted seat belt can compromise its effectiveness in securing your child during sudden stops or collisions.
-
Perform a Tug Test: After securing the seat belt, perform a tug test to confirm that the belt is snug and properly fastened. Gently tug on the seat belt to check for any excessive slack or looseness. The seat belt should remain firmly in place, holding the booster seat securely.
By meticulously following these steps to secure the booster seat with the seat belt, you can ensure that your child is positioned safely and comfortably during car journeys. Properly fastening the seat belt around the booster seat is crucial for maintaining stability and minimizing the risk of injury in the event of a sudden stop or collision. Your attention to detail in this process contributes to creating a secure and protective environment for your child as a passenger.
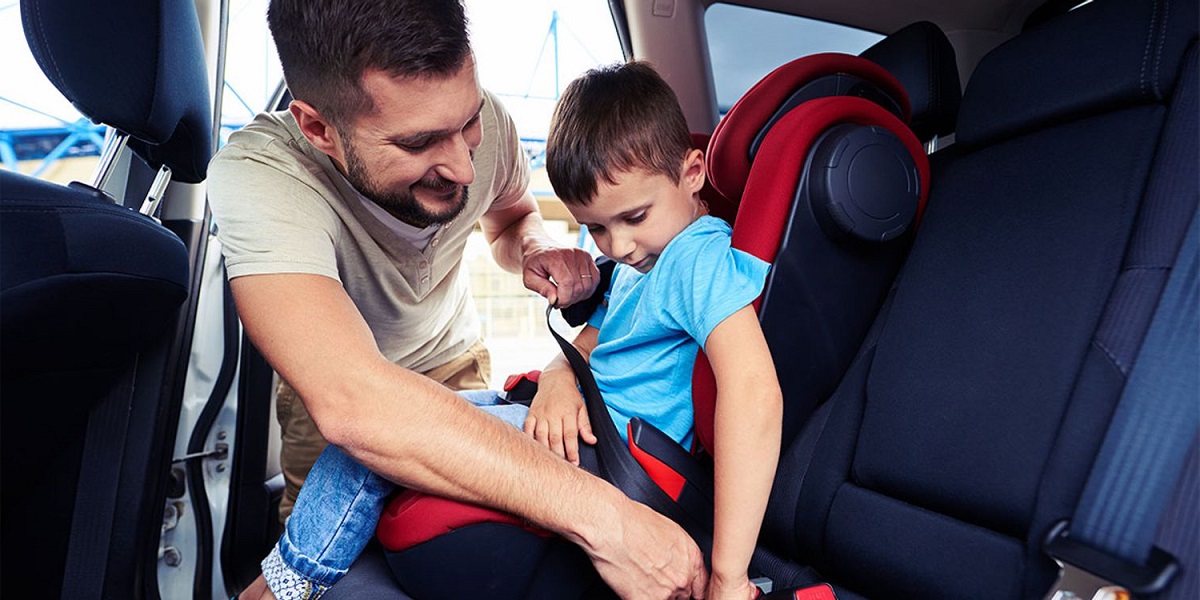
When installing a booster seat with a back, make sure to use the seat belt to secure the booster seat in place. The back of the booster seat should be flush against the vehicle seat and the seat belt should be threaded through the designated slots on the booster seat. Double check that the seat belt is securely fastened and the booster seat is stable before placing your child in it.
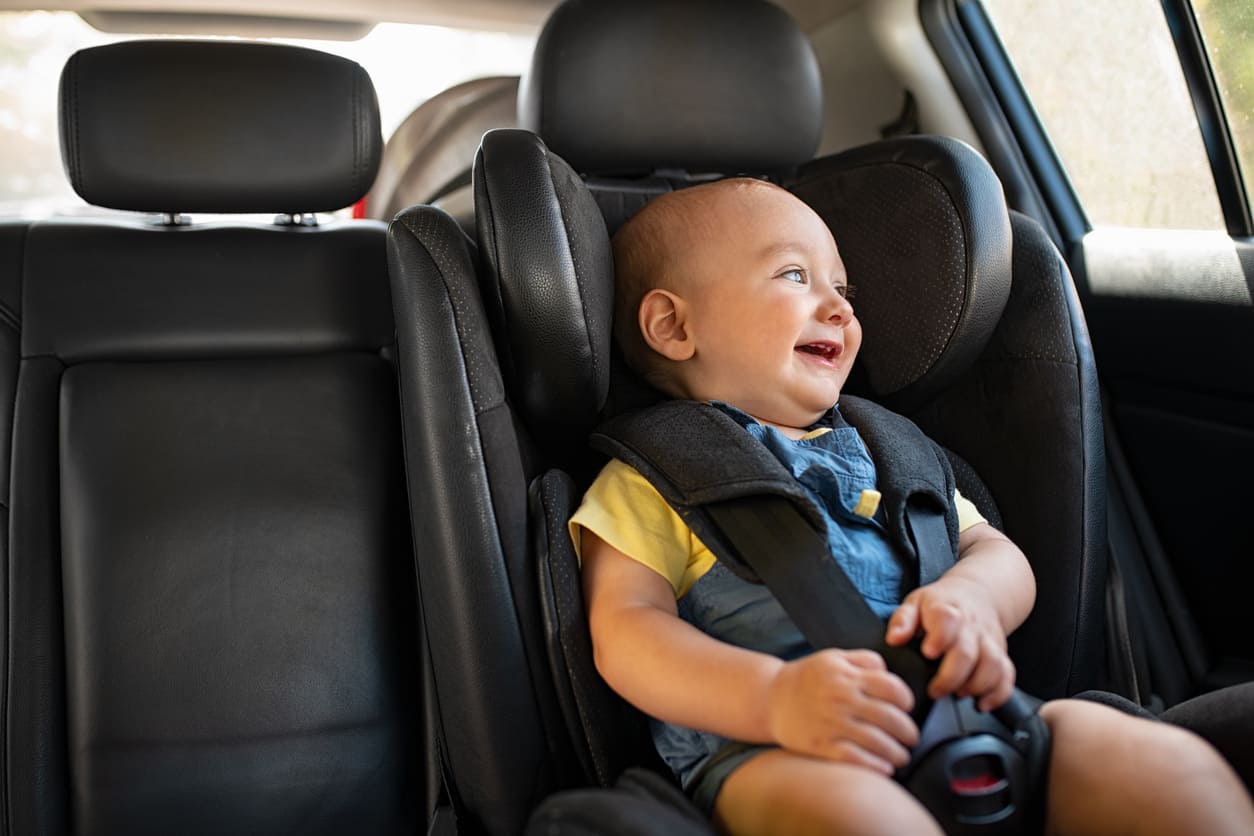
Step 4: Adjust the Headrest and Shoulder Belt Guide
Proper adjustment of the headrest and shoulder belt guide on the booster seat is crucial for optimizing the fit and safety of your child's seating arrangement in the vehicle. Follow these detailed instructions to ensure the correct positioning of the headrest and shoulder belt guide:
-
Assess the Height and Position: Begin by evaluating the height and position of the headrest and shoulder belt guide in relation to your child's body. The headrest should align with the top of your child's head, providing essential support and protection in the event of a sudden stop or collision. Similarly, the shoulder belt guide should be positioned at a height that allows the vehicle's seat belt to rest comfortably across your child's shoulder without causing any discomfort or restriction.
-
Adjust the Headrest: If the booster seat is equipped with an adjustable headrest, modify its height to align with the top of your child's head. This ensures that the headrest provides adequate support and minimizes the risk of whiplash or head movement during sudden braking or impact. A properly positioned headrest enhances the overall safety and comfort of your child as a passenger.
-
Position the Shoulder Belt Guide: The shoulder belt guide on the booster seat should be adjusted to align with your child's shoulder, allowing the vehicle's seat belt to rest securely and effectively. Ensure that the shoulder belt guide does not cause the seat belt to rub against your child's neck or face, as this can lead to discomfort and improper positioning of the belt during the journey.
-
Confirm Proper Alignment: Once the headrest and shoulder belt guide are adjusted, confirm that they are aligned correctly with your child's body. The headrest should provide adequate support without causing any tilting or discomfort, while the shoulder belt guide should facilitate the proper positioning of the vehicle's seat belt across your child's shoulder.
-
Test for Comfort and Stability: After making the necessary adjustments, have your child sit in the booster seat to test the comfort and stability of the headrest and shoulder belt guide. Ensure that your child can sit comfortably without feeling restricted by the positioning of the headrest and shoulder belt guide. Additionally, assess the stability of the headrest and shoulder belt guide to confirm that they remain in place during normal vehicle movements.
By meticulously adjusting the headrest and shoulder belt guide on the booster seat, you can ensure that your child's seating arrangement is optimized for safety and comfort during car journeys. Proper alignment of these components contributes to the overall effectiveness of the booster seat and enhances the protective measures in place for your child as a passenger.
Read more: How To Install A Cosco Booster Seat
Step 5: Test the Booster Seat for Stability
Ensuring the stability of the booster seat is paramount to guaranteeing the safety and security of your child during car travel. After completing the installation process, it is crucial to conduct a thorough assessment to verify the stability of the booster seat within the vehicle. Here are the essential steps to test the booster seat for stability:
-
Shake Test: Begin by gently shaking the booster seat from side to side and front to back. The seat should remain firmly in place, without excessive movement or shifting. A stable booster seat provides a secure foundation for your child and minimizes the risk of displacement during sudden stops or collisions.
-
Secure Attachment: Check the attachment of the booster seat to the vehicle seat. Ensure that any LATCH system or seat belt fastenings are securely tightened and that the booster seat does not wobble or slide when pressure is applied. A properly secured booster seat forms a reliable connection with the vehicle, enhancing the overall safety measures for your child.
-
Evaluate Headrest Stability: If the booster seat includes a high back with a headrest, assess the stability of the headrest. Confirm that it remains in position and provides consistent support for your child's head. A stable headrest minimizes the risk of head movement and enhances protection in the event of a sudden impact.
-
Observe for Movement: Have your child sit in the booster seat and observe for any signs of movement or instability during normal vehicle maneuvers. The booster seat should maintain its position without shifting or tilting, ensuring a secure and comfortable seating arrangement for your child.
-
Test During a Short Drive: Take a short test drive with your child seated in the booster seat. Pay attention to any unexpected movement or instability of the seat during acceleration, braking, and turning. This real-world assessment provides valuable insights into the overall stability of the booster seat in varying driving conditions.
By meticulously testing the booster seat for stability, you can confirm that your child is positioned in a secure and protected manner during car journeys. A stable booster seat forms the foundation for a safe and comfortable ride, allowing you to have peace of mind knowing that your child is well-protected while traveling in the vehicle.
Conclusion
In conclusion, the installation of a booster seat with a back is a pivotal aspect of ensuring the safety and well-being of young passengers during car travel. By following the comprehensive steps outlined in this guide, caregivers can take proactive measures to create a secure and comfortable environment for their children. From selecting the right booster seat to testing its stability, each step plays a crucial role in enhancing the overall safety measures for young passengers.
The process begins with choosing the appropriate booster seat that aligns with the child's age, weight, and height while meeting safety standards and regulations. Involving the child in the selection process can foster a positive attitude towards transitioning to a booster seat, promoting a sense of cooperation and understanding regarding car safety.
Proper positioning of the booster seat within the vehicle is essential for optimal safety. Selecting the right seating location, ensuring compatibility, and assessing visibility and comfort are key considerations in this step. Additionally, securing the booster seat with the seat belt and adjusting the headrest and shoulder belt guide contribute to creating a safe and stable seating arrangement for the child.
The final step involves testing the booster seat for stability, ensuring that it remains secure and immobile during normal vehicle maneuvers. This thorough assessment provides caregivers with the confidence that their child is positioned in a reliable and protected manner, ready for any car journey.
By mastering the installation process for a booster seat with a back, caregivers can play a proactive role in safeguarding their child's safety during car travel. This knowledge empowers caregivers to make informed decisions and take the necessary steps to create a secure and comfortable environment for their young passengers. Ultimately, the installation of a booster seat with a back is a vital component of promoting child safety and well-being in vehicles, contributing to a culture of awareness and preparedness among caregivers.
Frequently Asked Questions about How To Install A Booster Seat With A Back
Was this page helpful?
At Storables.com, we guarantee accurate and reliable information. Our content, validated by Expert Board Contributors, is crafted following stringent Editorial Policies. We're committed to providing you with well-researched, expert-backed insights for all your informational needs.
0 thoughts on “How To Install A Booster Seat With A Back”