Home>Maintenance & Safety>Child & Elderly Safety at Home>How To Remove A Booster Seat
Child & Elderly Safety at Home
How To Remove A Booster Seat
Modified: August 17, 2024
Learn the best practices for removing a booster seat and ensuring child and elderly safety at home. Follow these simple steps for a secure and hassle-free process.
(Many of the links in this article redirect to a specific reviewed product. Your purchase of these products through affiliate links helps to generate commission for Storables.com, at no extra cost. Learn more)
Introduction
Removing a booster seat is a simple yet essential task for parents and caregivers. Whether it's time to clean the chair, store the booster seat, or transition to a different seating arrangement, knowing how to properly remove the booster seat is crucial. By following a few straightforward steps, you can ensure the safety and comfort of your child or elderly loved one.
In this comprehensive guide, we will walk you through the process of removing a booster seat from a chair, providing you with practical tips and insights along the way. From unbuckling the seat to cleaning the chair and storing the booster seat, each step is designed to make the process seamless and efficient.
As we delve into the details, you'll discover the importance of maintaining a clean and secure seating environment for your child or elderly family member. By understanding the proper techniques for removing a booster seat, you can contribute to a safe and comfortable home environment, promoting peace of mind for both you and your loved ones.
So, let's embark on this journey together, empowering you with the knowledge and confidence to effortlessly remove a booster seat when the need arises. Whether it's a routine cleaning session or a transition to a different seating arrangement, mastering this skill will undoubtedly enhance the safety and well-being of those you care for. Let's get started!
Key Takeaways:
- Safely unbuckle the booster seat to ensure a smooth transition for your child or elderly loved one, prioritizing their safety and comfort during the removal process.
- Clean and store the booster seat properly to maintain a hygienic and clutter-free seating environment, promoting a safe and nurturing home for your loved ones.
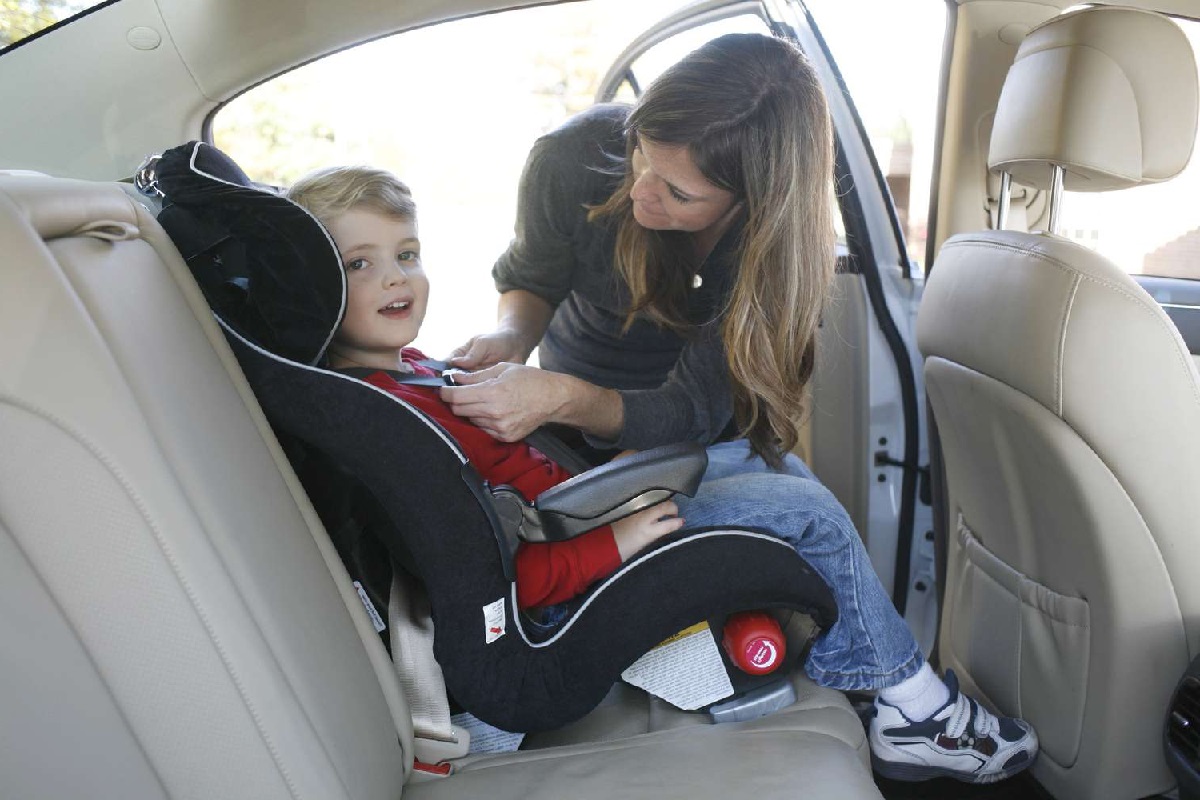
Step 1: Unbuckle the Booster Seat
Before removing the booster seat from the chair, it's crucial to ensure that the child or elderly individual is safely unbuckled from the seat. This step is essential for preventing any accidental falls or injuries during the removal process. Here's a detailed guide on how to effectively unbuckle the booster seat:
-
Secure the Chair: Begin by ensuring that the chair is stable and positioned securely on the ground. This will prevent any unnecessary movement or instability while unbuckling the booster seat.
-
Release the Buckle: Locate the buckle or harness that secures the child or elderly individual in the booster seat. Depending on the type of booster seat, this may involve pressing a release button, lifting a latch, or simply unbuckling a standard buckle.
-
Check for Snags: Before proceeding, check for any potential snags or entanglements in the buckle or harness. Ensuring that the straps are not twisted or caught on any objects will facilitate a smooth unbuckling process.
-
Gently Unbuckle: With a gentle and deliberate motion, unbuckle the harness or release the buckle, allowing the child or elderly individual to be safely freed from the booster seat.
-
Assist as Needed: Depending on the age and mobility of the individual, you may need to provide assistance as they are unbuckled from the seat. Offer a supportive hand or gentle guidance to ensure a smooth and comfortable transition out of the booster seat.
By carefully following these steps, you can effectively unbuckle the booster seat, prioritizing the safety and comfort of the child or elderly individual. This initial phase sets the stage for the subsequent steps in the removal process, ensuring a seamless and secure transition out of the booster seat.
Step 2: Remove the Booster Seat from the Chair
Once the child or elderly individual has been safely unbuckled from the booster seat, the next step is to carefully remove the seat from the chair. This process involves a systematic approach to ensure the safety of both the individual and the surrounding environment. Here's a detailed guide on how to effectively remove the booster seat from the chair:
-
Assess Stability: Before proceeding with the removal, it's important to assess the stability of the chair. Ensure that the chair is positioned on a flat and secure surface, minimizing any risk of tipping or instability during the removal process.
-
Lift with Care: Depending on the design of the booster seat, carefully lift the seat from the chair using both hands. Maintain a firm grip on the seat to prevent any sudden movements or shifts that could potentially cause accidents.
-
Check for Attachments: Some booster seats may be secured to the chair using straps or attachments. If this is the case, carefully detach the seat from these securing mechanisms, ensuring a smooth and controlled removal.
-
Inspect for Debris: As you lift the booster seat, take a moment to inspect the chair for any debris or crumbs that may have accumulated underneath. Clearing the chair of any loose particles will contribute to a clean and hygienic seating environment.
-
Mindful Movement: While removing the booster seat, maintain a mindful and deliberate movement to avoid bumping into nearby objects or furniture. This cautious approach minimizes the risk of accidents and ensures a smooth transition of the booster seat from the chair.
-
Secure Storage: Once the booster seat has been successfully removed, place it in a secure and designated storage area. This ensures that the seat is safely stored away when not in use, preventing any potential tripping hazards or clutter in the living space.
By following these steps, you can effectively remove the booster seat from the chair, prioritizing the safety and comfort of the child or elderly individual. This process sets the stage for maintaining a clean and organized seating environment, contributing to a safe and nurturing home setting for your loved ones.
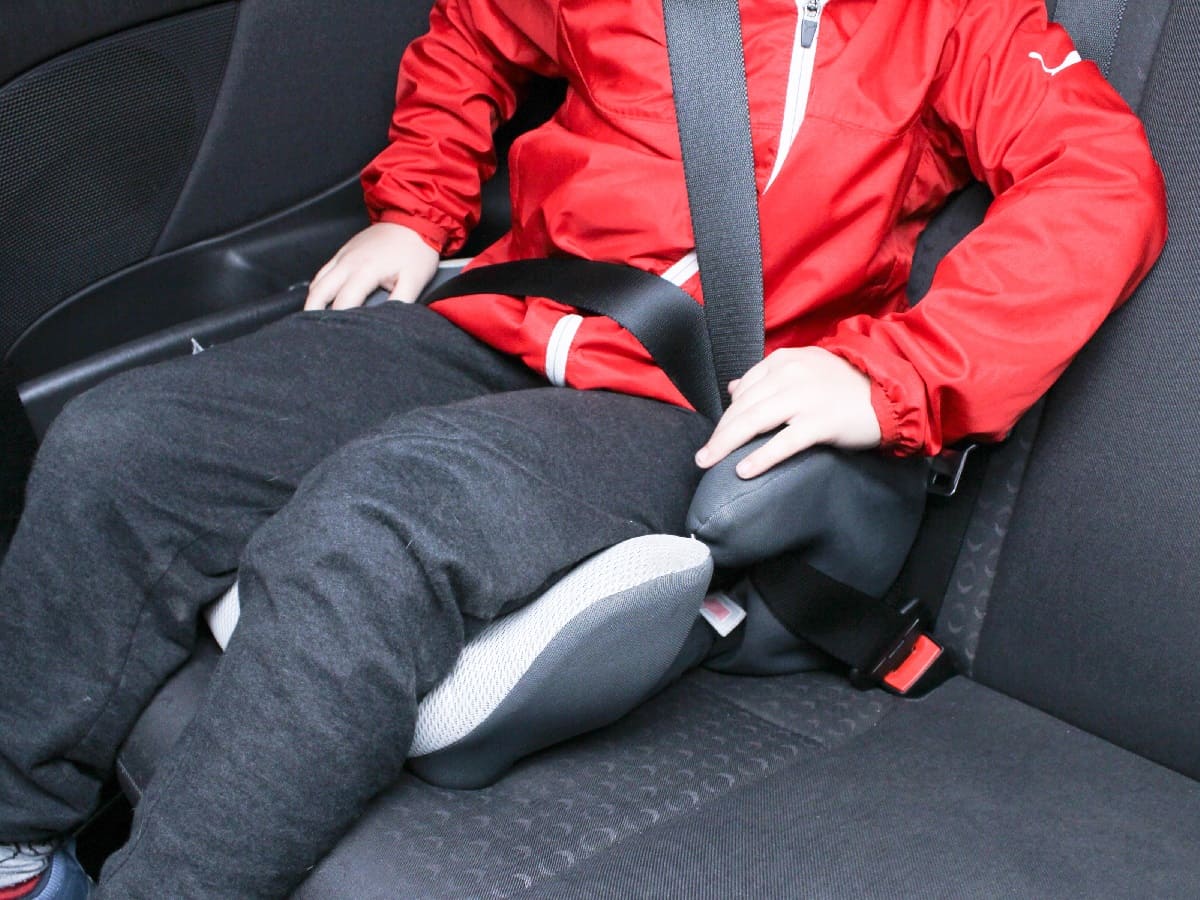
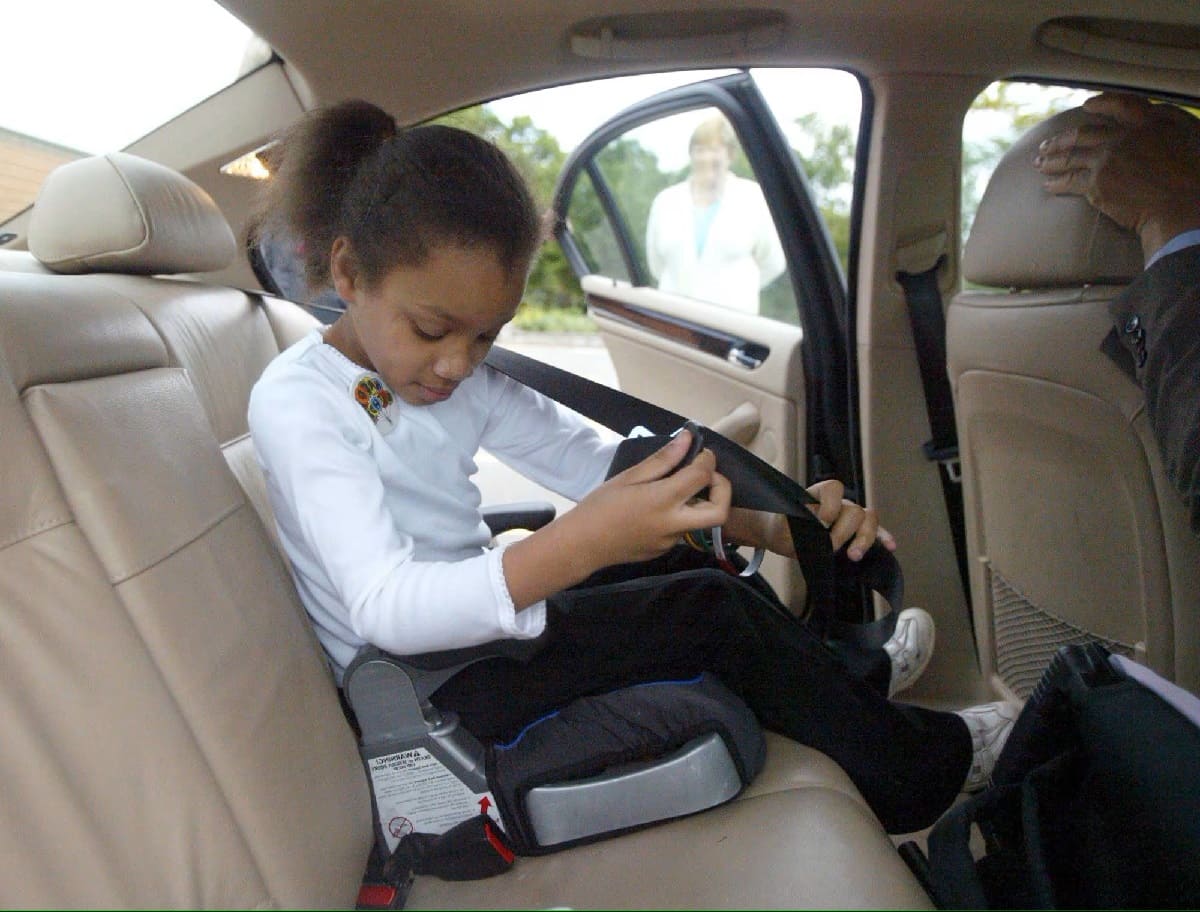
When removing a booster seat, make sure to unbuckle the seat belt and remove any harness straps. Then, lift the booster seat out of the car and store it in a safe place.
Step 3: Clean the Chair
Cleaning the chair after removing the booster seat is a crucial step in maintaining a hygienic and safe seating environment for your child or elderly loved one. Over time, chairs can accumulate crumbs, spills, and general dirt, making regular cleaning essential. Here's a detailed guide on how to effectively clean the chair:
-
Inspect for Debris: Before proceeding with the cleaning process, carefully inspect the chair for any visible debris, crumbs, or spills. Use a handheld vacuum or a soft-bristled brush to gently remove any loose particles from the surface of the chair.
-
Choose the Right Cleaning Method: The cleaning approach may vary depending on the material of the chair. For wooden chairs, a mild wood cleaner or a solution of water and vinegar can be used to wipe down the surface. For upholstered chairs, a fabric cleaner or a mixture of mild detergent and water can effectively remove stains and spills.
-
Spot Cleaning: If there are specific stains or spills on the chair, spot cleaning is essential. Use a clean cloth or sponge to gently dab at the stained area, avoiding excessive rubbing that could spread the stain. For stubborn stains, consider using a specialized stain remover based on the chair's material.
-
Sanitize the Chair: After removing visible dirt and stains, it's important to sanitize the chair to eliminate any lingering germs or bacteria. A gentle disinfectant spray or a solution of water and mild antibacterial soap can be used to sanitize the chair, focusing on high-touch areas such as armrests and seat edges.
-
Allow for Drying Time: Once the chair has been cleaned and sanitized, allow it to air dry thoroughly before placing the booster seat back on it. This ensures that the chair is completely dry and ready for future use, preventing any moisture-related issues.
By following these steps, you can effectively clean the chair, promoting a hygienic and comfortable seating environment for your child or elderly family member. Regular cleaning not only enhances the visual appeal of the chair but also contributes to a healthier and safer living space for your loved ones.
Step 4: Store the Booster Seat
After removing the booster seat from the chair and ensuring that the seating area is clean and sanitized, the next crucial step is to store the booster seat properly. Effective storage not only maintains the condition of the seat but also prevents clutter and potential hazards in the living space. Here's a detailed guide on how to store the booster seat securely and efficiently:
-
Clear Storage Area: Identify a designated storage area for the booster seat, ensuring that it is free from obstructions and easily accessible when needed. Whether it's a closet, a specific shelf, or a storage container, the chosen space should provide adequate room for the booster seat without causing inconvenience or crowding.
-
Secure Positioning: Place the booster seat in the chosen storage area, ensuring that it is positioned securely and does not pose a tripping hazard or obstruction. If the seat is collapsible or detachable, follow the manufacturer's guidelines for compact storage to maximize space and minimize clutter.
-
Protection from Dust and Debris: Consider covering the stored booster seat with a clean cloth or a designated cover to protect it from dust and airborne particles. This simple measure helps maintain the cleanliness of the seat and ensures that it is ready for immediate use when needed.
-
Inspect for Wear and Tear: Before storing the booster seat, take a moment to inspect it for any signs of wear, tear, or damage. Check the straps, buckles, and overall structural integrity of the seat, addressing any issues promptly to maintain its safety and functionality.
-
Organized Accessibility: If you anticipate the need for the booster seat in the near future, ensure that it is stored in a manner that allows for easy retrieval. Organizing the storage area and clearly labeling the location of the booster seat contributes to a seamless and efficient process when it's time to use it again.
By following these steps, you can effectively store the booster seat, contributing to a tidy and organized living space while ensuring that the seat remains in optimal condition for future use. Prioritizing proper storage not only enhances the longevity of the booster seat but also promotes a safe and clutter-free environment for your child or elderly family member.
Read more: How To Anchor A Booster Seat
Conclusion
In conclusion, mastering the art of removing a booster seat from a chair is a valuable skill that contributes to the safety, cleanliness, and overall well-being of your child or elderly loved one. By following the step-by-step process outlined in this guide, you can seamlessly transition from having the booster seat in place to ensuring a clean and organized seating environment.
The initial step of unbuckling the booster seat prioritizes the safety and comfort of the individual, setting the stage for a smooth and secure removal process. Carefully lifting the seat from the chair, checking for attachments, and inspecting the chair for debris ensures a meticulous approach to the removal, minimizing the risk of accidents and maintaining the integrity of the seating area.
Once the booster seat is removed, the focus shifts to cleaning the chair, an essential step in upholding a hygienic and inviting seating environment. From removing visible debris to choosing the appropriate cleaning method based on the chair's material, each aspect of the cleaning process contributes to a fresh and sanitized seating area for your loved one.
Storing the booster seat properly marks the final phase of the process, emphasizing the importance of organized storage, protection from dust and debris, and regular inspection for wear and tear. By adhering to these storage guidelines, you can ensure that the booster seat remains in optimal condition and is readily accessible when needed.
Overall, the comprehensive approach to removing a booster seat from a chair presented in this guide reflects a commitment to maintaining a safe, clean, and nurturing home environment for your child or elderly family member. By integrating these practices into your caregiving routine, you contribute to a living space that prioritizes their comfort, safety, and overall well-being.
As you continue to navigate the responsibilities of caregiving, the knowledge and proficiency gained from mastering the removal of a booster seat serve as a testament to your dedication to creating a secure and loving environment for those you hold dear. With each step taken to ensure the safety and comfort of your loved ones, you reinforce the foundation of care and compassion that defines your role as a caregiver.
Frequently Asked Questions about How To Remove A Booster Seat
Was this page helpful?
At Storables.com, we guarantee accurate and reliable information. Our content, validated by Expert Board Contributors, is crafted following stringent Editorial Policies. We're committed to providing you with well-researched, expert-backed insights for all your informational needs.


0 thoughts on “How To Remove A Booster Seat”