Home>Articles>How To Make A Seat Cover For Dining Room Chair
Articles
How To Make A Seat Cover For Dining Room Chair
Modified: October 30, 2024
Learn how to make a stylish and custom seat cover for your dining room chair with our step-by-step articles. Upgrade your home decor today!
(Many of the links in this article redirect to a specific reviewed product. Your purchase of these products through affiliate links helps to generate commission for Storables.com, at no extra cost. Learn more)
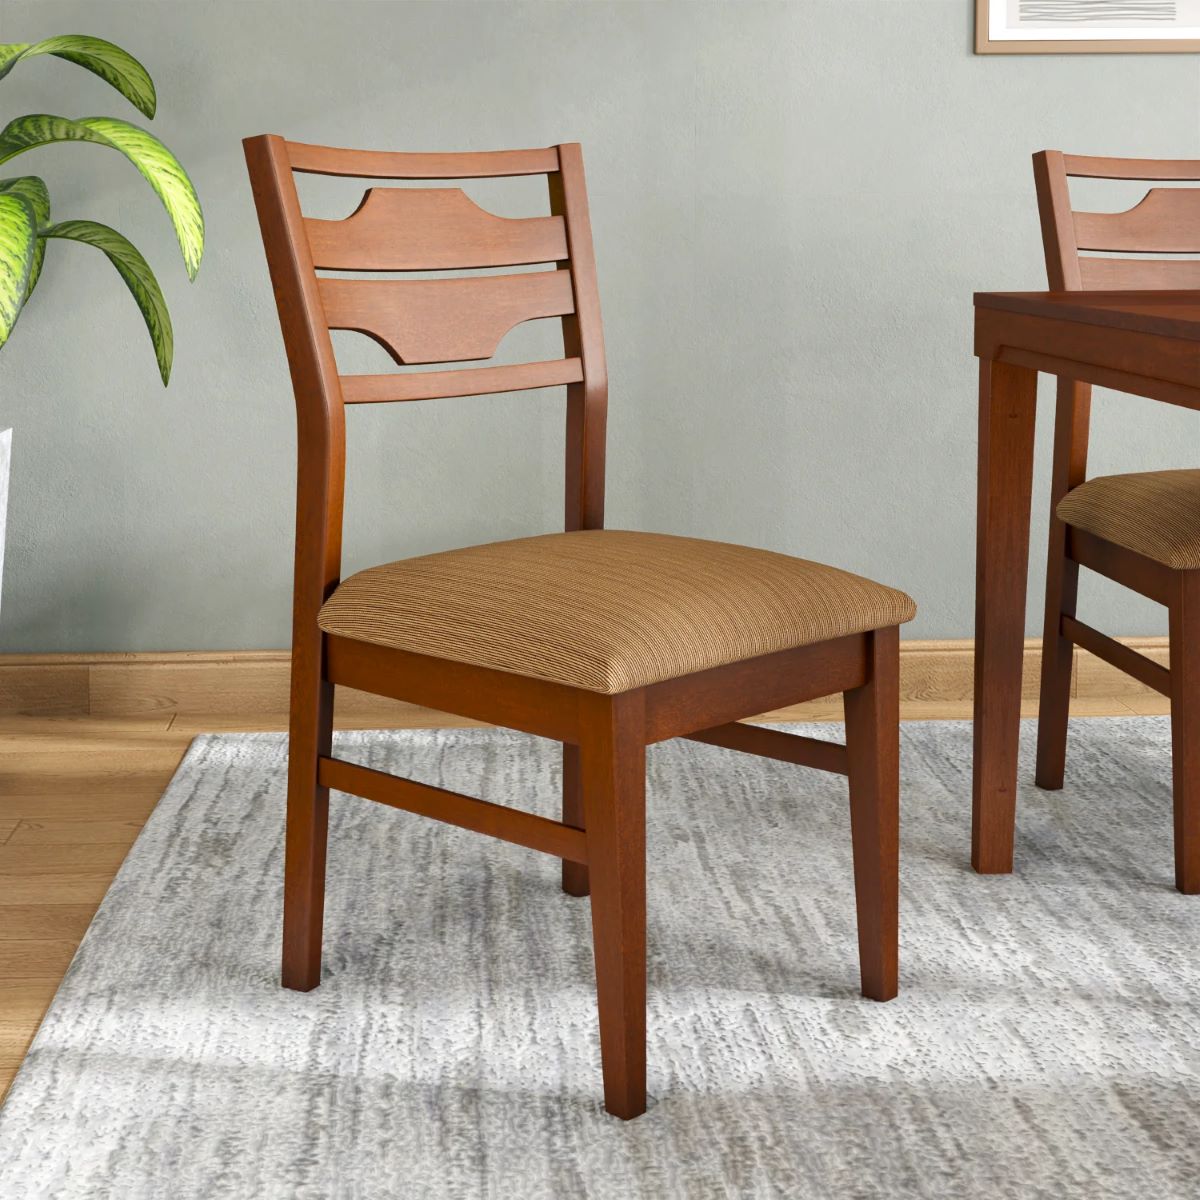
Introduction
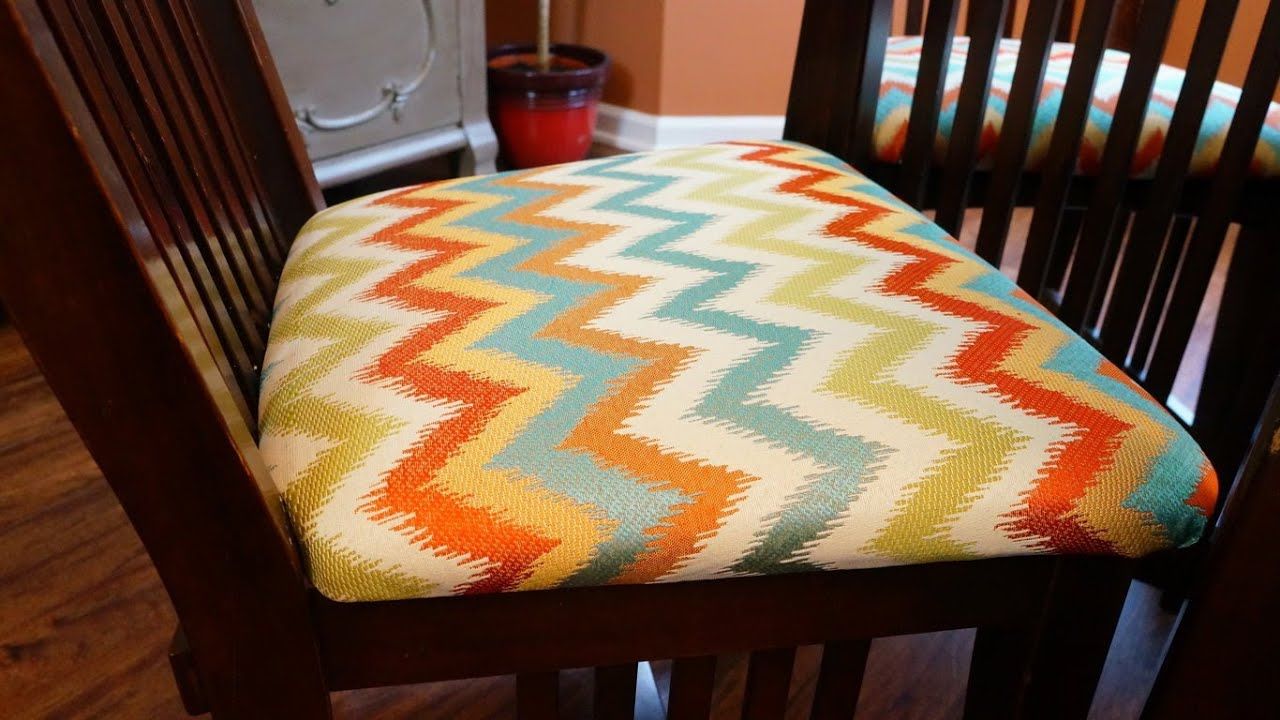
Do your dining room chairs need a makeover? Adding seat covers is a great way to freshen up the look of your dining area without breaking the bank. Not only do seat covers protect your chairs from spills and stains, but they also provide an opportunity to add a personal touch to your decor. Making seat covers for your dining room chairs is a simple and rewarding DIY project that anyone can tackle.
In this article, we will guide you through the process of making seat covers for your dining room chairs from start to finish. Whether you want to update the style of your chairs or protect them from wear and tear, this step-by-step guide will help you create custom seat covers that fit perfectly and add a touch of elegance to your dining space.
Before we get started, here are the materials you will need for this project:
- Fabric – Make sure you choose a fabric that is durable and easy to clean. Consider the style and color scheme of your dining room when selecting the fabric.
- Measuring tape – This will be used to measure the dimensions of your chairs.
- Scissors – You’ll need a good pair of fabric scissors to cut the fabric.
- Thread – Choose a thread color that matches or complements your fabric.
- Needle or sewing machine – Depending on your sewing skills, you can either hand sew or use a sewing machine for this project.
- Velcro or ties – These will be used to secure the seat covers to your chairs.
- Pins – Pins will help you hold the fabric in place as you sew.
- Pencil or fabric marker – This will be used to mark the fabric for cutting and sewing.
Now that you have gathered all the necessary materials, let’s dive into the step-by-step process of making seat covers for your dining room chairs.
Key Takeaways:
- Transform your dining room chairs with custom seat covers that protect from spills and stains while adding a personal touch to your decor. Follow this DIY guide for a rewarding and stylish makeover.
- Select durable fabric, measure accurately, and sew with care to create seat covers that fit perfectly and enhance the look of your dining space. Enjoy the process and embrace the satisfaction of a beautiful transformation!
Read more: How To Cover A Dining Chair Seat
Materials Needed
Before we begin making seat covers for your dining room chairs, let’s make sure you have all the necessary materials on hand. Here’s a list of what you will need:
- Fabric: Choose a durable and easy-to-clean fabric that complements your dining room decor. Depending on the size of your chairs, you may need anywhere from 1 to 2 yards of fabric.
- Measuring tape: This will be used to measure the dimensions of your chairs and ensure a proper fit for the seat covers.
- Scissors: A pair of sharp fabric scissors will be essential for cutting the fabric to the right size.
- Thread: Select a thread color that matches or complements the fabric you’ve chosen. This will be used for sewing the seat covers together.
- Needle or sewing machine: Depending on your sewing skills and preferences, you can either hand sew the seat covers or use a sewing machine for quicker and more precise stitching.
- Velcro or ties: You have the option to use either Velcro or fabric ties to secure the seat covers onto your chairs. Velcro offers convenience, while fabric ties can add a decorative touch.
- Pins: These will be used to hold the fabric in place as you sew and prevent any shifting or misalignment.
- Pencil or fabric marker: Use a pencil or fabric marker to mark the fabric for cutting and sewing. Make sure to use a tool that can easily be removed or won’t leave any permanent marks on the fabric.
- Iron and ironing board: Having an iron and ironing board handy will help you create crisp folds and eliminate any wrinkles or creases in the fabric.
Now that you have all the materials you need, let’s move on to the next step: measuring your chairs.
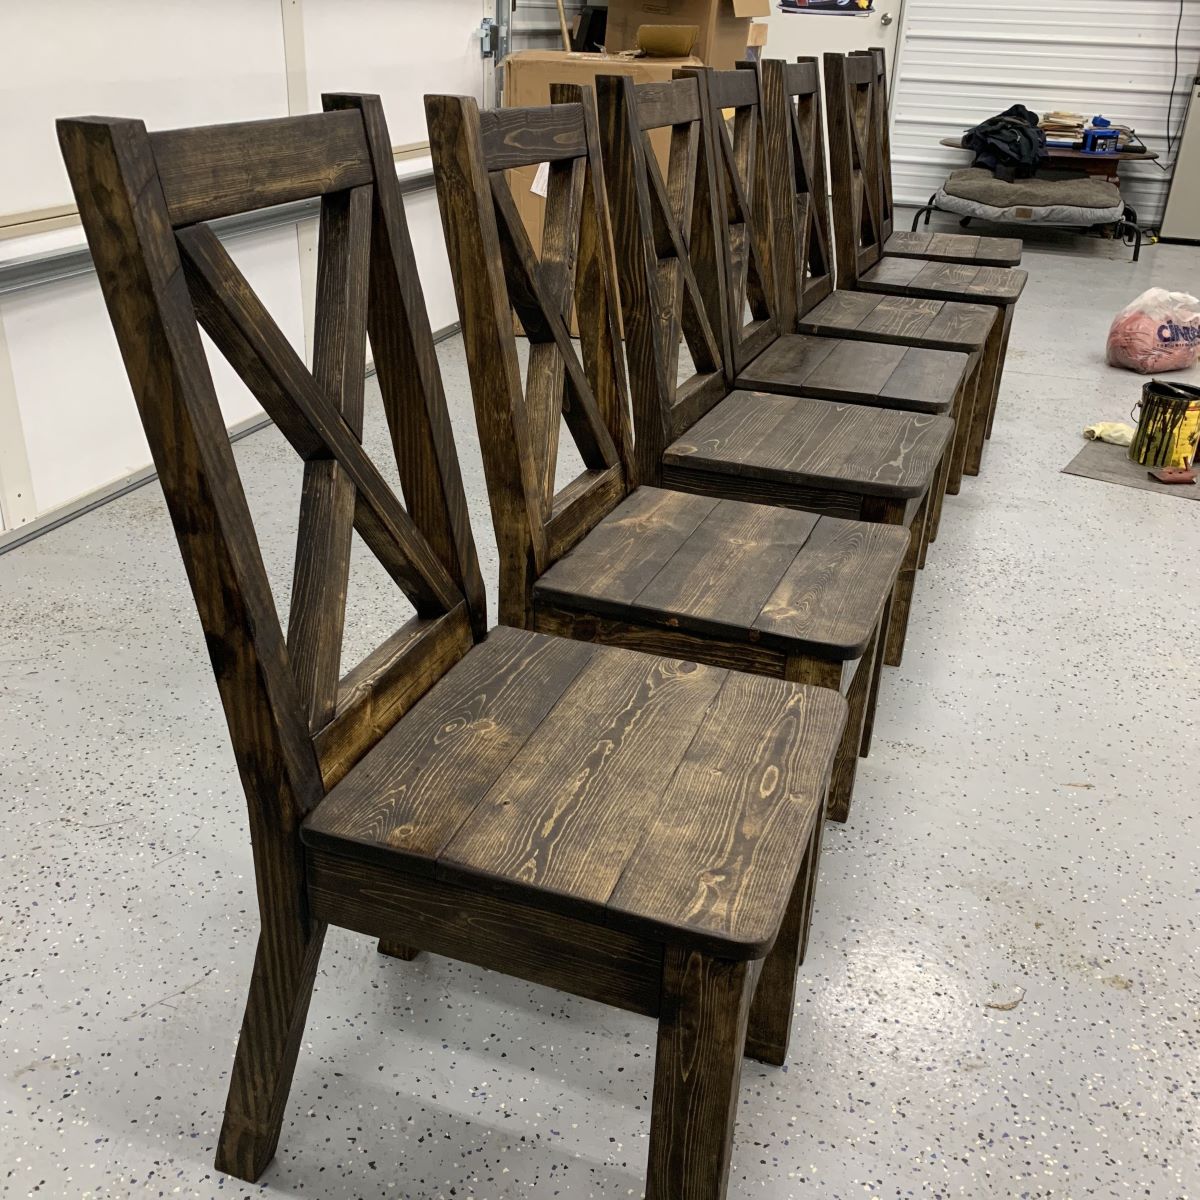
Step 1: Measuring the Chair
Before you can start cutting the fabric for your chair seat covers, you need to accurately measure the dimensions of your chairs. This will ensure that the seat covers fit properly and provide a neat and seamless appearance. Here’s how you can measure your chairs:
- Start by placing the measuring tape at the back of the chair seat. Measure from one side to the other, following the curve of the seat. Take note of the width measurement.
- Next, measure the depth of the chair seat. Place the measuring tape at the back of the seat and measure from the back edge to the front edge. Note down the depth measurement.
- If your chair has a backrest, measure the height of the backrest from the seat to the top. This will help you determine how far up the seat cover should extend.
- For chairs with arms, measure the width and depth of the armrests if you want to include them in the seat cover design.
- Once you have gathered all the necessary measurements, add an inch or two to each measurement to allow for seam allowances and easy fitting of the seat covers.
Remember to measure each chair individually, as even seemingly identical chairs can have slight variations in size. Taking precise measurements will ensure that your seat covers fit snugly and look professionally made.
With the measurements in hand, you can now move on to choosing the fabric for your seat covers. Let’s explore the next step: selecting the fabric.
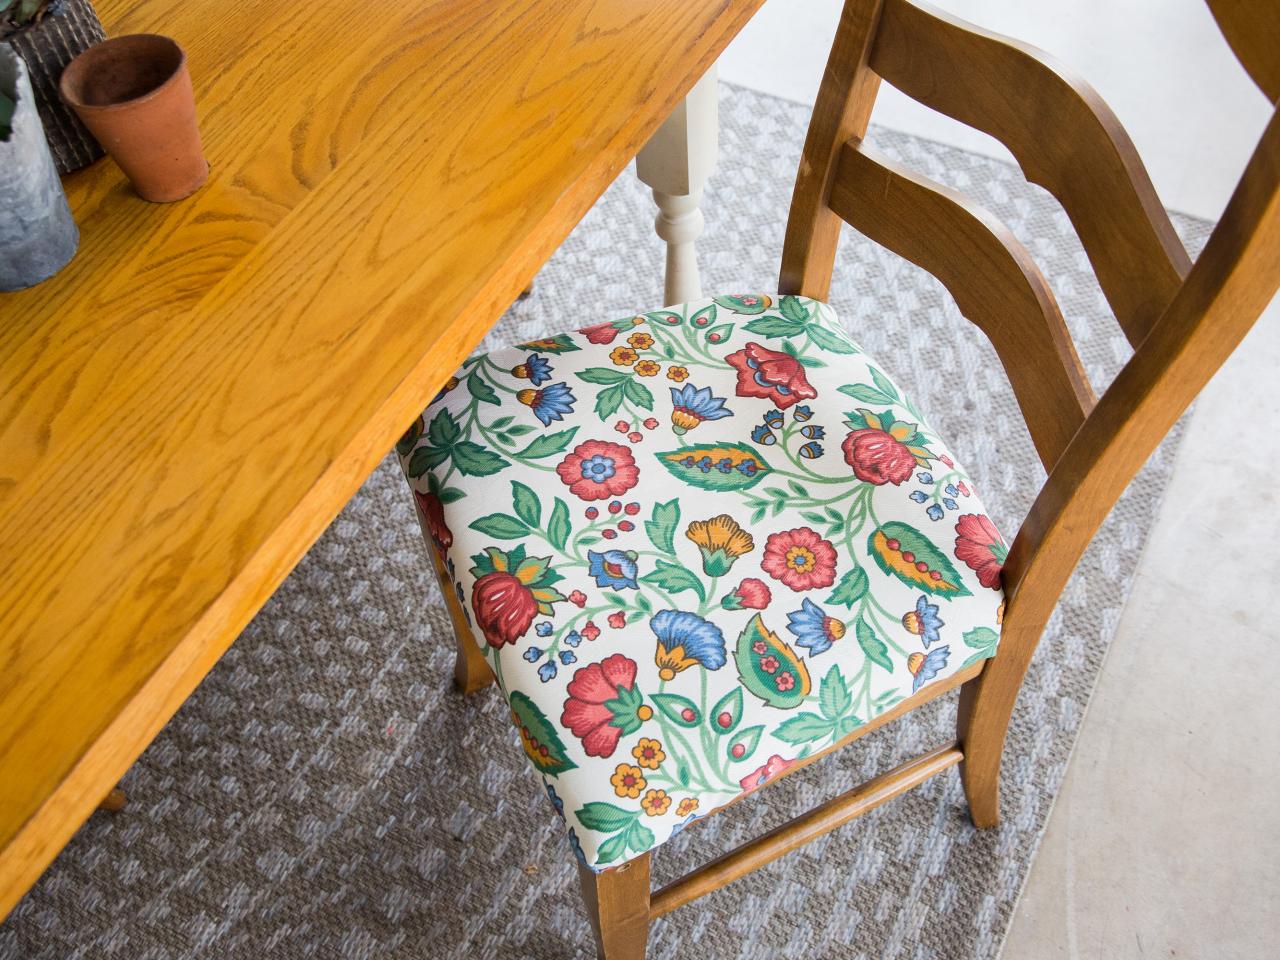
Step 2: Selecting the Fabric
Choosing the right fabric for your chair seat covers is crucial to achieving the desired look and durability. There are a few factors to consider when selecting the fabric:
- Durability: Since dining chairs are subject to frequent use and possible spills, it’s important to choose a fabric that is durable and easy to clean. Look for fabrics made of natural or synthetic fibers that are known for their strength and resistance to stains.
- Style and Design: Consider the overall style and design of your dining room when selecting the fabric. You can either choose a fabric that matches the existing colors and patterns in your dining room or go for something that adds a pop of color or a unique pattern to create visual interest.
- Texture: Think about the texture of the fabric and how it will feel against the skin. Some fabrics, such as velvet or chenille, may provide a luxurious and soft touch, while others, like cotton or polyester, offer a more practical and easy-to-maintain option.
- Cleaning and Maintenance: Consider the ease of cleaning and maintenance of the fabric. Look for fabrics that can be easily spot cleaned or machine washed to ensure that your seat covers stay fresh and looking their best.
Once you have considered these factors, head to your local fabric store or browse online to find a fabric that meets your criteria. Take swatches or samples of the fabrics that catch your eye and compare them to the colors and patterns in your dining room. This will help you visualize how the seat covers will look in your space.
Remember to purchase enough fabric to account for seam allowances and any pattern matching you may need to do. It’s always better to have a little extra than to come up short.
Now that you have selected the perfect fabric for your chair seat covers, it’s time to move on to the next step: cutting the fabric.
Step 3: Cutting the Fabric
Now that you have chosen the fabric for your chair seat covers, it’s time to cut the fabric according to the measurements you took in Step 1. Follow these steps to ensure accurate and clean cuts:
- Start by laying out your fabric on a clean and flat surface. Ensure that it is free from wrinkles or creases by ironing it if necessary.
- Using your measurements as a guide, mark the dimensions onto the fabric using a pencil or fabric marker. Make sure to transfer both the width and depth measurements onto the fabric.
- Double-check your measurements and make any necessary adjustments before proceeding.
- Next, use fabric scissors to carefully cut along the marked lines. Take your time to ensure straight and clean cuts.
- If you are making seat covers for multiple chairs, repeat the process for each piece of fabric, ensuring that the dimensions match the measurements of each specific chair.
After cutting the main pieces of fabric for your seat covers, you may also need to cut additional pieces for armrest covers or any decorative elements you plan on adding. Follow the same steps to measure, mark, and cut these pieces, taking into account any specific measurements or designs you have in mind.
Once you have finished cutting the fabric, it’s time to move on to the next step: sewing the seat covers together.
When making a seat cover for a dining room chair, be sure to measure the seat dimensions accurately to ensure a proper fit. Use durable, washable fabric for easy maintenance. Consider adding a cushion for extra comfort.
Read more: How To Make Dining Room Chair Covers
Step 4: Sewing the Seat Cover
With your fabric pieces cut to size, it’s time to start sewing the seat covers together. Follow these steps to ensure a secure and professional-looking finish:
- Place the front side of one fabric piece facing up on your work surface. If your fabric has a pattern, make sure it is facing the right way.
- Take the second fabric piece and place it on top of the first, making sure the front sides are facing each other. Align the edges of the fabric pieces and pin them together to secure them in place.
- Using a sewing machine or a needle and thread, start sewing around the edges of the fabric pieces, leaving one side open. Use a straight stitch and a seam allowance of about half an inch.
- Take care to backstitch at the beginning and end of your stitches to reinforce them and prevent unraveling.
- Once you have sewn around the edges, remove the pins and turn the seat cover inside out through the open side. This will hide the raw edges and reveal the right side of the fabric.
- Use your fingers or a blunt object to push out the corners and create a neat edge.
- Iron the seat cover to remove any remaining wrinkles and create crisp edges.
If you prefer a more finished look, you can also choose to topstitch around the edges of the seat cover using a coordinating thread color. This will give your seat cover a polished and professional appearance.
Repeat these steps for each seat cover you are making, ensuring that all the edges are securely sewn and the corners are well-defined. Take your time and pay attention to detail to achieve the best results.
Now that your seat covers are sewn together, it’s time to move on to the next step: adding velcro or ties for securing the seat covers.
Step 5: Adding Velcro or Ties
Now that your seat covers are sewn together, it’s time to add a secure closure to keep them in place on your dining chairs. There are two common options for securing seat covers:
- Velcro: Velcro is a convenient and easy-to-use option for securing seat covers. Here’s how you can add Velcro to your seat covers:
- Measure and mark the desired locations for the Velcro strips on both the seat cover and the chair. Make sure the Velcro strips align with each other when the cover is placed on the chair.
- Sew or attach one side of the Velcro strip to the seat cover, using either a sewing machine or strong fabric glue.
- Secure the other side of the Velcro strip onto the chair, making sure it aligns with the Velcro on the seat cover.
- Ties: If you prefer a more decorative touch, fabric ties can be a great option for securing seat covers. Here’s how you can add fabric ties to your seat covers:
- Cut several strips of fabric, measuring about 1-1.5 inches wide and long enough to reach around the chair and tie in a bow.
- Fold each fabric strip in half lengthwise, with the right sides facing each other, and sew along the long edge to create a tube.
- Use a turning tool or a safety pin to turn the fabric tube right side out.
- Press the fabric ties with an iron to create crisp edges.
- Attach the fabric ties to the seat cover by sewing them securely to the corners or sides of the cover.
- Tie the fabric ties around the chair to secure the seat cover in place.
Choose the closure option that best suits your style and preference. Adding Velcro or fabric ties will not only keep your seat covers secure but also add a finished and stylish touch to your dining room chairs.
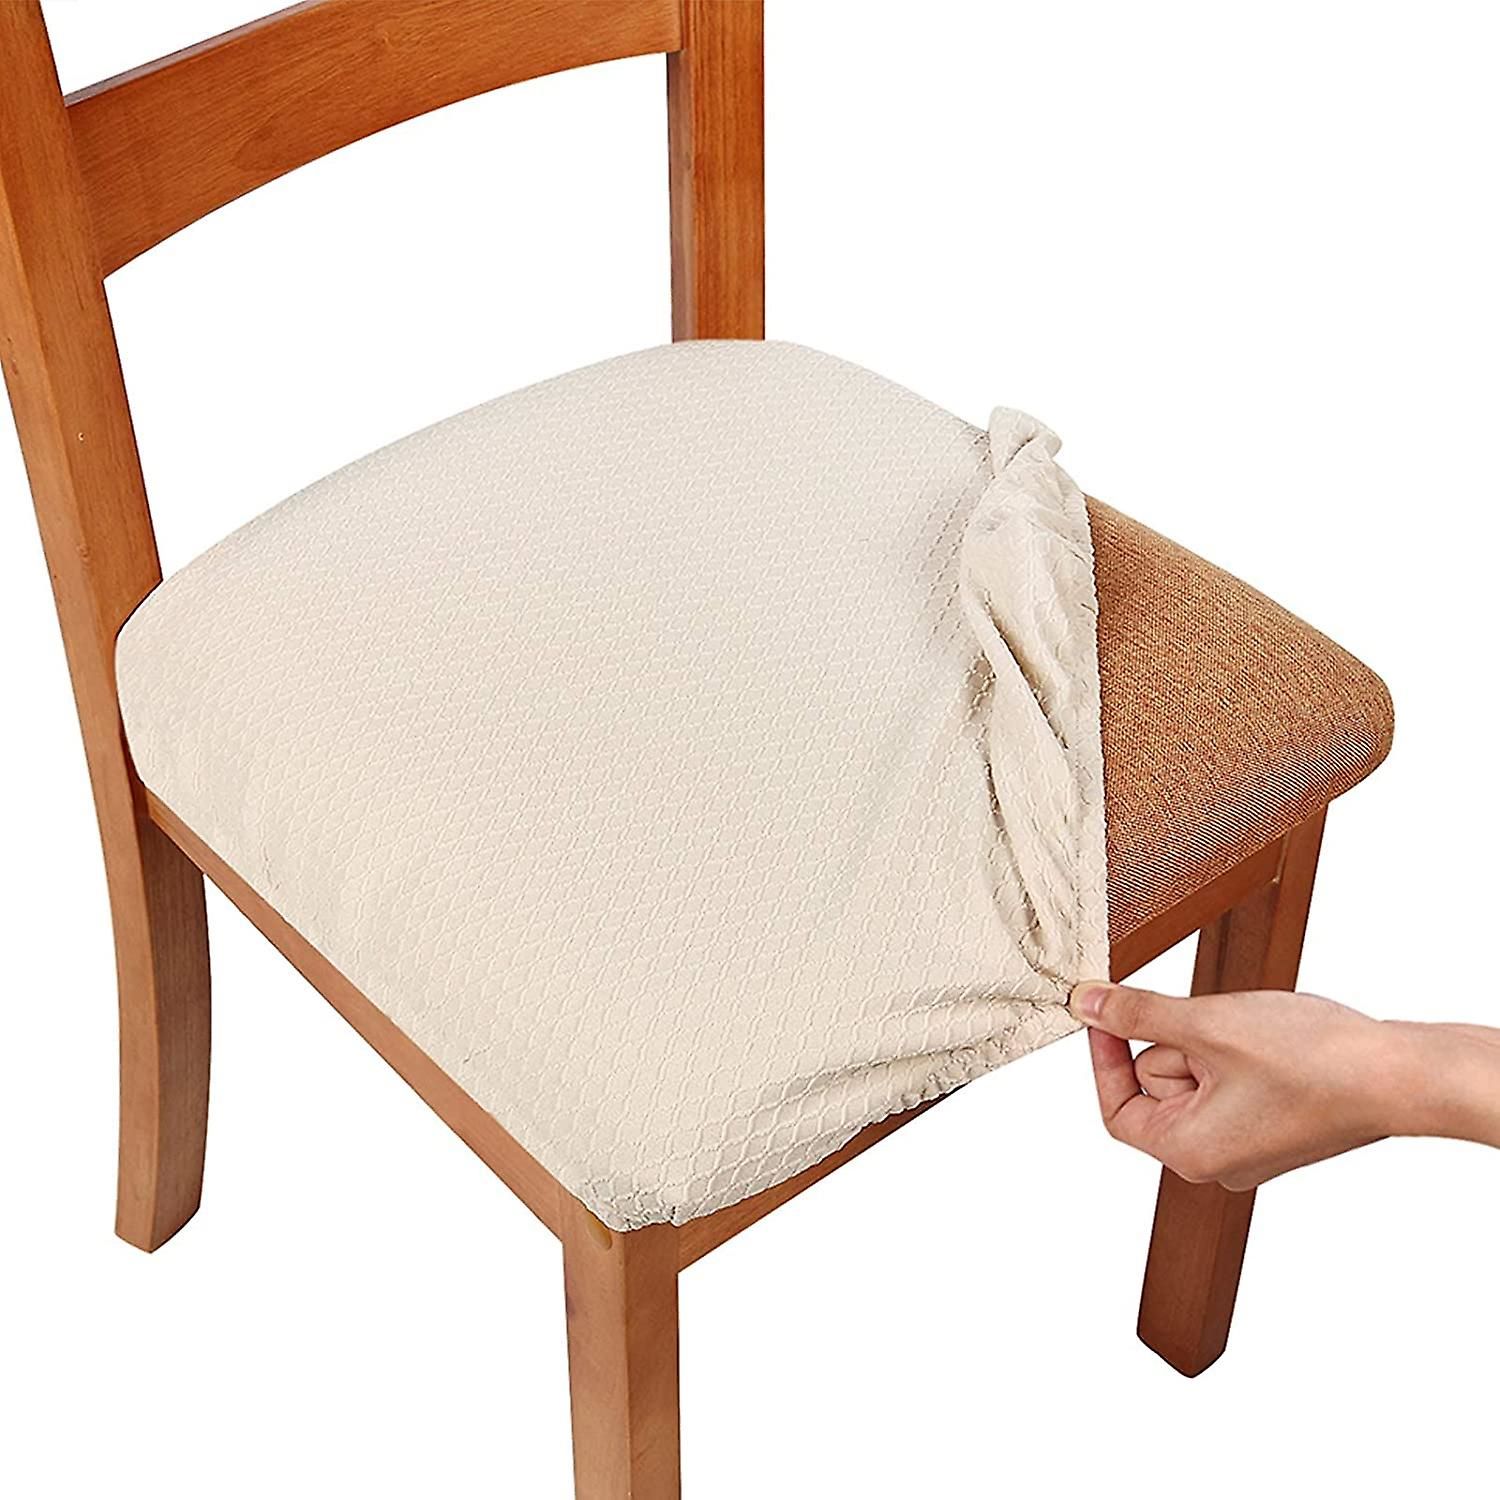
Now that you have added Velcro or ties to your seat covers, it’s time for the final step: attaching the seat covers to your chairs.
Step 6: Attaching the Seat Cover
With your seat covers sewn and closures added, it’s time to attach them to your dining room chairs. Follow these steps to ensure a secure and fitted attachment:
- Start by placing the seat cover on the chair, making sure it is centered and aligned properly.
- If you are using ties, bring the ties around the back of the chair and tie them in a secure knot or bow. Adjust the tightness as needed.
- If you are using Velcro, press the Velcro strips together to secure the seat cover to the chair. Ensure that the Velcro strips align and provide a snug fit.
- Smooth out any wrinkles or creases in the seat cover, adjusting it as necessary to achieve a neat and seamless appearance.
- Take a step back and check the overall look and fit of the seat cover. Make any necessary adjustments to ensure a clean and polished result.
Repeat these steps for each dining room chair, carefully attaching the seat covers one by one. Take your time to ensure that each seat cover is securely attached and looks uniform with the others.
Once all the seat covers are attached, give them a final inspection, making sure they are fitted properly and enhance the overall look of your dining room. Make any minor adjustments if needed to achieve the desired aesthetic.
Congratulations! You have successfully made and attached seat covers to your dining room chairs. Not only do these seat covers provide protection and durability, but they also add a touch of style and customization to your dining space.
Remember to periodically check and clean your seat covers to keep them in good condition and maintain their appearance over time.
With your newly upholstered dining room chairs, you can now enjoy a fresh and inviting space for family meals and entertaining.
Thank you for following along with this DIY guide on making seat covers for dining room chairs. We hope you found it informative and inspiring. Happy crafting!
Conclusion
Creating seat covers for your dining room chairs is a rewarding DIY project that allows you to refresh the look of your dining area while protecting your chairs. By following the steps outlined in this guide, you can easily make custom seat covers that fit perfectly and add a touch of elegance to your space.
Starting with accurate measurements and carefully selecting the right fabric, you can personalize your seat covers to match your dining room decor and personal style. Sewing the seat covers together and adding closures such as Velcro or ties ensures a secure and polished finish.
Attaching the seat covers to your chairs is the final step, allowing you to enjoy the beautiful transformation of your dining room. Whether you opt for Velcro or ties, make sure the seat covers are securely fastened for a neat and tailored appearance.
With your new seat covers, you’ll not only protect your dining room chairs from spills and stains but also enhance the overall visual appeal of your space. Your dining area will look fresh, inviting, and tailored to your personal taste.
Don’t forget to periodically clean and maintain your seat covers to keep them looking their best. This will ensure that they continue to provide both style and functionality for years to come.
We hope you found this guide helpful and inspiring. Making seat covers for your dining room chairs is a fun and creative way to give your space a makeover without breaking the bank. Enjoy the process, and embrace the satisfaction of transforming your dining area!
Thank you for joining us on this DIY journey, and we wish you all the best with your new seat covers. Happy decorating!
Frequently Asked Questions about How To Make A Seat Cover For Dining Room Chair
Was this page helpful?
At Storables.com, we guarantee accurate and reliable information. Our content, validated by Expert Board Contributors, is crafted following stringent Editorial Policies. We're committed to providing you with well-researched, expert-backed insights for all your informational needs.

0 thoughts on “How To Make A Seat Cover For Dining Room Chair”