Home>Renovation & DIY>Home Renovation Guides>What Type Of Mortar For Backsplash
Home Renovation Guides
What Type Of Mortar For Backsplash
Modified: October 20, 2024
Learn about the best type of mortar for your backsplash in our comprehensive home renovation guide. Find expert tips and advice for your project.
(Many of the links in this article redirect to a specific reviewed product. Your purchase of these products through affiliate links helps to generate commission for Storables.com, at no extra cost. Learn more)
Introduction
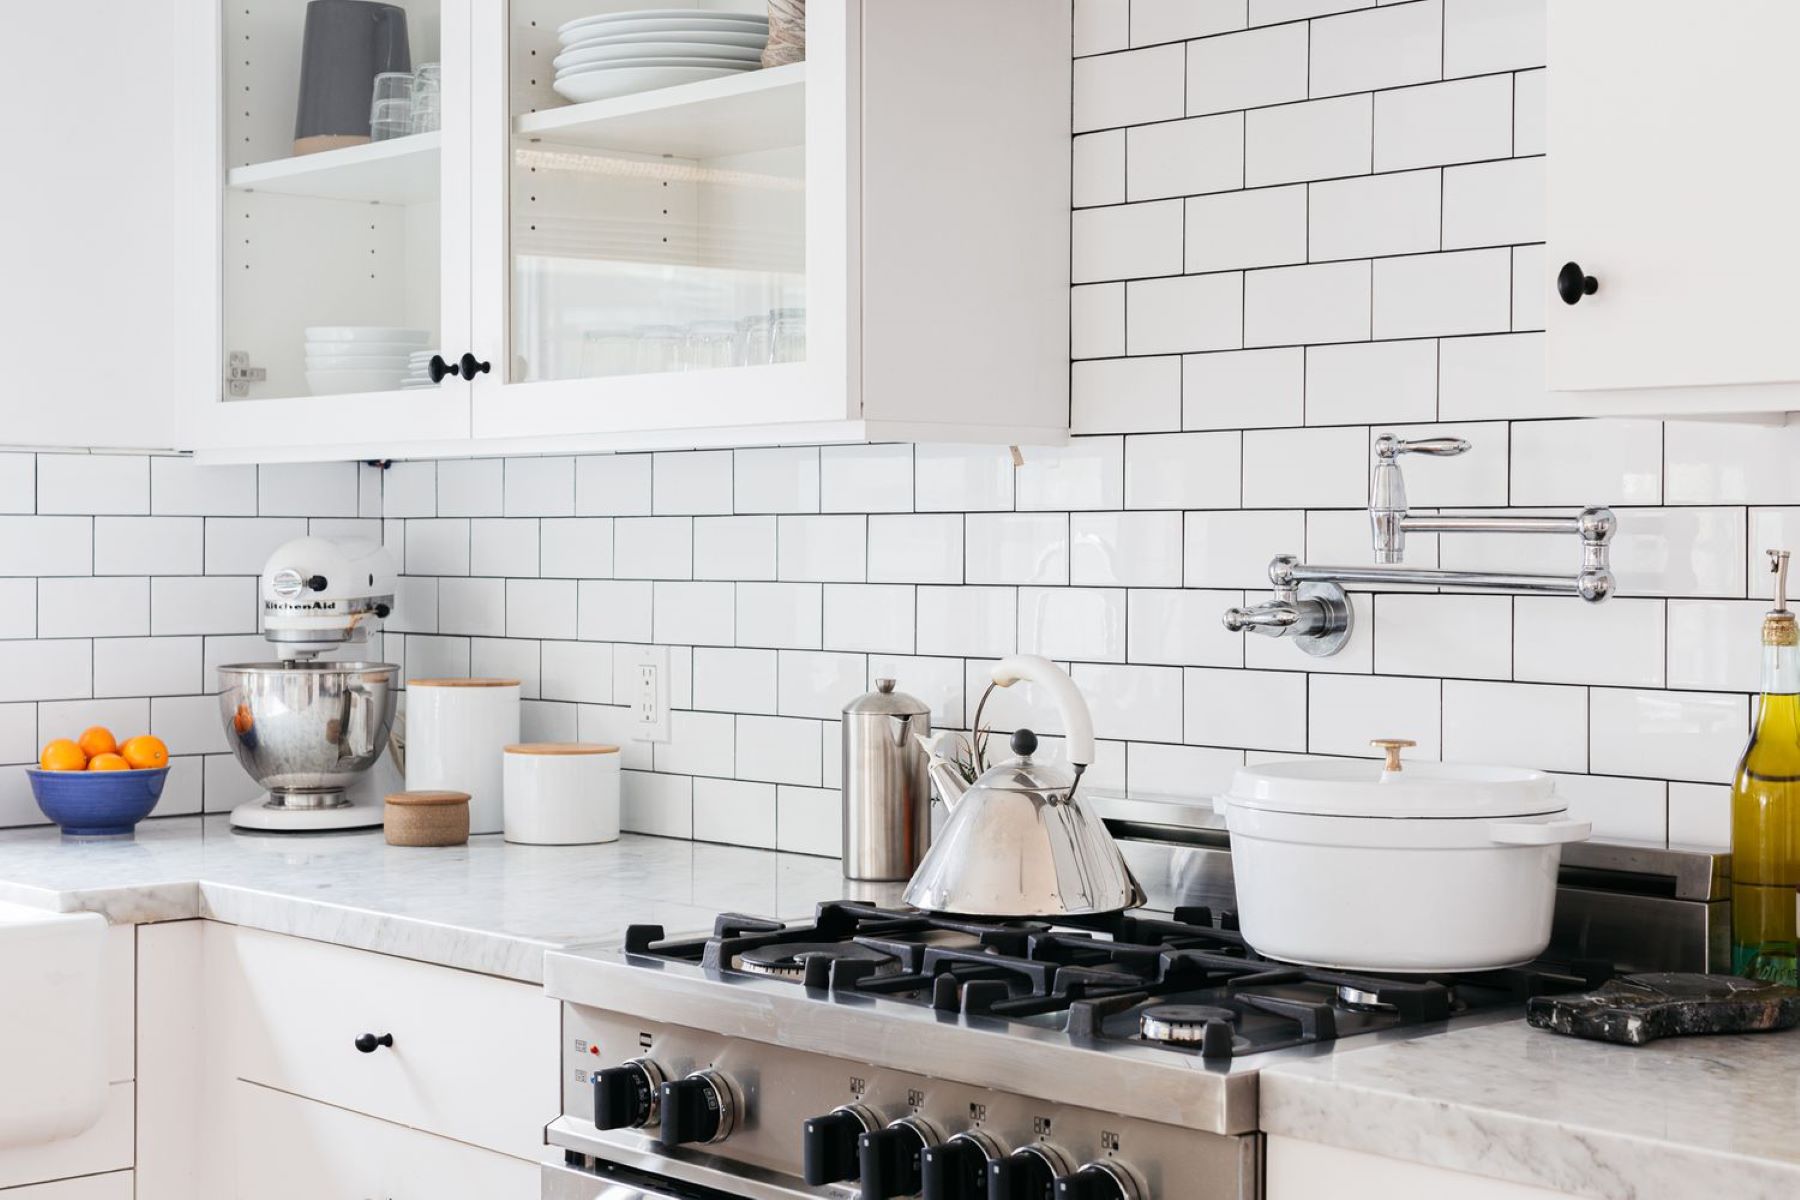
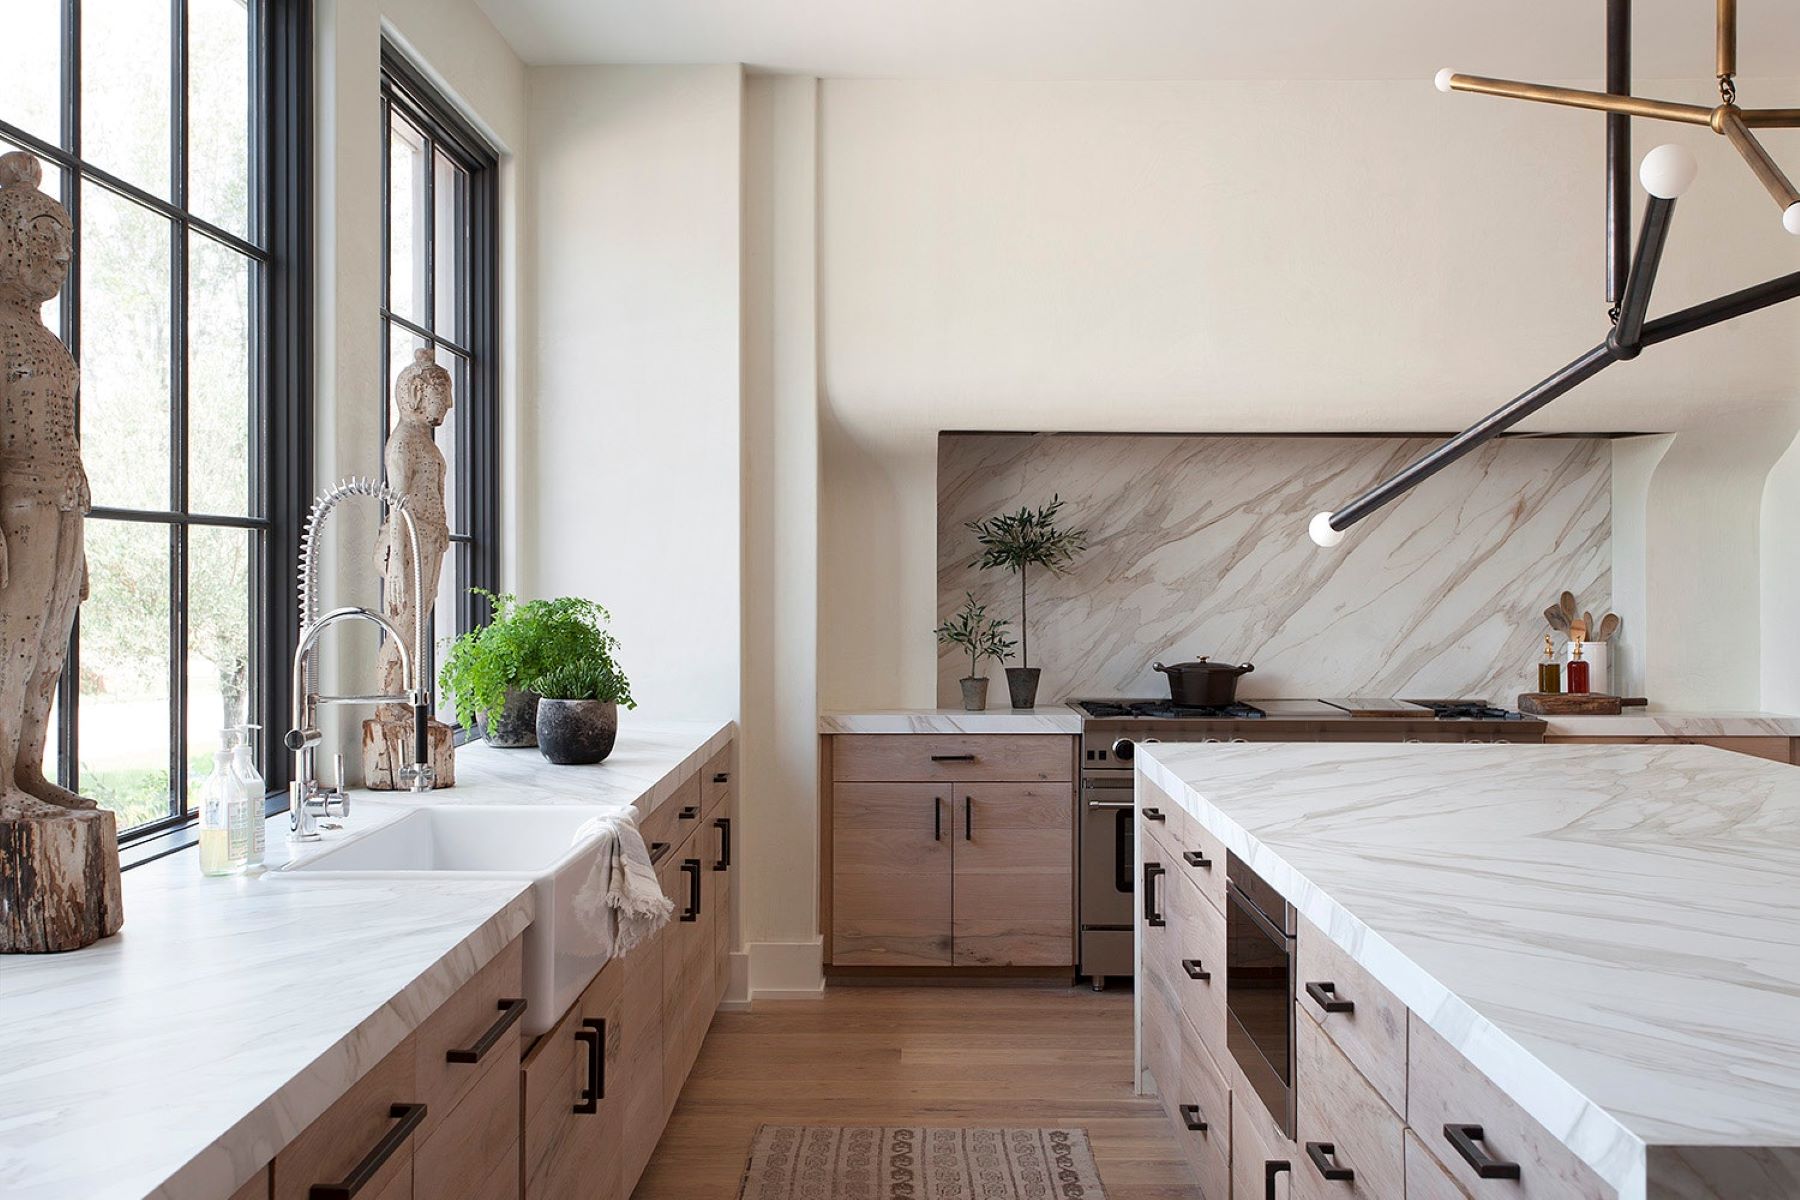
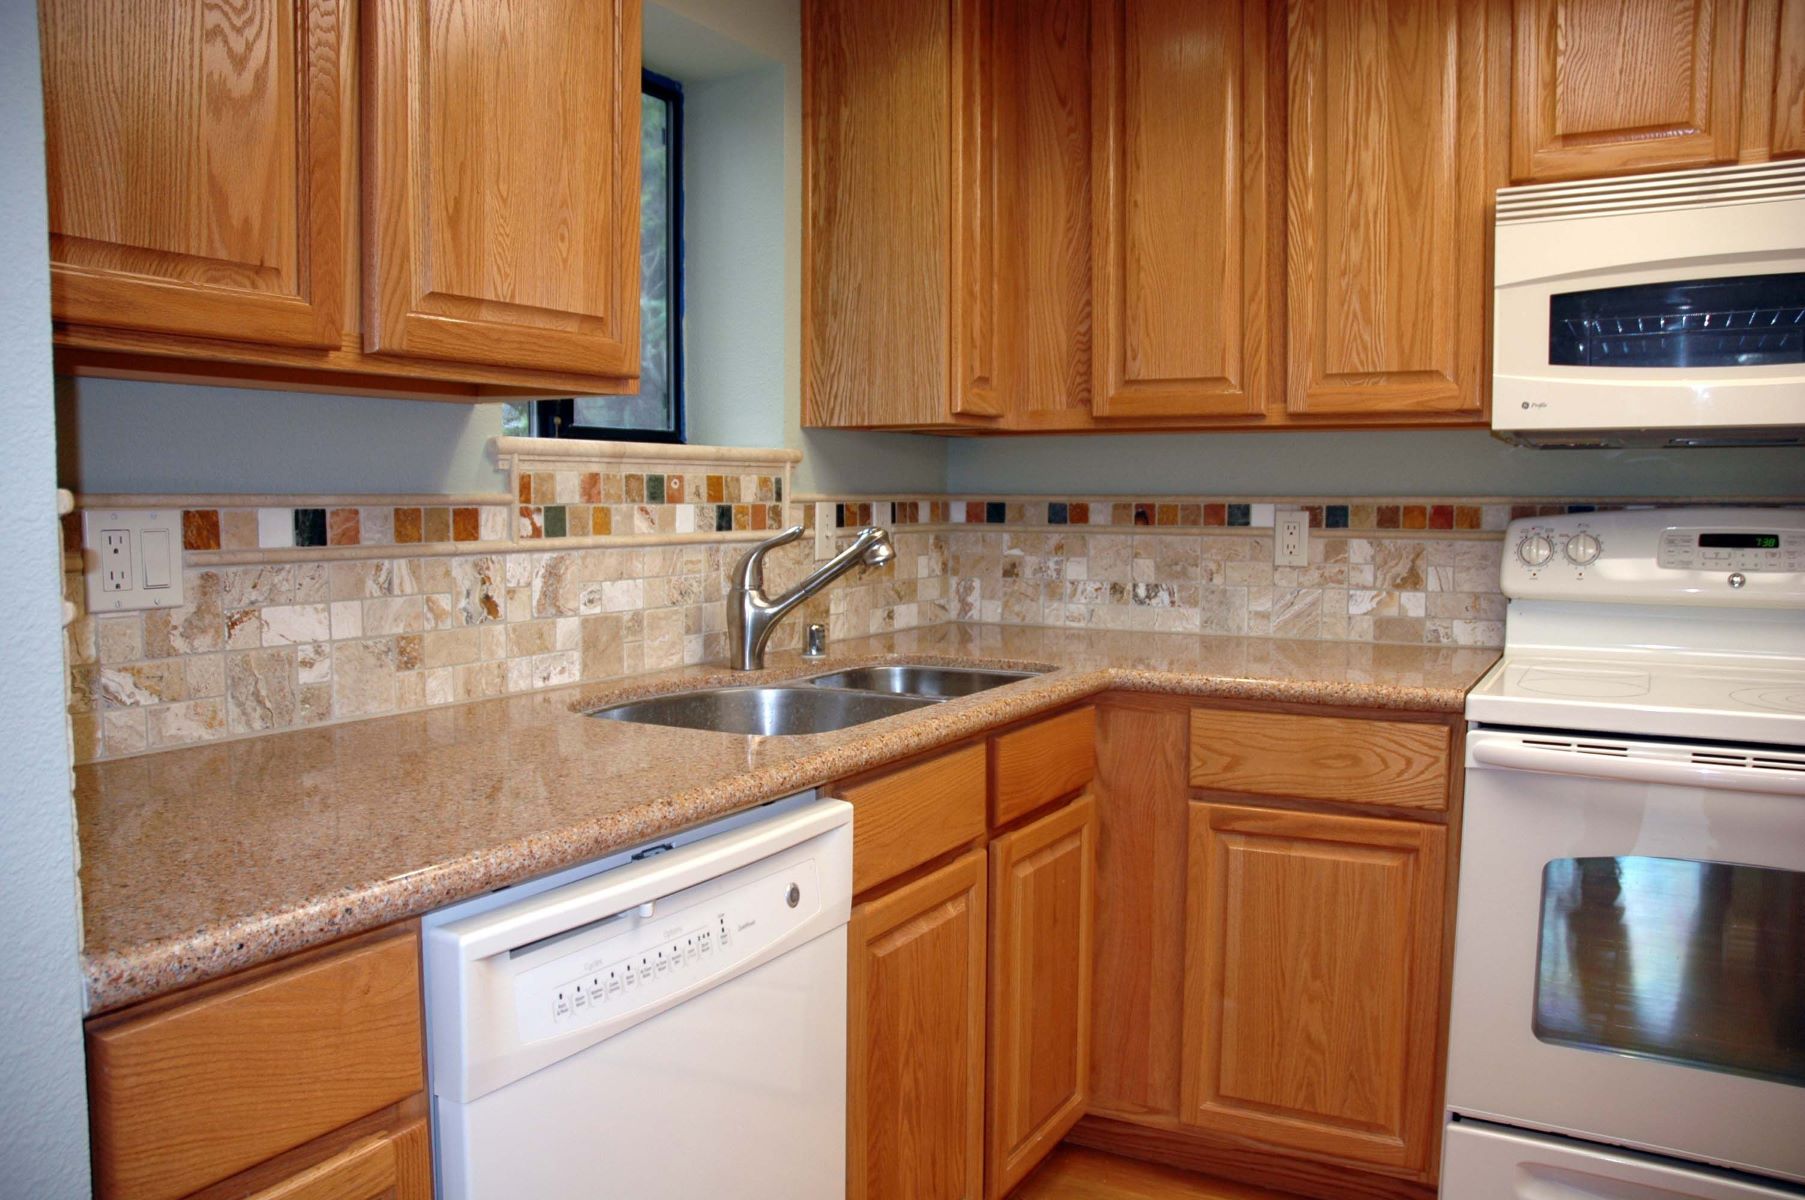
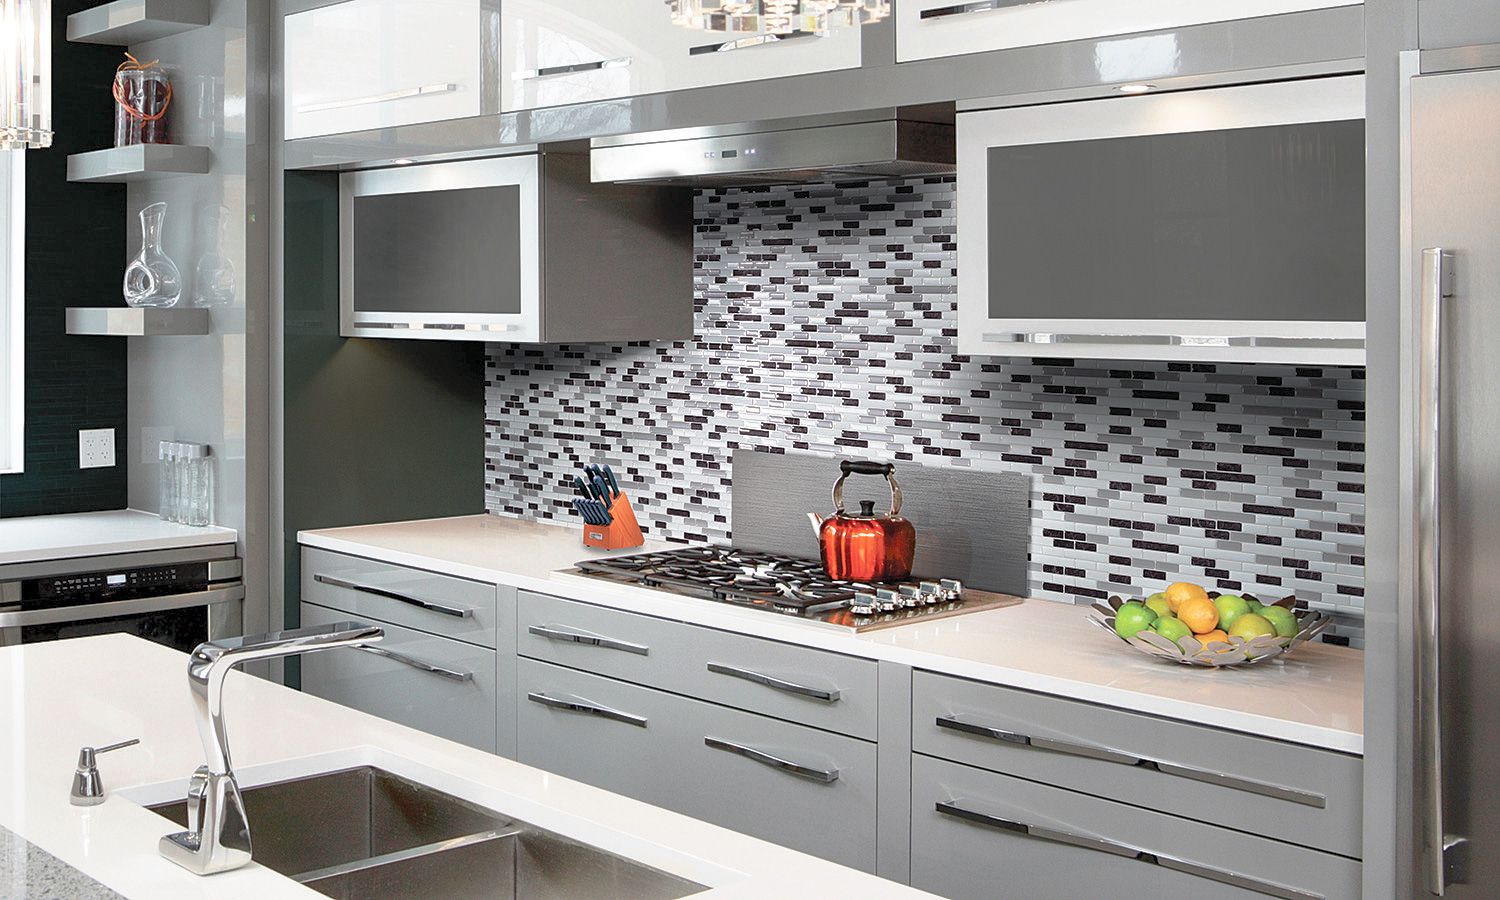
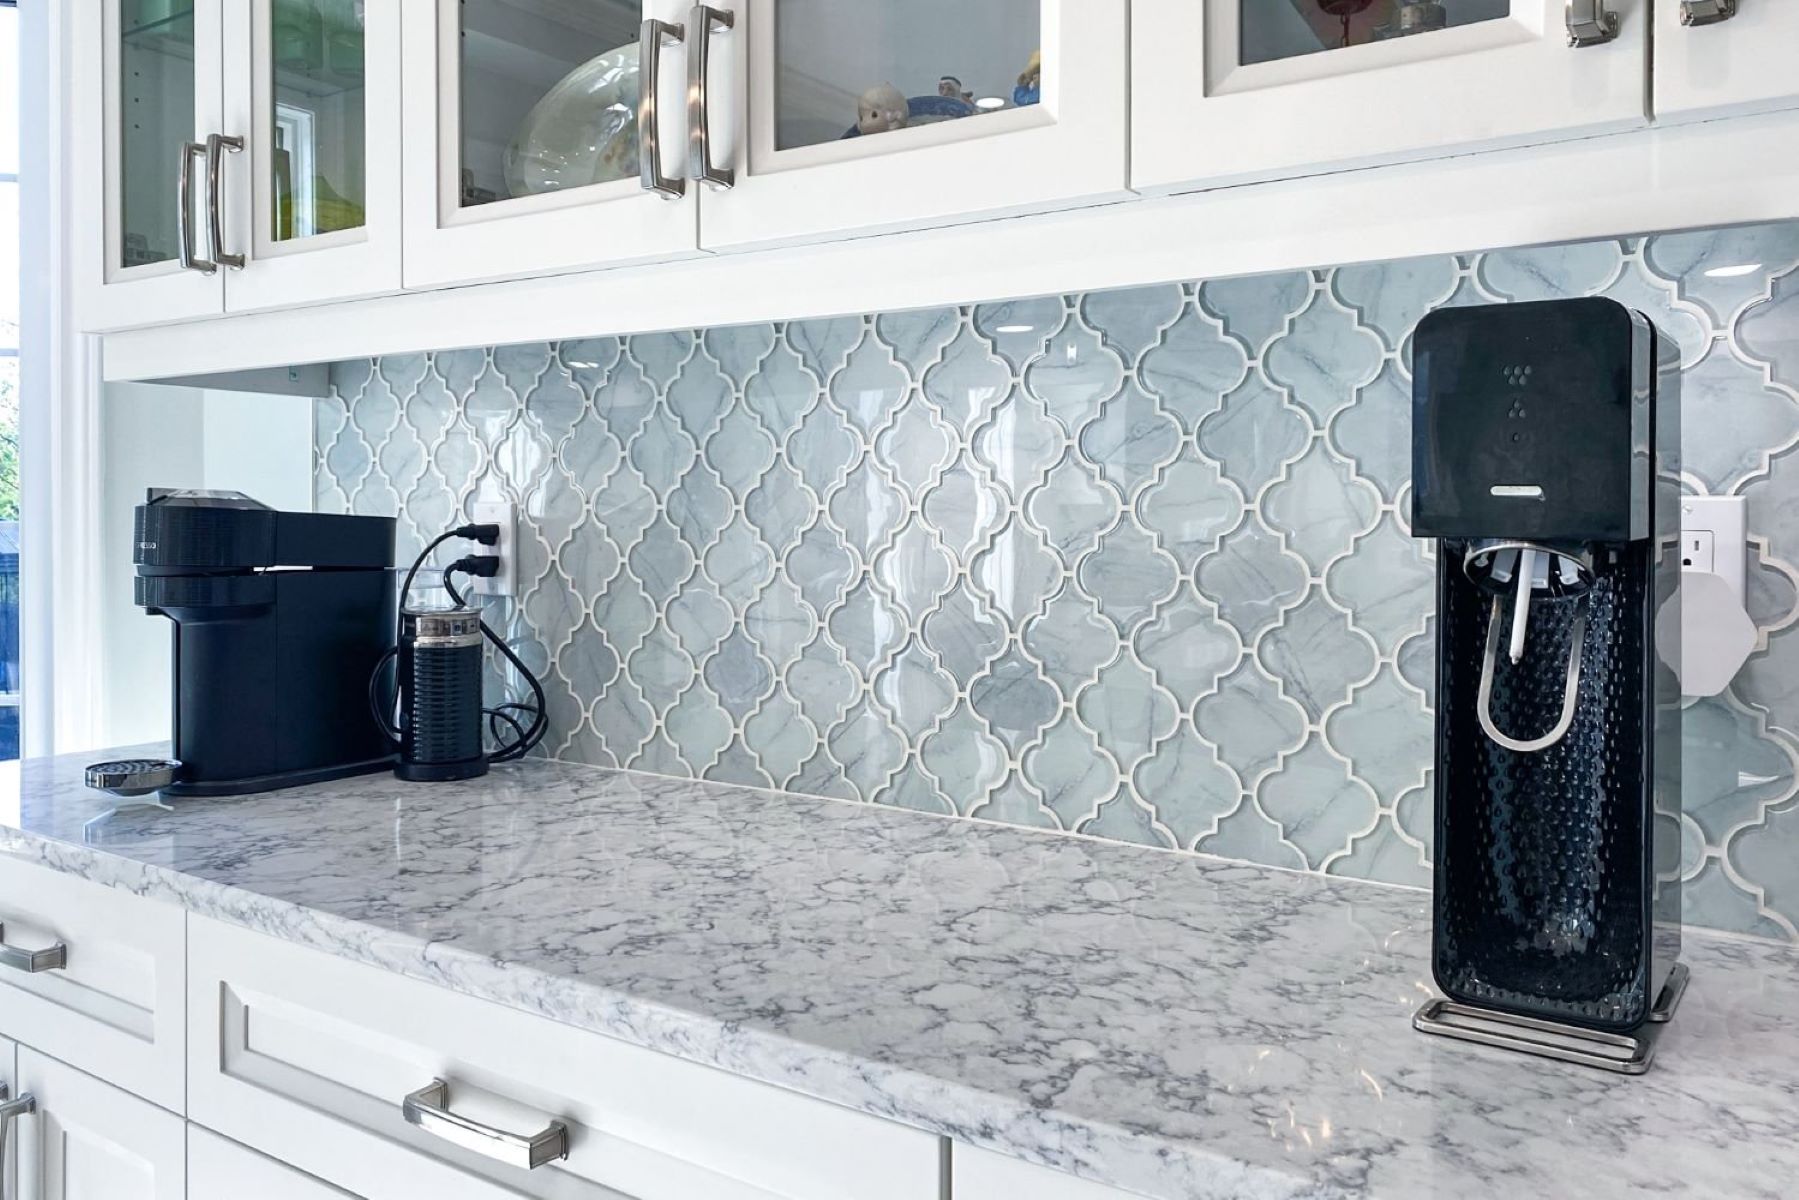
When it comes to renovating your kitchen, one of the most impactful changes you can make is installing a new backsplash. Not only does a backsplash enhance the aesthetic appeal of your kitchen, but it also serves a practical purpose by protecting your walls from splashes and spills. However, the key to a successful backsplash installation lies in the choice of the right mortar.
Selecting the appropriate type of mortar is crucial for ensuring the longevity and durability of your backsplash. With a myriad of options available, it's essential to understand the characteristics of different types of mortar and their suitability for various backsplash materials. From traditional cement-based mortars to advanced polymer-modified ones, each type offers unique benefits and considerations.
In this comprehensive guide, we will delve into the various types of mortar commonly used for backsplash installations, providing insights into their properties and applications. Additionally, we will explore essential tips for selecting and using the right mortar to achieve a flawless and long-lasting backsplash. Whether you're a seasoned DIY enthusiast or a homeowner embarking on your first kitchen renovation, this guide will equip you with the knowledge and confidence to make informed decisions and execute a successful backsplash project.
As we embark on this journey through the realm of mortar for backsplashes, you'll gain valuable insights that will empower you to transform your kitchen with a stunning and resilient backsplash. So, let's dive into the world of mortar and discover the key to achieving a beautiful and functional backsplash that will stand the test of time.
Key Takeaways:
- Choose the right mortar for your backsplash based on tile type, environmental conditions, and installer skill level to ensure a durable and visually stunning installation.
- Follow best practices for mortar application, including surface preparation, mixing consistency, and tile alignment, to achieve a professional and long-lasting backsplash.
Read more: What Type Mortar For Stone Veneer
Types of Mortar for Backsplash
When it comes to installing a backsplash, choosing the right type of mortar is essential for ensuring a strong and long-lasting bond between the tiles and the wall. There are several types of mortar commonly used for backsplash installations, each with its own unique characteristics and suitability for different materials. Understanding the properties and applications of these mortars is crucial for making an informed decision and achieving a successful backsplash project. Let's explore the various types of mortar for backsplashes:
1. Cement-Based Mortar
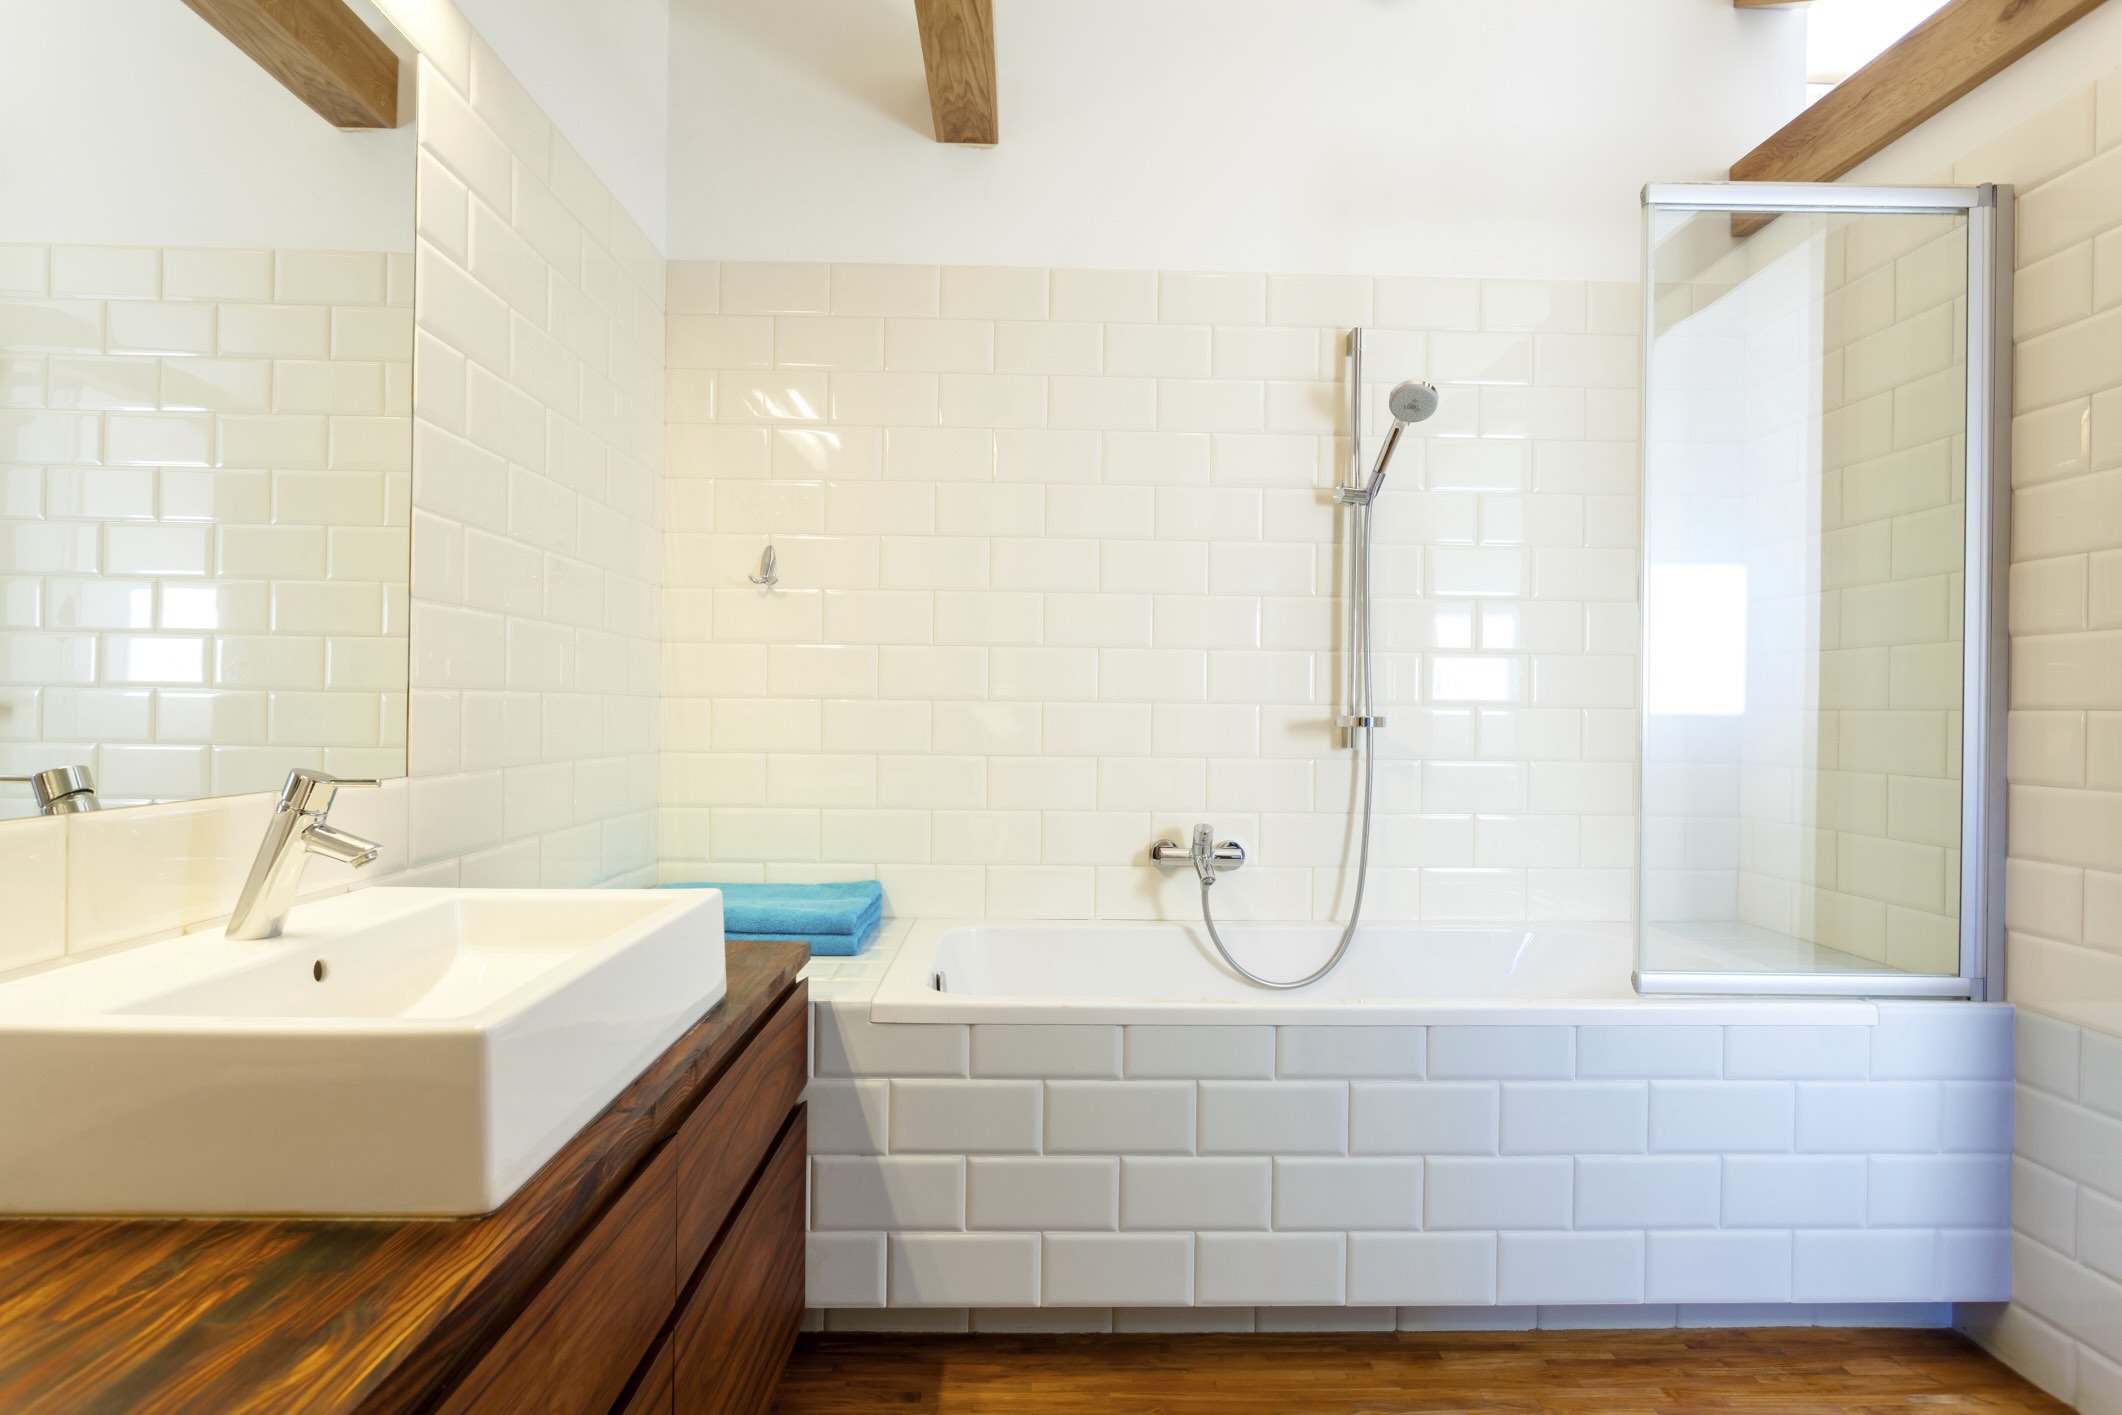
Cement-based mortar, also known as thin-set mortar, is a popular choice for backsplash installations. It is composed of cement, sand, and a water-retaining agent. This type of mortar is suitable for a wide range of backsplash materials, including ceramic, porcelain, and natural stone tiles. Cement-based mortar offers excellent adhesion and is ideal for vertical applications, providing a strong bond between the tiles and the wall surface.
2. Polymer-Modified Mortar
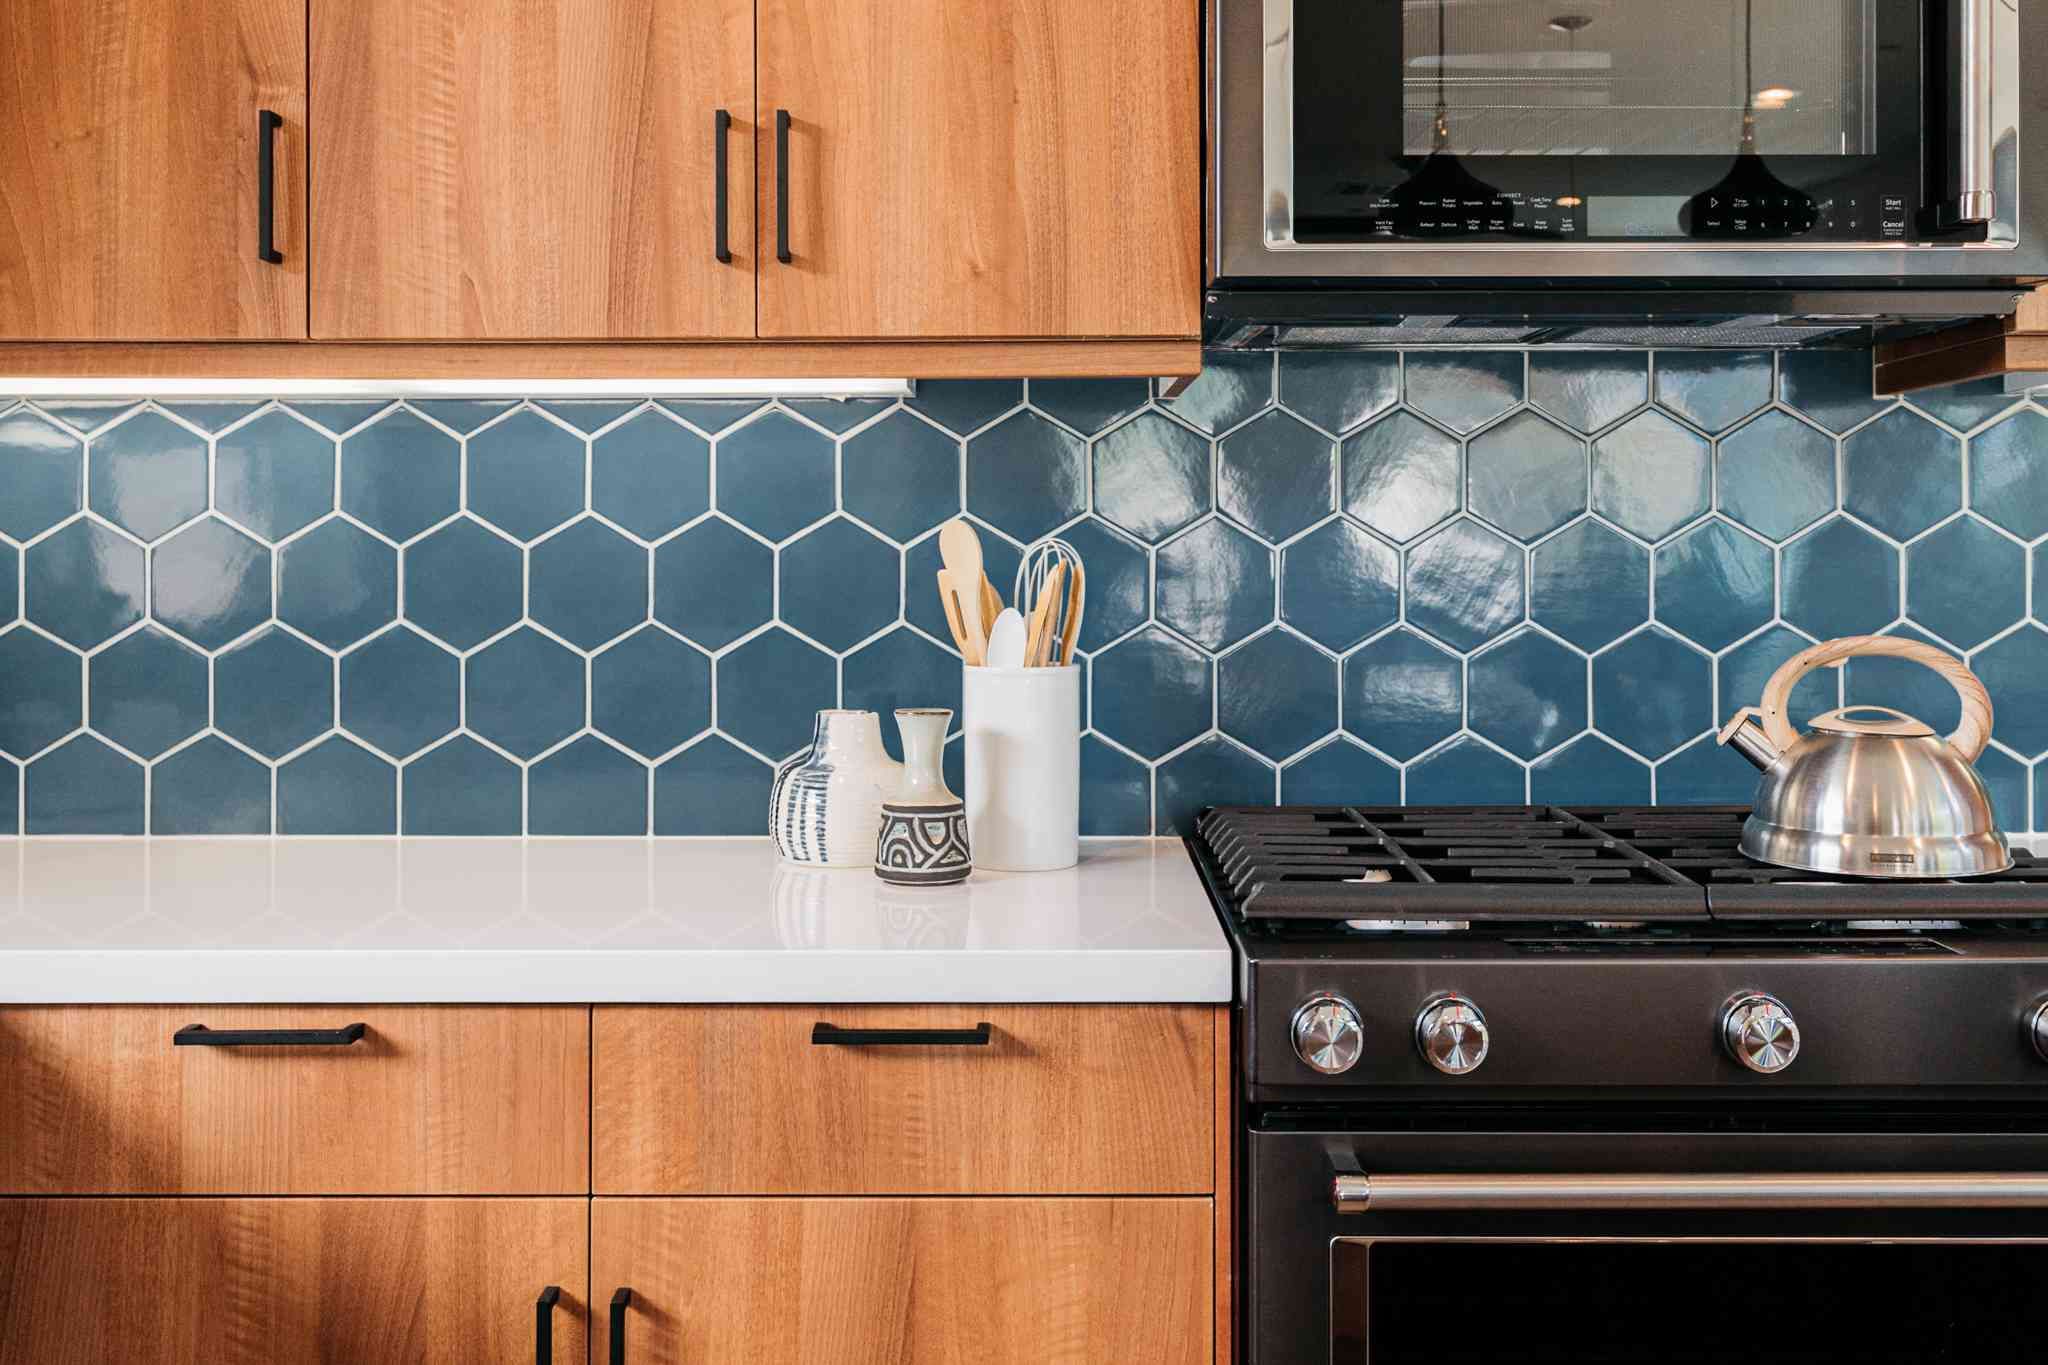
Polymer-modified mortar is a versatile option that offers enhanced flexibility and bond strength compared to traditional cement-based mortar. It contains a polymer additive that improves adhesion and flexibility, making it suitable for backsplashes in areas prone to movement or vibration. Polymer-modified mortar is particularly beneficial for installing backsplashes in kitchens, where exposure to heat and moisture requires a more resilient bonding material.
3. Epoxy Mortar
Epoxy mortar is a high-performance option known for its exceptional strength and chemical resistance. It is composed of epoxy resins and a hardener, creating a durable and waterproof bond that is well-suited for demanding environments. Epoxy mortar is an excellent choice for backsplashes in commercial kitchens or areas where the backsplash is exposed to harsh chemicals or frequent cleaning.
4. Pre-Mixed Mortar
Pre-mixed mortar, often referred to as mastic, is a convenient option for DIY enthusiasts and small-scale backsplash projects. It comes ready to use, eliminating the need for mixing with water or additives. While pre-mixed mortar offers ease of application, it is important to consider its suitability for specific tile materials and environmental conditions, as it may not be suitable for all backsplash installations.
5. Large Format Tile Mortar
Large format tile mortar is designed specifically for installing oversized tiles, which are becoming increasingly popular in modern kitchen designs. This type of mortar offers superior non-sag performance, allowing for the installation of heavy and large-format tiles on vertical surfaces. Its extended open time and high bond strength make it well-suited for backsplashes featuring larger tiles, creating a seamless and visually striking finish.
By understanding the characteristics and applications of these different types of mortar, you can make an informed decision based on the specific requirements of your backsplash project. Whether you prioritize adhesion strength, flexibility, chemical resistance, or ease of application, there is a suitable mortar option to ensure the success of your backsplash installation.
Choosing the Right Mortar for Your Backsplash
Selecting the right mortar for your backsplash is a critical decision that significantly impacts the longevity and performance of the installation. When determining the most suitable mortar for your project, several key factors should be taken into consideration to ensure a successful and durable outcome.
First and foremost, it is essential to assess the specific requirements of your backsplash, including the type of tiles being used, the environmental conditions of the installation area, and any potential exposure to moisture, heat, or chemicals. Different types of mortar offer varying levels of adhesion strength, flexibility, and resistance to environmental factors, making it crucial to align the characteristics of the mortar with the unique demands of your backsplash project.
Additionally, the size and weight of the tiles play a significant role in the selection of mortar. For backsplashes featuring large or heavy tiles, such as oversized ceramic or natural stone tiles, a mortar specifically designed for large format tiles is recommended. This specialized mortar offers superior non-sag performance and high bond strength, ensuring the secure installation of larger tiles on vertical surfaces.
Furthermore, the skill level and experience of the installer should be taken into account when choosing the right mortar. While cement-based mortar is a popular choice for backsplashes, polymer-modified mortar offers enhanced flexibility and bond strength, making it particularly beneficial for DIY enthusiasts and homeowners seeking a more forgiving and user-friendly option.
Consideration should also be given to the long-term maintenance and durability of the backsplash. For areas exposed to frequent cleaning, moisture, or harsh chemicals, epoxy mortar stands out as a high-performance solution, providing exceptional strength and chemical resistance to ensure the longevity of the installation.
Ultimately, the selection of the right mortar for your backsplash involves a thoughtful evaluation of the specific requirements, environmental factors, tile characteristics, and installer proficiency. By aligning these considerations with the unique demands of your project, you can make an informed decision that sets the foundation for a successful, resilient, and visually stunning backsplash installation.
Tips for Using Mortar for Backsplash Installation
-
Surface Preparation: Before applying the mortar, ensure that the wall surface is clean, dry, and free of any debris or contaminants. Proper surface preparation is essential for promoting strong adhesion and preventing potential issues such as delamination or tile slippage.
-
Mixing Consistency: When preparing the mortar, follow the manufacturer's instructions regarding water-to-mortar ratio to achieve the optimal mixing consistency. Consistency is key to ensuring proper adhesion and workability during the installation process.
-
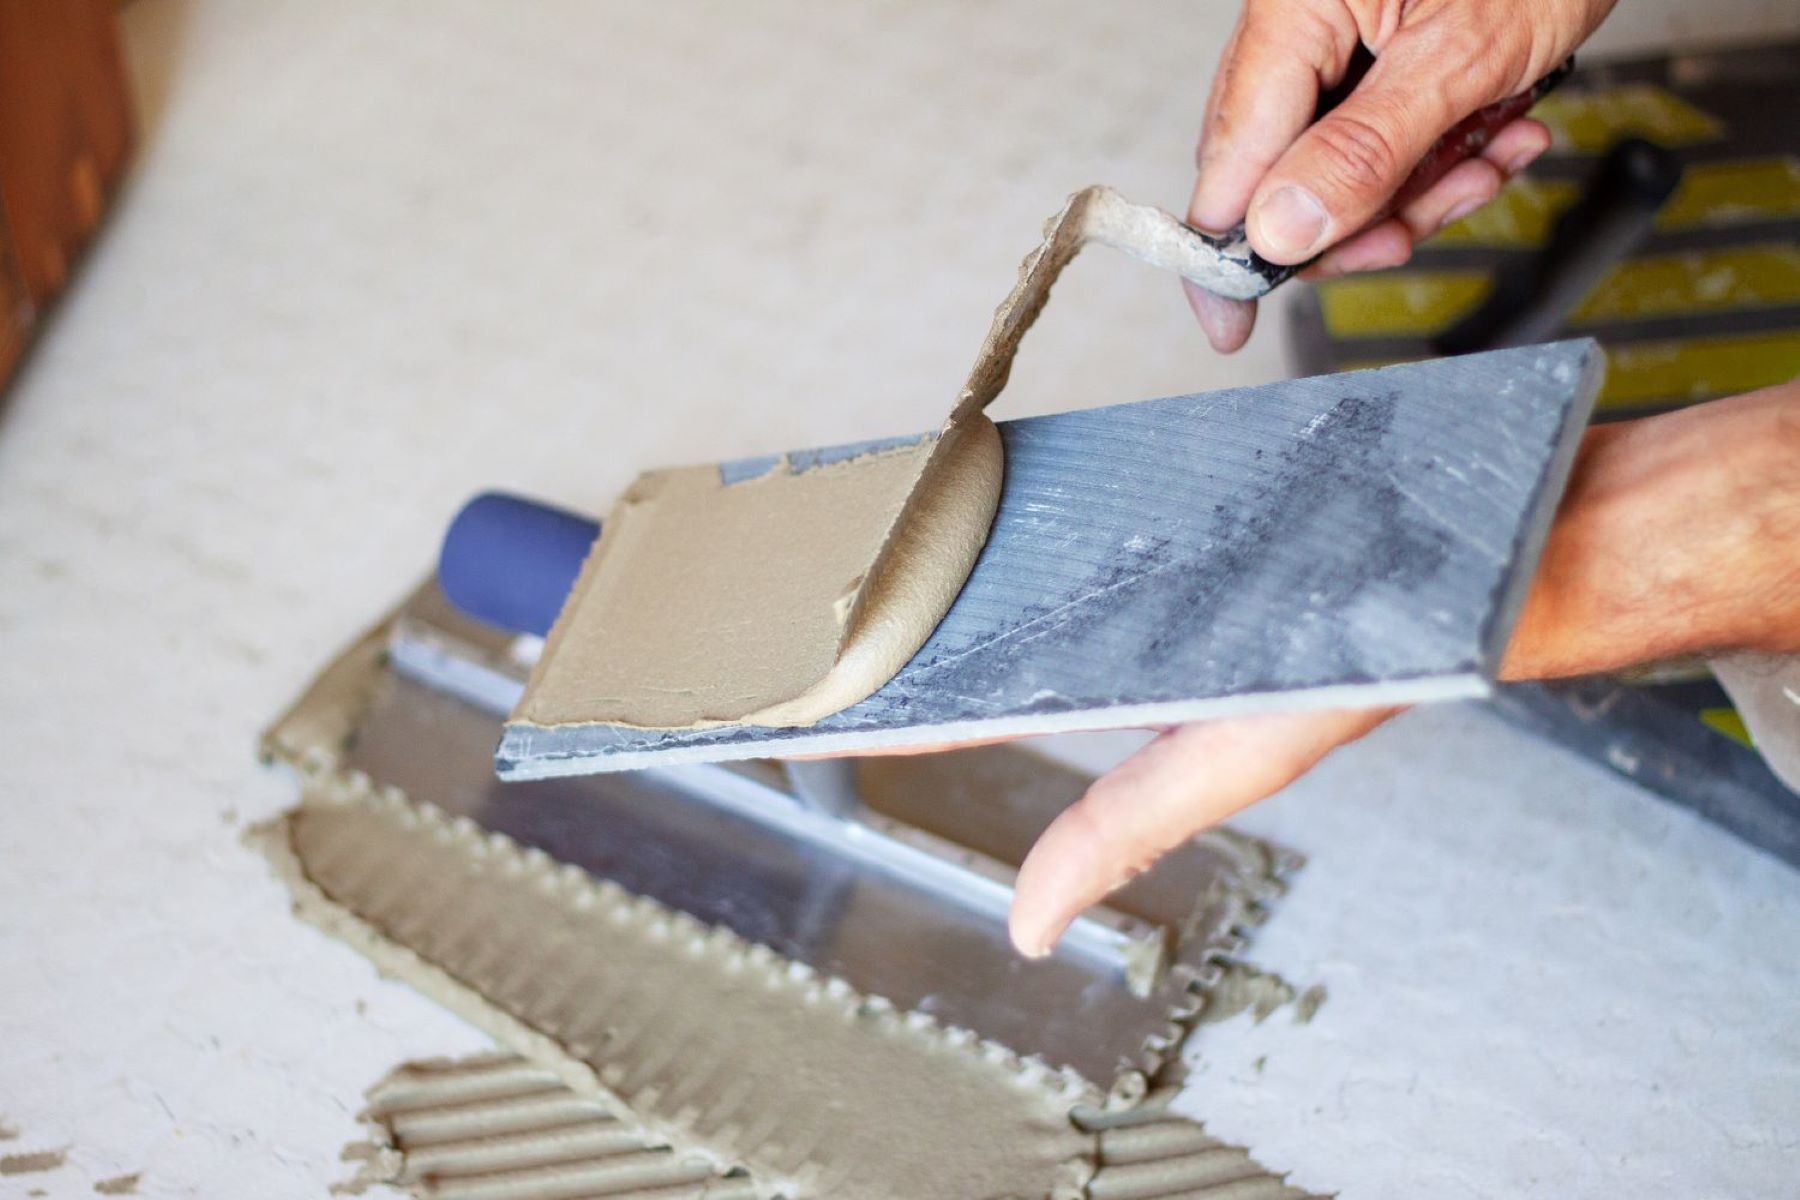
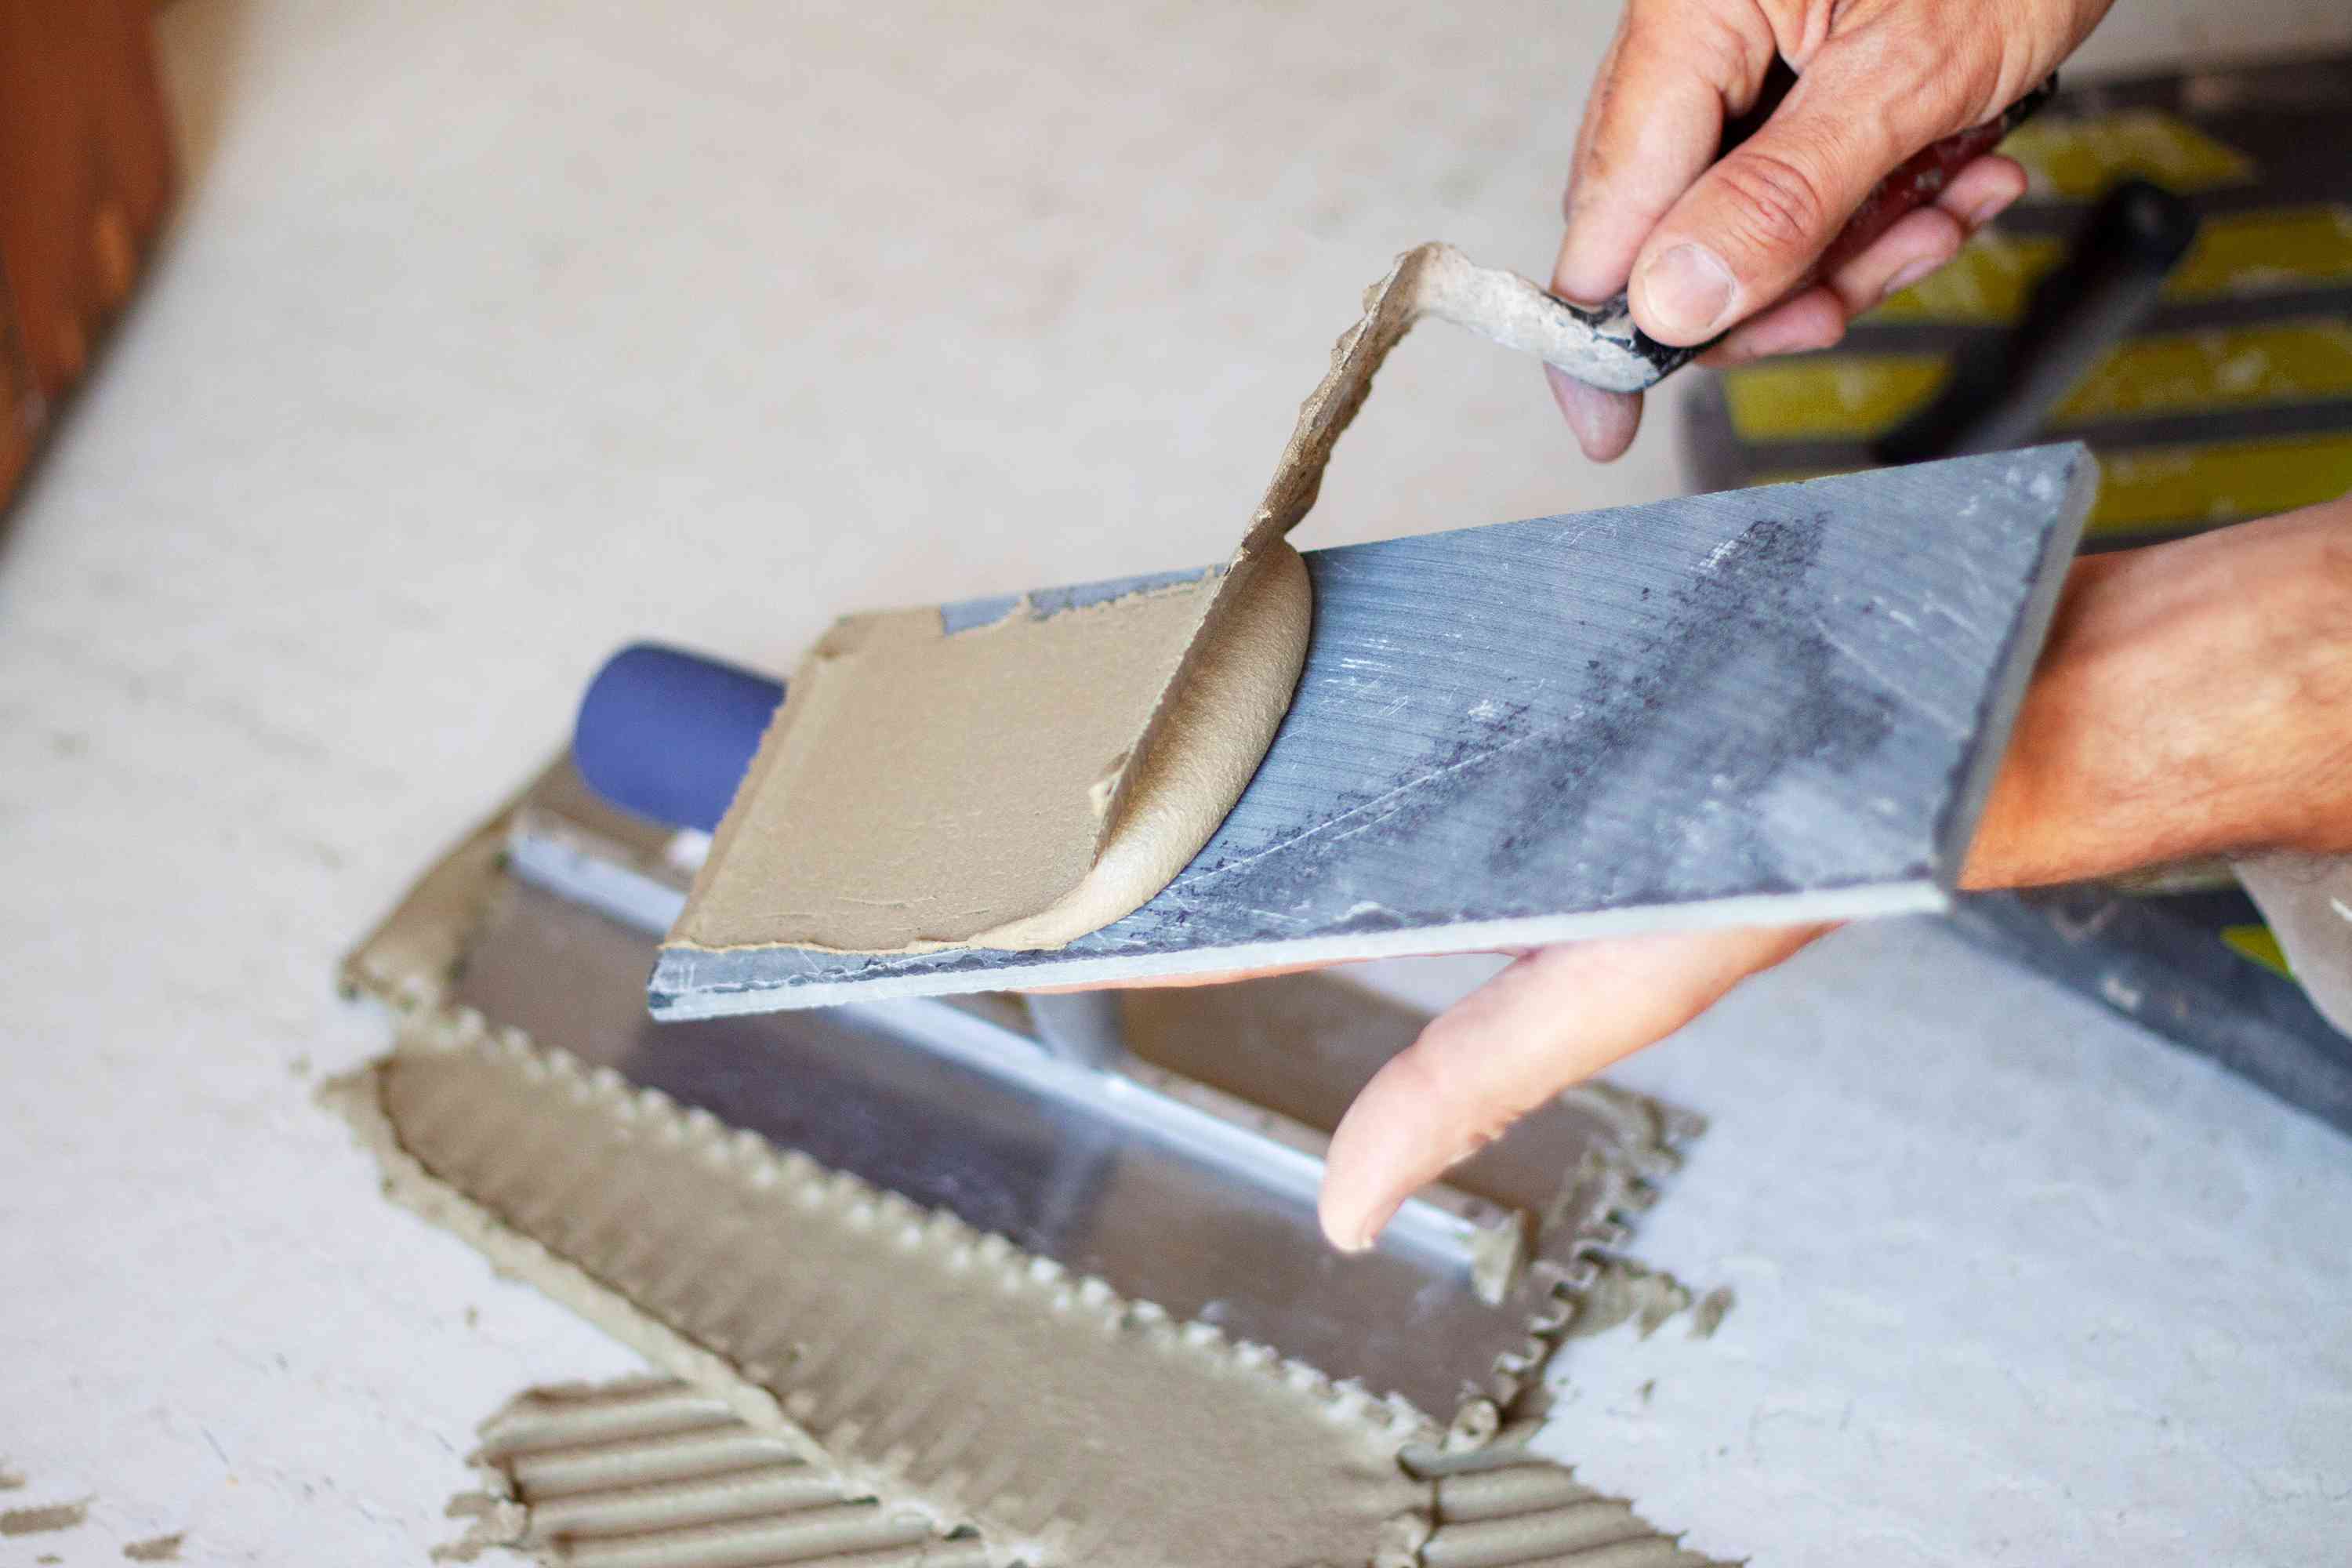
Application Technique: Use a notched trowel to apply the mortar onto the wall, creating uniform ridges that facilitate strong tile adhesion. Ensure that the mortar is spread evenly, and avoid applying excessive mortar that may result in uneven tile alignment.
-
Back-Buttering Technique: For larger or heavier tiles, consider back-buttering the tiles by applying a thin layer of mortar to the back of each tile in addition to the mortar on the wall. This technique enhances the bond strength and helps compensate for any irregularities in the wall surface.
-
Work in Small Sections: To prevent the mortar from drying out before the tiles are installed, work in small sections at a time. This approach ensures that the mortar remains workable, allowing for precise tile placement and adjustment as needed.
-
Tile Alignment and Leveling: As you set each tile into the mortar, pay close attention to alignment and leveling to achieve a uniform and visually appealing result. A tile leveling system can be used to ensure consistent tile heights and minimize lippage between adjacent tiles.
-
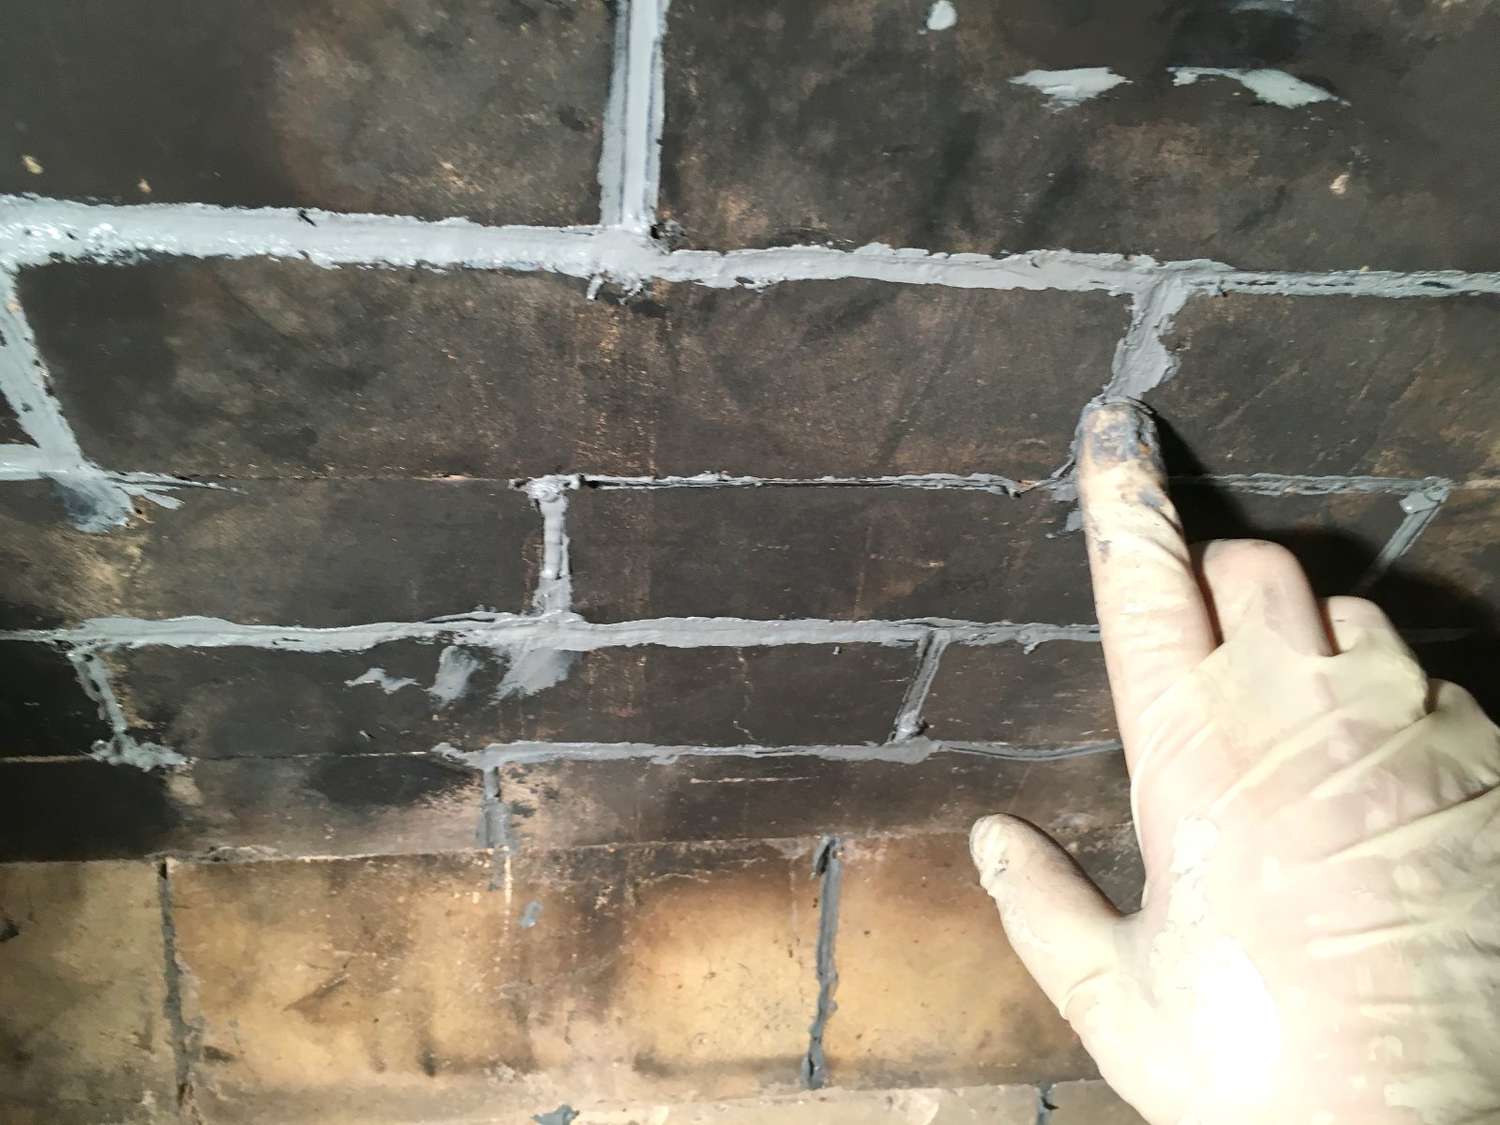
Cleaning Excess Mortar: Promptly remove any excess mortar that squeezes out from the tile joints using a grout float or a damp sponge. Keeping the tile joints clean and free of excess mortar is essential for achieving professional-looking grout lines.
-
Curing Time: Allow the installed tiles to set and cure for the recommended time specified by the mortar manufacturer before proceeding with grouting. Adequate curing time is crucial for ensuring a strong bond and stable tile installation.
-
Protecting the Installation: While the mortar sets and cures, take measures to protect the installation from excessive moisture, temperature fluctuations, and physical disturbances. Creating a controlled environment during the curing process contributes to the long-term durability of the backsplash.
-
Grouting Considerations: Once the mortar has fully cured, proceed with grouting the tile joints using a suitable grout material. Follow the grout manufacturer's instructions for mixing and application to complete the backsplash installation with precision and attention to detail.
By incorporating these tips into your mortar application process, you can elevate the quality and longevity of your backsplash installation, ensuring a visually stunning and resilient result that enhances the beauty and functionality of your kitchen space.
Read more: What Type Of Caulk To Use For Backsplash
Conclusion
In conclusion, the choice of mortar plays a pivotal role in the success of a backsplash installation. By understanding the characteristics and applications of different types of mortar, homeowners and DIY enthusiasts can make informed decisions that align with the specific requirements of their backsplash projects. Whether it's the versatility of polymer-modified mortar, the strength of epoxy mortar, or the convenience of pre-mixed mortar, each type offers unique benefits that cater to diverse installation needs.
The process of selecting the right mortar involves a thoughtful evaluation of factors such as tile material, environmental conditions, installer proficiency, and long-term maintenance considerations. By aligning these factors with the characteristics of the chosen mortar, homeowners can set the stage for a resilient, visually appealing, and long-lasting backsplash installation.
Furthermore, the application of mortar for backsplash installation requires attention to detail and adherence to best practices. From surface preparation and mixing consistency to tile alignment and curing time, each step contributes to the overall quality and durability of the installation. By following recommended techniques and incorporating best practices, homeowners can achieve professional results that enhance the aesthetic appeal and functionality of their kitchen spaces.
Ultimately, a well-executed backsplash installation not only elevates the visual impact of the kitchen but also serves as a testament to the meticulous planning and craftsmanship invested in the project. Whether it's a classic ceramic backsplash, a luxurious natural stone design, or a modern large-format tile installation, the right choice of mortar and meticulous application techniques are fundamental to the creation of a stunning and enduring backsplash.
As homeowners embark on their backsplash projects, armed with the knowledge of mortar types, selection considerations, and application tips, they are empowered to transform their kitchens into captivating spaces that seamlessly blend style and functionality. With the right mortar as the foundation, every backsplash installation becomes an expression of creativity, precision, and enduring quality, enriching the heart of the home for years to come.
Frequently Asked Questions about What Type Of Mortar For Backsplash
Was this page helpful?
At Storables.com, we guarantee accurate and reliable information. Our content, validated by Expert Board Contributors, is crafted following stringent Editorial Policies. We're committed to providing you with well-researched, expert-backed insights for all your informational needs.


0 thoughts on “What Type Of Mortar For Backsplash”