Home>Renovation & DIY>Home Renovation Guides>How To Prep For Backsplash
Home Renovation Guides
How To Prep For Backsplash
Modified: February 18, 2024
Learn how to prepare for installing a backsplash in your home renovation project with our comprehensive guide. Get expert tips and advice for a successful DIY project.
(Many of the links in this article redirect to a specific reviewed product. Your purchase of these products through affiliate links helps to generate commission for Storables.com, at no extra cost. Learn more)
Choosing the Right Backsplash Material
Selecting the perfect material for your backsplash is a crucial decision that can significantly impact the overall aesthetic and functionality of your kitchen or bathroom. With a wide array of options available, it's essential to consider various factors to ensure that the chosen material aligns with your preferences and practical needs.
Read more: How To Measure For A Backsplash
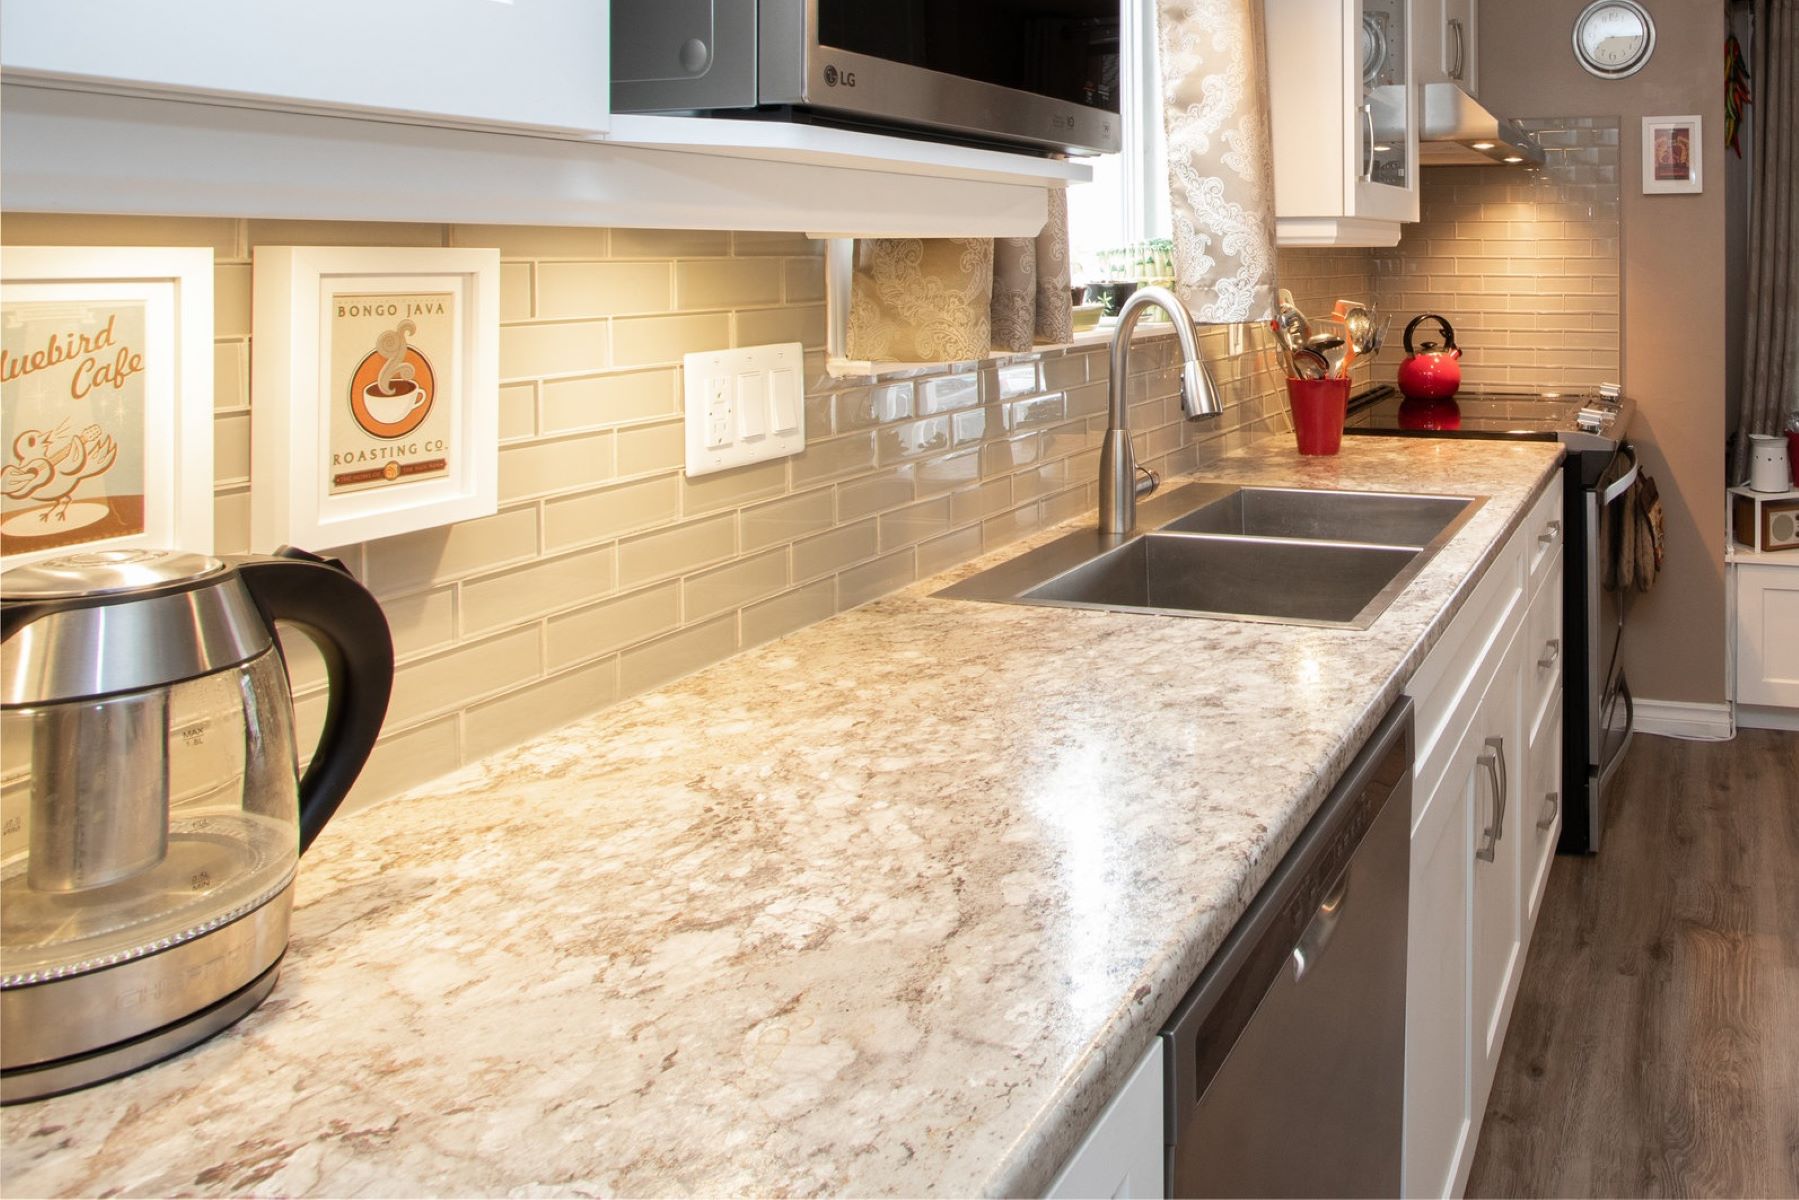
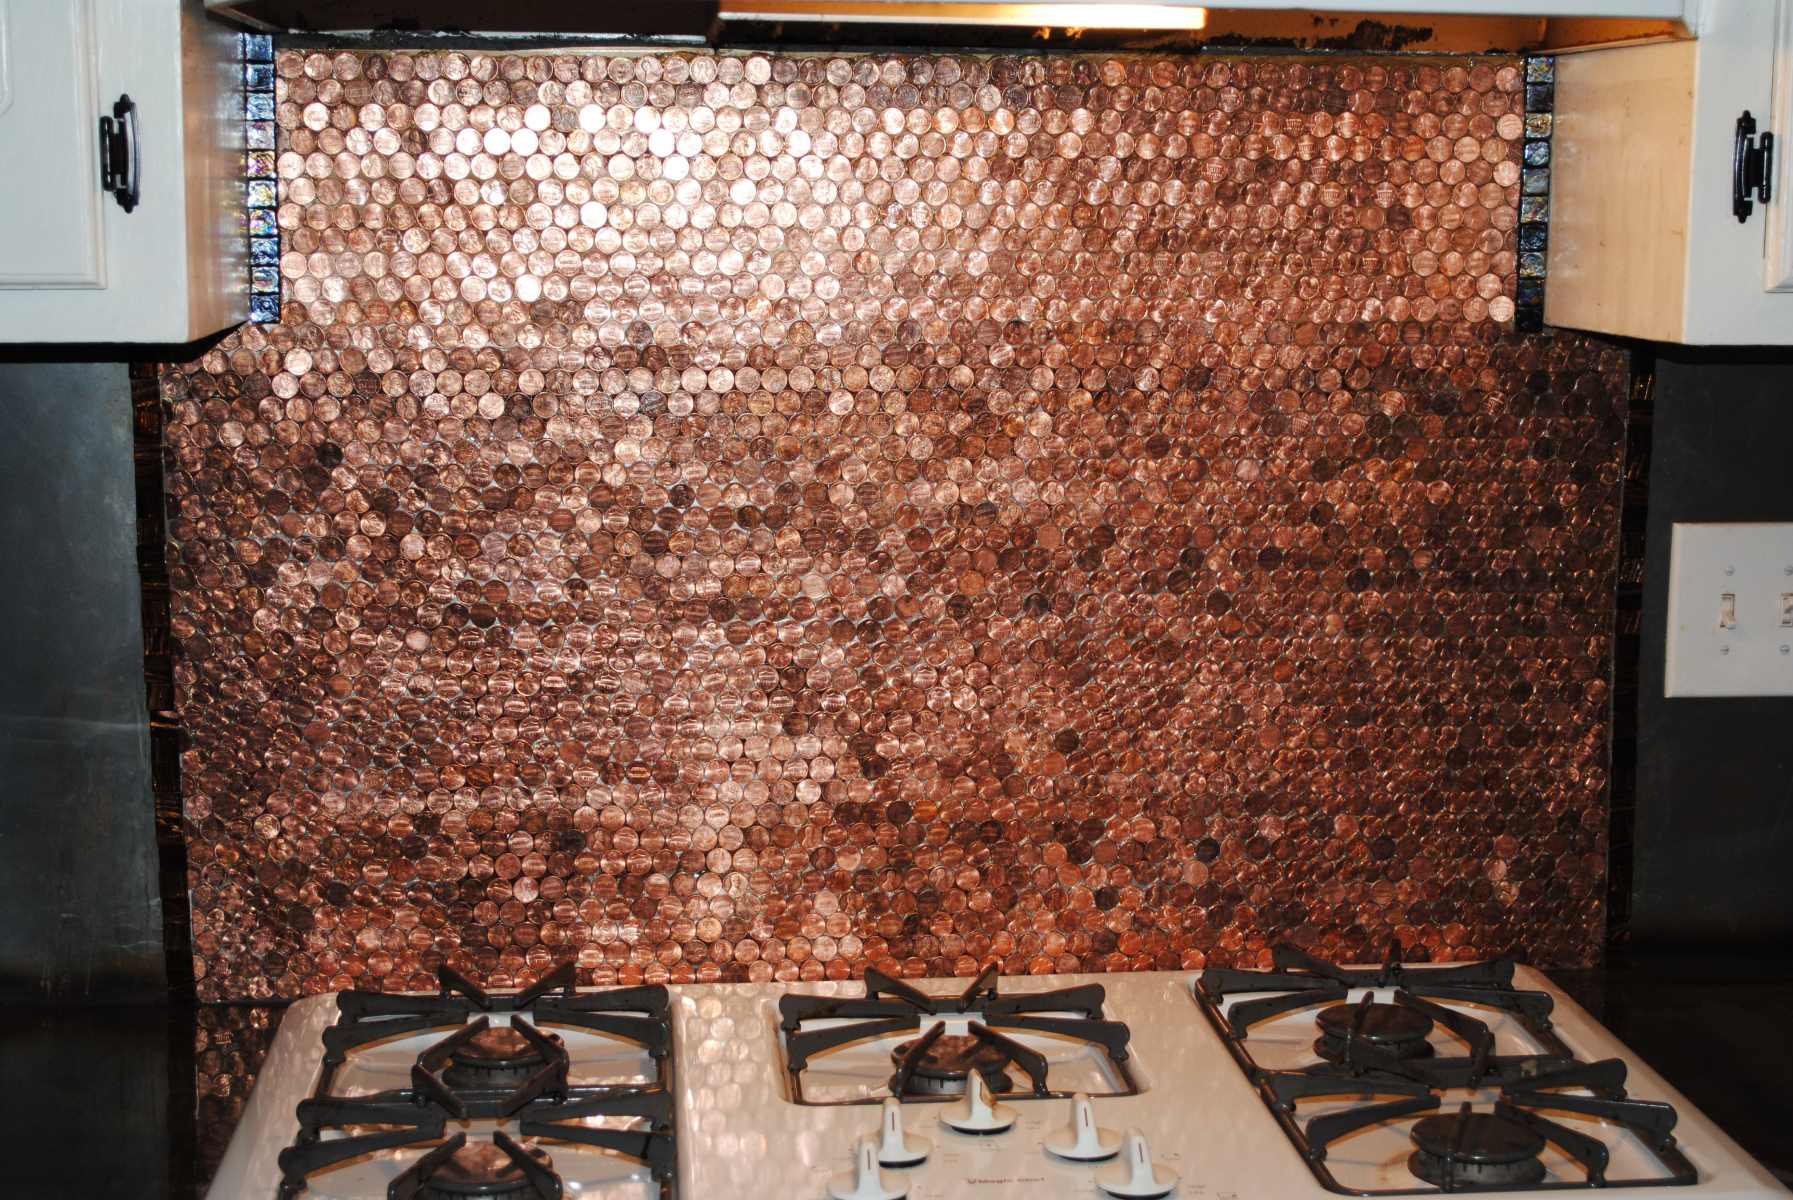
Ceramic Tiles
Ceramic tiles are a popular choice for backsplashes due to their versatility and durability. They come in a myriad of colors, patterns, and textures, allowing for endless design possibilities. Additionally, ceramic tiles are relatively easy to clean, making them ideal for areas prone to splashes and spills.
Glass Tiles
Glass tiles are renowned for their ability to reflect light, creating a luminous and visually captivating effect in any space. They are available in an assortment of hues and finishes, adding a touch of elegance and modernity to the room. Furthermore, glass tiles are non-porous, making them resistant to stains and mold, and are effortless to maintain.
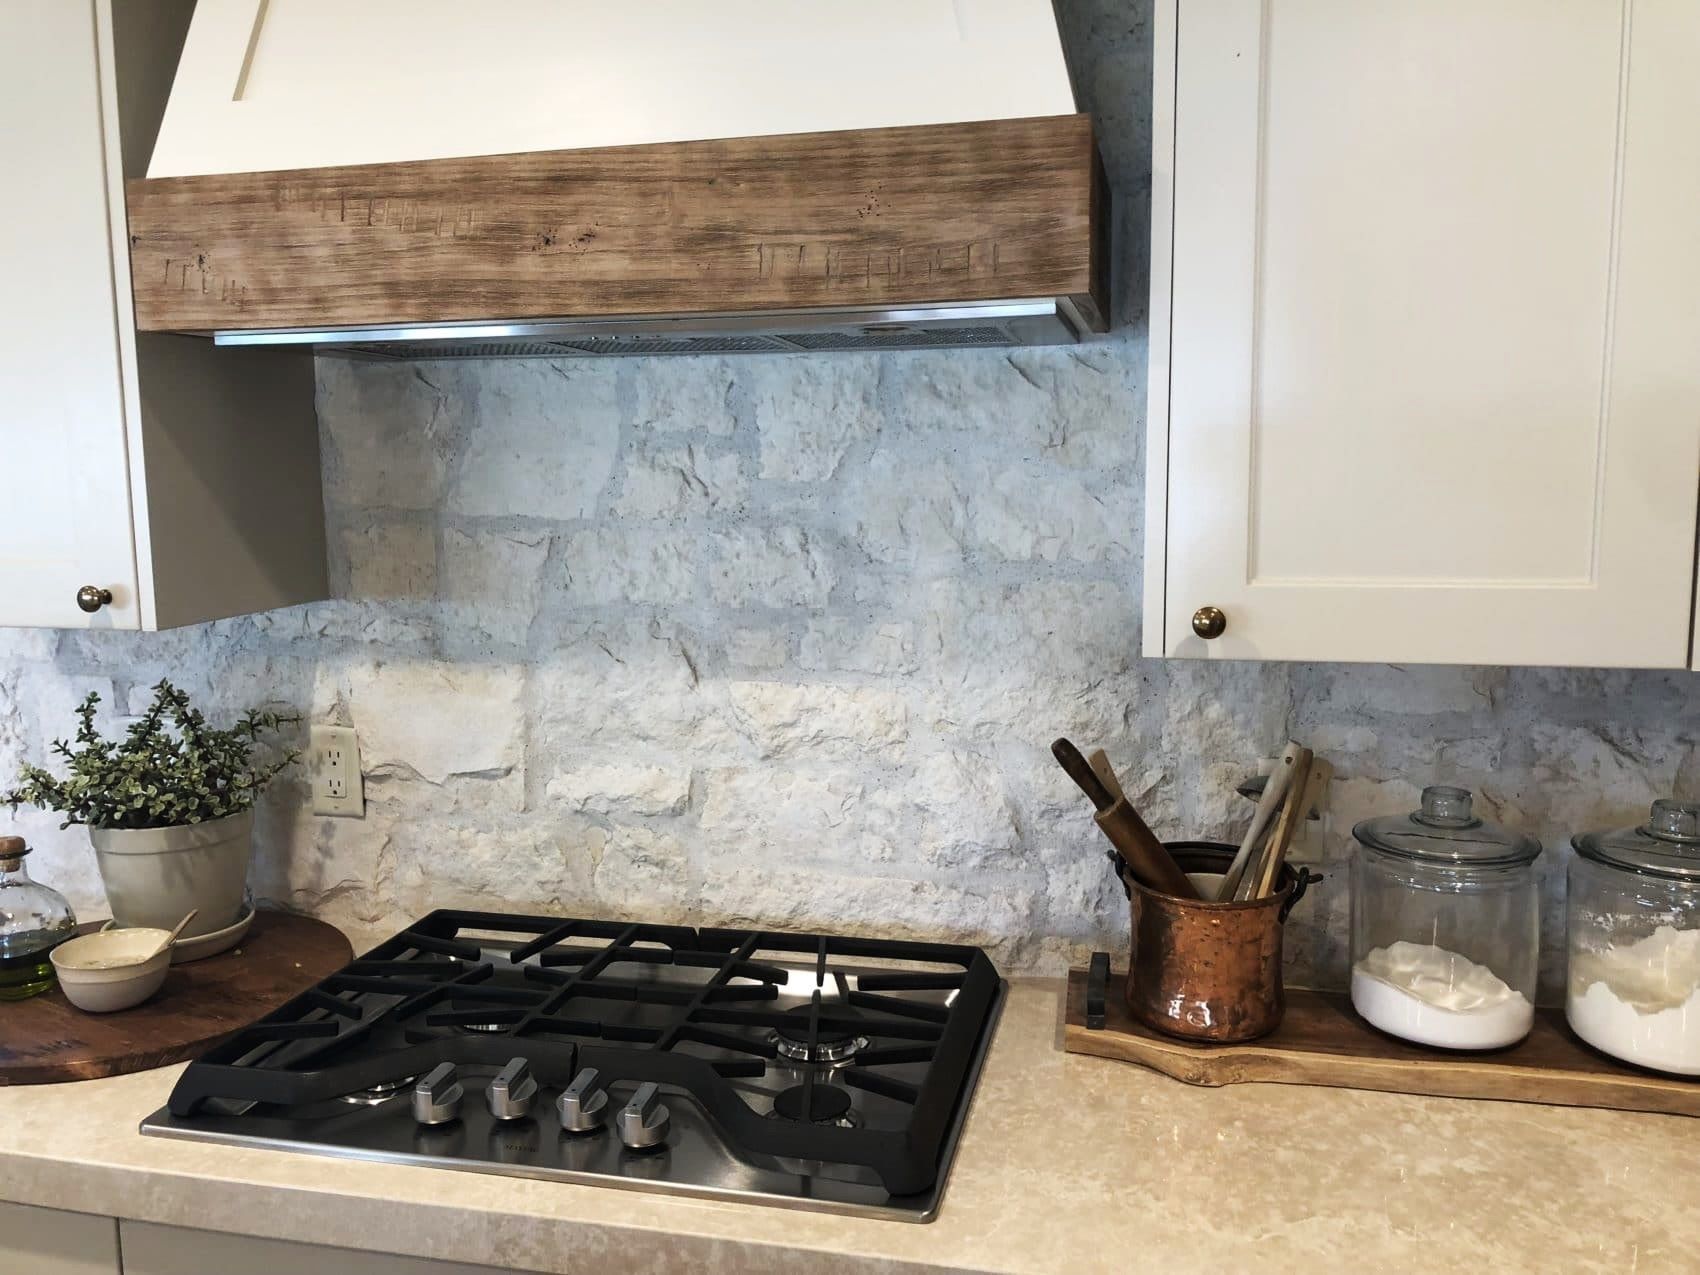
Natural Stone
For a timeless and sophisticated look, natural stone backsplashes, such as marble, granite, or travertine, are an excellent choice. Each piece of natural stone is unique, imparting a sense of luxury and character to the space. While natural stone requires periodic sealing to maintain its pristine condition, its enduring beauty and resilience make it a worthwhile investment.
Stainless Steel
Stainless steel backsplashes are favored for their sleek, industrial aesthetic and exceptional durability. They are resistant to heat, water, and stains, making them an ideal option for high-traffic kitchens. Moreover, stainless steel is hygienic and easy to clean, making it a practical choice for those seeking a contemporary and low-maintenance backsplash solution.
Read more: How To Seal Backsplash
Porcelain
Porcelain tiles offer a blend of style and functionality, making them a versatile choice for backsplashes. They are available in an extensive range of designs, including patterns that mimic natural materials such as wood and stone. Porcelain tiles are highly resistant to moisture, scratches, and fading, ensuring long-lasting beauty and performance.
When selecting the right backsplash material, it's essential to consider your personal style, maintenance preferences, and the existing design elements in your space. By carefully evaluating these factors, you can make an informed decision that enhances the visual appeal and functionality of your kitchen or bathroom.
Key Takeaways:
- Choose the Right Backsplash Material
Selecting the perfect material for your backsplash is crucial. Consider ceramic tiles for versatility, glass tiles for elegance, natural stone for sophistication, stainless steel for durability, and porcelain for style and functionality. - Meticulous Planning for Installation
Accurate measurements and careful planning are essential for a successful backsplash installation. Consider the visual impact of different tile patterns, calculate the quantity of tiles needed, and anticipate any challenges that may arise.
Measuring and Planning for Installation
Accurate measurements and meticulous planning are fundamental to the successful installation of a backsplash. Before embarking on this transformative project, it's imperative to take precise measurements of the designated area. Begin by measuring the length and height of the wall space where the backsplash will be installed. Take into account any obstacles such as electrical outlets, switches, or cabinets, as these will influence the layout and design of the backsplash.
Once the measurements are obtained, it's time to plan the layout of the backsplash. Consider the visual impact of different tile patterns and configurations. For example, a classic subway tile layout may impart a timeless charm, while a herringbone pattern can infuse a contemporary flair. Visualizing the end result and experimenting with various layout options can help in making an informed decision that complements the overall aesthetic of the space.
In addition to the aesthetic aspect, it's essential to calculate the quantity of tiles needed for the project. This involves determining the square footage of the area to be covered and factoring in an allowance for cuts and wastage. It's advisable to purchase slightly more tiles than the calculated quantity to accommodate any unexpected breakages or errors during installation.
Furthermore, consider the type of grout and adhesive that will be used. Ensure that the chosen products are compatible with the selected tile material and are suitable for the specific conditions of the installation area. Planning for these essential components in advance will streamline the installation process and contribute to the longevity and durability of the backsplash.
As part of the planning phase, it's prudent to anticipate any challenges that may arise during installation. Assess the condition of the wall surface and make any necessary repairs or preparations to ensure a smooth and even substrate for the backsplash. Additionally, consider the workflow and timeline for the installation, allowing ample time for the adhesive and grout to set and cure properly.
By meticulously measuring and thoughtfully planning for the installation, homeowners can lay a solid foundation for a successful backsplash project. This meticulous approach not only ensures a seamless and visually appealing outcome but also minimizes potential setbacks and facilitates a more efficient installation process.
Gathering the Necessary Tools and Materials
Embarking on a backsplash installation project necessitates the acquisition of a comprehensive array of tools and materials to ensure a smooth and efficient process. By assembling the necessary items in advance, homeowners can streamline the installation and minimize interruptions, thereby fostering a more organized and stress-free experience.
Essential Tools
-
Measuring Tape: A reliable measuring tape is indispensable for obtaining accurate dimensions of the installation area and determining the quantity of tiles required.
-
Level: Ensuring a level installation is paramount for a professional-looking result. A spirit level aids in maintaining straight and even lines during the installation process.
-
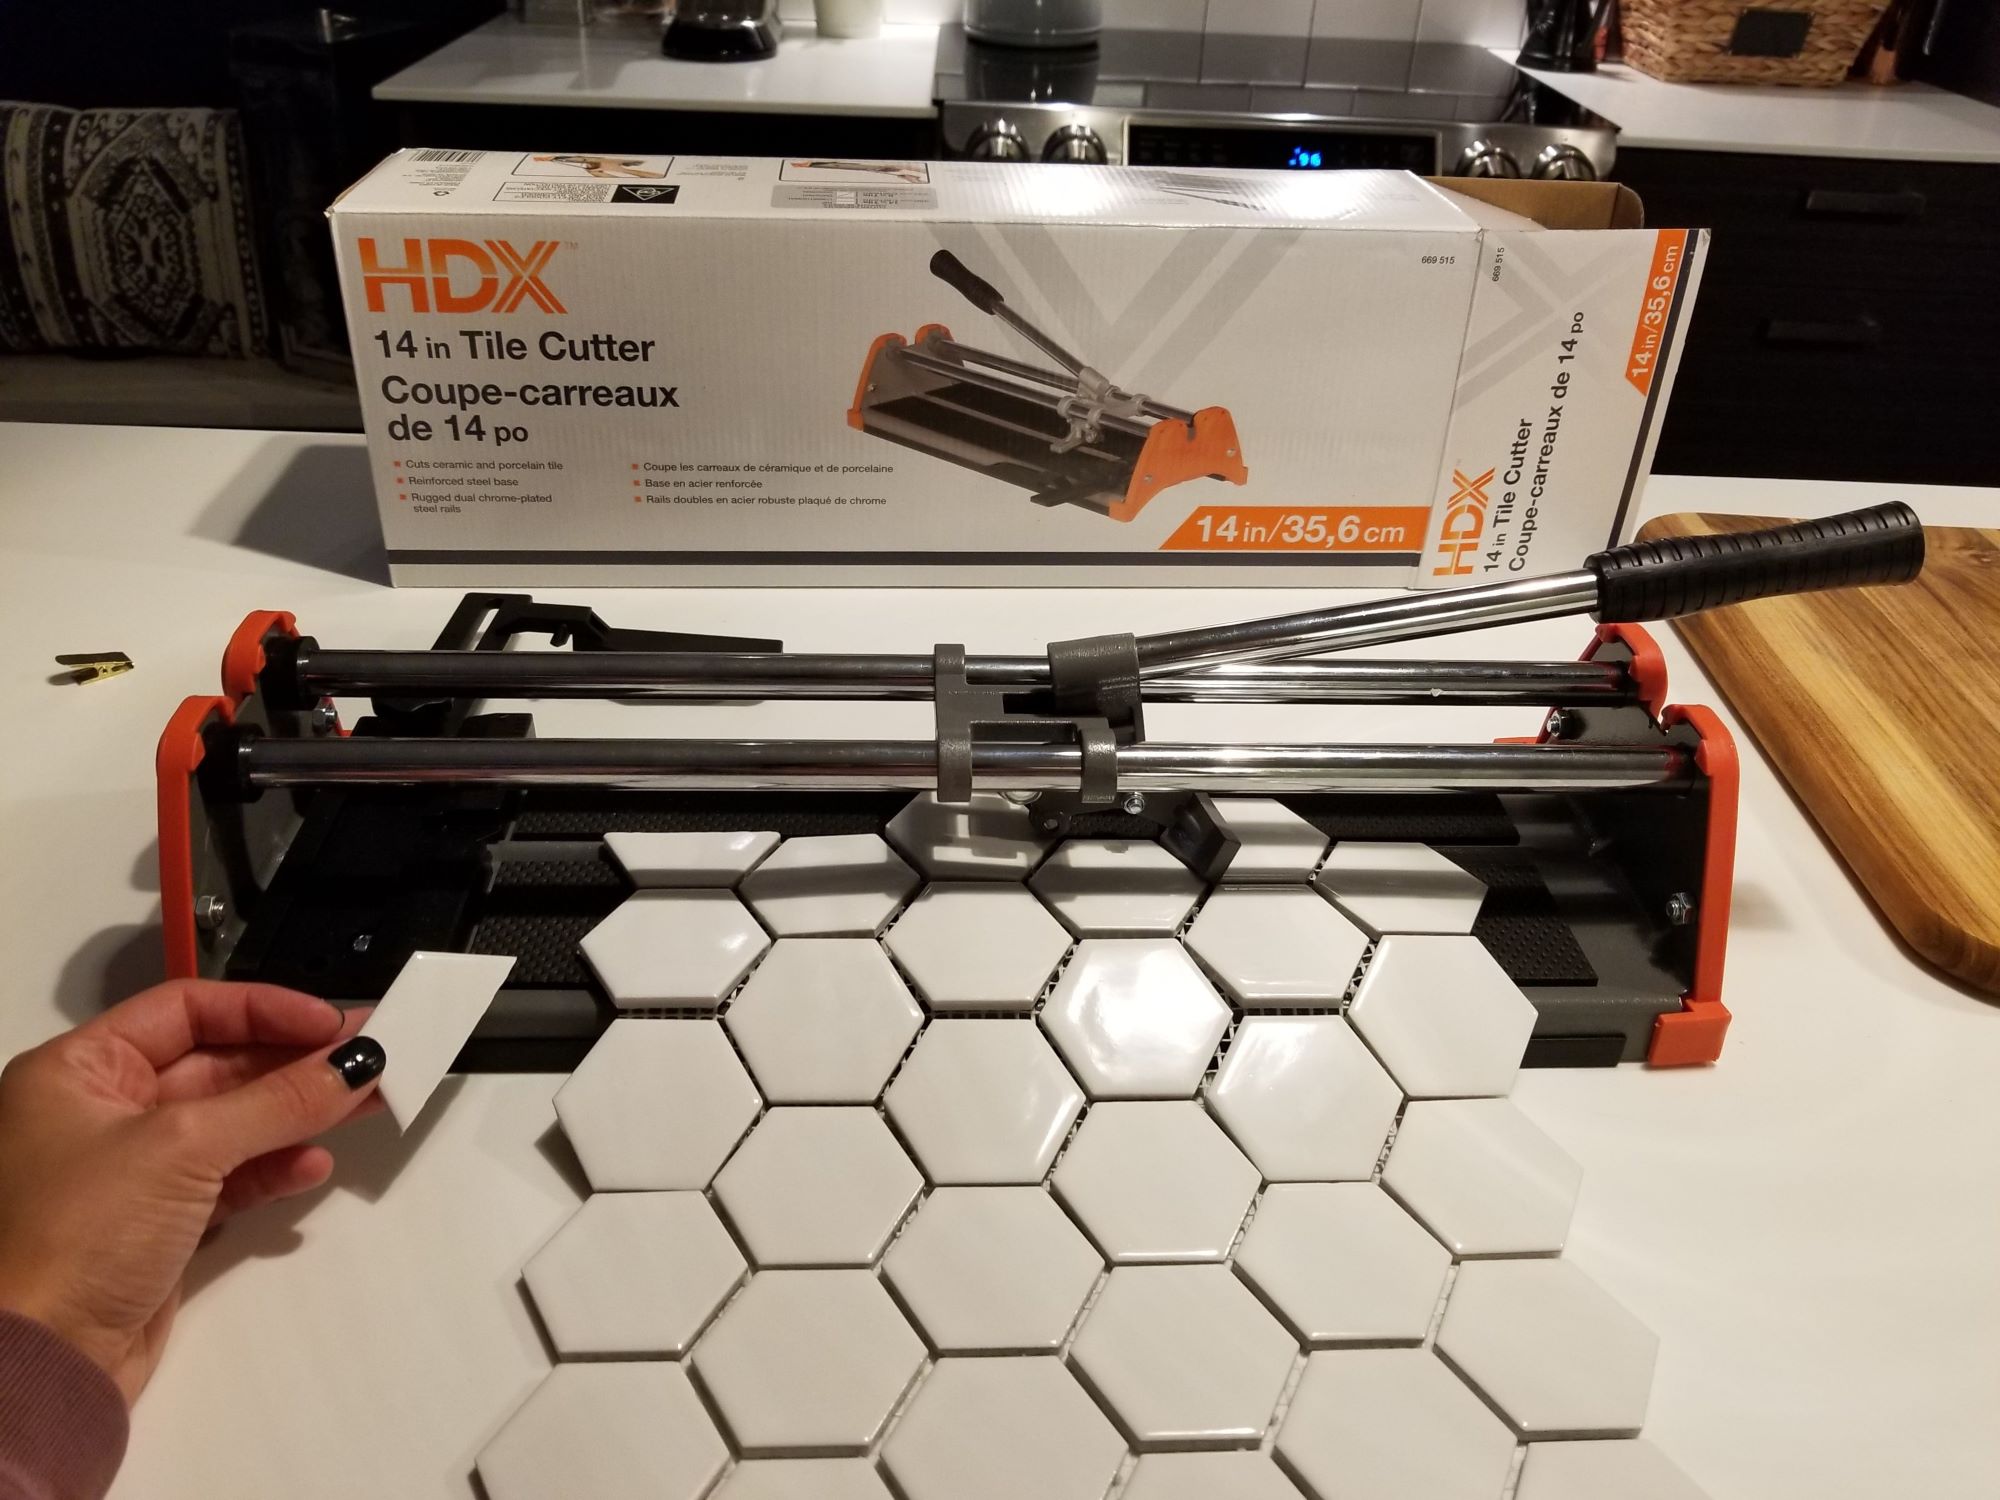
Tile Cutter or Wet Saw: Depending on the chosen tile material, a tile cutter or wet saw is essential for precisely cutting tiles to fit around obstacles and along edges.
-
Notched Trowel: This tool is used to apply adhesive to the wall surface, ensuring an even and consistent layer for proper tile adhesion.
-
Grout Float: A grout float facilitates the application of grout, allowing for smooth and uniform coverage in the tile joints.
-
Sponge and Bucket: These items are indispensable for cleaning excess grout and adhesive during the installation process, as well as for final cleanup.
-
Safety Gear: Safety should always be a priority. Protective eyewear, gloves, and a dust mask are essential for safeguarding against potential hazards during tile cutting and installation.
Read more: How To Whitewash Backsplash
Required Materials
-
Tiles: The primary material for the backsplash. Ensure that the chosen tiles are suitable for the intended application and align with the desired aesthetic.
-
Adhesive: Select a high-quality adhesive that is compatible with the chosen tile material and the specific conditions of the installation area.
-
Grout: Choose a grout color that complements the tiles and consider using a stain-resistant, mold-resistant formula for enhanced durability.
-
Tile Spacers: These small, removable plastic pieces are used to maintain consistent spacing between tiles, ensuring a professional finish.
-
Sealer (if applicable): Depending on the tile material, a sealer may be necessary to protect the tiles from stains and moisture.
-
Primer (if necessary): In some cases, a primer may be required to prepare the wall surface for optimal adhesive adhesion.
-
Backer Board (if necessary): For areas prone to moisture, such as behind kitchen sinks, a waterproof backer board may be necessary to provide a suitable substrate for the tiles.
By diligently gathering the essential tools and materials, homeowners can set the stage for a successful backsplash installation. This proactive approach not only fosters a more efficient and organized process but also ensures that the necessary components are readily available, minimizing delays and interruptions during the installation.
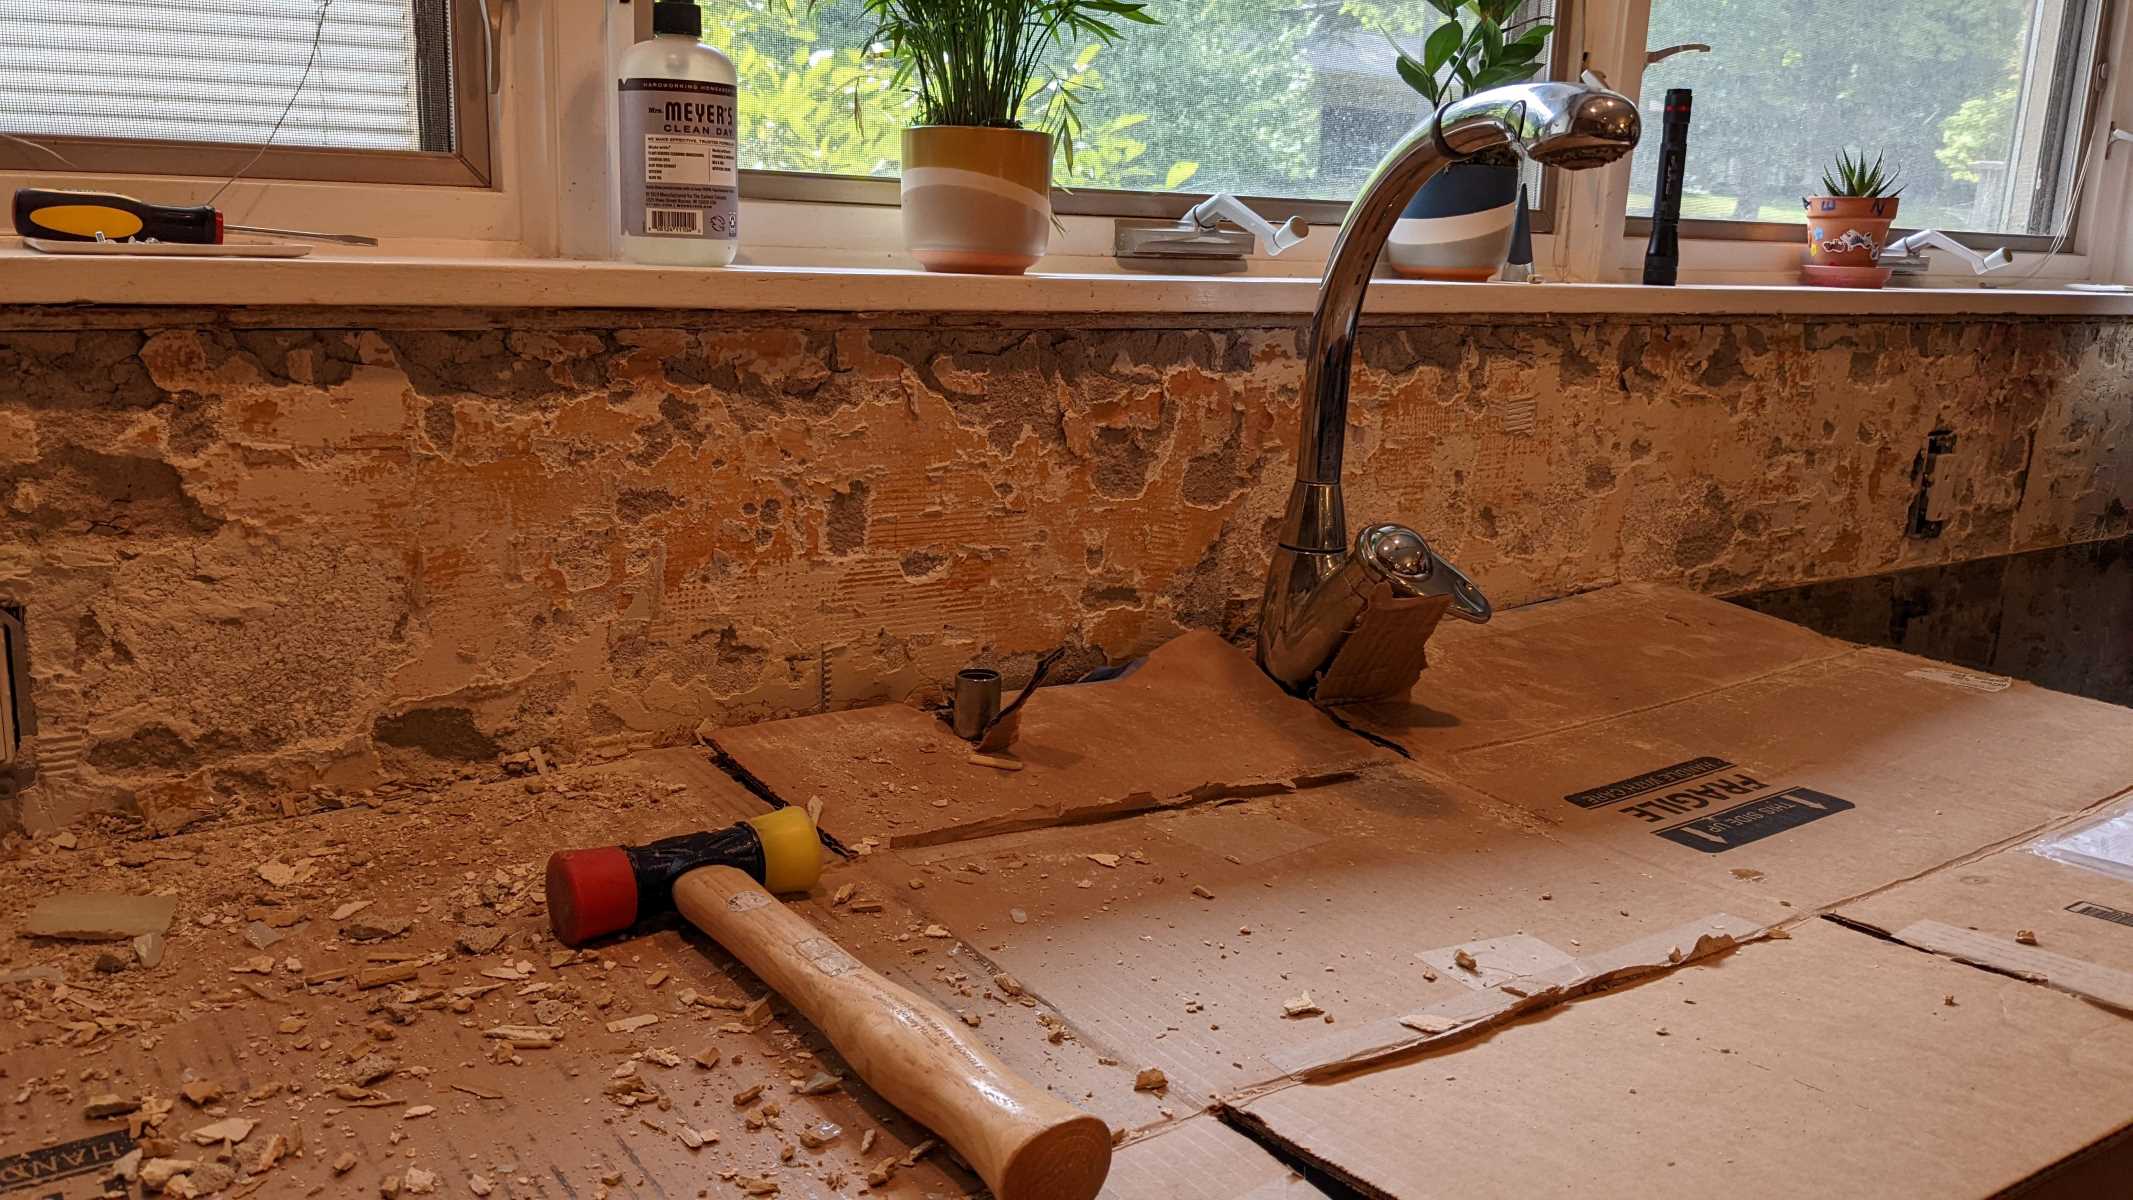
Preparing the Wall Surface
Preparing the wall surface is a critical step that lays the foundation for a successful backsplash installation. This phase involves ensuring that the wall is clean, smooth, and primed to facilitate optimal adhesion of the tiles and adhesive. By meticulously preparing the wall surface, homeowners can mitigate potential issues and contribute to the longevity and durability of the backsplash.
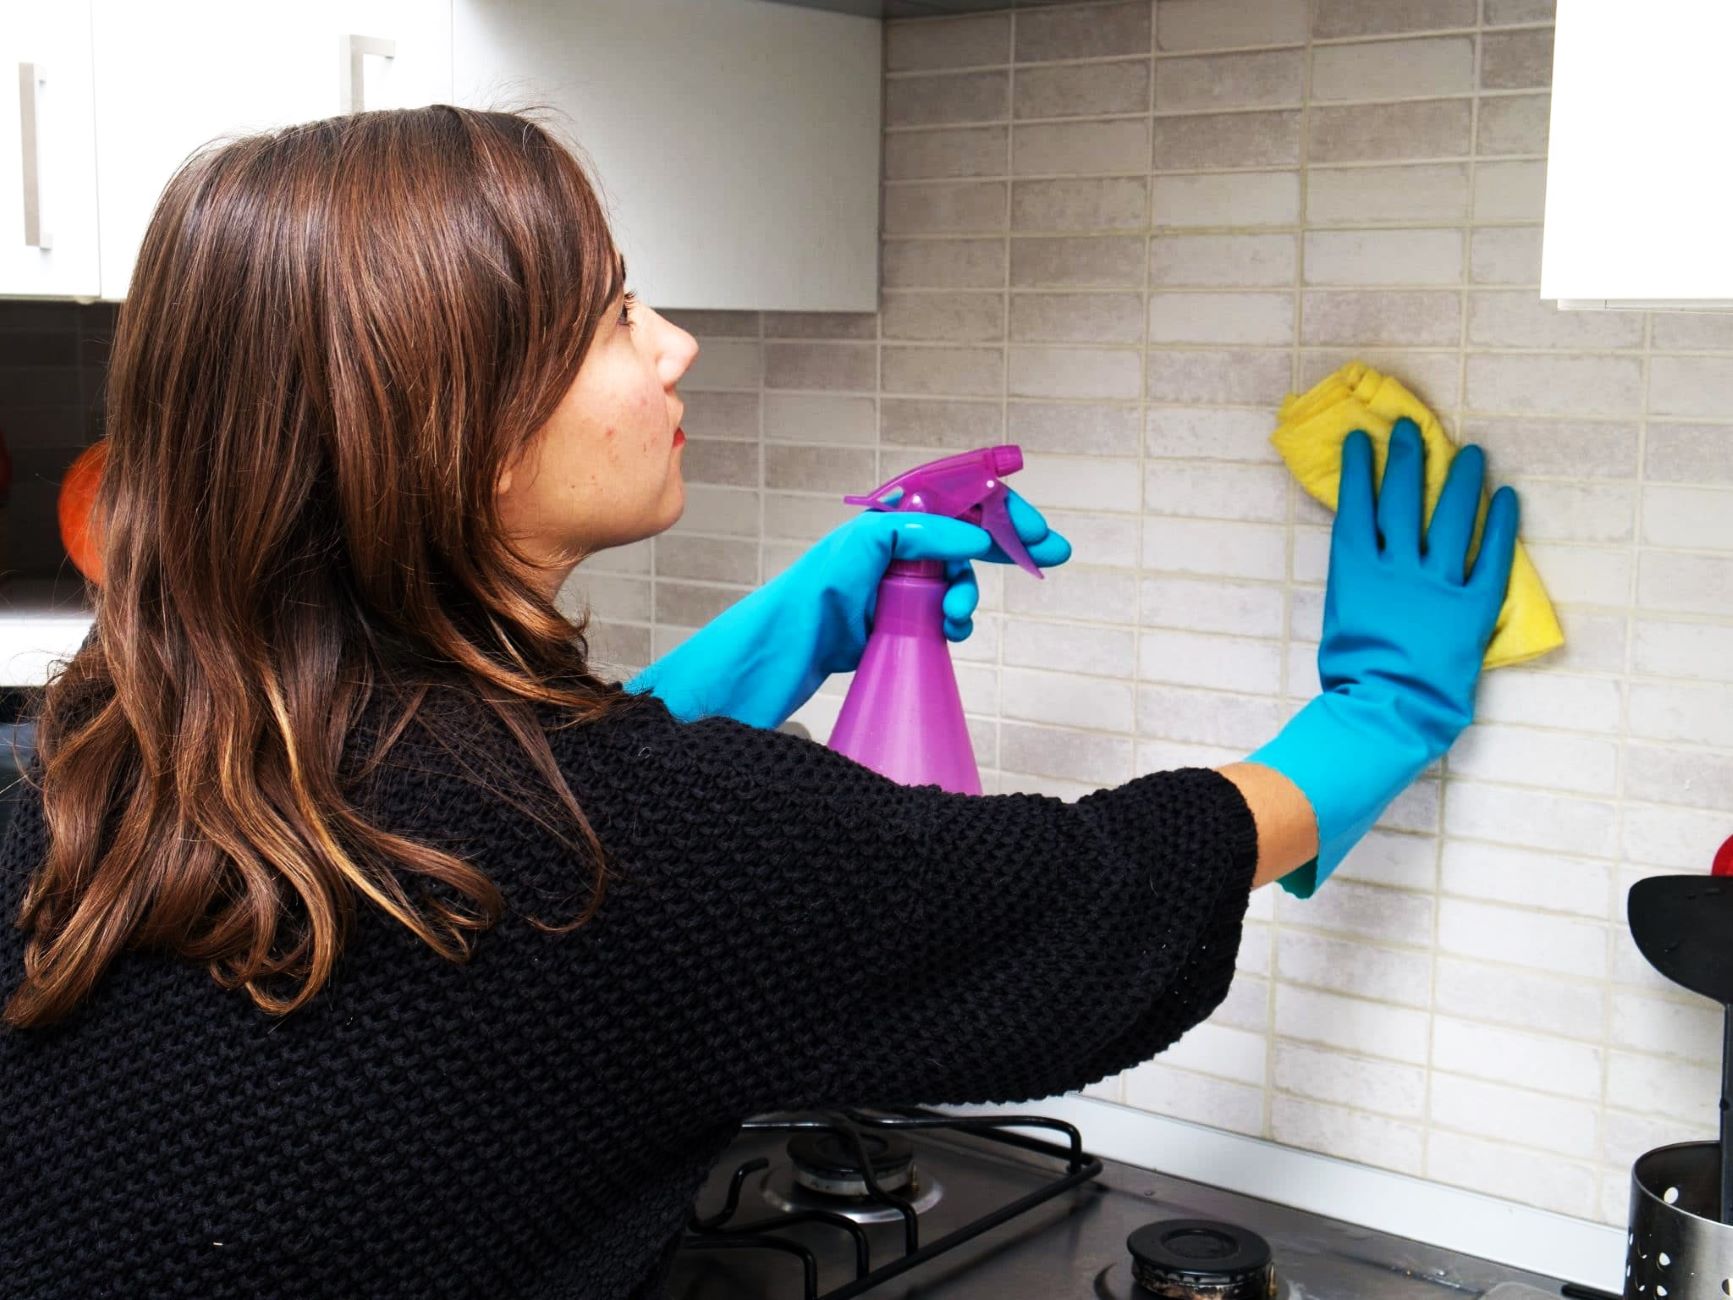
Cleaning the Wall
Before commencing any preparatory work, it is essential to thoroughly clean the wall surface where the backsplash will be installed. Remove any existing debris, grease, or residue using a mild detergent or a suitable cleaning solution. Pay particular attention to areas near cooking surfaces, as they are prone to accumulating grease and grime. A clean and debris-free surface is crucial for promoting strong adhesion and preventing imperfections in the finished installation.
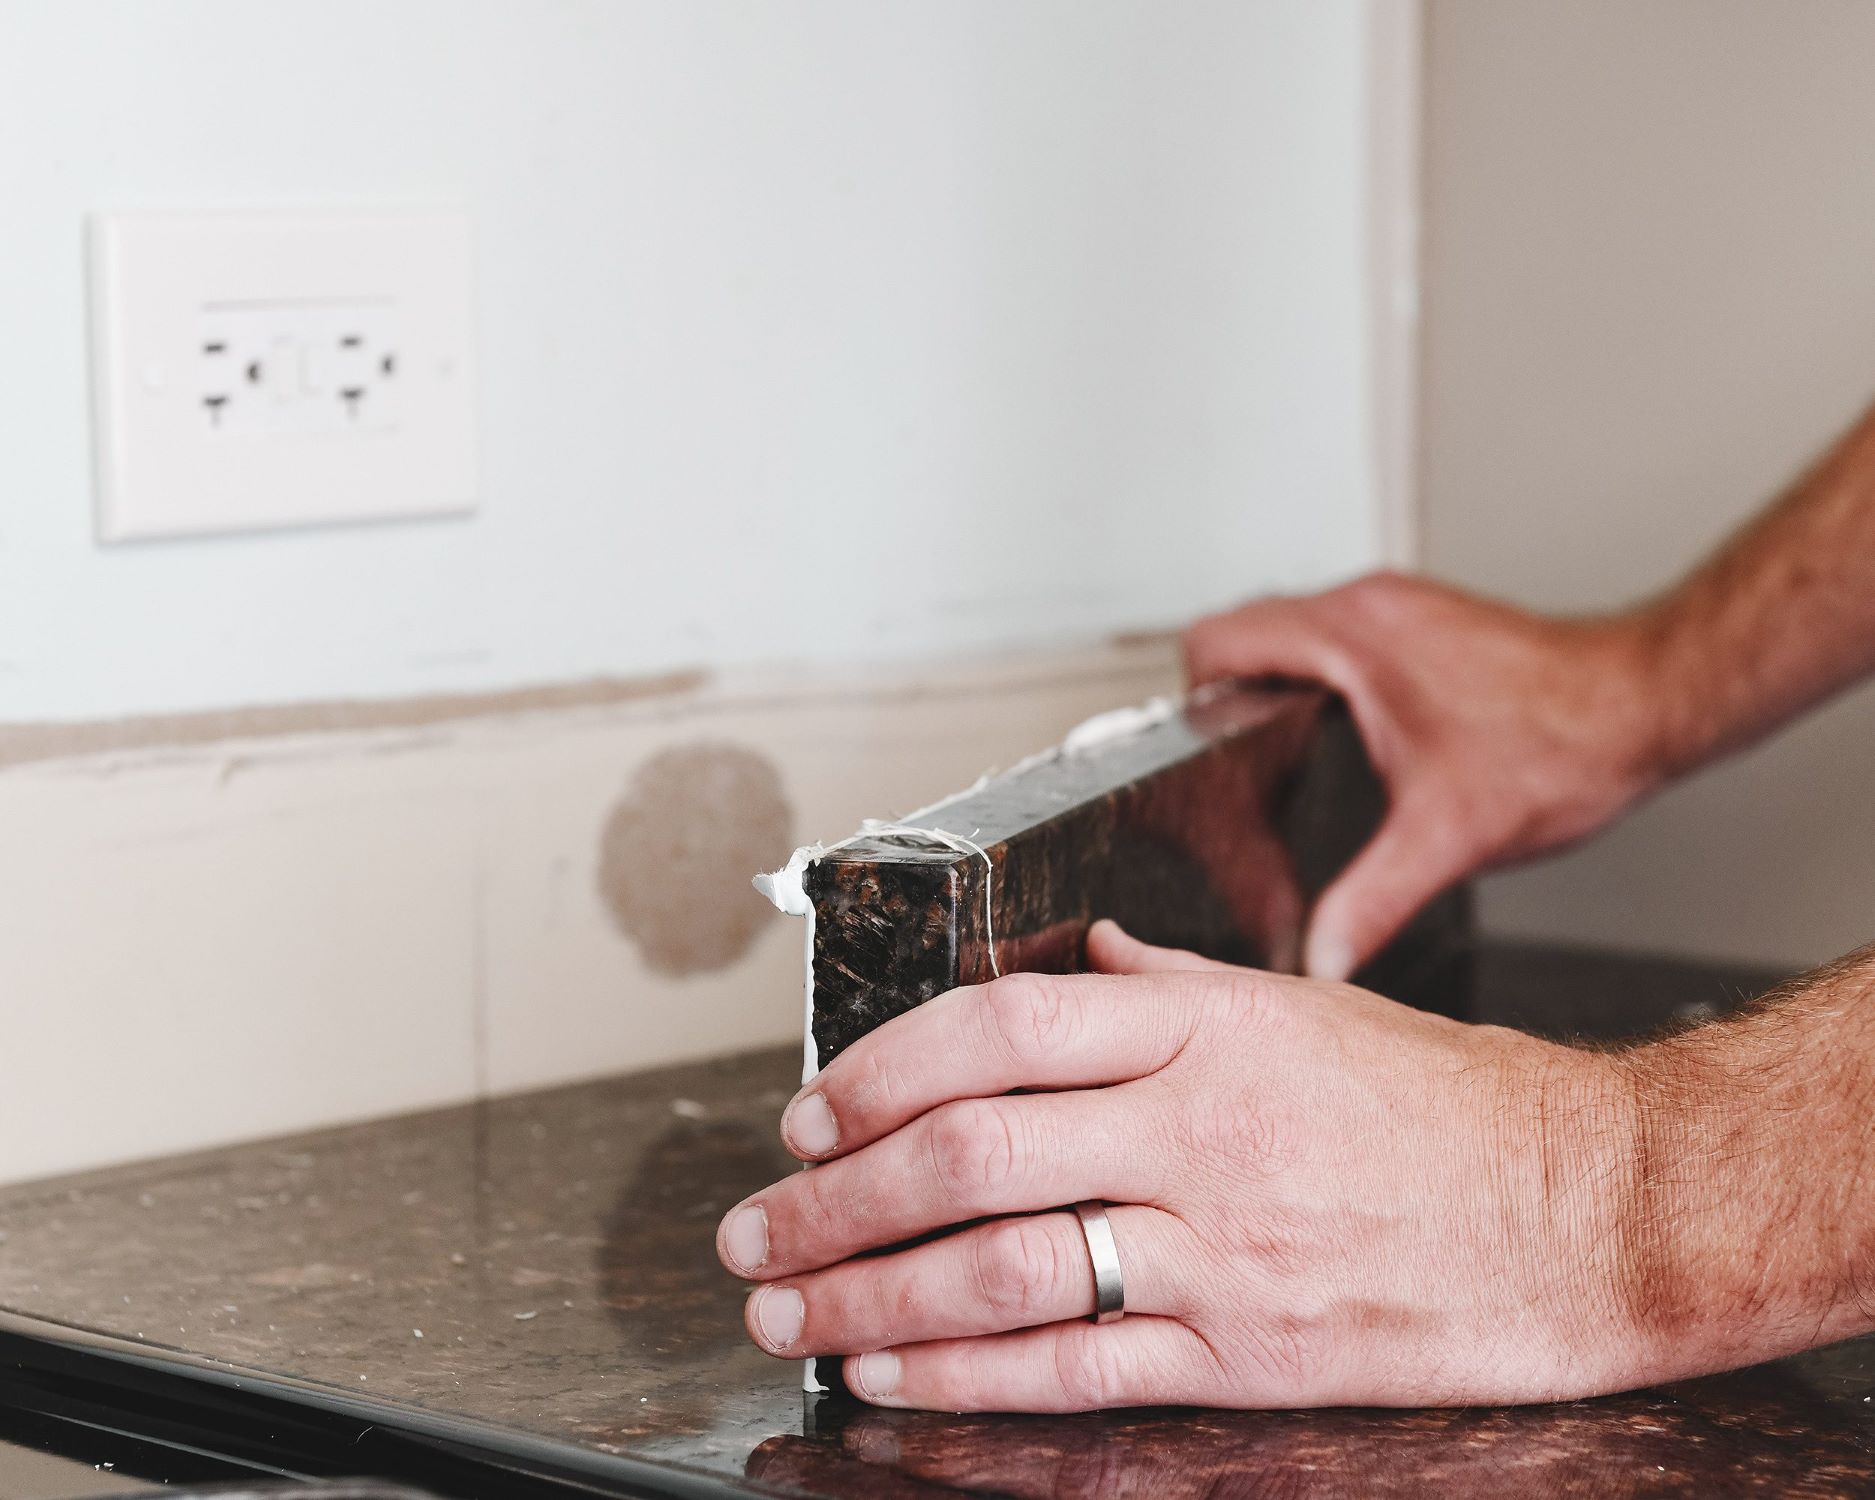
Repairing Imperfections
Inspect the wall for any imperfections, such as cracks, holes, or uneven surfaces. Address any such issues by filling in the gaps with a high-quality, paintable wall patching compound. Smooth out the patched areas using a putty knife to ensure a level and uniform surface. Additionally, sand down any rough or uneven areas to create a smooth and even substrate for the backsplash. This meticulous approach helps to eliminate potential obstacles and irregularities that could affect the installation process.
Read more: How To Make A Backsplash
Priming the Wall
Once the wall surface is clean and any imperfections have been rectified, it is advisable to apply a suitable primer. The primer serves as a preparatory layer that enhances the adhesion of the adhesive and promotes a uniform surface for the tiles. Select a primer that is compatible with both the wall material and the chosen tile adhesive. Apply the primer evenly using a paint roller or brush, ensuring comprehensive coverage of the entire installation area. Allow the primer to dry thoroughly as per the manufacturer's instructions before proceeding with the installation.
Ensuring Proper Ventilation
During the preparation of the wall surface, it is crucial to ensure adequate ventilation in the installation area. Proper ventilation facilitates the drying of cleaning solutions, wall patching compounds, and primers, ensuring that the surface is ready to receive the backsplash materials. Open windows, use fans, or consider employing additional ventilation measures to expedite the drying process and create a conducive environment for the installation.
By meticulously preparing the wall surface, homeowners can establish an optimal environment for the installation of the backsplash. This proactive approach not only contributes to the overall quality and longevity of the installation but also minimizes the likelihood of complications during the subsequent stages of the project.
Installing the Backsplash Tiles
With the meticulous preparation of the wall surface complete, the stage is set for the transformative phase of installing the backsplash tiles. This pivotal step not only elevates the visual appeal of the space but also demands precision and attention to detail to ensure a flawless and enduring installation.
Applying the Adhesive
Begin by applying a suitable tile adhesive to a small section of the wall using a notched trowel. The size of the section will depend on the working speed and the setting time of the adhesive. It's essential to spread the adhesive evenly, ensuring full coverage and consistent thickness to facilitate strong adhesion of the tiles.
Read more: How To Retile Backsplash
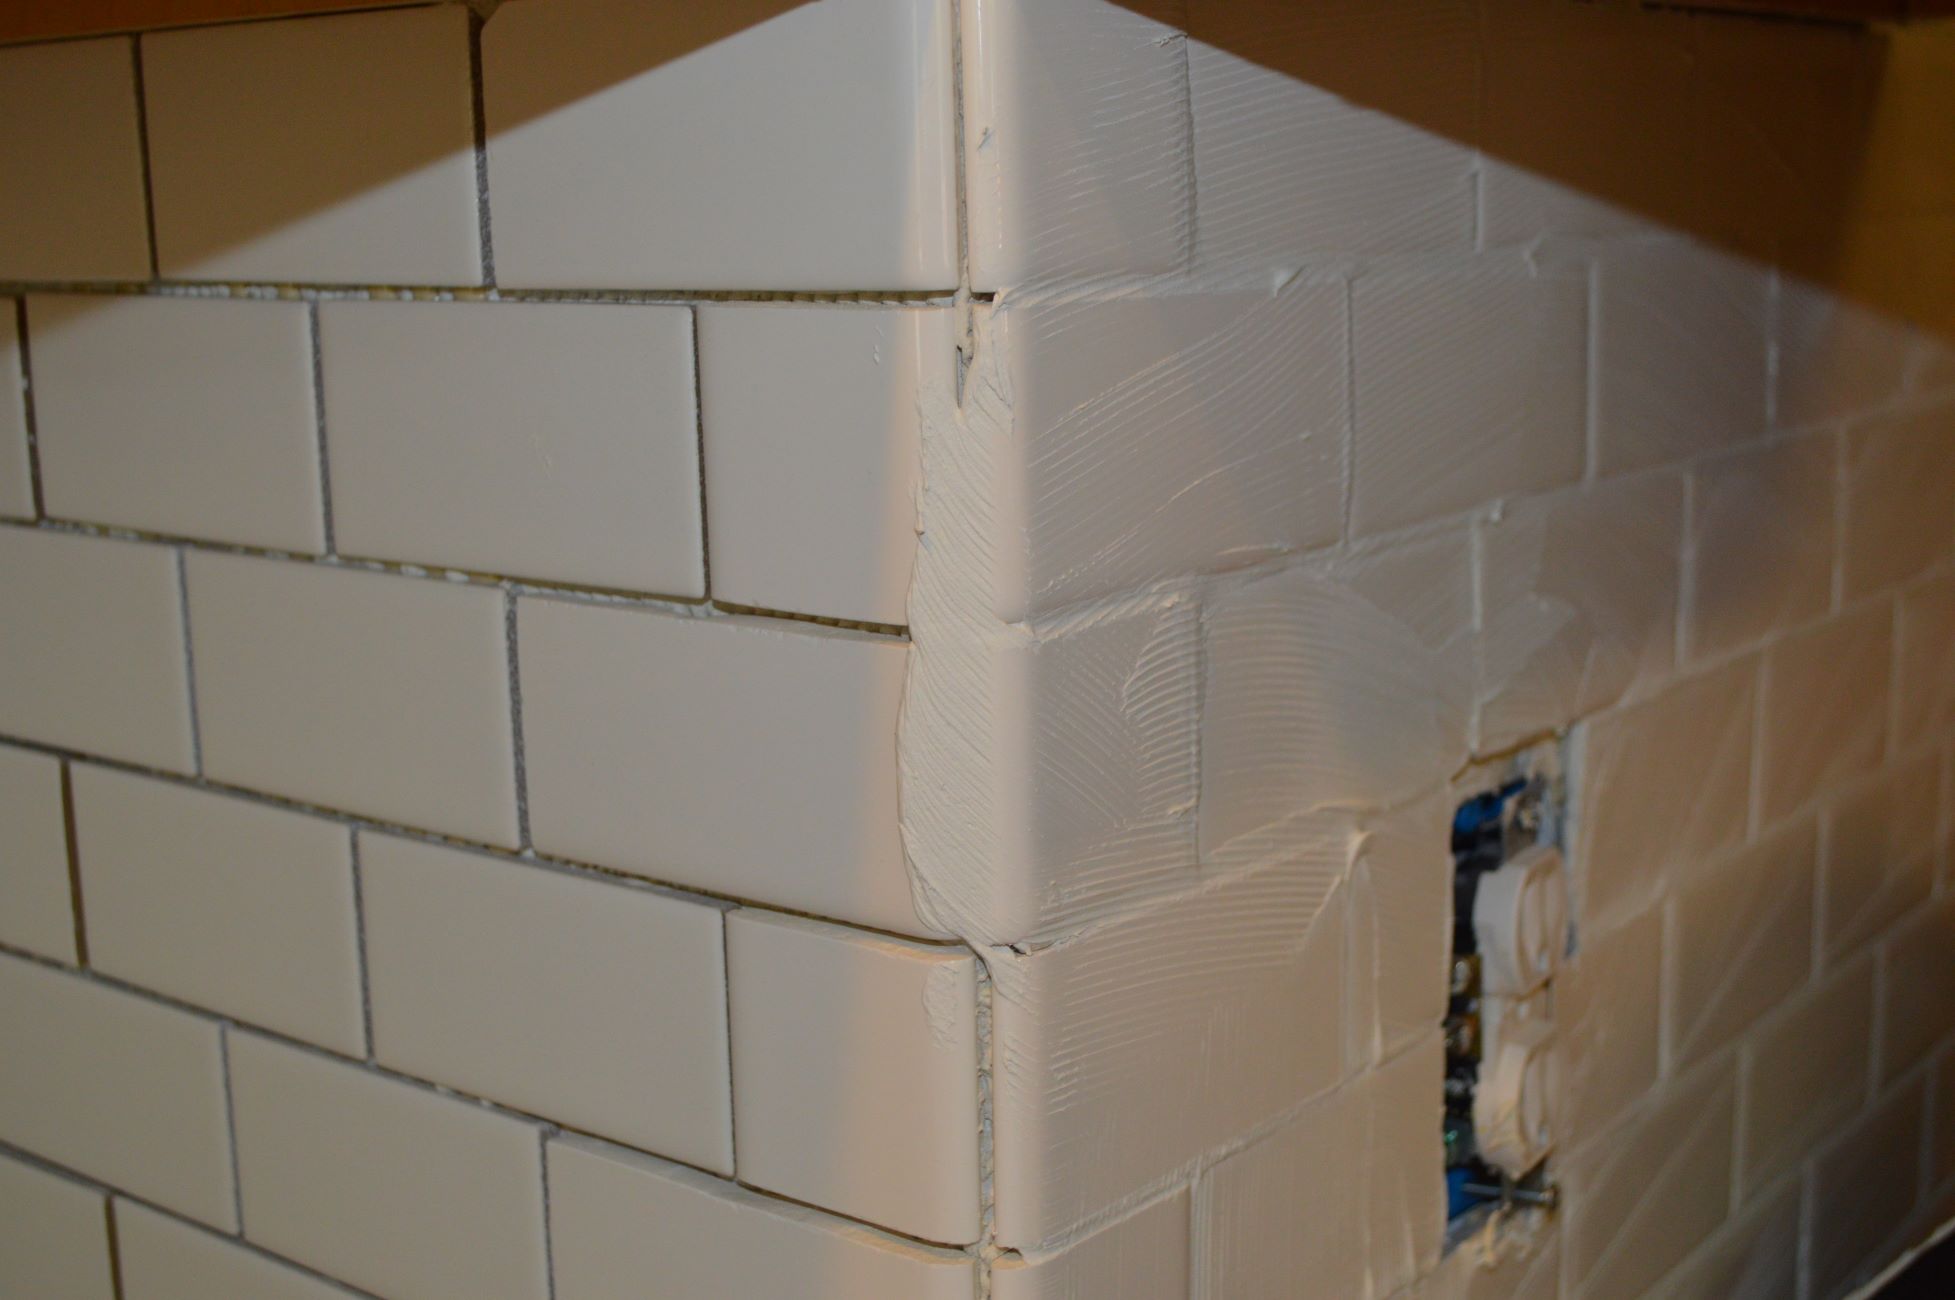
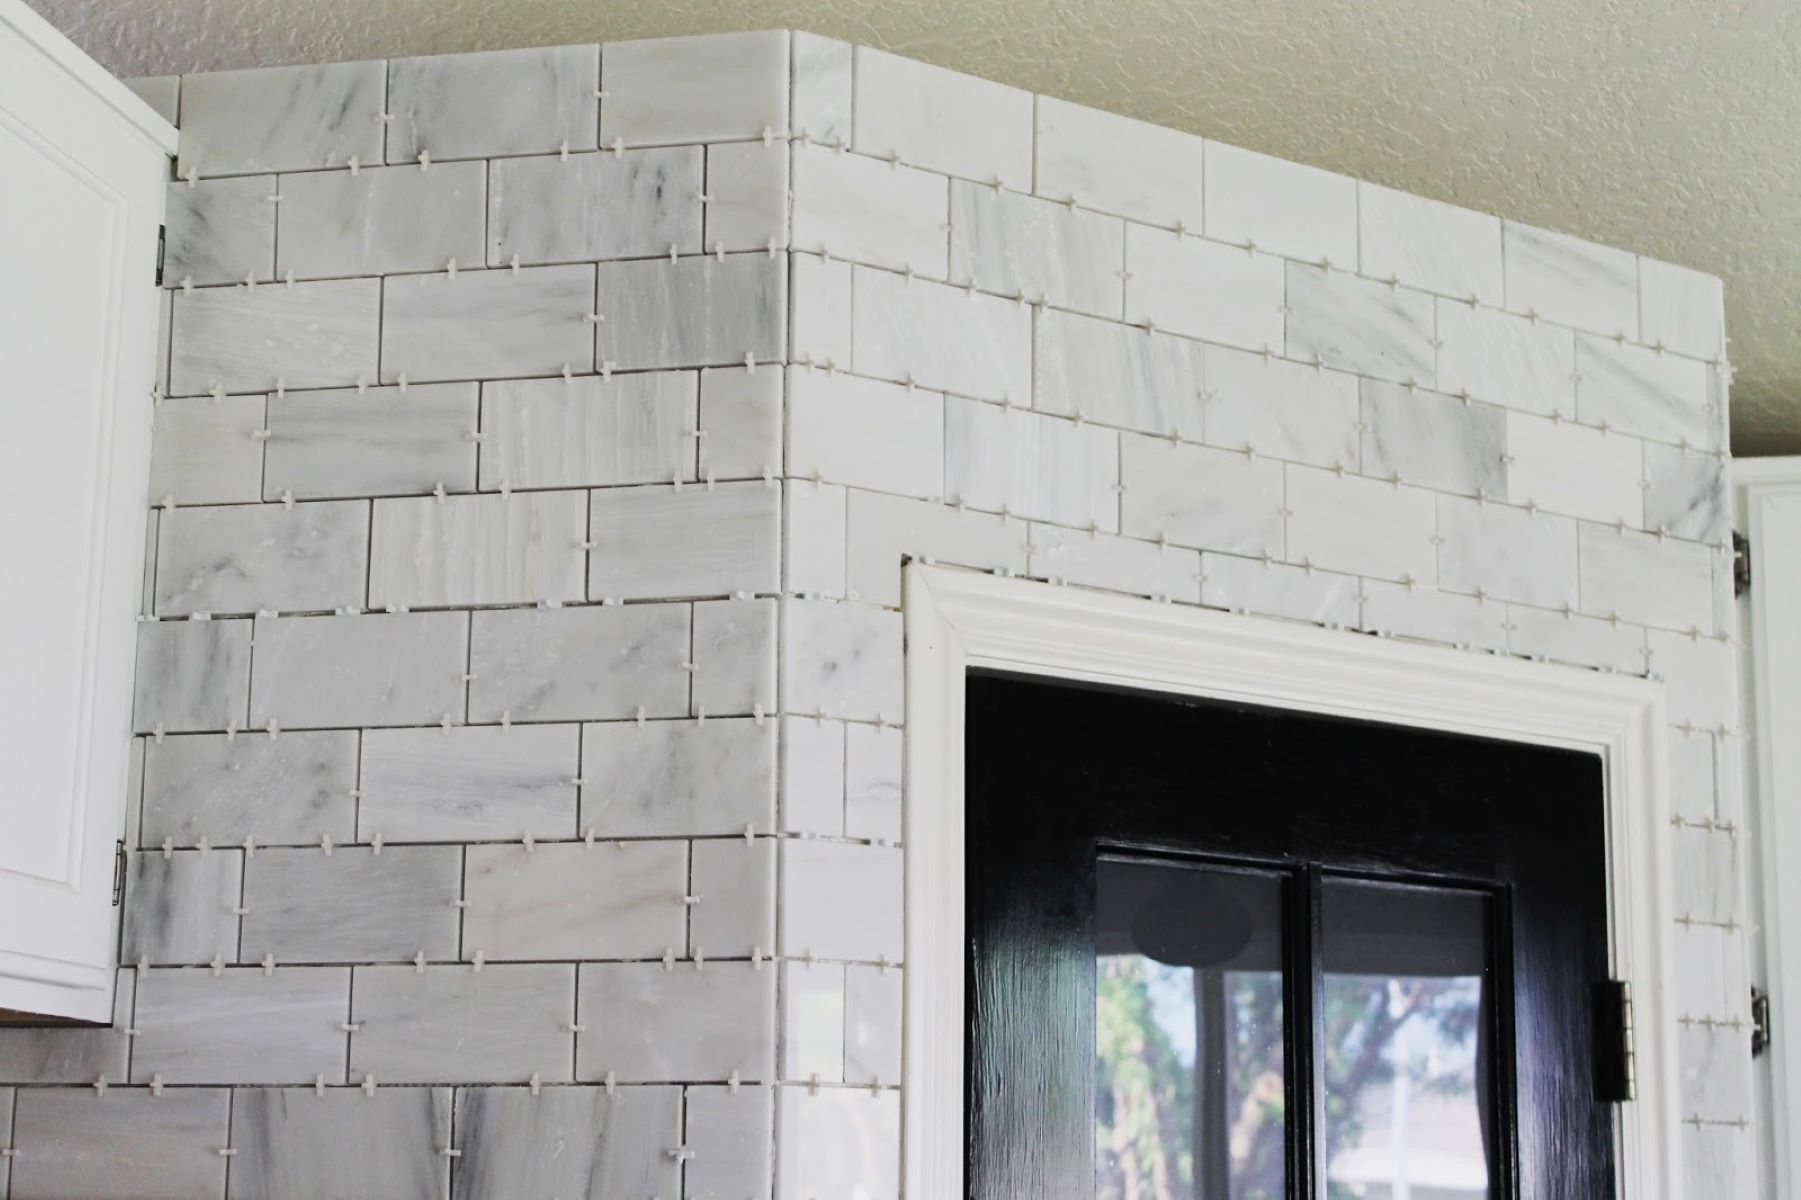
Placing the Tiles
Carefully press the tiles into the adhesive in the desired pattern and arrangement, using tile spacers to maintain uniform spacing between each tile. Ensure that the tiles are aligned and level, making any necessary adjustments before the adhesive sets. This phase demands meticulous attention to detail, as the accuracy of tile placement significantly influences the overall aesthetic and professional finish of the backsplash.
Cutting and Trimming
As the installation progresses, it may be necessary to cut tiles to fit around obstacles, along edges, or at the end of rows. Utilize a tile cutter or wet saw to achieve precise cuts, ensuring that the trimmed tiles seamlessly integrate with the overall design. Attention to detail during this phase is paramount, as precise cuts contribute to a polished and cohesive appearance of the backsplash.
Allowing for Setting Time
Once the tiles are in place, allow the adhesive to set and cure as per the manufacturer's instructions. This setting time is crucial for ensuring the stability and durability of the installation. Exercise patience during this phase, refraining from any disturbances that may compromise the integrity of the adhesive and tile placement.
Removing Spacers and Cleaning
After the adhesive has set, carefully remove the tile spacers, taking care not to dislodge the tiles. Subsequently, use a damp sponge to clean off any excess adhesive from the tile surfaces and grout lines. This meticulous cleanup contributes to a polished and professional finish, preparing the backsplash for the final phase of grouting.
By meticulously following these steps, homeowners can navigate the installation of backsplash tiles with confidence and precision, culminating in a visually stunning and enduring enhancement to the space. This transformative phase not only elevates the aesthetic appeal of the kitchen or bathroom but also represents a testament to the meticulous craftsmanship and attention to detail invested in the project.
Read more: How To Choose A Backsplash
Grouting and Sealing the Backsplash
Grouting and sealing the backsplash represents the culminating phase of the installation process, playing a pivotal role in enhancing the durability, cleanliness, and overall aesthetic of the tiled surface. This transformative step not only contributes to the cohesive and polished appearance of the backsplash but also serves as a crucial measure for safeguarding the tiles against moisture, stains, and grime, ensuring a long-lasting and resilient installation.
Applying the Grout
Commence the grouting process by preparing a suitable quantity of grout according to the manufacturer's instructions. Select a grout color that complements the tiles and aligns with the desired aesthetic of the space. Using a rubber grout float, apply the grout to the tile surfaces, ensuring comprehensive coverage and working the grout into the joints. Employ diagonal strokes to pack the grout firmly into the spaces between the tiles, minimizing air pockets and achieving a uniform appearance. Exercise diligence in this phase, as thorough grout application is essential for promoting the strength and integrity of the tiled surface.
Cleaning Excess Grout
Following the application of the grout, utilize a damp sponge to gently clean off any excess grout from the tile surfaces. Rinse the sponge frequently and employ gentle, circular motions to avoid dislodging the grout from the joints. This meticulous cleaning process contributes to a polished and professional finish, ensuring that the tiles are free from any residual grout and that the grout lines are uniformly filled and leveled. Exercise patience and attention to detail during this phase, as it significantly influences the final appearance of the backsplash.
Sealing the Grout (if applicable)
Depending on the type of grout used and the specific conditions of the installation area, it may be necessary to apply a suitable grout sealer to protect the grout from stains, moisture, and discoloration. Select a high-quality grout sealer and carefully apply it to the grout lines using a small brush or applicator. Ensure comprehensive coverage of the grout lines, allowing the sealer to penetrate and form a protective barrier. This proactive measure not only enhances the longevity and resilience of the grout but also simplifies future maintenance and cleaning of the backsplash.
By meticulously navigating the grouting and sealing phase, homeowners can elevate the visual appeal and durability of the backsplash, culminating in a transformative enhancement to the space. This meticulous approach not only ensures a polished and professional finish but also contributes to the longevity and resilience of the installation, underscoring the meticulous craftsmanship and attention to detail invested in the project.
Frequently Asked Questions about How To Prep For Backsplash
Was this page helpful?
At Storables.com, we guarantee accurate and reliable information. Our content, validated by Expert Board Contributors, is crafted following stringent Editorial Policies. We're committed to providing you with well-researched, expert-backed insights for all your informational needs.


0 thoughts on “How To Prep For Backsplash”