Articles
How To Build A Flagstone Walkway With Mortar
Modified: August 27, 2024
Learn how to build a stunning flagstone walkway with mortar. Our articles provide step-by-step instructions and helpful tips for creating a durable and beautiful path for your outdoor space.
(Many of the links in this article redirect to a specific reviewed product. Your purchase of these products through affiliate links helps to generate commission for Storables.com, at no extra cost. Learn more)
Introduction
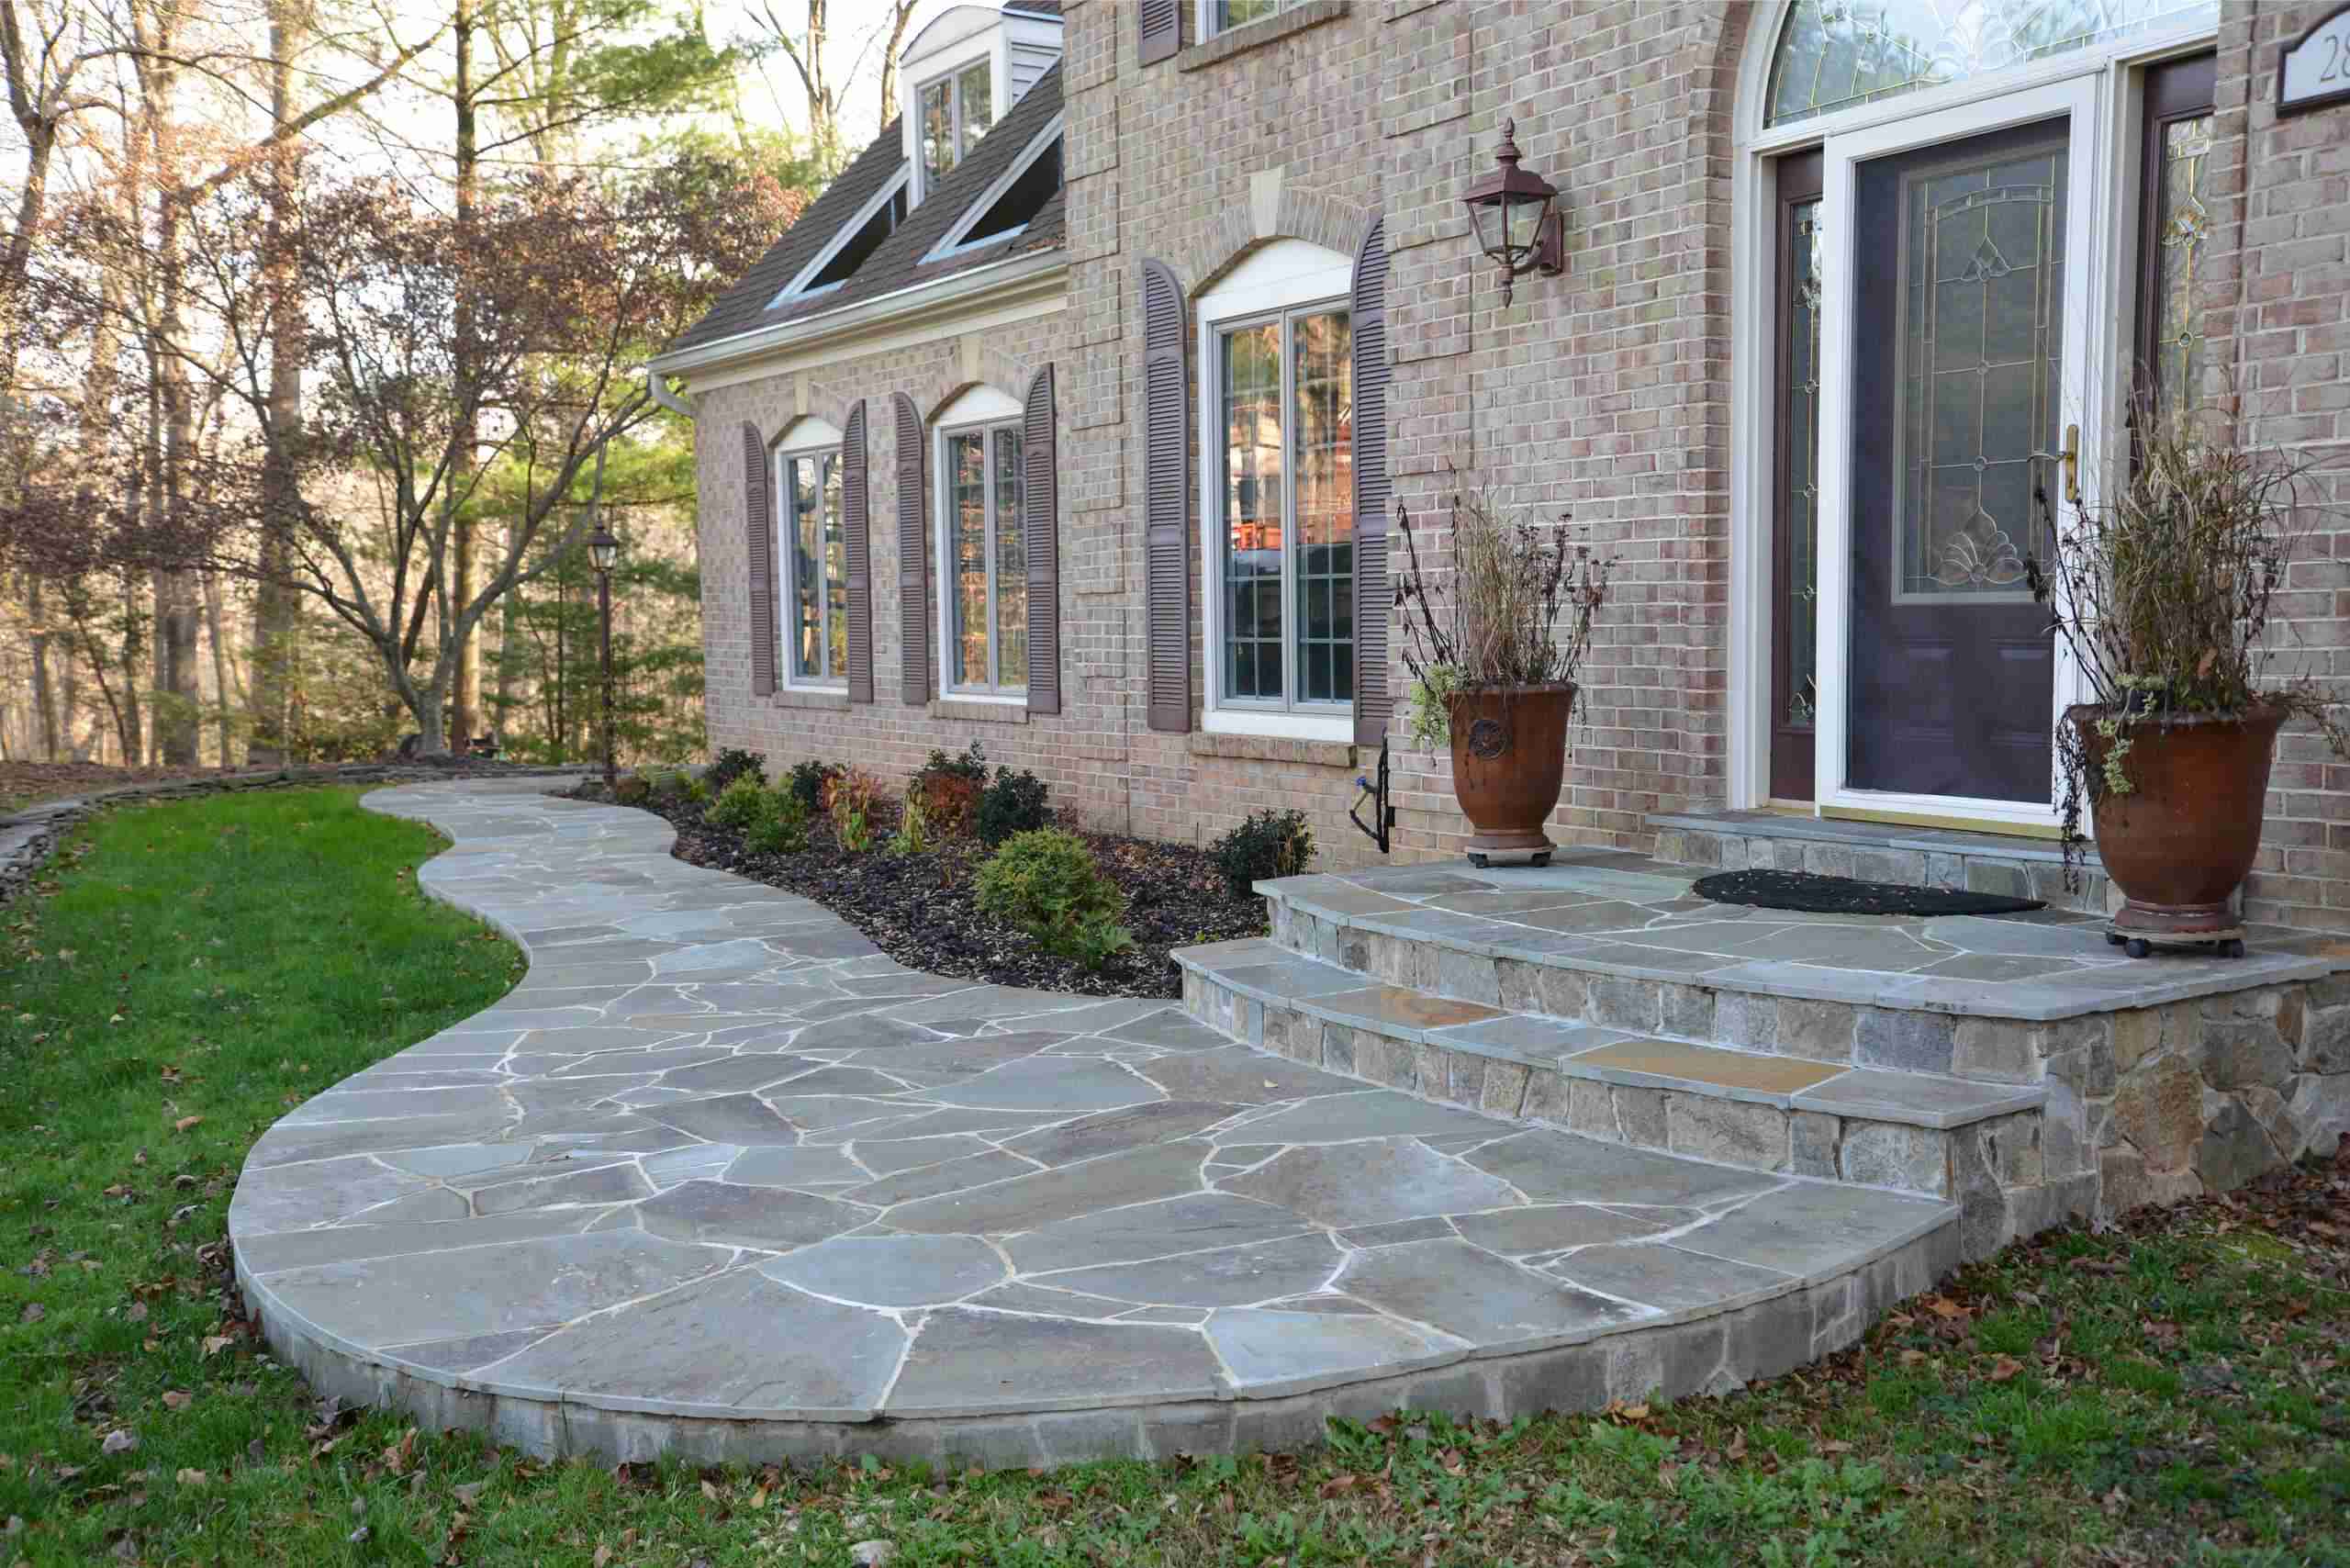
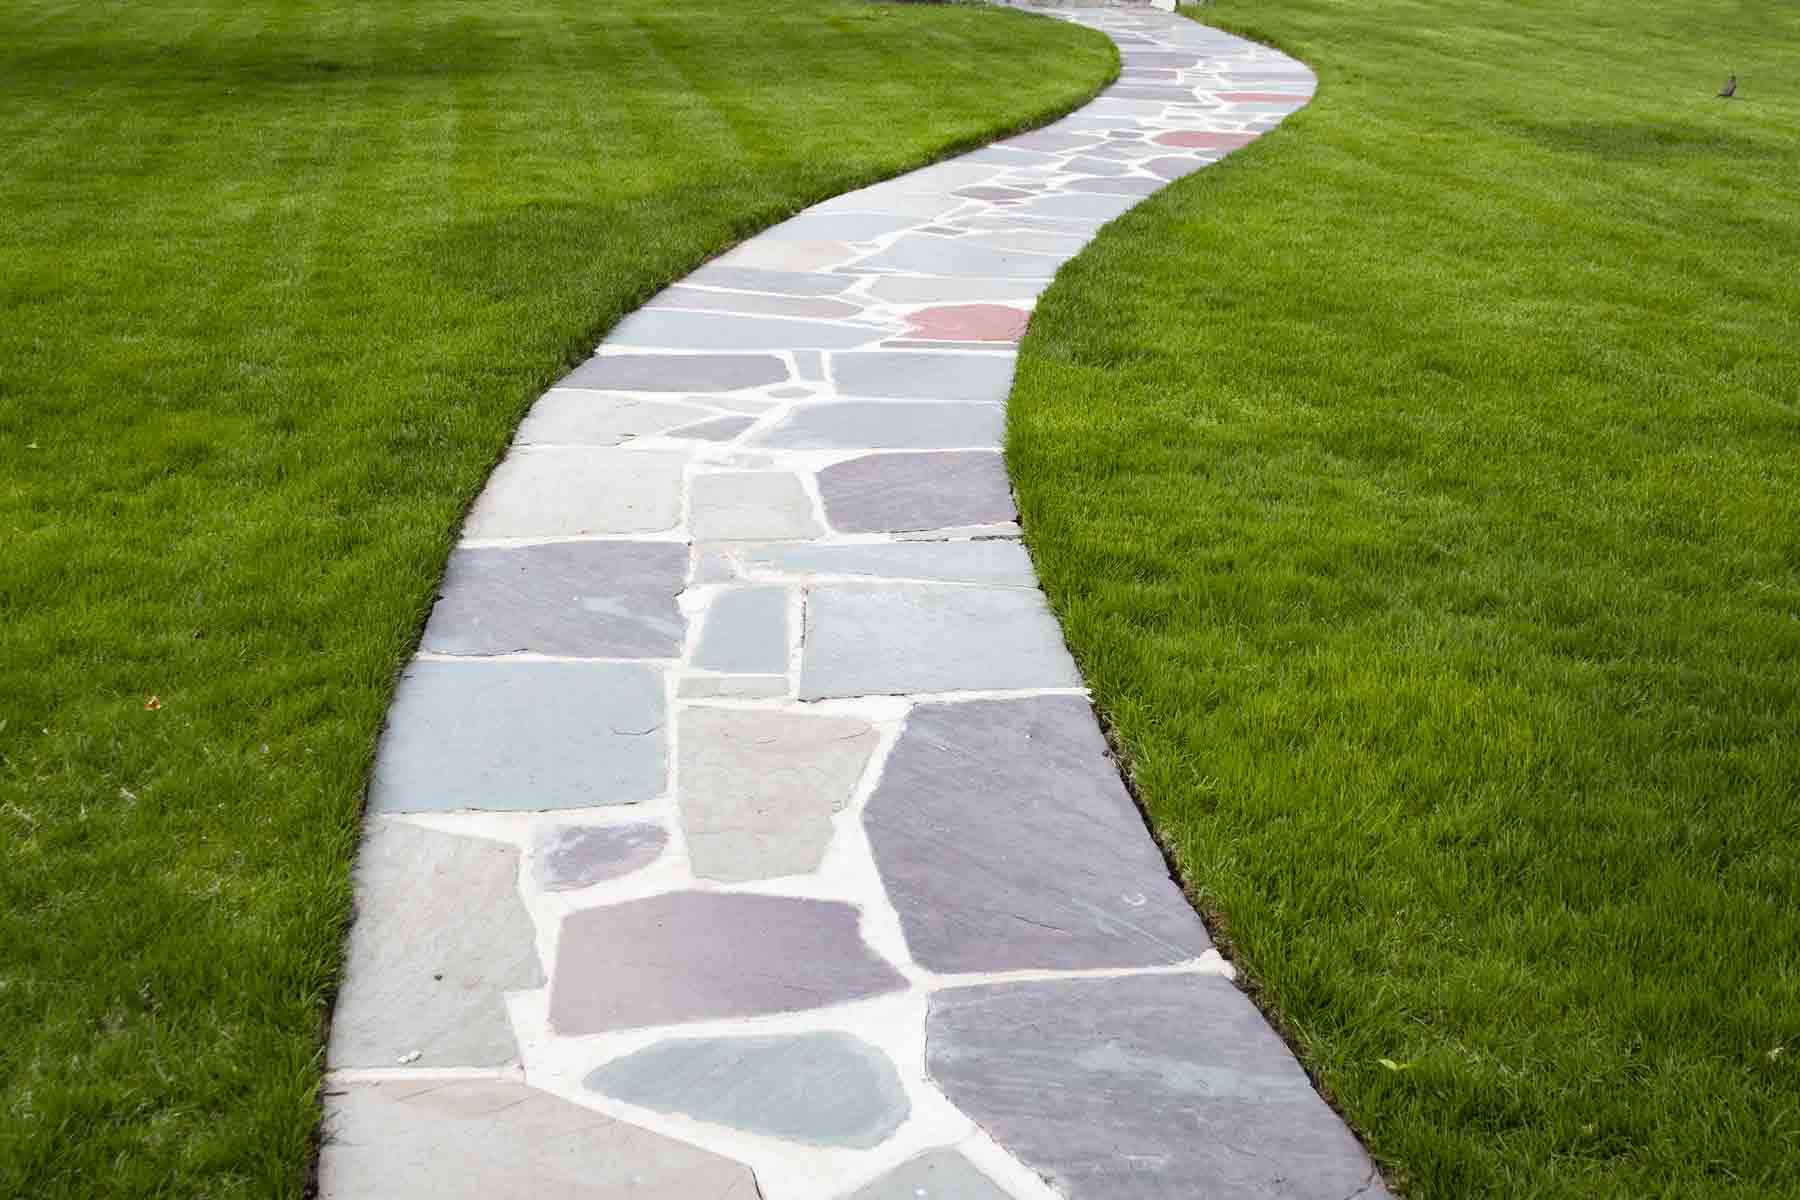
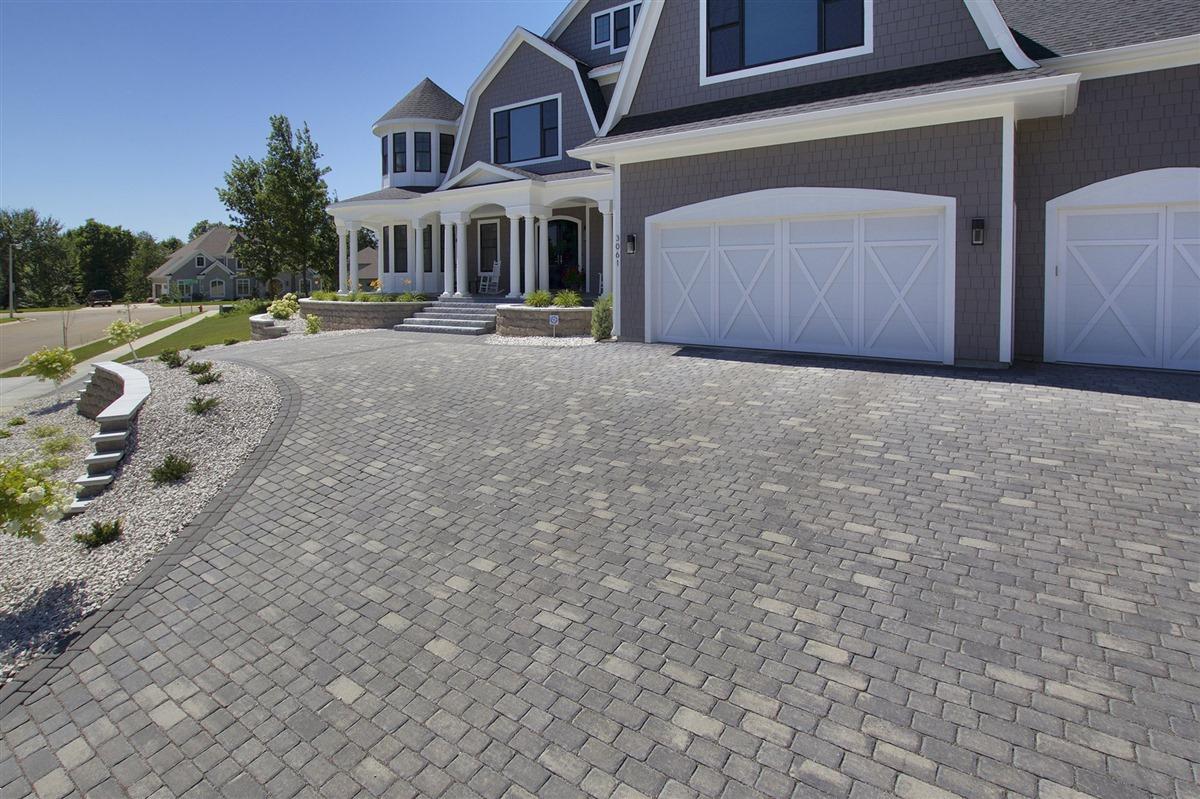
Building a flagstone walkway with mortar is a fantastic way to enhance the beauty and functionality of your outdoor space. A flagstone walkway can add a touch of elegance and charm to your garden or backyard, while also creating a practical pathway for you and your guests to navigate.
While it may seem like a daunting task, with proper planning and execution, you can create a stunning flagstone walkway that will withstand the test of time. In this article, we will guide you through the step-by-step process of building a flagstone walkway with mortar, ensuring that you have all the information you need to successfully complete the project.
Before we jump into the details, let’s take a moment to understand what flagstone is. Flagstone refers to any type of flat, relatively thin stone that is commonly used for paving purposes. It is known for its natural beauty, durability, and versatility. Flagstone can range in color, texture, and size, allowing you to choose a style that complements your outdoor aesthetics.
Now, let’s get started on your journey to creating a stunning flagstone walkway.
Key Takeaways:
- Building a flagstone walkway with mortar requires careful preparation, precise placement, and attention to detail. From gathering materials to adding finishing touches, each step contributes to creating a stunning and durable outdoor feature.
- By following the step-by-step guide, you can transform your outdoor space with a visually appealing and functional flagstone walkway. With patience, proper techniques, and regular maintenance, your walkway will stand the test of time and enhance your outdoor oasis.
Step 1: Gather Materials
Before you begin the construction of your flagstone walkway, it’s crucial to gather all the necessary materials. This will ensure that you have everything you need to complete the project smoothly. Here’s a list of the materials you’ll typically need:
- Flagstones: These are the primary components of your walkway. Choose flagstones that are thick enough to withstand foot traffic but not too heavy to handle. Aim for stones with a thickness of 1 to 2 inches.
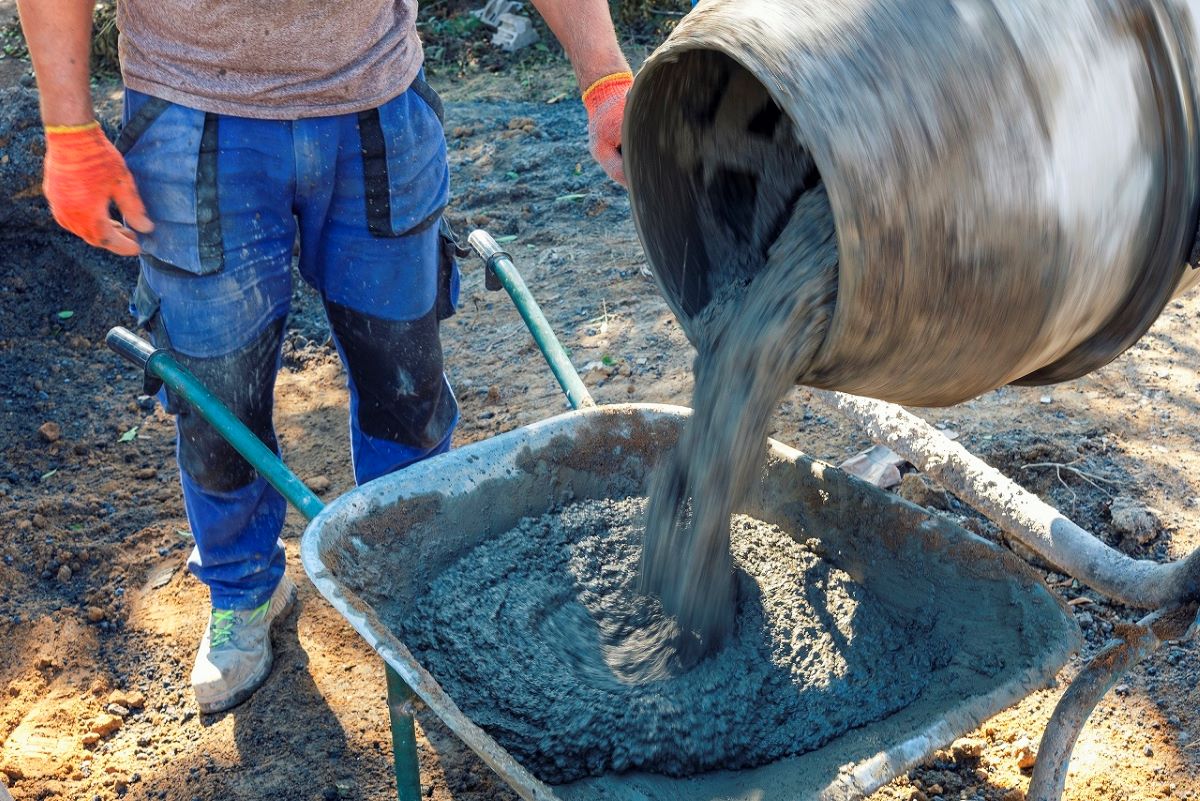
- Mortar: Mortar is essential for securing the flagstones in place. Opt for a mortar mix that is suitable for outdoor use and follow the manufacturer’s instructions for mixing it.
- Sand or Gravel: Sand or gravel will be used as a base for your walkway. It helps with proper drainage and provides a level surface to lay the flagstones on.
- Shovel: A sturdy shovel is necessary for removing grass, dirt, and debris from the area where you plan to build your walkway. It will also come in handy for digging trenches and spreading the sand or gravel base.
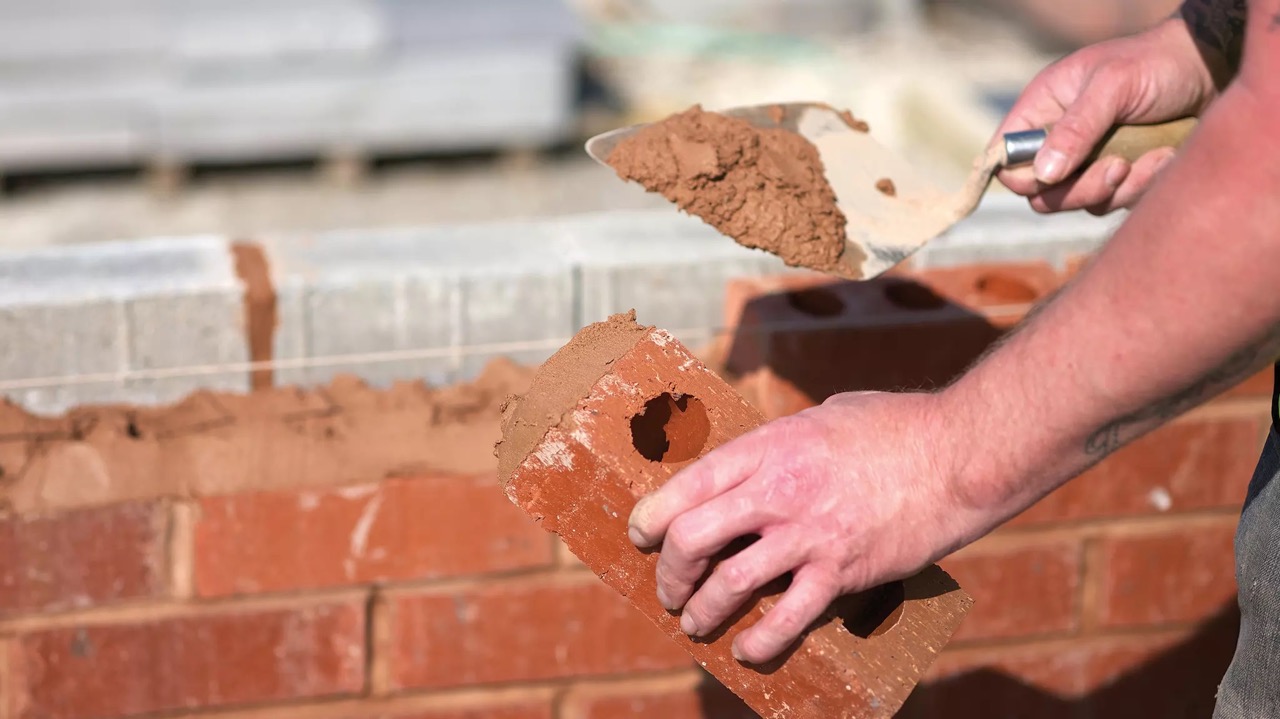
- Trowel: A trowel is used for applying mortar to the flagstones. It allows for precise placement and ensures a strong bond between the stones and the mortar.
- Rubber Mallet: A rubber mallet is useful for gently tapping the flagstones into place and creating a level surface.
- Level: To ensure that your walkway is even and doesn’t have any uneven spots, use a level to check the alignment of the flagstones.
- Broom: A broom will come in handy for sweeping away excess mortar and debris from the finished walkway.
- Protective Gear: Don’t forget to wear protective gear such as gloves and safety goggles to protect yourself during the construction process.
Once you’ve gathered all the necessary materials, you’re one step closer to bringing your flagstone walkway to life. In the next step, we’ll guide you through the process of preparing the ground for your walkway.
Step 2: Prepare the Ground
Preparing the ground is a crucial step in building a flagstone walkway. The quality of the foundation will determine the stability and durability of your walkway. Here’s a step-by-step guide on how to prepare the ground:
- Clear the area: Start by removing any grass, weeds, or vegetation from the area where you plan to build the walkway. Use a shovel or garden rake to thoroughly clear the ground.
- Excavate the soil: Dig a trench that is approximately 6 inches deep to provide enough space for the base materials. Use a shovel to carefully remove the soil and create a level surface.
- Create a slope: To ensure proper drainage, it’s crucial to create a slight slope along the walkway. Aim for a slope of around 1/8 inch per foot. This will prevent water from pooling on the surface of your walkway.
- Compact the soil: Use a tamper or hand compactor to compact the soil in the trench. This will create a stable and solid base for your walkway.
- Add a weed barrier: To prevent weeds from growing through the flagstones, it’s advisable to lay a weed barrier over the compacted soil. This can be a geotextile fabric or a layer of landscaping fabric.
- Add a layer of sand or gravel: Pour a layer of sand or gravel over the weed barrier. This will provide a level surface for the flagstones and aid in proper drainage.
- Compact the sand or gravel: Use a tamper or compactor to compact the sand or gravel layer. This will ensure stability and eliminate any unevenness.
Once you have prepared the ground, you are now ready to lay the foundation for your flagstone walkway. In the next step, we will guide you through the process of laying the foundation using mortar.
Step 3: Lay the Foundation
Now that the ground has been prepared, it’s time to lay the foundation for your flagstone walkway. The foundation will provide a sturdy base for the flagstones and ensure a long-lasting structure. Follow these steps to lay the foundation:
- Start from one end: Begin at one end of the walkway and work your way towards the other end. This will ensure a systematic and organized approach.
- Apply mortar: Use a trowel to apply a layer of mortar to the compacted sand or gravel base. Spread the mortar evenly, creating about a 1-inch thick layer.
- Score the mortar: Use the edge of the trowel or a scoring tool to create grooves in the mortar. This will help improve the adhesion between the mortar and the flagstones.
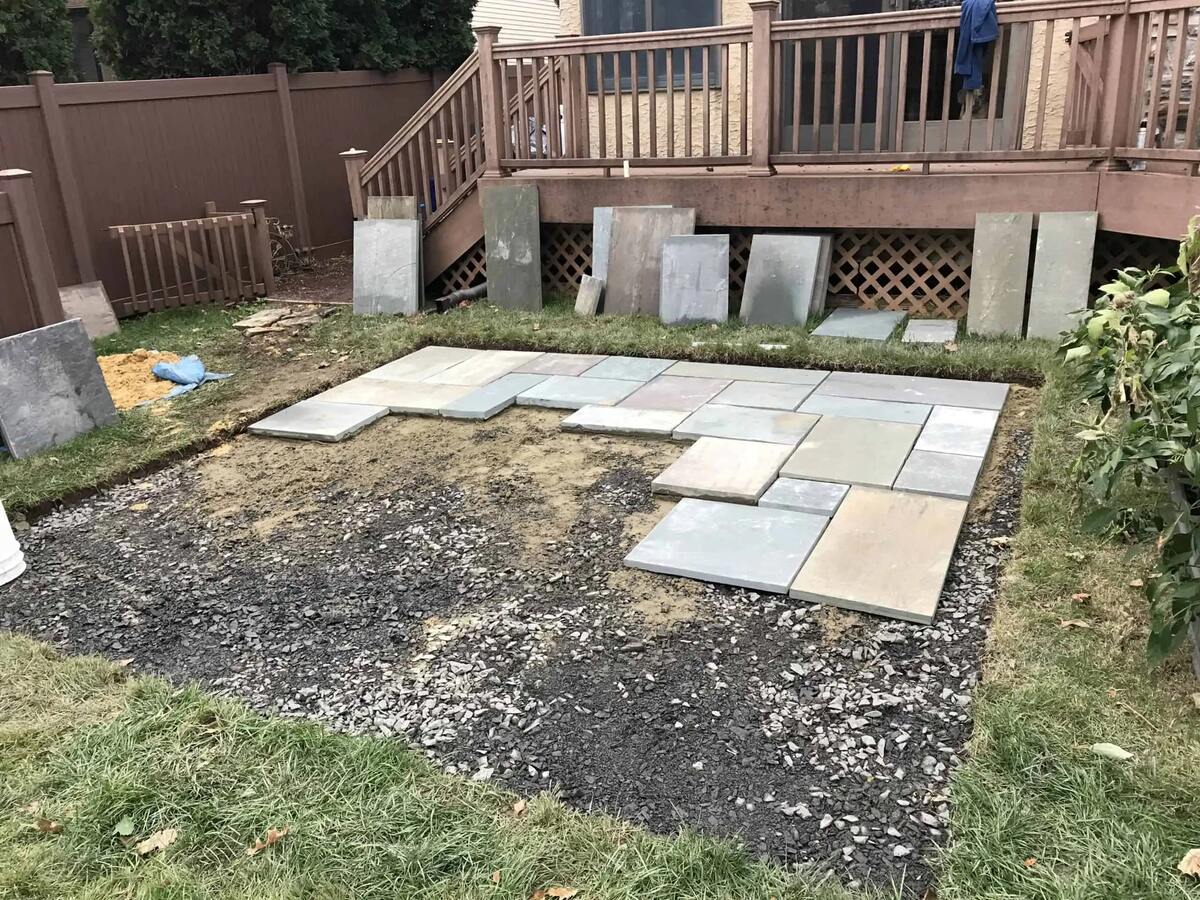
- Place flagstones: Carefully place the flagstones on top of the mortar, starting from one end. Press them firmly into the mortar, ensuring they are level and properly aligned. Leave a small gap of about ½ inch between each flagstone to allow for the mortar to fill in.
- Check for level: Use a level to ensure that the flagstones are even and there are no high or low spots. Make any necessary adjustments by adding or removing mortar underneath the flagstones.
- Tap with a rubber mallet: Gently tap each flagstone with a rubber mallet to ensure they are securely set in the mortar. This will help create a solid foundation for your walkway.
- Continue the process: Repeat steps 2 to 6, working your way along the length of the walkway. Take your time to ensure that each flagstone is properly placed and aligned.
Remember to work in small sections to prevent the mortar from drying out before you can lay the flagstones. Take breaks when needed and keep the mortar covered to prevent it from drying out too quickly.
Once you have laid the foundation for your flagstone walkway, you can move on to the next step of mixing the mortar. This will allow you to securely attach the flagstones to the foundation.
Step 4: Mix the Mortar
Now that the foundation for your flagstone walkway is laid, it’s time to mix the mortar. Mortar is crucial for securing the flagstones in place and providing stability to the walkway. Here’s a step-by-step guide on how to mix the mortar:
- Choose the right mortar mix: Select a mortar mix that is suitable for outdoor use and compatible with the type of flagstones you are using. Read the manufacturer’s instructions to ensure you have the correct proportions.
- Gather your materials: Collect a mixing container, a trowel, and the mortar mix. You may also need water, depending on the type of mortar mix you are using.
- Add the mortar mix: Pour the mortar mix into the mixing container and ensure it is spread evenly.
- Add water: If required, gradually add water to the mix as per the manufacturer’s instructions. Start with small amounts and mix thoroughly. Aim for a consistency that is similar to peanut butter.
- Thoroughly mix: Use the trowel to mix the mortar and water together. Make sure all dry pockets are thoroughly moistened and the mixture is smooth and consistent.
- Check the consistency: Lift the trowel and let the mortar fall back into the container. If it holds its shape without slumping, but is still workable, you have achieved the right consistency.
It’s important to mix only the amount of mortar that you can use within a certain time frame, as mortar can dry out quickly. Follow the manufacturer’s instructions regarding the working and drying time of the mortar mix.
With the mortar mixed and ready, you can now start laying the flagstones onto the foundation. This will bring your flagstone walkway to life. In the next step, we will guide you through the process of laying the flagstones.
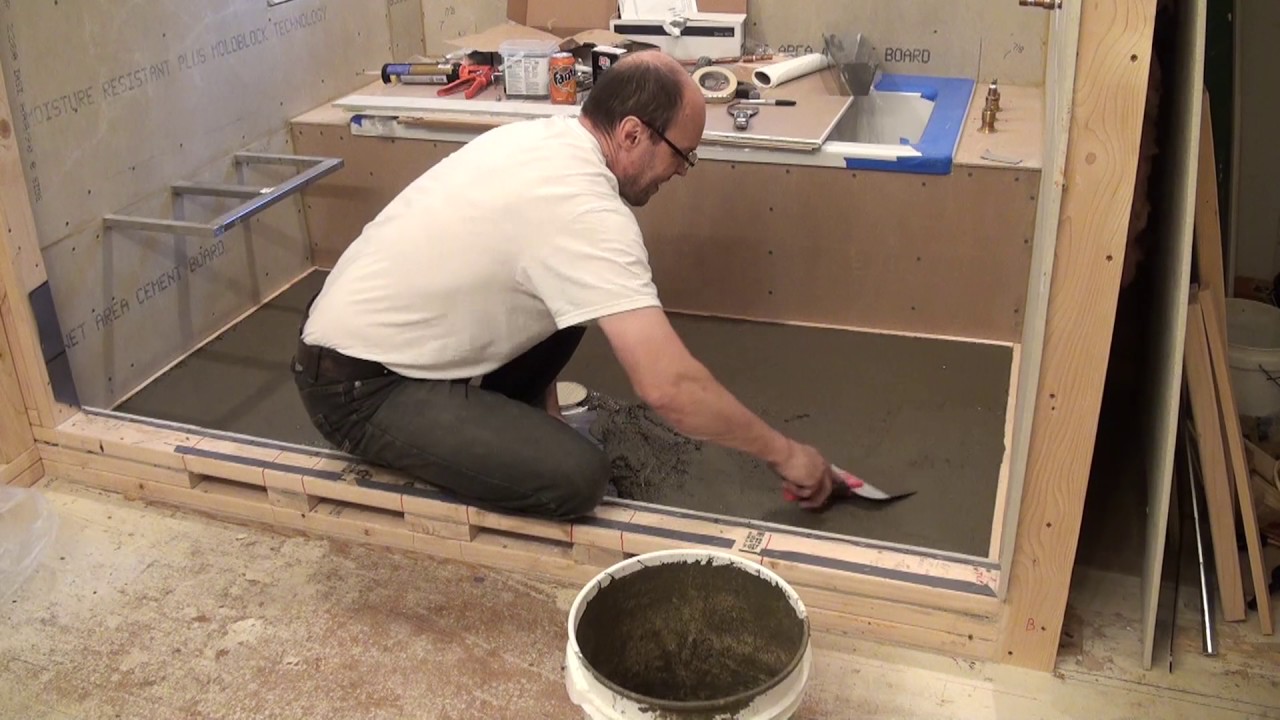
When laying flagstones with mortar, make sure to use a trowel to spread a consistent layer of mortar on the base and back of each stone to ensure a strong and stable walkway.
Read more: How To Build A Paver Walkway On A Slope
Step 5: Start Laying the Flagstones
With the mortar mixed and ready, it’s time to start laying the flagstones onto the foundation of your walkway. This step will require precision and attention to detail to ensure a visually appealing and durable walkway. Follow these steps to lay the flagstones:
- Prepare the mortar bed: Using a trowel, spread a layer of mortar onto the foundation where you will be placing the first flagstone.
- Place the flagstone: Carefully place the first flagstone onto the mortar bed, pressing it firmly into place. Wiggle it slightly to help ensure good mortar coverage.
- Level the flagstone: Use a level to check if the flagstone is horizontally level and adjust as necessary by adding or removing mortar beneath it.
- Continue laying flagstones: Repeat the previous steps, placing the subsequent flagstones next to each other. Leave a small gap, typically around ½ inch, between each flagstone for mortar to fill in.
- Check for even spacing: As you lay each flagstone, ensure there is a consistent and even spacing between them. This will help create a visually pleasing and balanced walkway.
- Tap with a rubber mallet: Gently tap each flagstone with a rubber mallet to ensure it is securely set within the mortar bed. This will help create a strong bond.
- Check for levelness and alignment: Regularly use the level to check the horizontal and vertical alignment of the flagstones. Make adjustments as needed to ensure a uniform surface.
- Trim or shape flagstones if necessary: Some flagstones may need to be trimmed or shaped to fit into irregular spaces or curves. Use a chisel and hammer to carefully shape or cut the stones.
Continue this process, working your way along the walkway until all the flagstones are laid. Take your time to ensure each flagstone is properly aligned and securely set in place. It’s important to work in small sections, completing one area before moving on to the next, to prevent the mortar from drying out.
With the flagstones in place, the walkway will start to take shape. In the next step, we will guide you through the process of filling in the gaps between the flagstones with mortar.
Step 6: Fill in the Gaps
Once all the flagstones are laid in place, it’s time to fill in the gaps between them with mortar. This step will not only enhance the aesthetics of your flagstone walkway but also provide stability and prevent weed growth. Follow these steps to fill in the gaps:
- Prepare the mortar: Use the same mortar mix that you used for laying the flagstones. Make sure it is at the right consistency for filling in the gaps.
- Apply the mortar: With a pointing trowel, apply the mortar mixture into the gaps between the flagstones. Work in small sections to prevent the mortar from drying out.
- Press the mortar down: Use the pointing end of the trowel or your finger to press the mortar firmly into the gaps. Ensure that the mortar is fully packed to create a strong bond.
- Smooth the mortar: Use a jointing tool or the rounded part of the trowel to smooth the mortar and create an even surface. This will give your walkway a polished look and make it easier to clean.
- Clean off excess mortar: As you fill in the gaps, be mindful of any excess mortar that may spread onto the flagstone surfaces. Use a damp cloth or sponge to carefully wipe away any excess mortar before it dries.
- Let the mortar dry: Allow the mortar to dry completely according to the manufacturer’s instructions. This may take several hours or even a day depending on the weather conditions.
While the mortar is drying, avoid walking on the newly filled flagstone walkway to ensure the mortar sets properly. It’s also a good idea to place temporary barriers or caution signs to prevent accidental damage.
Once the mortar is dry, you can proceed to the next step of securing the flagstones on your walkway to ensure long-term stability.
Step 7: Secure the Flagstones
Securing the flagstones is an essential step in ensuring the long-term stability and durability of your flagstone walkway. By properly securing the flagstones, you can prevent shifting, cracking, or loosening over time. Follow these steps to secure the flagstones:
- Inspect the walkway: Before proceeding with securing the flagstones, carefully inspect the entire walkway. Look for any loose or improperly set flagstones, mortar cracks, or gaps.
- Prepare the mortar: Mix a small batch of mortar according to the manufacturer’s instructions. This mortar will be used to reinforce the flagstones.
- Apply mortar underneath the flagstones: Use a trowel to apply a small amount of mortar underneath any loose or unstable flagstones. Lift the flagstone slightly and spread the mortar evenly underneath, then press it firmly back into place.
- Fill mortar cracks and gaps: If you notice any cracks or gaps in the mortar between flagstones, use the mortar mixture to fill them in. Ensure the mortar is pressed tightly into the cracks or gaps to create a solid connection.
- Smooth and blend the mortar: Use a jointing tool or the rounded end of a trowel to smooth and blend the new mortar with the existing mortar joints. This will help create a seamless and cohesive appearance.
- Let the mortar cure: Allow the mortar to cure according to the manufacturer’s instructions. This typically takes 24 to 48 hours, but it may vary depending on the type of mortar used and the weather conditions.
Once the mortar has completely cured, your flagstone walkway will be solidly secured and ready for use. Regularly inspect your walkway and make any necessary repairs or adjustments over time to maintain its integrity and appearance.
With the flagstones securely in place, it’s time to add the finishing touches to your walkway. This will give it the final touch of elegance and ensure a polished appearance.
Step 8: Finishing Touches
With the flagstones secured in place and the walkway structurally sound, it’s time to add the finishing touches to enhance the overall appearance and functionality of your flagstone walkway. These final steps will help bring your project to completion and add that extra touch of beauty. Follow these steps for the finishing touches:
- Clean the walkway: Start by thoroughly cleaning the flagstone walkway. Use a broom or a leaf blower to remove any debris, dirt, or loose mortar from the surface. You can also use a garden hose to rinse off any stubborn dirt or stains.
- Seal the flagstones: Consider applying a sealer to the flagstones. A sealer will help protect the stones from weathering and staining, making them easier to clean and maintain in the long run. Follow the manufacturer’s instructions for the specific sealer you choose.
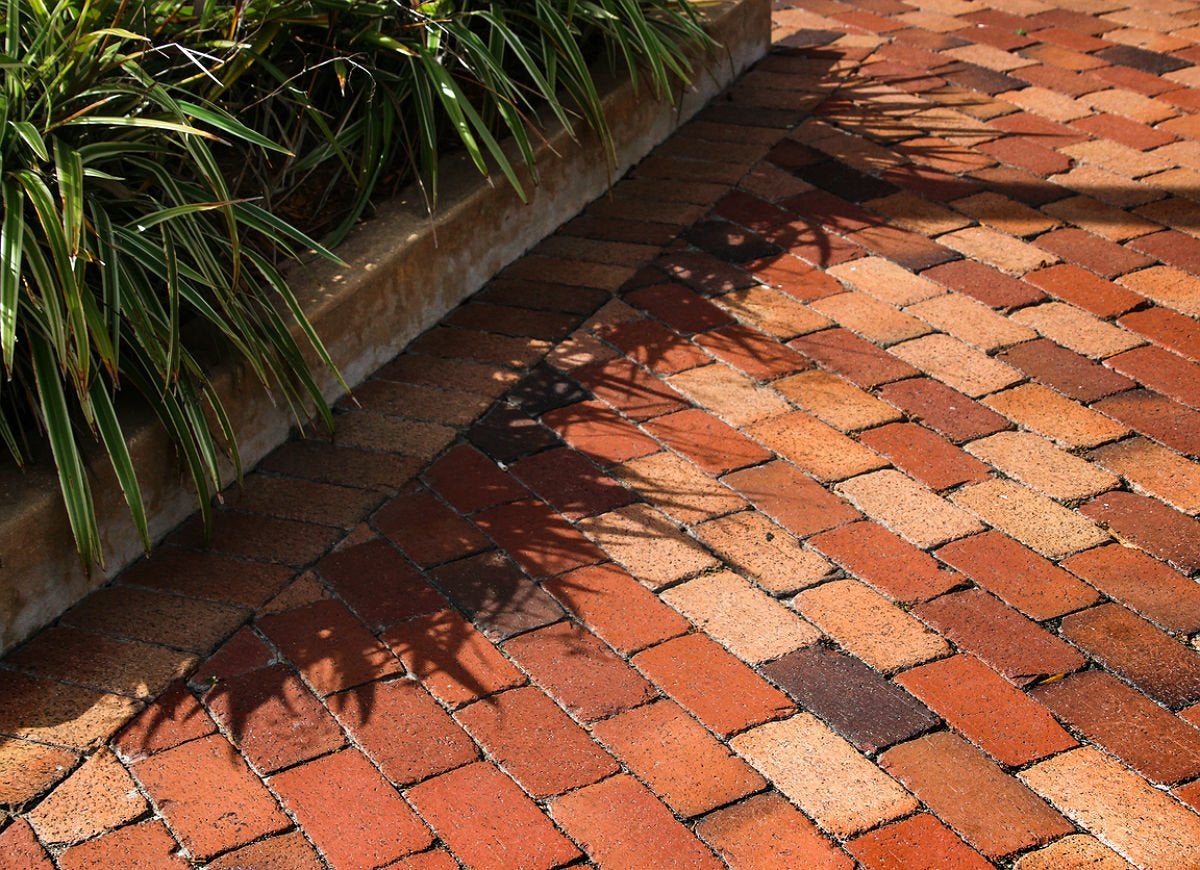
- Add edging or border: Optionally, you can add an edging or border to your walkway. This can be done using brick, stone, or other materials that complement the flagstones. The edging will not only add visual appeal but also provide a clear boundary for the walkway.
- Create a smooth and level surface: If needed, use a rubber mallet or a chisel to make any final adjustments to the flagstones to ensure they are level and create a seamless walkway surface. This step will help eliminate any tripping hazards.
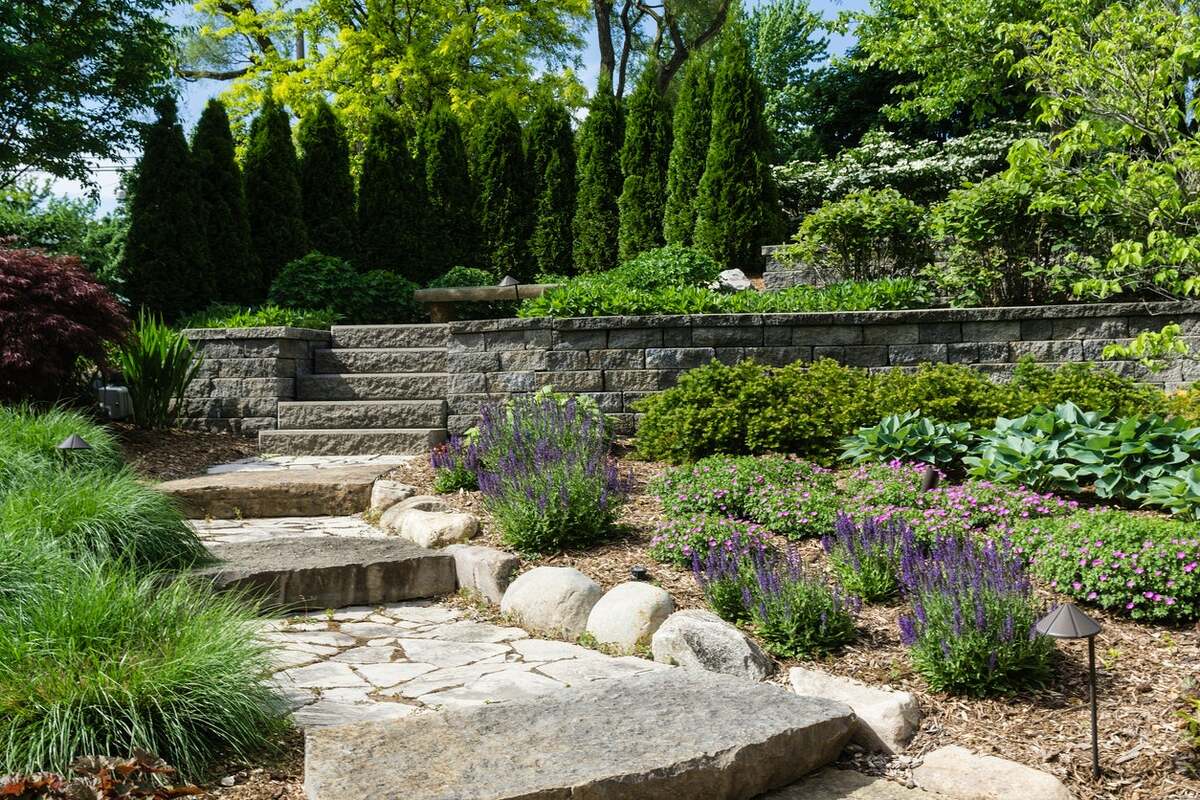
- Add landscape features: Consider adding landscape features such as planters, flower beds, or decorative lighting along the edges of the walkway. These additions will enhance the overall aesthetics and create a cohesive outdoor environment.
- Regular maintenance: To keep your flagstone walkway looking its best, establish a routine maintenance plan. This may include sweeping regularly to remove debris, cleaning stains promptly, and reapplying sealant as needed. Taking care of your walkway will help it maintain its beauty and prolong its lifespan.
By implementing these finishing touches, you will transform your flagstone walkway into a captivating and functional outdoor space. Take the time to carefully consider each step to ensure that your walkway aligns with your vision and complements the surrounding landscape.
Congratulations! You have successfully completed the construction of your flagstone walkway with mortar. It’s time to sit back, relax, and enjoy the beauty and functionality of your new outdoor feature.
Thank you for following this step-by-step guide. We hope this article has provided you with the knowledge and confidence to create a stunning flagstone walkway that will enhance your outdoor space for years to come.
Read more: How To Build A Walkway With Stepping Stones
Conclusion
Building a flagstone walkway with mortar is a rewarding project that can transform your outdoor space into a beautiful and functional area. By following the step-by-step guide outlined in this article, you have gained the knowledge and confidence to successfully create a stunning flagstone walkway that will withstand the test of time.
From gathering the necessary materials to securing the flagstones, each step plays a crucial role in the construction process. By properly preparing the ground, laying a solid foundation, mixing and applying mortar, and carefully placing and securing the flagstones, you have created a walkway that is not only visually appealing but also structurally sound.
It’s important to remember that attention to detail and patience are key throughout the construction process. Take the time to ensure that each flagstone is properly aligned and securely set, and pay attention to the levelness and smoothness of the walkway.
Adding the finishing touches such as cleaning, sealing, and adding edging or landscape features will give your walkway that extra touch of elegance and personalization. By implementing a regular maintenance routine, you can ensure that your flagstone walkway remains in top condition for years to come.
Now that you have completed the construction of your flagstone walkway, it’s time to sit back, relax, and enjoy the fruits of your labor. Whether it’s taking a leisurely stroll, hosting outdoor gatherings, or simply admiring the beauty of your new walkway, your outdoor space has been transformed into a captivating and functional oasis.
We hope this step-by-step guide has provided you with the necessary knowledge and inspiration to create a flagstone walkway that exceeds your expectations. Feel proud of your accomplishment, and remember to share your newfound expertise with others who may benefit from your experience.
Thank you for embarking on this journey with us, and best of luck with your flagstone walkway!
Now that you've mastered building a flagstone walkway, why not tackle more projects to spruce up your home? Check out our detailed DIY home improvement guide, covering various upgrades that can transform your living space. Whether you're looking to refresh your interior or enhance your backyard, this article has practical advice to help you succeed. Dive into these valuable insights for your next project!
Frequently Asked Questions about How To Build A Flagstone Walkway With Mortar
Was this page helpful?
At Storables.com, we guarantee accurate and reliable information. Our content, validated by Expert Board Contributors, is crafted following stringent Editorial Policies. We're committed to providing you with well-researched, expert-backed insights for all your informational needs.
0 thoughts on “How To Build A Flagstone Walkway With Mortar”