Home>Furniture & Design>Bathroom Fixtures>What Kind Of Mortar For A Shower Tile
Bathroom Fixtures
What Kind Of Mortar For A Shower Tile
Modified: August 27, 2024
Find the best mortar for your shower tile installation. Learn about the different types of mortar and choose the right one for your bathroom fixtures.
(Many of the links in this article redirect to a specific reviewed product. Your purchase of these products through affiliate links helps to generate commission for Storables.com, at no extra cost. Learn more)
Introduction
When it comes to installing shower tile, choosing the right mortar is crucial for ensuring a long-lasting and durable finish. The type of mortar you select can significantly impact the success of your shower tile installation, influencing both its structural integrity and aesthetic appeal. With a myriad of options available, it's essential to understand the different types of mortar, their specific applications, and the best practices for their use. By delving into the world of mortar for shower tile, you can make informed decisions that will contribute to a successful and visually stunning bathroom renovation. Let's explore the various types of mortar for shower tile and uncover the key considerations for selecting and applying the ideal mortar for your specific project.
Key Takeaways:
- Choose the right mortar for your shower tile to ensure a long-lasting and visually stunning installation. Consider factors like tile type, moisture resistance, and application area to make an informed decision.
- Applying mortar for shower tile requires precision and care. Follow best practices such as consistent mixing, working in small sections, and ensuring proper coverage and curing time for a professional and enduring result.
Read more: What Kind Of Mortar Is Used In A Fireplace?
Types of Mortar for Shower Tile
When it comes to shower tile installation, different types of mortar serve distinct purposes, each tailored to specific applications and conditions. Understanding the characteristics of each type of mortar is essential for achieving optimal results in your project. The following are the primary types of mortar commonly used for shower tile installation:
- Thinset Mortar: Also known as thinset adhesive or thinset cement, this type of mortar is a blend of cement, fine sand, and a water-retaining agent. It is commonly used for setting ceramic and stone tiles on both walls and floors. Thinset mortar is available in both unmodified and modified forms, with the modified version containing polymers to enhance flexibility and adhesion. It is suitable for use in wet areas, making it an ideal choice for shower tile installation.
- Epoxy Mortar: Epoxy mortar is a durable and water-resistant option that is particularly well-suited for challenging environments such as showers. Composed of epoxy resins, hardeners, and fillers, this type of mortar offers exceptional strength and chemical resistance. Epoxy mortar is especially suitable for installing non-porous tiles and is known for its resistance to stains, cracks, and water damage. While it is a premium option, its longevity and performance make it a popular choice for high-traffic and moisture-prone areas.
- Latex-Portland Cement Mortar: This type of mortar combines portland cement, fine sand, and a latex additive. The addition of latex improves the mortar’s flexibility, bond strength, and water resistance. Latex-Portland cement mortar is suitable for a wide range of tile materials and is often used in wet areas such as showers and tub surrounds. Its enhanced bonding capabilities make it an excellent choice for both interior and exterior applications.
Each type of mortar offers unique characteristics and advantages, catering to specific installation requirements and environmental conditions. By understanding the distinctions between these mortar types, you can make an informed decision based on the needs of your shower tile project.
Choosing the Right Mortar for Your Shower Tile
When selecting the appropriate mortar for your shower tile installation, several key factors should be considered to ensure optimal performance and longevity. By carefully assessing your project requirements and the specific characteristics of each type of mortar, you can make an informed decision that aligns with your goals. Here are essential considerations for choosing the right mortar for your shower tile:
- Tile Type: The type of tile you intend to install in your shower plays a significant role in determining the most suitable mortar. Porous or natural stone tiles, for example, may require a specific type of mortar to accommodate their unique properties, while non-porous ceramic or porcelain tiles may perform best with a different mortar option.
- Moisture Resistance: Given the inherently wet environment of a shower, prioritizing moisture resistance is crucial. Epoxy mortar, with its exceptional water resistance and durability, is an excellent choice for shower tile installations where moisture and humidity are primary concerns.
- Flexibility and Bond Strength: Assessing the flexibility and bond strength of the mortar is essential, especially for areas subject to movement or stress. For shower tile installations, a mortar with enhanced flexibility and robust bond strength is advantageous, as it can withstand the regular expansion and contraction associated with changes in temperature and moisture levels.
- Application Area: Consider the specific areas within the shower where the tile will be installed. Walls, floors, and niches may require different mortar characteristics to accommodate their unique demands. Additionally, identifying whether the installation will be exposed to direct water contact or steam can help determine the most suitable mortar for each application area.
- Longevity and Maintenance: Evaluating the long-term performance and maintenance requirements of the chosen mortar is essential. While some mortars may require periodic sealing or maintenance to preserve their integrity, others offer long-lasting durability with minimal upkeep, providing added convenience and peace of mind.
By carefully evaluating these considerations and understanding the specific properties of each type of mortar, you can confidently select the most appropriate option for your shower tile installation. Prioritizing the compatibility between the mortar and your chosen tiles, as well as the environmental conditions of the installation area, will contribute to a successful and enduring shower tile project.
Use a polymer-modified thin-set mortar for shower tile installation. This type of mortar is water-resistant and provides a strong bond, making it ideal for wet areas like showers.
How to Apply Mortar for Shower Tile Installation
Proper application of mortar is essential for a successful shower tile installation, ensuring strong adhesion, even coverage, and long-term durability. The following steps outline the process of applying mortar for shower tile installation, guiding you through the essential techniques for achieving a professional and reliable result:
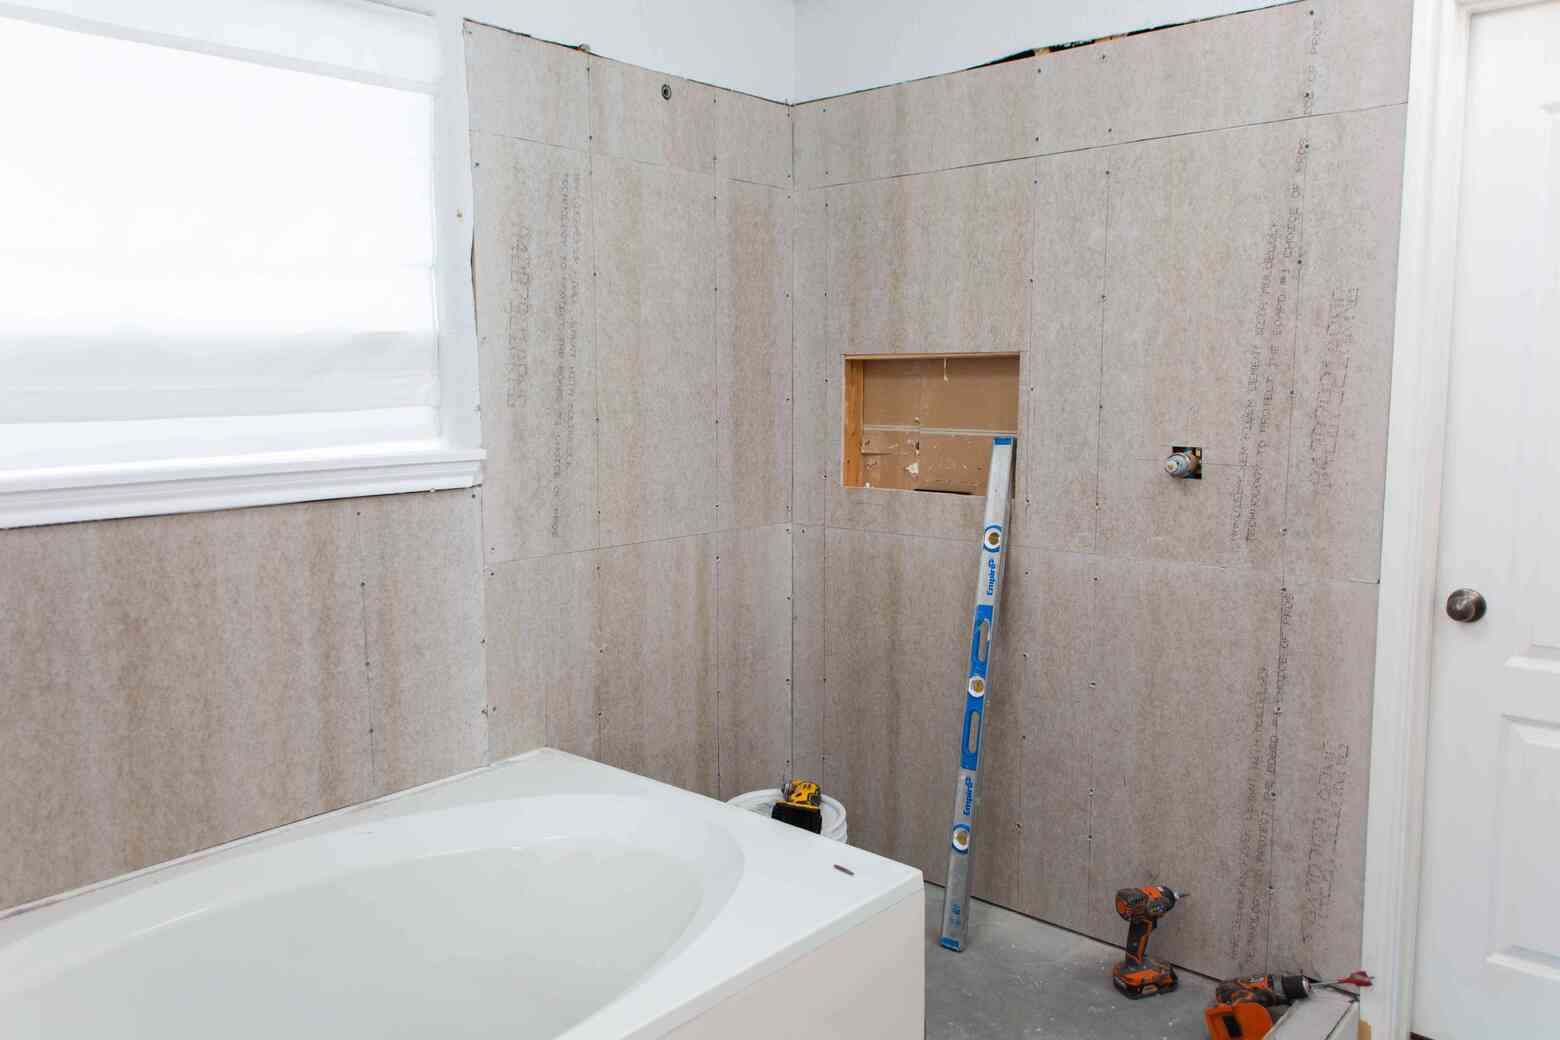
- Surface Preparation: Before applying the mortar, ensure that the substrate surface is clean, level, and free of any debris or contaminants. Properly preparing the surface sets the foundation for a secure and stable tile installation.
- Mixing the Mortar: Follow the manufacturer’s instructions for mixing the mortar, ensuring that it reaches the desired consistency for application. Consistency is key, as it directly impacts the mortar’s ability to bond with the tiles and substrate effectively.
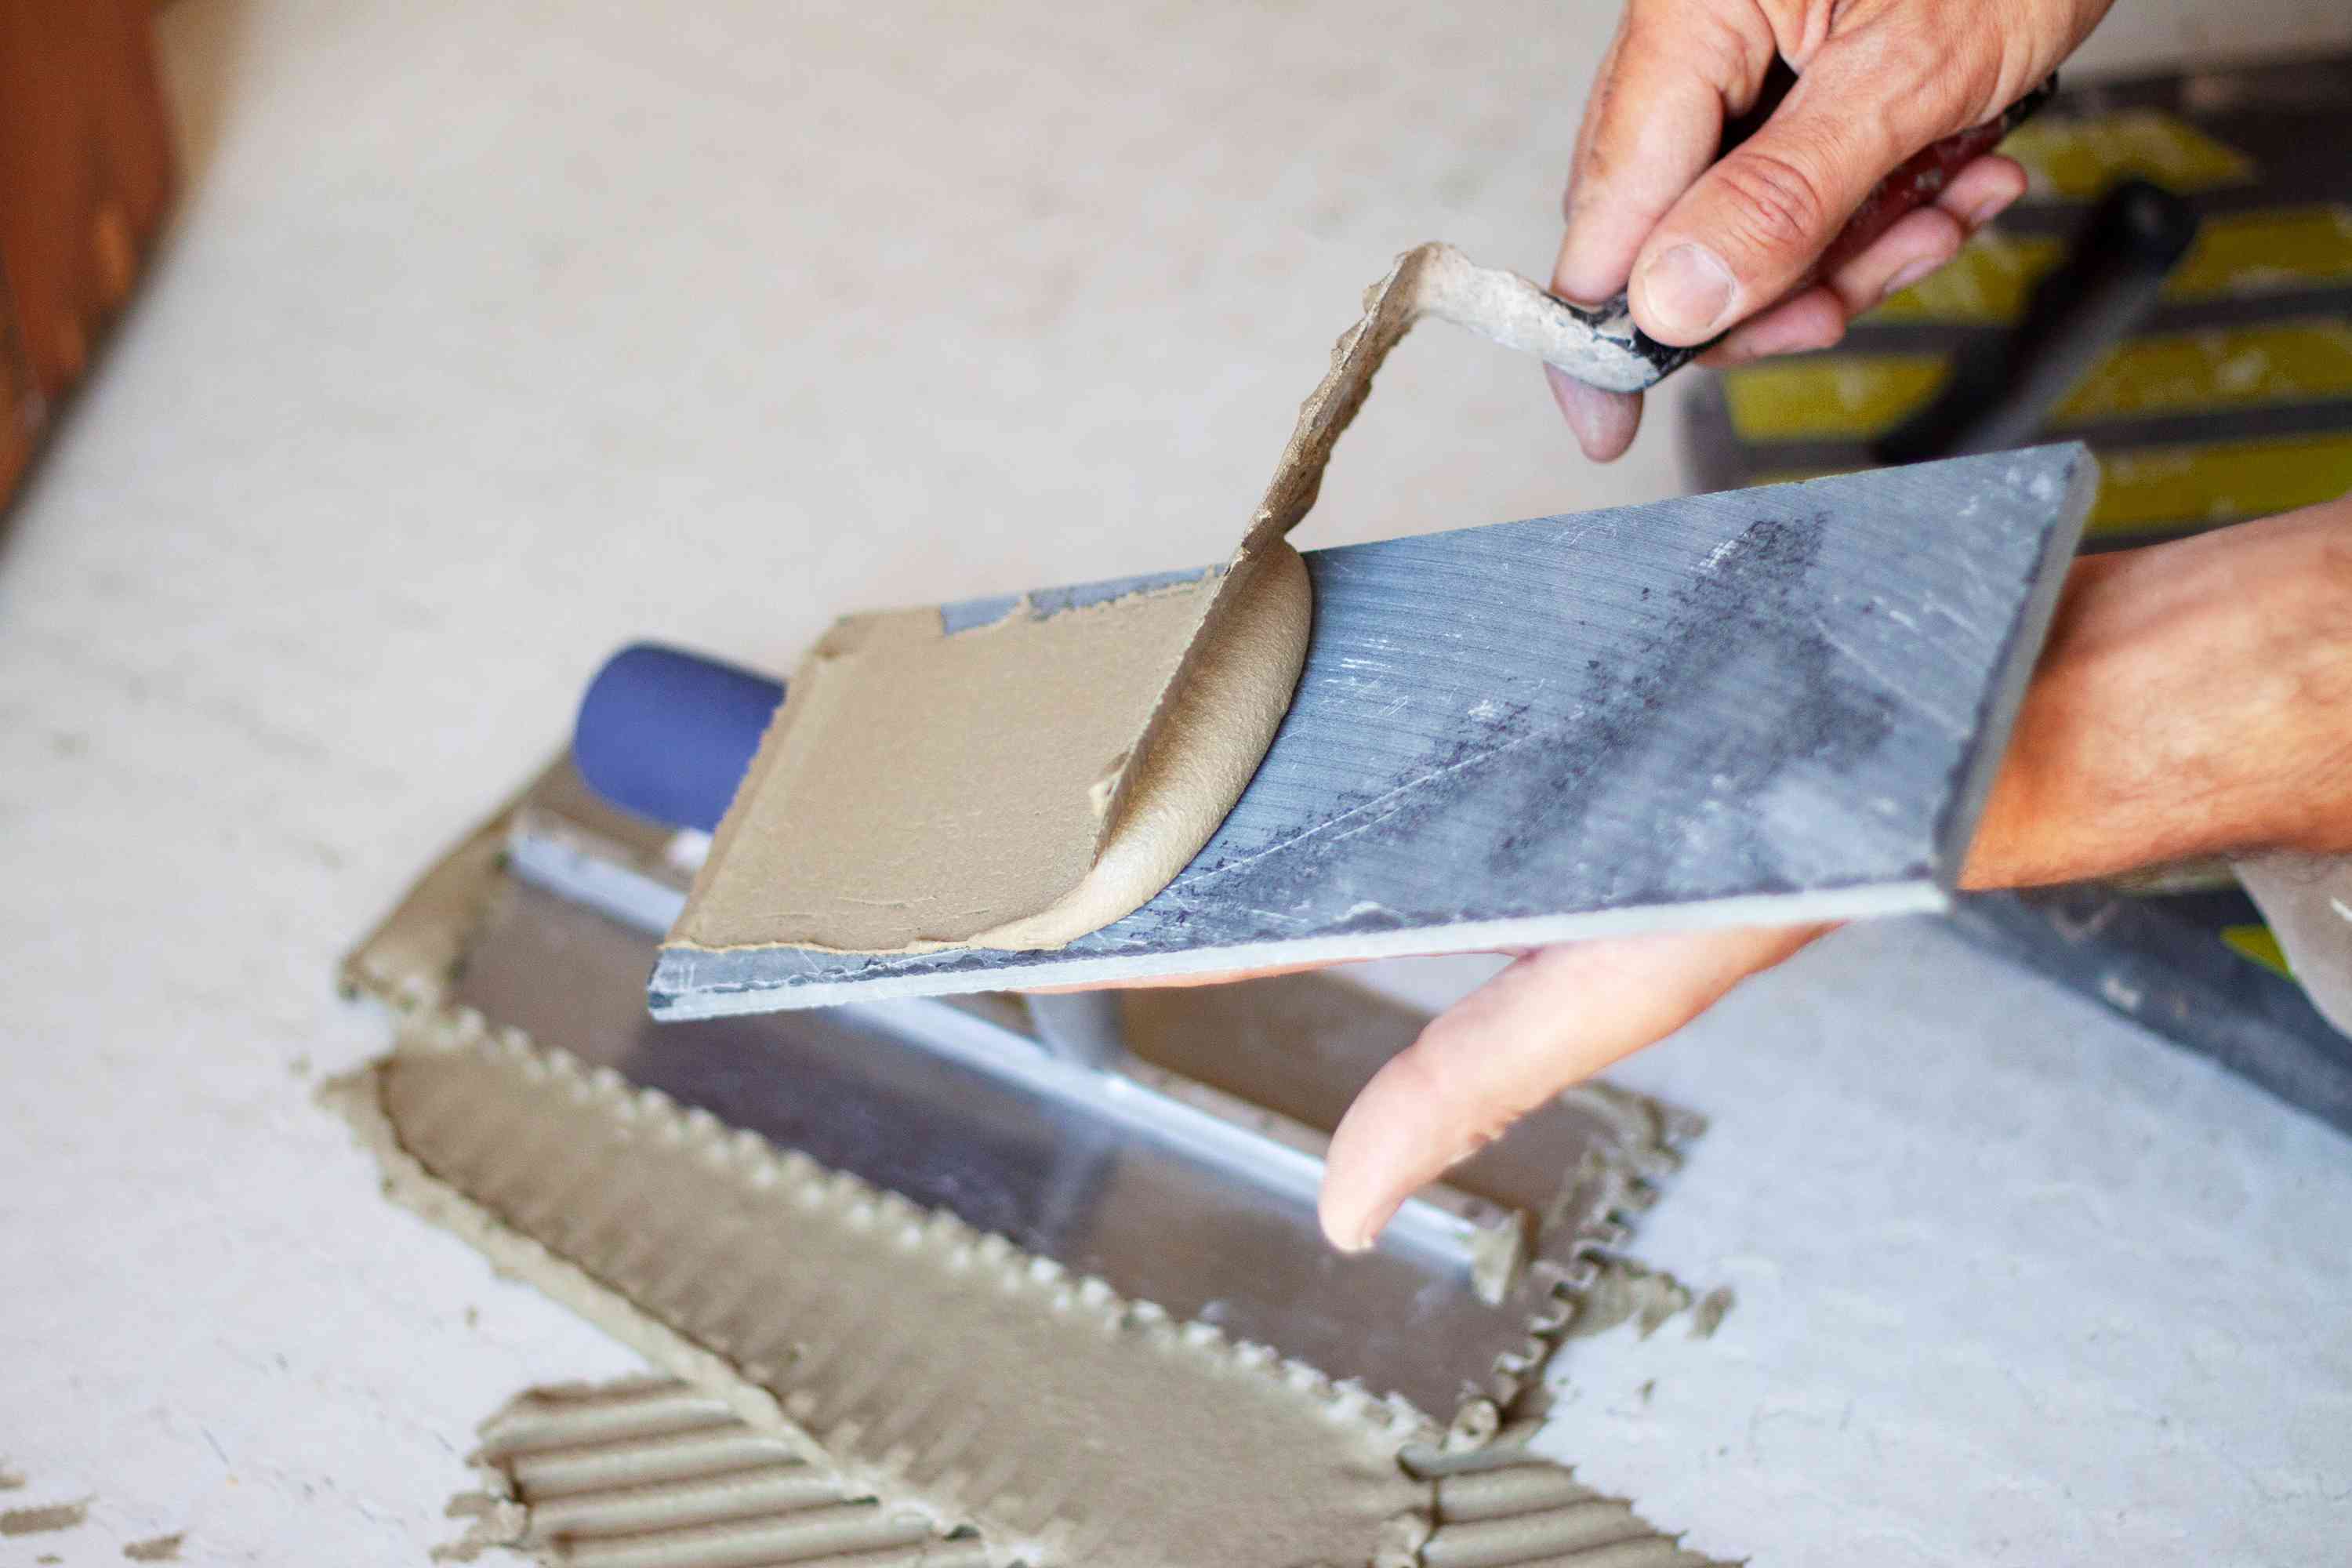
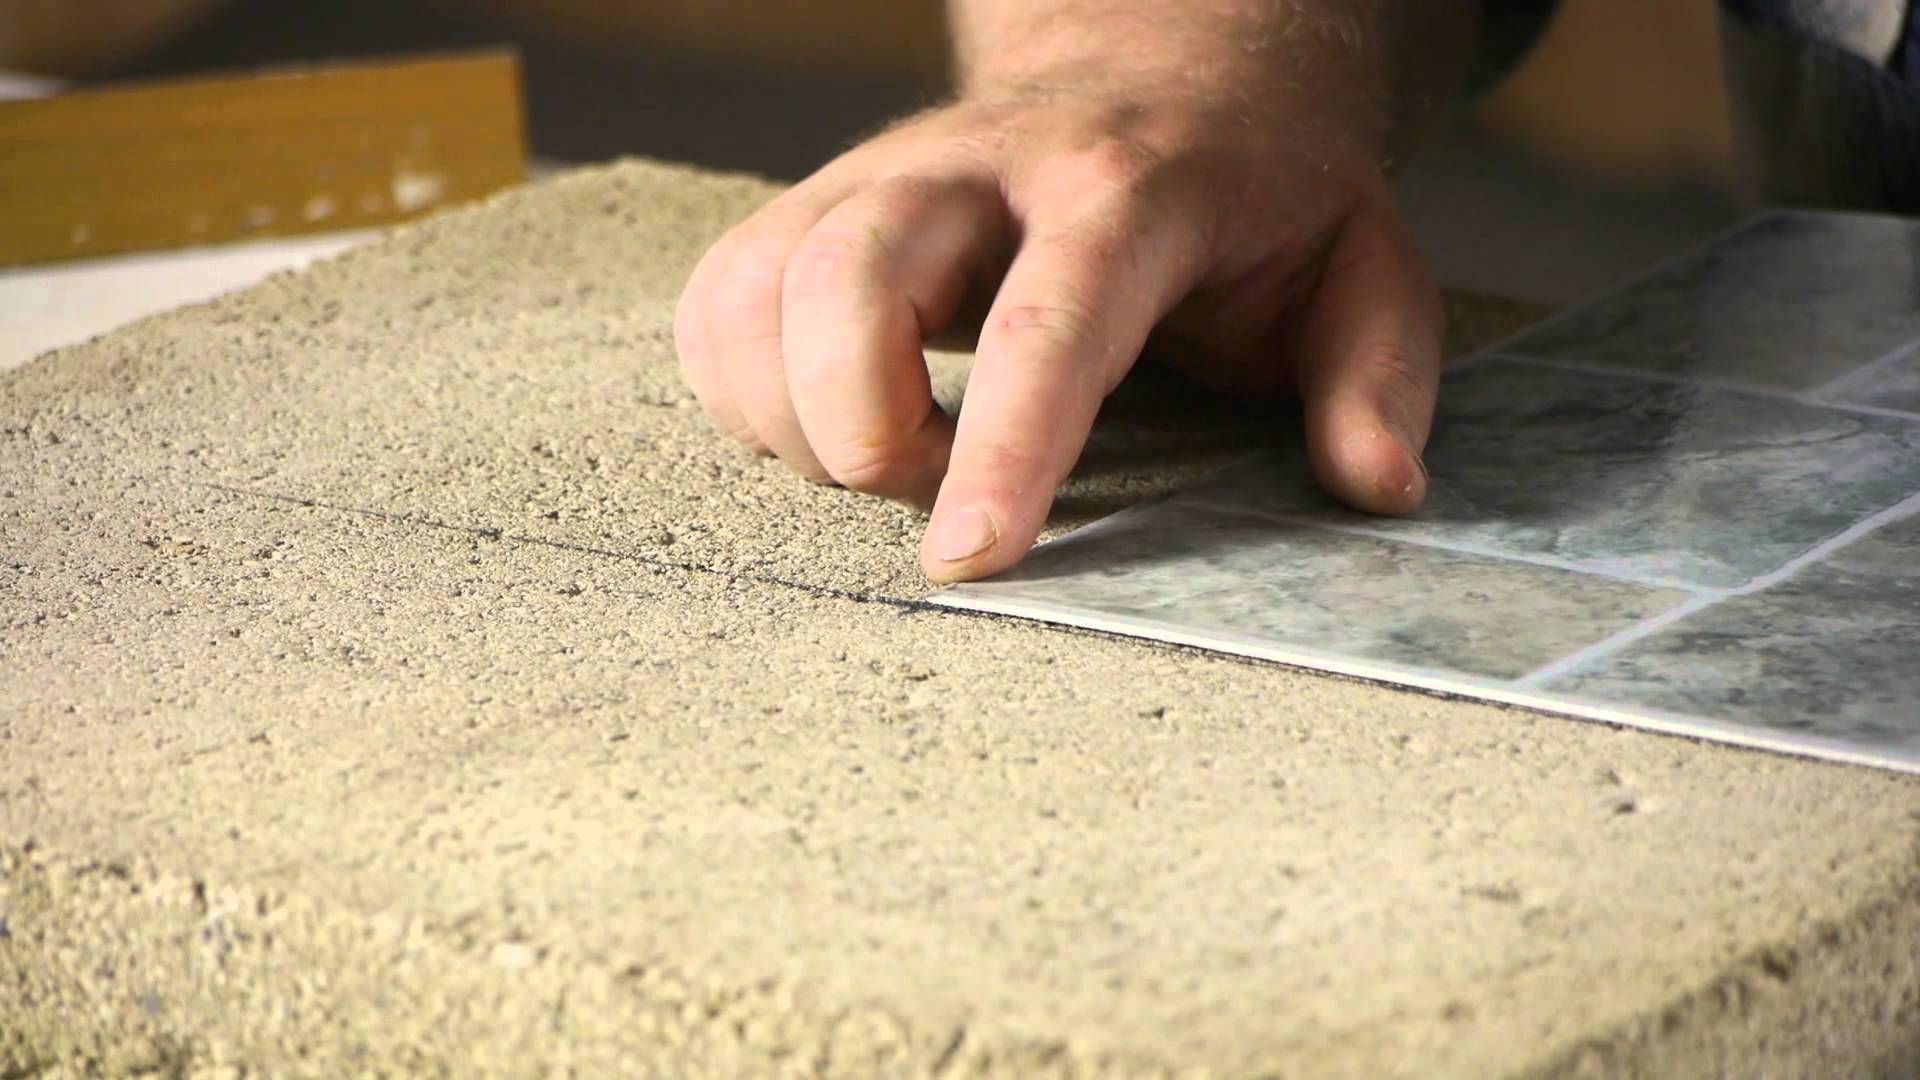
- Applying the Mortar: Using a notched trowel, spread the mortar onto the substrate in even, consistent strokes. The notches on the trowel create ridges in the mortar, promoting optimal adhesion and preventing air pockets beneath the tiles.
- Back-Buttering the Tiles: For larger tiles or uneven substrates, back-buttering the tiles involves applying a thin layer of mortar to the back of each tile before setting it in place. This technique ensures full coverage and a strong bond between the tile and the substrate.
- Setting the Tiles: Carefully place each tile into the mortar, pressing it firmly and evenly to ensure proper adhesion. Use tile spacers to maintain consistent spacing between the tiles, creating a uniform and professional-looking installation.
- Curing and Cleaning: Allow the mortar to cure according to the manufacturer’s recommendations before grouting the tiles. Once the mortar has set, clean any excess mortar from the tile surfaces and grout joints, preparing the installation for the next phase of the tiling process.
By following these essential steps and techniques, you can apply mortar for shower tile installation with precision and confidence, laying the groundwork for a visually stunning and enduring result. Proper application practices contribute to the overall quality and longevity of the tile installation, ensuring that your shower retains its beauty and functionality for years to come.
Tips for Using Mortar for Shower Tile
When working with mortar for shower tile installation, incorporating best practices and leveraging expert tips can significantly enhance the quality and longevity of the finished project. The following tips offer valuable insights and guidance for using mortar effectively in your shower tile installation:
- Consistent Mixing: Ensure that the mortar is mixed thoroughly and consistently, following the manufacturer’s guidelines for water-to-mortar ratio and mixing time. Properly mixed mortar is essential for achieving optimal adhesion and strength.
- Work in Small Sections: To prevent the mortar from drying out before tile installation, work in small, manageable sections. This approach allows you to focus on precise tile placement while maintaining the workability of the mortar.
- Adjusting Mortar Consistency: Depending on the type of tile and substrate, you may need to adjust the mortar’s consistency. For example, natural stone tiles often benefit from a slightly wetter mortar, while non-porous tiles may require a drier mix for improved adhesion.
- Back-Buttering for Large Tiles: When working with larger tiles, back-buttering—applying mortar to the back of the tile in addition to the substrate—ensures complete coverage and a strong bond, especially on uneven surfaces.
- Use the Right Trowel Size: Select the appropriate notched trowel size based on the tile size and type, ensuring that the mortar coverage beneath the tiles is consistent and adequate for proper adhesion.
- Check for Proper Coverage: After setting each tile, periodically lift a tile to check for full mortar coverage on the back. Adjust the trowel technique or mortar consistency if necessary to achieve complete coverage and adhesion.
- Minimize Excess Mortar: Avoid leaving excess mortar on the tile surfaces and in the grout joints, as it can interfere with the grouting process and compromise the final appearance of the installation.
- Allow Sufficient Curing Time: Follow the manufacturer’s recommendations for mortar curing time before proceeding with grouting. Adequate curing time is essential for the mortar to achieve its full strength and stability.
- Regular Maintenance: Once the mortar has cured and the tiles are in place, implement regular maintenance practices to preserve the integrity and appearance of the installation. This may include periodic sealing and cleaning to protect the mortar and tiles from moisture and wear.
By incorporating these tips into your mortar application process, you can optimize the performance and longevity of your shower tile installation, ensuring a professional and enduring result that enhances the beauty and functionality of your bathroom.
Read more: How To Install A Mortared Shower Pan
Conclusion
Choosing the right mortar for your shower tile installation is a critical decision that significantly impacts the outcome of your project. By understanding the distinct characteristics of different mortar types, considering essential factors such as tile type, moisture resistance, flexibility, and application area, and following best practices for mortar application, you can achieve a successful and visually stunning shower tile installation.
From the versatility of thinset mortar to the durability of epoxy mortar and the enhanced bonding capabilities of latex-portland cement mortar, each type offers unique advantages tailored to specific installation requirements and environmental conditions. By selecting the most appropriate mortar and applying it with precision and care, you can create a shower space that not only exhibits exceptional beauty but also withstands the rigors of daily use and moisture exposure.
Embracing expert tips such as consistent mixing, working in small sections, adjusting mortar consistency as needed, and ensuring proper coverage and curing time further elevates the quality and longevity of your shower tile installation. By integrating these insights into your tiling process, you can navigate the complexities of mortar selection and application with confidence, achieving a result that exceeds your expectations.
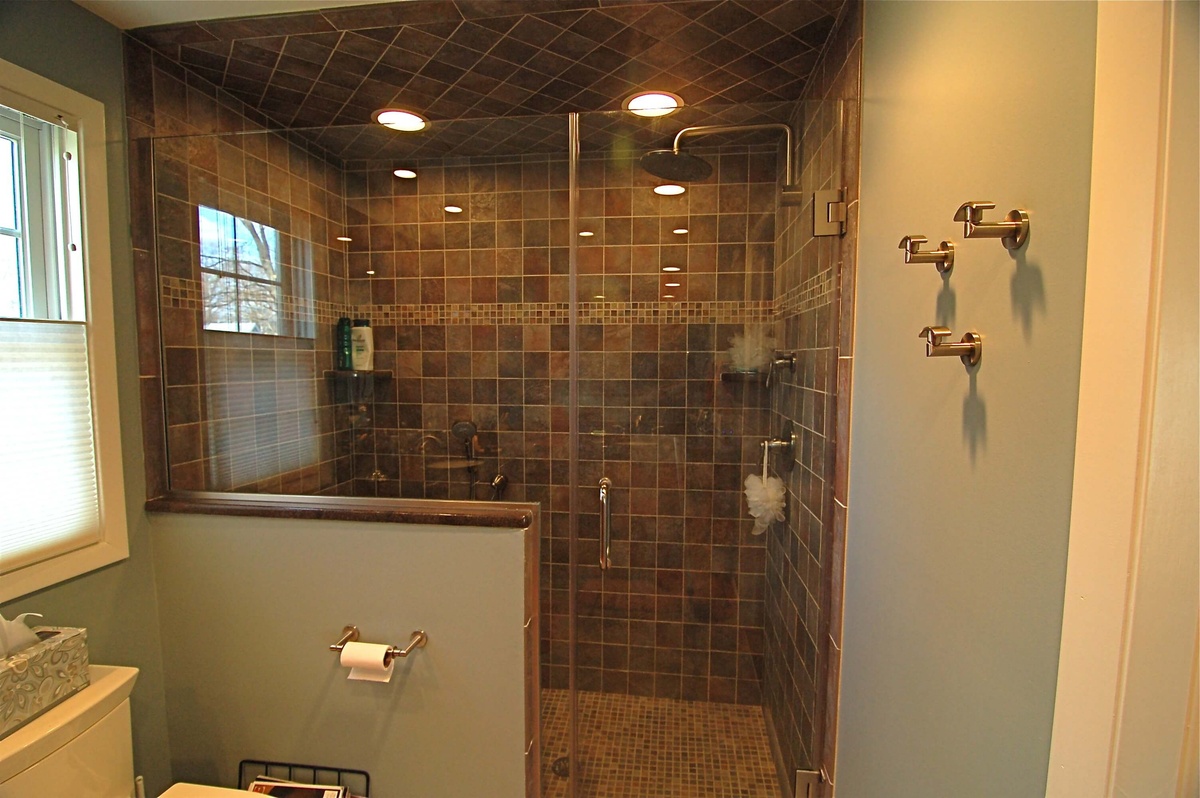
Ultimately, the successful application of mortar for shower tile installation transforms your bathroom into a sanctuary of elegance and functionality, enhancing your daily routine and elevating the overall aesthetic of your home. With careful consideration, expert guidance, and meticulous attention to detail, your shower tile project can become a testament to the enduring beauty and resilience of a well-executed tile installation.
By harnessing the knowledge and expertise surrounding mortar for shower tile, you can embark on your project with clarity and assurance, knowing that your chosen mortar will serve as the foundation for a luxurious and enduring shower space, enriching your home for years to come.
Frequently Asked Questions about What Kind Of Mortar For A Shower Tile
Was this page helpful?
At Storables.com, we guarantee accurate and reliable information. Our content, validated by Expert Board Contributors, is crafted following stringent Editorial Policies. We're committed to providing you with well-researched, expert-backed insights for all your informational needs.


0 thoughts on “What Kind Of Mortar For A Shower Tile”