Home>Furniture & Design>Bathroom Accessories>How To Set A Bathtub In Mortar
Bathroom Accessories
How To Set A Bathtub In Mortar
Modified: March 2, 2024
Learn how to properly set a bathtub in mortar for a secure and durable installation. Find the best bathroom accessories and tips for a successful project.
(Many of the links in this article redirect to a specific reviewed product. Your purchase of these products through affiliate links helps to generate commission for Storables.com, at no extra cost. Learn more)
Introduction
Setting a bathtub in mortar is a crucial step in the installation process that ensures stability and support for the fixture. By securely embedding the bathtub in mortar, you create a solid foundation that helps distribute the weight evenly and prevents the tub from shifting or flexing during use. This not only enhances the structural integrity of the installation but also contributes to a longer lifespan for the bathtub.
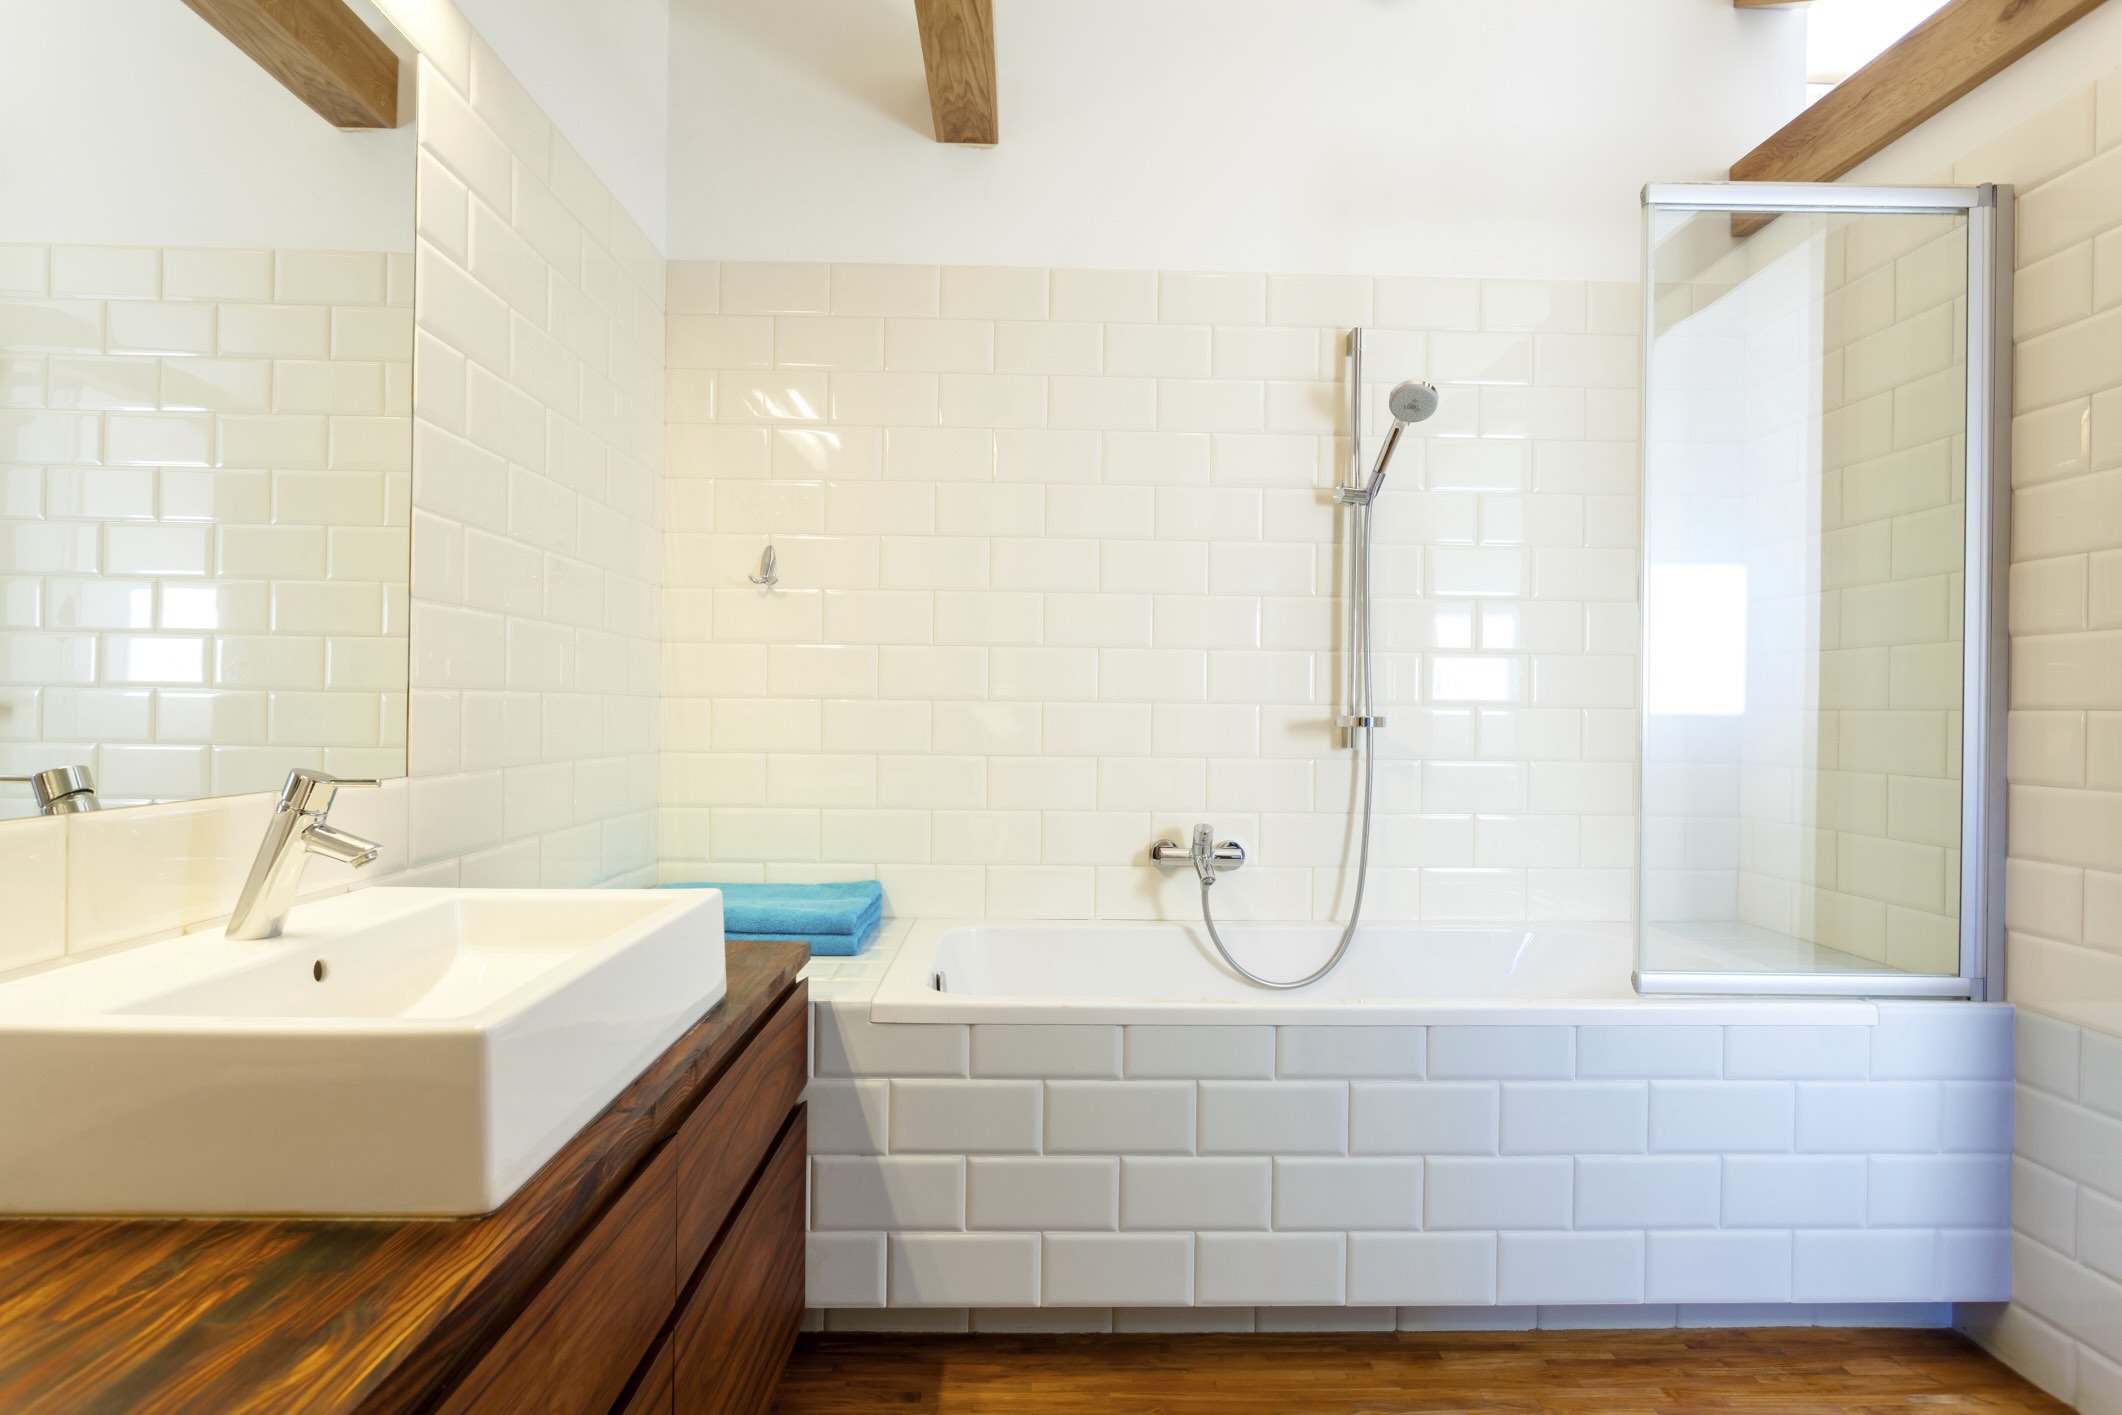
Properly setting a bathtub in mortar is essential for both alcove and freestanding installations. Whether you are replacing an existing bathtub or installing a new one, the process of setting it in mortar remains consistent. This method is particularly beneficial for heavier tubs, such as cast iron or solid surface models, as it provides the necessary reinforcement to withstand the weight and pressure exerted on the fixture.
In the following steps, we will guide you through the process of setting a bathtub in mortar, from preparing the area to ensuring the tub is level and allowing the mortar to set. This comprehensive guide will equip you with the knowledge and confidence to undertake this essential task, ensuring a secure and durable installation for your bathtub.
Key Takeaways:
- Setting a bathtub in mortar ensures stability and longevity by distributing weight evenly and preventing shifting. Meticulous preparation, precise mortar mixing, and level checking are key to a successful installation.
- Allowing the mortar to set for 24-48 hours is crucial for a strong bond. Attention to detail and patience create a durable and reliable foundation for your bathtub.
Step 1: Prepare the Area
Before setting a bathtub in mortar, it is crucial to prepare the installation area thoroughly. This initial step lays the foundation for a successful and durable installation. Here's a detailed breakdown of the essential tasks involved in preparing the area:
-
Clear the Workspace: Begin by clearing the area where the bathtub will be installed. Remove any debris, old caulking, and residual adhesives from the subfloor. A clean and level surface is essential for ensuring a secure and stable foundation for the bathtub.
-
Inspect the Subfloor: Inspect the subfloor for any signs of damage, rot, or unevenness. Address any issues by repairing or replacing damaged sections and leveling the subfloor as needed. A structurally sound and level subfloor is vital for the stability and longevity of the bathtub installation.
-
Locate the Drain and Water Supply Lines: Identify the precise location of the drain and water supply lines in relation to the bathtub's intended placement. Ensure that the plumbing connections align with the designated areas for the tub's drain and faucet fixtures. This step is crucial for accurate positioning and seamless integration of the bathtub with the plumbing system.
-
Measure and Mark the Placement: Use a measuring tape and pencil to mark the exact placement of the bathtub on the subfloor. Take into account the dimensions of the tub and the required clearances from surrounding walls and fixtures. Accurate measurements and markings are essential for positioning the bathtub correctly within the designated space.
-
Protect the Surrounding Area: Safeguard the surrounding walls and flooring by applying painter's tape or protective coverings. This precautionary measure helps prevent accidental damage to adjacent surfaces during the installation process.
By meticulously preparing the installation area, you establish the groundwork for a successful bathtub installation. This proactive approach ensures that the subsequent steps, including mixing and applying the mortar, and setting the bathtub, proceed smoothly and result in a secure and long-lasting installation.
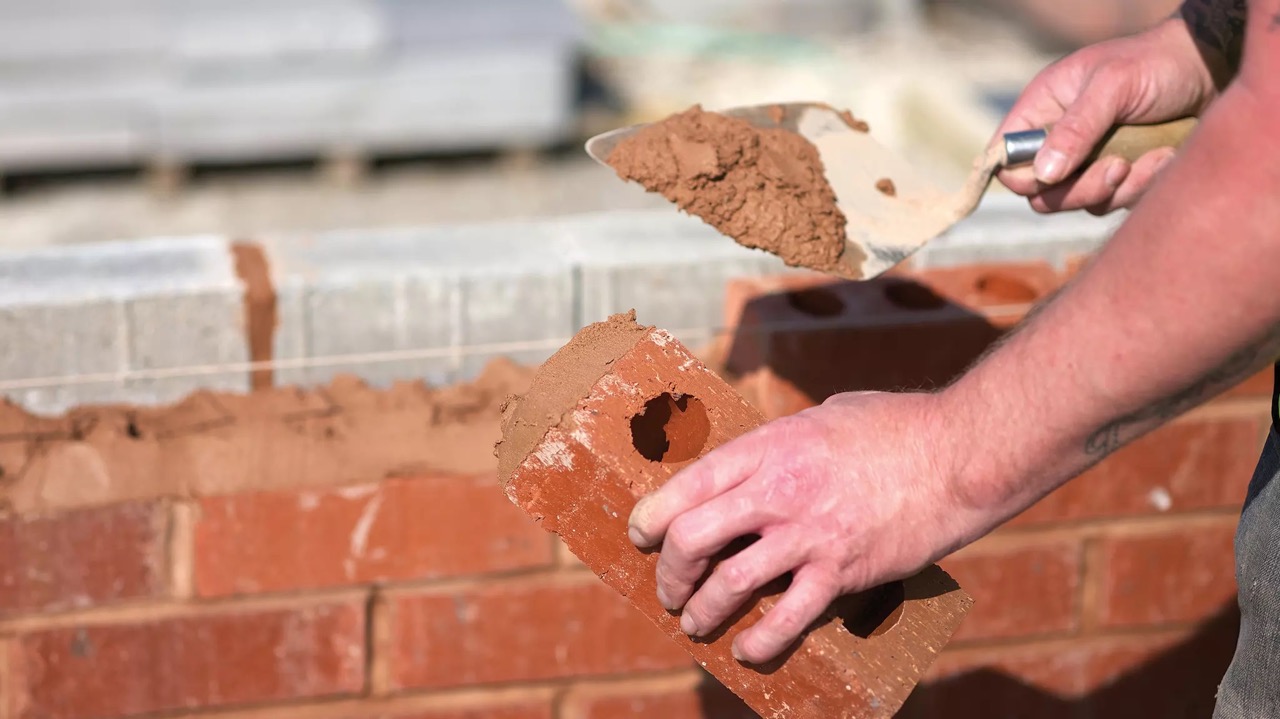
Step 2: Mix the Mortar
Mixing the mortar is a critical step in the process of setting a bathtub, as it directly impacts the stability and support provided to the fixture. The mortar serves as the foundational material that secures the bathtub in place, distributing the weight evenly and preventing shifting or movement over time. Properly mixed mortar ensures a strong bond between the bathtub and the subfloor, contributing to the overall structural integrity of the installation.
To mix the mortar effectively, follow these detailed steps:
-
Select the Right Mortar: Choose a high-quality mortar specifically designed for setting bathtubs and other heavy fixtures. Opt for a mortar mix that offers excellent bonding properties and is suitable for use in wet environments, ensuring long-term durability and reliability.
-
Gather the Necessary Tools: Before mixing the mortar, gather the essential tools and materials, including a large mixing container, a margin trowel, a measuring cup, and clean water. Having these items readily available streamlines the mixing process and ensures that you can work efficiently.
-
Measure the Mortar and Water: Follow the manufacturer's instructions to determine the correct ratio of mortar to water. Use a measuring cup to add the appropriate amount of mortar powder to the mixing container, ensuring accuracy in the mixing process. Additionally, measure the precise amount of clean water required for the mortar mix, maintaining the recommended consistency for optimal performance.
-
Mix Thoroughly: Pour the measured mortar powder into the mixing container, then gradually add the water while continuously mixing the two components. Use the margin trowel to blend the mortar and water thoroughly, ensuring a smooth and uniform consistency. Aim for a lump-free mixture with a workable texture that facilitates easy application and adherence to the bathtub and subfloor.
-
Achieve the Desired Consistency: As you mix the mortar, pay close attention to the consistency of the mixture. The ideal mortar consistency is similar to that of thick peanut butter, allowing for easy spreading and adherence without being overly runny or stiff. Adjust the water-to-mortar ratio as needed to achieve the desired consistency, ensuring that the mortar is well-suited for setting the bathtub securely.
By meticulously following these steps and guidelines, you can effectively mix the mortar for setting the bathtub, laying the groundwork for a stable and reliable installation. The properly mixed mortar provides the essential bonding and support required to secure the bathtub in place, contributing to a robust and long-lasting fixture within your bathroom.
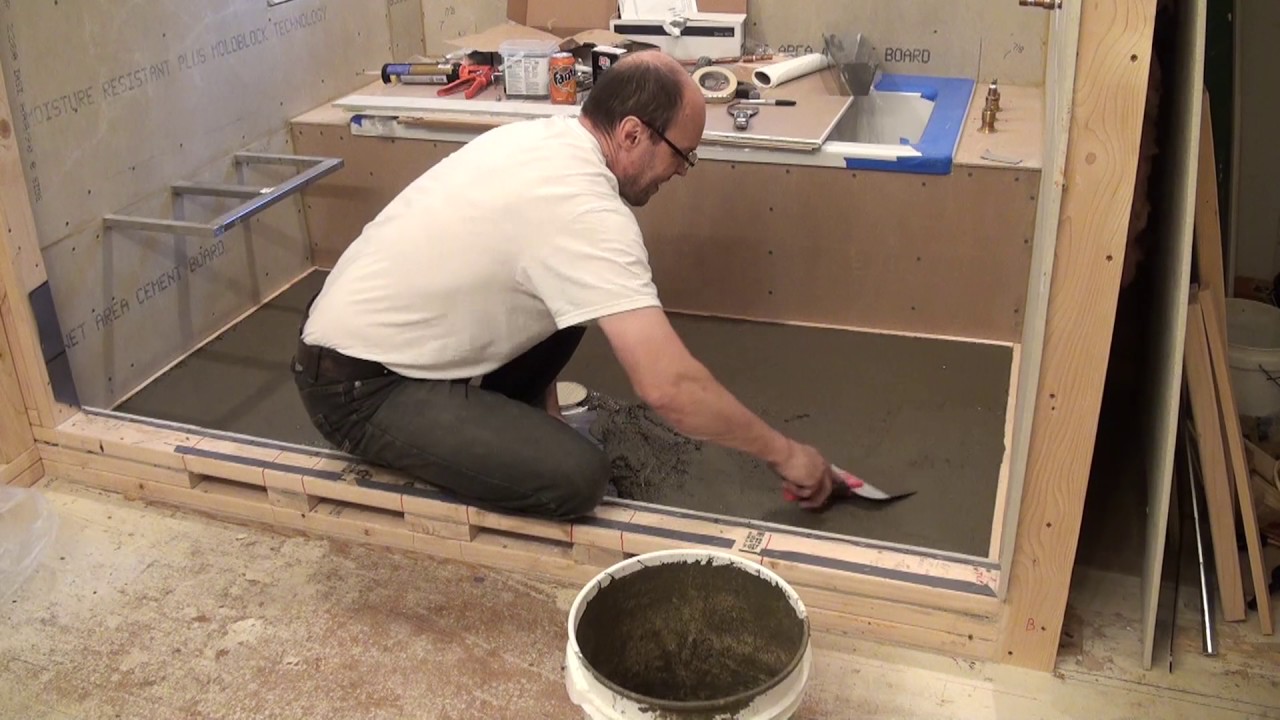
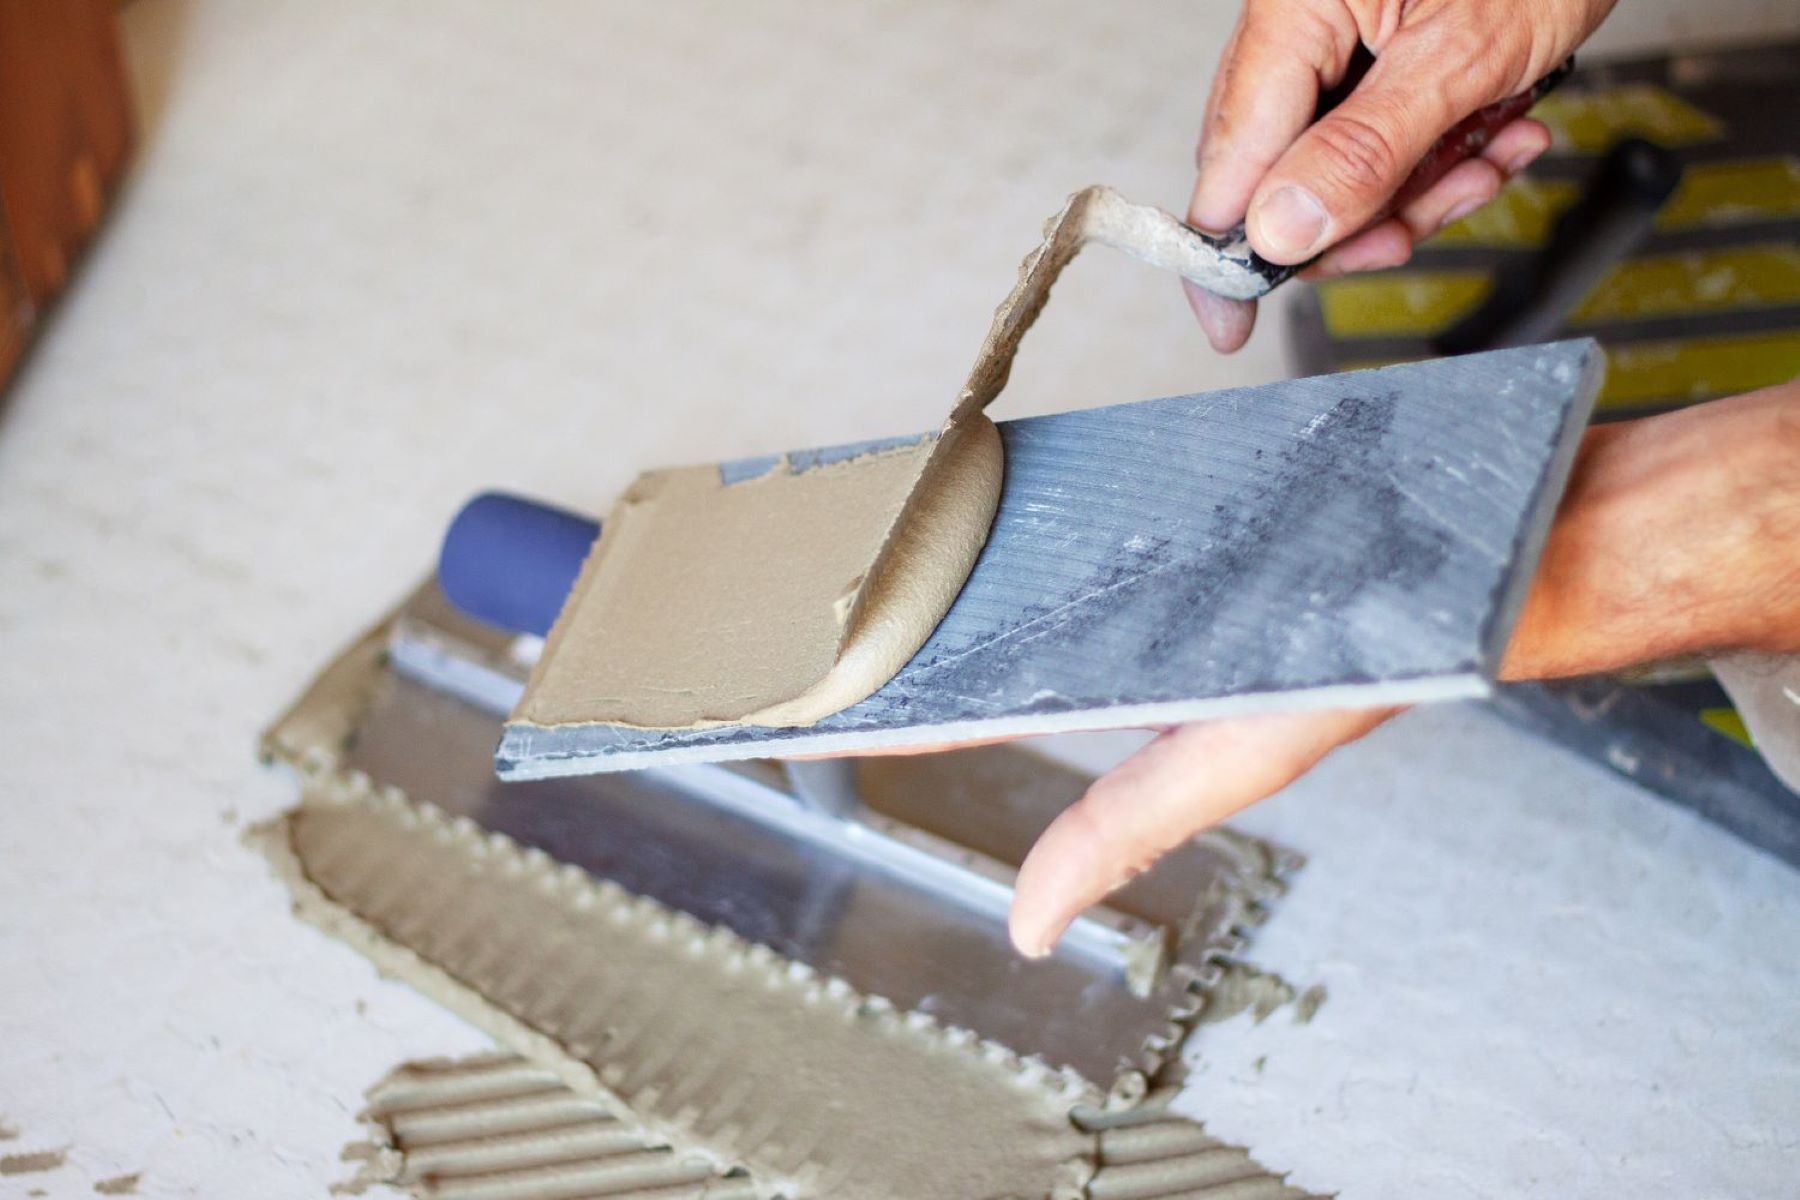
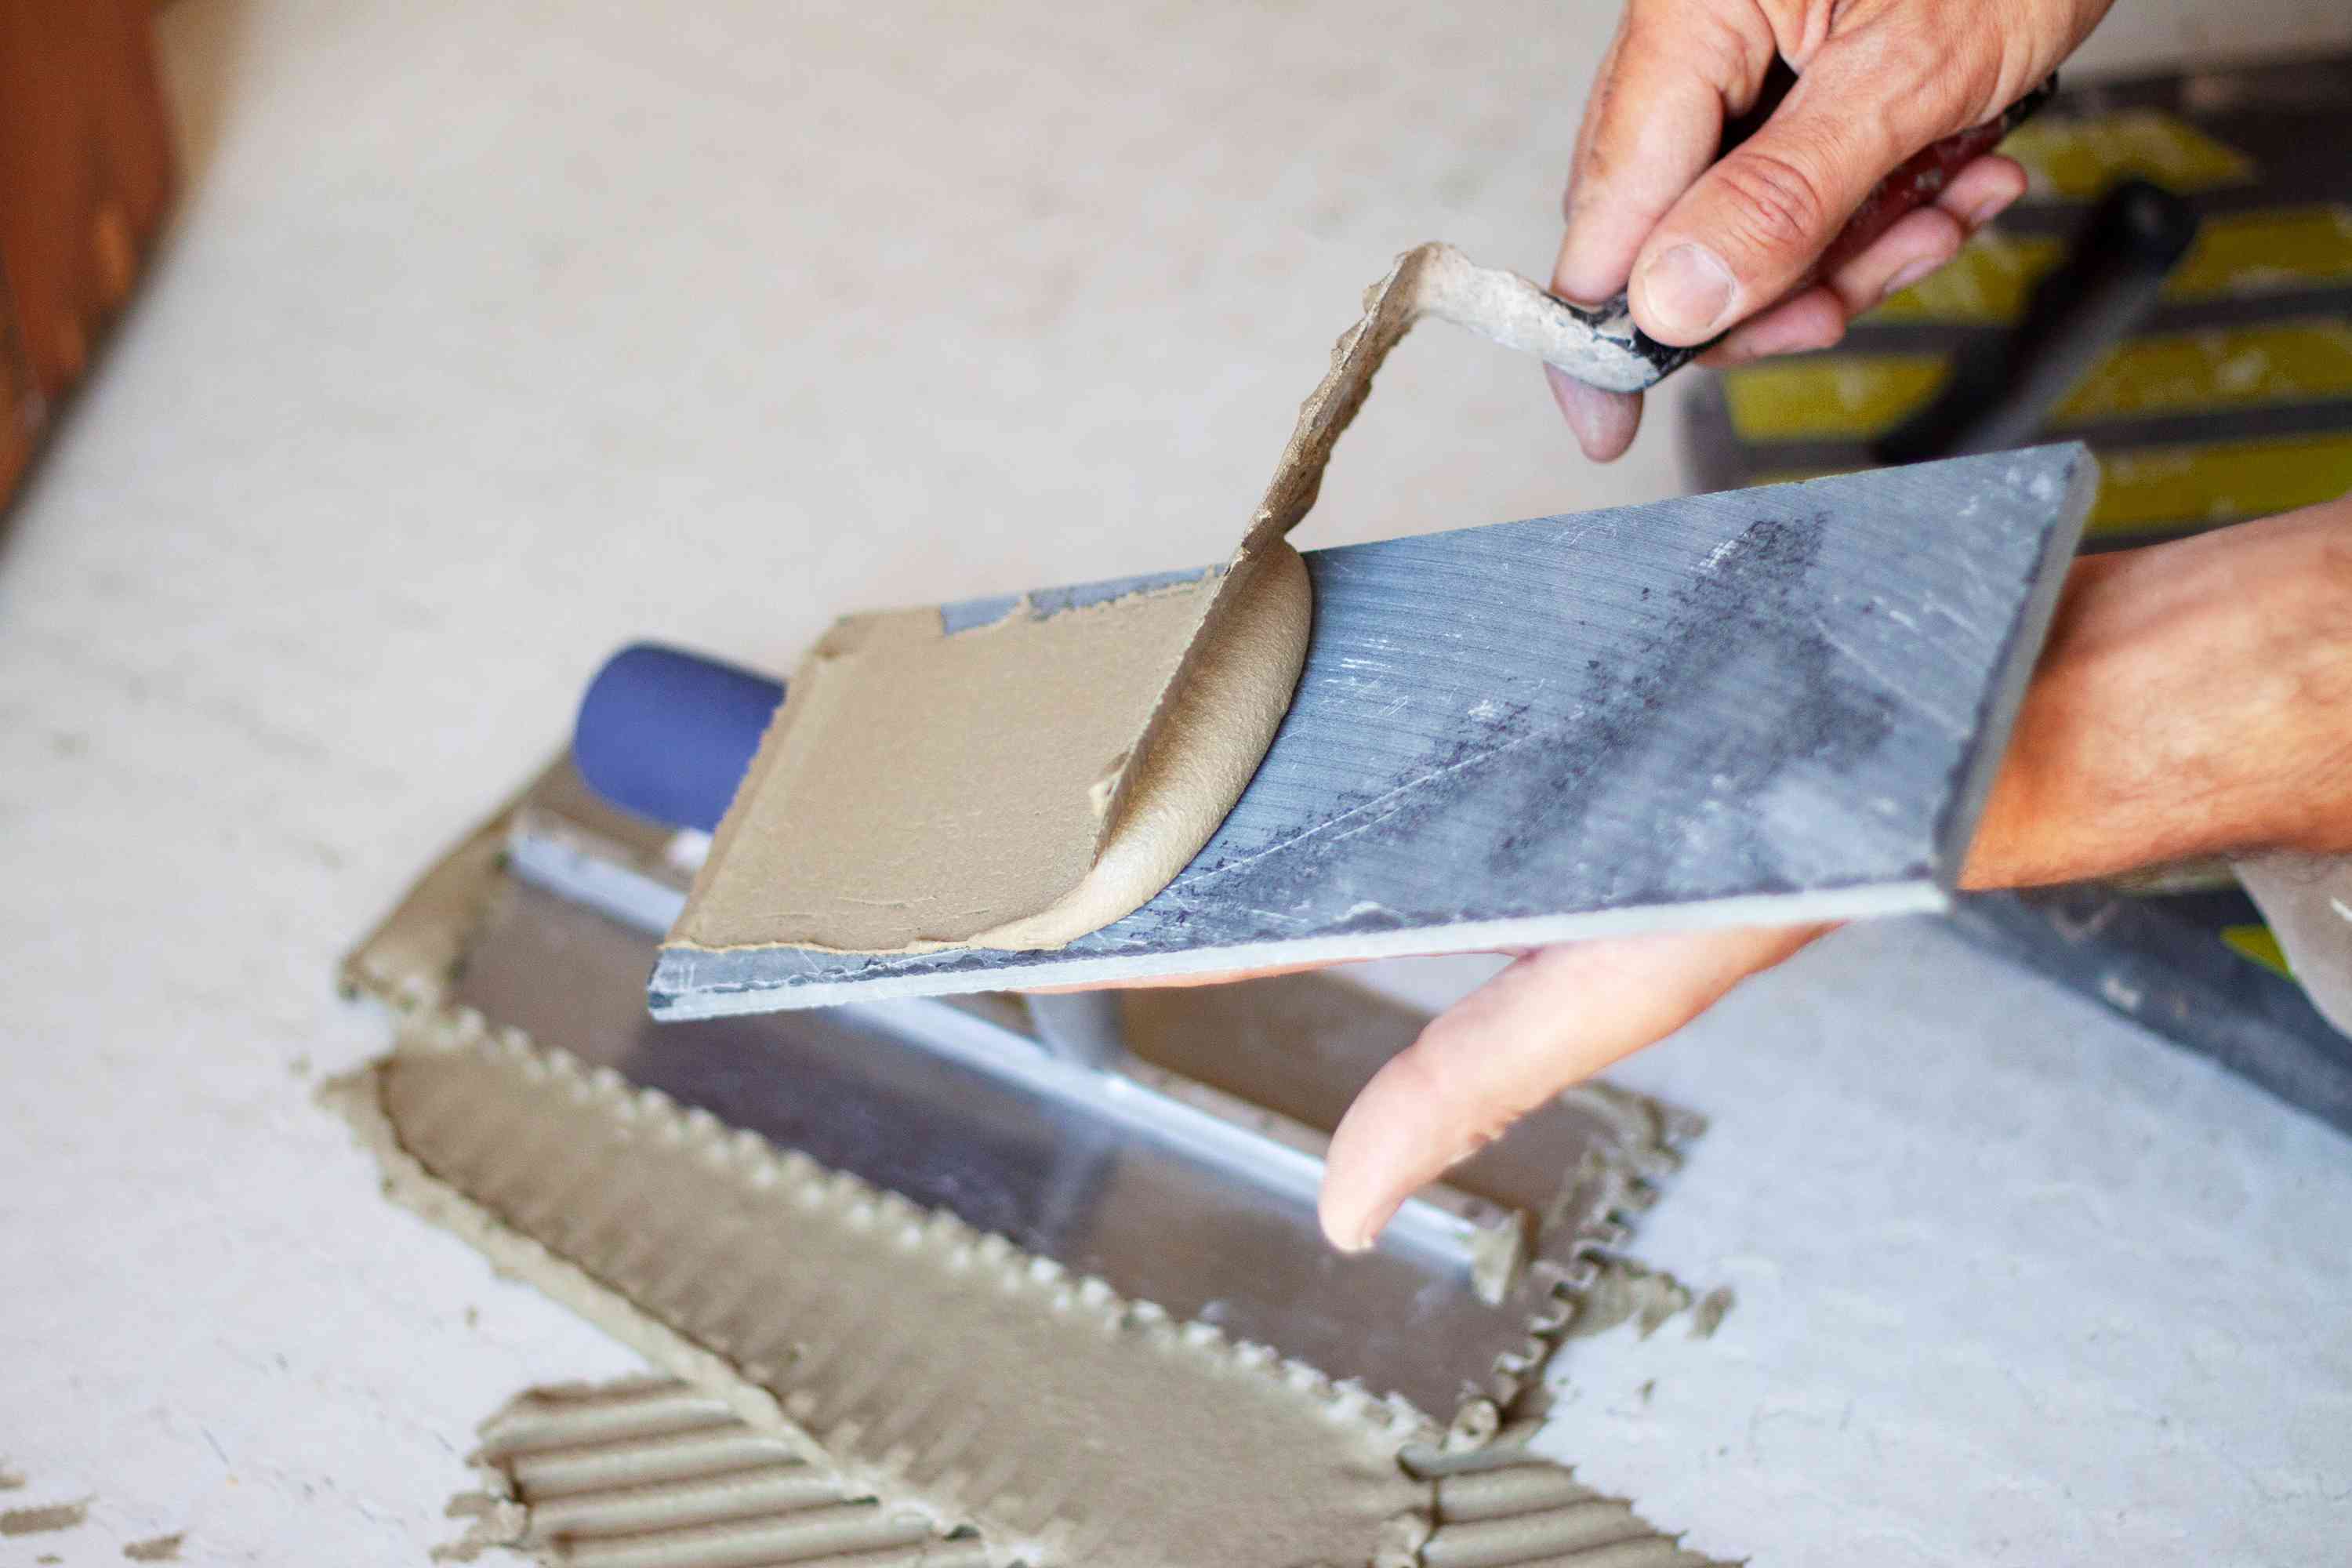
Step 3: Apply the Mortar
With the mortar thoroughly mixed and prepared, the next crucial step in setting a bathtub is the precise application of the mortar onto the subfloor. This process involves strategically spreading the mortar to create a solid and even foundation for the bathtub, ensuring optimal support and stability. Here's a detailed breakdown of the essential steps involved in applying the mortar:
-
Begin with the Corners and Edges: Using a margin trowel, start by applying a generous amount of mortar to the corners and edges of the designated bathtub placement area. This initial application focuses on creating a supportive perimeter that effectively anchors the bathtub in place, preventing any potential movement or shifting.
-
Create a Uniform Layer: Once the corners and edges are adequately covered, use the flat side of the trowel to spread the mortar evenly across the entire designated area. Aim for a consistent layer of mortar with a thickness that accommodates the specific requirements of the bathtub manufacturer. This uniform application ensures that the bathtub rests securely on the mortar bed without any uneven pressure points.
-
Pay Attention to the Drain Area: As you apply the mortar, take special care to create a smooth and level surface around the drain area. This meticulous approach ensures that the bathtub's drain assembly fits seamlessly into the mortar bed, promoting proper drainage and preventing any potential issues related to uneven support around the drain opening.
-
Work Efficiently and Methodically: While applying the mortar, work in small sections to maintain control and precision throughout the process. This methodical approach allows you to focus on creating a consistently level and supportive mortar bed, minimizing the risk of unevenness or excess mortar accumulation in specific areas.
-
Avoid Excess Mortar Squeeze-Out: As you set the bathtub in place, excess mortar may squeeze out from underneath the fixture. To prevent this, aim to achieve a balanced application of mortar that provides ample support without excessive overflow. This proactive measure contributes to a cleaner and more streamlined installation process.
By meticulously following these steps and guidelines, you can effectively apply the mortar onto the subfloor, creating a stable and reliable foundation for setting the bathtub. This meticulous approach ensures that the bathtub rests securely on the mortar bed, promoting long-term durability and structural integrity within your bathroom.
Make sure the floor is level before setting the bathtub. Mix mortar according to instructions and spread it evenly on the floor. Lower the bathtub into the mortar and check for levelness. Adjust as needed before the mortar sets.
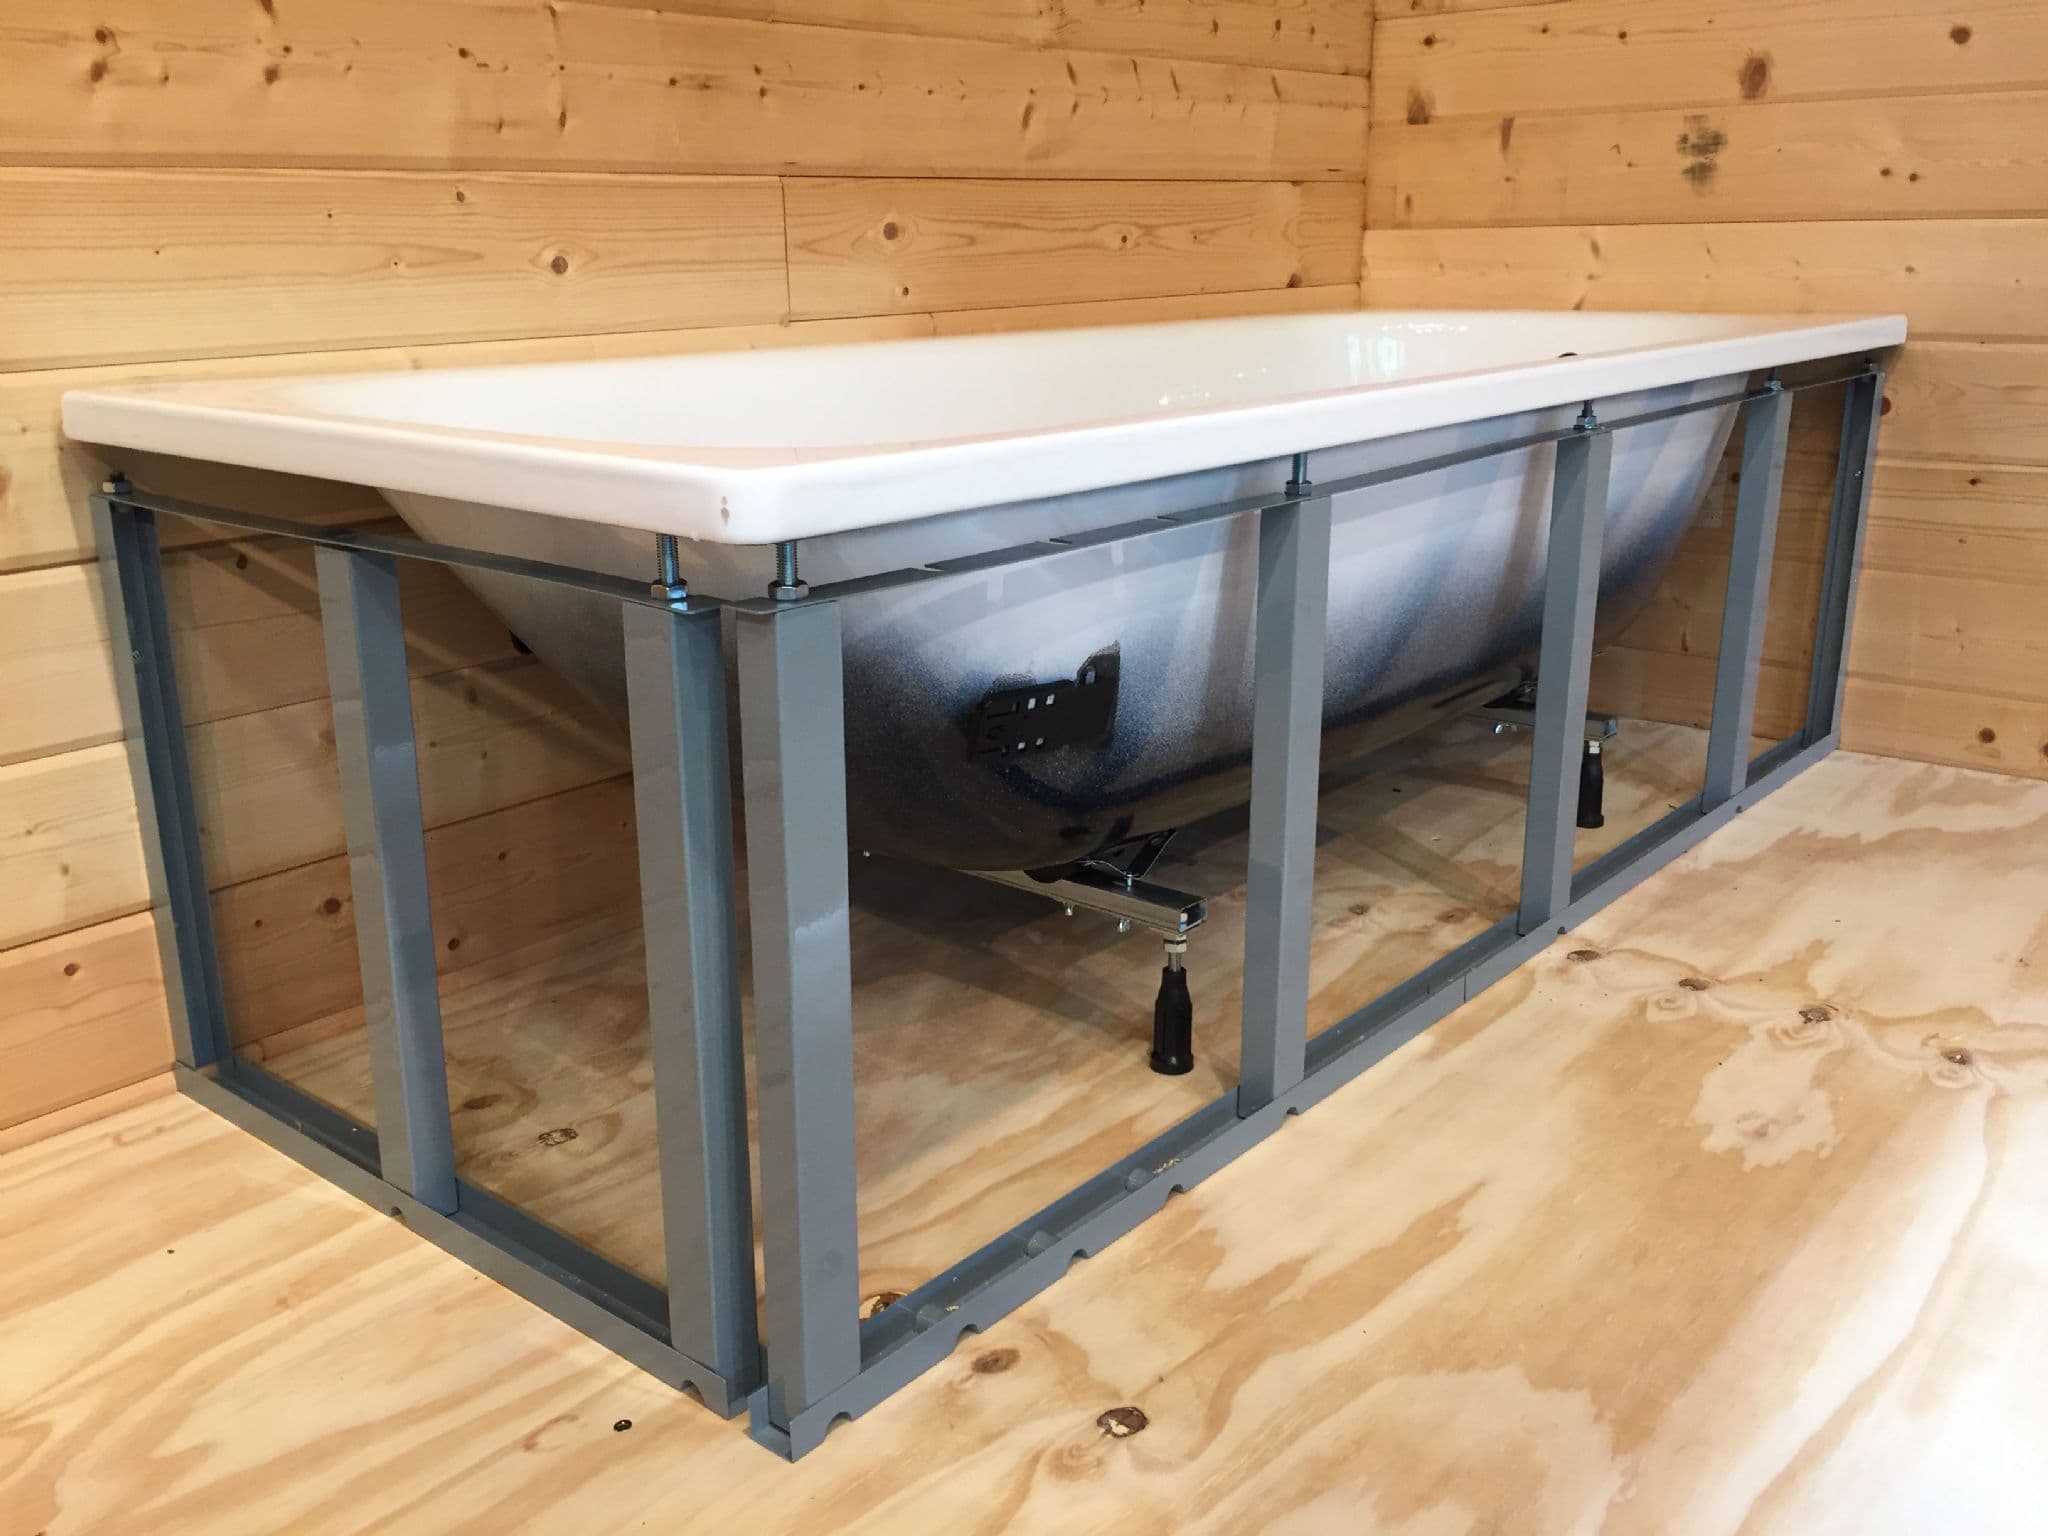
Step 4: Set the Bathtub
Setting the bathtub onto the mortar bed is a pivotal stage in the installation process, marking the transition from preparation to the physical integration of the fixture within the designated space. This step requires precision, care, and a methodical approach to ensure that the bathtub aligns accurately with the plumbing fixtures and rests securely on the mortar bed. Here's a detailed breakdown of the essential steps involved in setting the bathtub:
-
Positioning the Bathtub: With the assistance of a partner or a lifting device, carefully lift the bathtub and position it onto the prepared mortar bed. Align the drain and overflow openings with the corresponding plumbing connections, ensuring a seamless integration with the existing plumbing system.
-
Adjusting the Placement: Once the bathtub is in position, make minor adjustments to ensure that it sits level and aligns precisely with the markings on the subfloor. Pay close attention to the clearances from surrounding walls and fixtures, ensuring that the bathtub is centered within the designated space.
-
Applying Even Pressure: With the bathtub in place, apply even pressure to the bottom of the fixture to encourage optimal adherence to the mortar bed. This step helps eliminate air pockets and promotes a secure bond between the bathtub and the mortar, enhancing the stability and support provided by the installation.
-
Checking for Stability: After setting the bathtub, verify its stability by gently rocking the fixture from side to side. Any noticeable movement may indicate an uneven or insufficiently supported mortar bed, requiring immediate adjustments to ensure a secure and stable installation.
-
Clearing Excess Mortar: As the bathtub settles onto the mortar bed, clear any excess mortar that may have squeezed out from underneath the fixture. This proactive measure contributes to a cleaner and more polished appearance while preventing potential obstructions to the plumbing connections.
By meticulously following these steps and guidelines, you can effectively set the bathtub onto the prepared mortar bed, ensuring a secure, stable, and precisely positioned installation. This meticulous approach lays the foundation for a durable and reliable fixture that seamlessly integrates with the surrounding space, enhancing the functionality and aesthetic appeal of your bathroom.
Read more: How To Choose The Right Mortar
Step 5: Check for Level
Ensuring that the bathtub is perfectly level is a critical aspect of the installation process, as it directly impacts the functionality, aesthetics, and long-term stability of the fixture. A level bathtub not only enhances the visual appeal of the bathroom but also promotes proper drainage, prevents stress on the plumbing connections, and contributes to a comfortable bathing experience. Checking for level involves meticulous attention to detail and a methodical approach to verify the precise positioning of the bathtub within the designated space.
To check for level, follow these essential steps:
-
Utilize a Spirit Level: Place a spirit level horizontally across the rim of the bathtub, ensuring that it spans the entire width of the fixture. The spirit level provides a reliable indicator of any potential incline or tilt, allowing you to assess the current position of the bathtub accurately.
-
Adjust as Needed: If the spirit level indicates any deviation from the horizontal plane, make the necessary adjustments to level the bathtub. This may involve gently lifting and repositioning the fixture or adding shims beneath specific areas to achieve the desired levelness. Pay close attention to the readings of the spirit level and strive for precision in aligning the bathtub.
-
Verify in Multiple Directions: Check for levelness in both the horizontal and vertical planes to ensure comprehensive accuracy. This step involves using the spirit level along the length and width of the bathtub, as well as along the front and back surfaces. By verifying levelness in multiple directions, you can confirm that the bathtub is uniformly positioned within the space.
-
Confirm Stability: As you make adjustments to level the bathtub, periodically verify the stability of the fixture on the mortar bed. Ensure that the bathtub remains securely supported and does not shift or wobble during the leveling process. This proactive measure promotes a secure and reliable installation while addressing any potential issues related to unevenness.
-
Recheck After Adjustments: Once you have made the necessary adjustments to level the bathtub, recheck the position using the spirit level to confirm that the fixture is now perfectly level. This step provides assurance that the bathtub is optimally positioned and ready for the subsequent stages of the installation process.
By meticulously following these steps and guidelines, you can effectively check for level and ensure that the bathtub is positioned with precision and accuracy. This meticulous approach contributes to a stable and visually appealing installation, setting the stage for a functional and aesthetically pleasing bathtub within your bathroom.
Step 6: Allow the Mortar to Set
Once the bathtub is securely positioned and verified for levelness, the next crucial step is to allow the mortar to set thoroughly. Allowing adequate time for the mortar to cure and harden is essential for establishing a strong and durable bond between the bathtub and the subfloor. This process ensures that the bathtub remains firmly anchored in place, with the mortar providing robust support and stability for the fixture.
The duration required for the mortar to set can vary depending on factors such as the specific mortar product used, ambient temperature, and humidity levels. However, a general guideline is to allow the mortar to cure for a minimum of 24 to 48 hours before subjecting the bathtub to any weight or stress. This extended curing period allows the mortar to achieve its maximum strength and bonding capabilities, contributing to a reliable and long-lasting installation.
During the mortar setting period, it is crucial to avoid any disturbances or weight-bearing activities on the bathtub. This includes refraining from standing or placing heavy objects on the bathtub, as well as minimizing any potential vibrations or movements in the vicinity of the installation area. These precautions help maintain the integrity of the mortar as it undergoes the curing process, ensuring that it can fully establish a solid bond with both the bathtub and the subfloor.
Additionally, maintaining consistent ambient conditions, such as moderate temperature and controlled humidity, can facilitate optimal mortar curing. Extreme temperature fluctuations or excessive moisture levels can impact the curing process, potentially compromising the strength and stability of the mortar. Therefore, it is advisable to create a stable environment conducive to the proper setting of the mortar.
As the mortar sets and cures, periodically inspect the installation area to ensure that the bathtub remains securely positioned and that the mortar exhibits the expected hardening and bonding characteristics. This proactive monitoring allows for early detection of any potential issues and provides the opportunity to address them promptly, further enhancing the overall integrity of the installation.
By allowing the mortar to set undisturbed for the recommended duration and maintaining favorable environmental conditions, you contribute to the establishment of a robust and reliable foundation for the bathtub. This meticulous approach ensures that the mortar achieves its full bonding potential, resulting in a secure and enduring installation that enhances the functionality and longevity of the bathtub within your bathroom.
Conclusion
In conclusion, the process of setting a bathtub in mortar is a fundamental aspect of the installation that significantly impacts the stability, support, and longevity of the fixture. By meticulously following the comprehensive steps outlined in this guide, you can achieve a secure and durable installation that enhances the functionality and aesthetic appeal of your bathroom.
From the initial preparation of the installation area to the meticulous application of the mortar and the precise setting of the bathtub, each step plays a crucial role in ensuring a successful outcome. The attention to detail and methodical approach employed throughout the process contribute to the creation of a solid foundation that supports the bathtub and withstands the demands of daily use.
By preparing the installation area meticulously, including clearing the workspace, inspecting the subfloor, and marking the precise placement of the bathtub, you establish the groundwork for a stable and level foundation. The careful selection and thorough mixing of the mortar further contribute to the creation of a reliable bonding material that securely anchors the bathtub in place.
The precise application of the mortar onto the subfloor, followed by the methodical setting of the bathtub and meticulous verification of levelness, ensures that the fixture is positioned with accuracy and stability. This meticulous approach sets the stage for a secure and reliable installation that promotes long-term durability and performance.
Allowing the mortar to set undisturbed for the recommended duration is the final step in solidifying the bond between the bathtub and the subfloor. This critical phase ensures that the mortar achieves its maximum strength and stability, laying the foundation for a robust and enduring installation.
In essence, the process of setting a bathtub in mortar is a testament to the meticulous attention to detail and the commitment to creating a secure and reliable fixture within your bathroom. By following the outlined steps and guidelines, you can embark on this essential task with confidence, knowing that you are creating a stable and durable foundation for your bathtub, enhancing the overall functionality and appeal of your bathroom space.
Frequently Asked Questions about How To Set A Bathtub In Mortar
Was this page helpful?
At Storables.com, we guarantee accurate and reliable information. Our content, validated by Expert Board Contributors, is crafted following stringent Editorial Policies. We're committed to providing you with well-researched, expert-backed insights for all your informational needs.

0 thoughts on “How To Set A Bathtub In Mortar”