Home>Renovation & DIY>Tools & Equipment>How To Clean Chalk Paint Brushes

Tools & Equipment
How To Clean Chalk Paint Brushes
Modified: August 30, 2024
Learn the best techniques for cleaning chalk paint brushes with the right tools and equipment. Keep your brushes in top condition for your next project.
(Many of the links in this article redirect to a specific reviewed product. Your purchase of these products through affiliate links helps to generate commission for Storables.com, at no extra cost. Learn more)
Introduction
When it comes to creating stunning, vintage-inspired finishes on furniture and other surfaces, chalk paint has become a beloved choice for many DIY enthusiasts and professional painters alike. However, one of the most crucial aspects of achieving a flawless chalk paint finish is the proper care and maintenance of your brushes. Cleaning chalk paint brushes is an essential task that ensures the longevity and quality of your tools, allowing you to continue producing beautiful, smooth finishes.
In this comprehensive guide, we will delve into the step-by-step process of cleaning chalk paint brushes, providing you with valuable insights and expert tips to maintain the integrity of your brushes. Whether you are an experienced painter or just starting your journey with chalk paint, mastering the art of brush cleaning is essential for preserving the performance and lifespan of your valuable tools. So, let's roll up our sleeves and learn the best practices for cleaning chalk paint brushes to keep them in pristine condition for your next creative project.
Key Takeaways:
- Properly cleaning chalk paint brushes is essential for maintaining their quality and performance, ensuring professional-quality finishes for your projects.
- By following a simple step-by-step process, you can effectively remove paint residues and impurities, extending the lifespan of your valuable brushes.
Read also: 12 Best Chalk Paint Brushes For 2025
Materials Needed
Before embarking on the journey of cleaning your chalk paint brushes, it’s essential to gather the necessary materials to ensure a thorough and effective cleaning process. Here’s a list of items you’ll need:
- Used chalk paint brushes
- Mild dish soap or brush cleaner specifically designed for water-based paints
- Warm water
- Container or sink
- Old towel or paper towels
- Comb or brush comb
- Protective gloves (optional)
By having these materials at your disposal, you’ll be fully equipped to restore your chalk paint brushes to their optimal condition, ready for your next painting project. Now that we have all the necessary tools and equipment, it’s time to dive into the step-by-step process of cleaning chalk paint brushes.
Step 1: Preparing the Brushes
Before initiating the cleaning process, it’s crucial to prepare the chalk paint brushes to ensure that the cleaning solution can effectively remove the paint residues and impurities. Here’s a detailed guide on how to prepare your brushes for cleaning:
1. Remove Excess Paint: Start by removing any excess chalk paint from the bristles. You can gently tap the brush against the edge of the paint can or a disposable surface to dislodge the majority of the paint.
2. Inspect the Bristles: Take a close look at the bristles to identify any hardened or stubborn paint residue. If there are any particularly tough areas, use a brush comb or an old toothbrush to loosen the paint gently.
3. Protect Your Hands: If you’re using a brush cleaner or solvent, it’s advisable to wear protective gloves to shield your skin from any potential irritation caused by the cleaning solution.
By diligently preparing your brushes, you’re setting the stage for a thorough and effective cleaning process, ensuring that the bristles are ready to be restored to their original pristine condition. With the brushes prepped and ready, it’s time to move on to the next crucial step: cleaning the brushes to remove all traces of chalk paint.
After using chalk paint, clean brushes with warm soapy water. Gently massage the bristles to remove paint, rinse, and let them air dry. Avoid harsh chemicals to prolong brush life.
Step 2: Cleaning the Brushes
Now that your chalk paint brushes are prepared, it’s time to delve into the essential step of cleaning the brushes to remove the residual paint and restore them to their former glory. Follow these detailed steps to ensure a thorough cleaning process:
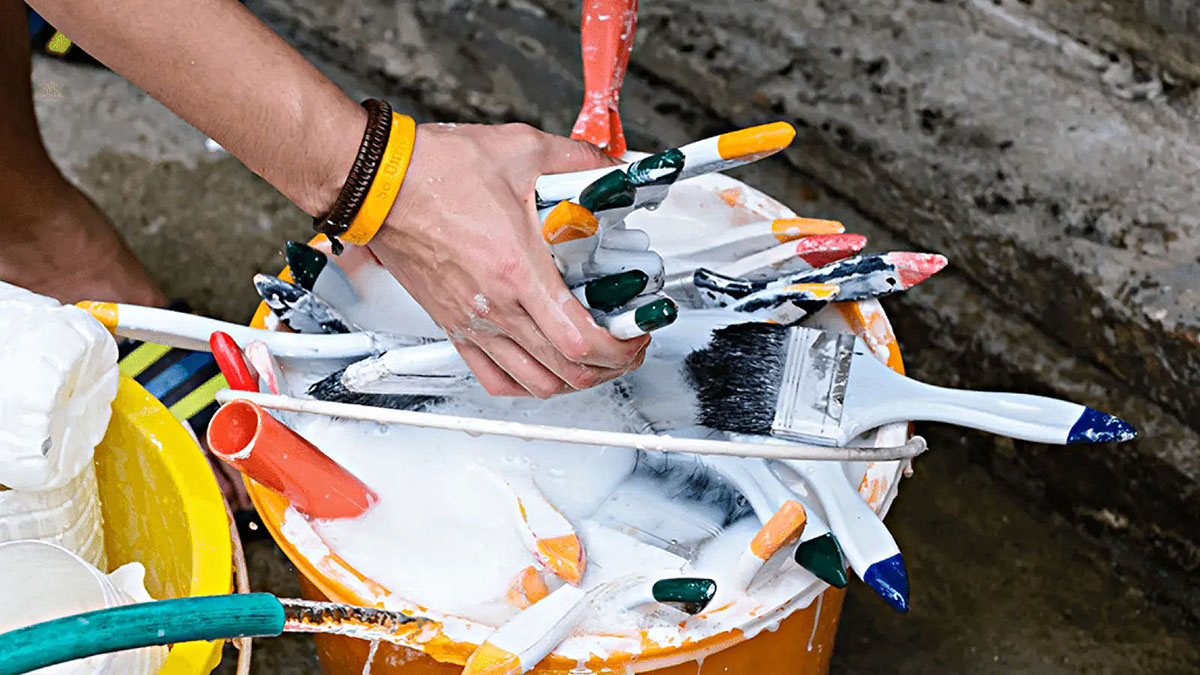
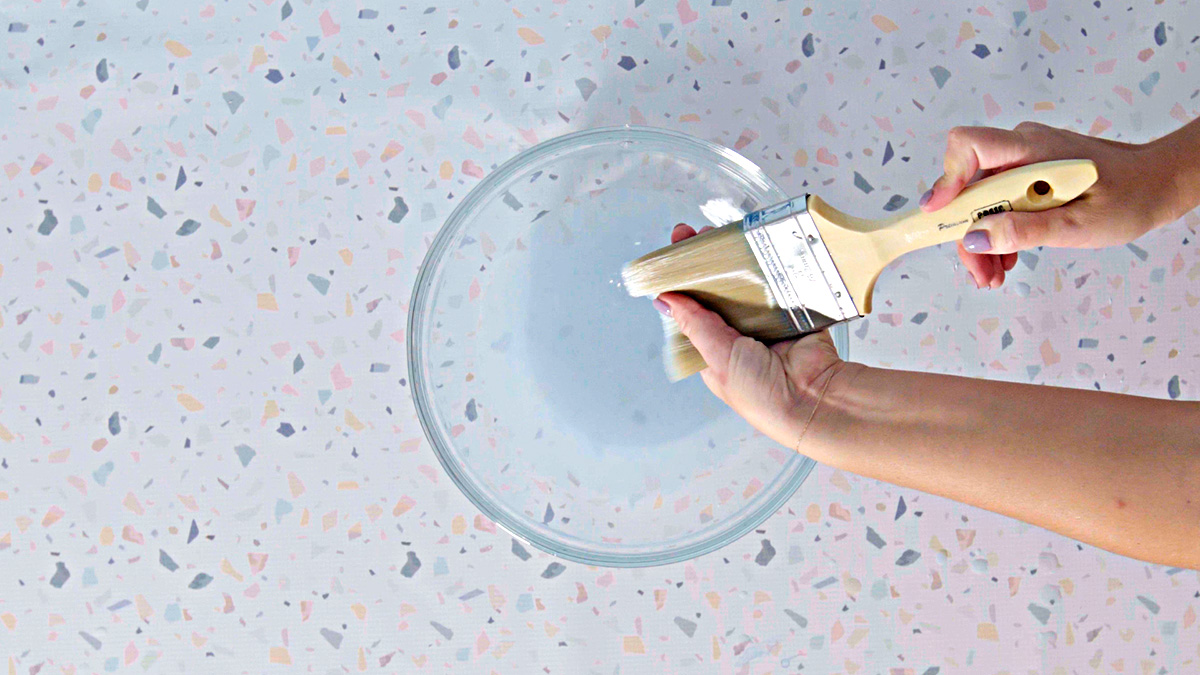
1. Prepare the Cleaning Solution: Fill a container or sink with warm water. Add a small amount of mild dish soap or a brush cleaner specifically designed for water-based paints. Swirl the water to create a soapy solution that will effectively break down the paint residues.
2. Submerge the Brushes: Gently submerge the prepared brushes into the soapy water, ensuring that the bristles are fully immersed. Allow the brushes to soak for a few minutes, enabling the cleaning solution to penetrate and loosen the remaining paint.
3. Agitate the Bristles: After soaking, agitate the bristles by gently moving the brushes back and forth in the soapy water. This motion helps dislodge the paint particles trapped within the bristles, facilitating a more thorough cleaning process.
4. Rinse and Repeat: Once the bristles appear to be free of paint residues, remove the brushes from the soapy water and rinse them under running water. If there are still traces of paint remaining, repeat the soaking and agitating process until the water runs clear, indicating that the brushes are clean.
5. Inspect for Residual Paint: After cleaning, carefully inspect the bristles to ensure that no paint residues remain. If you notice any lingering paint, repeat the cleaning process or use a brush comb to gently remove the stubborn particles.
By diligently following these steps, you’ll effectively clean your chalk paint brushes, removing all traces of paint and preparing them for the final stages of the cleaning process. With the brushes now free of paint residues, it’s time to proceed to the next critical step: rinsing and drying the brushes to complete the cleaning process.
Step 3: Rinsing and Drying
With the brushes effectively cleaned, the final step involves rinsing and drying them to ensure that they are thoroughly free of any cleaning solution and ready for future use. Follow these essential steps to complete the cleaning process:
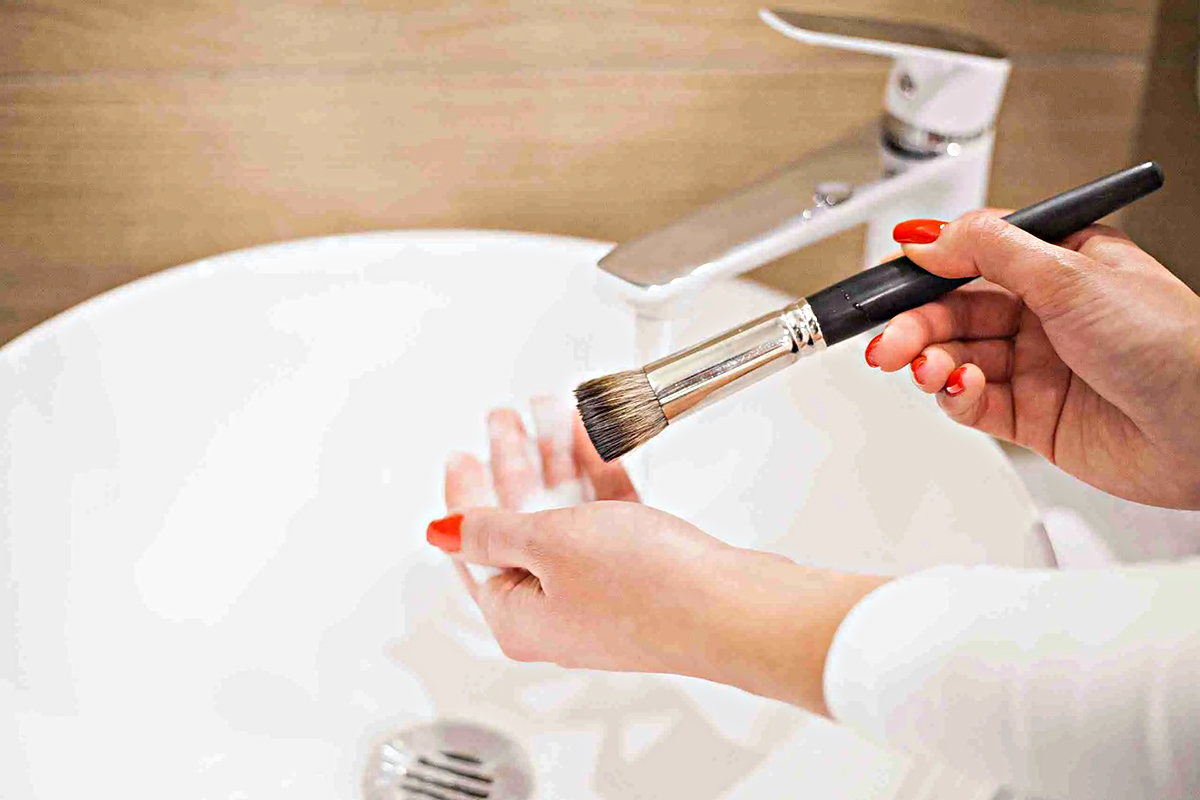
1. Rinse the Brushes: Thoroughly rinse the cleaned brushes under running water to remove any traces of the soapy cleaning solution. Ensure that all soap residue is washed away, as it can affect the performance of the brushes if left behind.
2. Gently Squeeze Out Excess Water: After rinsing, gently squeeze the bristles to remove excess water. Avoid twisting or wringing the bristles, as this can damage the brush shape and compromise its performance.
3. Reshape the Bristles: While the bristles are still damp, reshape them to their original form. Use your fingers to gently reform the bristles into their natural shape, ensuring that they dry evenly and maintain their functionality.
4. Dry the Brushes Horizontally: Lay the cleaned and reshaped brushes flat on an old towel or paper towels to air dry. Position them in a well-ventilated area, away from direct heat sources or sunlight, allowing them to dry naturally.
5. Optional Conditioning: If your brushes have natural bristles, consider applying a small amount of hair conditioner to the bristles after cleaning and before drying. This can help maintain the softness and suppleness of the bristles, prolonging the lifespan of your brushes.
By diligently following these steps, you’ll complete the cleaning process, leaving your chalk paint brushes thoroughly rinsed, reshaped, and ready for future use. With the brushes now cleaned and dried, you can rest assured that they are in optimal condition for your next painting endeavor.
Read more: How To Paint Furniture With Chalk Paint
Conclusion
Cleaning chalk paint brushes is a vital aspect of maintaining the quality and performance of your painting tools. By following the step-by-step process outlined in this guide, you can effectively remove paint residues and impurities, ensuring that your brushes remain in pristine condition for future projects. Remember, the care and maintenance of your brushes contribute to the longevity of these valuable tools, allowing you to consistently achieve professional-quality finishes.
As you embark on your next chalk paint project, take the time to prepare, clean, rinse, and dry your brushes with care and attention to detail. By doing so, you’ll not only extend the lifespan of your brushes but also guarantee optimal painting results with each use.
Now that you’ve mastered the art of cleaning chalk paint brushes, you can approach your painting endeavors with confidence, knowing that your brushes are ready to bring your creative visions to life. So, roll up your sleeves, pick up those freshly cleaned brushes, and let your artistic talents shine through as you create stunning chalk paint masterpieces.
Frequently Asked Questions about How To Clean Chalk Paint Brushes
Was this page helpful?
At Storables.com, we guarantee accurate and reliable information. Our content, validated by Expert Board Contributors, is crafted following stringent Editorial Policies. We're committed to providing you with well-researched, expert-backed insights for all your informational needs.

0 thoughts on “How To Clean Chalk Paint Brushes”