Home>Renovation & DIY>Tools & Equipment>How To Make A Screwdriver Tool
Tools & Equipment
How To Make A Screwdriver Tool
Published: December 19, 2023
Learn how to make a screwdriver tool and enhance your collection of tools and equipment with our step-by-step guide. Master the art of DIY projects today!
(Many of the links in this article redirect to a specific reviewed product. Your purchase of these products through affiliate links helps to generate commission for Storables.com, at no extra cost. Learn more)
Introduction
Welcome to the world of DIY tool crafting! Have you ever found yourself in need of a specialized tool, only to realize that you don't have it in your toolbox? Fear not, as we are about to embark on a journey to create a versatile and practical tool: the screwdriver. In this guide, we will walk through the process of making a screwdriver from scratch, using simple materials that you may already have at home or can easily obtain from a hardware store.
Crafting your own screwdriver not only saves you a trip to the store but also allows you to customize the tool to fit your specific needs. Whether you require a longer handle for better leverage or a unique screwdriver bit for a particular project, making your own screwdriver puts the power in your hands – quite literally!
So, roll up your sleeves, gather your materials, and let's dive into the rewarding and empowering process of creating a custom screwdriver that will undoubtedly become a valuable addition to your toolkit.
Key Takeaways:
- Craft your own screwdriver using simple materials like a metal rod, screwdriver bit, and drill. Personalize the handle for comfort and control, and secure the bit for reliable performance.
- Enjoy the satisfaction of creating a custom screwdriver that reflects your creativity and resourcefulness. Test its functionality and embrace the spirit of DIY innovation.
Read more: How To Make A Sonic Screwdriver
Materials Needed
Before we begin crafting our homemade screwdriver, let’s gather the essential materials and tools required for this project. The beauty of this DIY endeavor lies in its simplicity, as the materials are likely to be found in your toolbox or can be easily obtained from a hardware store.
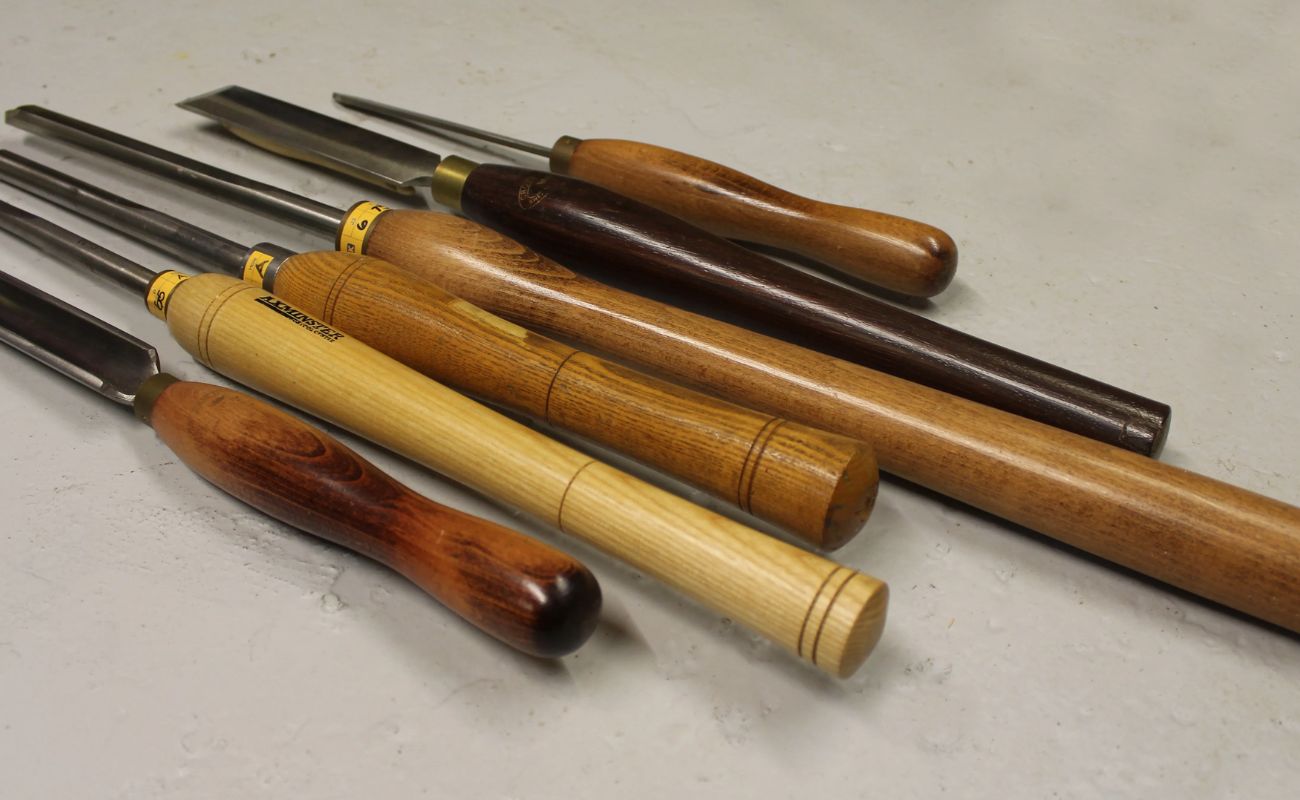
- A sturdy metal rod or wooden dowel for the handle
- A screwdriver bit of your choice (Phillips, flathead, hex, etc.)
- A drill with a bit slightly smaller than the diameter of the screwdriver bit
- A file or sandpaper for smoothing rough edges
- A vice or clamp to secure the handle during assembly
- A hacksaw or a rotary tool with a cutting attachment
- Measuring tape or ruler
- Safety goggles and gloves for protection
With these basic materials in hand, we are well-equipped to embark on the exciting process of creating a personalized screwdriver that perfectly suits our needs and preferences.
Step 1: Gather the Necessary Materials
Before diving into the hands-on aspect of crafting our custom screwdriver, it’s crucial to gather all the required materials and tools. This preparatory step ensures a smooth and uninterrupted crafting process, allowing us to focus on the creative and technical aspects of the project.
Start by identifying a sturdy metal rod or wooden dowel that will serve as the handle of the screwdriver. The handle should be comfortable to grip and provide sufficient leverage when using the screwdriver. Additionally, select a screwdriver bit that matches the type commonly used in your projects, whether it’s a Phillips, flathead, hex, or another specialized bit.
Next, ensure that you have access to a drill with a bit slightly smaller than the diameter of the screwdriver bit. The drill will be used to create a pilot hole in the handle for attaching the screwdriver bit securely. Additionally, have a file or sandpaper on hand to smooth any rough edges on the handle, ensuring a comfortable and safe user experience.
For the assembly process, a vice or clamp is essential for securing the handle in place, allowing for precise and controlled attachment of the screwdriver bit. Depending on the material chosen for the handle, a hacksaw or a rotary tool with a cutting attachment may be needed to trim the handle to the desired length.
Lastly, don’t forget to gather safety gear, including goggles and gloves, to protect your eyes and hands during the crafting process. With all these materials at the ready, we are well-prepared to move on to the next exciting step: preparing the handle for our custom screwdriver.
Step 2: Prepare the Handle
Now that we have gathered the necessary materials, it’s time to dive into the hands-on aspect of crafting our custom screwdriver. The handle serves as the foundation of the tool, providing comfort and control during use. Whether you’ve chosen a metal rod or a wooden dowel for the handle, the following steps will guide you through the process of preparing it for the assembly of the screwdriver.
Begin by measuring and marking the desired length for the handle. Use a measuring tape or ruler to ensure precision, and mark the cutting point with a pencil or marker. If you’ve opted for a metal rod, a hacksaw or rotary tool with a cutting attachment will come in handy for trimming the rod to the appropriate length. For a wooden dowel, a saw or sharp knife can be used to achieve the desired length.
Once the handle is cut to size, use a file or sandpaper to smooth any rough edges or sharp protrusions. This step is essential for creating a comfortable and safe grip, as it minimizes the risk of splinters or injuries during use. Take your time to ensure that the handle is smooth and free of any imperfections that may affect its usability.
Next, consider adding a personal touch to the handle by shaping it to fit your grip comfortably. You may prefer a cylindrical handle, or you might opt to create a contoured grip for enhanced ergonomics. Use the file or sandpaper to shape the handle according to your preference, keeping in mind the importance of a comfortable and secure grip during use.
With the handle prepared and customized to your liking, we are one step closer to assembling our custom screwdriver. The next step will involve attaching the chosen screwdriver bit to the handle, bringing us closer to the completion of our personalized and practical tool.
When making a screwdriver tool, ensure the handle is comfortable to grip and the metal shaft is strong enough to withstand twisting. Use a durable material for the handle and a high-quality metal for the shaft to ensure longevity and effectiveness.
Step 3: Attach the Screwdriver Bit
With the handle prepared and customized to your liking, it’s time to move on to the critical step of attaching the screwdriver bit. The type of bit chosen will depend on the specific needs of your projects, whether it’s a Phillips, flathead, hex, or another specialized bit. The following steps will guide you through the process of securely attaching the screwdriver bit to the handle, ensuring a durable and reliable connection.
Begin by selecting the appropriate drill bit, slightly smaller in diameter than the screwdriver bit, to create a pilot hole in the center of the handle. This pilot hole will serve as the starting point for attaching the screwdriver bit securely. Use a drill to carefully create the pilot hole, ensuring that it is centered and straight to facilitate a precise and stable connection with the screwdriver bit.
Once the pilot hole is drilled, insert the chosen screwdriver bit into the hole, ensuring a snug fit. Depending on the material of the handle, you may need to use a hammer or mallet to gently tap the screwdriver bit into place. Exercise caution to avoid damaging the handle or the bit during this process, and ensure that the bit is inserted securely into the handle.
If the screwdriver bit protrudes from the handle, use a hacksaw or a rotary tool with a cutting attachment to trim any excess length, ensuring that the bit is flush with the end of the handle. This step contributes to the overall aesthetics and functionality of the custom screwdriver, creating a seamless and professional finish.
With the screwdriver bit securely attached to the handle, we are one step closer to completing our homemade screwdriver. The next step will involve ensuring that the bit is firmly secured in place, ready to tackle a wide range of projects with precision and ease.
Read more: How To Store Screwdrivers
Step 4: Secure the Bit in Place
After attaching the screwdriver bit to the handle, the next crucial step is to ensure that it is securely held in place, ready to withstand the demands of various projects. A stable and reliable connection between the handle and the screwdriver bit is essential for optimal performance and safety. The following steps will guide you through the process of securing the bit in place, providing confidence in the durability and functionality of your homemade screwdriver.
Begin by assessing the fit of the screwdriver bit within the pilot hole. Ensure that the bit sits firmly and does not wobble or loosen within the handle. If there is any play or instability, consider applying a small amount of epoxy adhesive or wood glue to the base of the screwdriver bit before reinserting it into the pilot hole. This additional bonding agent will enhance the connection and provide added stability.
Once the screwdriver bit is reinserted into the pilot hole with the adhesive, use a vice or clamp to secure the handle, applying gentle pressure to ensure that the bit is held in place as the adhesive sets. Allow the adhesive to cure fully according to the manufacturer’s instructions, ensuring a strong and permanent bond between the handle and the screwdriver bit.
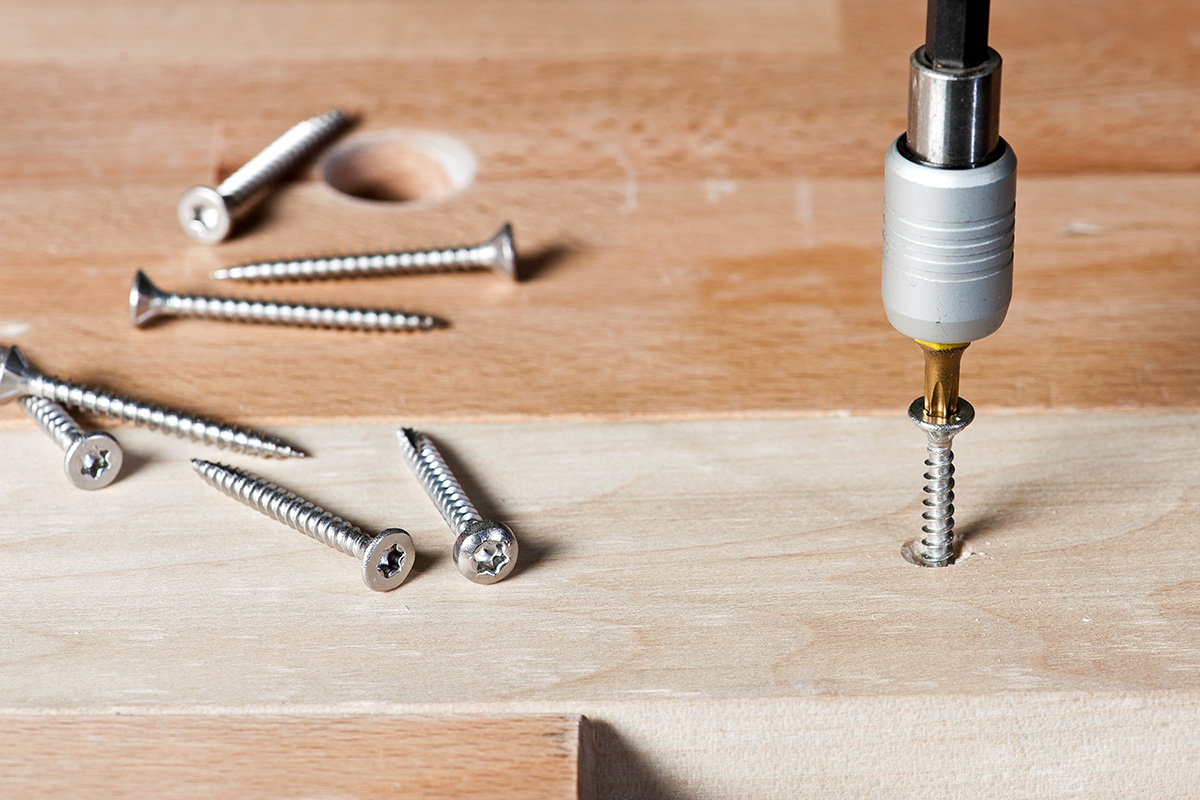
If you prefer a mechanical fastening method, consider inserting a small screw through the side of the handle and into the base of the screwdriver bit. This method provides an additional layer of security, preventing the bit from loosening or rotating during use. Use a drill to create a pilot hole for the screw, ensuring that it is positioned to intersect with the base of the screwdriver bit.
With the screw in place, the bit will be firmly secured within the handle, ready to tackle a wide range of tasks with precision and reliability. Once the adhesive has fully cured or the screw is tightened, test the stability of the connection by gently applying pressure to the screwdriver bit. A secure and stable connection ensures that your custom screwdriver is ready to handle any project that comes your way.
With the screwdriver bit securely in place, our homemade screwdriver is nearing completion. The next and final step will involve testing the screwdriver to ensure that it meets our expectations and is ready for action.
Step 5: Test the Screwdriver
As we approach the final stage of crafting our homemade screwdriver, it’s time to put our creation to the test. Testing the screwdriver ensures that it meets our expectations in terms of functionality, durability, and overall performance. The following steps will guide you through the process of evaluating the screwdriver, ensuring that it is ready to tackle a wide range of projects with precision and reliability.
Begin by visually inspecting the screwdriver, paying attention to the connection between the handle and the screwdriver bit. Ensure that the bit is securely attached and that there are no signs of instability or looseness. Additionally, check the overall finish of the screwdriver, confirming that the handle is smooth and comfortable to grip, and that the screwdriver bit is aligned with the handle.
With the visual inspection complete, it’s time to test the screwdriver’s functionality. Select a suitable screw or fastener and use the custom screwdriver to drive it into a piece of scrap material. Pay attention to the feel of the handle, assessing its comfort and ergonomics during use. Additionally, observe the performance of the screwdriver bit, ensuring that it engages the screw effectively and provides the necessary torque for driving it into the material.
As you test the screwdriver, consider the specific projects and tasks for which you intend to use it. Evaluate its performance based on these anticipated uses, ensuring that it meets your requirements in terms of precision, control, and ease of use. If any adjustments or refinements are needed, take note of them for future modifications to enhance the screwdriver’s performance.
After testing the screwdriver, take the time to clean and maintain it, ensuring that it remains in optimal condition for future use. Wipe down the handle and the screwdriver bit to remove any debris or residue, and store the screwdriver in a designated spot in your toolbox for easy access when needed.
With the screwdriver successfully tested and ready for action, we have completed the journey of crafting a personalized and practical tool that is tailored to our specific needs and preferences. Congratulations on creating your own custom screwdriver – a versatile and valuable addition to your toolkit!
Conclusion
Crafting a homemade screwdriver has not only provided us with a practical and personalized tool, but it has also empowered us to unleash our creativity and resourcefulness. By following the steps outlined in this guide, we have transformed basic materials into a versatile and functional instrument that is tailored to our individual needs and preferences.
Throughout the process, we have learned the importance of selecting the right materials, preparing the handle with care, and securely attaching and testing the screwdriver bit. These steps have not only resulted in the creation of a custom screwdriver but have also equipped us with valuable skills and insights into the world of DIY tool crafting.
As we reflect on the journey of crafting our homemade screwdriver, we are reminded of the satisfaction that comes from creating something with our own hands. The process has allowed us to exercise our ingenuity, problem-solving abilities, and attention to detail, culminating in a practical tool that reflects our individuality and craftsmanship.
With our custom screwdriver in hand, we are now prepared to tackle a wide range of projects with confidence and precision. Whether it’s assembling furniture, making repairs, or engaging in creative endeavors, our homemade screwdriver stands ready to assist us in our DIY endeavors, all while bearing the personal touch of its creator.
As we conclude this journey of craftsmanship, let’s carry forward the spirit of creativity and resourcefulness into future projects. Whether it’s crafting additional tools, undertaking home improvement tasks, or exploring new DIY ventures, the experience of creating a custom screwdriver serves as a reminder of the endless possibilities that unfold when we embrace the art of making and innovating.
So, as you embark on your next DIY adventure, remember the satisfaction and fulfillment that comes from crafting your own tools, and let the spirit of creativity and resourcefulness guide you as you bring your ideas to life.
Frequently Asked Questions about How To Make A Screwdriver Tool
Was this page helpful?
At Storables.com, we guarantee accurate and reliable information. Our content, validated by Expert Board Contributors, is crafted following stringent Editorial Policies. We're committed to providing you with well-researched, expert-backed insights for all your informational needs.

0 thoughts on “How To Make A Screwdriver Tool”