Home>Gardening & Outdoor>Outdoor Structures>How To Make A Tool Shed
Outdoor Structures
How To Make A Tool Shed
Modified: January 23, 2024
Learn how to build a durable outdoor tool shed with our expert tips and step-by-step guide. Create a functional and stylish space for your outdoor structures.
(Many of the links in this article redirect to a specific reviewed product. Your purchase of these products through affiliate links helps to generate commission for Storables.com, at no extra cost. Learn more)
Introduction
Welcome to the world of DIY outdoor projects! Building a tool shed can be a rewarding and practical endeavor, providing a dedicated space to store your gardening tools, outdoor equipment, and other essentials. Whether you’re a seasoned craftsman or a novice do-it-yourself enthusiast, constructing a tool shed offers an opportunity to unleash your creativity and enhance your outdoor space. This comprehensive guide will walk you through the process, from selecting the ideal location to adding the finishing touches. By the end, you’ll be equipped with the knowledge and inspiration to embark on your own tool shed construction journey.
As we delve into the intricacies of building a tool shed, keep in mind that the key to a successful project lies in careful planning, attention to detail, and a willingness to embrace the hands-on nature of construction. Each step of the process presents an opportunity to learn and grow, and the end result will be a functional and visually appealing addition to your property. So, roll up your sleeves, gather your tools, and let’s embark on this fulfilling and transformative DIY adventure together.
Key Takeaways:
- Building a tool shed requires careful planning, from choosing the right location to adding finishing touches. It’s a DIY adventure that enhances outdoor space and unleashes creativity.
- Constructing a tool shed involves building a sturdy foundation, framing, adding the roof and siding, and installing doors and windows. It’s a rewarding journey that creates a functional and visually appealing outdoor space.
Read more: How To Dismantle A Tool Shed
Choosing the Right Location
Before you start building your tool shed, it’s crucial to carefully consider where it will be situated. The location you choose will not only impact the visual aesthetics of your outdoor space but also affect the shed’s functionality and longevity. Here are some essential factors to keep in mind when selecting the optimal spot for your tool shed:
- Accessibility: Ensure that the shed is easily accessible from your house and garden. It should be conveniently located to allow for seamless transportation of tools and equipment.
- Ground Stability: Look for a level area with stable ground to serve as the foundation for your shed. Avoid low-lying areas that are prone to flooding or areas with poor drainage.
- Sunlight Exposure: Consider the path of the sun throughout the day. Position the shed in an area that receives ample natural light, which can help prevent dampness and promote a pleasant working environment.
- Landscaping and Aesthetics: Take into account the overall landscaping of your property. A well-placed shed can complement the existing features of your outdoor space and contribute to its visual appeal.
- Zoning and Regulations: Familiarize yourself with local zoning regulations and building codes. Ensure that the chosen location complies with any applicable restrictions and setback requirements.
By carefully evaluating these factors, you can make an informed decision about where to position your tool shed. Remember that the chosen location will influence the overall functionality and convenience of your shed, so take the time to assess your options thoroughly.
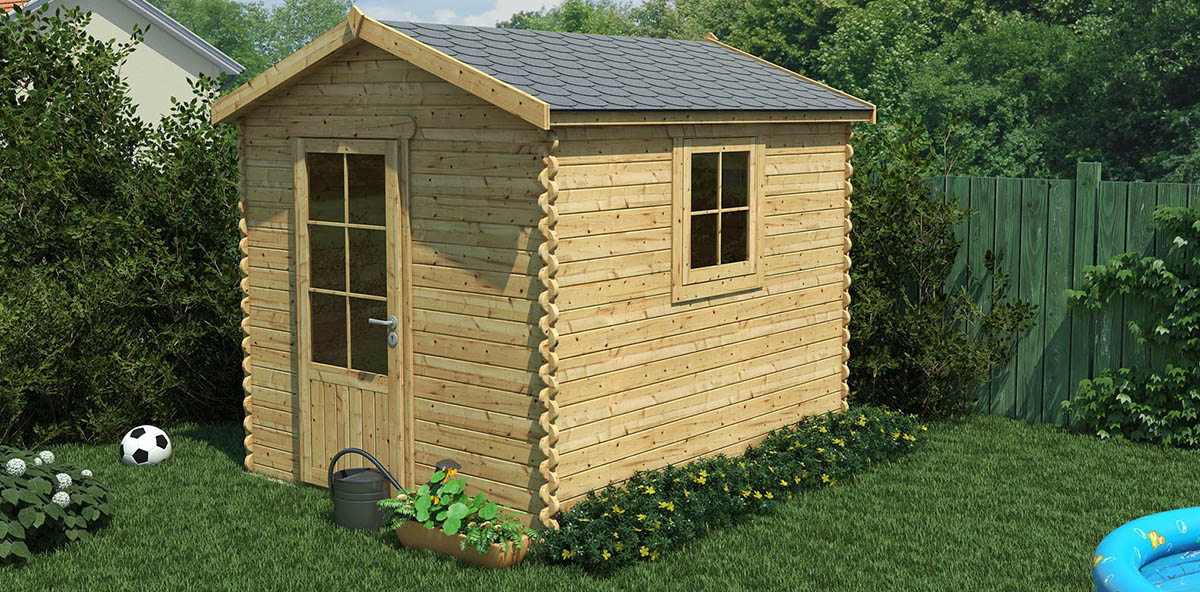
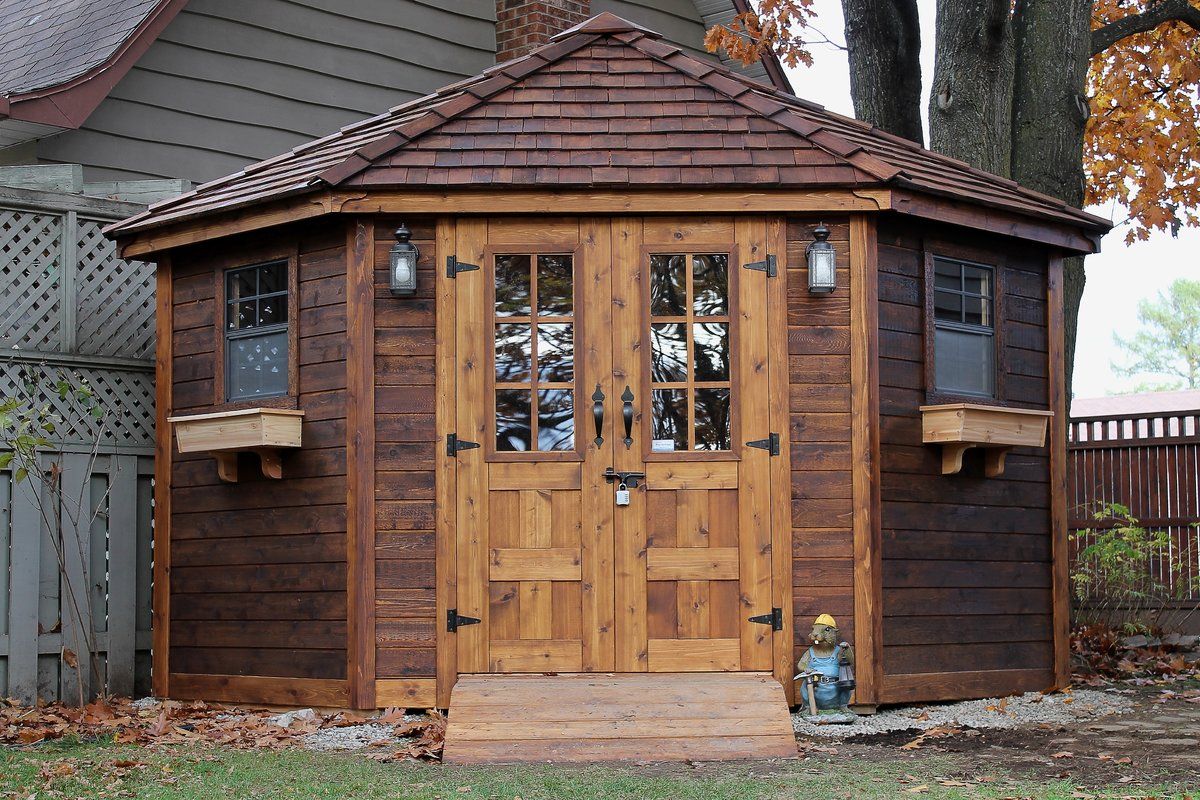
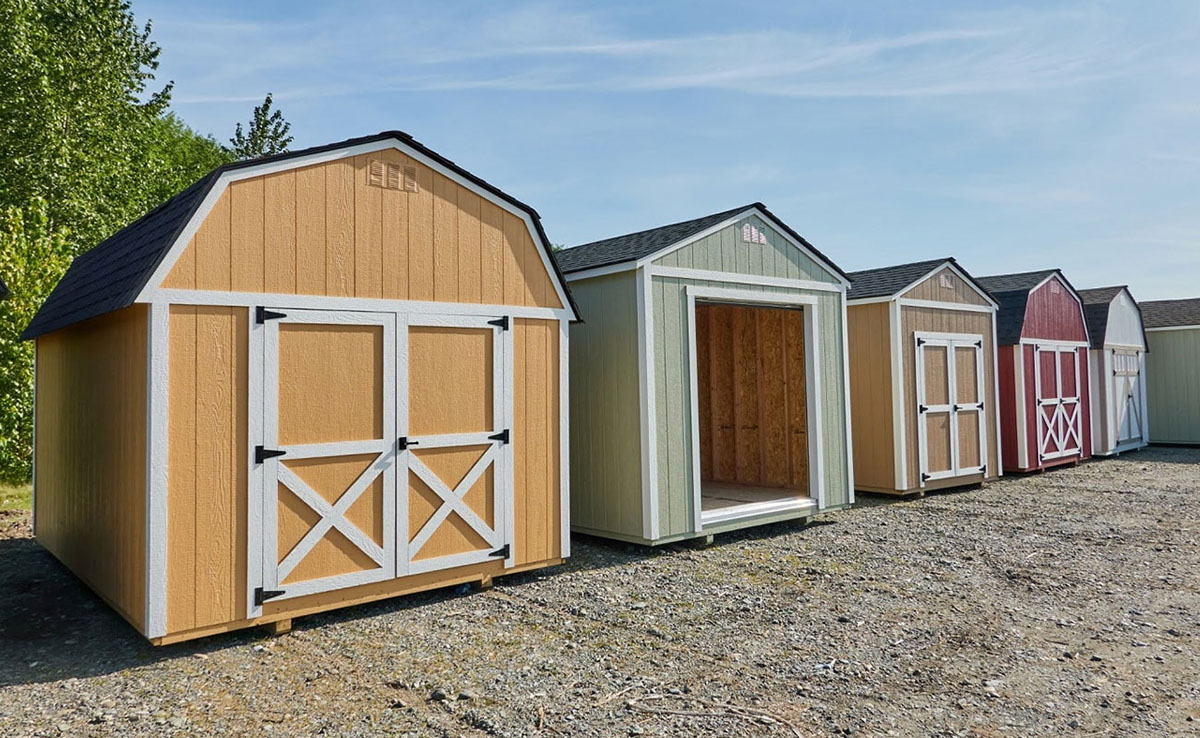
Designing Your Tool Shed
When it comes to designing your tool shed, the possibilities are endless. Whether you prefer a traditional, rustic look or a modern, sleek aesthetic, the design of your shed should align with both your practical needs and personal style. Here are some key considerations to guide you through the design phase:
- Size and Layout: Determine the size of the shed based on the items you plan to store and the available space. Consider creating a simple sketch or blueprint to visualize the layout and ensure it meets your storage requirements.
- Functional Features: Think about the specific features you want to incorporate, such as shelves, hooks for hanging tools, or a workbench. These elements can enhance the shed’s functionality and organization.
- Architectural Style: Explore different architectural styles that resonate with your taste. Whether you opt for a classic barn-inspired design or a contemporary structure, the architectural elements will define the shed’s character.
- Maintenance and Durability: Choose materials and finishes that align with your maintenance preferences. Consider factors such as weather resistance, ease of cleaning, and long-term durability to ensure that your shed stands the test of time.
- Integration with Landscape: Envision how the shed will integrate with the surrounding landscape. Consider using complementary colors and materials that harmonize with your outdoor environment.
As you embark on the design process, allow your creativity to flourish while keeping practicality at the forefront. Whether you opt for a charming cottage-style shed or a sleek, contemporary structure, the design phase sets the stage for a unique and functional outdoor space that reflects your individuality.
Gathering Materials and Tools
Before you commence the construction of your tool shed, it’s essential to gather all the necessary materials and tools. Having a comprehensive list of items at your disposal will streamline the building process and ensure that you’re well-prepared for each stage of construction. Here’s a guide to help you assemble the required materials and tools:
- Materials: Depending on the design and size of your shed, you’ll need various building materials, including lumber, plywood, roofing materials, nails, screws, and paint or stain. Consider the specific requirements outlined in your shed’s design plan and ensure that you have sufficient quantities of each material.
- Tools: A well-equipped toolkit is essential for constructing a tool shed. Common tools needed for the project include a hammer, tape measure, circular saw, level, power drill, framing square, and safety equipment such as goggles and gloves. Additionally, specialized tools for roofing and siding installation may be required based on your shed’s design.
- Hardware and Fasteners: Stock up on a variety of hardware and fasteners, including hinges, latches, brackets, and anchor bolts. These small yet crucial components will be used for assembling the shed’s structural elements and adding finishing touches.
- Protective Coatings: If you plan to apply a protective coating or paint to the shed, ensure that you have the necessary supplies on hand. Consider weather-resistant paints or stains that will safeguard the shed from the elements.
- Utility Connections (Optional): If your shed will include electrical or plumbing fixtures, plan for the necessary wiring, outlets, or plumbing components. Ensure compliance with local building codes and enlist the assistance of a professional if needed.
By meticulously gathering the required materials and tools, you’ll set the stage for a smooth and efficient construction process. Take the time to organize and prepare your workspace, ensuring that all essential items are readily accessible as you embark on this exciting DIY endeavor.
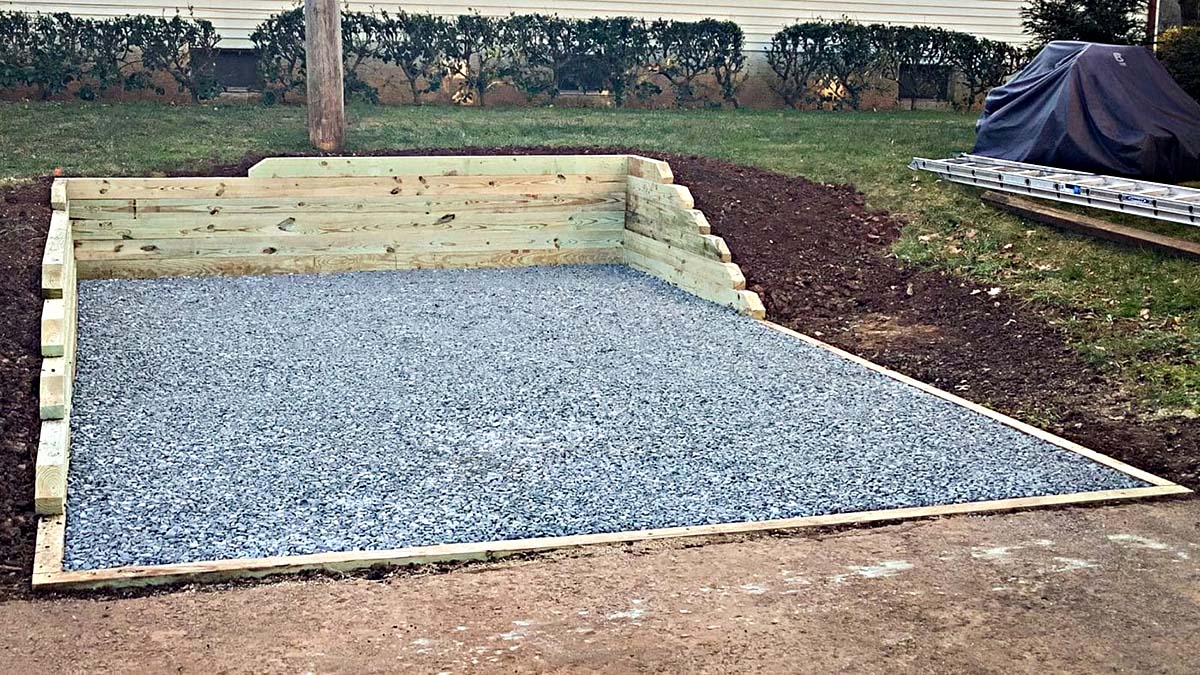
Building the Foundation
The foundation serves as the backbone of your tool shed, providing stability and ensuring longevity. Before embarking on the construction of the superstructure, it’s crucial to lay a solid foundation that can withstand the test of time. Here’s a step-by-step guide to building a sturdy and durable shed foundation:
- Site Preparation: Begin by clearing and leveling the area where the shed will be situated. Remove any debris, rocks, or vegetation, and use a shovel or a skid steer to create a level surface. Take care to ensure that the ground is compact and free from any obstructions.
- Foundation Type: Select the appropriate foundation type based on your shed’s design and local building codes. Common options include concrete slab, concrete blocks, or pressure-treated timber skids. Each type offers distinct benefits and considerations, so choose the one that aligns with your specific requirements.
- Excavation and Formwork: If you opt for a concrete foundation, excavate the area to the specified depth and construct formwork to contain the concrete. Ensure that the formwork is accurately positioned and leveled to achieve a uniform foundation thickness.
- Pouring and Curing: With the formwork in place, pour the concrete into the designated area, taking care to eliminate air pockets and achieve a smooth surface. Allow the concrete to cure according to the manufacturer’s guidelines, ensuring optimal strength and stability.
- Anchor Points and Leveling: For timber skid foundations, position and anchor the pressure-treated skids to the prepared ground, ensuring they are level and securely anchored. Use a spirit level to verify the precise alignment of the skids, which will serve as the base for the shed’s frame.
- Moisture Protection: Implement moisture protection measures to safeguard the foundation from water damage. Consider applying a waterproofing membrane or installing a vapor barrier to prevent moisture infiltration, particularly in regions prone to high humidity or precipitation.
By meticulously executing each step of the foundation-building process, you’ll establish a solid base for your tool shed, setting the stage for the subsequent phases of construction. A well-constructed foundation is fundamental to the structural integrity and long-term resilience of your shed, ensuring that it stands firm against the elements for years to come.
When building a tool shed, make sure to choose a level and well-drained location for the foundation. This will help prevent water damage and ensure the shed’s stability.
Read more: How To Organize A Tool Shed
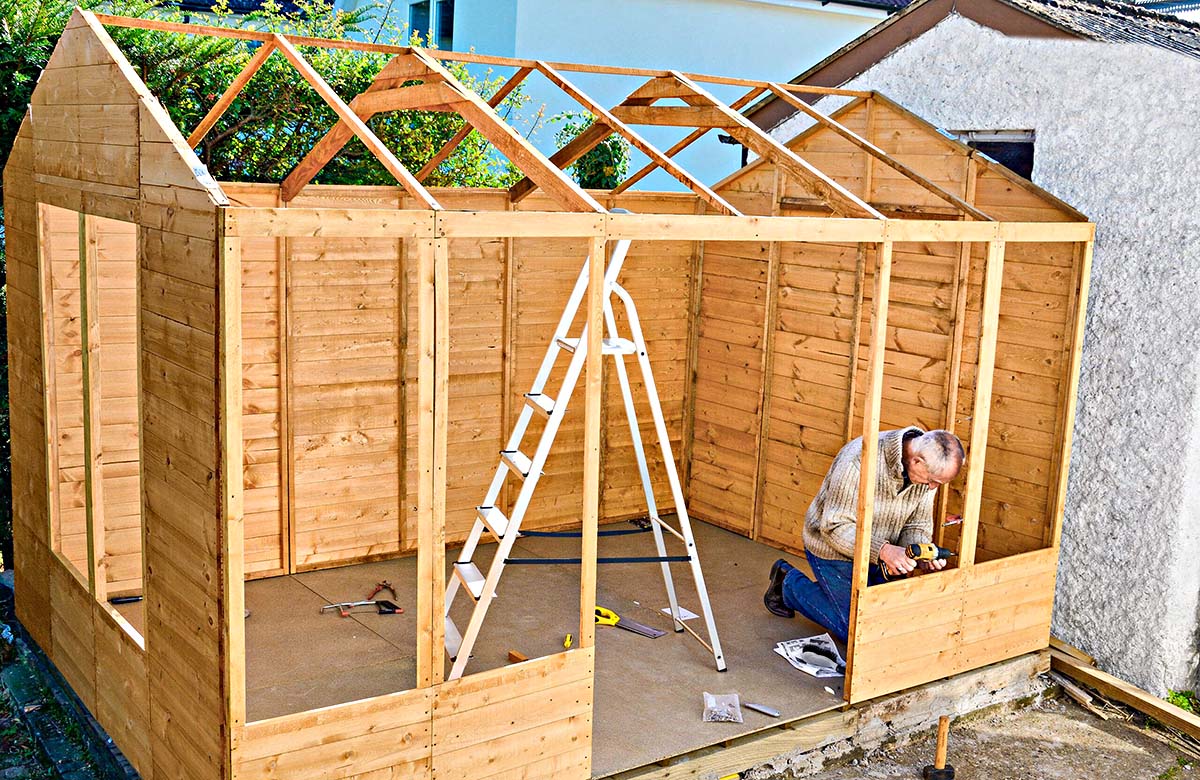
Constructing the Frame
With the foundation in place, it’s time to embark on the construction of the shed’s frame, a pivotal phase that lays the groundwork for the overall structure. The frame serves as the skeleton of the shed, providing support for the walls, roof, and doors. Here’s a comprehensive guide to constructing the frame of your tool shed:
- Material Preparation: Gather the necessary lumber and structural components as per the shed’s design specifications. Select high-quality, pressure-treated wood that offers durability and resistance to decay, ensuring the longevity of the frame.
- Cutting and Assembly: Utilize precise measurements and a circular saw to cut the lumber to the required dimensions, following the blueprint or design plan. Assemble the frame components, including the wall studs, top and bottom plates, and headers, ensuring that they are securely fastened with appropriate fasteners.
- Wall Construction: Assemble the individual wall sections on a level surface, ensuring that the framing members are accurately aligned and plumbed. Nail or screw the components together, incorporating window and door openings as specified in the design plan.
- Truss or Rafter Installation: If your shed design includes a pitched roof, construct and install the trusses or rafters according to the predetermined spacing and pitch. Ensure that the trusses are aligned and securely anchored to the top plates of the walls, providing structural support for the roof.
- Bracing and Reinforcement: Implement diagonal bracing within the frame to enhance its rigidity and stability. Diagonal braces can effectively resist lateral forces, ensuring that the frame maintains its structural integrity, especially in regions prone to high winds or seismic activity.
- Quality Control and Alignment: Regularly assess the frame’s alignment, squareness, and overall structural integrity as you progress through the construction process. Adjust and reinforce as needed, ensuring that the frame meets the specified design criteria and building standards.
By meticulously executing each step of the frame construction process, you’ll establish a robust and reliable framework for your tool shed. The frame serves as the essential structural core, laying the groundwork for the shed’s exterior and interior elements, and setting the stage for the subsequent phases of construction.
Adding the Roof and Siding
As the frame of your tool shed takes shape, the next crucial steps involve adding the roof and siding, which not only provide protection from the elements but also contribute to the shed’s aesthetic appeal. These elements play a vital role in ensuring the shed’s durability and weather resistance. Here’s a comprehensive guide to adding the roof and siding to your tool shed:
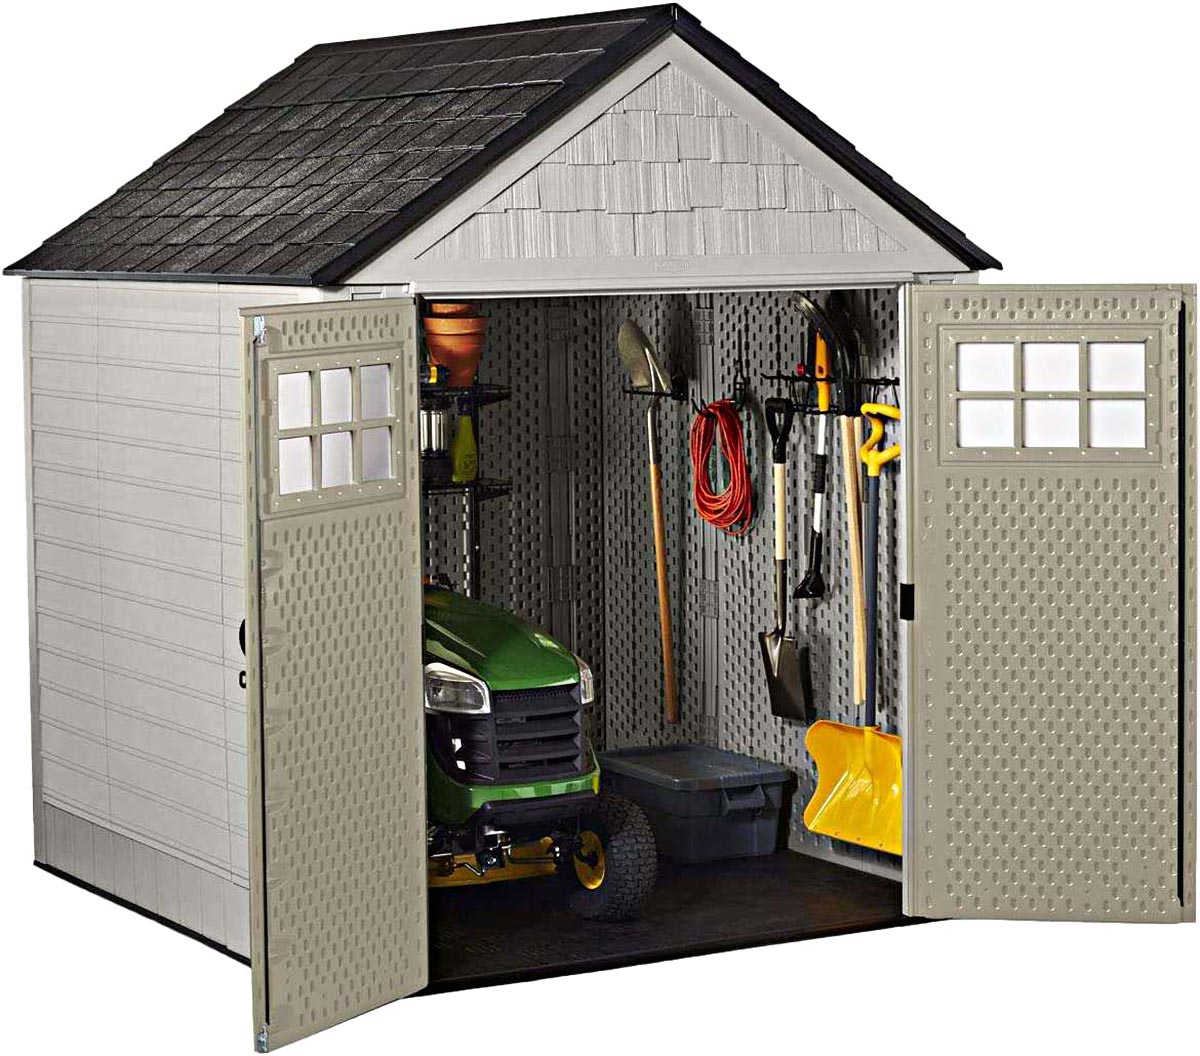
- Roofing Materials: Select the appropriate roofing materials based on your shed’s design and local climate conditions. Common options include asphalt shingles, metal roofing panels, or corrugated fiberglass sheets. Ensure that the chosen materials offer reliable weatherproofing and complement the shed’s overall aesthetic.
- Roof Framing: Install the roof framing components, including ridge boards, rafters, and blocking, in accordance with the predetermined roof design. Ensure that the framing is securely anchored to the top plates of the walls and aligned to achieve the desired roof pitch.
- Roof Sheathing: Apply a layer of roof sheathing, such as plywood or oriented strand board (OSB), to the roof framing, providing a solid base for the roofing materials. Secure the sheathing with appropriate fasteners, ensuring a uniform and smooth surface for the roof covering.
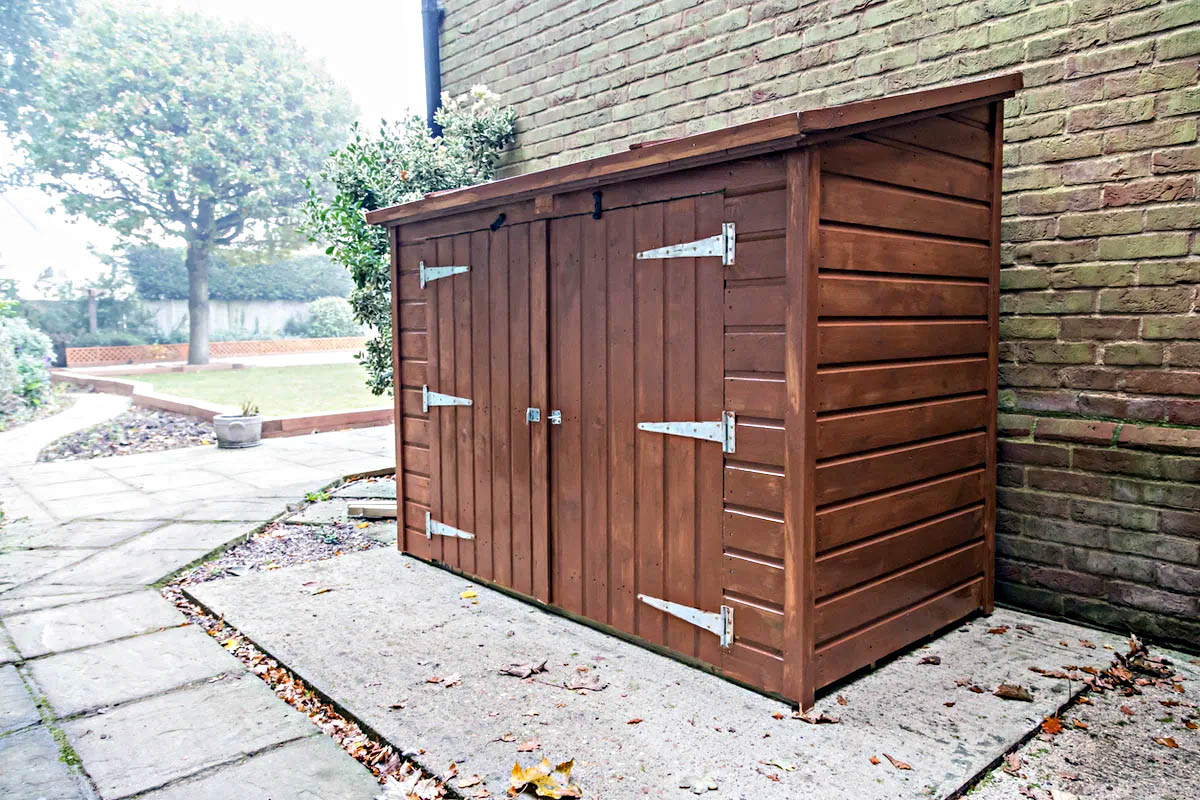
- Siding Installation: Choose the siding material that best suits your shed’s design and maintenance preferences. Options include wood siding, vinyl siding, or composite panels. Install the siding in accordance with the manufacturer’s guidelines, ensuring proper alignment and weatherproofing measures.
- Flashing and Trim: Implement flashing around roof penetrations, such as vents and chimneys, to prevent water infiltration. Additionally, install trim pieces along the edges and corners of the shed to provide a finished and aesthetically pleasing appearance while enhancing weather resistance.
- Weathertight Sealing: Apply a high-quality sealant or caulking to seal gaps and joints in the siding and roofing materials, preventing water intrusion and enhancing the shed’s overall weather resistance. Pay special attention to areas where different materials meet or where fixtures are installed.
By carefully executing each step in the installation of the roof and siding, you’ll fortify your tool shed against the elements while enhancing its visual appeal. These elements are essential for safeguarding the shed’s interior contents and ensuring its long-term resilience in the face of varying weather conditions.
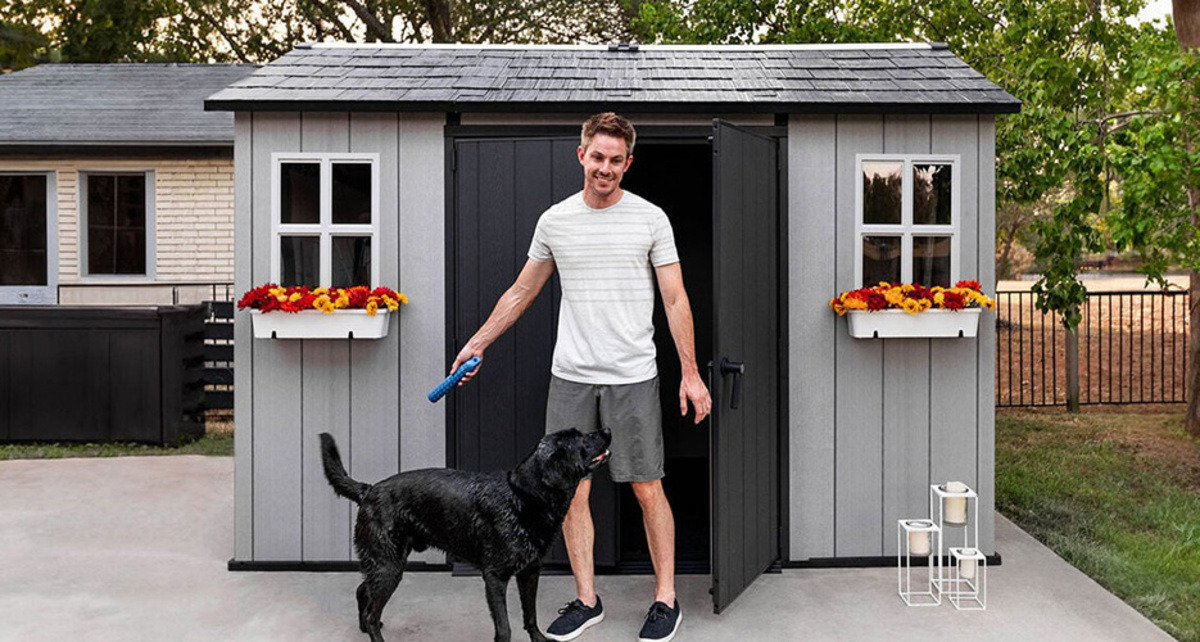
Installing Doors and Windows
As your tool shed nears completion, the installation of doors and windows represents a pivotal phase that enhances functionality, aesthetics, and ventilation. Well-designed and properly installed doors and windows not only provide access and natural light but also contribute to the overall charm and usability of the shed. Here’s a comprehensive guide to installing doors and windows in your tool shed:
- Door Selection: Choose a door that aligns with the shed’s design and your specific requirements. Options include single or double doors, sliding doors, or Dutch doors, each offering distinct benefits in terms of access, security, and visual appeal.
- Door Frame Preparation: Prepare the door frame by ensuring it is plumb, level, and square. Install the door frame within the designated opening, using shims to achieve a precise fit and ensuring that the frame is securely anchored to the surrounding structure.
- Door Installation: Mount the door onto the frame, ensuring smooth operation and a secure fit. Adjust the hinges and hardware as needed to guarantee proper alignment and functionality. Install weather-stripping to enhance energy efficiency and weather resistance.
- Window Selection: Choose windows that complement the shed’s design while providing adequate ventilation and natural light. Consider factors such as window size, style, and material, ensuring that the chosen windows align with your aesthetic preferences.
- Window Frame Preparation: Prepare the window openings by ensuring they are square and level. Install the window frames, ensuring they are securely anchored and sealed to prevent air and water infiltration. Use flashing and caulking to enhance weatherproofing.
- Window Installation: Insert the windows into the prepared openings, ensuring they are properly aligned and securely fastened. Test the operation of the windows to ensure smooth opening and closing, and install any necessary hardware for security and functionality.
- Finishing Touches: Apply trim around the doors and windows to provide a polished and aesthetically pleasing appearance. Use exterior-grade trim materials that complement the shed’s siding and enhance weather resistance.
By meticulously executing each step of the door and window installation process, you’ll enhance the functionality and visual appeal of your tool shed. These elements not only facilitate easy access and ventilation but also contribute to the overall charm and usability of the shed, creating a welcoming and functional space for your outdoor activities.
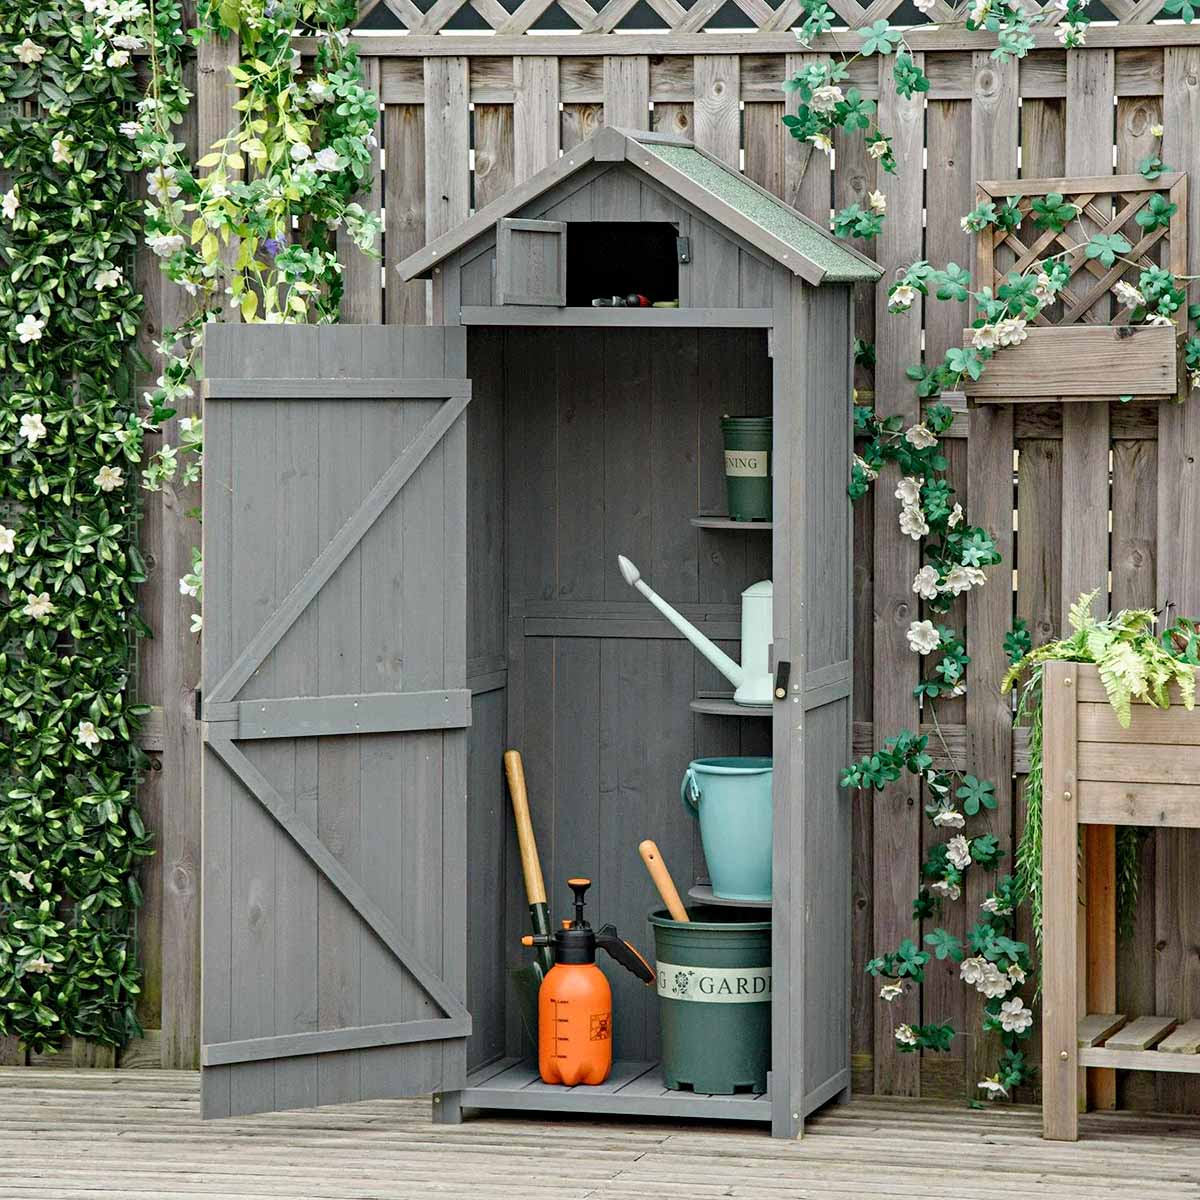
Finishing Touches
As the construction of your tool shed approaches its final stages, attention to detail and thoughtful finishing touches will elevate the shed’s overall appearance, functionality, and longevity. From protective coatings to interior organization, these final steps will ensure that your shed is not only visually appealing but also well-equipped to serve its intended purpose. Here’s a comprehensive guide to adding the finishing touches to your tool shed:
- Protective Coatings: Apply a protective coating or sealant to the exterior surfaces of the shed, safeguarding the wood from moisture, UV exposure, and general wear and tear. Choose a high-quality exterior paint, stain, or sealant that offers weather resistance and enhances the shed’s visual appeal.
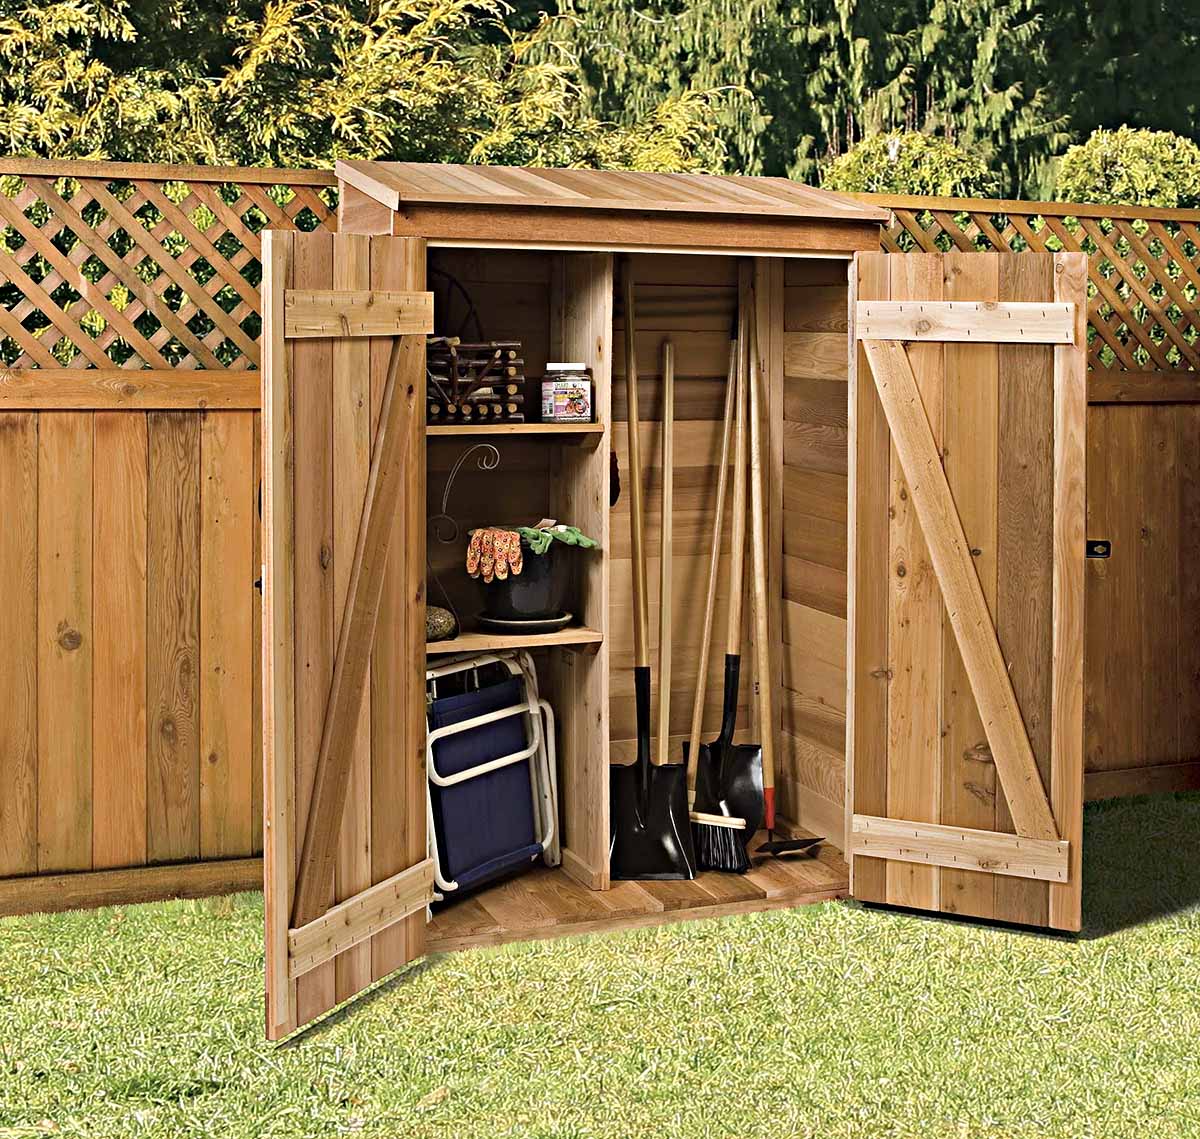
- Interior Organization: Install shelves, hooks, and storage solutions to optimize the interior space of the shed. Consider your storage needs and the types of items you’ll be storing, ensuring that the interior layout promotes organization and accessibility.
- Workbench and Tool Storage: If your shed will serve as a workspace, consider adding a dedicated workbench or tool storage area. Incorporate a sturdy work surface and ample storage for tools, ensuring that the space is conducive to your DIY projects and gardening tasks.
- Lighting and Electrical: If desired, install lighting fixtures and electrical outlets to enhance the shed’s functionality. Consider solar-powered lighting for eco-friendly illumination or enlist the assistance of a qualified electrician to ensure safe and compliant electrical installation.
- Landscaping and Pathways: Enhance the shed’s surroundings by incorporating landscaping elements and pathways. Consider planting shrubs or flowers around the shed and creating a defined pathway leading to the entrance, adding a touch of charm to the outdoor space.
- Security and Access: Install a secure locking mechanism on the doors to safeguard the contents of the shed. Consider additional security features such as motion-activated lighting or a security camera to enhance protection and peace of mind.
- Personalized Touches: Add personalized elements such as decorative accents, signage, or potted plants to infuse the shed with your unique style. These personal touches will make the shed feel like a welcoming and integral part of your outdoor space.
By attending to these finishing touches, you’ll transform your tool shed into a functional, visually appealing, and personalized space that meets your specific needs. These final details will not only enhance the shed’s usability and durability but also create a charming and inviting addition to your outdoor environment.
Read more: How To Connect Power To A Tool Shed
Conclusion
Congratulations on completing the construction of your very own tool shed! This journey has been a testament to your creativity, perseverance, and dedication to enhancing your outdoor space. As you stand back and admire the fruits of your labor, it’s evident that the shed is more than just a practical storage space—it’s a reflection of your craftsmanship and a valuable addition to your property.
Throughout this process, you’ve navigated through the intricacies of site selection, design considerations, material gathering, and the step-by-step construction of a sturdy and functional shed. Each phase of the project presented an opportunity for learning, problem-solving, and unleashing your DIY skills. Whether you’re a seasoned builder or a first-time do-it-yourselfer, this endeavor has undoubtedly enriched your knowledge and confidence in tackling future projects.
As you look ahead, envision the myriad ways in which your tool shed will enhance your outdoor lifestyle. It will serve as a hub for gardening endeavors, a haven for DIY projects, and a sanctuary for organizing and accessing your outdoor equipment. Furthermore, the shed’s visual appeal and seamless integration with your landscape will undoubtedly elevate the overall charm and functionality of your outdoor environment.
Remember that your tool shed is not merely a structure; it’s a space to unleash your creativity, pursue your hobbies, and connect with the natural world. Embrace the opportunities it presents for organization, storage, and cultivating your passion for outdoor activities. As the seasons change and your outdoor pursuits evolve, the shed will stand as a steadfast companion, ready to support and inspire your endeavors.
As you embark on future projects and continue to enrich your outdoor space, may the skills and experiences gained from this undertaking serve as a foundation for further exploration and innovation. Whether it’s a garden upgrade, a new outdoor seating area, or a custom-built playhouse, your journey as a DIY enthusiast is filled with endless possibilities, and your tool shed stands as a testament to your ability to bring those possibilities to life.
So, take pride in your accomplishment, savor the satisfaction of a job well done, and revel in the countless memories and experiences that await in your newly constructed tool shed. Your dedication and creative spirit have transformed a vision into a tangible, functional, and beautiful reality, enriching your outdoor space and your life in the process.
Frequently Asked Questions about How To Make A Tool Shed
Was this page helpful?
At Storables.com, we guarantee accurate and reliable information. Our content, validated by Expert Board Contributors, is crafted following stringent Editorial Policies. We're committed to providing you with well-researched, expert-backed insights for all your informational needs.


0 thoughts on “How To Make A Tool Shed”