Home>Renovation & DIY>Tools & Equipment>How To Use A Ratchet Screwdriver
Tools & Equipment
How To Use A Ratchet Screwdriver
Modified: January 6, 2024
Learn how to effectively use a ratchet screwdriver and improve your DIY skills with this comprehensive guide. Get the best tips and techniques for using this essential tool in your tools and equipment collection.
(Many of the links in this article redirect to a specific reviewed product. Your purchase of these products through affiliate links helps to generate commission for Storables.com, at no extra cost. Learn more)
Introduction
Welcome to the world of tools and equipment! In this article, we will dive into the fascinating world of ratchet screwdrivers. If you’re someone who loves to handle DIY projects or work in the field of repairs and maintenance, then having a ratchet screwdriver in your toolkit is a must. It’s a versatile tool that allows you to tighten or loosen screws with ease and efficiency.
Whether you’re a beginner or a seasoned professional, this guide will take you through the step-by-step process of using a ratchet screwdriver effectively. We’ll cover everything from choosing the right bit to maintaining and caring for your ratchet screwdriver.
So, without further ado, let’s get started and unlock the potential of the ratchet screwdriver!
Key Takeaways:
- Master the art of using a ratchet screwdriver by familiarizing yourself with its components, choosing the right bit, and adjusting the ratchet direction for efficient screwdriving.
- Ensure the longevity of your ratchet screwdriver by following maintenance tips such as regular cleaning, bit inspection, lubrication, and proper storage. Happy screwdriving!
Read more: What Is Ratcheting Screwdriver
Overview of a Ratchet Screwdriver
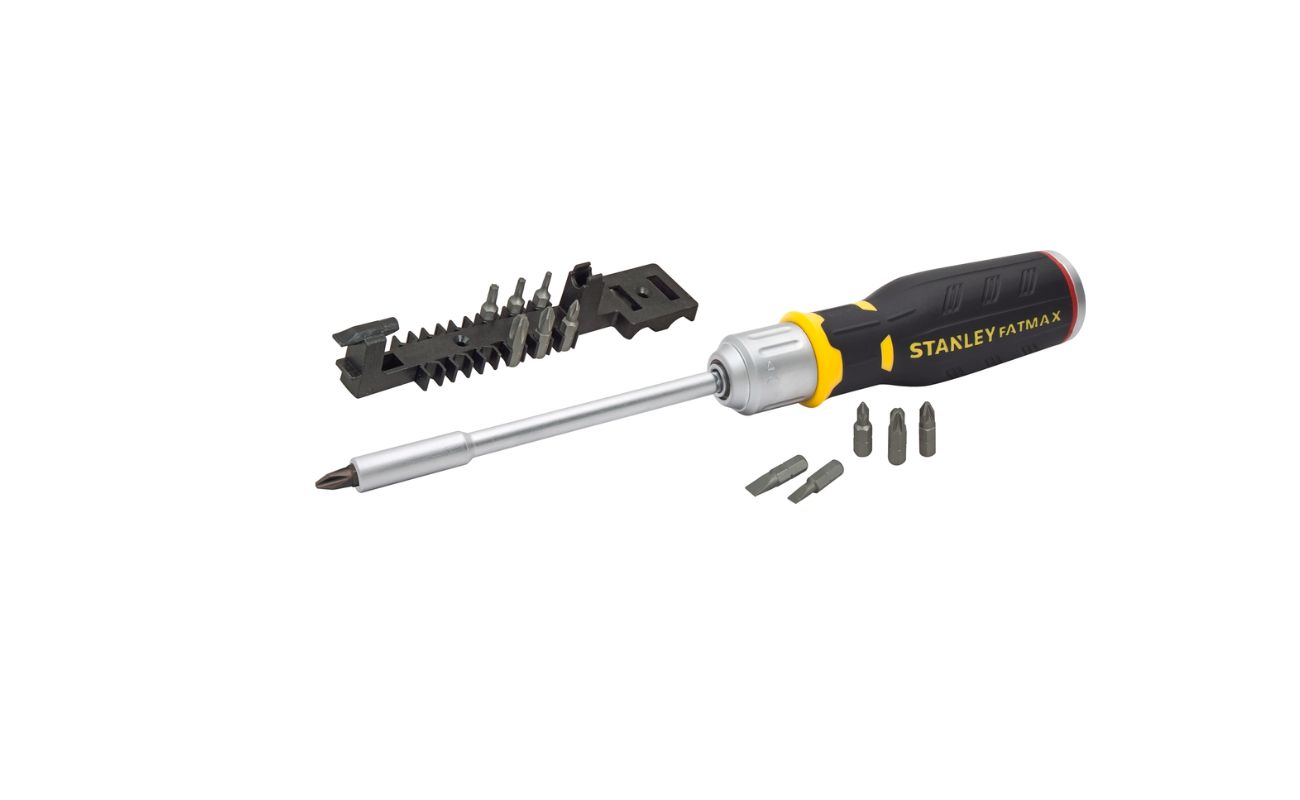
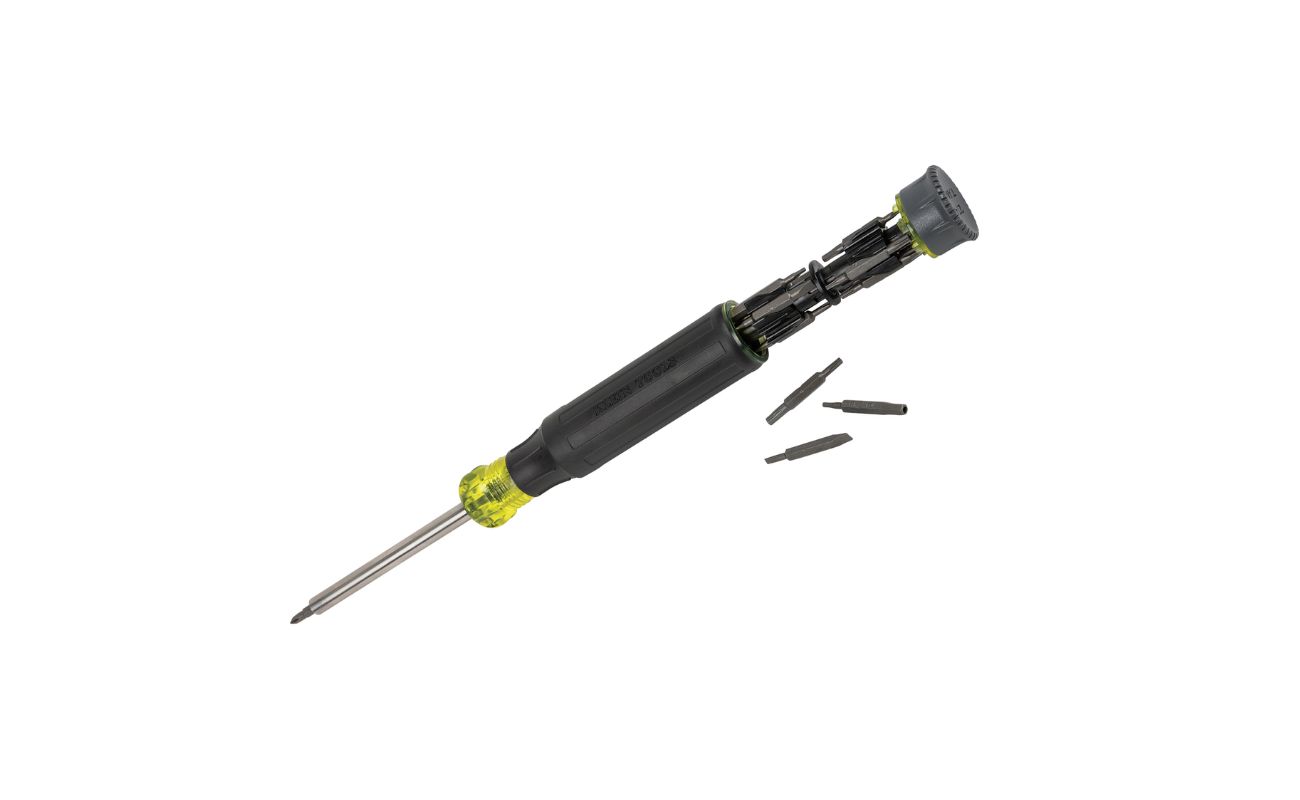
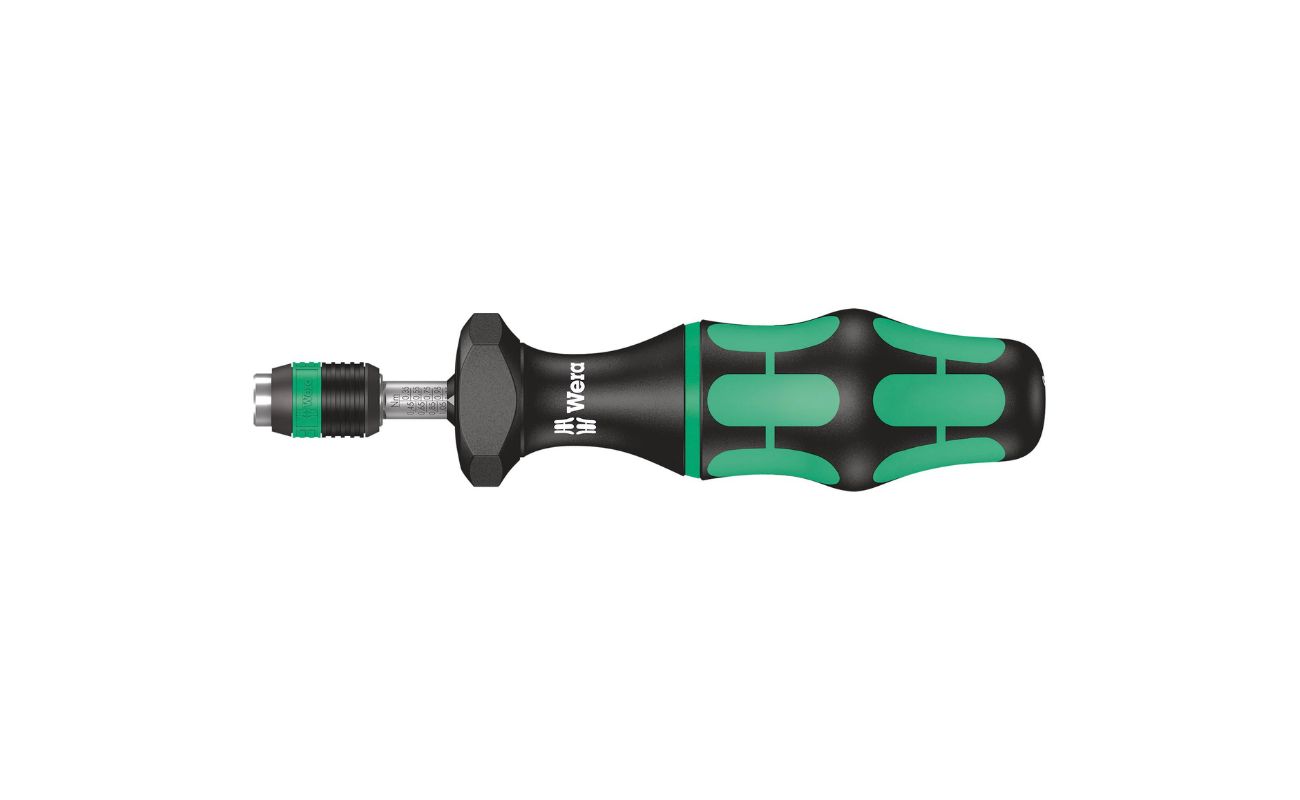
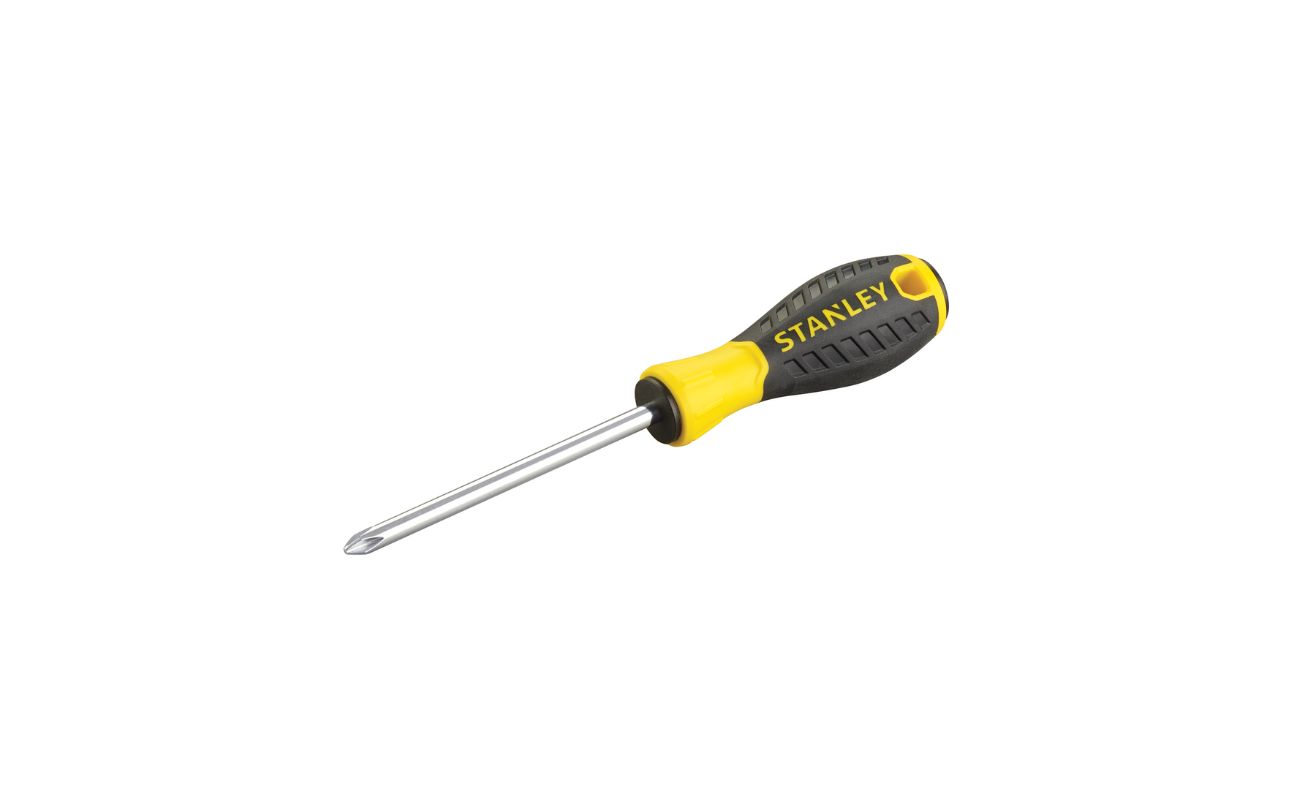
A ratchet screwdriver is a versatile hand tool that combines the functionality of a traditional screwdriver with a ratcheting mechanism, allowing for easier and faster screwdriving. It consists of a handle, a shaft, and a removable bit holder. The ratcheting mechanism enables forward and backward motion without having to reposition the screwdriver on the fastener.
One of the key features of a ratchet screwdriver is its handle, which is designed to provide a comfortable grip and prevent hand fatigue during prolonged use. Some handles are ergonomically shaped with a soft grip for enhanced control and reduced strain on the hand.
The shaft of a ratchet screwdriver is typically made of durable materials like steel or alloy, ensuring strength and longevity. It is equipped with a magnetic bit holder at the tip, allowing for easy attachment and removal of different screwdriver bits.
Ratchet screwdrivers come in various sizes and styles to accommodate different types of screws and fasteners. They are available in different drive sizes, such as 1/4 inch or 3/8 inch, which determine the compatibility of the screwdriver with different bit sizes.
By utilizing the ratchet mechanism, you can easily switch between clockwise and counterclockwise motion, making it a convenient tool for both tightening and loosening screws. This feature saves time and effort, especially when dealing with a large number of screws or working in tight spaces where repositioning the screwdriver is challenging.
Now that we have a basic understanding of what a ratchet screwdriver is and its key features, let’s dive into the detailed steps for effectively using this versatile tool.
Step 1: Familiarizing Yourself with the Ratchet Screwdriver
Before we begin using a ratchet screwdriver, it’s important to familiarize ourselves with its different components and understand how it functions. This will ensure that we can use the tool effectively and avoid any potential mishaps.
Start by examining the handle of the ratchet screwdriver. Notice the grip and ergonomic design, which provides comfort and control during use. Familiarize yourself with the ratchet switch or button, located on the top or side of the handle. This switch allows you to change the direction of the ratcheting action, switching between clockwise and counterclockwise movement.
Moving on to the shaft of the screwdriver, take note of the magnetic bit holder at the end. This holder is where you will attach and secure the appropriate screwdriver bit for your project. The magnetic feature ensures that the bit stays in place while you work, preventing it from falling or slipping out.
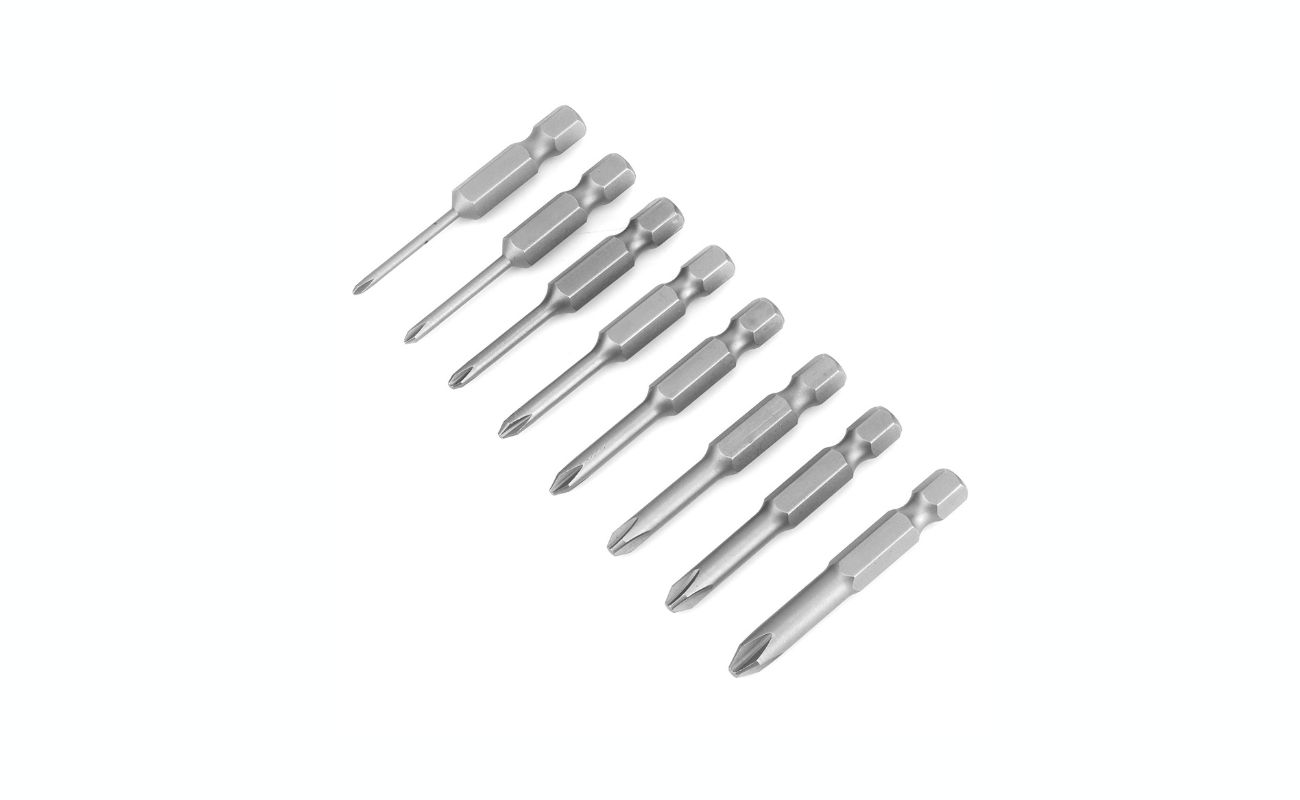
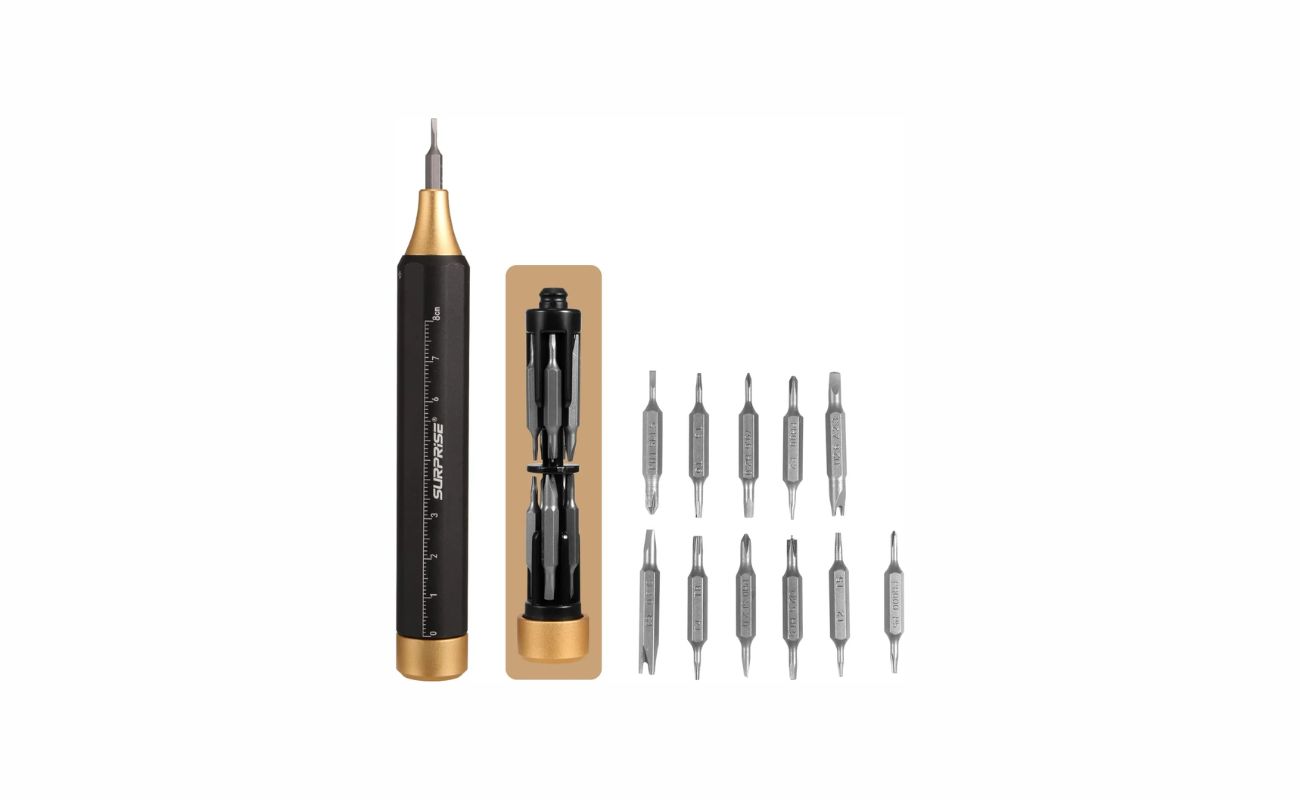
Now, let’s explore the different types of bits that can be used with the ratchet screwdriver. You’ll find a wide array of bits available, each designed to fit various types of screws. The most common ones include Phillips, flathead, hex, Torx, and square bits. It’s essential to have a set of different bits on hand to accommodate different screw types and sizes.
Take a few moments to practice inserting and removing the bits from the magnetic holder. Make sure to push them in until they fit securely, and then pull them out gently when you need to change to a different bit.
Lastly, familiarize yourself with the ratchet switch or button. This feature allows you to switch the ratchet screwdriver between different modes, enabling clockwise or counterclockwise rotation depending on your needs. Experiment with the switch to get a feel for how it functions.
By taking the time to familiarize yourself with the different components and functions of the ratchet screwdriver, you’ll be better prepared to use the tool confidently and effectively in your projects.
Step 2: Choosing the Right Bit
When using a ratchet screwdriver, it’s crucial to select the appropriate bit that matches the type and size of the screw you will be working with. Choosing the right bit ensures a proper fit and minimizes the risk of damaging the screw or stripping its head.
To choose the correct bit, start by examining the screwhead. There are several common types of screwheads, including Phillips, flathead, hex, Torx, and square. Each screwhead type requires a corresponding bit shape.
If you’re working with screws that have a small “+” shaped indentation on the head, you’ll need a Phillips bit. Phillips bits are designed to fit perfectly into these cross-shaped screwheads, allowing for secure engagement and efficient turning.
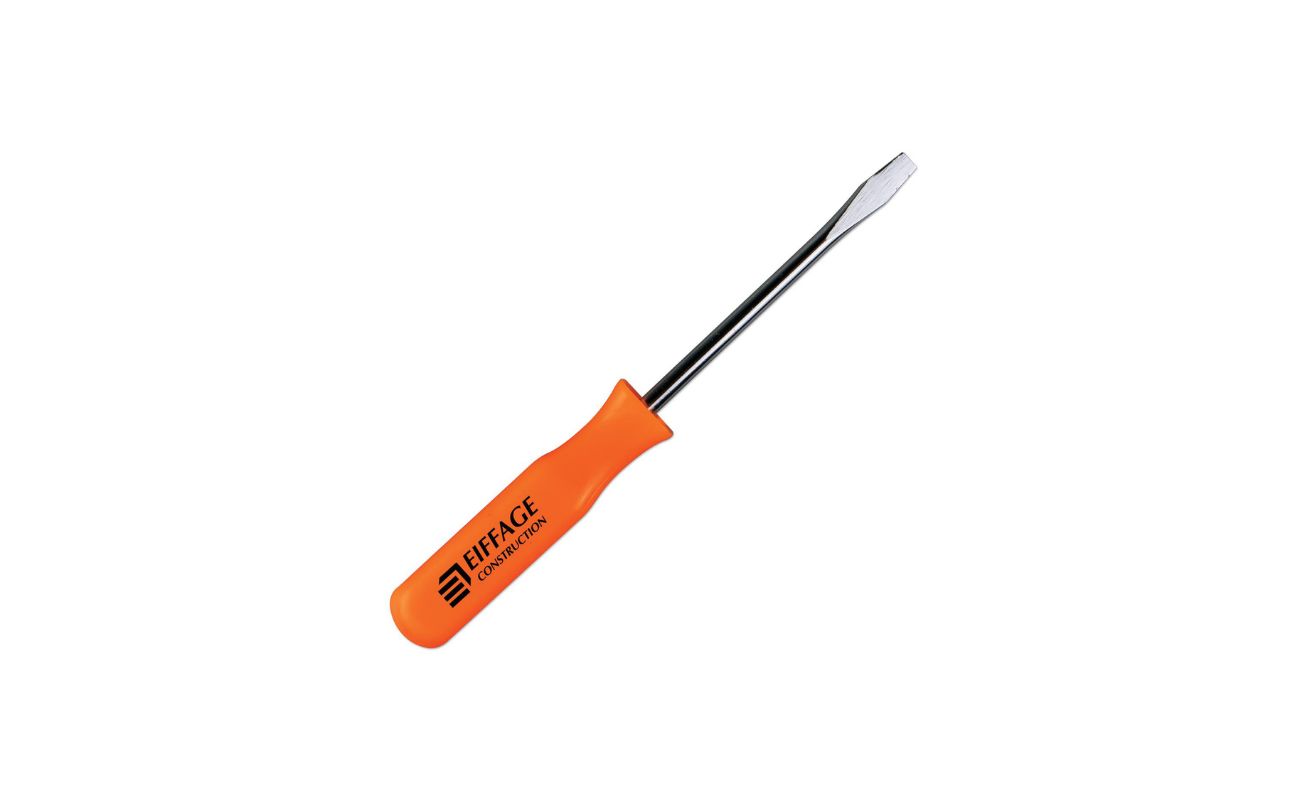
For screws with a single horizontal line or groove across the head, a flathead bit is required. Flathead bits fit into the straight slot of the screwhead, ensuring proper contact for effective turning.
If you come across screws with a hexagonal socket on the head, you’ll need a hex bit. Hex bits have a six-sided shape that matches the shape of the socket, providing maximum grip and torque.
Torx bits are used for screws with a star-shaped indentation on the head. These bits have a corresponding star shape that allows for precise and stable turning.
Lastly, square bits are used for screws with a square-shaped head. These bits have a square shape that matches the screwhead, providing a tight fit and preventing slipping or stripping.
Once you’ve identified the screwhead type, ensure that you choose the right size of bit. Bits come in various sizes, typically ranging from small to large. Select the bit that matches the size of the screwhead to ensure proper engagement and avoid any issues during screwdriving.
If you’re unsure about the screwhead type or size, it’s a good idea to have a set of versatile bits on hand that cover a range of screw types and sizes. This way, you’ll always have the right bit for any situation.
Remember, using the correct bit is essential for effective screwdriving and prevents damaging the screws or compromising the integrity of your project. Take the time to choose the right bit, and you’ll be off to a great start with your ratchet screwdriver.
Step 3: Inserting and Securing the Bit
Now that you’ve chosen the right bit for the screw you’ll be working with, it’s time to insert and secure it in the ratchet screwdriver. Properly inserting and securing the bit ensures that it stays firmly in place while you work, preventing any accidents or interruptions.
Start by identifying the magnetic bit holder located at the end of the ratchet screwdriver shaft. This holder is designed to hold the bit securely in place and prevent it from slipping or falling out during use.
To insert the bit, align the base of the bit with the opening of the magnetic holder. Apply gentle pressure and push the bit into the holder until it fits snugly. The magnetic force will help keep the bit in place and ensure a secure attachment.
Give the bit a slight tug to ensure that it is properly seated and won’t come loose while you’re using the ratchet screwdriver. If the bit feels loose or wobbly, remove it and try inserting it again, ensuring a firm fit.
Once the bit is securely inserted, it’s time to lock it in place. Some ratchet screwdrivers have a locking mechanism, such as a collar or a twist mechanism, near the bit holder. Check if your screwdriver has this feature and follow the instructions to lock the bit in place.
If your ratchet screwdriver doesn’t have a specific locking mechanism, you can rely on the magnetic holder to hold the bit in place. The magnetic force should be strong enough to keep the bit secure as you use the screwdriver.
It’s important to note that if you’re working with a hex bit, some ratchet screwdrivers come with a quick-release mechanism specifically for hex bits. This mechanism allows for easy and quick bit changes without the need for additional tools.
By ensuring that the bit is properly inserted and secured in the ratchet screwdriver, you can work with confidence, knowing that the bit will stay in place throughout your project. Now that you’re ready with the right bit, it’s time to move on to the next step and start using the ratchet screwdriver.
Read more: How To Use A Screwdriver
Step 4: Adjusting the Ratchet Direction
One of the key features of a ratchet screwdriver is the ability to adjust the direction of the ratcheting action. This feature allows you to easily switch between tightening and loosening screws without having to reposition the screwdriver.
Located on the handle of the ratchet screwdriver, you’ll find a ratchet switch or button. This switch is used to change the direction of the ratcheting action. Typically, there are two settings: clockwise (forward) and counterclockwise (reverse).
To adjust the ratchet direction, simply move the switch or press the button in the desired direction. This will determine the way the screwdriver will turn when you rotate the handle. The forward direction is used when you want to tighten screws, while the reverse direction is used for loosening screws.
It’s important to note that when using the ratchet screwdriver in the forward (clockwise) direction, the ratcheting action will engage, allowing for continuous and efficient tightening of the screw. On the other hand, when using the screwdriver in the reverse (counterclockwise) direction, the ratcheting action will disengage to allow for easy loosening of the screw without the need for repositioning.
By adjusting the ratchet direction according to your specific task, you can work more efficiently and save time. It eliminates the need to manually switch between different tools or reposition the screwdriver, making your work more seamless and convenient.
Remember to always double-check the ratchet direction before starting to work with the ratchet screwdriver to ensure that you have the correct setting for your specific task. This will help you achieve the desired results and avoid any unnecessary complications during your project.
With the ratchet direction adjusted, you’re now ready to start using the ratchet screwdriver to tighten or loosen screws. Let’s move on to the next step and explore how to use the ratchet screwdriver for tightening screws effectively.
When using a ratchet screwdriver, make sure to select the correct bit for the screw head. Insert the bit firmly into the screwdriver and apply steady pressure while turning to avoid stripping the screw.
Step 5: Using the Ratchet Screwdriver to Tighten Screws
Now that you have selected the right bit and adjusted the ratchet direction, it’s time to start using the ratchet screwdriver to tighten screws. Screw tightening is a common task in various projects, and the ratchet screwdriver makes it easy and efficient.
Begin by placing the tip of the screwdriver bit into the screwhead. Ensure that the bit is aligned with the screw, providing a firm and secure fit. Apply gentle pressure to keep the bit engaged with the screwhead.
Now, with the ratchet screwdriver in the forward (clockwise) direction, start turning the handle in that direction. The ratcheting mechanism will allow you to continue tightening the screw without the need to reposition the screwdriver.
As you rotate the handle, you’ll feel the ratchet mechanism clicking and engaging with each turn. This indicates that you’re effectively tightening the screw. Keep turning until you achieve the desired level of tightness. The ratchet feature allows for quick and efficient screw tightening, reducing the time and effort spent on the task.
It’s important to apply consistent and controlled pressure while tightening the screw. Avoid excessive force that could strip or damage the screwhead. If you encounter resistance, make sure you’re using the correct bit size and reassess the angle and pressure applied.
For larger or stubborn screws, you can use your free hand to provide support and additional force while turning the handle. This can help in applying more torque and tightening the screw more effectively.
Remember, the ratchet mechanism allows for smooth and continuous tightening, so you don’t need to reverse or reposition the screwdriver to complete the task.
Once you have tightened the screw to the desired level, stop turning the handle and remove the ratchet screwdriver from the screwhead. Congratulations! You have successfully used the ratchet screwdriver to tighten a screw.
By utilizing the ratchet screwdriver for screw tightening, you can work efficiently and achieve professional results. Now, let’s move on to the next step and explore how to use the ratchet screwdriver for loosening screws.
Step 6: Using the Ratchet Screwdriver to Loosen Screws
Loosening screws is another common task where the ratchet screwdriver shines. With its versatile ratcheting mechanism, you can effortlessly remove screws without having to change tools or reposition the screwdriver.
Start by placing the tip of the screwdriver bit into the screwhead. Ensure that the bit is aligned with the screw, providing a firm and secure fit. Apply gentle pressure to keep the bit engaged with the screwhead.
Now, with the ratchet screwdriver in the reverse (counterclockwise) direction, start turning the handle in that direction. The ratcheting mechanism will disengage and allow you to easily loosen the screw.
As you rotate the handle counterclockwise, the screw will gradually loosen. If the screw is stuck or tight, apply controlled force and use the ratchet feature to incrementally loosen the screw. You may encounter resistance, but the ratchet screwdriver’s design will allow you to continue loosening the screw without repositioning.
For larger or stubborn screws, applying pressure with your free hand while turning the handle can provide additional torque to help loosen the screw effectively.
It’s important to note that as you turn the handle counterclockwise, the ratchet mechanism will disengage and allow for easy loosening without the need for manual repositioning. This feature makes the process efficient and seamless.
Once the screw is sufficiently loosened, stop turning the handle and remove the ratchet screwdriver from the screwhead. You have now successfully used the ratchet screwdriver to loosen a screw.
Remember to grip the ratchet screwdriver securely and apply controlled force while loosening the screw to avoid stripping or damaging the screwhead.
Using the ratchet screwdriver for loosening screws provides you with the convenience and efficiency of the ratcheting mechanism. Now that you have mastered tightening and loosening screws, let’s move on to the next step of removing the bit from the ratchet screwdriver.
Step 7: Removing the Bit
After completing your screwdriving task, it’s important to know how to safely remove the bit from the ratchet screwdriver. Properly removing the bit ensures that it can be stored safely and that you’re ready for the next project.
To remove the bit, locate the magnetic bit holder at the end of the ratchet screwdriver shaft. Hold the handle firmly with one hand while using your other hand to firmly grip the base of the bit.
Apply gentle pressure and pull the bit straight out of the magnetic holder. The magnetic force may cause some resistance, but a firm and steady pull should release the bit from its position.
Some ratchet screwdrivers have a quick-release mechanism specifically for hex bits. If you are using a hex bit, look for a collar or button near the bit holder. Press or twist the collar/button to release the bit quickly and effortlessly.
Once the bit is removed from the ratchet screwdriver, inspect it for any damage or wear. If the bit shows signs of deterioration, such as dullness or stripped edges, it’s time to replace it with a new one.
Properly store the removed bit in a secure place, such as a bit holder or case. This will help you keep your bits organized and prevent them from getting lost or damaged.
Remember, removing the bit safely ensures that you can maintain the longevity and performance of both the ratchet screwdriver and the bit itself. With the bit successfully removed, let’s move on to the final step and explore the maintenance and care of a ratchet screwdriver.
Read more: How To Use Power Screwdriver
Step 8: Maintenance and Care of a Ratchet Screwdriver
Maintaining and caring for your ratchet screwdriver is essential to ensure its longevity and optimal performance. Proper maintenance will keep the tool in good condition and prevent any issues that may arise from neglect or misuse.
Here are some maintenance tips to help you keep your ratchet screwdriver in excellent shape:
- Clean the screwdriver: After each use, wipe down the handle and shaft of the ratchet screwdriver with a clean cloth to remove any dirt, dust, or debris. This will prevent buildup and ensure smooth operation.
- Inspect the bit: Regularly check the condition of the screwdriver bit. Look for signs of wear, such as dullness or stripped edges. If necessary, replace the bit with a new one to maintain optimal performance.
- Lubricate moving parts: Apply a small amount of lubricating oil to the ratchet mechanism to keep it moving smoothly. This will prevent the mechanism from sticking or becoming stiff over time.
- Store properly: When not in use, store your ratchet screwdriver in a clean and dry place. Avoid exposing it to extreme temperatures or moisture, as this can lead to rust or damage.
- Avoid excessive force: While the ratchet screwdriver is designed to handle tough tasks, avoid applying excessive force or using it for purposes beyond its intended capabilities. This can lead to premature wear or damage to the tool.
- Keep the handle grip clean: If the handle grip becomes dirty or oily, clean it with mild soap and water. This will maintain a secure and comfortable grip during use.
By following these maintenance tips, your ratchet screwdriver will remain in top condition, ready to tackle any project that comes your way.
Remember, proper care and maintenance not only extend the lifespan of your ratchet screwdriver but also ensure optimal performance and safety during use.
Now that you have learned all the necessary steps to effectively use and maintain a ratchet screwdriver, you are well-equipped to handle various projects with confidence and efficiency.
Happy screwdriving!
Conclusion
Congratulations! You have completed the journey into the world of ratchet screwdrivers. By following these step-by-step instructions, you have gained the knowledge and skills to effectively and efficiently use this versatile tool in your DIY projects or professional work.
We started by familiarizing ourselves with the different components of a ratchet screwdriver, understanding how it works, and selecting the right bit for the task at hand. We then learned how to insert and secure the bit, adjust the ratchet direction, and use the ratchet screwdriver to tighten and loosen screws with ease.
Properly removing the bit and maintaining the ratchet screwdriver through regular cleaning, lubrication, and storage will ensure its longevity and optimal performance. By applying these maintenance tips, you can keep your ratchet screwdriver in excellent shape and ready for future projects.
Remember, safety is of utmost importance when using any tool. Always wear appropriate safety gear, exercise caution, and use the tool as intended.
Whether you’re a DIY enthusiast, a professional tradesperson, or someone who loves taking on new projects, a ratchet screwdriver is an invaluable addition to your toolkit. Its ratcheting mechanism makes tasks faster, more efficient, and less tiresome.
Now that you have the knowledge and confidence to use a ratchet screwdriver effectively, it’s time to apply these skills and embark on your next project. From assembling furniture to performing repairs, the ratchet screwdriver will become your reliable companion.
So, pick up your ratchet screwdriver and start tightening, loosening, and conquering those screws with ease. Enjoy the sense of accomplishment that comes with completing tasks effortlessly and efficiently using this versatile tool.
Happy screwdriving!
Frequently Asked Questions about How To Use A Ratchet Screwdriver
Was this page helpful?
At Storables.com, we guarantee accurate and reliable information. Our content, validated by Expert Board Contributors, is crafted following stringent Editorial Policies. We're committed to providing you with well-researched, expert-backed insights for all your informational needs.


0 thoughts on “How To Use A Ratchet Screwdriver”