Home>Renovation & DIY>Tools & Equipment>How To Use An Electrical Test Screwdriver
Tools & Equipment
How To Use An Electrical Test Screwdriver
Modified: August 24, 2024
Learn how to effectively use an electrical test screwdriver and ensure your safety while working with tools and equipment. Discover the proper techniques and precautions to follow in this comprehensive guide.
(Many of the links in this article redirect to a specific reviewed product. Your purchase of these products through affiliate links helps to generate commission for Storables.com, at no extra cost. Learn more)
Introduction
Electrical test screwdrivers are essential tools for electricians and individuals working with electrical systems. These specialized screwdrivers are designed to detect the presence of electrical current, measure voltage levels, test continuity, and verify proper grounding. With their compact size and simple operation, electrical test screwdrivers provide a quick and convenient way to identify potential electrical hazards and ensure the safety of both professionals and DIY enthusiasts.
In this article, we will explore the functionalities of electrical test screwdrivers and provide a step-by-step guide on how to effectively use them. We will also discuss safety precautions to keep in mind when working with these tools. Whether you are a professional electrician or someone who simply wants to ensure the safety of your home electrical systems, this article will equip you with the right knowledge to utilize electrical test screwdrivers effectively.
Before we delve into the practical aspects of using an electrical test screwdriver, it is important to highlight the significance of safety precautions. When working with electricity, it is crucial to prioritize safety at all times. Always assume that electrical circuits are live and take necessary precautions to protect yourself from electrical shocks.
Now, let’s begin our exploration of electrical test screwdrivers and learn how to use them effectively and safely.
Key Takeaways:
- Electrical test screwdrivers are essential for detecting voltage, testing continuity, and ensuring proper grounding. Understanding their indications and following safety precautions is crucial for effective and safe usage.
- Proper maintenance and storage of electrical test screwdrivers are vital for their longevity and reliable performance. Regular cleaning, inspection, and adherence to manufacturer’s instructions will ensure optimal functionality.
Overview of Electrical Test Screwdrivers
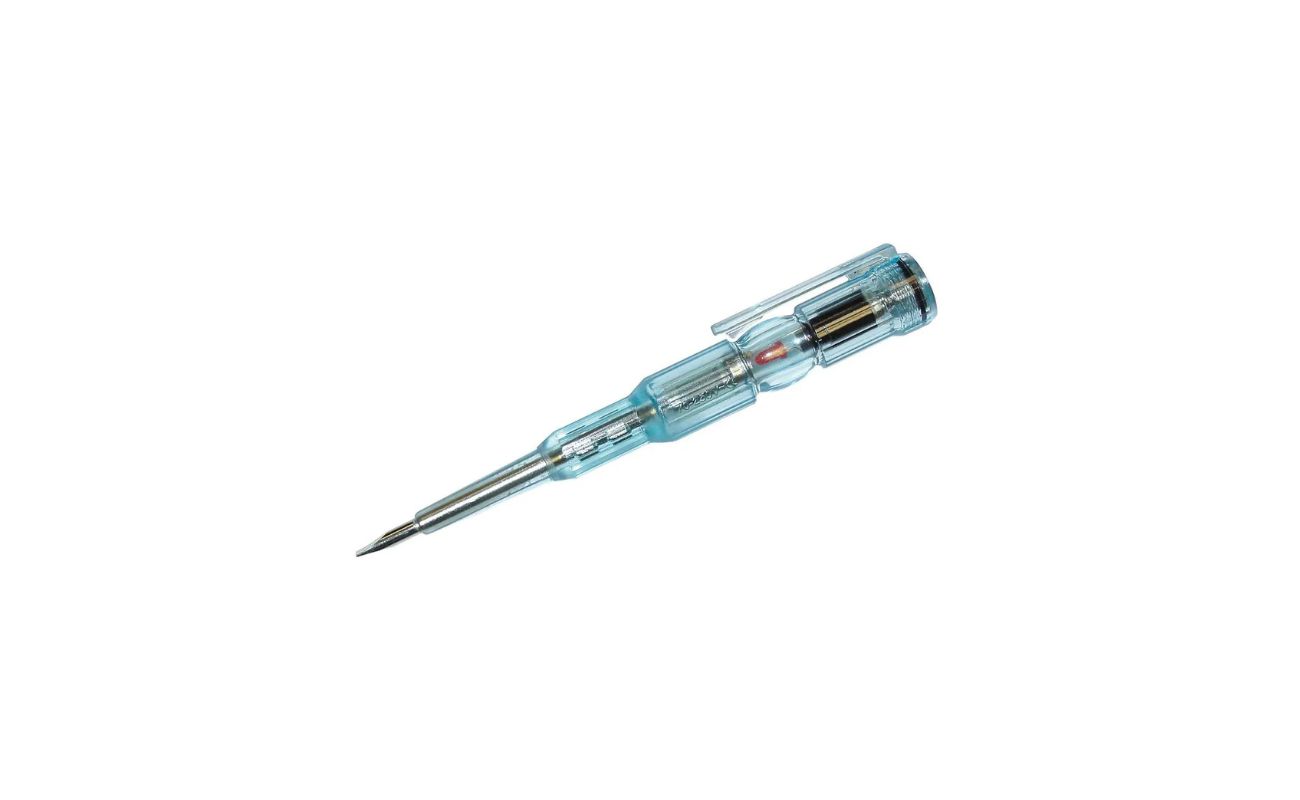
Electrical test screwdrivers, also known as voltage testers or voltage detectors, are specialized tools used to check the presence of electrical current, measure voltage levels, test continuity, and verify proper grounding. They are designed to quickly and easily identify the presence of electrical energy in various applications, including residential, commercial, and industrial settings.
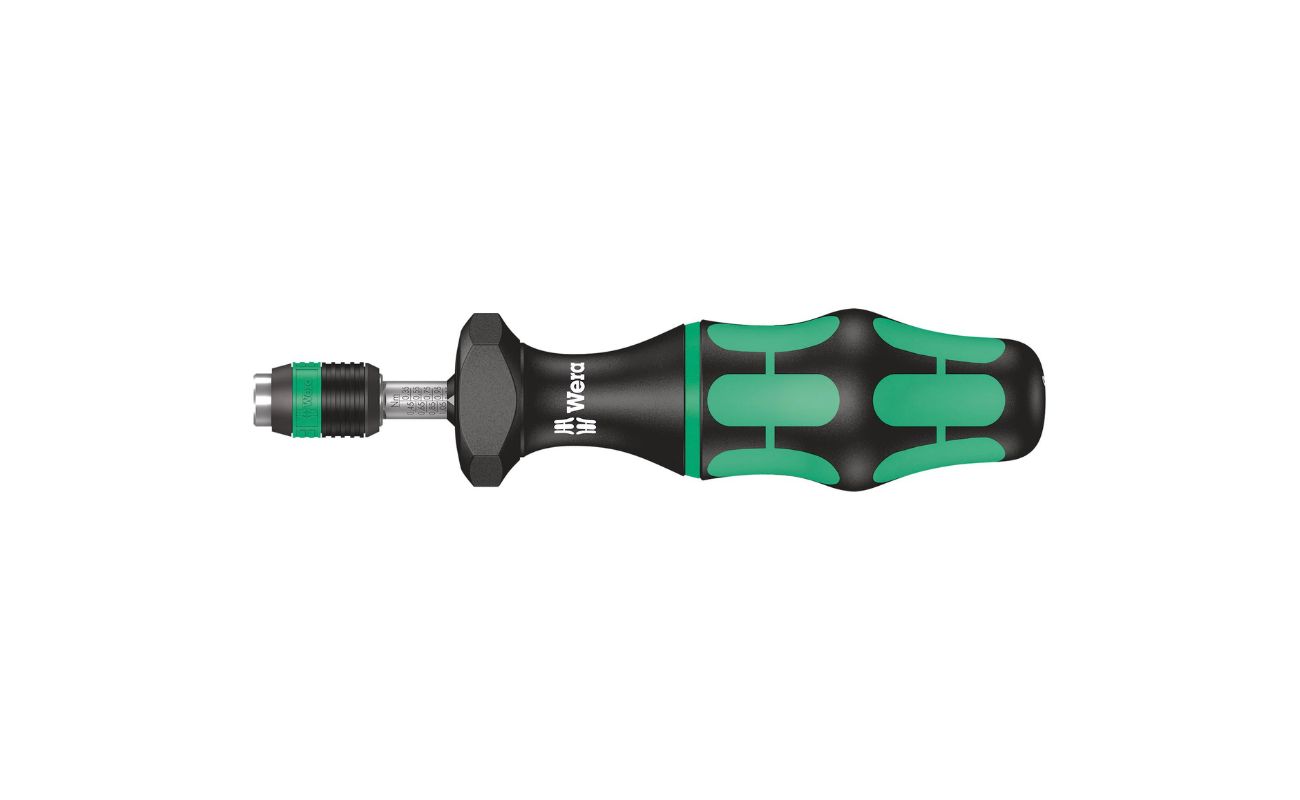
Most electrical test screwdrivers have a slender handle with a built-in electrical circuit inside. At the tip, there is a metal screwdriver blade that can be inserted into an electrical outlet, switch, or wire terminal for testing purposes. The handle of the screwdriver is typically insulated to prevent electrical shock, and many models come with additional safety features such as non-contact voltage detection.
One of the key features of electrical test screwdrivers is their ability to indicate the presence of voltage. This is usually done through a visual or auditory signal. In some models, the screwdriver will light up or emit an audible beep when it comes into contact with an energized circuit. Others may have a digital display that shows the voltage level directly.
Another important function of electrical test screwdrivers is to test continuity. Continuity testing is used to determine whether there is a complete path for electric current to flow through a circuit. When the screwdriver is touched to different parts of a circuit, it will indicate whether there is a complete or incomplete path.
Electrical test screwdrivers also allow users to test the polarity of electrical circuits. Polarity refers to the direction in which the electric current flows within a circuit. By testing the polarity, users can ensure that devices or appliances are correctly connected to the power source.
Overall, electrical test screwdrivers are essential tools for electricians and individuals working with electrical systems. They provide a safe and reliable method to identify potential electrical hazards and ensure the safety of both professionals and DIY enthusiasts. In the following sections, we will discuss how to use an electrical test screwdriver for testing voltage, continuity, and polarity. We will also cover safety precautions and tips for maintaining and storing these tools. So, let’s move on to our step-by-step guide on using an electrical test screwdriver.
Safety Precautions
When working with electricity, safety should always be your top priority. Here are some essential safety precautions to keep in mind when using an electrical test screwdriver:
- Ensure that you are properly trained and knowledgeable about electrical systems. If you are unsure about any aspect of the task, seek professional assistance.
- Always assume that electrical circuits are live and energized. Never touch or attempt to test any electrical component without first turning off the power and verifying that the circuit is de-energized.
- Inspect the electrical test screwdriver for any signs of damage or wear before use. If it is damaged or not functioning properly, do not use it and replace or repair it as necessary.
- Make sure to use an electrical test screwdriver that is appropriate for the voltage level you are working with. Using the wrong voltage rating can result in inaccurate readings or damage to the tool.
- Wear personal protective equipment (PPE) such as insulated gloves, safety glasses, and non-conductive footwear when working with electrical systems.
- When testing voltage, always hold the screwdriver by the insulated handle to prevent contact with live parts.
- Follow proper lockout/tagout procedures when working on live electrical circuits. This involves isolating the circuit, de-energizing it, and securing it to prevent accidental re-energization.
- Avoid working alone when testing or working on electrical systems. Have someone nearby who can provide assistance or call for help in case of an emergency.
- Keep the work area clean and organized to reduce the risk of tripping over tools or cables.
- Regularly inspect and maintain your electrical test screwdriver. Clean it after each use and store it in a dry and safe place.
Remember, these safety precautions are crucial for your well-being and the prevention of accidents and injuries. Always prioritize safety and use common sense when working with electrical systems. Now that we have covered the safety precautions, let’s move on to the practical steps of using an electrical test screwdriver.
Step 1: Familiarize Yourself with the Electrical Test Screwdriver
Before you begin using an electrical test screwdriver, it’s important to familiarize yourself with its design and features. Take a moment to inspect the tool and understand how it works. Here are some key aspects to pay attention to:
- Handle: The handle of the electrical test screwdriver is usually made of insulated material to prevent electrical shock. Ensure that the handle is intact and there are no signs of damage or wear.
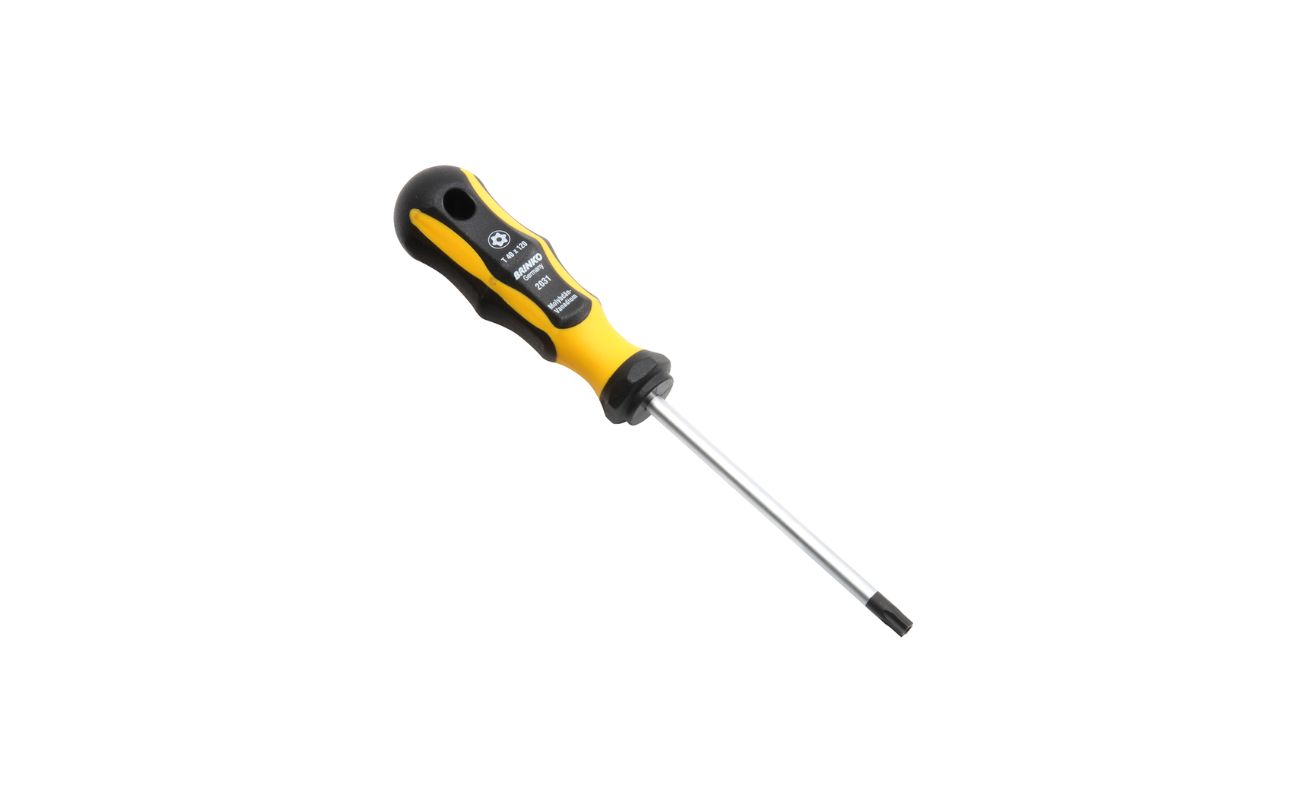
- Screwdriver Blade: The blade at the tip of the screwdriver is used to make contact with electrical components for testing purposes. It should be clean and free from any debris or obstruction that could affect its performance.
- Indicator: The electrical test screwdriver typically has an indicator to show if voltage is present. This can be a light, a beep, or a digital display. Ensure that the indicator is functioning correctly before use.
- Non-Contact Voltage Detection: Some electrical test screwdrivers come with a non-contact voltage detection feature. This allows you to detect the presence of voltage without making direct contact with the electrical component. Familiarize yourself with how this feature works and how to activate it if your screwdriver has it.
- Additional Features: Depending on the model, your electrical test screwdriver may have other features such as continuity testing, polarity testing, or a built-in flashlight. Understand how these additional features work and how to use them effectively.
By familiarizing yourself with the electrical test screwdriver, you will be better prepared to use it confidently and effectively. Understanding the different components and features of the tool will enable you to perform accurate tests and ensure your safety when working with electrical systems.
Step 2: Understanding the Different Indications of the Screwdriver
When using an electrical test screwdriver, it’s important to understand the various indications it provides to ensure accurate and reliable testing. Different models may have different indicators, so it’s essential to refer to the manufacturer’s instructions for specific details. However, here are some common indications you may encounter:
- Visual Indicators: Many electrical test screwdrivers have a visual indicator, such as an LED light, that illuminates when the screwdriver detects voltage. The light may be red, green, or another color depending on the model. Some screwdrivers have multiple lights or a light bar to indicate the strength of the voltage.
- Audible Indicators: Some screwdrivers emit an audible beep when they detect voltage. This can be helpful in situations where visual monitoring is not possible, or for individuals with visual impairments.
- Digital Display: Certain electrical test screwdrivers have a digital display that shows the voltage level directly. This provides a more precise measurement and eliminates the need for interpreting visual or auditory cues.
- Non-Contact Voltage Detection: If your electrical test screwdriver has non-contact voltage detection, it may use a combination of indicators such as lights or a changing tone to indicate the presence of voltage. This feature allows you to detect voltage without making physical contact with the electrical component.
It’s crucial to understand the indications of your specific electrical test screwdriver and interpret them correctly. Take the time to read the user manual and familiarize yourself with the different modes of operation and corresponding indications. This will ensure that you accurately interpret the results of your tests and make informed decisions regarding the presence of voltage, continuity, or polarity in an electrical circuit.
Remember that different models may have variations in how they indicate voltage or other electrical properties. Always refer to the manufacturer’s instructions to fully understand the indications of your specific electrical test screwdriver.
Read more: How To Use A Screwdriver
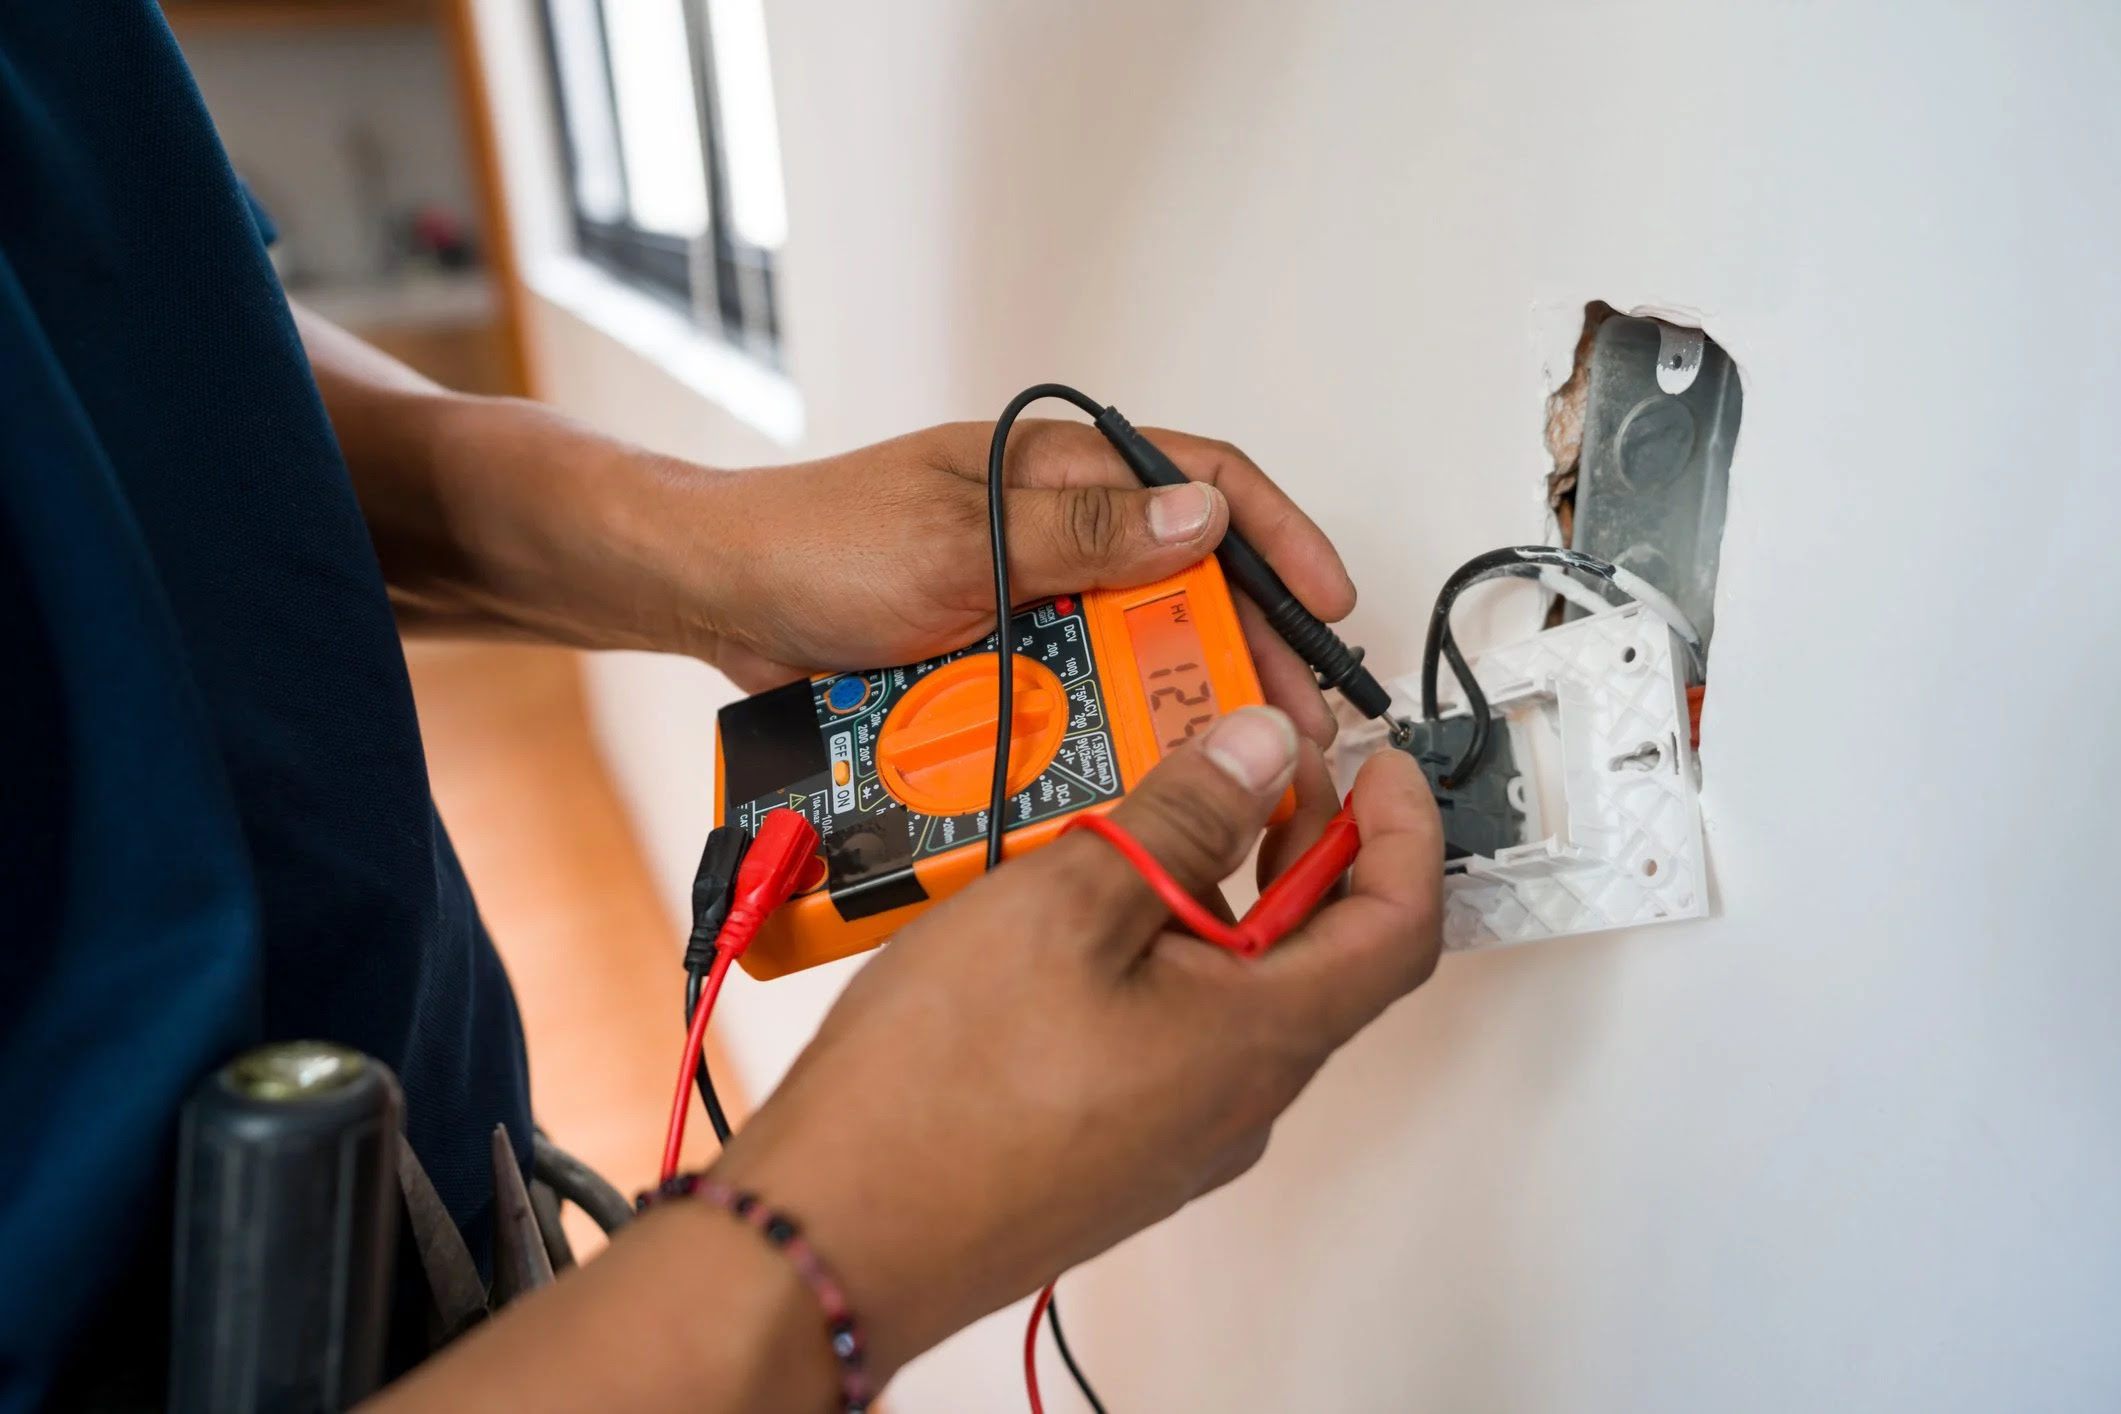
Step 3: Testing Voltage with the Electrical Test Screwdriver
One of the primary purposes of an electrical test screwdriver is to test voltage levels in electrical circuits. Properly testing voltage can help you determine if a circuit is live or inactive, ensuring your safety and enabling you to troubleshoot electrical issues effectively. Follow these steps to test voltage with an electrical test screwdriver:
- Start by ensuring that the electrical circuit you intend to test is de-energized. Turn off the power source at the breaker panel or disconnect the appliance you are testing.
- Hold the electrical test screwdriver by the insulated handle to avoid direct contact with any live components.
- Insert the screwdriver blade into the electrical outlet, switch, or wire terminal you want to test. Make sure the blade makes proper contact with the component.
- Observe the indicator on the screwdriver. Depending on the model, the indicator may light up, emit an audible beep, or display the voltage reading on a digital display.
- If the indicator shows that voltage is present, exercise caution as the circuit is still energized. If the indicator remains inactive, indicating no voltage, it’s safe to proceed with your work on the circuit.
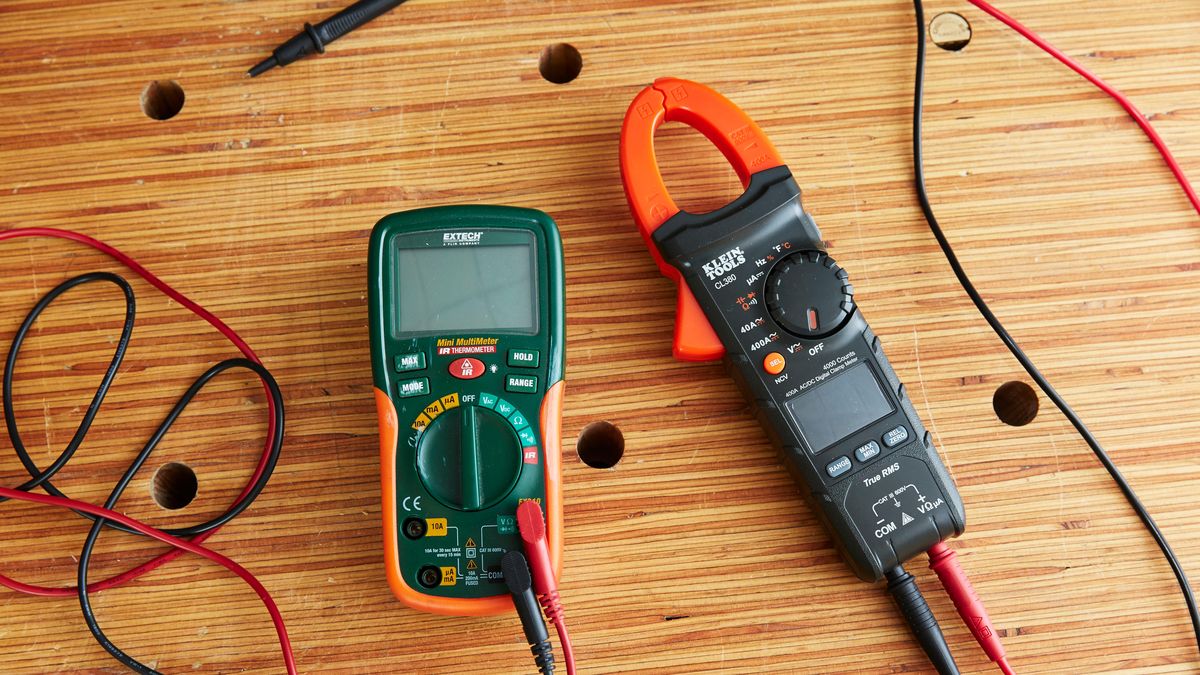
It’s important to note that an electrical test screwdriver is not the most precise tool for measuring voltage. It provides a quick indication of voltage presence but does not provide an exact voltage reading. For accurate voltage measurements, it is recommended to use a dedicated digital multimeter.
Remember to always follow safety precautions when testing voltage. Treat all circuits as if they are live, even if the electrical test screwdriver indicates otherwise. If you are unsure or uncomfortable with testing voltage, it is best to consult a licensed electrician for assistance.
Now that you know how to test voltage with an electrical test screwdriver, let’s move on to the next step: testing continuity.
When using an electrical test screwdriver, always ensure that it is properly insulated and rated for the voltage you are working with. Double-check the tool before each use to ensure it is in good working condition.
Step 4: Testing Continuity with the Electrical Test Screwdriver
In addition to testing voltage, an electrical test screwdriver can also be used to test continuity in electrical circuits. Continuity testing is used to determine whether there is a complete path for electric current to flow through a circuit. Follow these steps to test continuity with an electrical test screwdriver:
- Ensure that the power source to the circuit you are testing is turned off and the circuit is de-energized.
- Hold the electrical test screwdriver by the insulated handle to prevent direct contact with any live components.
- Touch the screwdriver blade to different parts of the circuit that you want to test. This can include wire connections, switches, or other components.
- Observe the indicator on the screwdriver. Depending on the model, it may light up, emit an audible beep, or display a reading to indicate continuity.
- If the indicator activates, it means there is a complete path for electric current to flow and the circuit has continuity. If there is no activation, it means there is a break or interruption in the circuit and continuity is not present.
Continuity testing is particularly useful when troubleshooting electrical systems. It allows you to check for faulty connections, breaks in wires, or damaged components. By identifying these issues, you can take appropriate steps to repair or replace the faulty elements, ensuring the proper functioning of the circuit.
It’s important to note that when performing continuity tests, the circuit should be de-energized to prevent electrical shocks or accidents. If you need to test continuity in a live circuit, it is recommended to use specialized tools specifically designed for live circuit testing.
By using your electrical test screwdriver for continuity testing, you can quickly identify faults and ensure the integrity of electrical circuits. Now that you know how to test continuity let’s move on to the next step: testing polarity.
Step 5: Testing Polarity with the Electrical Test Screwdriver
Testing polarity is an important step in working with electrical systems to ensure that devices or appliances are correctly connected to the power source. Polarity refers to the direction in which the electric current flows within a circuit. Follow these steps to test polarity with an electrical test screwdriver:
- Ensure that the power source to the circuit you are testing is turned off and the circuit is de-energized.
- Hold the electrical test screwdriver by the insulated handle to avoid direct contact with any live components.
- Insert the screwdriver blade into the electrical outlet or component you want to test. Make sure the blade makes proper contact with the component.
- Observe the indicator on the screwdriver. Depending on the model, it may light up, emit an audible beep, or display a reading to indicate the polarity of the circuit.
- Typically, if the indicator reacts when the screwdriver blade is inserted in one way but remains inactive when inserted in the opposite way, it indicates correct polarity. If the indicator reacts the same way regardless of the insertion, reverse the connections to correct the polarity.
Testing polarity with an electrical test screwdriver ensures that the hot wire (live or line wire) and neutral wire are correctly identified. This is important for the safe and efficient operation of electrical devices and appliances.
It’s crucial to remember that polarity testing should only be performed on de-energized circuits to avoid electrical shocks or accidents. If you are uncertain about the polarity of a live circuit, it’s recommended to consult a qualified electrician for assistance.
By testing polarity with an electrical test screwdriver, you can ensure that your electrical connections are properly oriented, reducing the risk of malfunctions or damages to electrical devices or appliances. Now that we have covered testing polarity, let’s move on to the next step: ensuring proper grounding.
Step 6: Ensuring Proper Grounding
Proper grounding is essential for the safety and functionality of electrical systems. Grounding provides a path for excess electricity to safely discharge into the ground, preventing electrical shocks and protecting against electrical fires. Follow these steps to ensure proper grounding using an electrical test screwdriver:
- Ensure that the power source to the circuit you are testing is turned off and the circuit is de-energized.
- Hold the electrical test screwdriver by the insulated handle to prevent direct contact with any live components.
- Touch the screwdriver blade to the grounding wire or grounding terminal of the electrical system you want to test. This can be a grounding screw, metal conduit, or a specifically designated grounding point.
- Observe the indicator on the screwdriver. The indicator should remain inactive, indicating that there is no voltage present in the grounding system. If the indicator activates, there may be a problem with the grounding, and further investigation is required.
Ensuring proper grounding is vital for a variety of electrical systems, including outlets, appliances, and larger electrical installations. Ungrounded systems can pose serious safety risks, such as electrical shocks and electrical fires.
If you suspect an issue with the grounding of a particular electrical system, it is recommended to consult a qualified electrician for assistance. They will be able to identify any grounding problems and provide solutions to ensure proper grounding and safety.
By using your electrical test screwdriver to test grounding, you can verify that the system is properly grounded and minimize the risk of electrical hazards. Now that we have covered ensuring proper grounding, let’s move on to the final step: maintaining and storing the electrical test screwdriver.
Read more: How To Test An Electric Fence
Step 7: Maintaining and Storing the Electrical Test Screwdriver
Maintaining and storing your electrical test screwdriver properly is essential for its longevity and continued reliable performance. Follow these guidelines to ensure that your tool remains in good condition:
- After each use, clean the screwdriver blade and handle with a soft cloth to remove any dirt, debris, or residue that may have accumulated.
- Inspect the screwdriver for any signs of damage, such as cracks or worn insulation. If any damage is found, discontinue use and repair or replace the screwdriver as necessary.
- Store your electrical test screwdriver in a dry and secure location to protect it from moisture, dust, and potential damage.
- Avoid exposing the screwdriver to extreme temperatures or direct sunlight, as this can deteriorate the materials and affect its performance.
- Keep the screwdriver away from children and unauthorized individuals to prevent accidents or misuse.
- Regularly check the batteries, if applicable, and replace them as needed to ensure accurate readings and optimal performance of the indicator.
- Refer to the manufacturer’s instructions for any additional maintenance or storage recommendations specific to your electrical test screwdriver model.
By properly maintaining and storing your electrical test screwdriver, you can ensure its longevity and reliability. Regular inspection, cleaning, and proper storage will help keep the tool in optimal condition for future use.
Remember that electrical test screwdrivers are precision instruments and should be handled with care. Always follow the manufacturer’s recommendations for maintenance and storage to maximize the lifespan of your tool and ensure accurate testing results.
As we conclude our step-by-step guide on using an electrical test screwdriver, we hope that you have gained valuable insights on how to effectively and safely utilize this tool for testing voltage, continuity, polarity, and grounding in electrical systems. Remember to always prioritize safety, follow proper procedures, and seek professional assistance when needed.
Now, armed with your knowledge on using an electrical test screwdriver, you can confidently tackle electrical projects and ensure the safety and functionality of your electrical systems.
Conclusion
Electrical test screwdrivers are indispensable tools for professionals and DIY enthusiasts working with electrical systems. These versatile devices provide a quick and effective way to test voltage, continuity, polarity, and grounding in electrical circuits.
Throughout this guide, we have covered the essential steps to effectively use an electrical test screwdriver and ensure your safety while working with electricity. We started by familiarizing ourselves with the tool’s design and features, understanding the different indications it provides, and learning how to test voltage, continuity, polarity, and grounding.
It’s important to remember that safety should be your top priority when working with electricity. Always assume that circuits are live and take the necessary precautions to protect yourself and others. Follow proper safety procedures, wear appropriate personal protective equipment, and seek professional assistance when needed.
Maintaining and storing your electrical test screwdriver properly is also crucial for its longevity and continued reliable performance. Regular cleaning, inspection, and proper storage will help keep the tool in optimal condition.
By utilizing an electrical test screwdriver correctly, you can identify potential electrical hazards, troubleshoot electrical issues, and ensure the integrity and safety of your electrical systems.
Remember, this guide serves as a general overview of using an electrical test screwdriver. It’s important to refer to the specific instructions provided by the manufacturer of your particular model for more detailed guidance.
Now that you have a good understanding of how to use an electrical test screwdriver effectively and safely, you can confidently take on electrical projects and ensure the proper functioning of your electrical systems.
Stay safe, be knowledgeable, and enjoy your work with electrical test screwdrivers!
Frequently Asked Questions about How To Use An Electrical Test Screwdriver
Was this page helpful?
At Storables.com, we guarantee accurate and reliable information. Our content, validated by Expert Board Contributors, is crafted following stringent Editorial Policies. We're committed to providing you with well-researched, expert-backed insights for all your informational needs.


0 thoughts on “How To Use An Electrical Test Screwdriver”