Home>Renovation & DIY>Tools & Equipment>How To Use A Drill As A Screwdriver
Tools & Equipment
How To Use A Drill As A Screwdriver
Modified: December 20, 2023
Learn how to effectively use a drill as a screwdriver with this comprehensive guide on tools-and-equipment. Maximize the functionality of your power tools and simplify your DIY projects.
(Many of the links in this article redirect to a specific reviewed product. Your purchase of these products through affiliate links helps to generate commission for Storables.com, at no extra cost. Learn more)
Introduction
Welcome to the world of DIY! Whether you’re a seasoned DIY enthusiast or just starting out, having the right tools is essential. When it comes to tasks like assembling furniture, hanging shelves, or completing small repairs around the house, a drill is an indispensable tool. But did you know that in addition to drilling holes, you can also use a drill as a screwdriver? That’s right! With the right technique and equipment, you can save time and effort by using your drill to drive and remove screws.
In this article, we will guide you through the process of using a drill as a screwdriver. We’ll start by discussing how to choose the right drill for screwing tasks and explain how to adjust it for screwdriver mode. We’ll then cover the steps for inserting and securing the screwdriver bit into the drill. Finally, we’ll provide some useful tips to ensure efficient and safe screwdriving. So, let’s dive in!
Key Takeaways:
- Transform your drill into a screwdriver by choosing the right drill, adjusting it for screwdriver mode, and securely inserting the screwdriver bit. Follow safety tips for efficient and safe screwdriving.
- Enhance your DIY skills by using your drill as a screwdriver. Choose the right screws, maintain control, and practice on scrap materials to achieve accurate and safe screwdriving results.
Read more: How To Use A Dewalt Drill As A Screwdriver
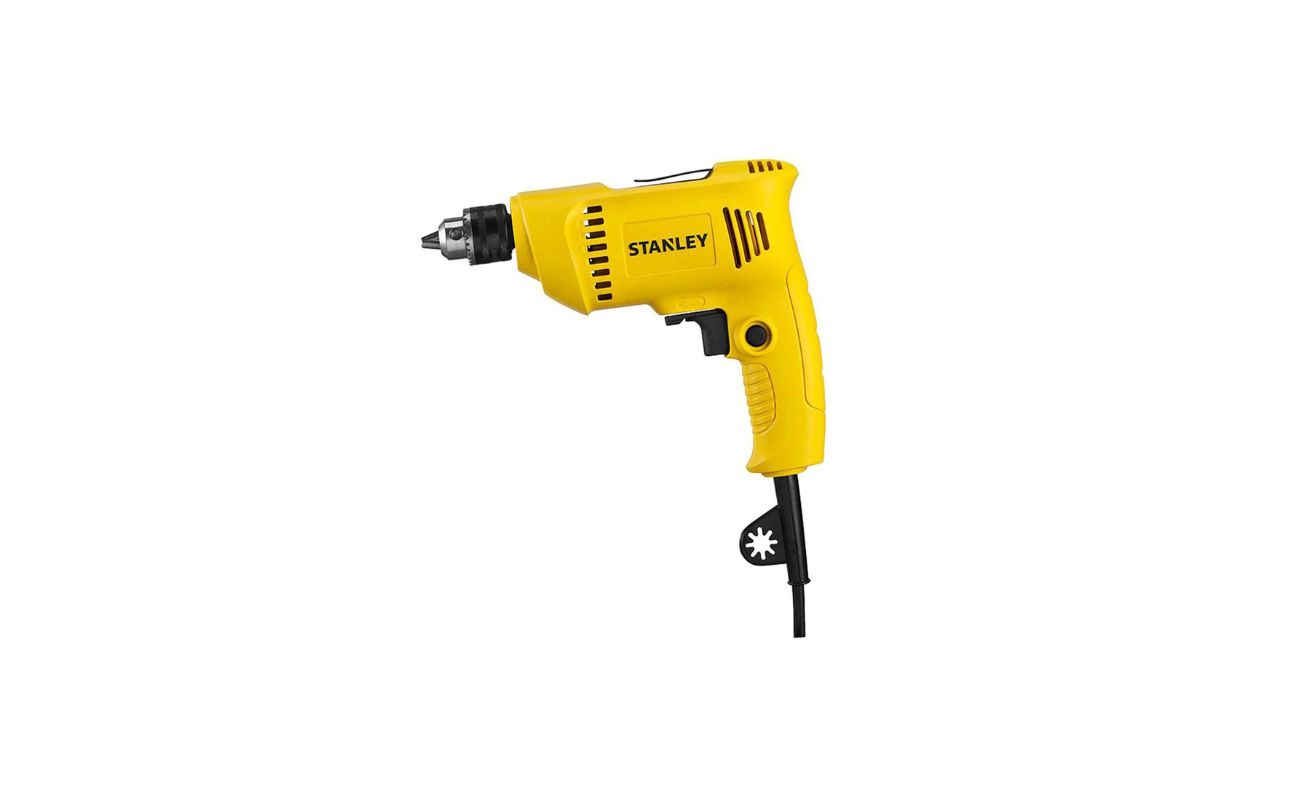
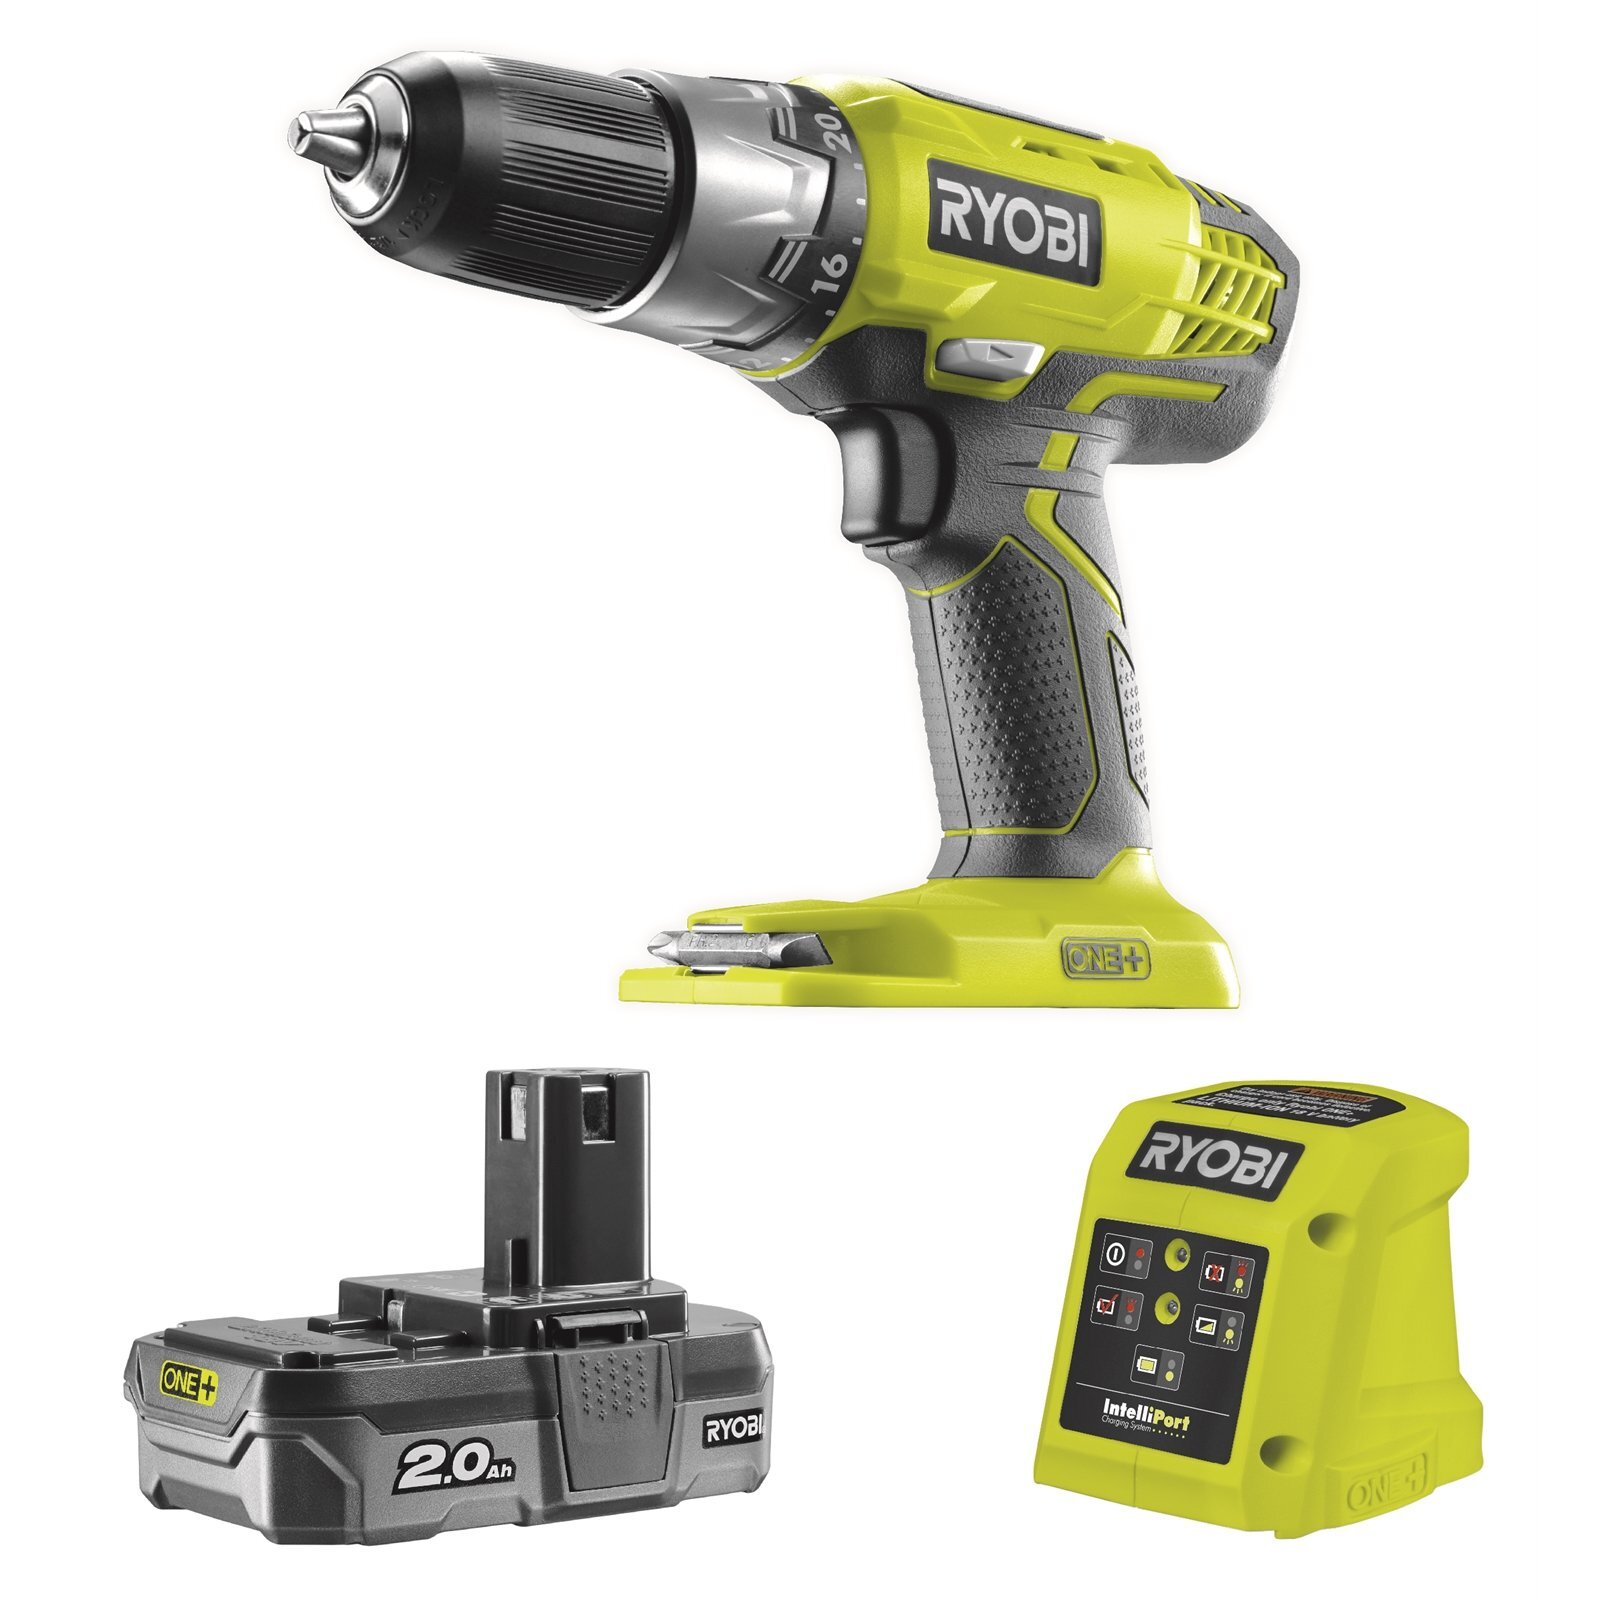
Choosing the Right Drill for Screwing Tasks
When it comes to using a drill as a screwdriver, having the right drill is crucial. While most drills are capable of screwdriving, some features make certain models more suitable for the task.
1. Power: Look for a drill with sufficient power for screwdriving. Ideally, opt for a drill with adjustable torque settings, allowing you to control the power and prevent overtightening or stripping screws.
2. Tool Speed: Consider the speed settings of the drill. A variable speed drill will allow for more precise screwdriving control, especially when working with delicate materials like wood or plastic.
3. Size and Weight: Choose a drill that feels comfortable in your hand. Remember, you may be using it for extended periods, so a lightweight and well-balanced drill will minimize fatigue.
4. Chuck Size: Ensure that the drill’s chuck size is compatible with the screwdriver bits you plan to use. Most drills have a 3/8-inch or 1/2-inch chuck, but check the specifications to be sure.
5. Corded vs. Cordless: Decide between a corded or cordless drill. Cordless drills offer more mobility and convenience, but corded drills provide continuous power without the need to recharge or replace batteries.
By considering these factors, you can select a drill that suits your specific screwdriving needs. The right drill will help you achieve better control, accuracy, and efficiency while working with screws.
Adjusting the Drill for Screwdriver Mode
Once you have chosen the appropriate drill for screwdriving tasks, the next step is to adjust it for screwdriver mode. This involves making a few simple adjustments to ensure that the drill operates effectively as a screwdriver.
1. Set the direction: Most drills have a directional switch on the top or side. To use the drill as a screwdriver, make sure the switch is set to the forward position. This ensures that the drill rotates in the right direction to drive screws into the material.
2. Adjust the clutch setting: The clutch is a feature that controls the amount of torque or rotational force that the drill applies to the screw. Locate the clutch adjustment ring or dial on the drill. Start with a lower setting to avoid overpowering the screw. Gradually increase the setting until you achieve the desired level of torque.
3. Select the appropriate speed: If your drill has variable speed settings, choose a lower speed for driving screws. Slow and steady speed reduces the risk of stripping the screw or damaging the material. Increase the speed if you need more power for tougher screws.
4. Secure the chuck: Ensure that the chuck is tightly secured around the screwdriver bit. A loose chuck can cause the bit to slip or become misaligned while screwdriving, leading to potential accidents or ineffective screwdriving.
5. Test the adjustments: Before proceeding with your screwdriving task, test the adjustments by securing a scrap piece of material and driving a screw into it. Check if the screw is properly driven without any issues. Make further adjustments if necessary.
By following these adjustment steps, you can prepare your drill for efficient and effective use as a screwdriver. These settings will help you achieve precise and controlled screwdriving results, making your DIY projects more successful and enjoyable.
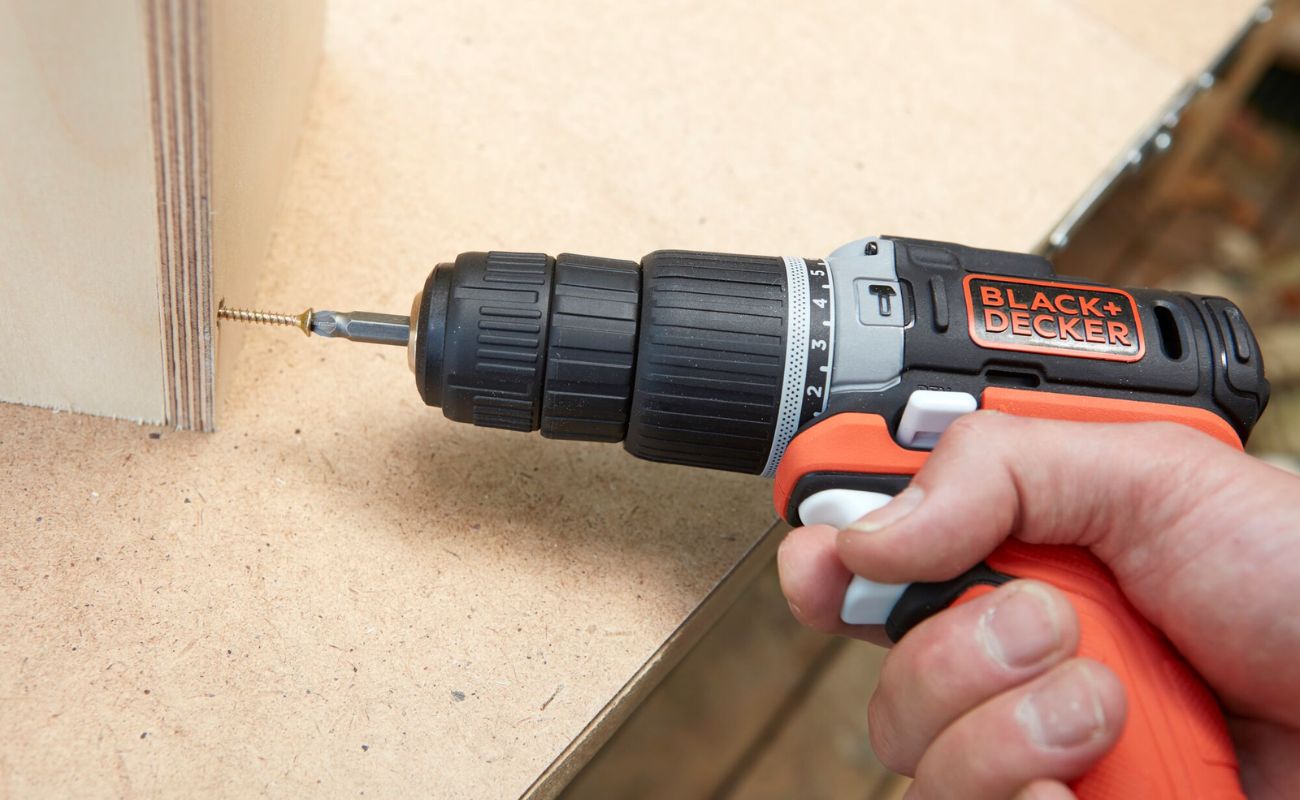
Inserting and Securing the Screwdriver Bit
Now that you have adjusted your drill for screwdriver mode, it’s time to insert and secure the screwdriver bit. The screwdriver bit is the part that makes contact with the screw and transfers the rotational force from the drill to the screw.
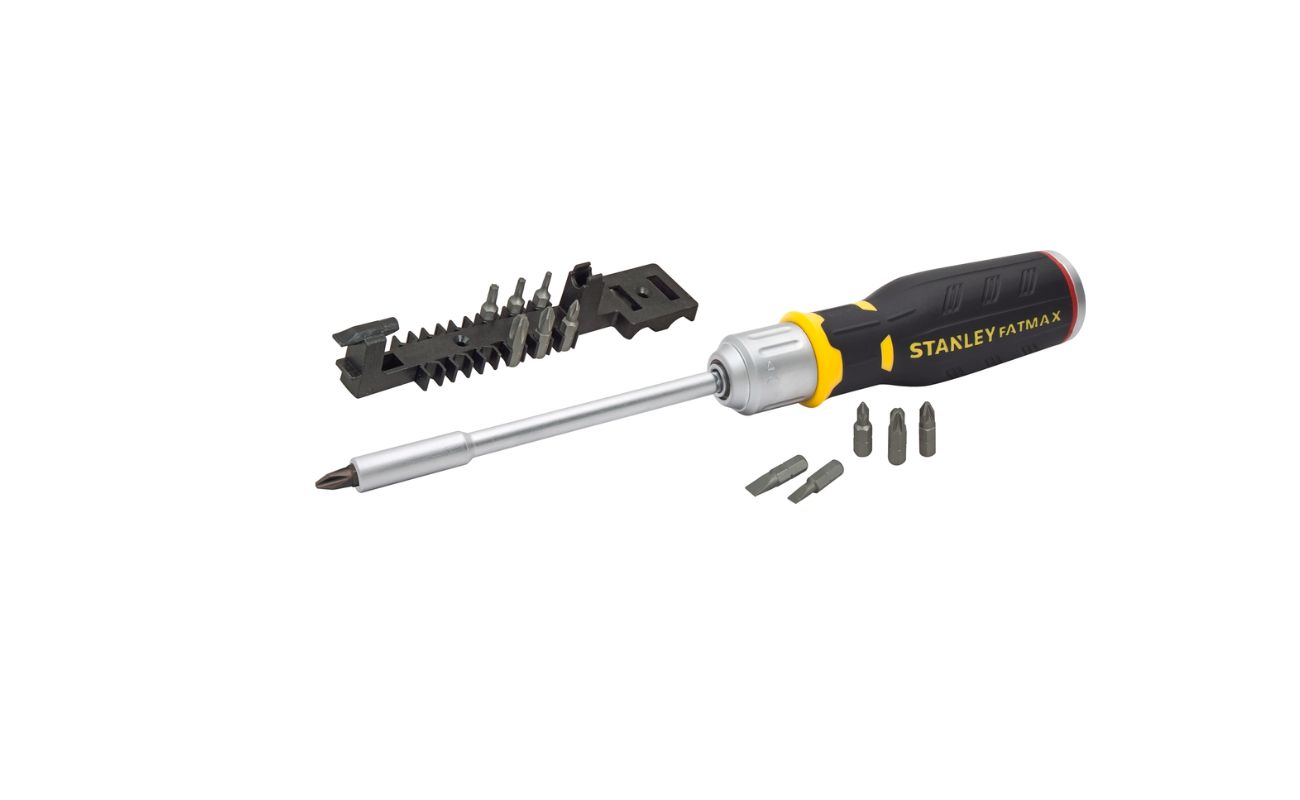
1. Choose the right screwdriver bit: Select the appropriate screwdriver bit for the type of screw you will be using. Screwdriver bits come in different sizes and shapes, such as Phillips, slotted, square, or Torx. Ensure that the bit matches the screw head to prevent stripping or damaging the screw.
2. Open the chuck: Loosen the chuck by turning it counterclockwise. Most drills have a keyless chuck, which means you can loosen and tighten it by hand. If you have a keyed chuck, use the chuck key to open it.
3. Insert the screwdriver bit: Insert the screwdriver bit into the chuck. Push the bit in as far as it will go, making sure it is seated securely in the chuck jaws.
4. Tighten the chuck: Hold onto the screwdriver bit with one hand while turning the chuck clockwise with the other hand. Continue tightening until the chuck grips the bit securely. Avoid over-tightening, as it may damage the bit or make it difficult to remove later.
5. Test the bit: Give the bit a gentle tug to ensure it is properly secured. If it wobbles or feels loose, re-tighten the chuck until the bit is firmly held in place.
By following these steps, you can safely insert and secure the screwdriver bit into your drill. Having a securely locked bit ensures that it remains stable during screwdriving, allowing for smooth and efficient operation.
When using a drill as a screwdriver, make sure to adjust the clutch setting to prevent over-tightening and damaging the screw or the material you are working with.
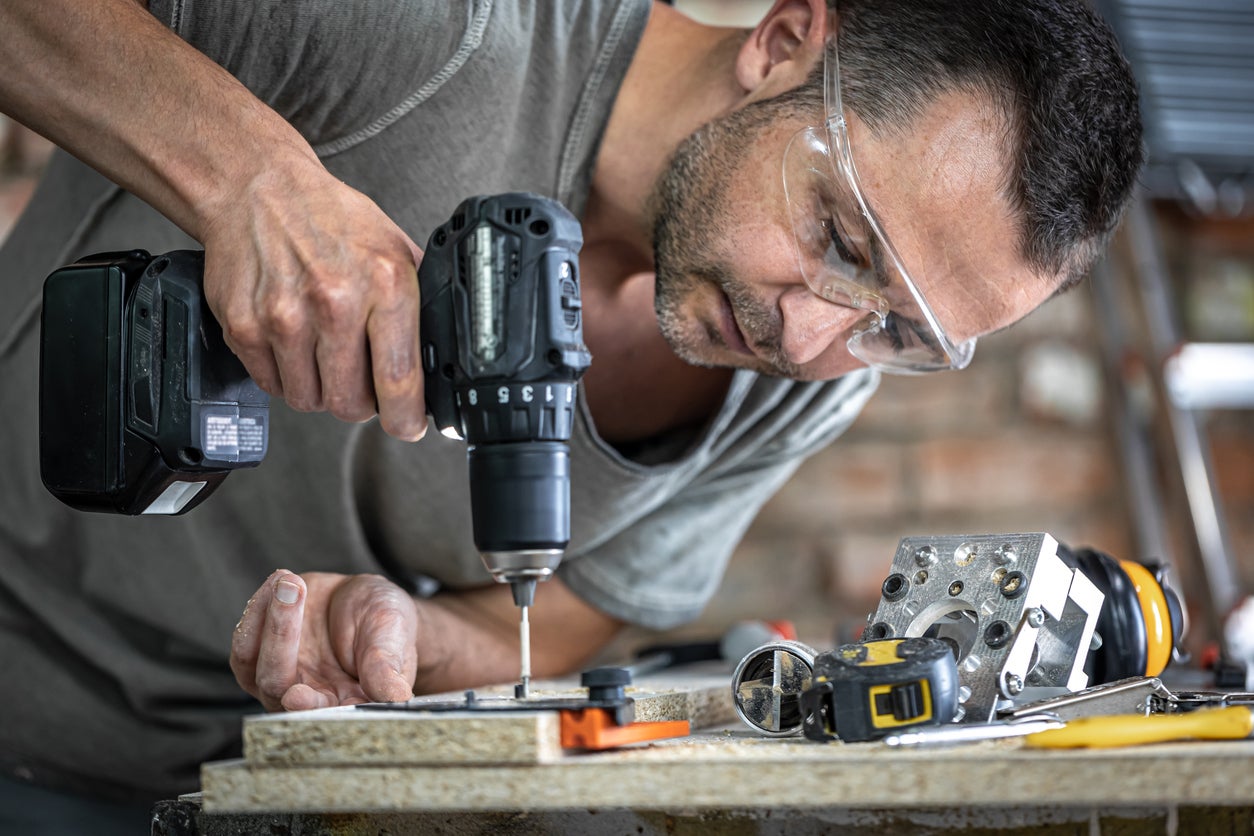
Using the Drill as a Screwdriver
Now that your drill is adjusted and the screwdriver bit is securely in place, it’s time to put your drill to work as a screwdriver. Here’s how to effectively use your drill for screwdriving:
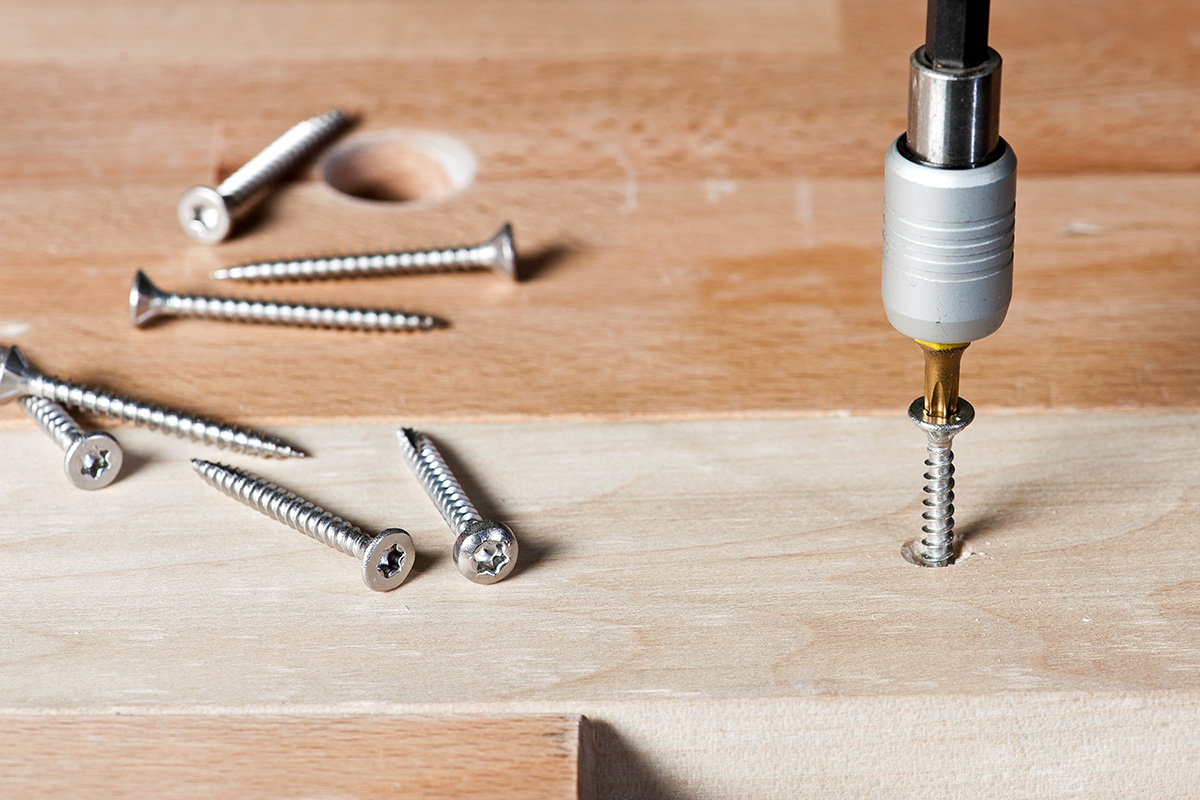
1. Align the drill: Position the screwdriver bit’s tip onto the screw head, ensuring it fits into the slots or recesses of the screw. Make sure the drill is perpendicular to the surface to prevent slipping or damaging the material.
2. Start slowly: Begin by gently squeezing the drill’s trigger to start the rotation. It’s crucial to start at a low speed to have better control over the screw. Once the screw starts to catch, you can increase the speed gradually.
3. Apply steady pressure: While maintaining a firm grip on the drill, apply steady and consistent pressure as you drive the screw into the material. Avoid excessive force, as it can cause the screw to go too deep or damage the material.
4. Monitor the depth: Keep an eye on the depth of the screw. If your drill has a depth stop feature, set it to prevent the screw from going too deep. This is particularly useful when working with delicate materials or when you want all screws to be flush with the surface.
5. Reverse for screw removal: To remove screws, simply switch the drill to reverse mode. Follow the same steps as above, starting slowly and steadily applying pressure. The screw should start to loosen and can be easily removed.
6. Repeat as necessary: Continue screwdriving or removing screws as needed, adjusting the speed and pressure based on the specific requirements of your project. Take breaks if necessary to avoid overheating the drill.
By following these steps, you can effectively use your drill as a screwdriver and complete your screwdriving tasks with ease and efficiency. Remember to always prioritize safety and use appropriate personal protective equipment when working with power tools.
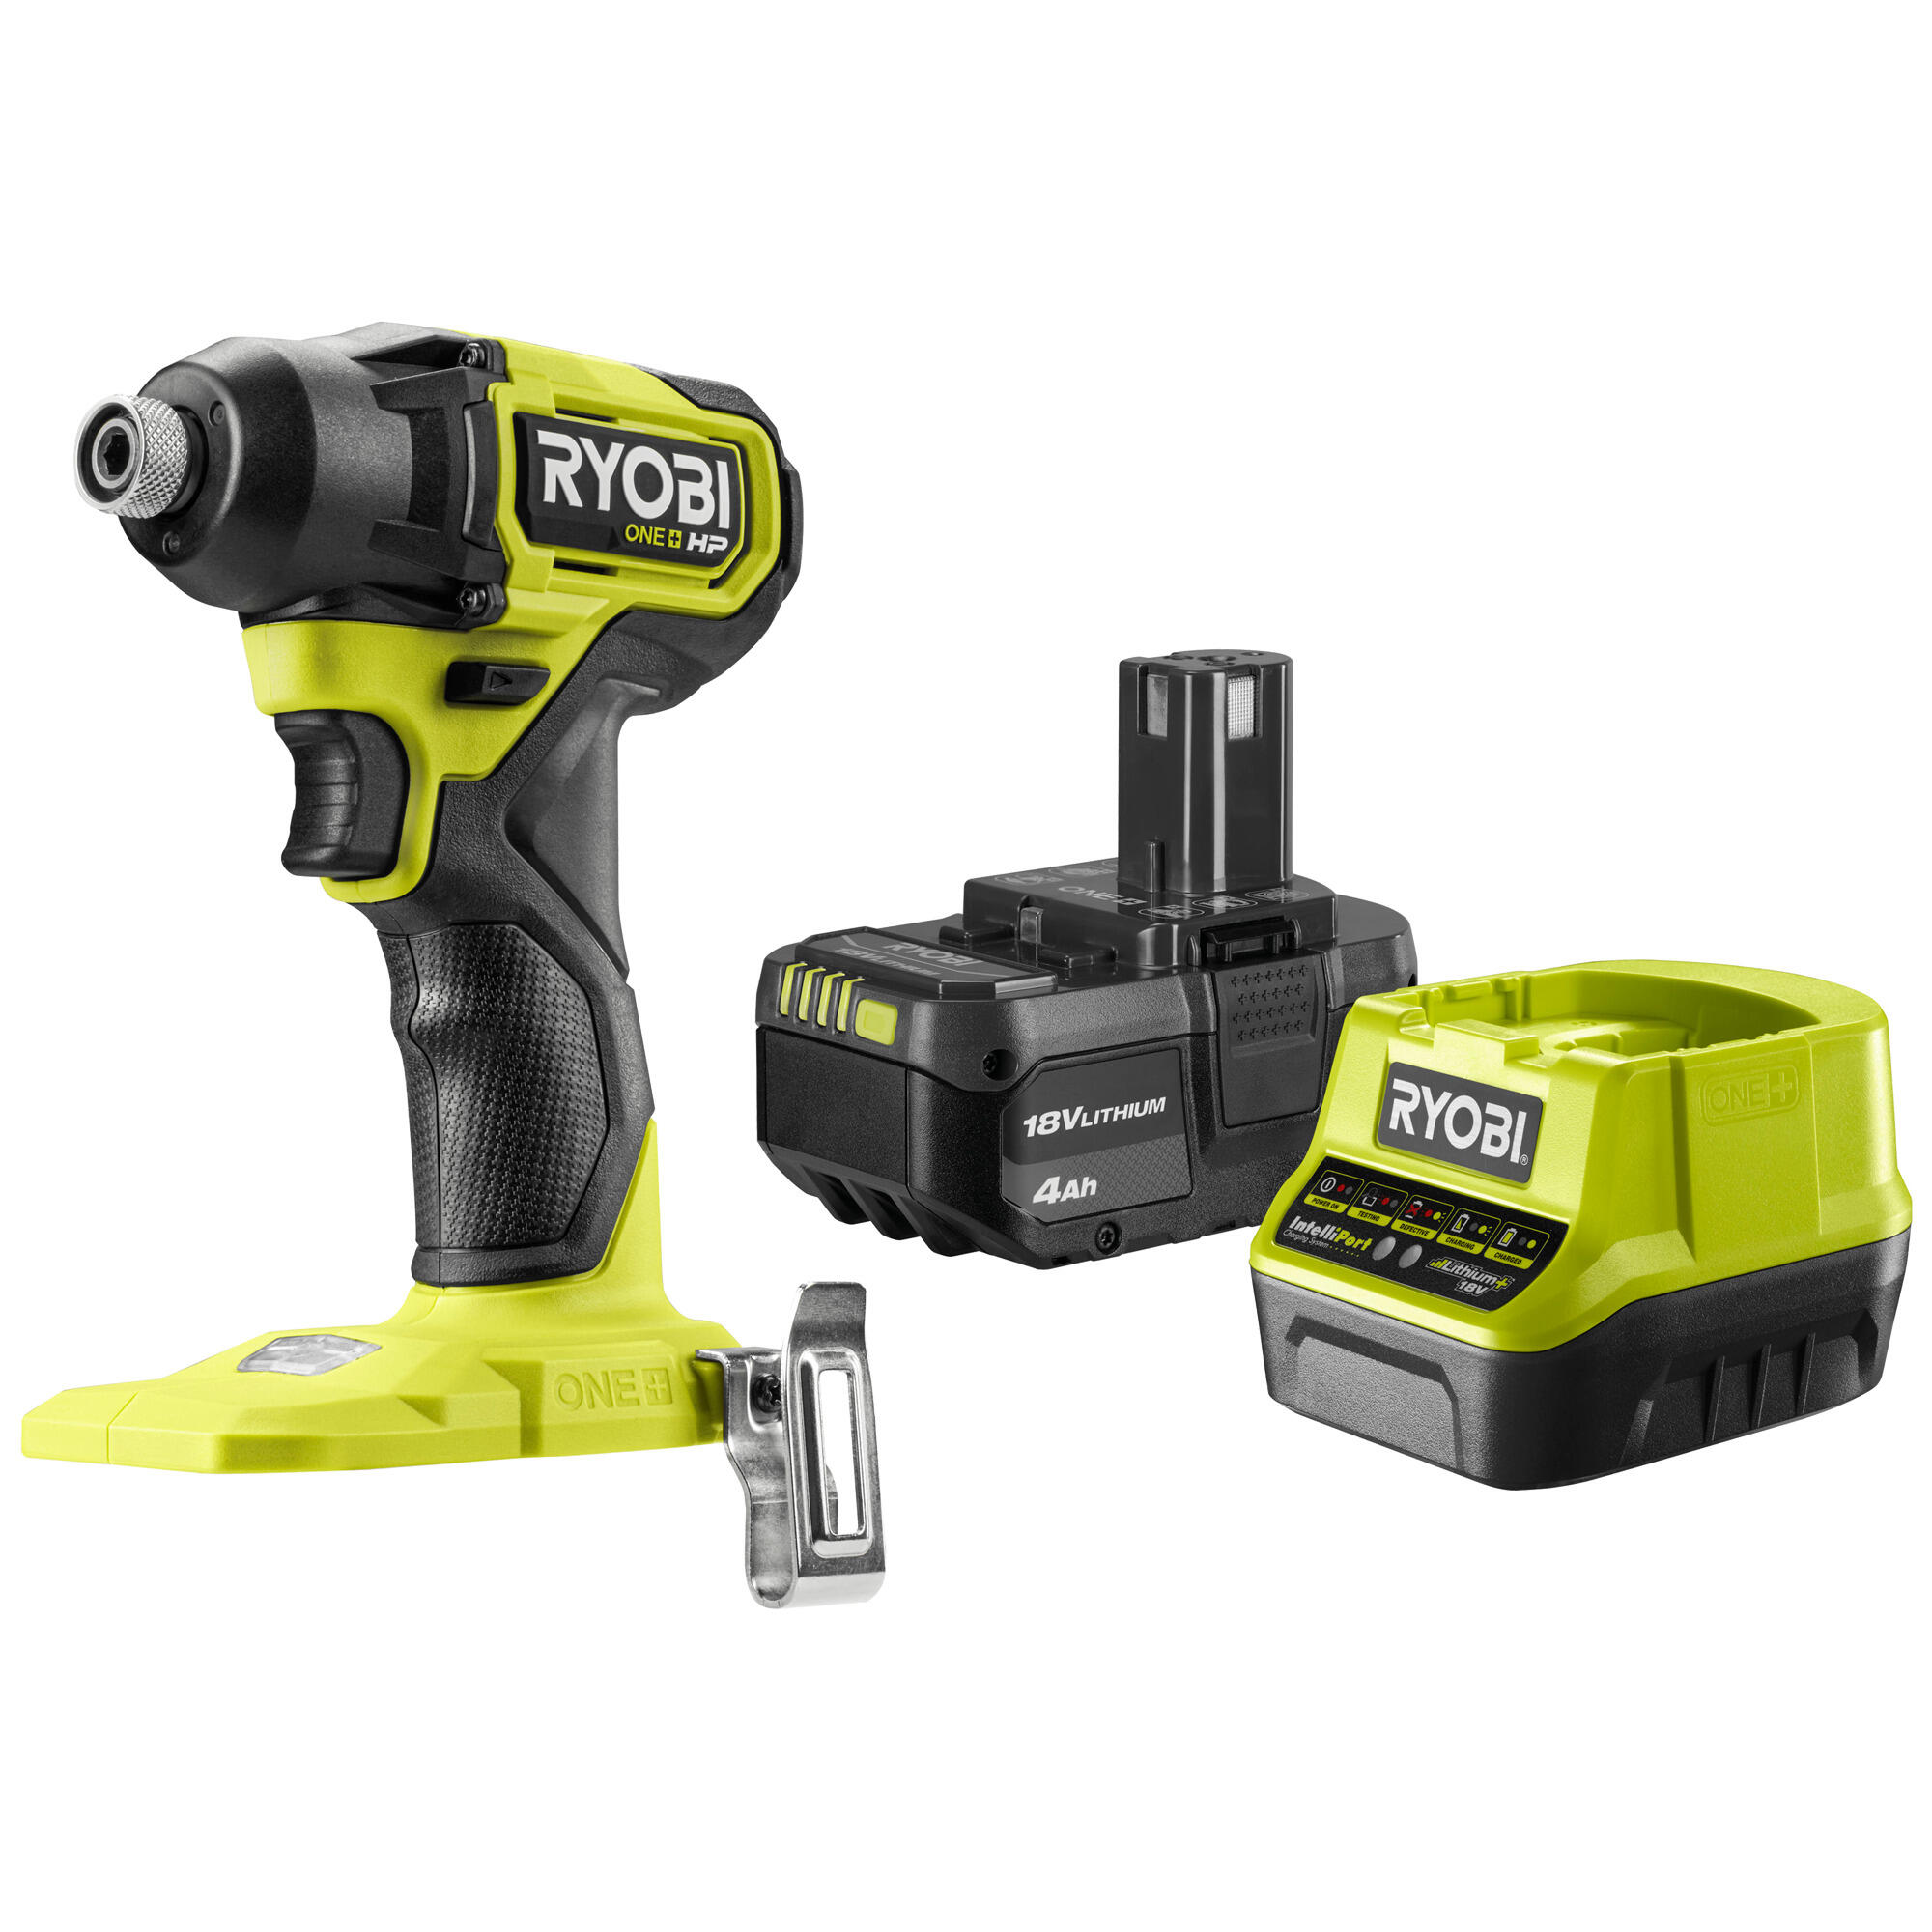
Read more: How To Use Ryobi Drill As A Screwdriver
Tips for Efficient and Safe Screwdriving
To ensure that your screwdriving tasks are efficient and safe, here are some valuable tips to keep in mind:
1. Use proper technique: Maintain a firm grip on the drill and position it perpendicularly to the surface. This helps prevent the drill from slipping and ensures accurate screwdriving.
2. Choose the right screw size and type: Select screws that are appropriate for the material you’re working with. Using the wrong size or type of screw can result in poor grip or damage to the material.
3. Pre-drill pilot holes (when necessary): For hardwoods or when working near the edges of the material, it’s advisable to pre-drill pilot holes to prevent splitting or cracking.
4. Use an impact driver for tougher screws: If you’re dealing with stubborn screws or driving screws into dense materials, consider using an impact driver. Impact drivers offer high torque and are better suited for heavy-duty screwdriving tasks.
5. Avoid over-tightening: Use the clutch settings on your drill to prevent over-tightening screws. Over-tightening can damage the screw, strip the threads, or even result in material breakage.
6. Maintain control and stability: Keep a steady hand and maintain control of the drill throughout the screwdriving process. This helps ensure accuracy and prevents accidents or damage to the material.
7. Clean the screwdriver bit: Regularly clean the screwdriver bit to prevent debris buildup or damage to the screw head. A clean bit ensures proper engagement with the screw and reduces the risk of stripping.
8. Work in a well-lit area: Ensure that your work area is well-lit to clearly see the screw head, the screwdriver bit, and the material. This helps prevent mistakes and enhances safety.
9. Use personal protective equipment (PPE): Wear safety goggles to protect your eyes from flying debris, and consider using gloves to improve grip and protect your hands during screwdriving tasks.
10. Practice on scrap materials: If you’re new to using a drill as a screwdriver, it’s a good idea to practice on scrap materials before tackling important or visible projects. This allows you to familiarize yourself with the process and gain confidence in your screwdriving abilities.
By following these tips, you can ensure that your screwdriving tasks are efficient, accurate, and safe. Remember to always follow the manufacturer’s instructions and recommended safety guidelines for your specific drill model.
Conclusion
Using a drill as a screwdriver is a practical skill that can save you time and effort on various DIY projects. By following the steps outlined in this article, you can successfully utilize your drill for screwdriving tasks, whether it’s assembling furniture, hanging shelves, or completing small repairs around the house.
Remember to choose the right drill for screwdriving tasks, considering factors like power, speed, size, and chuck compatibility. Adjust your drill for screwdriver mode by setting the direction, adjusting the clutch, selecting the appropriate speed, and ensuring the chuck is securely tightened. Insert the correct screwdriver bit and align it with the screw head before proceeding with screwdriving.
During screwdriving, maintain proper technique, apply steady pressure, and monitor the depth to prevent over-tightening or damaging the material. Use appropriate personal protective equipment, work in well-lit areas, and select the right screws for the job to ensure efficient and safe screwdriving.
By implementing the tips shared in this article, you can enhance your screwdriving skills, achieve accurate results, and tackle a wide range of DIY projects with confidence. Practice on scrap materials to improve your technique, and always prioritize safety when using power tools.
Now that you have the knowledge and understanding of how to use a drill as a screwdriver, it’s time to put that knowledge into action. Embrace your inner DIY enthusiast and enjoy the convenience and efficiency of using your drill as a versatile and valuable tool in your toolbox.
Frequently Asked Questions about How To Use A Drill As A Screwdriver
Was this page helpful?
At Storables.com, we guarantee accurate and reliable information. Our content, validated by Expert Board Contributors, is crafted following stringent Editorial Policies. We're committed to providing you with well-researched, expert-backed insights for all your informational needs.

0 thoughts on “How To Use A Drill As A Screwdriver”