Home>Renovation & DIY>Tools & Equipment>How To Sharpen Chisels With Sandpaper
Tools & Equipment
How To Sharpen Chisels With Sandpaper
Published: December 20, 2023
Learn how to sharpen chisels with sandpaper using the right tools and equipment. Discover the best techniques for achieving a sharp edge effortlessly.
(Many of the links in this article redirect to a specific reviewed product. Your purchase of these products through affiliate links helps to generate commission for Storables.com, at no extra cost. Learn more)
Introduction
Sharpening chisels is an essential skill for woodworkers and DIY enthusiasts alike. A sharp chisel not only makes woodworking tasks easier but also ensures clean and precise cuts. While there are various methods to sharpen chisels, using sandpaper is a cost-effective and convenient approach, especially for those who are new to woodworking or lack access to specialized sharpening tools.
In this guide, we will explore the process of sharpening chisels with sandpaper, providing a step-by-step overview of the technique. This method is particularly advantageous for individuals seeking a simple yet effective way to maintain the sharpness of their chisels without investing in expensive sharpening systems or stones.
By the end of this article, you will have a comprehensive understanding of the materials required, the step-by-step process, as well as some valuable tips and tricks to ensure that your chisels are sharpened to perfection. Whether you are a seasoned woodworker or a novice DIYer, mastering the art of sharpening chisels with sandpaper will undoubtedly elevate the quality of your woodworking projects and enhance your overall craftsmanship.
Key Takeaways:
- Sharpening chisels with sandpaper is a cost-effective and accessible method for woodworkers to maintain sharpness and precision without expensive equipment.
- By following a step-by-step process and incorporating tips like consistent pressure and frequent inspections, woodworkers can achieve razor-sharp chisel edges for precise woodworking tasks.
Read more: How To Sharpen Scissors With Sandpaper
Materials Needed
Before delving into the process of sharpening chisels with sandpaper, it’s essential to gather the necessary materials. Fortunately, the items required for this method are readily available and relatively inexpensive, making it an accessible option for woodworkers of all levels. Here’s what you’ll need:
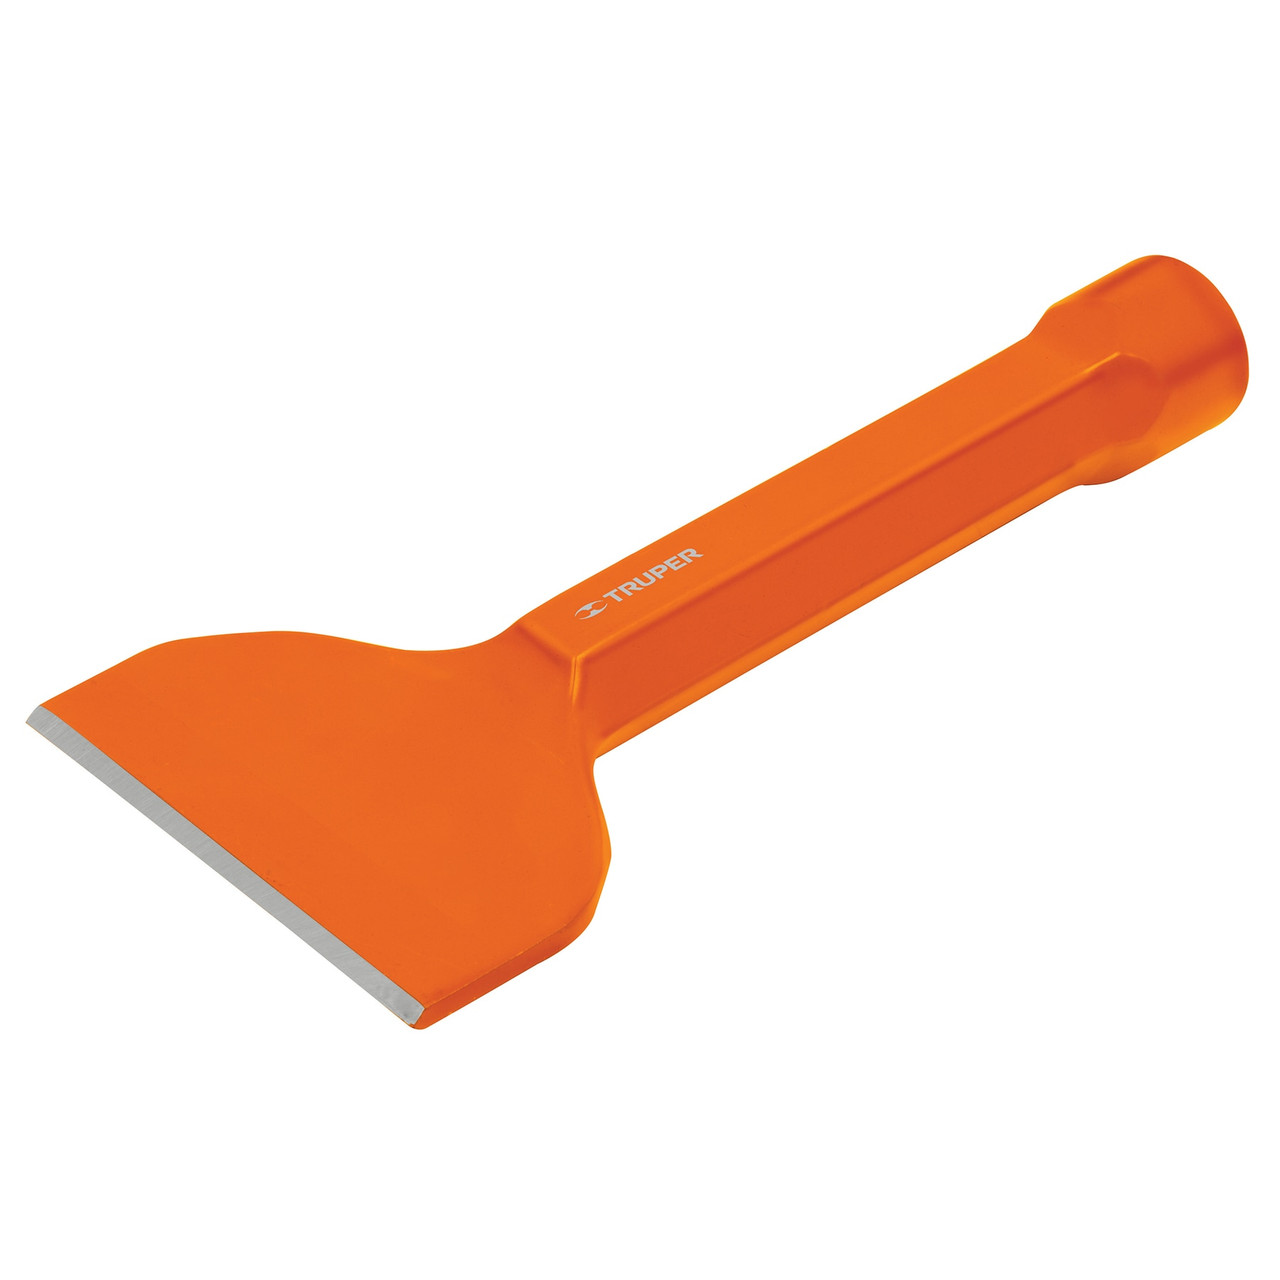
- Chisels: The chisels that require sharpening are, of course, the primary focus. Ensure that they are clean and free of any debris before beginning the sharpening process.
- Sandpaper: Opt for high-quality sandpaper with varying grits, such as 220, 400, 800, and 1000 grit. The assortment of grits will facilitate a gradual sharpening process, allowing you to achieve a finely honed edge.
- Flat Surface: A flat and stable surface, such as a workbench or table, is essential for securing the sandpaper and providing a stable platform for sharpening the chisels.
- Honing Guide (Optional): While not mandatory, a honing guide can be beneficial for maintaining a consistent bevel angle during the sharpening process, especially for those new to sharpening chisels.
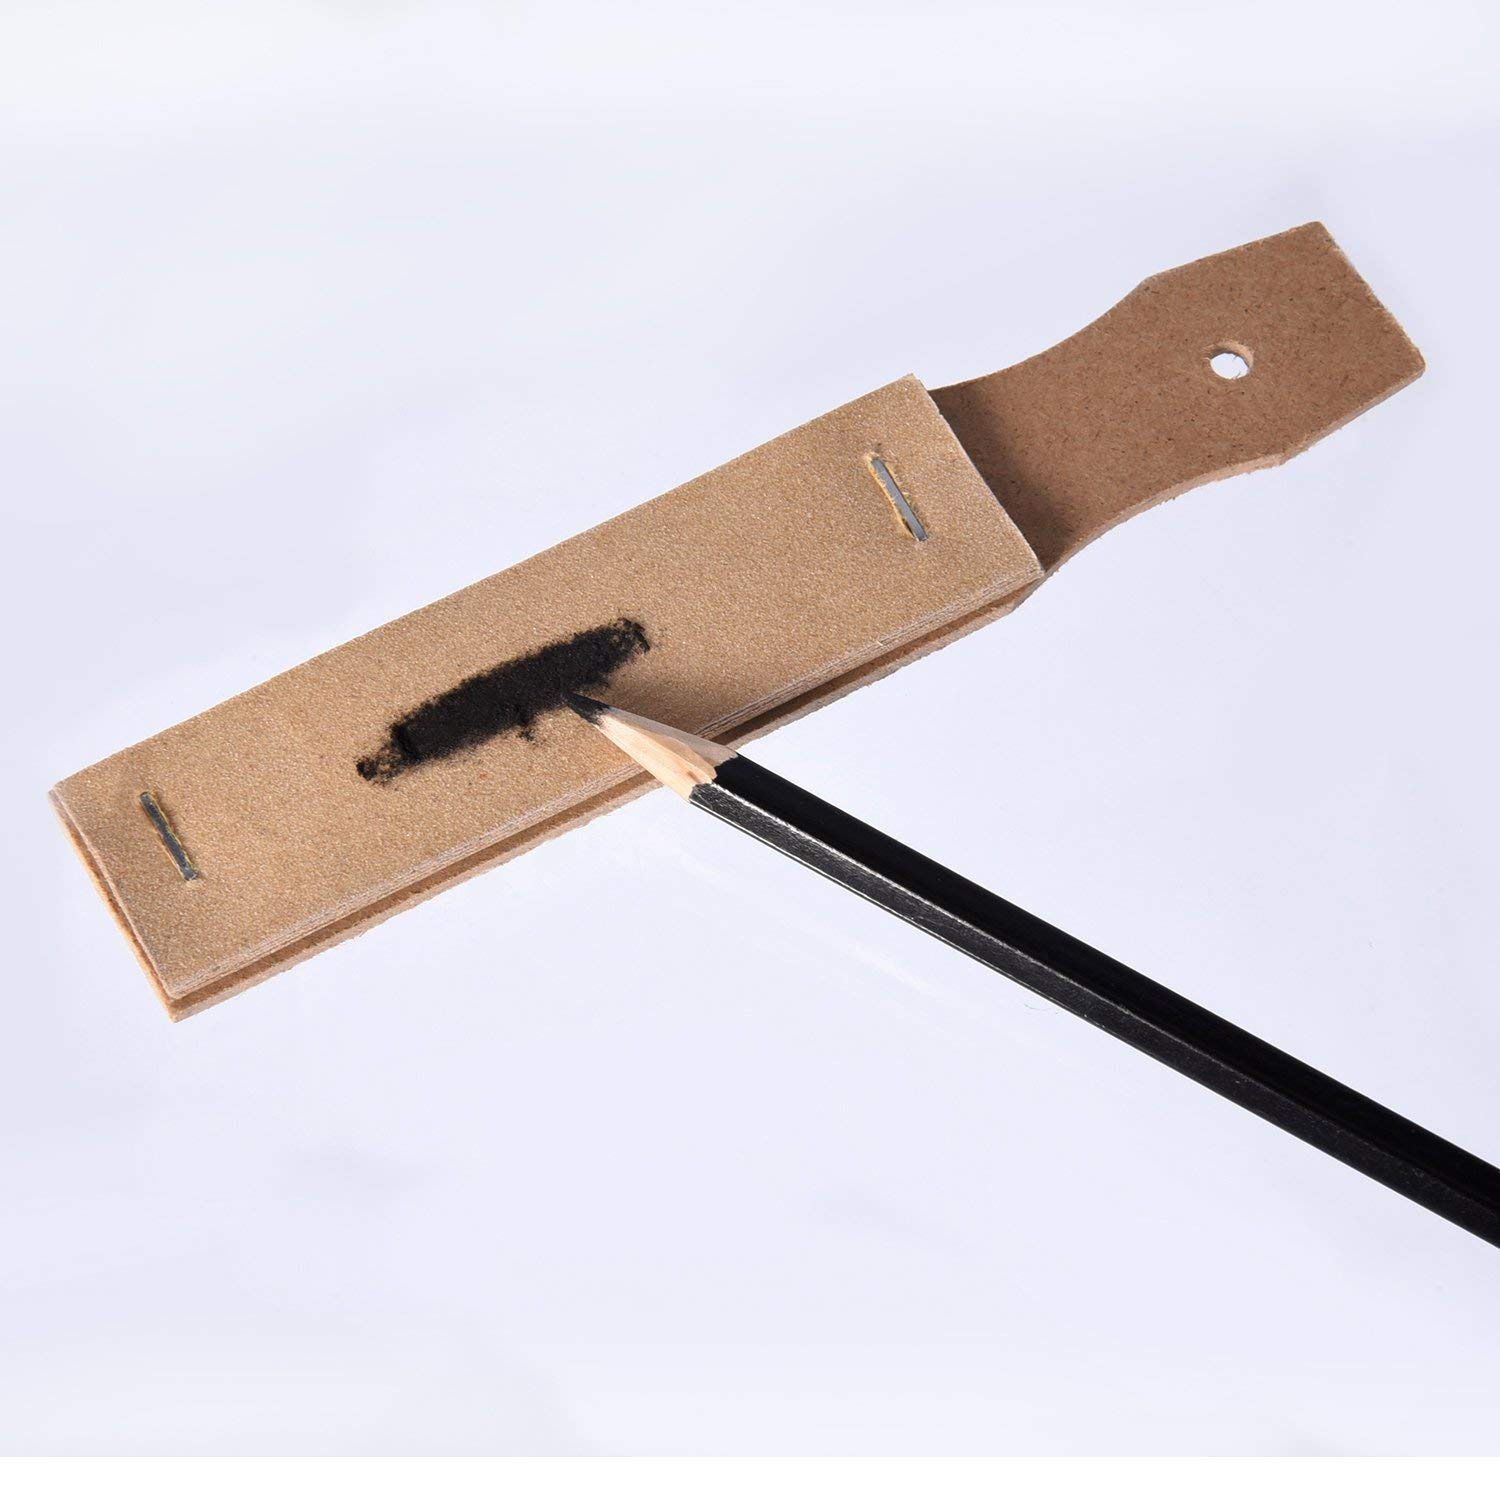
- Marker: A marker or pencil can be used to indicate the areas of the chisel that require sharpening, helping you keep track of your progress as you work through the grits of sandpaper.
- Cleaning Cloth: Keeping a clean cloth or rag on hand is useful for wiping the chisels and removing any metal shavings or debris that may accumulate during sharpening.
- Honing Compound (Optional): For a polished and razor-sharp edge, honing compound can be applied to the chisel after the sandpaper sharpening process. This step is optional but can significantly enhance the chisel’s cutting performance.
With these materials at your disposal, you’ll be well-equipped to embark on the journey of sharpening your chisels with sandpaper, revitalizing their cutting prowess and ensuring precision in your woodworking endeavors.
Steps to Sharpen Chisels with Sandpaper
Sharpening chisels with sandpaper is a straightforward process that yields impressive results when executed with precision and care. Follow these step-by-step instructions to achieve finely honed chisel edges using this accessible and effective method:
- Prepare the Chisels: Begin by ensuring that the chisels are clean and free of any dirt or debris. If the chisel blades are excessively dull or damaged, consider addressing any major imperfections with a coarse grit sandpaper before progressing to finer grits.
- Select the Appropriate Grit: Choose the initial grit of sandpaper based on the condition of the chisel’s edge. Coarser grits, such as 220 or 400, are suitable for addressing significant dullness or nicks, while finer grits, such as 800 or 1000, are ideal for refining and polishing the edge.
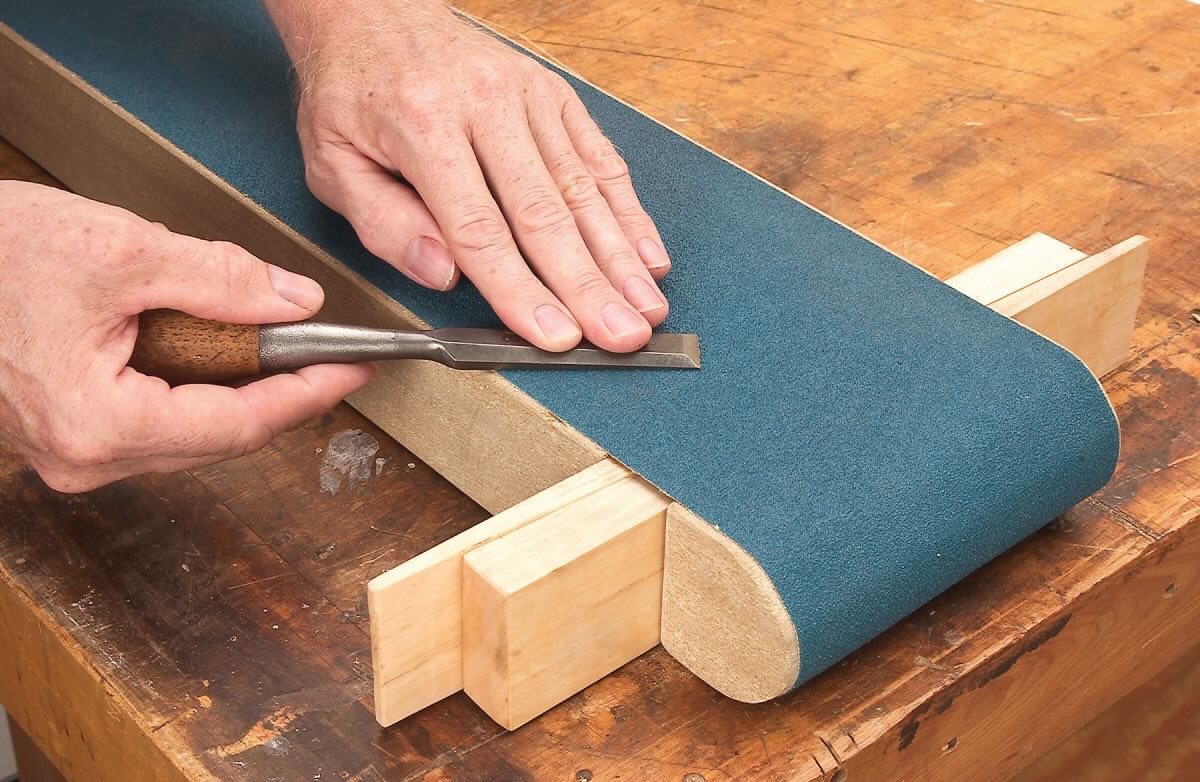
- Secure the Sandpaper: Place the selected sandpaper grit on a flat and stable surface, ensuring that it is firmly secured to prevent slippage during the sharpening process. A flat workbench or table provides an ideal sharpening platform.
- Establish the Bevel Angle: If using a honing guide, set the appropriate bevel angle based on the chisel’s original angle. This step is crucial for maintaining consistency and preserving the chisel’s cutting performance.
- Begin Sharpening: With the chisel positioned flat on the sandpaper, apply even pressure and move it back and forth in a smooth, consistent motion. Ensure that the entire cutting edge makes contact with the sandpaper to achieve uniform sharpening.
- Monitor Progress: Periodically check the chisel’s edge and mark any areas that require further attention. This visual inspection allows you to track your progress and address specific areas that may require additional sharpening.
- Gradually Progress to Finer Grits: As the chisel’s edge becomes sharper, transition to higher grit sandpapers to refine and polish the edge further. This incremental approach ensures a finely honed and razor-sharp cutting edge.
- Remove Burrs: After sharpening with the finest grit, gently remove any burrs or rough edges by lightly stroking the back of the chisel on the sandpaper, ensuring a clean and precise cutting edge.
- Optional Honing Compound: For an impeccably sharp edge, consider applying honing compound to the chisel, further enhancing its cutting performance and longevity.
- Final Inspection: Once the sharpening process is complete, inspect the chisel’s edge under adequate lighting to ensure that it exhibits a consistent and polished edge, ready for woodworking tasks with precision and finesse.
By following these steps diligently and exercising patience throughout the sharpening process, you can rejuvenate your chisels and equip them with razor-sharp edges, ready to tackle woodworking projects with utmost precision and efficiency.
When sharpening chisels with sandpaper, start with a coarse grit (around 120) and work your way up to a fine grit (around 600) for a sharp edge. Use a honing guide to maintain the correct angle.
Tips and Tricks
Sharpening chisels with sandpaper can be a rewarding endeavor, especially when accompanied by valuable tips and tricks that enhance the sharpening process and elevate the results. Consider the following insights to refine your approach and achieve optimal sharpening outcomes:
- Consistent Pressure: When sharpening the chisel on the sandpaper, maintain consistent pressure to ensure uniform sharpening and prevent uneven bevels or edges.
- Frequent Inspections: Regularly inspect the chisel’s edge during the sharpening process to identify areas that require additional attention. Marking these areas with a pencil or marker can aid in tracking progress and ensuring comprehensive sharpening.
- Angle Precision: Pay close attention to the bevel angle of the chisel, especially when using a honing guide. Consistent and accurate angles contribute to the chisel’s cutting performance and longevity.
- Use a Strop: Employing a leather strop with honing compound after sandpaper sharpening can further refine the chisel’s edge, enhancing its sharpness and durability for woodworking tasks.
- Work in Sequences: Progress through the grits of sandpaper systematically, starting with coarser grits to address major dullness or damage, and gradually transitioning to finer grits for polishing and honing the edge.
- Keep the Chisels Cool: To prevent overheating and potential damage to the chisel’s steel during sharpening, periodically dip the chisel in water or use a damp cloth to maintain a cool temperature.
- Practice Patience: Achieving a finely honed chisel edge demands patience and attention to detail. Avoid rushing through the sharpening process, as precision and thoroughness yield superior results.
- Maintain Cleanliness: Throughout the sharpening process, periodically wipe the chisel clean to remove metal shavings and debris, ensuring a clear view of the progress and preventing contamination of the sandpaper.
- Test the Edge: After sharpening, test the chisel’s edge on a piece of wood to gauge its sharpness and cutting performance. Fine-tune the edge as needed to achieve the desired level of sharpness.
By incorporating these tips and tricks into your chisel sharpening routine, you can refine your technique, optimize the sharpening process, and ultimately equip your chisels with impeccably sharp edges, ready to excel in woodworking tasks with precision and finesse.
Conclusion
Sharpening chisels with sandpaper offers a practical and accessible method for woodworkers to maintain the sharpness and precision of their chisels without the need for specialized sharpening systems or expensive equipment. By following the step-by-step process outlined in this guide and leveraging the recommended materials and techniques, woodworkers of all levels can achieve finely honed chisel edges, enhancing the quality of their woodworking projects and the efficiency of their craftsmanship.
With a keen focus on consistent pressure, angle precision, and gradual progression through grits, the sharpening process can yield remarkable results, revitalizing dull chisels and equipping them with razor-sharp edges capable of delivering clean and precise cuts. Additionally, incorporating tips such as frequent inspections, the use of a strop, and maintaining cleanliness further refines the sharpening process, ensuring optimal outcomes and prolonged chisel performance.
As you embark on the journey of sharpening chisels with sandpaper, remember to embrace patience, attention to detail, and a commitment to precision. These virtues are fundamental to achieving superior chisel sharpness and honing your woodworking skills to new heights. Whether you are crafting intricate joinery, shaping wood surfaces, or engaging in detailed woodworking projects, the sharpness and precision of your chisels will undoubtedly elevate the quality of your work.
By mastering the art of chisel sharpening with sandpaper, you not only enhance the functionality of your tools but also cultivate a deeper understanding of woodworking craftsmanship. The ability to maintain and sharpen chisels with minimal resources empowers woodworkers to pursue their craft with confidence and creativity, knowing that their tools are primed for exceptional performance.
In conclusion, sharpening chisels with sandpaper is a valuable skill that enriches the woodworking experience, enabling woodworkers to achieve refined and precise results while honing their expertise in the craft. Embrace the art of chisel sharpening, and let your woodworking endeavors flourish with the sharpness and finesse that only well-maintained chisels can provide.
Frequently Asked Questions about How To Sharpen Chisels With Sandpaper
Was this page helpful?
At Storables.com, we guarantee accurate and reliable information. Our content, validated by Expert Board Contributors, is crafted following stringent Editorial Policies. We're committed to providing you with well-researched, expert-backed insights for all your informational needs.
0 thoughts on “How To Sharpen Chisels With Sandpaper”