Home>Renovation & DIY>Tools & Equipment>What Grit Sandpaper For Varnish
Tools & Equipment
What Grit Sandpaper For Varnish
Published: December 20, 2023
Discover the best grit sandpaper for varnish with our comprehensive guide. Find the right tools and equipment for your next project.
(Many of the links in this article redirect to a specific reviewed product. Your purchase of these products through affiliate links helps to generate commission for Storables.com, at no extra cost. Learn more)
**
Introduction
**
When it comes to refinishing wood surfaces, varnish is a popular choice for adding a protective and attractive finish. However, achieving a smooth and flawless varnish application requires careful preparation, and one essential tool in this process is sandpaper. Sandpaper comes in various grits, each suitable for specific tasks. In this article, we will explore the world of grit sandpaper and delve into the intricacies of choosing the right grit for varnish application. Whether you are a seasoned woodworker or a DIY enthusiast, understanding the nuances of grit sandpaper will empower you to achieve professional-quality results and breathe new life into your wooden treasures. So, let's embark on this enlightening journey through the realm of grit sandpaper and varnish application.
Key Takeaways:
- Choose coarse grit (40-60) sandpaper to remove old varnish, then transition to medium (80-120) and fine (150-180) grits for a smooth surface before varnishing.
- Use very fine or extra fine grit (220-320) sandpaper between varnish coats for a flawless, professional finish. Quality sandpaper and attention to detail are key.
Read more: What Grit Sandpaper For Polyurethane
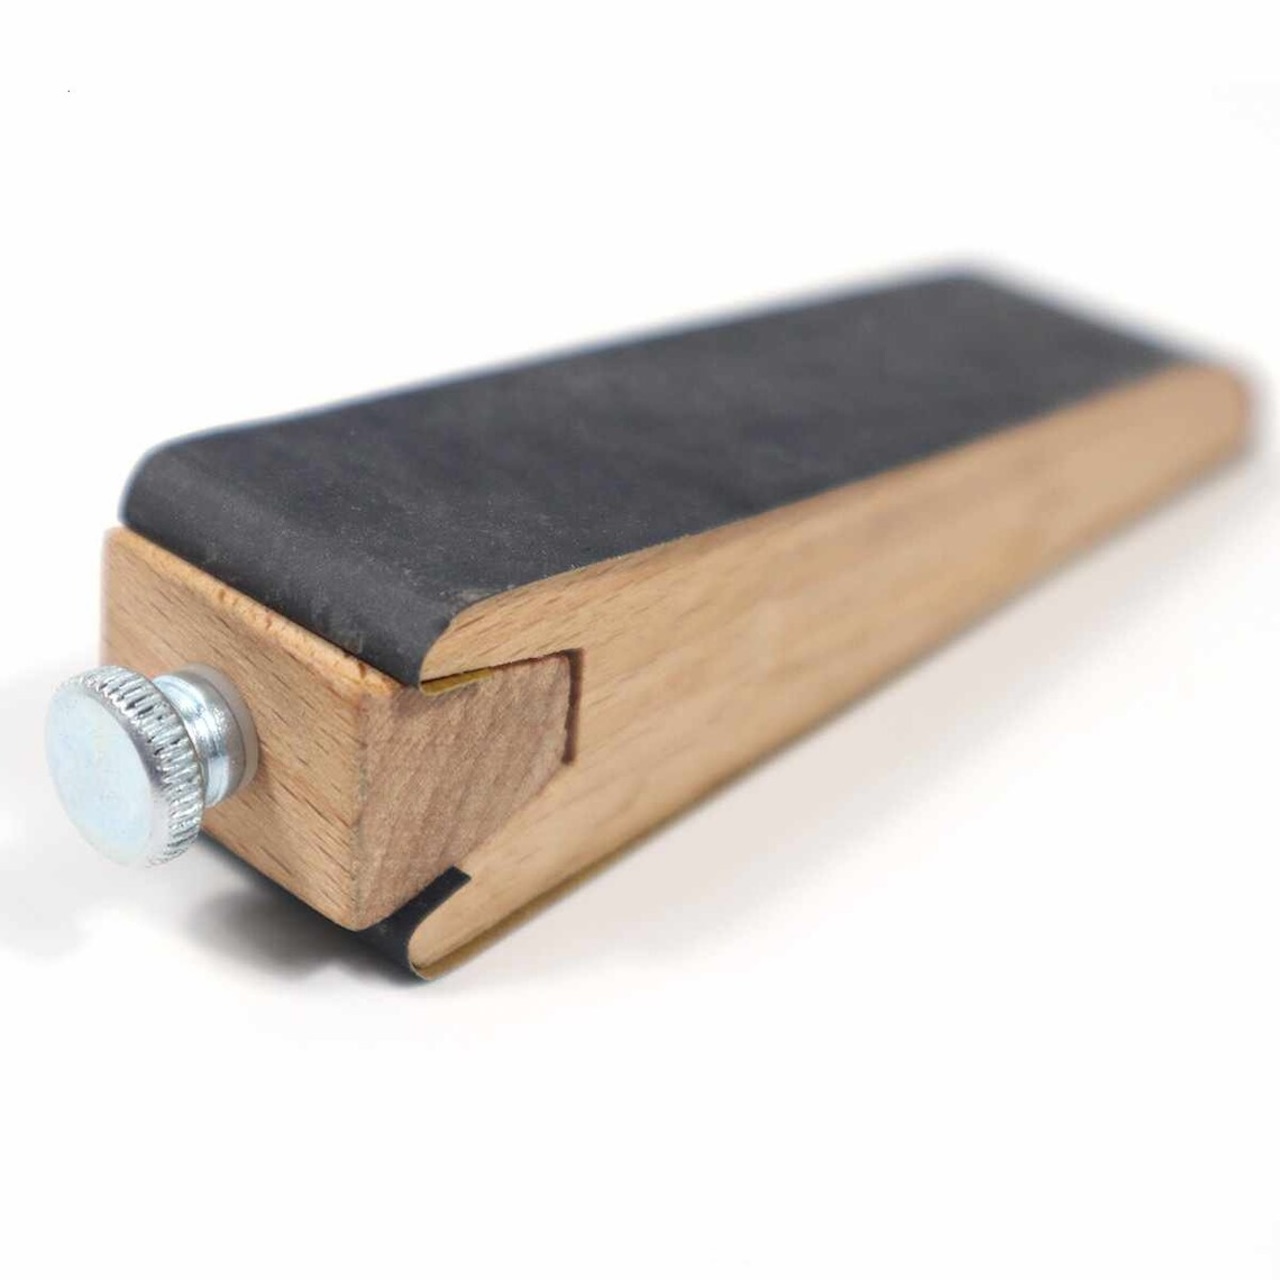
Understanding Grit Sandpaper
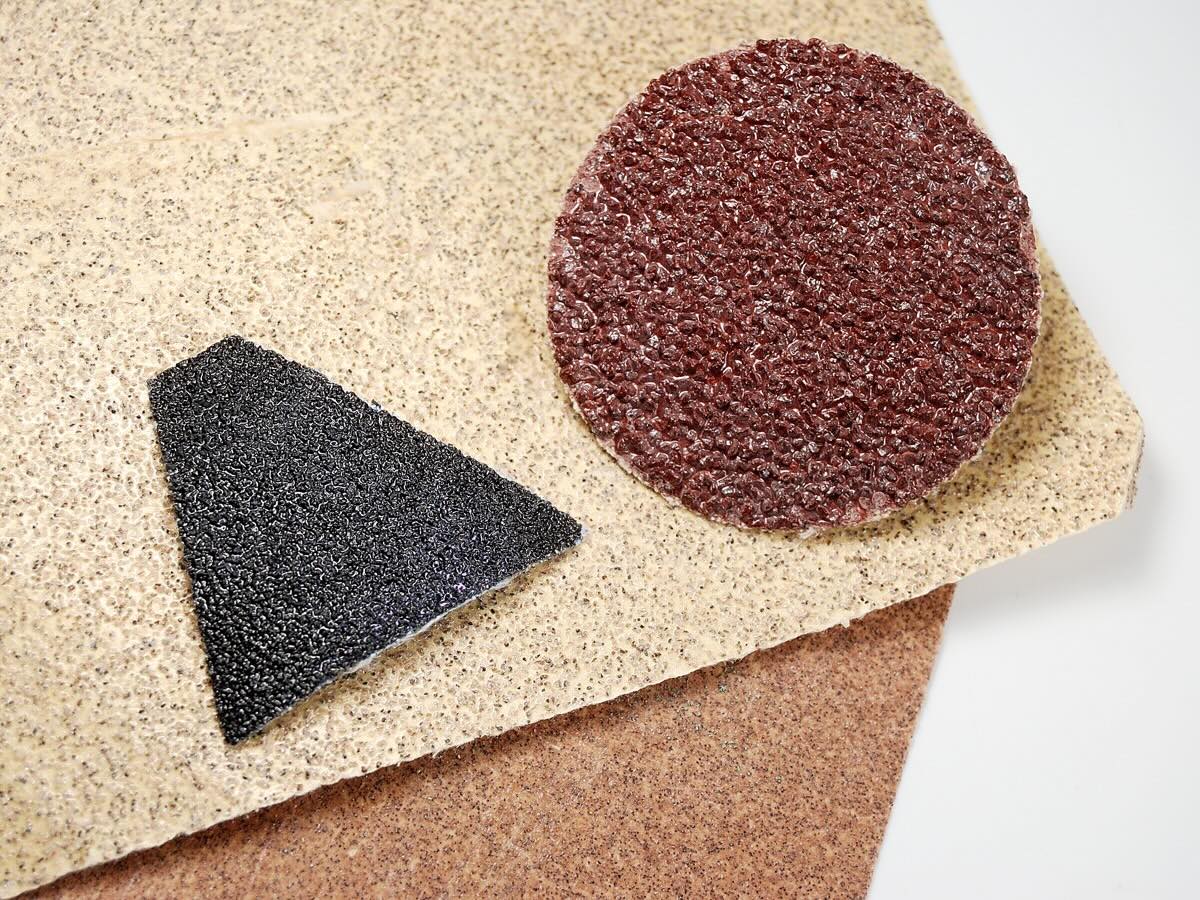
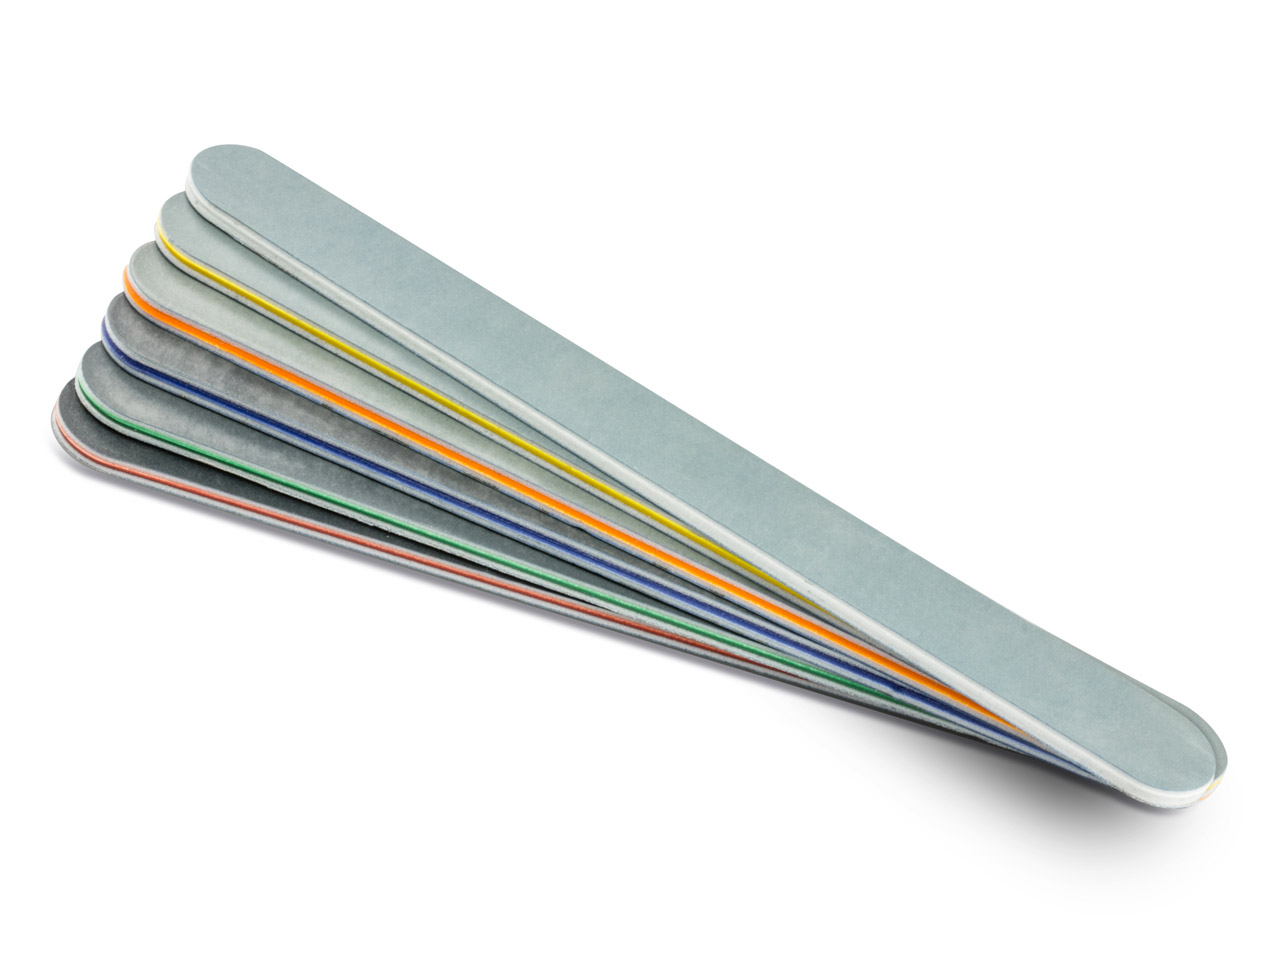
Before delving into the specifics of choosing the right grit sandpaper for varnish, it’s crucial to grasp the concept of grit and its significance in sandpaper. Grit refers to the number of abrasive particles per square inch of the sandpaper. The higher the grit number, the finer the sandpaper and the smoother the finish it produces.
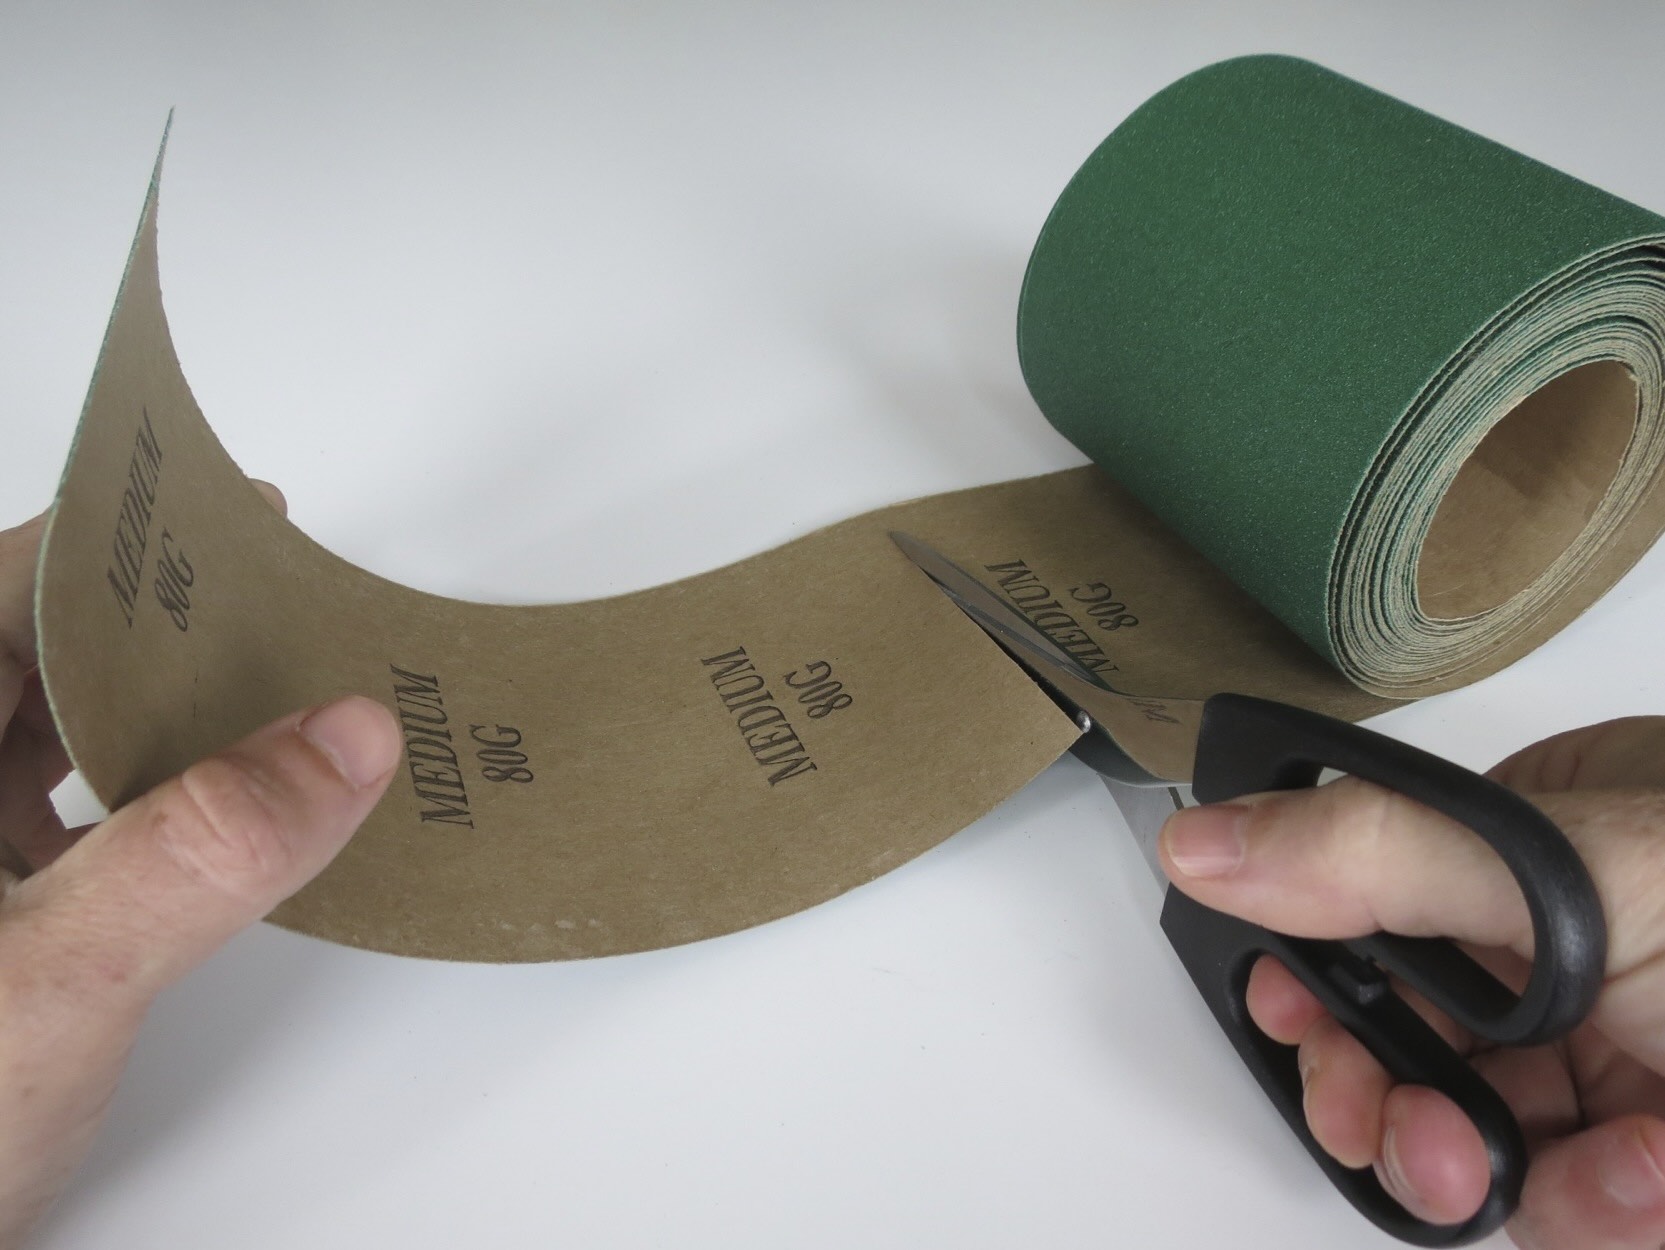
Common grit ranges include coarse (40-60 grit), medium (80-120 grit), fine (150-180 grit), very fine (220-240 grit), and extra fine (280-320 grit). Each grit serves a distinct purpose in the sanding process, allowing you to progress from rough material removal to fine surface smoothing.
Coarse grit sandpaper, with its lower grit numbers, is ideal for initial sanding to remove old varnish, paint, or imperfections from the wood surface. It efficiently levels uneven areas and prepares the wood for subsequent sanding with finer grits. As you progress to medium and fine grits, the sandpaper refines the surface, eliminating scratches and creating a smooth canvas for varnish application.
Understanding the characteristics of different grits empowers you to navigate the sanding process effectively, ensuring that each stage contributes to the overall quality of the varnished surface. Now that we’ve established the fundamentals of grit sandpaper, let’s delve into the art of selecting the right grit for varnish application.
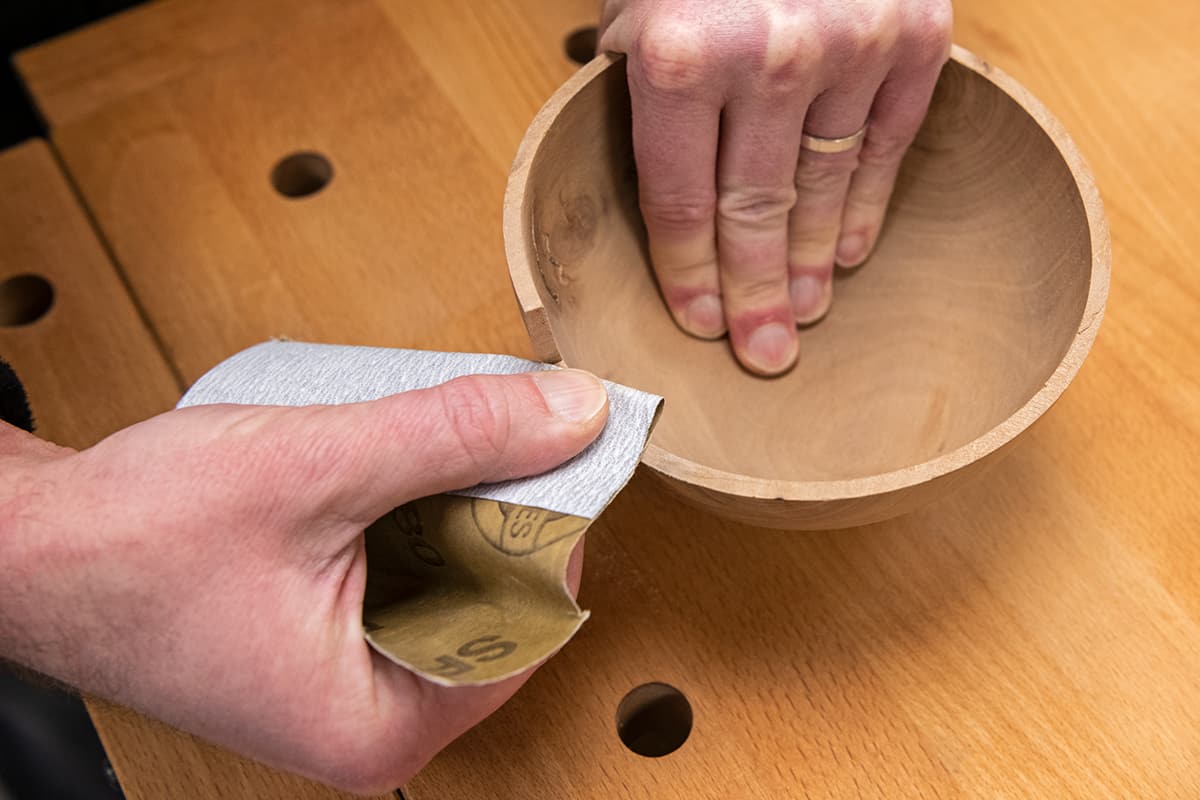
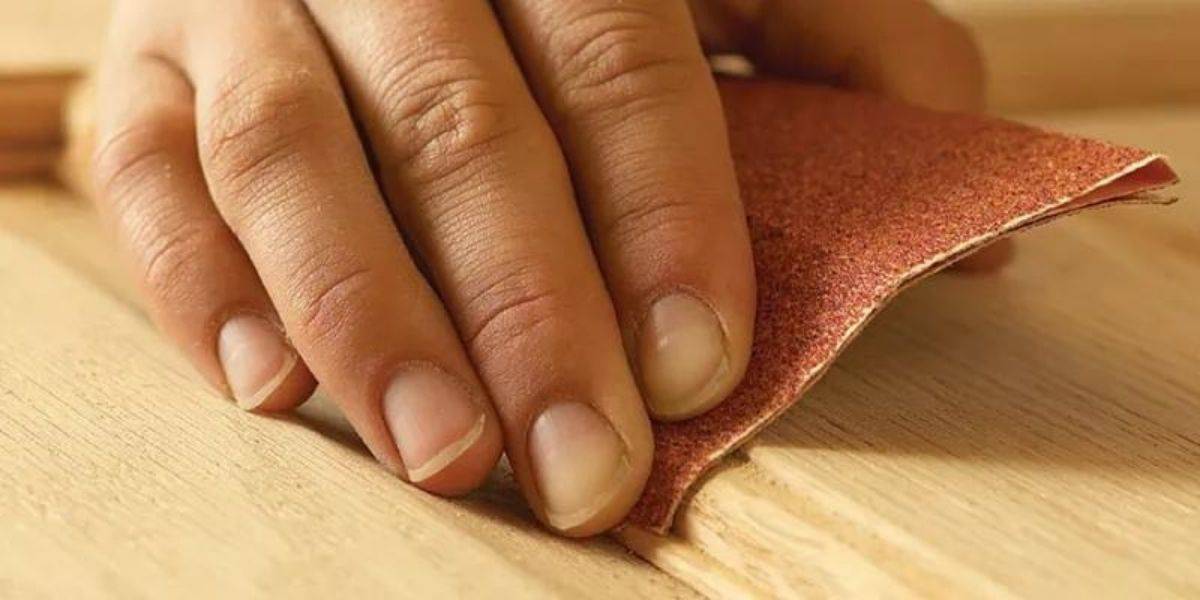
Use 220-grit sandpaper for varnish. It’s fine enough to smooth the surface without removing too much varnish. Sand in the direction of the wood grain for best results.
Choosing the Right Grit Sandpaper for Varnish
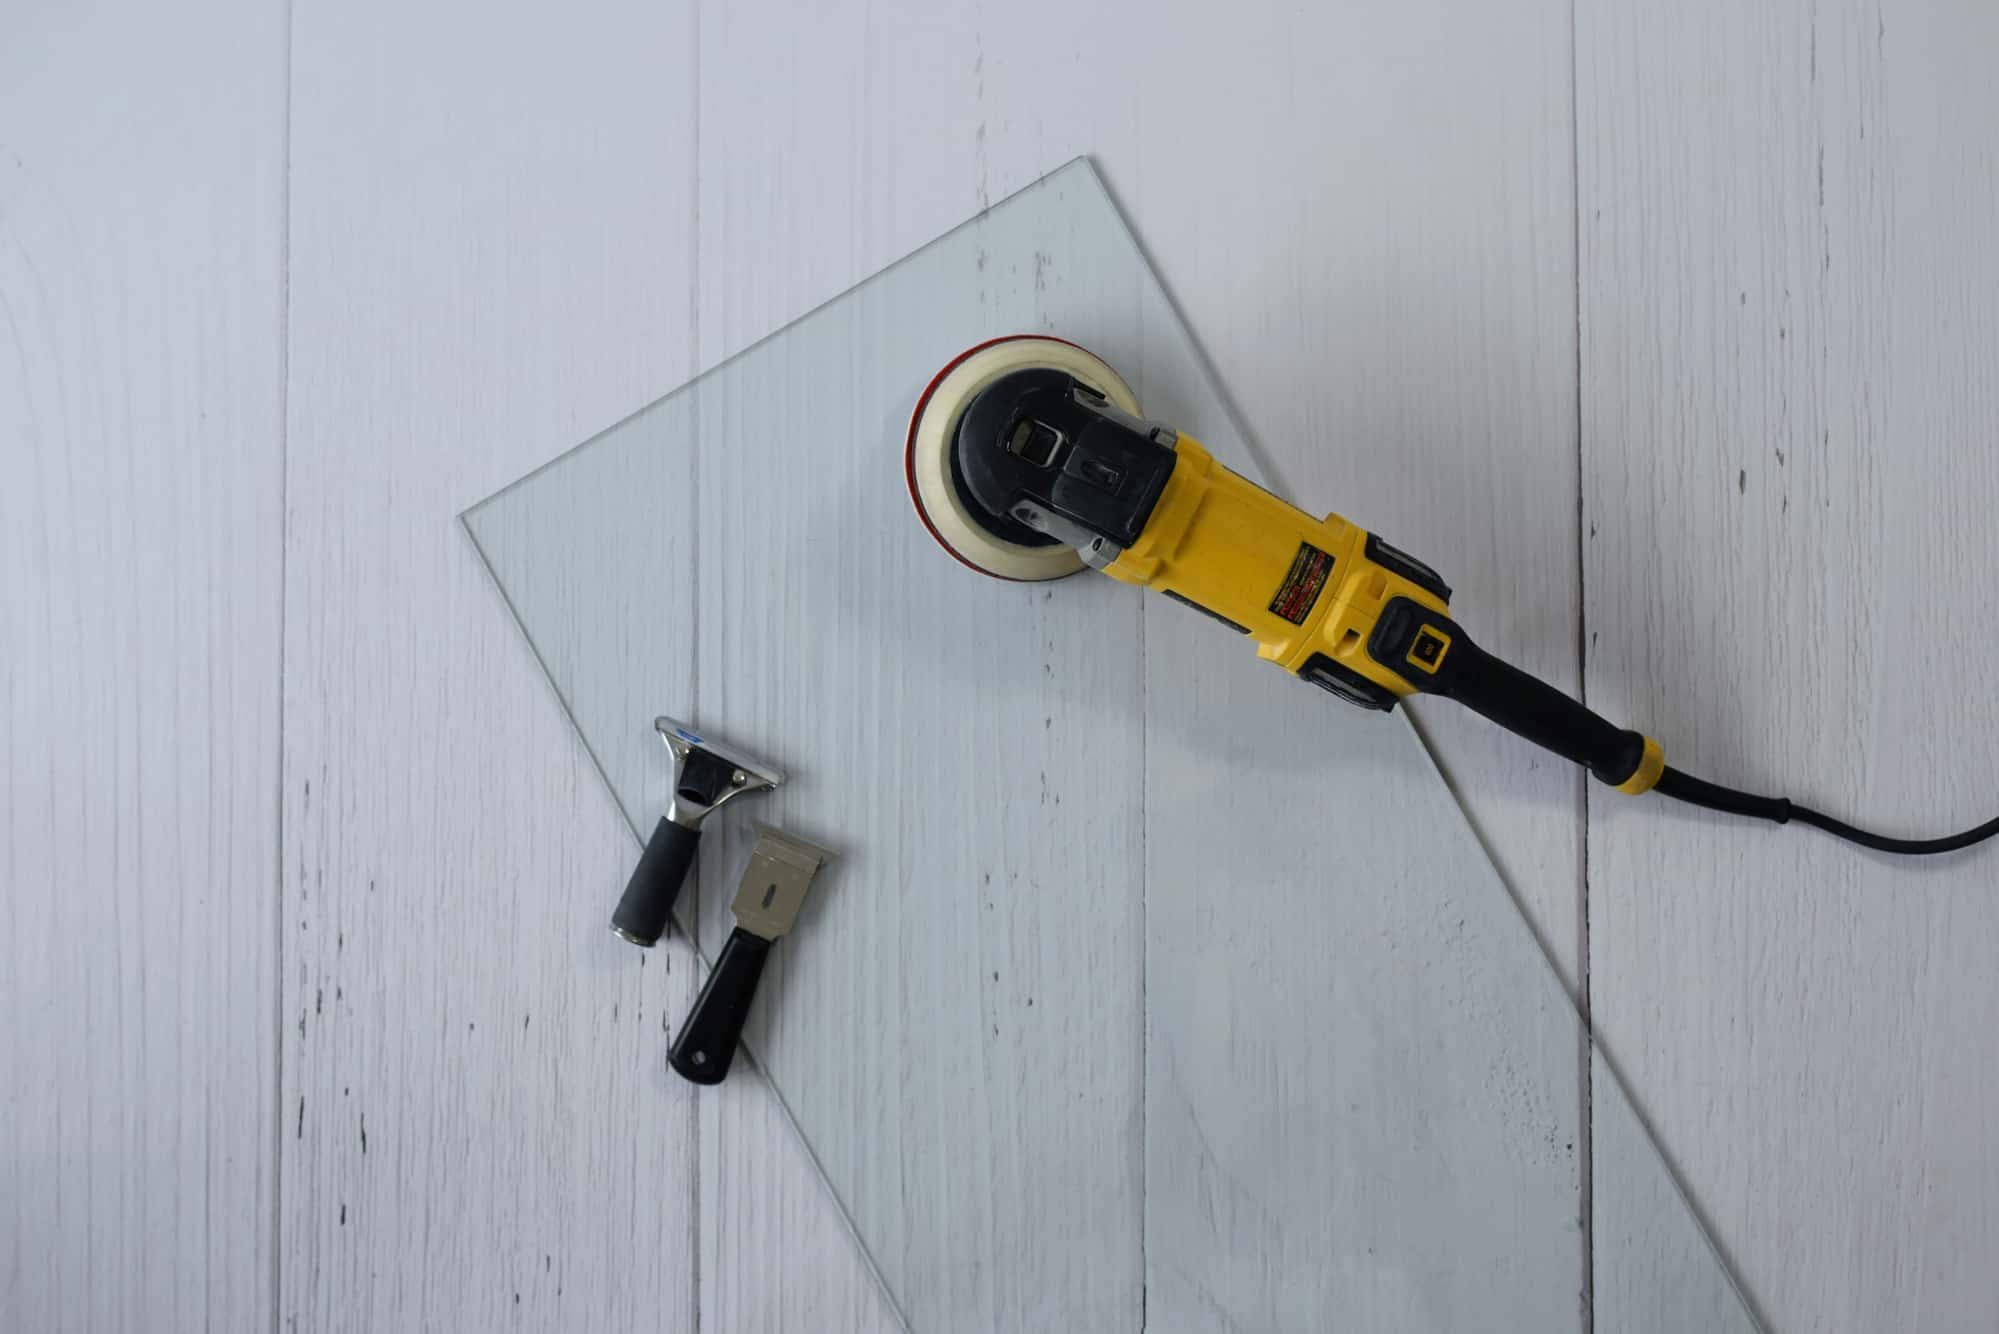
When preparing wood surfaces for varnish application, selecting the appropriate grit sandpaper is pivotal to achieving a flawless and professional finish. The process typically involves multiple stages of sanding, each with a specific grit designed to address different aspects of surface refinement. Here’s a comprehensive guide to choosing the right grit sandpaper for varnish:
- Initial Sanding: Begin with coarse grit sandpaper, typically in the range of 40-60 grit, to remove any existing varnish, paint, or imperfections from the wood surface. This stage is crucial for leveling uneven areas and creating a smooth foundation for subsequent sanding.
- Surface Smoothing: Transition to medium grit sandpaper, ranging from 80-120 grit, to refine the surface further. This grit effectively smooths out the scratches left by the coarse sandpaper and prepares the wood for the subsequent stages of sanding.
- Pre-Varnish Preparation: As you approach the final stages of surface preparation, fine grit sandpaper, typically in the range of 150-180 grit, comes into play. This grit level ensures that the wood surface is impeccably smooth, free from any visible imperfections, and ready to absorb the varnish evenly.
- Between Coats: When applying multiple coats of varnish, using very fine or extra fine grit sandpaper, ranging from 220-320 grit, between coats is essential. This step smooths out any minor imperfections or dust particles that may have settled on the varnished surface, ensuring a pristine finish with each subsequent coat.
By adhering to this systematic approach and utilizing the appropriate grit sandpaper at each stage, you can optimize the surface for varnish application, resulting in a lustrous and durable finish that accentuates the natural beauty of the wood. It’s important to note that the quality of the sandpaper also influences the outcome, so investing in high-quality sandpaper is advisable for achieving superior results.
Furthermore, exercising patience and attention to detail during the sanding process is paramount. Each stage contributes to the overall quality of the varnished surface, and meticulous sanding sets the stage for a stunning end result.
Armed with this knowledge of grit sandpaper and its role in varnish application, you are well-equipped to embark on your woodworking endeavors with confidence and precision. Let’s now summarize the insights we’ve gained.
Conclusion
As we conclude our exploration of grit sandpaper and its relevance to varnish application, it’s evident that the selection of the right grit is a pivotal factor in achieving impeccable results. The journey through the various grit levels, from coarse to extra fine, mirrors the meticulous process of transforming a raw wood surface into a stunning, varnished masterpiece.
Understanding the nuances of grit sandpaper empowers woodworkers and DIY enthusiasts to approach varnish application with precision and finesse. Each stage of sanding, guided by the appropriate grit, contributes to the refinement of the wood surface, ensuring that the varnish adheres flawlessly and enhances the natural allure of the wood.
Moreover, the art of selecting the right grit sandpaper for varnish extends beyond technicalities; it embodies a harmonious fusion of craftsmanship and patience. The deliberate progression through grit levels reflects a dedication to excellence, culminating in a finish that exudes elegance and durability.
As you embark on your woodworking ventures, remember that the journey from selecting the initial grit to the final strokes of fine sandpaper is a testament to your commitment to craftsmanship. Embrace each stage of the sanding process as an opportunity to unveil the inherent splendor of the wood and elevate it to new heights of beauty and resilience.
In essence, grit sandpaper serves as a steadfast companion in the pursuit of perfection, guiding you through the transformative stages of varnish application. The knowledge and discernment you’ve gained regarding grit sandpaper are invaluable assets that will undoubtedly elevate your woodworking endeavors.
So, armed with the wisdom of grit sandpaper and a passion for woodworking, venture forth and let your varnished creations stand as testaments to the seamless fusion of artistry and precision. May your woodworking endeavors be graced with the timeless allure of flawlessly varnished surfaces, each bearing the hallmark of dedication and expertise.
Frequently Asked Questions about What Grit Sandpaper For Varnish
Was this page helpful?
At Storables.com, we guarantee accurate and reliable information. Our content, validated by Expert Board Contributors, is crafted following stringent Editorial Policies. We're committed to providing you with well-researched, expert-backed insights for all your informational needs.


0 thoughts on “What Grit Sandpaper For Varnish”