Home>Renovation & DIY>Tools & Equipment>What Grit Sandpaper To Remove A Clear Coat
Tools & Equipment
What Grit Sandpaper To Remove A Clear Coat
Published: December 20, 2023
Learn which grit sandpaper is best to effectively remove a clear coat. Find the right tools and equipment for the job in our comprehensive guide.
(Many of the links in this article redirect to a specific reviewed product. Your purchase of these products through affiliate links helps to generate commission for Storables.com, at no extra cost. Learn more)
Introduction
Welcome to the world of automotive finishes, where clear coat reigns supreme. Clear coat is a transparent layer applied to the top of a car’s paint job to protect it from the elements and provide a glossy, smooth finish. Over time, however, the clear coat can become dull, scratched, or damaged, requiring attention and restoration.
If you find yourself in this situation, fear not! Removing clear coat is a common practice among car enthusiasts and professionals alike. And one of the most effective methods to achieve this is through the use of sandpaper. But before you grab the nearest sandpaper and start rubbing away, it’s crucial to understand the process and choose the right grit for the job.
In this article, we will explore the different grits of sandpaper used to remove clear coat and provide you with a step-by-step guide on how to effectively restore your car’s finish. So, let’s dive in and bring back the shine to your beloved ride!
Key Takeaways:
- Choose the right grit size for sanding clear coat based on damage severity, clear coat type, personal preference, time, and experience level to achieve a flawless finish without damaging the paintwork.
- Prepare the surface, use the appropriate grit size, and apply finishing touches to effectively remove clear coat with sandpaper, restoring your car’s finish to its former glory.
Understanding Clear Coat
Before delving into the world of sandpaper and grit sizes, it’s important to have a solid understanding of what clear coat is and its role in protecting your car’s paint job. Clear coat, also known as a clear coat finish or top coat, is a transparent layer that is applied on top of the base coat of paint.
The primary purpose of clear coat is to provide a protective barrier for the underlying paint, shielding it from harmful UV rays, oxidation, scratches, and other environmental damage. This not only helps to preserve the appearance of your car’s paint but also extends its lifespan.
Clear coat is typically made from a blend of chemicals, such as polyurethane or acrylic, which gives it its durability and high-gloss finish. It is this clear layer that gives your car that sleek, shiny appearance that you see on new vehicles.
Over time, however, the clear coat can become damaged or deteriorated. Exposure to sunlight, harsh weather conditions, road debris, and improper cleaning techniques can all contribute to the degradation of the clear coat. This can result in a dull and faded appearance, as well as the development of surface imperfections such as scratches, swirl marks, or water spots.
So, when it comes to restoring the beauty of your car’s finish, one of the most effective methods is to remove the damaged or worn-out clear coat and apply a fresh layer. And that’s where sandpaper comes into play.
Sanding clear coat allows you to remove the old, damaged layer and create a smooth surface for a new application. However, it’s important to choose the right grit size to ensure that you achieve the desired result without causing further damage to the underlying paint.
Importance of Sanding Clear Coat
When it comes to restoring the appearance of your car’s clear coat, sanding is an essential step in the process. Sanding clear coat serves several important purposes that ultimately contribute to achieving a smooth, flawless finish. Here are some key reasons why sanding is crucial when working with clear coat:
- Removal of imperfections: Over time, the clear coat can develop imperfections such as scratches, swirl marks, or water spots. Sanding helps to effectively remove these imperfections, creating a clean surface for a new clear coat application. By smoothing out the surface, sanding allows for even light reflection, resulting in a more uniform and glossy finish.
- Enhanced paint adhesion: One of the primary purposes of sanding clear coat is to create a textured surface that improves the adhesion of the new clear coat. By roughing up the surface, sanding provides a better grip for the fresh layer of clear coat, ensuring its longevity and durability. Without proper adhesion, the new clear coat can peel or chip prematurely.
- Uniformity of color: If you plan to repaint your car or apply a different color clear coat, sanding helps to create a uniform surface that allows for a seamless transition between the old and new coatings. It evens out any color variations or fading, resulting in a consistent and professional-looking finish.
- Surface preparation: Sanding clear coat also serves as a crucial step in the overall surface preparation process. By removing the damaged or deteriorated clear coat, you ensure that the new layer adheres to a clean, smooth surface, free of any contaminants or debris. This helps to prevent any future issues and ensures the longevity of the new clear coat.
It’s important to note that sanding clear coat should be approached with care and precision. Improper sanding techniques or the use of incorrect grit sizes can lead to further damage to the paintwork. Therefore, it’s crucial to understand the factors to consider when choosing the right grit size for sanding clear coat.
In the following sections, we will explore these factors and guide you through the process of determining the appropriate grit size for your specific clear coat removal needs.
Factors to Consider
Choosing the right grit size when sanding clear coat is essential to achieve the desired result without causing damage to the underlying paint. Several factors should be taken into consideration when determining the appropriate grit size for your specific project. Let’s explore these factors:
- Extent of damage: Assess the condition of the clear coat and determine the severity of the damage. If the clear coat has minor imperfections like light scratches or haze, a finer grit may be sufficient. For more significant damage or deep scratches, a coarser grit may be necessary to effectively remove the damaged layer.
- Type of clear coat: Consider the type of clear coat used on your car. Different clear coat formulations may respond differently to sanding. Some clear coats may be softer and require a lighter touch with a finer grit, while others may be more durable and tolerate a coarser grit without damage. It’s a good idea to consult the manufacturer’s recommendations or seek professional advice regarding the specific clear coat on your car.
- Personal preference: Your personal preference and the desired outcome also come into play. If you want a smoother, high-gloss finish, you may opt for a finer grit. If you prefer a more textured finish, a slightly coarser grit may be more suitable. Consider the final look you want to achieve and choose the grit size accordingly.
- Time and patience: The grit size you choose can also determine the amount of time and effort required to complete the sanding process. Finer grits generally require more time and patience but yield a smoother result. Coarser grits may be more efficient in removing the clear coat but may require additional sanding and polishing to achieve the desired finish.
- Experience level: Your level of experience with sanding and automotive refinishing can also influence the choice of grit size. If you’re new to the process, it’s generally safer to start with a finer grit and gradually work your way up to coarser grits as you gain confidence and skill. This helps minimize the risk of unintentional damage to the paintwork.
By considering these factors, you can make an informed decision about the appropriate grit size for sanding your car’s clear coat. In the next section, we will guide you through the process of determining the ideal grit size for your specific project.
Determining the Grit Size
Choosing the right grit size for sanding clear coat involves assessing the condition of the clear coat and considering the factors mentioned earlier. Here’s a general guideline to help you determine the ideal grit size for your specific project:
- Minor imperfections: If the clear coat has light scratches, haze, or minor imperfections, a finer grit sandpaper is typically suitable. Grit sizes between 1000 and 2000 are commonly used for this purpose. Finer grits will gently polish the surface, removing the imperfections without removing too much of the clear coat.
- Moderate damage: For clear coats with moderate damage, such as deeper scratches or more significant fading, a medium grit sandpaper is recommended. Grit sizes between 600 and 1000 will help remove the damaged layer while still providing control and precision without excessive abrasion.
- Severe damage: In cases where the clear coat has severe damage or needs complete removal, a coarser grit sandpaper is necessary. Grit sizes between 320 and 600 can effectively remove the damaged clear coat. However, caution should be exercised to avoid damaging the underlying paint, and additional sanding and polishing may be required to achieve a smooth finish.
It’s essential to keep in mind that these are general guidelines, and the ideal grit size may vary depending on the specific factors mentioned earlier. It’s always a good idea to start with a less aggressive grit and gradually work your way up if necessary, particularly if you are uncertain about the condition of the clear coat or your sanding abilities.
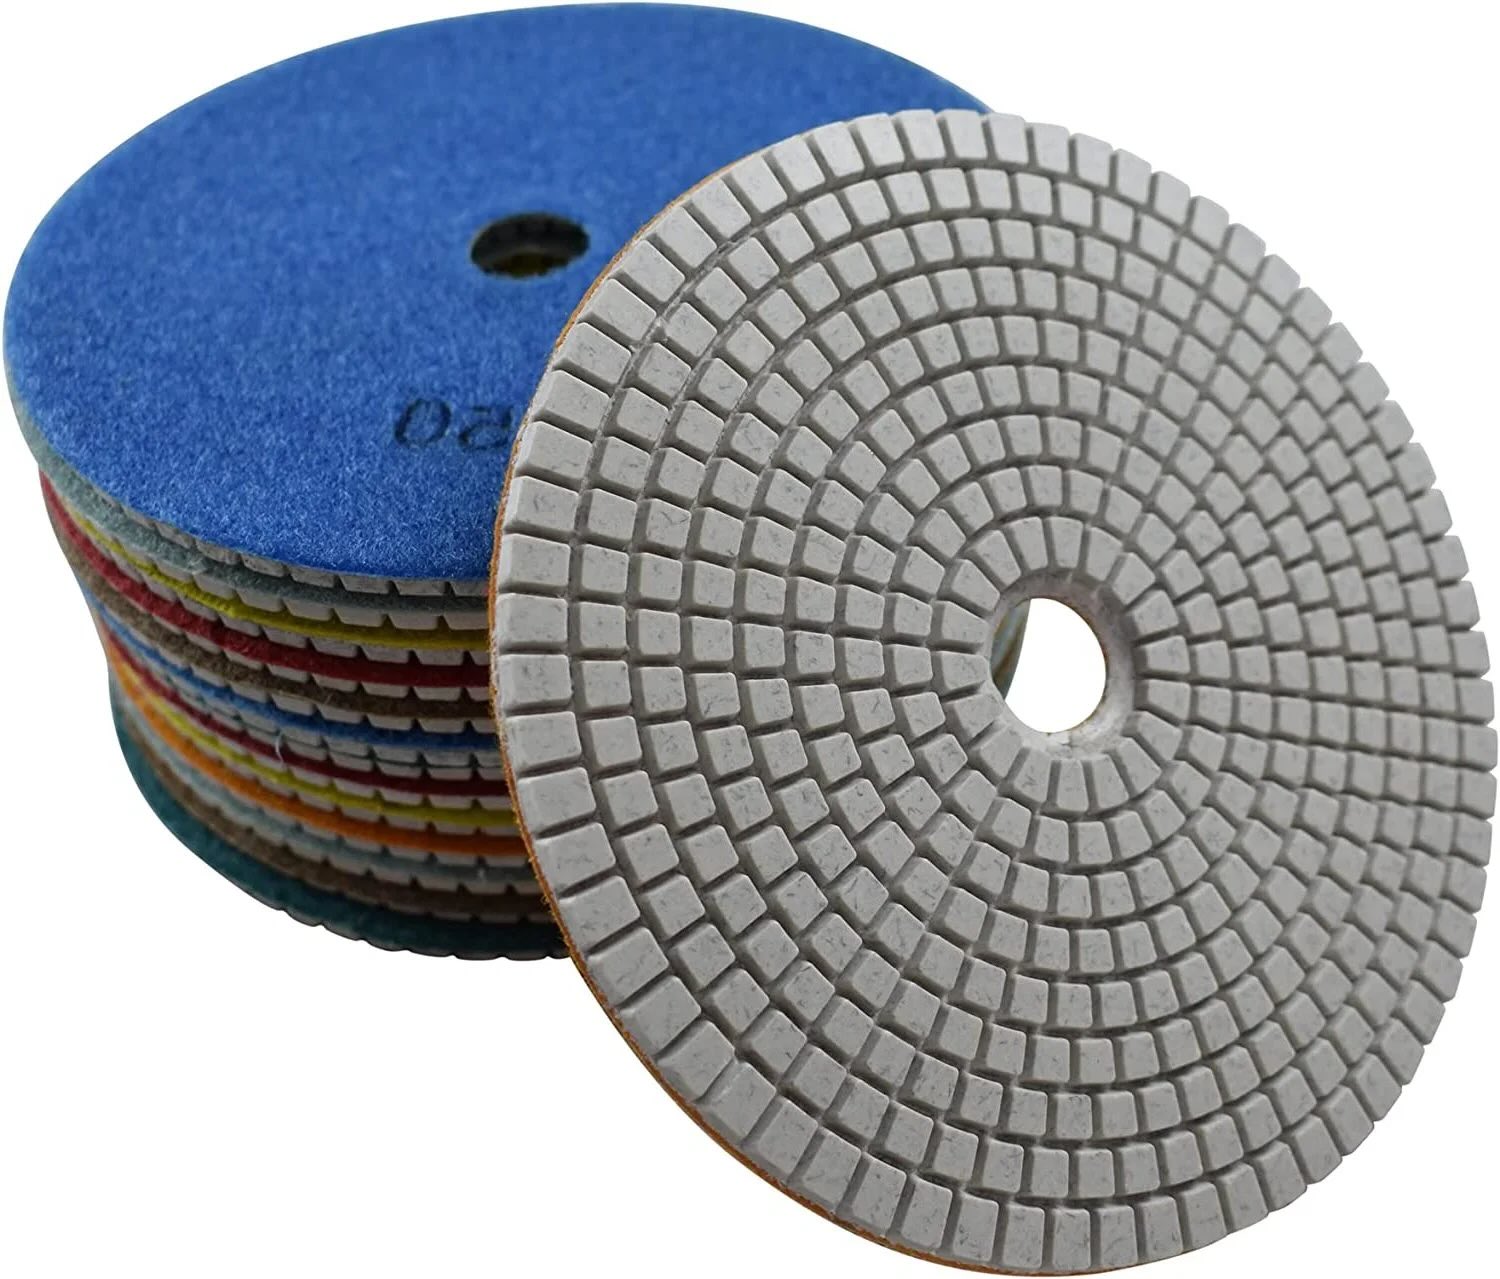
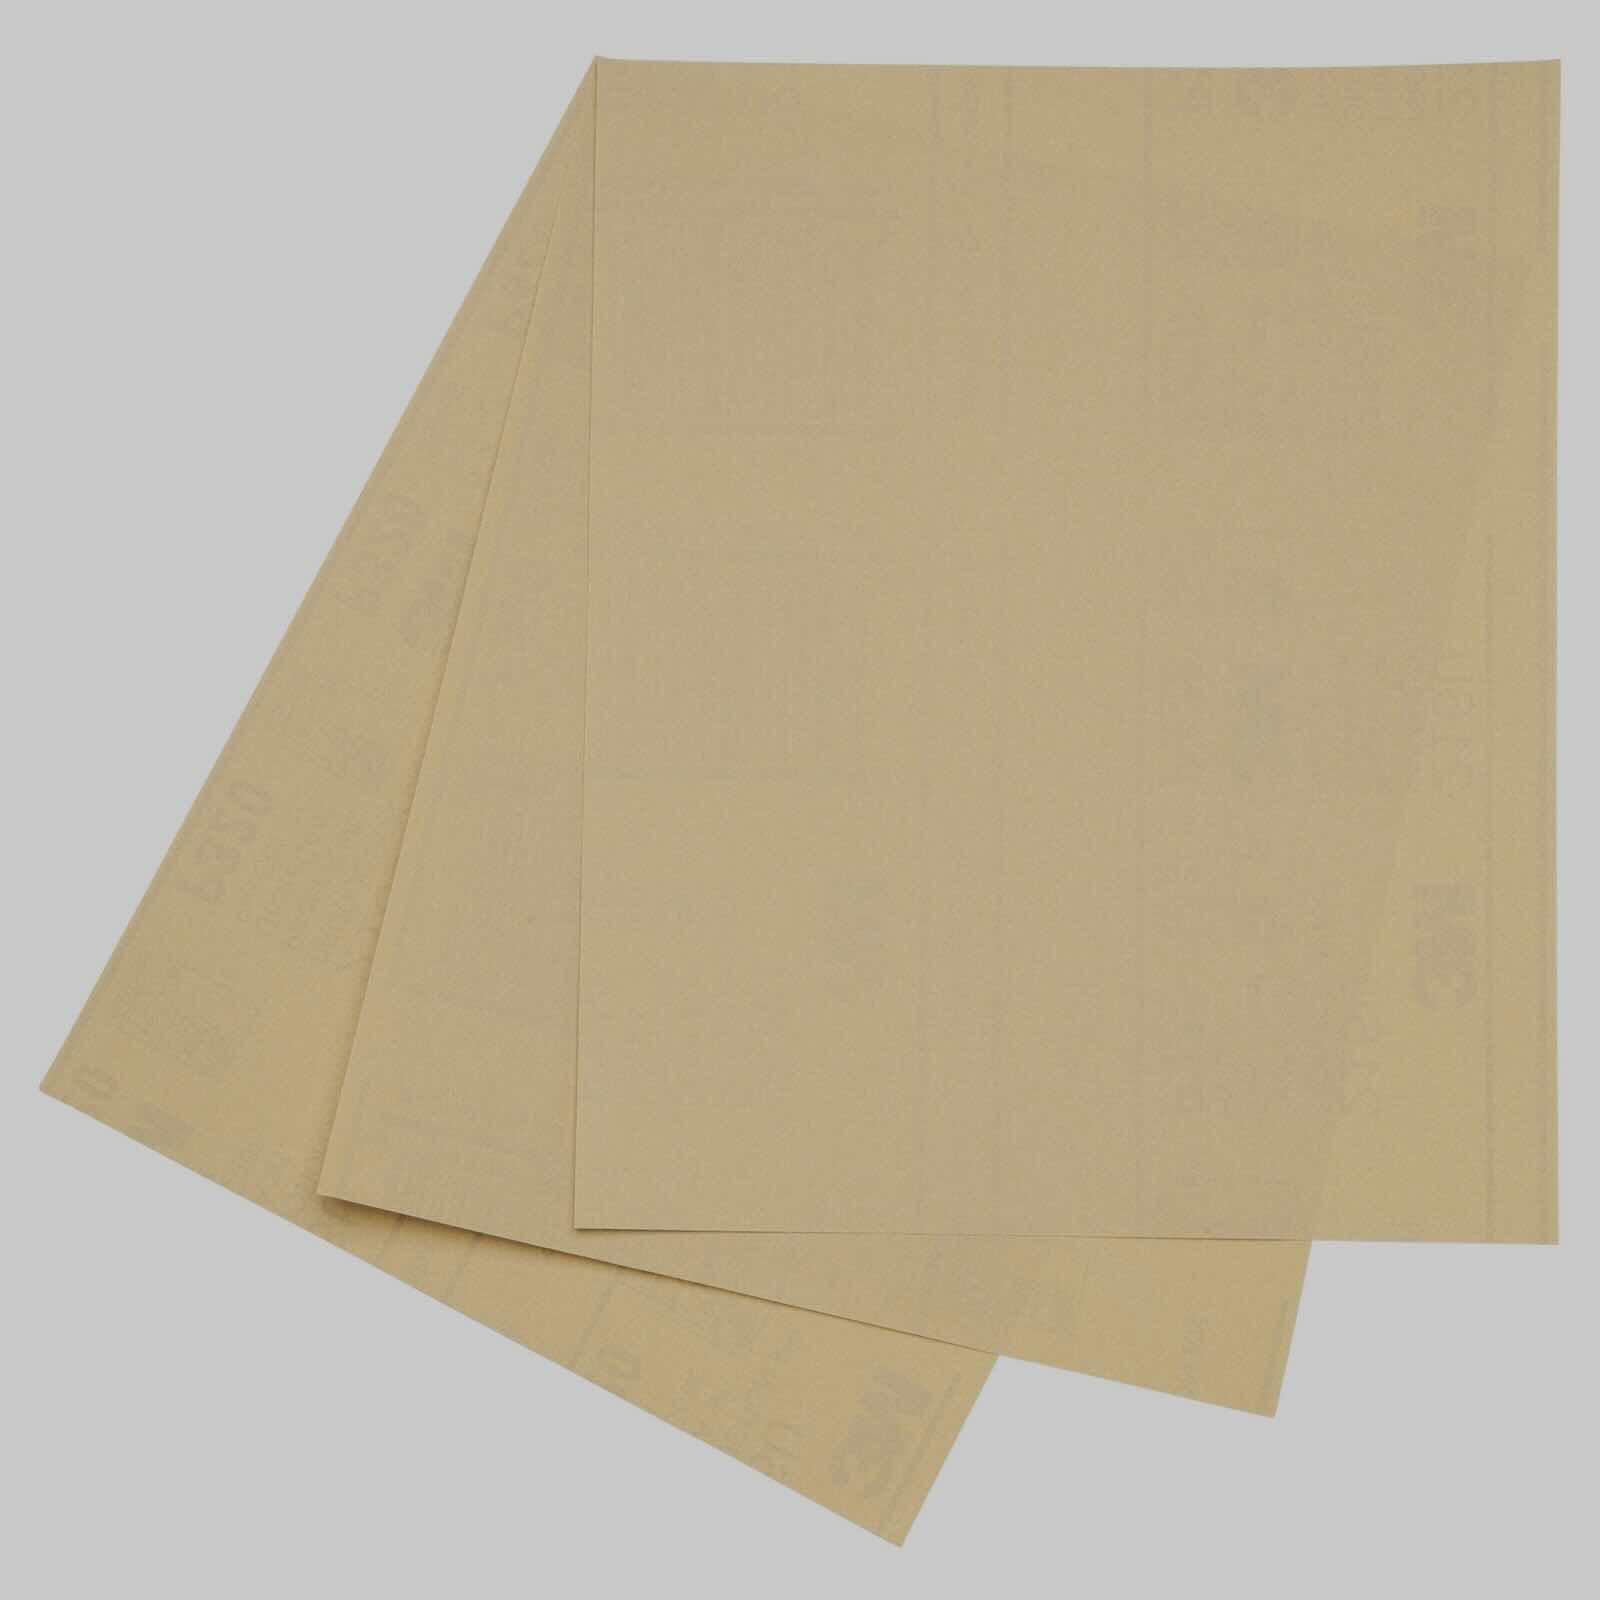
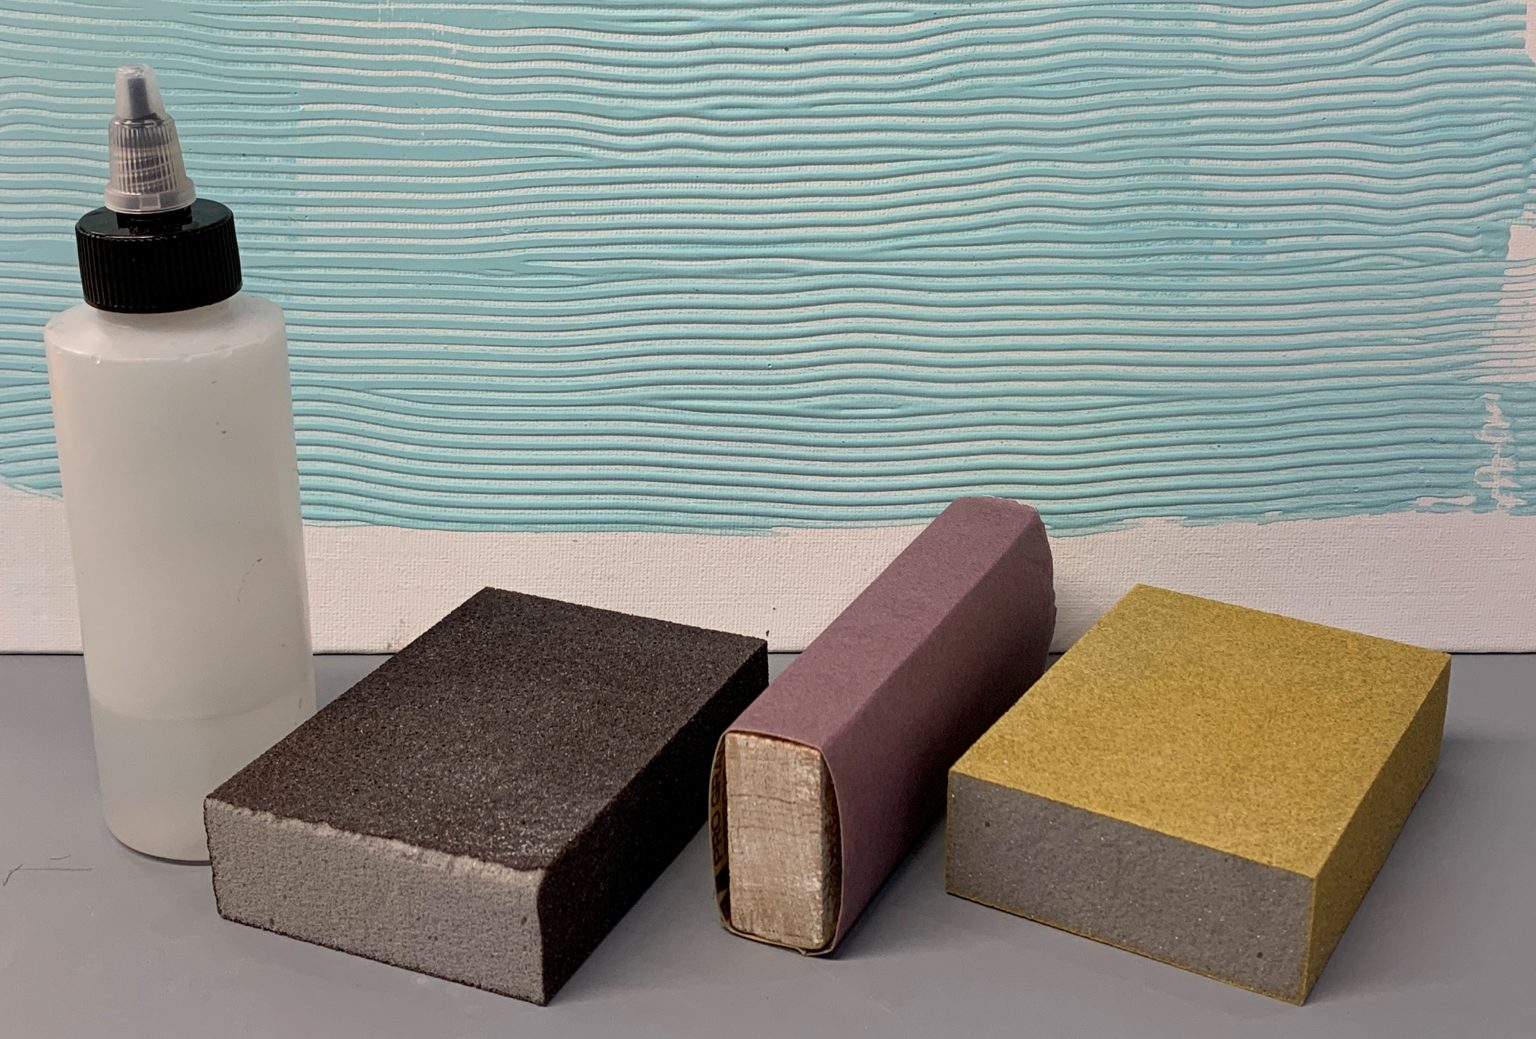
Additionally, it’s important to use sandpaper specifically designed for automotive refinishing. Automotive sandpaper is typically labeled with both the grit size and its corresponding abrasive material, such as aluminum oxide or silicon carbide. These materials are specifically formulated for automotive applications and provide the best results.
By carefully evaluating the condition of the clear coat, considering the factors discussed earlier, and selecting the appropriate grit size and automotive sandpaper, you can effectively remove the damaged clear coat and prepare the surface for a fresh layer.
In the next section, we will guide you through the step-by-step process of removing clear coat using sandpaper, ensuring a successful restoration of your car’s finish.
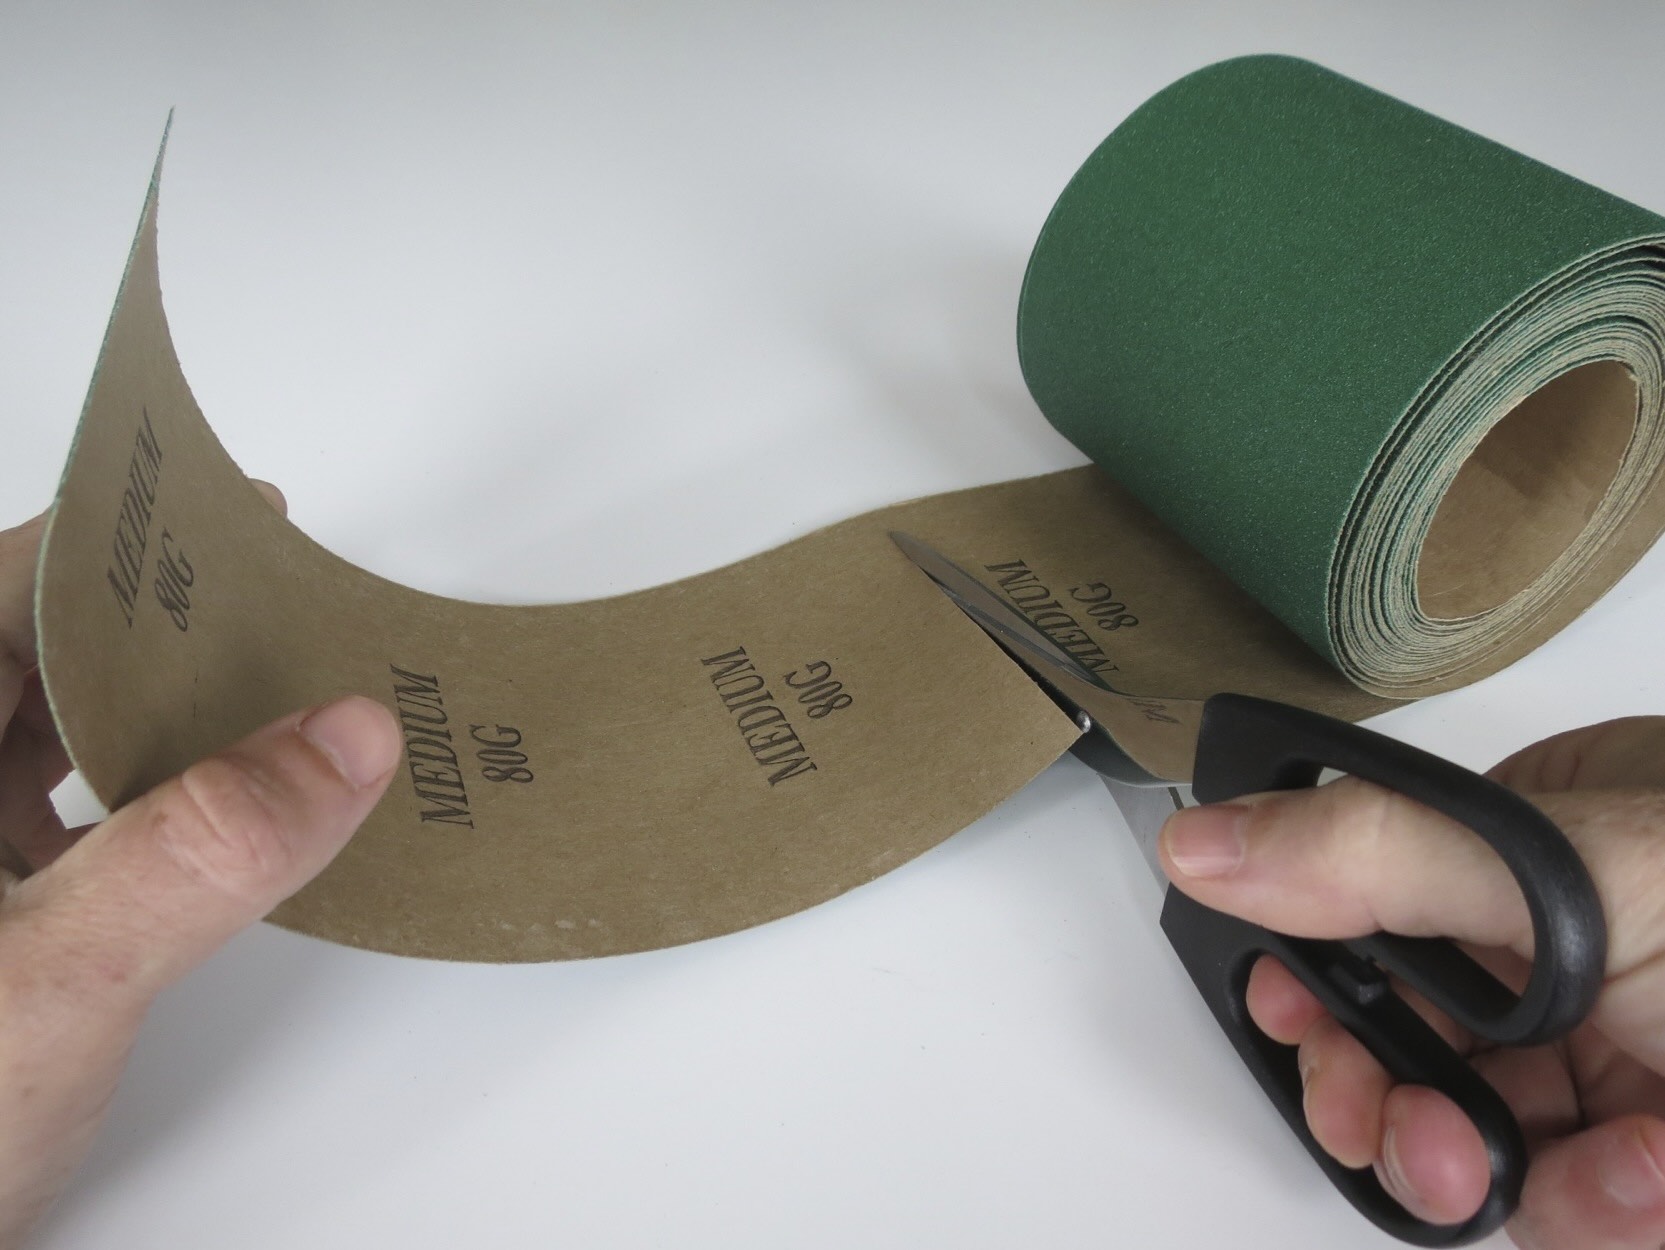
Use 800-1000 grit sandpaper to remove a clear coat. Start with 800 grit for heavier removal, then switch to 1000 grit for a smoother finish. Always sand in a consistent, even motion.
Read more: What Grit Sandpaper For Paint Removal
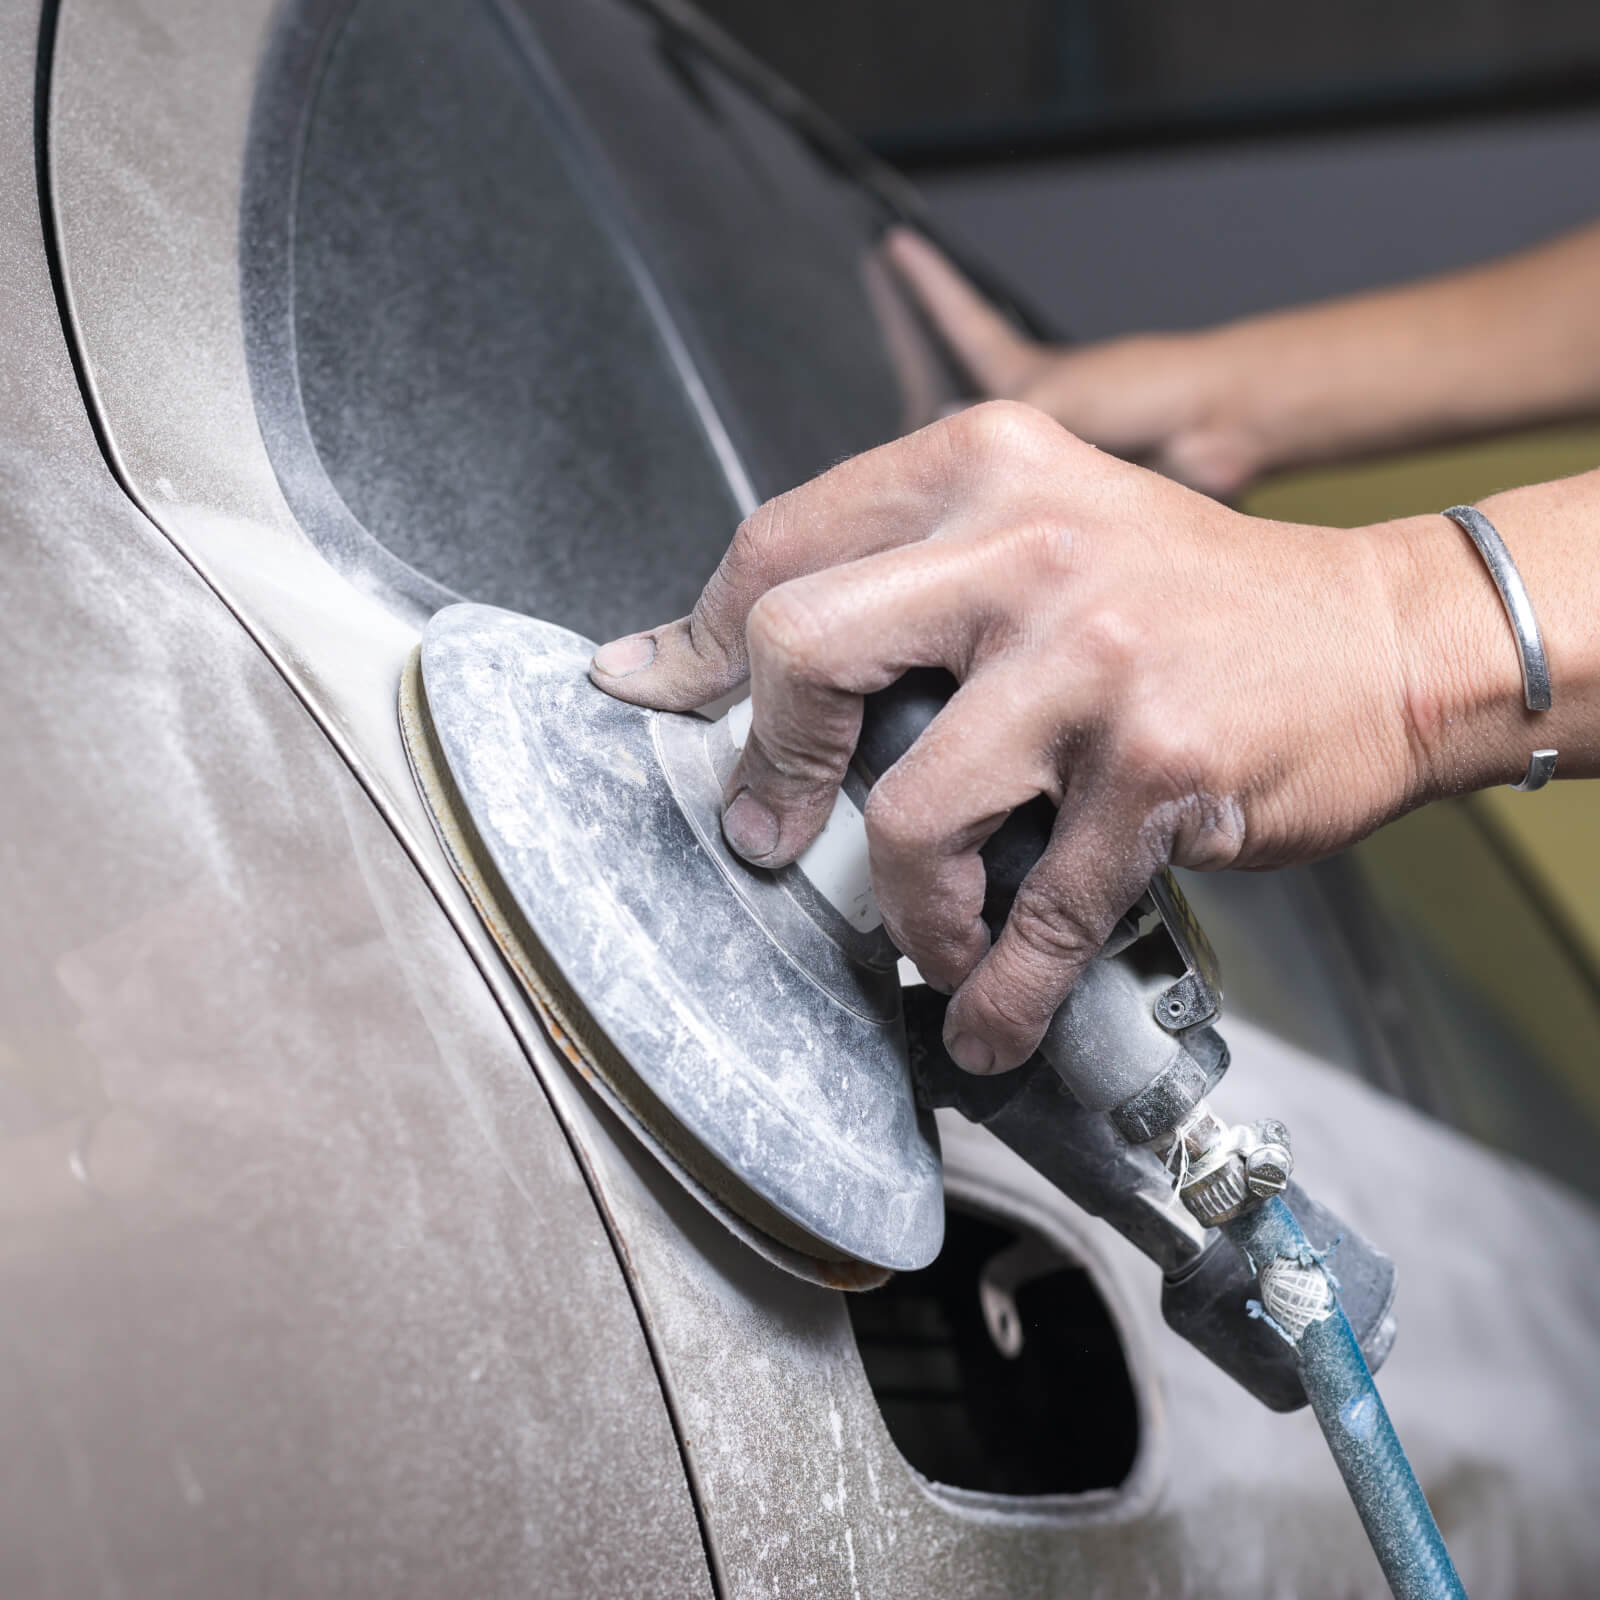
Steps to Remove Clear Coat with Sandpaper
Now that you have determined the appropriate grit size for sanding your car’s clear coat, it’s time to embark on the process of removing the damaged layer. Follow these step-by-step instructions to ensure a successful clear coat removal:
- Prepare the surface: Start by thoroughly washing and drying your car to remove any dirt, debris, or wax that may be on the surface. This will provide a clean work area and prevent any contaminants from interfering with the sanding process.
- Protect adjacent areas: Use painter’s tape or masking tape to protect adjacent areas that you don’t want to sand, such as trim or neighboring panels. This will prevent accidental damage during the sanding process.
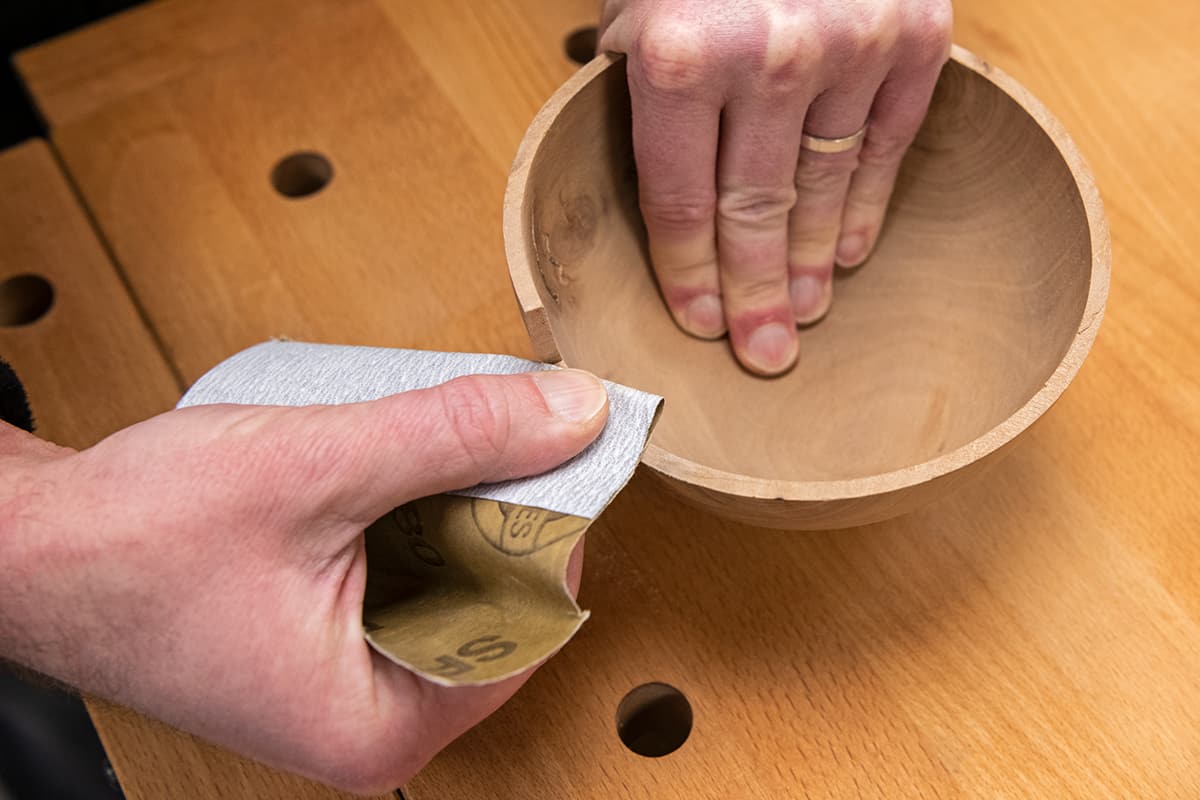
- Start with gentle sanding: Begin sanding with the appropriate grit size for your specific needs. Use a sanding block or a sanding tool to ensure even and consistent pressure. Sand in a back-and-forth motion, following the contours of the car’s body. Avoid applying excessive pressure, as this can damage the paint.
- Check your progress: Periodically wipe away the sanding residue with a clean cloth and inspect the area. This will help you assess your progress and determine if you need to continue sanding or move to a finer grit size. The goal is to remove the damaged clear coat while leaving a smooth and consistent surface.
- Gradually increase the grit size: As you continue sanding, gradually increase the grit size to achieve a smoother surface. Start with a coarser grit and progress to finer grits as needed. Remember to remove any sanding residue and clean the surface between grit changes.
- Finish with a fine grit: Once the damaged clear coat is sufficiently removed and the surface appears even, switch to a finer grit sandpaper to further refine the surface. This will help prepare the surface for the application of a new clear coat in the future.
- Clean and polish the surface: After sanding, thoroughly clean the area to remove any remaining sanding residue. Use a polish or rubbing compound to restore the shine and smoothness of the paint. This will help blend the sanded area with the surrounding paint for a seamless finish.
- Apply a new clear coat (optional): If desired, you can apply a new clear coat to the sanded area to protect the paint and achieve a glossy finish. Follow the manufacturer’s instructions for proper application and drying times.
Remember to always work carefully, using light to moderate pressure, and to frequently check your progress to avoid excessive removal of the clear coat or damage to the underlying paint. Patience and attention to detail are key to achieving the best results.
With these steps, you can effectively remove the damaged clear coat from your car’s surface and prepare it for further refinishing or restoration.
Now that you have successfully revived your car’s finish, it’s time to step back and admire the results of your hard work!
Preparing the Surface
Preparing the surface before sanding the clear coat is a crucial step to ensure a successful restoration process. Proper preparation allows for efficient and effective sanding, as well as helps to protect surrounding areas. Follow these steps to prepare the surface before beginning the sanding process:
- Clean the car: Start by thoroughly washing your car using a high-quality automotive soap and water. This will remove dirt, debris, and any wax or polish that may be on the surface. Rinse the car thoroughly and dry it completely with a soft, lint-free cloth or microfiber towel.
- Inspect for damage: Carefully examine the surface of the clear coat for any visible damage, such as deep scratches, chips, or cracks. Take note of these areas, as they may require additional attention or repair before sanding.
- Protect adjacent areas: Use painter’s tape or masking tape to protect any adjacent areas that you don’t want to sand, such as trim, rubber seals, or neighboring panels. This will prevent accidental damage and ensure a clean sanding surface.
- Remove emblems and badges (optional): If there are any emblems, badges, or decals on the area you plan to sand, consider removing them before beginning the sanding process. This will allow for more even sanding and ensure a seamless finish.
- Consider sanding in a controlled environment: Sanding in an enclosed space, such as a garage or workshop, can help minimize the risk of dust or debris interfering with the sanding process. If possible, choose a well-ventilated area with good lighting to ensure optimal working conditions.
By taking the time to prepare the surface properly, you create a clean and controlled environment for the sanding process. This sets the stage for effective and efficient clear coat removal, helping you achieve the best results.
Now that you’ve successfully prepared the surface, it’s time to move on to sanding the clear coat to restore the shine and luster of your car’s finish.
Sanding Clear Coat
Now that you have thoroughly prepared the surface, it’s time to delve into the process of sanding the clear coat. Proper sanding techniques and the use of the appropriate grit size are key to achieving a smooth and flawless finish. Follow these steps to effectively sand the clear coat:
- Start with the appropriate grit size: Refer to the previous sections to determine the ideal grit size based on the extent of damage and other factors. Choose a sandpaper with the recommended grit size and make sure it is specifically designed for automotive use.
- Attach the sandpaper: Affix the sandpaper to a sanding block or sanding tool to ensure even pressure and consistent results. Make sure the sandpaper is securely attached to prevent it from slipping or tearing during the sanding process.
- Sand in a back-and-forth motion: Begin sanding the clear coat using light to moderate pressure. Move the sandpaper in a back-and-forth motion, following the contours of the car’s body. Avoid applying excessive pressure, as this can damage the paint. Keep the sandpaper flat against the surface for even sanding.
- Check your progress: Periodically wipe away the sanding residue with a clean cloth or microfiber towel and inspect the area. This will help you determine if you need to continue sanding or if you have achieved the desired level of clear coat removal. Repeat the sanding process as needed, gradually increasing the grit size for a smoother surface.
- Change to finer grits: As you progress, switch to finer grits to further refine the surface. Gradually work your way up to the recommended grit size for your specific project. Remember to clean the surface between grit changes to remove any sanding residue and to ensure a clean working area.
- Take your time: Sanding clear coat requires patience and attention to detail. Take your time to achieve a smooth and even surface. Rushing the process or applying excessive pressure can result in uneven removal of the clear coat or damage to the paintwork.
- Perform a final sanding: Once you’ve achieved the desired level of clear coat removal and the surface appears even, perform a final sanding with a fine grit sandpaper. This will help prepare the surface for polish or the application of a new clear coat if desired.
Throughout the sanding process, remember to periodically clean the surface, inspect your progress, and adjust your technique as needed. By following these steps and exercising patience, you will be able to effectively sand the clear coat and restore the beauty of your car’s finish.
Once the sanding is complete, it’s time to put the finishing touches on your project.
Finishing Touches
After sanding the clear coat and achieving the desired level of smoothness, it’s time to add the finishing touches to your project. These final steps will help enhance the appearance and protect the newly sanded surface. Let’s explore the crucial finishing touches:
- Clean the surface: Thoroughly clean the area to remove any remaining sanding residue or debris. Use a gentle automotive cleaner or a mixture of mild soap and water. Rinse the area and dry it completely with a soft, lint-free cloth or microfiber towel.
- Polish the surface: Once the surface is clean and dry, apply a polishing compound or rubbing compound. Use a clean applicator pad or a soft cloth and work the compound into the surface. This will help restore the shine and smoothness of the paint, blending the sanded area with the surrounding clear coat.
- Protect the surface: To safeguard the newly sanded surface, consider applying a layer of wax or paint sealant. This will provide a protective barrier against UV rays, dirt, and other contaminants. Follow the manufacturer’s instructions for proper application and drying times.
- Inspect for touch-ups: After the finishing touches are applied, inspect the area for any remaining imperfections or areas that may require additional touch-ups. If necessary, address these areas by sanding them lightly and repeating the polishing and protection steps.
- Reapply emblems and badges (if applicable): If you removed any emblems, badges, or decals for sanding, now is the time to carefully reapply them to the surface. Take care to align them properly and ensure they adhere securely.
- Maintain and care: Once the finishing touches are complete, it’s essential to maintain and care for the restored surface. Regularly wash the car using gentle automotive soap and water, avoiding harsh chemicals or abrasive cleaning tools. Protect the surface with regular applications of wax or paint sealant to preserve the shine and prevent damage.
By completing these finishing touches, you ensure that your newly sanded surface looks its best and remains protected for the long term. Remember to periodically inspect and maintain the surface to keep your car’s finish in top-notch condition.
Congratulations! You have successfully removed the clear coat with sandpaper and completed the necessary steps to restore and protect your car’s finish. Take a step back and admire the fruits of your labor – a beautifully revived and rejuvenated vehicle!
Read more: What Grit Sandpaper For Polyurethane
Conclusion
Restoring the clear coat of your car’s finish is a rewarding project that can transform the appearance and protection of your vehicle. By utilizing sandpaper and following the appropriate steps, you can effectively remove the damaged clear coat, revealing a fresh canvas for a new layer or simply restoring the natural beauty of the underlying paint.
Understanding the purpose and importance of clear coat, as well as the factors to consider when choosing the right grit size, is paramount to achieving the desired result. By carefully evaluating the extent of damage, the type of clear coat, personal preferences, and your level of experience, you can select the appropriate grit size for sanding.
The step-by-step process of preparing the surface, sanding the clear coat, and applying the finishing touches ensures a successful restoration. Through proper surface preparation, careful sanding techniques, and attention to detail in the finishing stages, you can achieve a smooth, flawless finish that brings out the true beauty of your car.
Remember to take your time, be patient, and regularly evaluate your progress during the sanding process. Gradually increase the grit size, clean the surface, and apply polishing compounds and protective layers to achieve the best possible outcome.
Lastly, maintaining and caring for the restored surface is essential for long-term protection and longevity. Regularly wash your car, apply wax or paint sealant, and address any imperfections promptly to keep your car’s finish looking its best.
So, whether you’re an automotive enthusiast or simply someone looking to bring back the shine to your car, removing clear coat with sandpaper is an effective and satisfying process. By following the steps outlined in this article, you can revitalize your car’s appearance and take pride in a job well done.
Now, grab your sandpaper, don your protective gear, and embark on the journey of restoring your car’s clear coat to its former glory!
Frequently Asked Questions about What Grit Sandpaper To Remove A Clear Coat
Was this page helpful?
At Storables.com, we guarantee accurate and reliable information. Our content, validated by Expert Board Contributors, is crafted following stringent Editorial Policies. We're committed to providing you with well-researched, expert-backed insights for all your informational needs.


0 thoughts on “What Grit Sandpaper To Remove A Clear Coat”