Home>Renovation & DIY>Tools & Equipment>How To Make A Sandpaper
Tools & Equipment
How To Make A Sandpaper
Published: December 20, 2023
Learn how to make a sandpaper at home using common tools and equipment. Save money and create custom sandpaper for your DIY projects.
(Many of the links in this article redirect to a specific reviewed product. Your purchase of these products through affiliate links helps to generate commission for Storables.com, at no extra cost. Learn more)
Introduction
Welcome to the world of DIY sandpaper making! If you’ve ever found yourself in need of a specific grit of sandpaper that’s not readily available at your local store, or if you simply enjoy the satisfaction of crafting your own tools and materials, then learning how to make sandpaper is a skill worth acquiring. Not only does it give you the freedom to customize the grit and size of your sandpaper, but it also allows you to repurpose materials and exercise your creativity.
In this guide, we’ll take you through the step-by-step process of creating your own sandpaper. From selecting the right materials and tools to applying the grit and finishing touches, you’ll gain valuable insights into the art of sandpaper making. Whether you’re a seasoned DIY enthusiast or a curious beginner, this journey promises to be both educational and rewarding. So, roll up your sleeves and let’s dive into the world of sandpaper craftsmanship!
Key Takeaways:
- Customize sandpaper grit and size to suit your needs. Crafting your own sandpaper empowers you to tailor the coarseness and durability of the abrasive surface for specific projects.
- Embrace the satisfaction of using handcrafted tools. Making your own sandpaper adds a personal touch to woodworking and crafting, reflecting your resourcefulness and dedication to your craft.
Materials and Tools
Before embarking on your sandpaper-making adventure, it’s essential to gather the necessary materials and tools. Here’s what you’ll need:
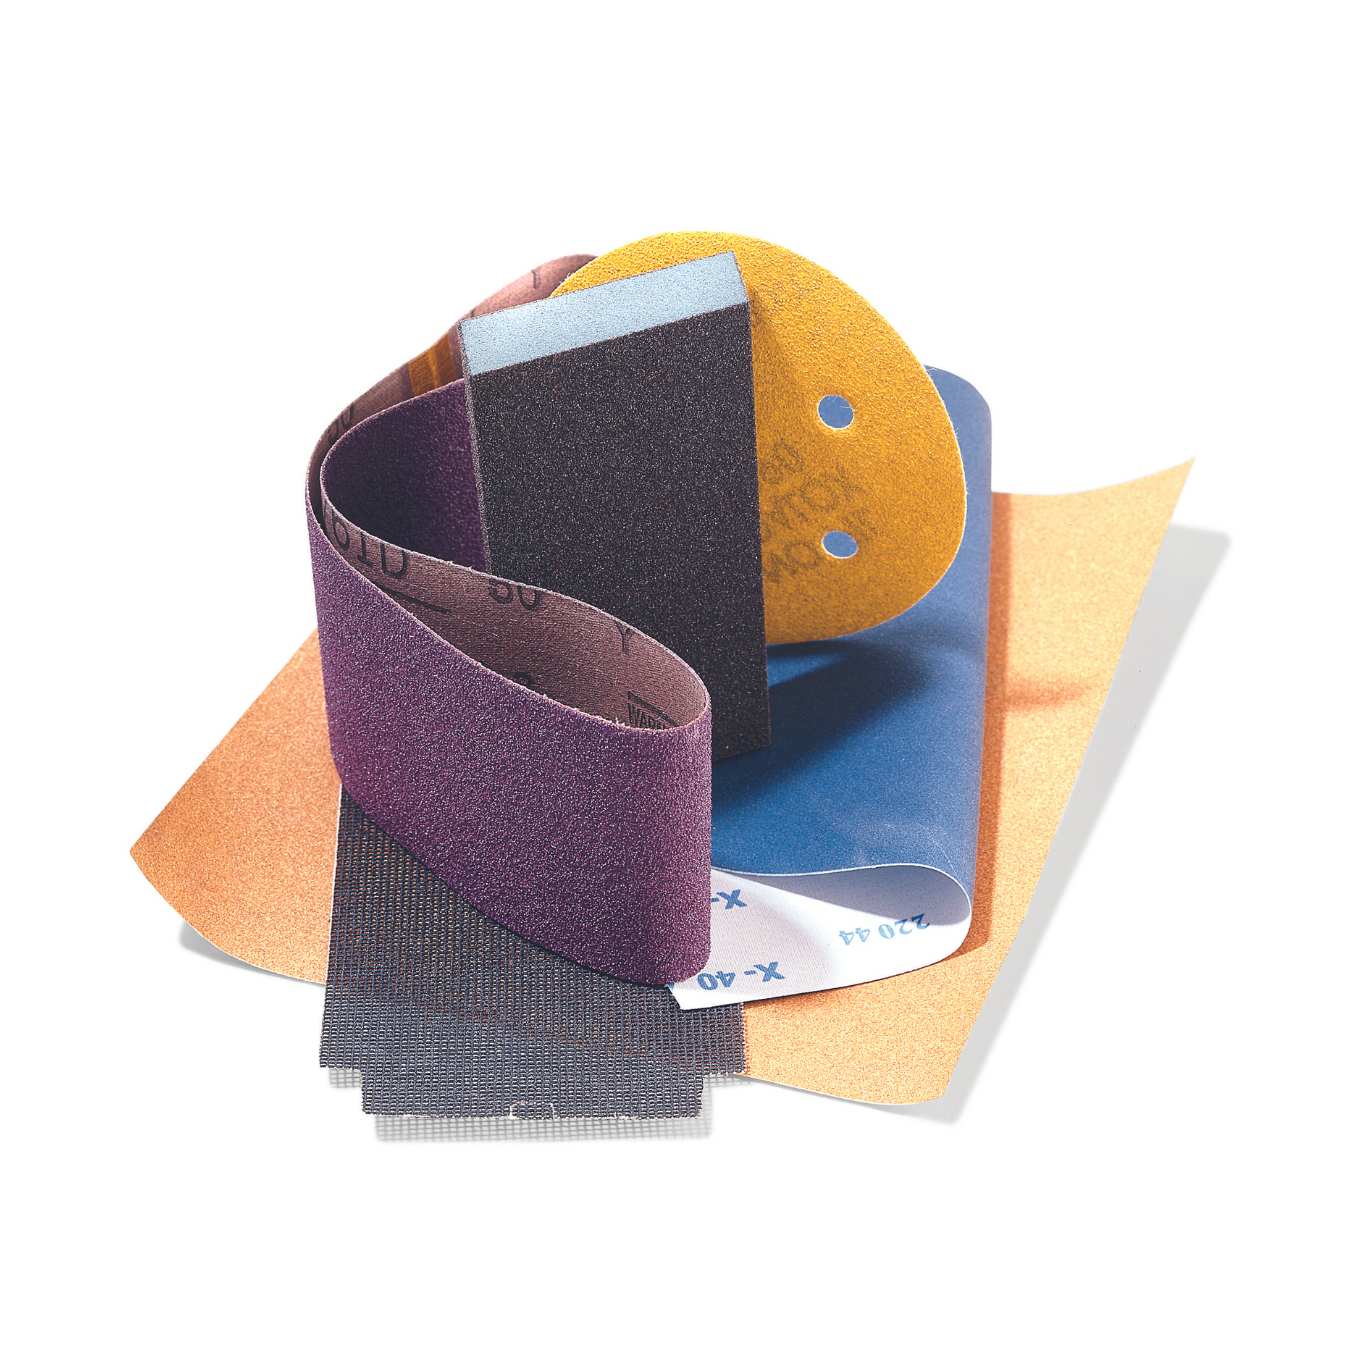
Materials:
- Backing material: This can be anything from heavy paper, cloth, or even flexible plastic. The choice of backing material depends on the intended use of the sandpaper.
- Adhesive: You'll need an adhesive to bond the grit to the backing material. Common options include spray adhesive, glue, or double-sided tape.
- Sand or abrasive material: The abrasive material, often referred to as "grit," comes in various levels of coarseness. Depending on your project, you'll need to select the appropriate grit for your sandpaper.
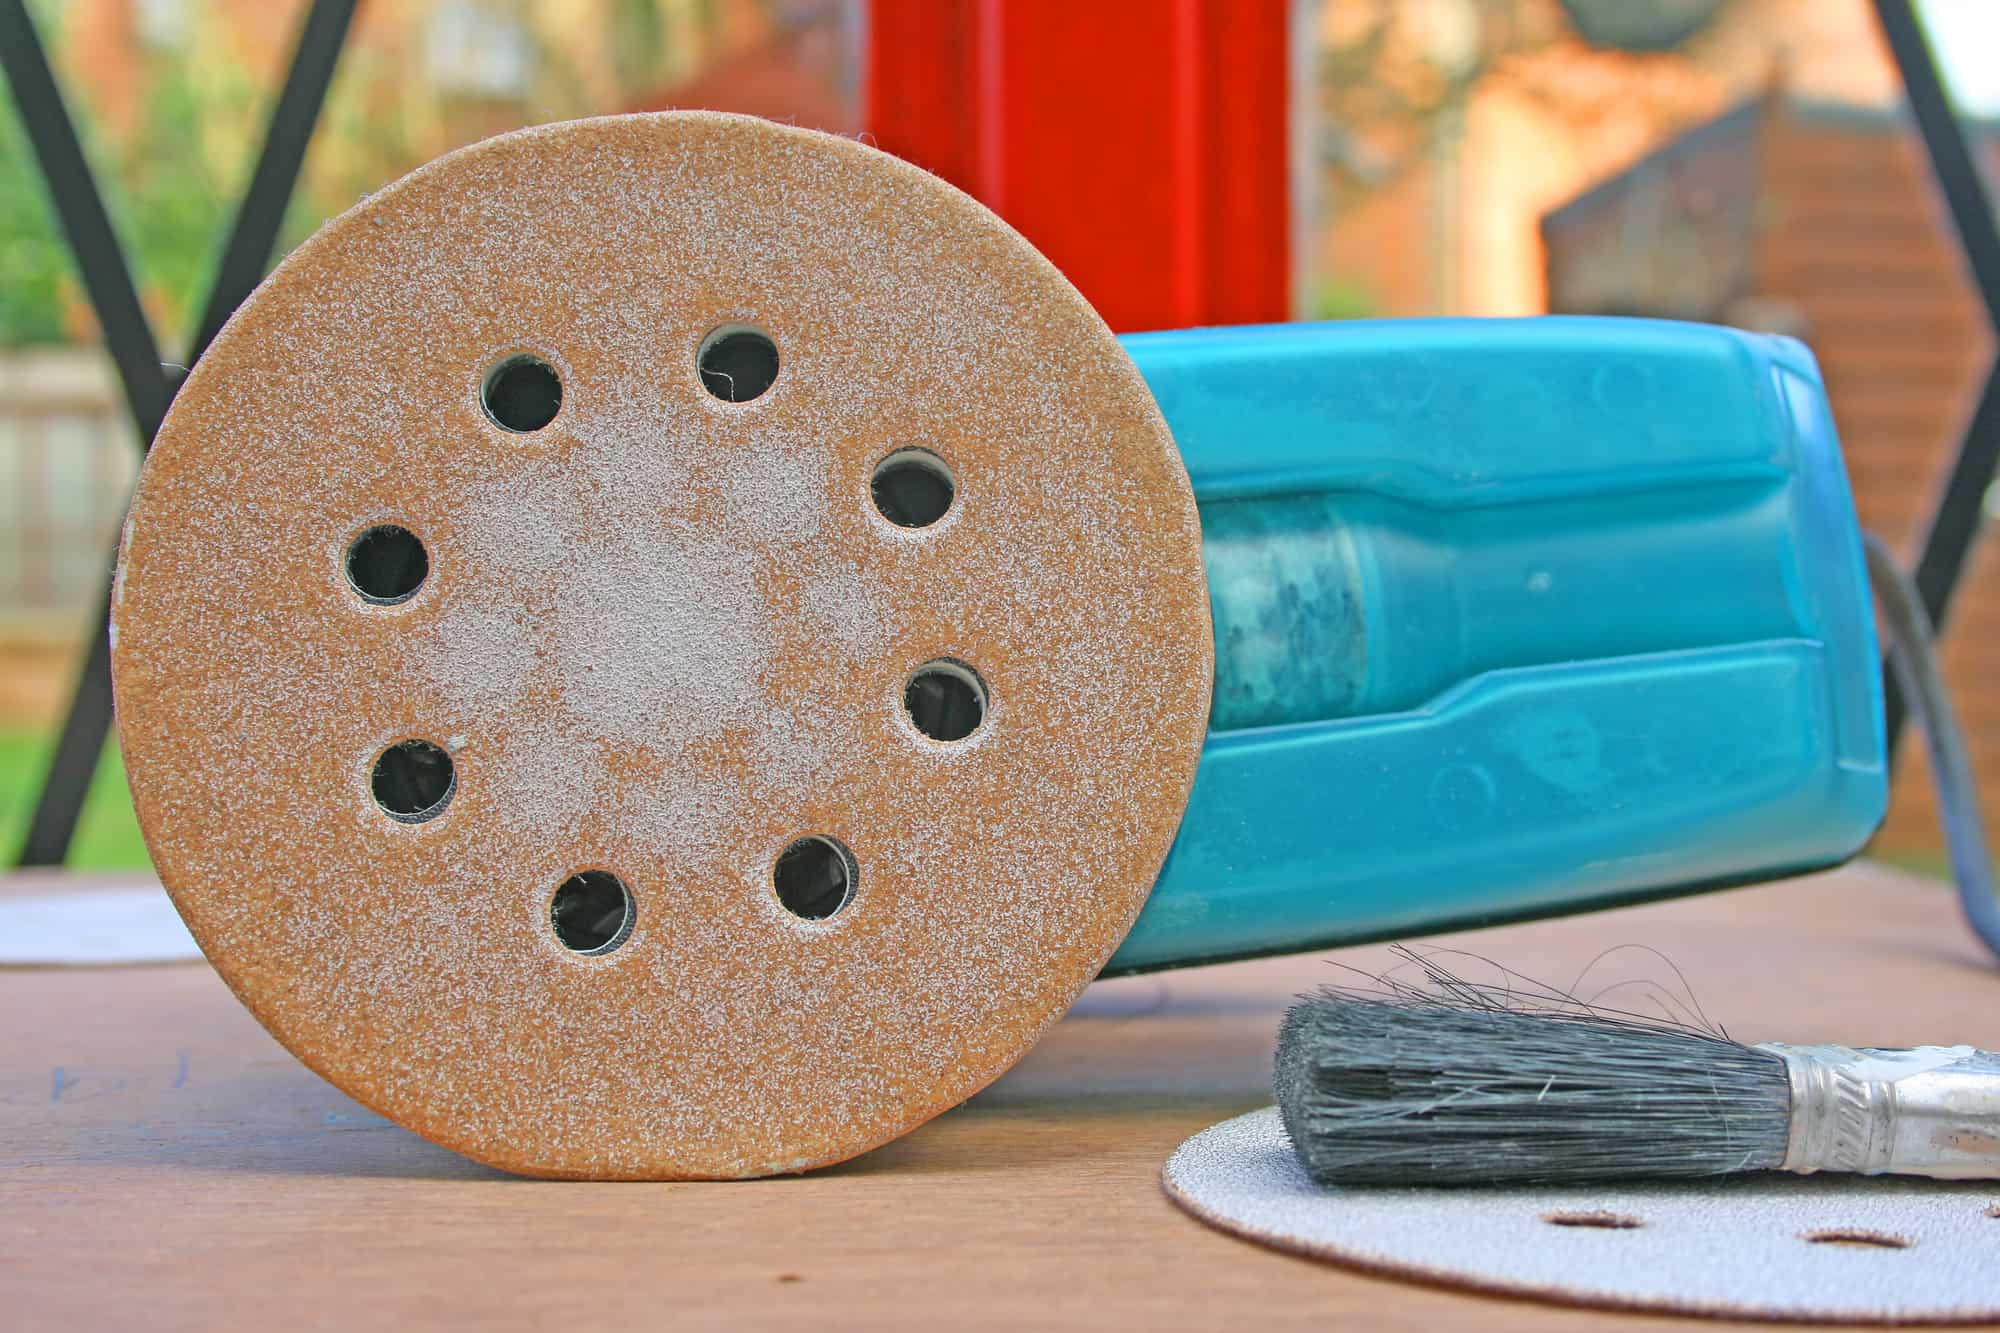
Tools:
- Scissors or cutting tool: To cut the backing material to the desired size.
- Work surface: A flat and stable surface for assembling the sandpaper.
- Protective gear: Safety goggles and gloves are essential when working with adhesives and abrasive materials.
- Optional: If you're creating a large quantity of sandpaper, consider using a spray adhesive gun for efficiency.
Now that you have a clear understanding of the materials and tools required, you’re ready to move on to the next step: choosing the grit for your sandpaper.
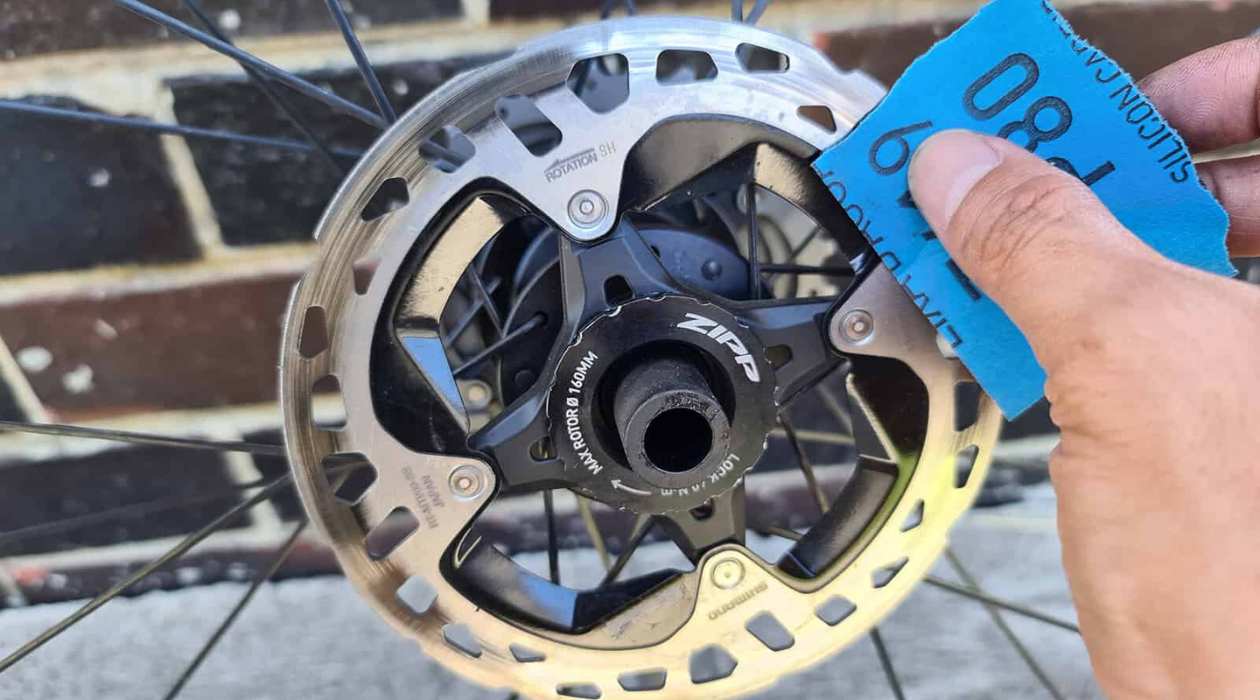
Choosing the Grit
One of the most critical decisions in sandpaper making is selecting the appropriate grit for your specific project. The grit refers to the coarseness of the abrasive material and plays a significant role in determining the sandpaper’s effectiveness. Here’s a brief guide to help you make an informed choice:
Coarser Grits: Coarse grits, typically ranging from 40 to 60, are ideal for heavy material removal and shaping tasks. If you’re working on rough surfaces or need to smooth out uneven edges, a coarse grit will be your go-to option.
Medium Grits: Grits in the 80 to 120 range are considered medium and are well-suited for general sanding and preparing surfaces for finishing. Whether you’re smoothing wood or removing old paint, medium grit sandpaper offers versatility and efficiency.
Fine Grits: For finer sanding, such as achieving a polished finish or preparing surfaces for painting, opt for grits between 150 and 240. Fine grit sandpaper is essential for achieving smooth and blemish-free surfaces.
Super Fine Grits: Grits exceeding 240 are categorized as super fine and are used for ultra-smooth finishes, such as between coats of paint or varnish. These grits are also suitable for fine woodworking and delicate materials.
Keep in mind that the specific requirements of your project will dictate the most suitable grit. Understanding the nature of the surface you’re working on and the desired outcome will guide you in making an informed decision. With the grit selected, you’re now ready to move on to preparing the sandpaper base.
Read more: How To Store Sandpaper
Preparing the Sandpaper Base
Now that you’ve chosen the appropriate grit for your sandpaper, it’s time to prepare the base material that will hold the abrasive grit in place. The backing material you select will depend on the intended use of the sandpaper and the durability required for your project. Here’s a step-by-step guide to preparing the sandpaper base:
Step 1: Selecting the Backing Material
Consider the nature of your project and the demands it will place on the sandpaper. For general use, heavy paper serves as a cost-effective and versatile backing material. If you require more durability, consider using cloth or flexible plastic as the backing material.
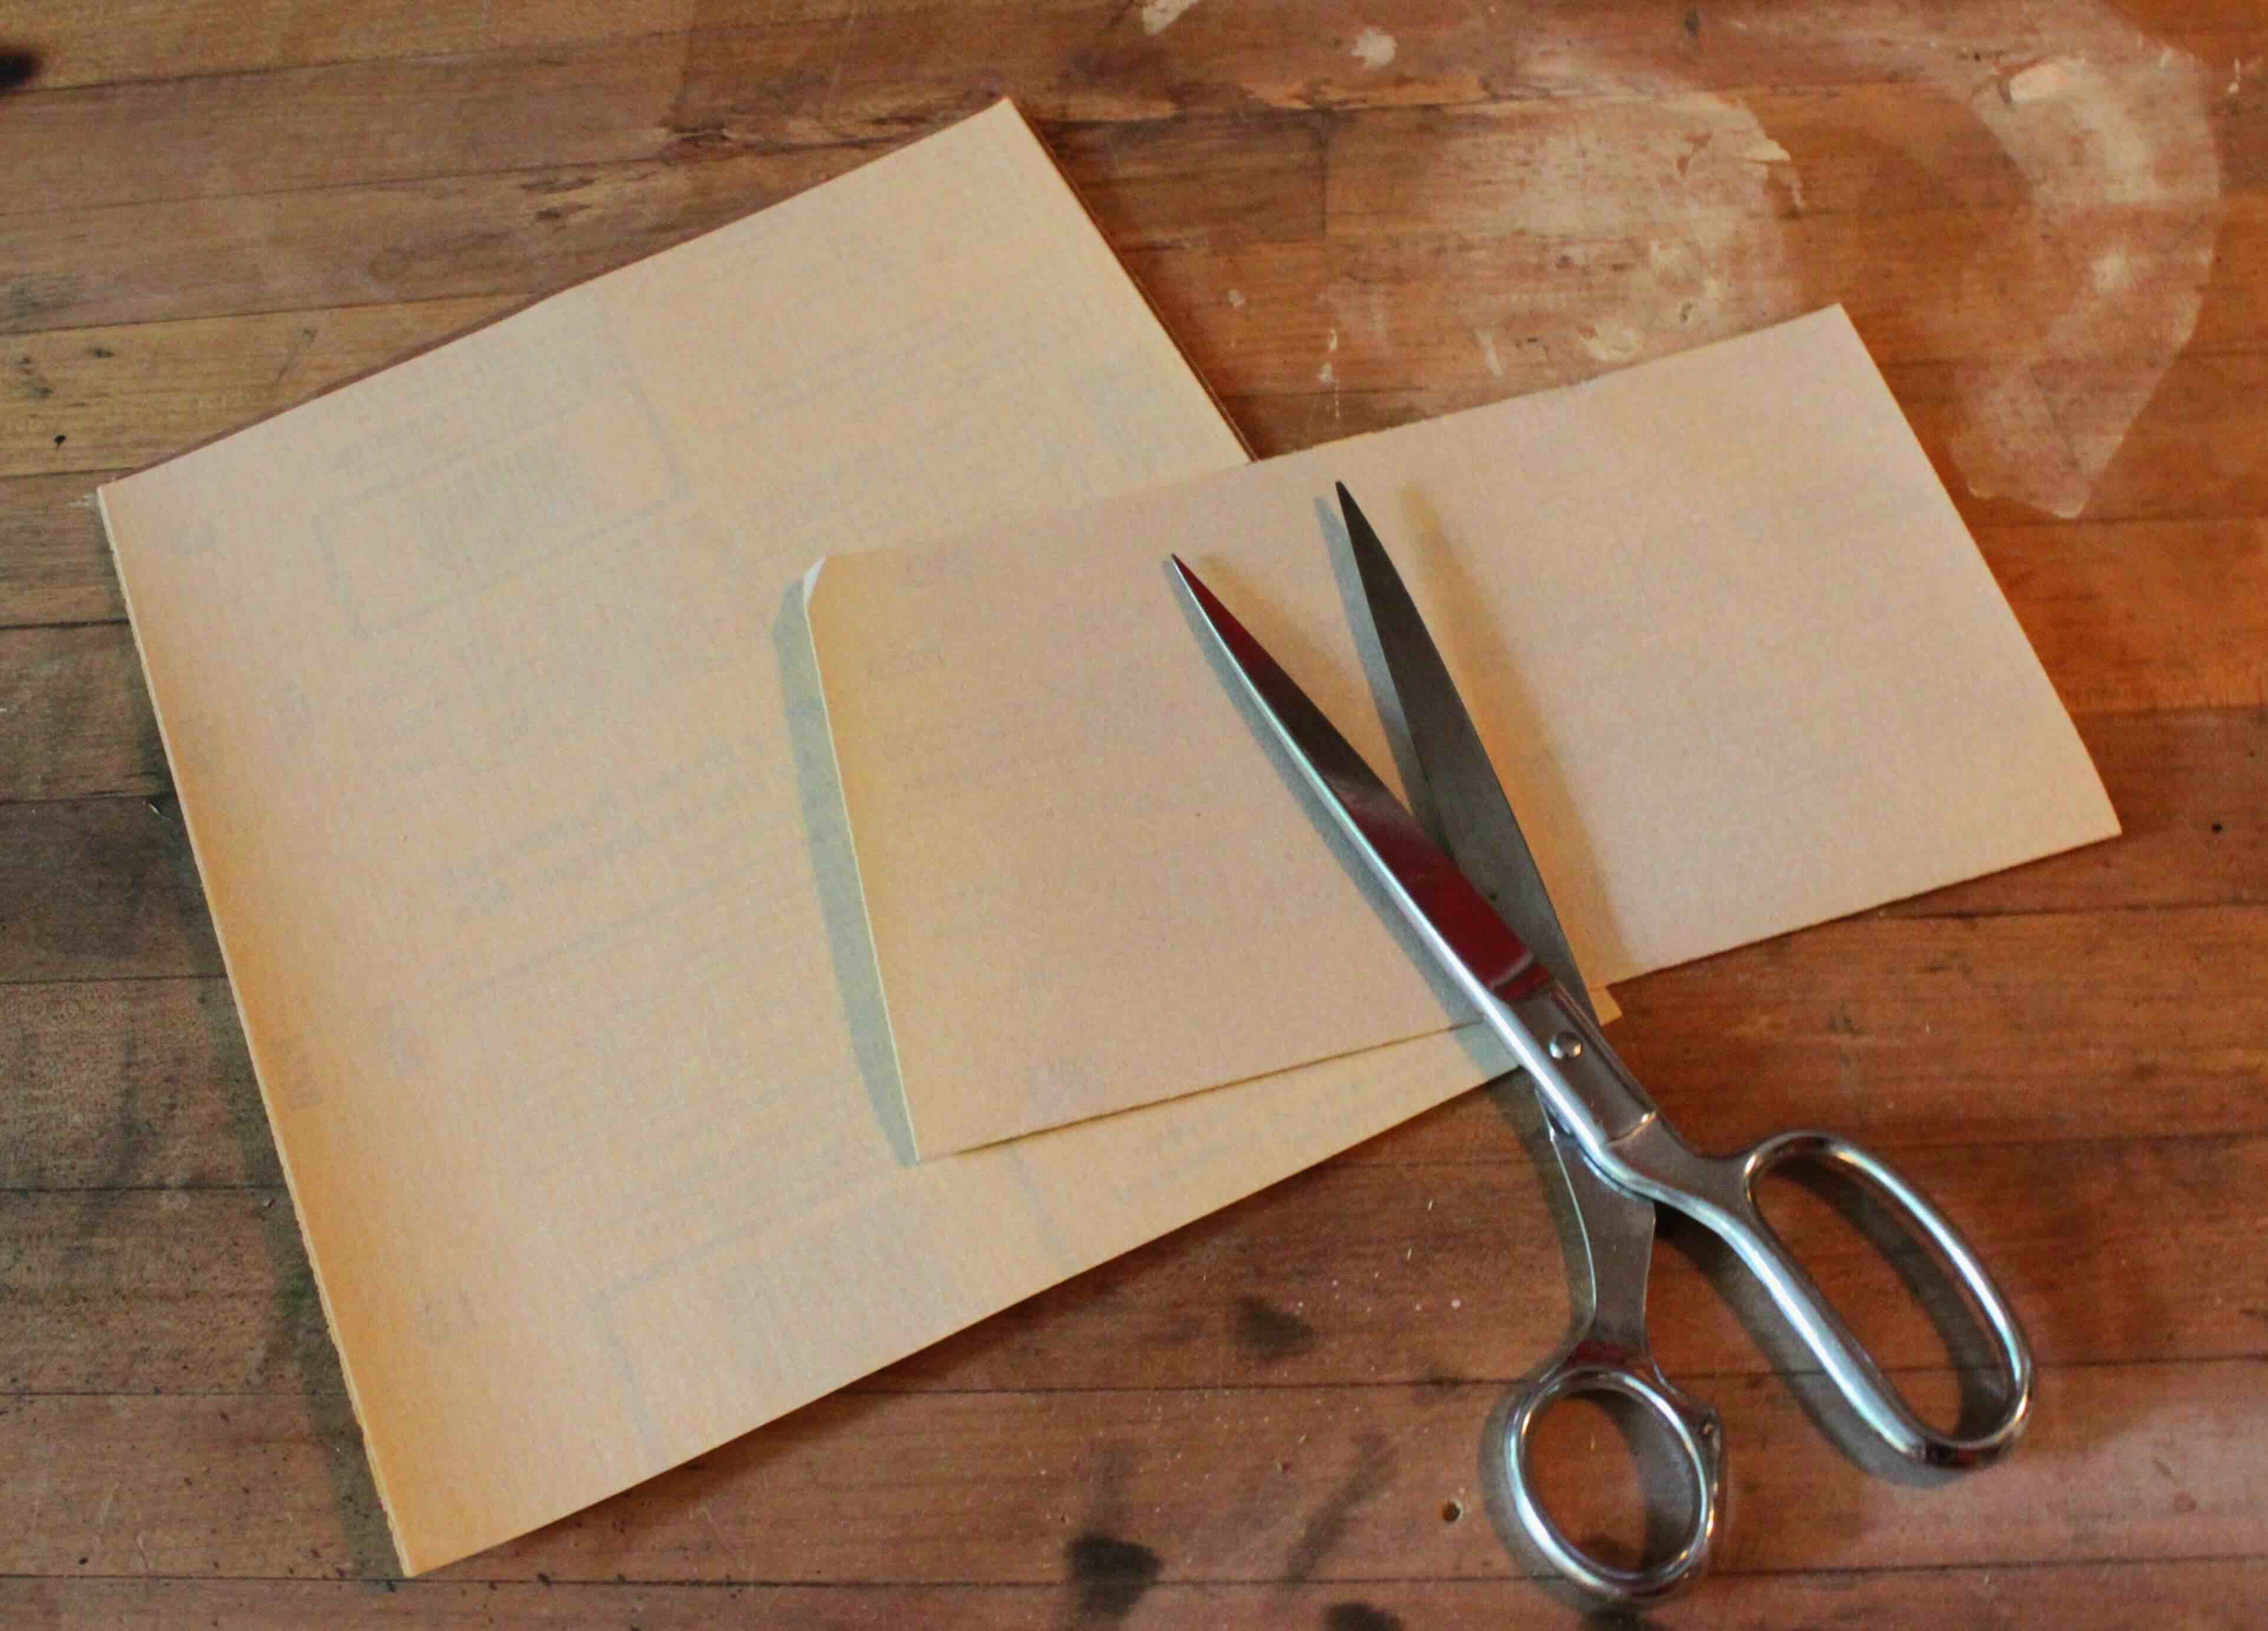
Step 2: Cutting the Base Material
Using scissors or a cutting tool, carefully cut the backing material to the desired size. Ensure that the dimensions of the base material align with the scope of your project and the size of sandpaper sheets you wish to create.
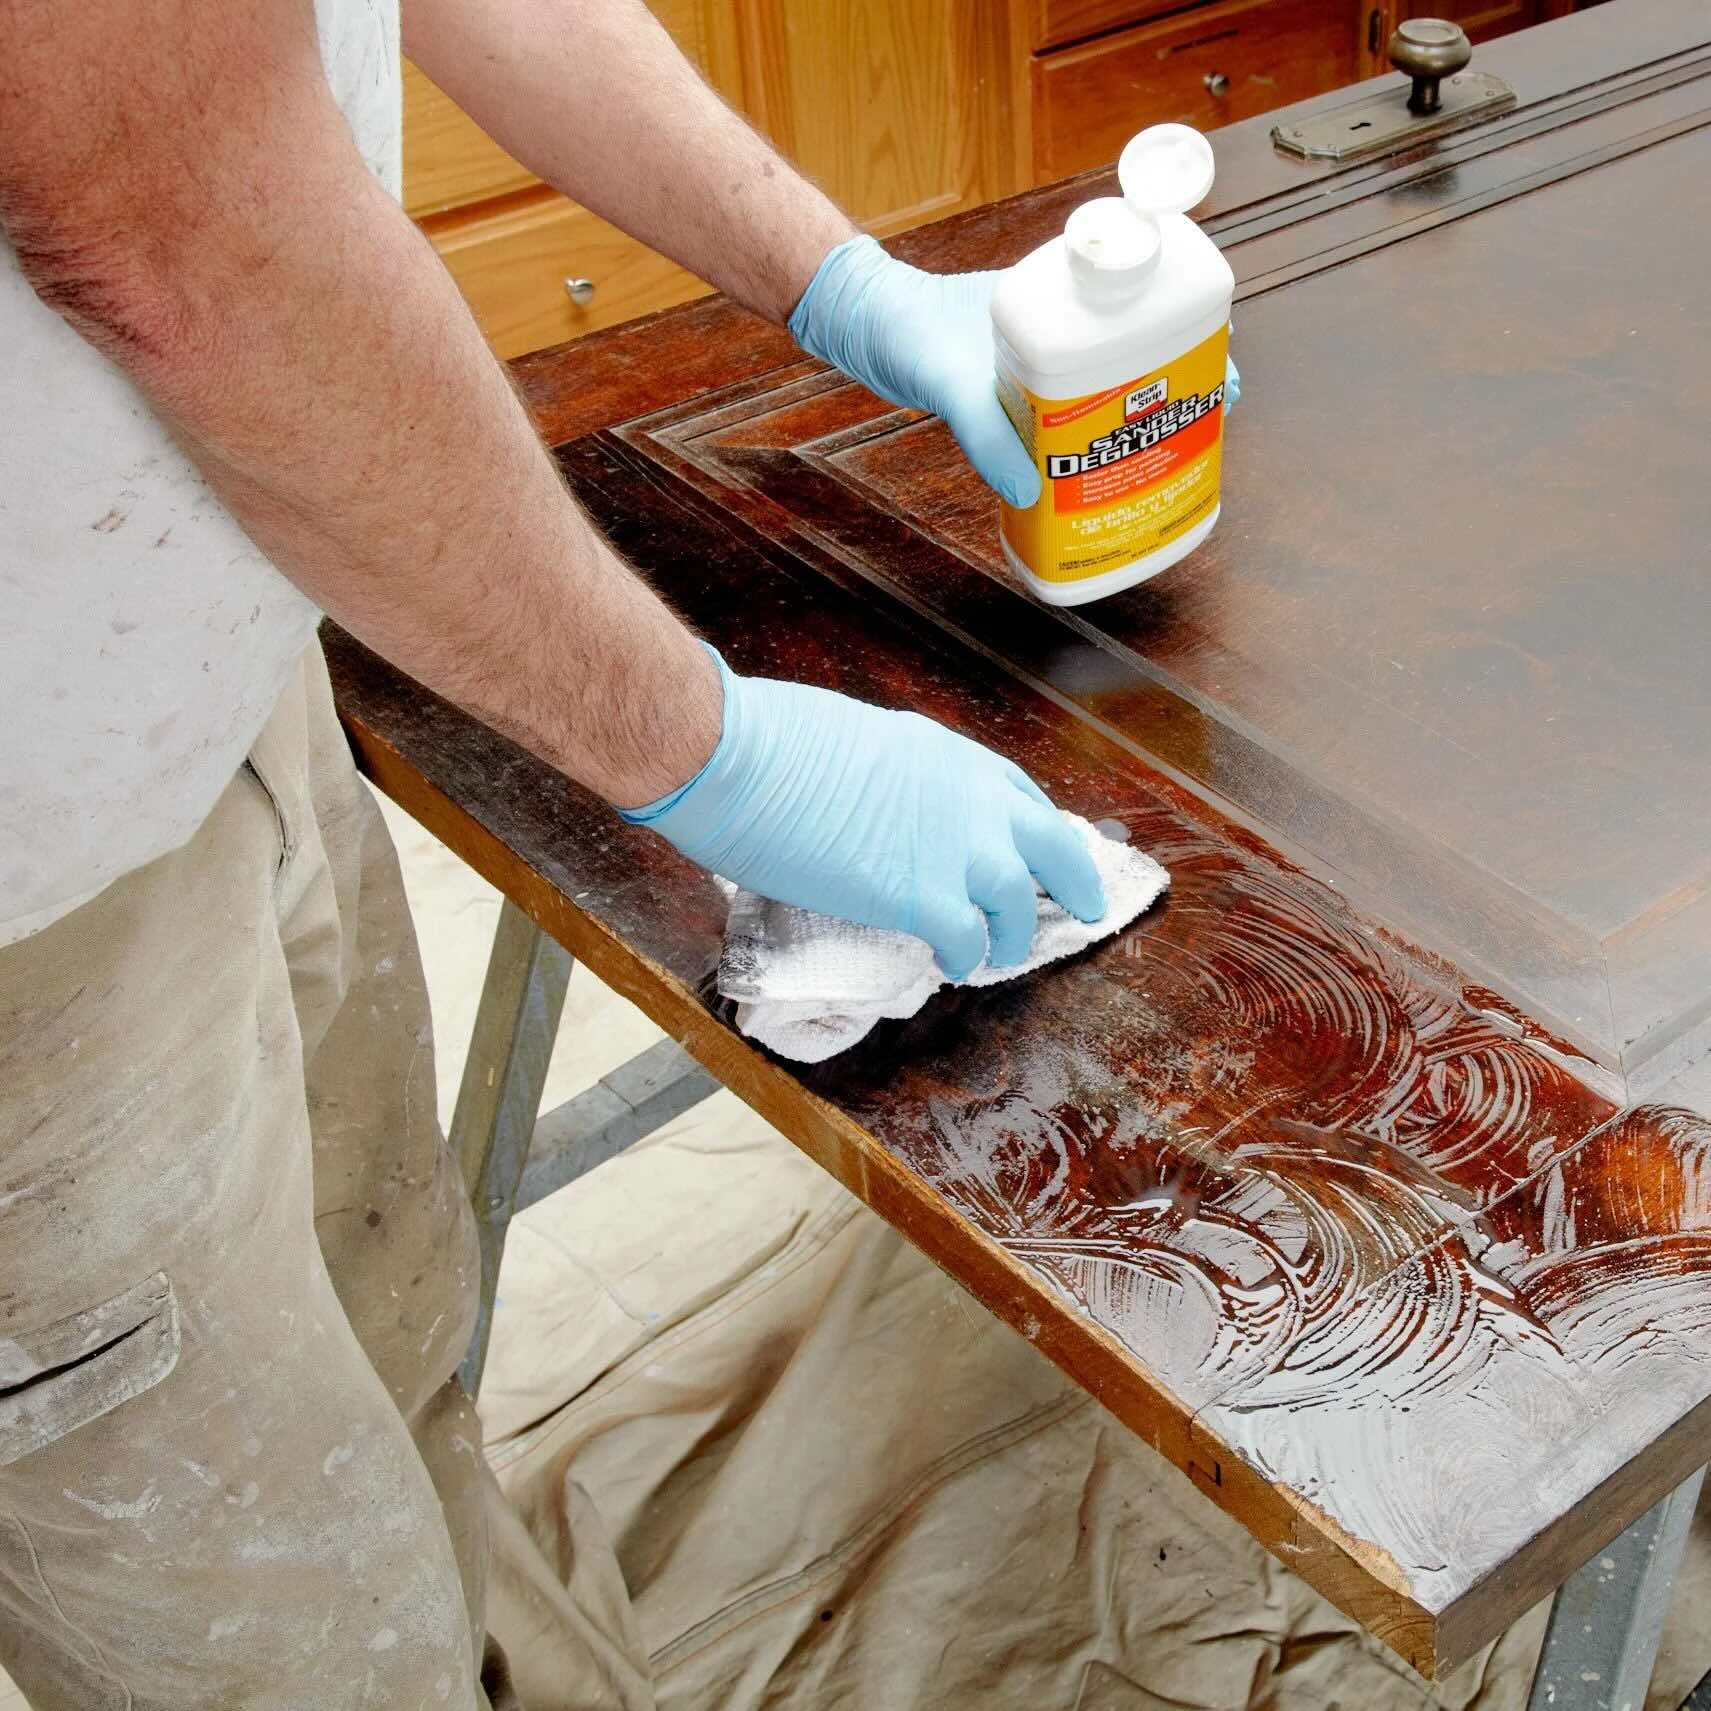
Step 3: Smoothing the Base Material
Prior to applying the adhesive, ensure that the surface of the backing material is free from any rough edges or imperfections. A smooth base material will facilitate the even application of the adhesive and grit, resulting in a uniform sanding surface.
With the backing material prepared, you’re now ready to move on to the next crucial step: applying the adhesive that will securely bond the grit to the base material. This process is essential for creating durable and efficient sandpaper that will withstand the rigors of your sanding tasks.
Applying the Adhesive
Applying the adhesive is a crucial step in the sandpaper-making process, as it ensures that the abrasive grit adheres firmly to the backing material, creating a durable and effective sanding surface. The type of adhesive you choose will depend on the backing material and your personal preference. Here’s a comprehensive guide to applying the adhesive for your DIY sandpaper:
Step 1: Selecting the Adhesive
Depending on the backing material and the level of adhesion required, you can choose from various adhesives such as spray adhesive, glue, or double-sided tape. Ensure that the adhesive is suitable for the specific backing material you’re using and provides a strong bond for the abrasive grit.
Step 2: Preparing the Work Surface
Lay out a flat and stable work surface where you can assemble the sandpaper. This will provide a secure area for applying the adhesive and attaching the abrasive grit, ensuring precision and uniformity in the sandpaper construction.
Step 3: Applying the Adhesive
Following the instructions provided with the chosen adhesive, apply a thin and even layer onto the backing material. If using spray adhesive, ensure that the area is well-ventilated and apply the adhesive in smooth, sweeping motions to achieve an even coat. For glue or double-sided tape, carefully spread the adhesive to cover the entire surface of the backing material.
Step 4: Allowing for Drying or Setting
Depending on the type of adhesive used, allow sufficient time for it to dry or set as per the manufacturer’s recommendations. This is crucial for ensuring that the abrasive grit adheres securely to the backing material, creating a reliable sanding surface.
With the adhesive successfully applied and set, you’re now ready to move on to the next step: attaching the abrasive grit to complete the construction of your custom sandpaper. This stage marks a significant milestone in the sandpaper-making process, bringing you closer to the realization of your DIY sanding tool.
To make sandpaper, you will need sand, glue, and a backing material like paper or cloth. Spread a thin layer of glue on the backing material and sprinkle the sand evenly. Let it dry before using.
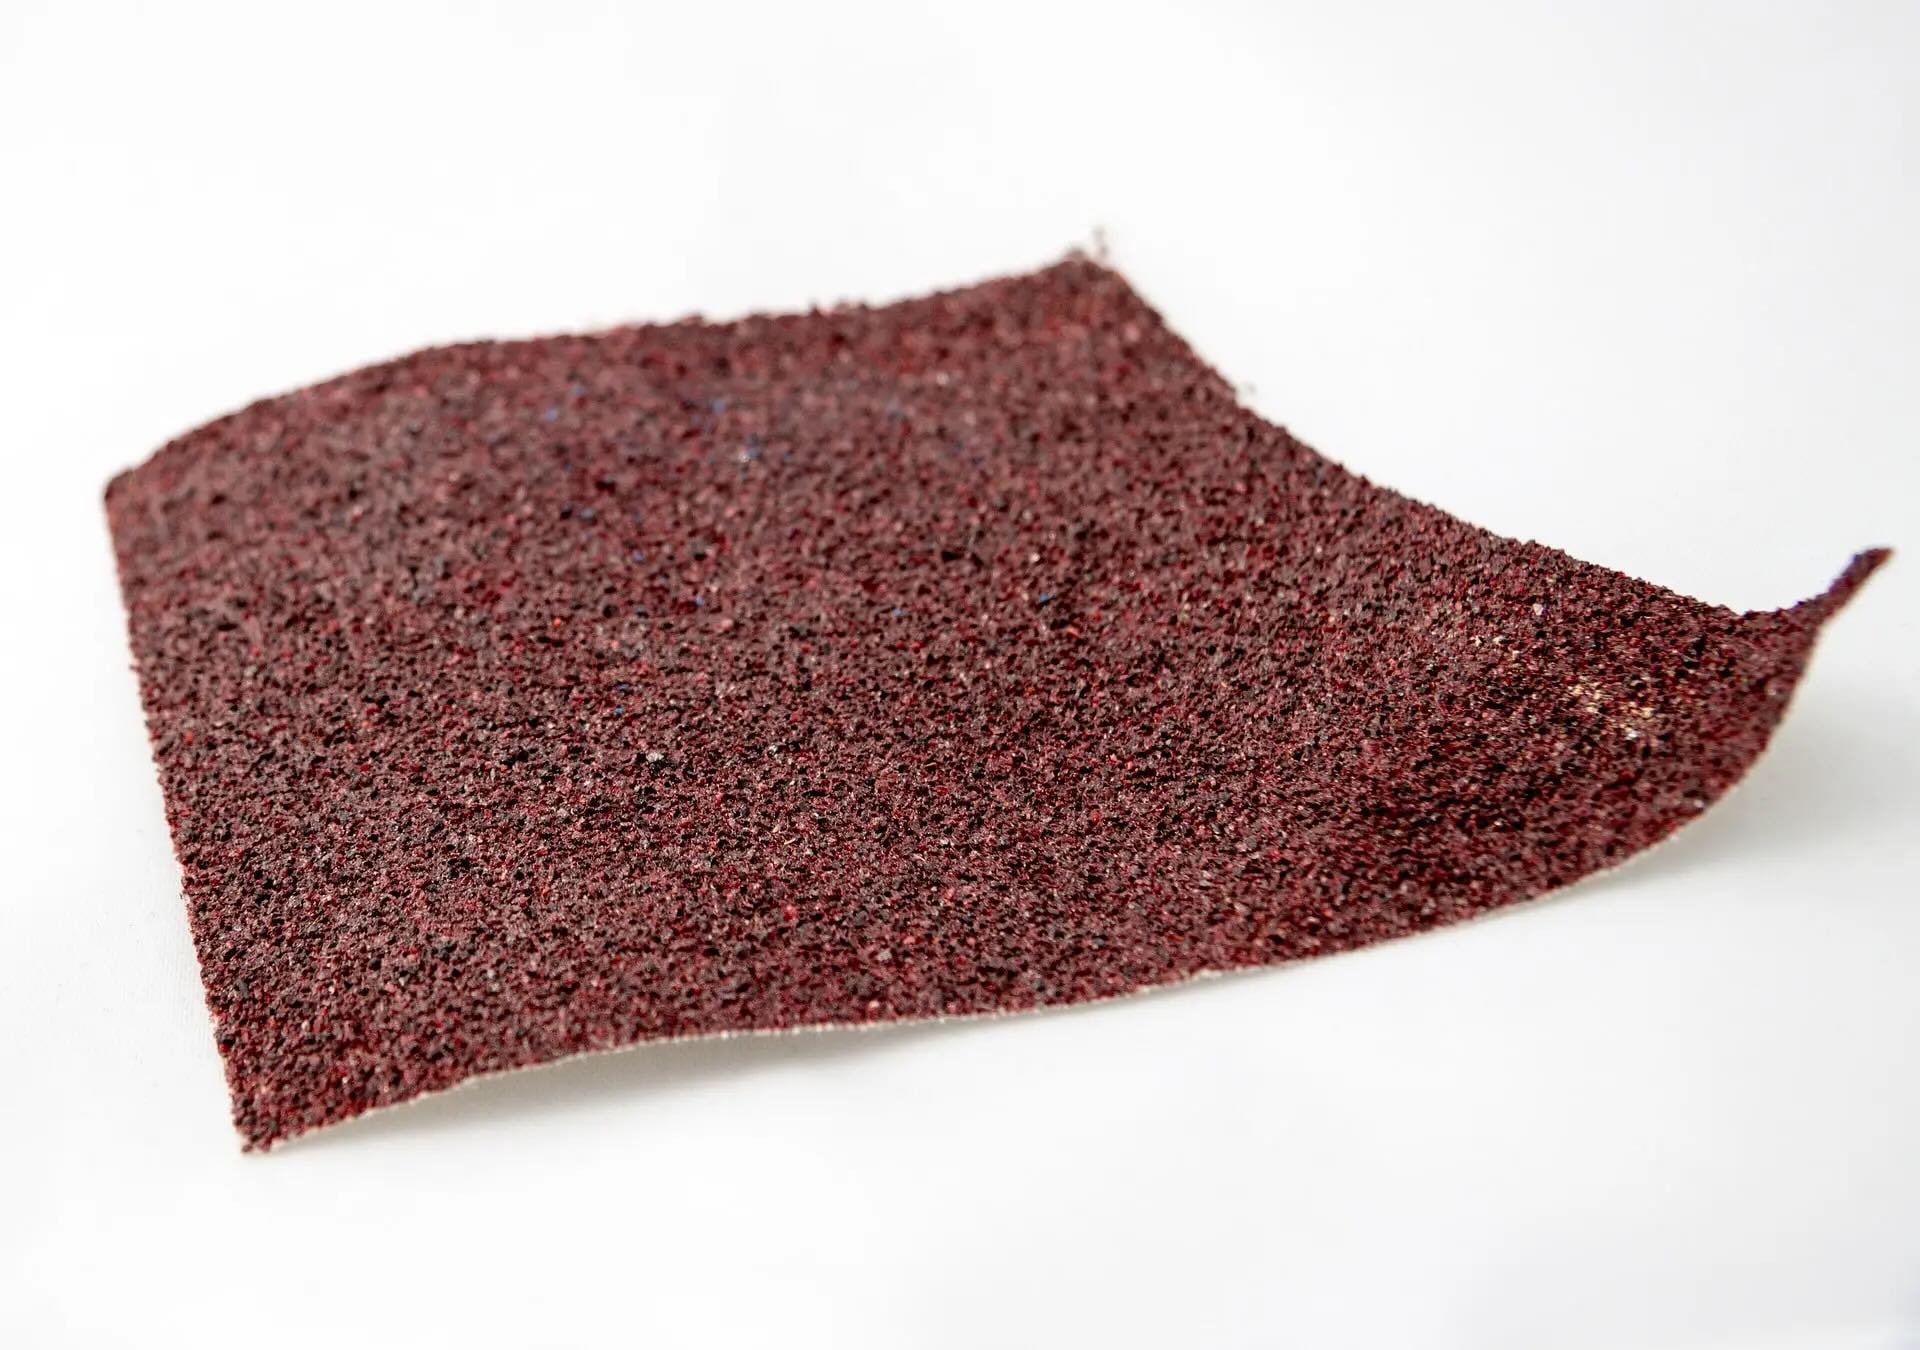
Attaching the Grit
Attaching the abrasive grit to the prepared sandpaper base is a pivotal step that determines the effectiveness and performance of the finished product. The grit, or abrasive material, is what facilitates the sanding process, making this stage essential for creating a functional and reliable sanding tool. Here’s a detailed guide to attaching the grit to your DIY sandpaper:
Step 1: Selecting the Grit
Based on the requirements of your project, select the appropriate grit that aligns with the level of coarseness or fineness needed for the sanding task at hand. Ensure that the chosen grit complements the backing material and the nature of the surface you’ll be sanding.
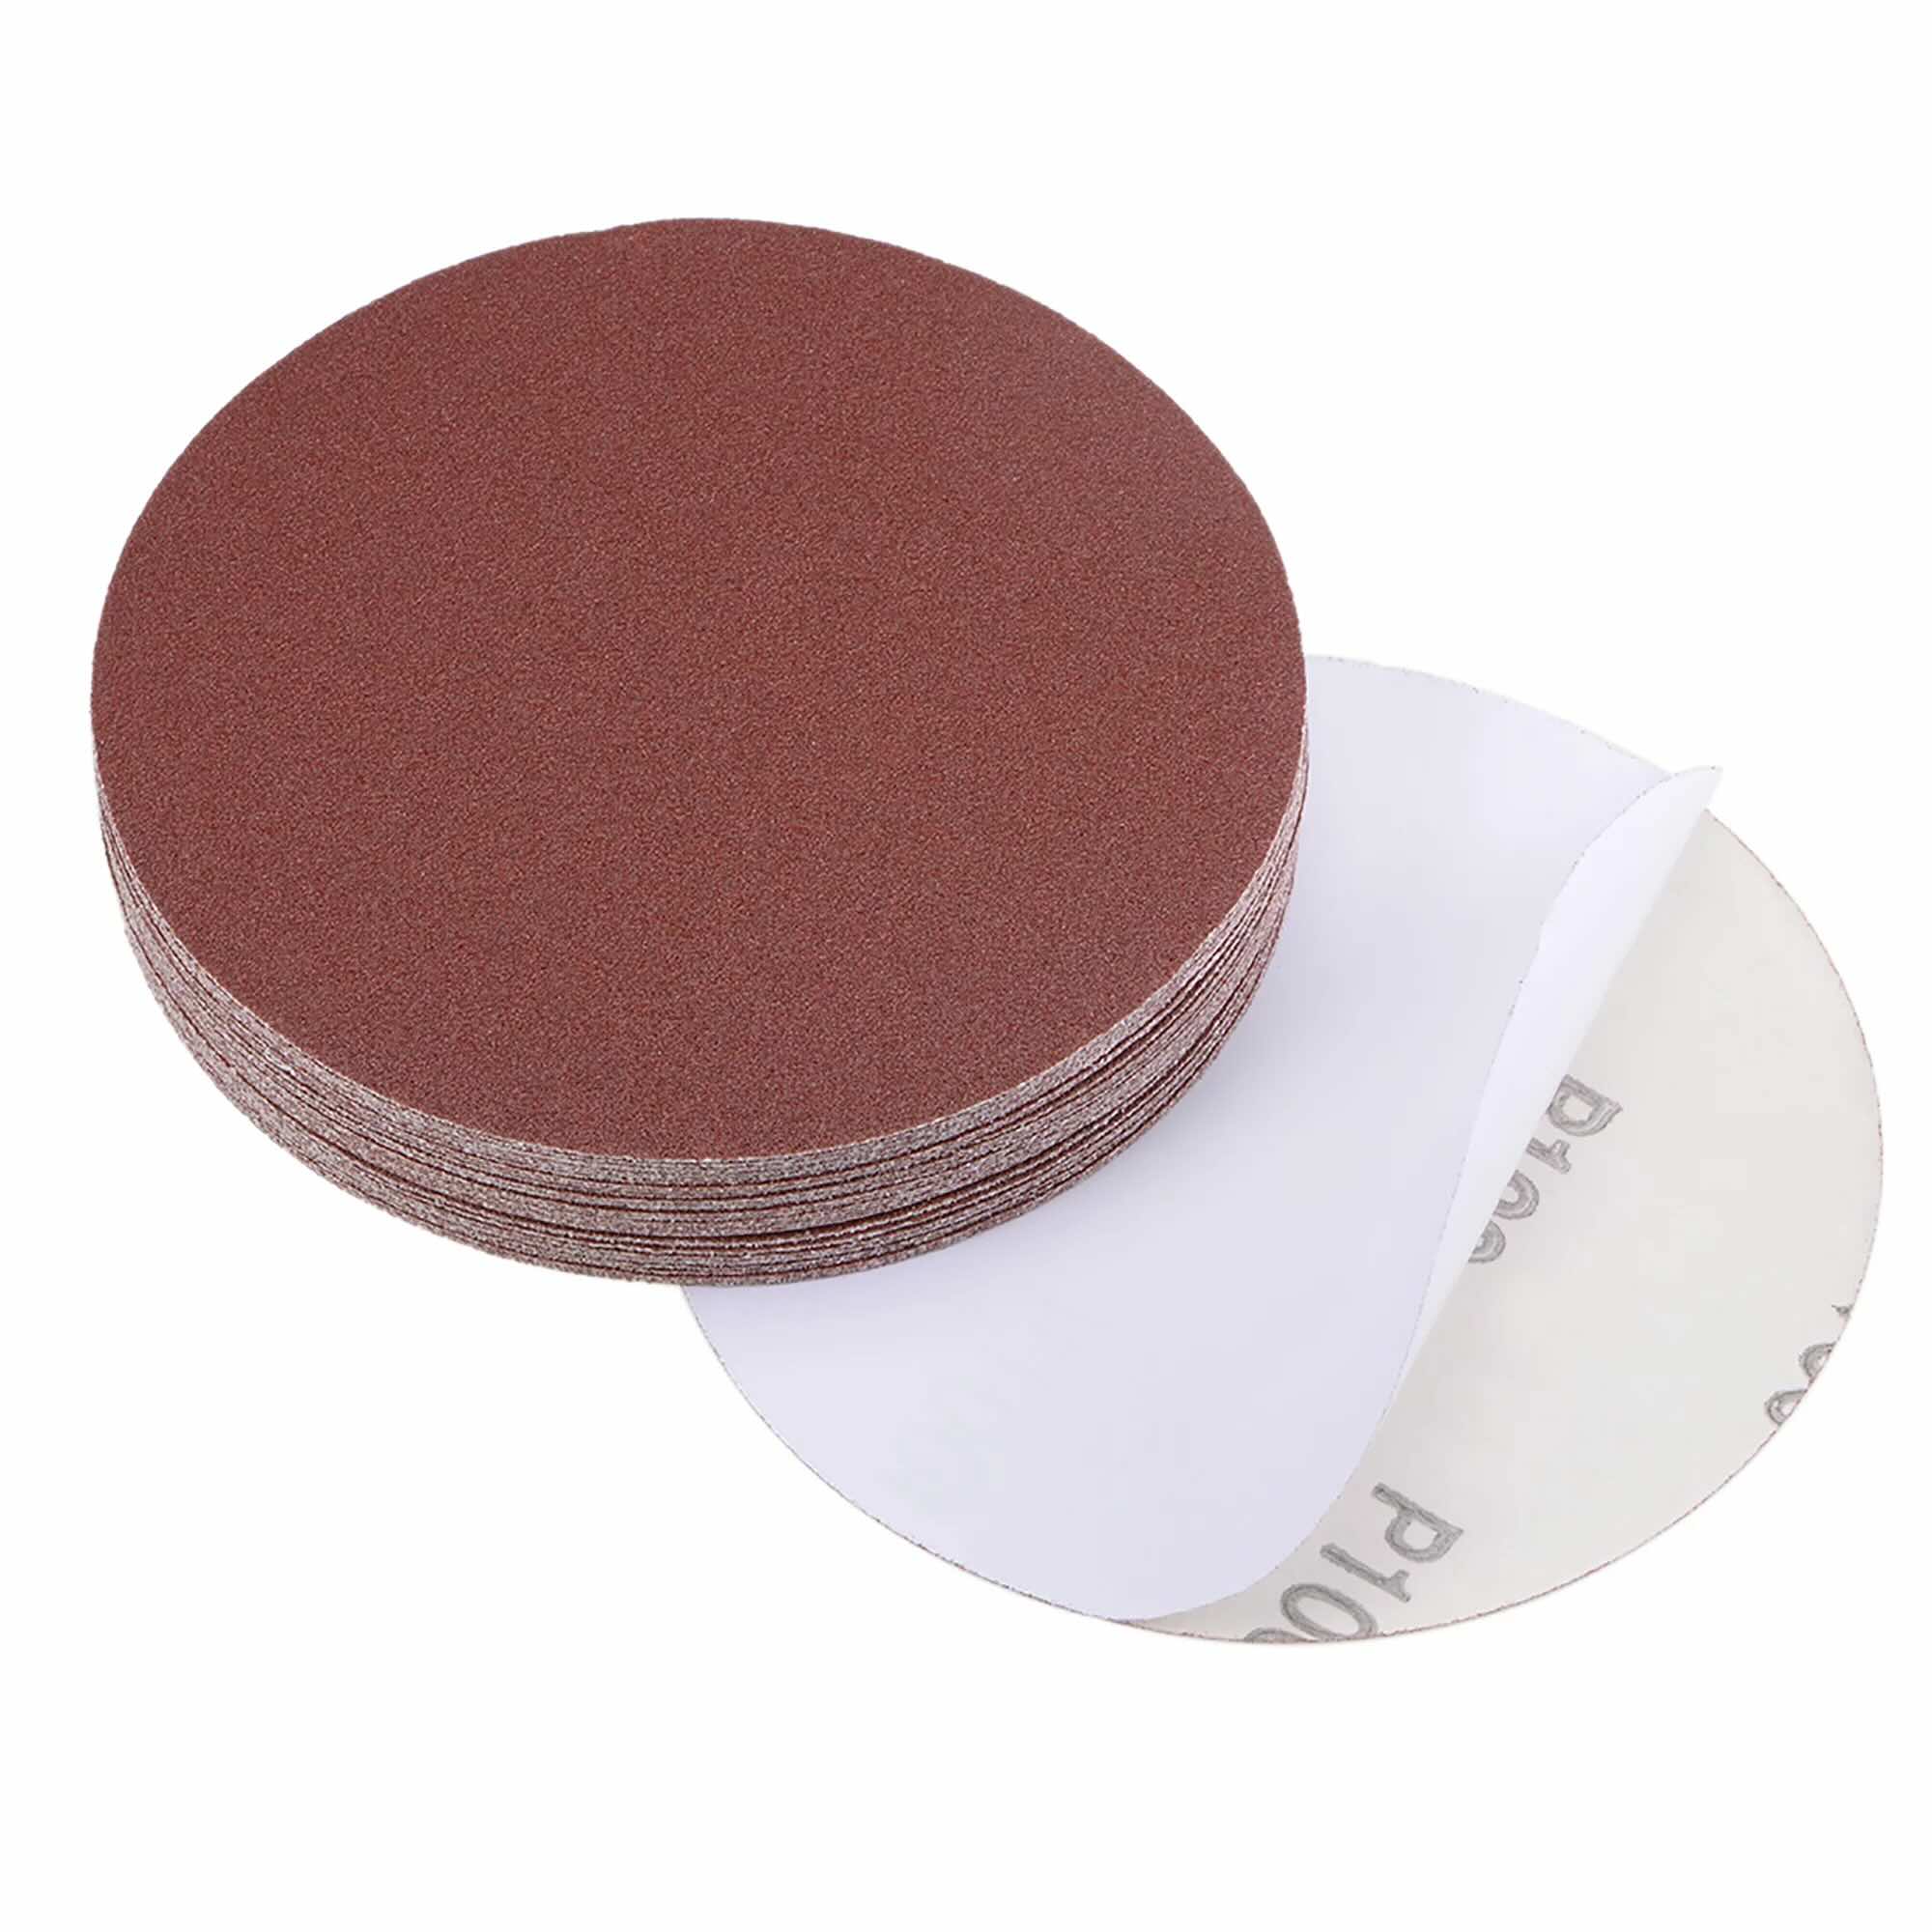
Step 2: Sprinkling or Applying the Grit
With the adhesive firmly in place on the backing material, carefully sprinkle the selected grit over the adhesive-coated surface. Alternatively, if you’re working with a specific type of abrasive material that comes in pre-cut shapes or strips, apply them methodically to cover the entire adhesive-coated area.
Step 3: Pressing and Securing the Grit
Using gentle pressure, press the grit into the adhesive to ensure a strong bond between the abrasive material and the backing. This step is crucial for creating a uniform and durable sanding surface that will effectively abrade the targeted material during use.
Step 4: Allowing for Setting
Once the grit is securely attached to the backing material, allow sufficient time for the adhesive to set and bond the abrasive material in place. This ensures that the grit remains firmly affixed to the sandpaper base, providing consistent and reliable performance during sanding tasks.
With the grit successfully attached, your DIY sandpaper is now nearing completion. The finishing touches will further enhance the functionality and usability of your custom sanding tool, bringing you closer to the satisfaction of utilizing a sandpaper that you’ve crafted with precision and care.
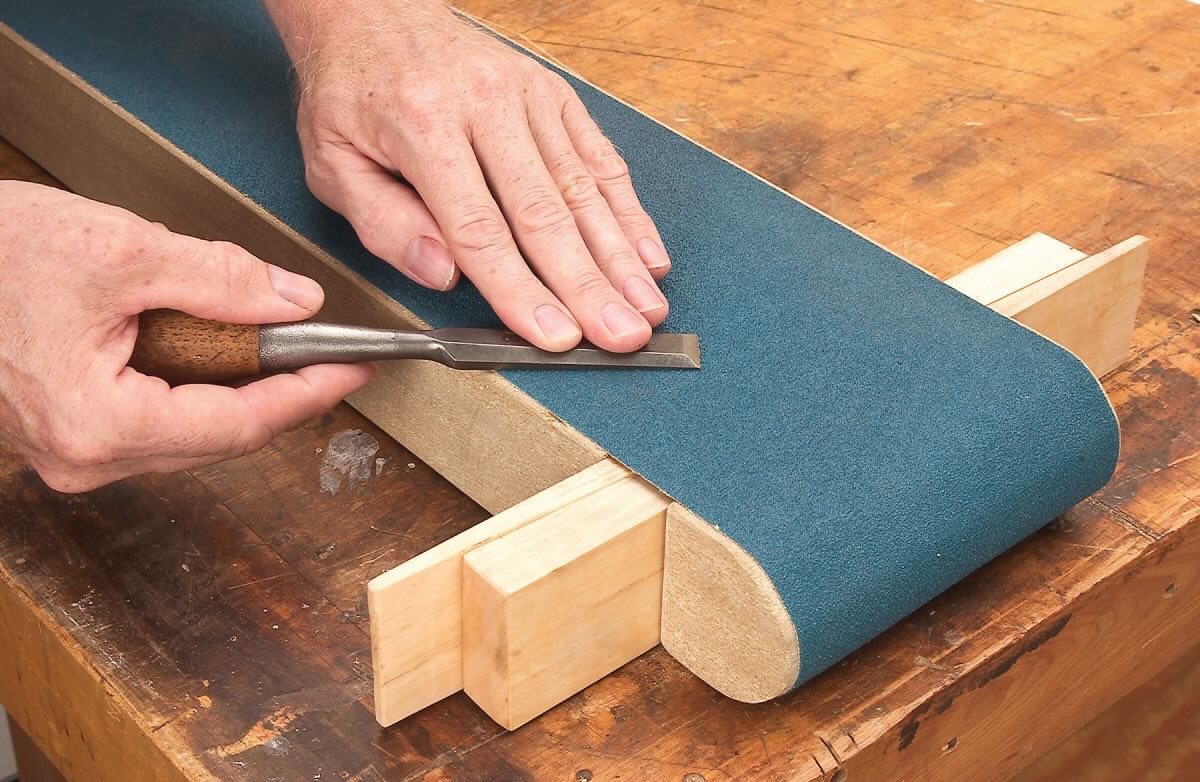
Finishing Touches
As you approach the final stages of creating your DIY sandpaper, it’s essential to ensure that the finishing touches are executed with precision and attention to detail. These final steps contribute to the overall quality and usability of the sandpaper, enhancing its effectiveness during sanding tasks. Here’s a comprehensive guide to the finishing touches of your custom sandpaper:
Trimming the Edges
Using scissors or a cutting tool, carefully trim any excess backing material or protruding abrasive grit to achieve clean and uniform edges. This not only enhances the aesthetic appeal of the sandpaper but also ensures that it fits seamlessly into your sanding tools or equipment.
Labeling and Grit Identification
Consider labeling the sandpaper to indicate the grit size and type, especially if you’ve created multiple sheets with varying coarseness. This simple yet valuable addition will allow for quick and easy identification of the sandpaper’s grit, streamlining your sanding processes and enhancing efficiency.
Quality Inspection
Thoroughly inspect the completed sandpaper to ensure that the abrasive grit is securely attached, the backing material is free from defects, and the overall construction meets your standards. This quality inspection will instill confidence in the performance and durability of your custom sandpaper.
Storage and Organization
Once the sandpaper is ready for use, consider storing it in a designated area that protects it from moisture, dust, and damage. Proper organization of your custom sandpaper will contribute to its longevity and ensure that it remains in optimal condition for future sanding tasks.
With the finishing touches completed, your DIY sandpaper is now a fully realized and functional tool that reflects your craftsmanship and attention to detail. Whether you’ve created a single sheet or a batch of custom sandpaper, the satisfaction of using a tool that you’ve meticulously crafted is a testament to your ingenuity and resourcefulness.
Read more: How To Sharpen Knife With Sandpaper
Conclusion
Congratulations on mastering the art of making your own sandpaper! By embarking on this DIY journey, you’ve not only acquired a valuable skill but also gained a deeper understanding of the components and construction of this essential sanding tool. As you reflect on the process of selecting materials, applying adhesive, and attaching the grit, you’ve unlocked the potential for customizing sandpaper to suit your specific needs and projects.
Creating your own sandpaper empowers you to tailor the coarseness, size, and durability of the abrasive surface, providing a level of customization that is often unavailable with commercially produced sandpaper. This newfound ability to craft your own sanding tool opens up a world of possibilities, allowing you to tackle diverse projects with confidence and precision.
Furthermore, the satisfaction of utilizing a tool that you’ve meticulously assembled adds a personal touch to your woodworking, metalworking, or crafting endeavors. Each stroke of the sandpaper becomes a testament to your resourcefulness and dedication to your craft, elevating the overall experience of working with handcrafted tools.
As you continue to explore the realm of DIY projects and tool customization, remember that the skills and insights gained from making sandpaper can be applied to a wide range of endeavors. Whether it’s creating custom abrasive pads, refining your woodworking tools, or experimenting with unique surface finishes, the principles and techniques you’ve honed in this process will serve as valuable assets in your toolkit.
So, as you embark on future projects and endeavors, carry with you the knowledge and creativity that have fueled your sandpaper-making journey. Embrace the freedom to craft tools that align with your vision and requirements, and let your newfound expertise inspire further exploration and innovation in your DIY pursuits.
With your newfound expertise in making sandpaper, the possibilities are endless, and the satisfaction of working with a tool that you’ve crafted with care is immeasurable. Embrace the creativity, enjoy the process, and let your DIY spirit continue to thrive!
Frequently Asked Questions about How To Make A Sandpaper
Was this page helpful?
At Storables.com, we guarantee accurate and reliable information. Our content, validated by Expert Board Contributors, is crafted following stringent Editorial Policies. We're committed to providing you with well-researched, expert-backed insights for all your informational needs.

0 thoughts on “How To Make A Sandpaper”