Home>Storage Ideas>Bathroom Storage>8 Ways To Make Your Cleaning Products Last Longer
Bathroom Storage
8 Ways To Make Your Cleaning Products Last Longer
Modified: September 1, 2024
Discover 8 ingenious tips to maximize the lifespan of your cleaning solutions and save money with efficient bathroom storage.
(Many of the links in this article redirect to a specific reviewed product. Your purchase of these products through affiliate links helps to generate commission for Storables.com, at no extra cost. Learn more)
Introduction
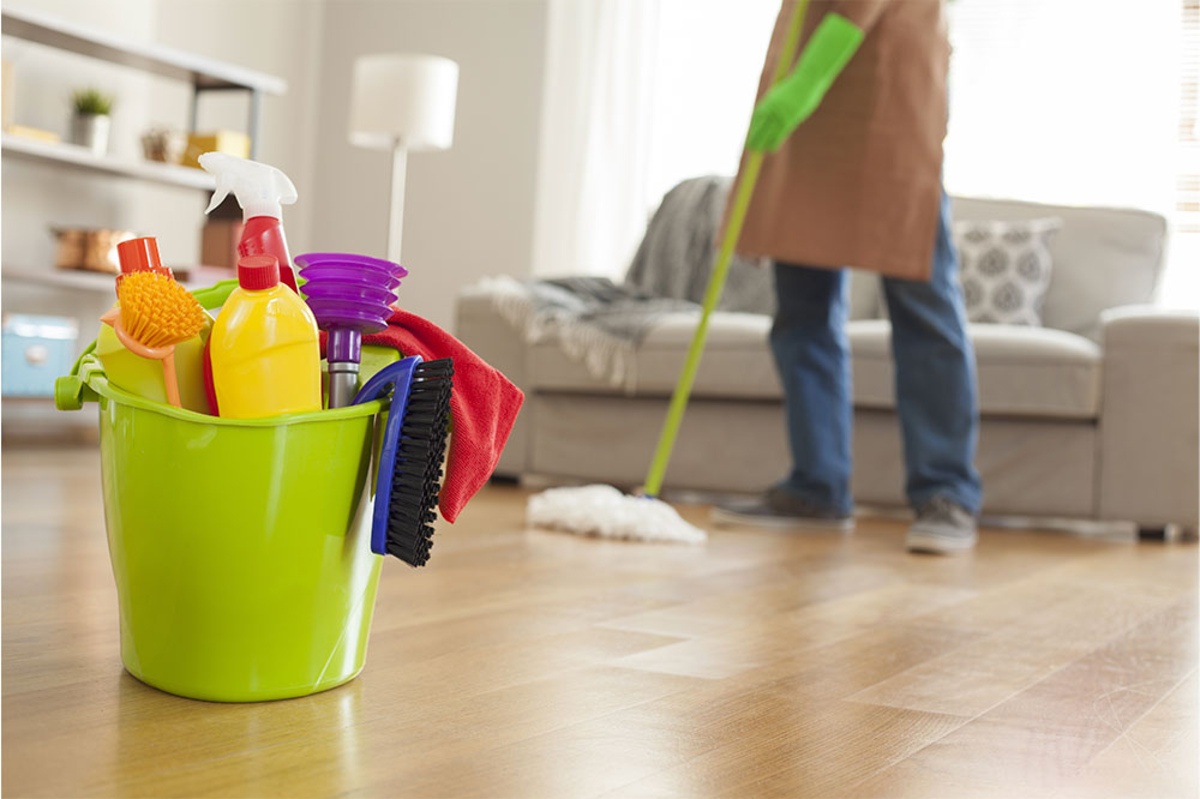
Welcome to the world of bathroom storage! Bathrooms tend to be one of the most cluttered areas in our homes, with numerous cleaning products taking up valuable space. Keeping these products organized and ensuring they last longer not only helps save money but also reduces waste and promotes sustainability. In this article, we will explore eight practical ways to make your cleaning products last longer, allowing you to maintain a tidy and functional bathroom without constantly restocking supplies.
By implementing these tips, you can save money, reduce environmental impact, and have a well-organized bathroom that is always ready for cleaning. So let’s dive in and discover how to maximize the lifespan of your cleaning products!
Key Takeaways:
- Maximize the lifespan of your bathroom cleaning products by storing them properly, diluting concentrated cleaners, and using the right amount. This saves money, reduces waste, and promotes sustainability.
- Opt for reusable cleaning tools, make your own eco-friendly cleaning solutions, and consolidate your supplies to create a cleaner, more organized, and sustainable bathroom environment.
Read more: How To Make Seeds Last Longer
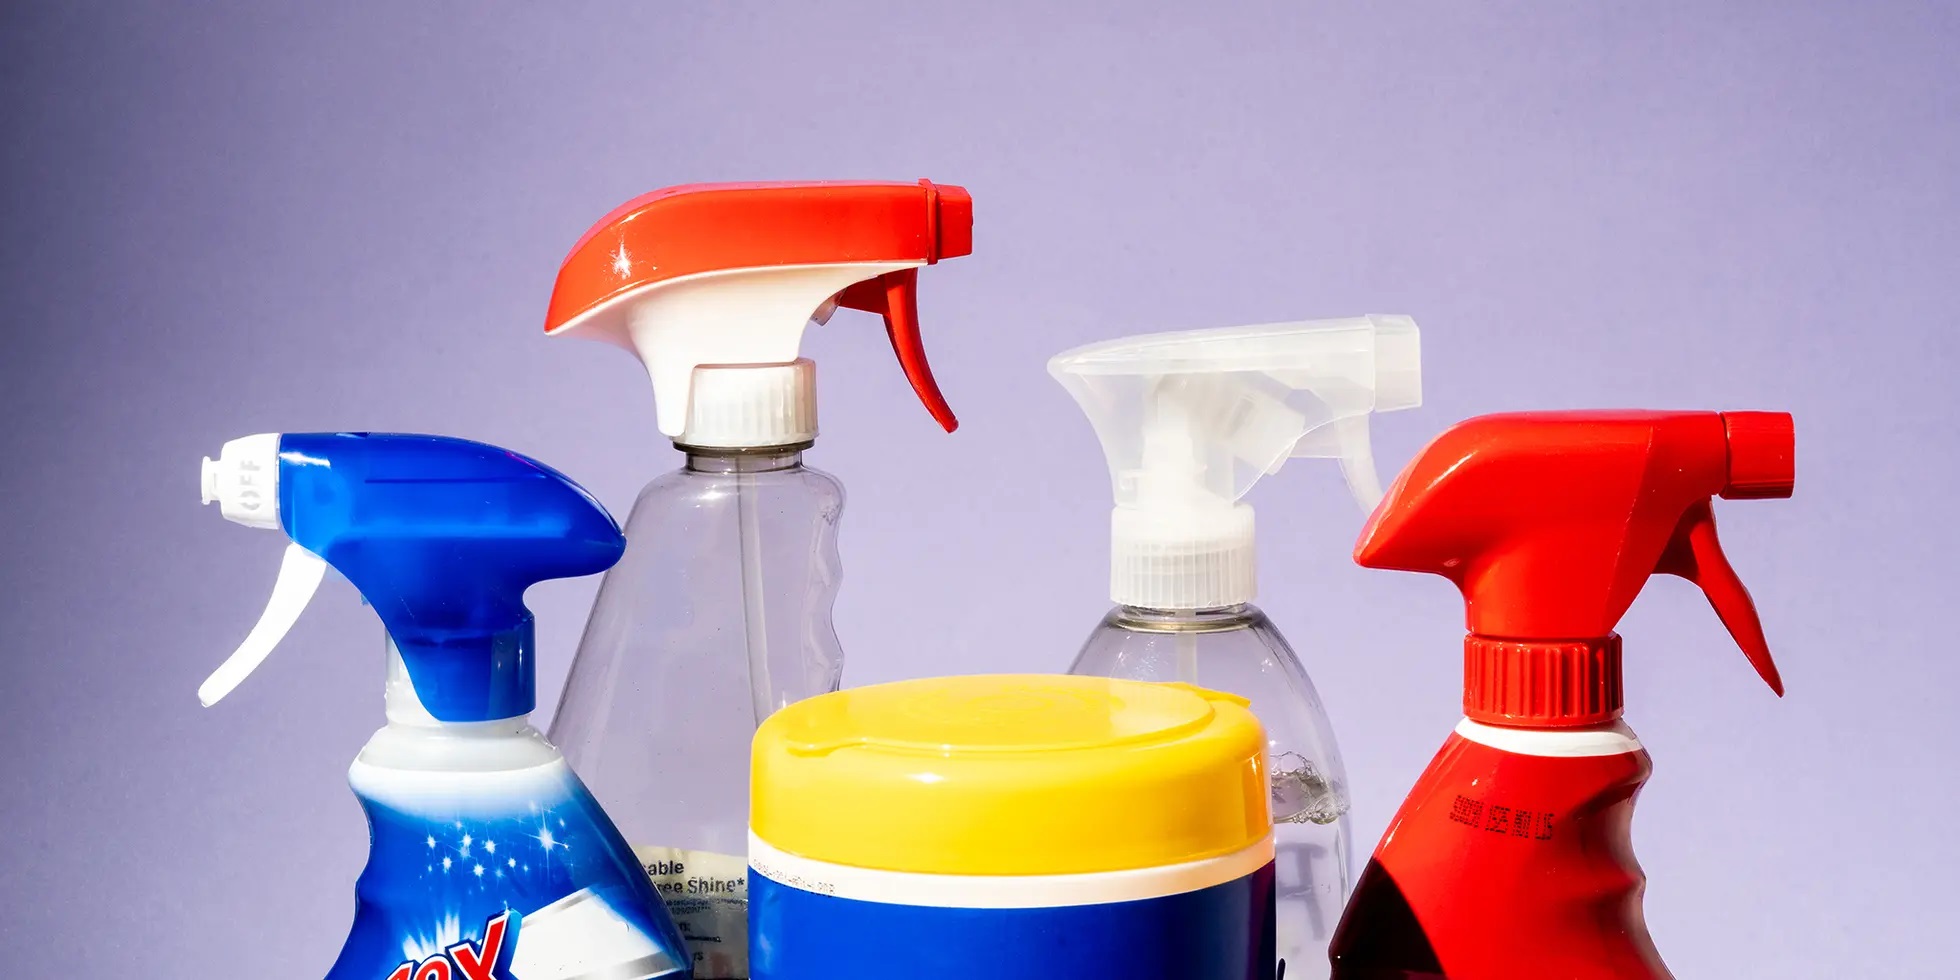
Store Them Properly
Proper storage is key to preserving the effectiveness and longevity of your bathroom cleaning products. Here are some tips to ensure your cleaning supplies stay in excellent condition:
- Keep them in a cool, dry place: Moisture can degrade the quality of cleaning products and even cause them to separate or spoil. Store your cleaning supplies away from steamy showers or areas with high humidity.
- Avoid direct sunlight: Ultraviolet (UV) rays can break down the ingredients in cleaning products, reducing their effectiveness. Choose a storage spot away from direct sunlight, such as in a cabinet or under the sink.
- Label and organize: Use clear and consistent labels to identify your cleaning products. Organize them by type or function to easily locate what you need when cleaning your bathroom.
- Secure lids tightly: Ensure all lids and caps are tightly closed to prevent leakage and maintain the integrity of the product. This will also prevent any accidental spills or accidents.
- Keep out of reach of children: Store cleaning products in a locked cabinet or high shelves to keep them out of the reach of children and pets. Safety should always be a priority when storing potentially hazardous chemicals.
By following these storage guidelines, you can prolong the shelf life of your cleaning products and maintain their effectiveness over time. Remember to check the expiration dates on the containers and dispose of any expired or damaged products appropriately.
Dilute Concentrated Cleaners
If you often find yourself using concentrated cleaning products, such as bathroom cleaners or disinfectants, consider diluting them to make them last longer. Concentrated formulas are typically more potent and require less product to achieve the desired results. Here’s how to dilute your cleaners effectively:
- Read the instructions: Start by reading the manufacturer’s instructions on the packaging. They often provide guidance on dilution ratios and the appropriate amount of water to use.
- Use measuring tools: To ensure accurate dilution, use measuring cups or a measuring jug to mix the concentrated cleaner with water. This will prevent overuse and wastage.
- Experiment with dilution ratios: If no specific instructions are provided, start with a conservative dilution ratio, such as one part cleaner to three parts water. Adjust the ratio as needed to find the right balance of effectiveness and economy.
- Label the diluted solution: Once you have diluted the cleaner, label the container with the product name and the dilution ratio. This will help you remember the correct proportions for future use.
By diluting your concentrated cleaners, you not only extend their lifespan but also save money by using less product in each cleaning session. Additionally, it reduces the chemical impact on your bathroom surfaces, making it more environmentally friendly.
However, it’s important to note that not all cleaning products should be diluted, especially if it can compromise their efficacy. Always check the instructions and conduct a patch test before using a diluted cleaner on a large area to ensure it still delivers the desired results.
Use the Right Amount
Using the right amount of cleaning product is crucial to making them last longer. Many of us tend to overuse cleaning solutions, thinking that more product will result in better and faster cleaning. However, using excessive amounts not only wastes the product but can also be counterproductive. Here are some tips to help you use the right amount of cleaning solutions in your bathroom:
- Read the instructions: Start by reading the product labels and following the recommended dosage instructions. Manufacturers often provide guidelines on the appropriate amount to use for effective cleaning.
- Measure accurately: Use measuring cups or spoons to measure the cleaning product accurately. This will prevent overpouring or using more than necessary.
- Start with a small amount: Begin with a small amount of the cleaning solution and gradually increase if needed. Remember that you can always add more, but it’s harder to remove excess product.
- Target specific areas: Identify the areas that require the most attention and concentrate the cleaning product on those spots. This targeted approach ensures you are using the right amount where it is needed the most.
- Focus on proper application: Use the appropriate tools, such as sponges or microfiber cloths, to distribute the cleaning product evenly. This allows for better coverage and effectiveness without the need for excessive amounts.
By using the right amount of cleaning products, you can stretch their lifespan and optimize their cleaning capabilities. Not only will this help you save money, but it also minimizes the environmental impact by reducing the amount of product that enters the wastewater system.
Remember, effective cleaning is not solely dependent on the quantity of product used but on proper application and technique. Experiment and find the right balance for each cleaning task in your bathroom, and you’ll be amazed at how far your cleaning products can go.
Avoid Excessive Spraying
Spraying cleaning products excessively not only wastes the product but can also lead to oversaturation and ineffective cleaning. By following these tips, you can avoid excessive spraying and make your cleaning products last longer:
- Use a targeted approach: Instead of spraying cleaning products all over the surface, focus on specific areas or spots that require cleaning. This approach ensures that the product is used only where it is needed, reducing waste.
- Hold the spray nozzle closer: Holding the spray nozzle closer to the surface allows you to control the direction and amount of product being dispensed. This prevents unnecessary overspray and maximizes the effectiveness of the cleaner.
- Opt for a misting spray bottle: Consider transferring your cleaning product to a misting spray bottle. The fine mist dispensed by these bottles allows for even distribution and helps you cover larger areas with less product.
- Pre-treat and let it sit: For tough stains or grime, pre-treat the area with the cleaning solution and let it sit for a few minutes before wiping or scrubbing. This gives the product time to work its magic, reducing the need for excessive spraying.
- Reapply as needed: Instead of saturating the surface with one heavy spray, apply a light layer and reapply if necessary. This allows you to gauge the effectiveness of the product and avoid wasting it.
By being mindful of your spraying technique, you can make your cleaning products last longer while still achieving excellent results. Remember, it’s not the quantity of product that counts, but how effectively it is applied and used in the cleaning process.
Furthermore, reducing excessive spraying not only saves money but also reduces chemical exposure and potential respiratory irritants in your bathroom. It’s a win-win situation for both your cleaning routine and your overall well-being.
Store your cleaning products in a cool, dry place to prevent them from deteriorating quickly. This will help extend their shelf life and make them last longer.
Read more: How To Make Floral Arrangements Last Longer
Use Reusable Cleaning Tools
Using reusable cleaning tools is not only cost-effective but also helps to minimize waste generated from disposable alternatives. By investing in high-quality, reusable cleaning tools, you can make your cleaning products last longer and reduce your environmental impact. Here are some suggestions for reusable cleaning tools:
- Microfiber cloths: Microfiber cloths are a versatile and effective tool for cleaning various surfaces in your bathroom. They are highly absorbent and can easily trap dirt and dust without the need for excessive cleaning products.
- Sponges: Instead of using disposable paper towels, opt for durable sponges that can be washed and reused. Look for sponges made from environmentally friendly materials such as plant-based fibers or cellulose.
- Scrub brushes: Invest in a sturdy scrub brush with interchangeable heads to tackle different cleaning tasks. These brushes are designed to be long-lasting and can be used multiple times, saving you money on replacement brushes.
- Squeegees: A squeegee is an excellent tool for cleaning glass shower doors and mirrors. It removes water, soap scum, and streaks efficiently, requiring minimal cleaning product usage.
- Dusters: Use reusable dusters or dusting mitts made with microfiber to effectively clean and remove dust from various surfaces in your bathroom. They can be washed and reused, reducing the need for disposable alternatives.
By using reusable cleaning tools, you not only extend the life of your cleaning products but also reduce waste and contribute to a more sustainable environment. Additionally, investing in quality tools ensures better performance and efficiency during your cleaning routine. Remember to clean and maintain your reusable tools regularly to keep them in excellent condition.
Using reusable cleaning tools not only benefits your budget and the environment but also adds a personal touch to your cleaning routine. So make the switch to reusable tools and experience the difference they can make in your bathroom cleaning efforts.
Clean and Maintain Your Tools
To ensure that your cleaning tools last longer and perform optimally, it’s essential to clean and maintain them regularly. Proper care and maintenance not only extend the lifespan of your tools but also ensure their effectiveness in keeping your bathroom clean. Here are some tips to help you clean and maintain your cleaning tools:
- Wash microfiber cloths and sponges: After each use, thoroughly rinse and wash microfiber cloths and sponges using mild soap and warm water. Squeeze them out and allow them to air dry. Regular washing prevents bacteria buildup and keeps the fibers in good condition.
- Clean scrub brushes: Remove excess debris from scrub brushes, then soak them in a mixture of warm water and mild detergent. Use a small brush or toothbrush to remove any remaining grime. Rinse thoroughly and allow them to dry completely before storing.
- Disinfect as necessary: Depending on the type of cleaning tool, you may need to disinfect them periodically. For sponges, you can soak them in a mixture of water and bleach or place them in the microwave for a few minutes to kill bacteria. For other tools, follow the manufacturer’s instructions for disinfection.
- Replace worn-out tools: Keep an eye on the condition of your cleaning tools. If they become frayed, damaged, or ineffective, it’s time to replace them. Using worn-out tools can reduce cleaning efficiency and potentially damage surfaces in your bathroom.
- Store tools properly: After cleaning and ensuring your tools are dry, store them in a clean and dry area. Avoid storing them in damp or poorly ventilated spaces as it can promote mold and mildew growth.
By regularly cleaning and maintaining your cleaning tools, you not only prolong their lifespan but also ensure their optimal performance. Clean tools are more effective at removing dirt, grime, and bacteria, ensuring a clean and hygienic bathroom environment. Additionally, well-maintained tools are less likely to transfer dirt or residue onto surfaces, reducing the need for excessive cleaning products.
Take the time to care for your cleaning tools, and they will continue to serve you well in keeping your bathroom sparkling clean.
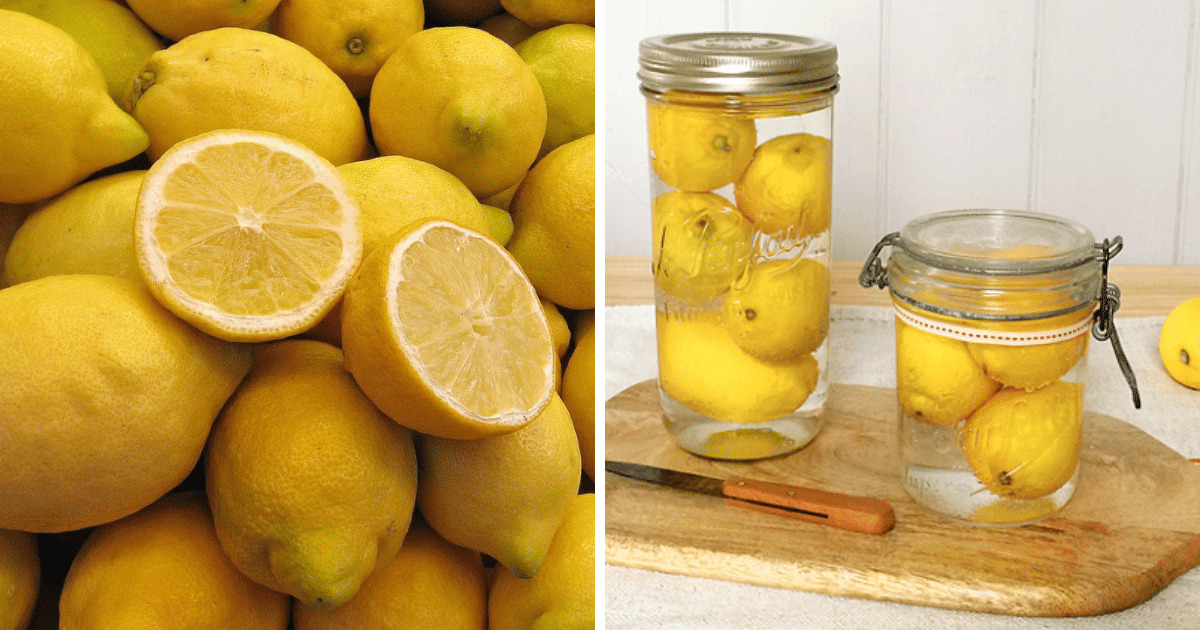
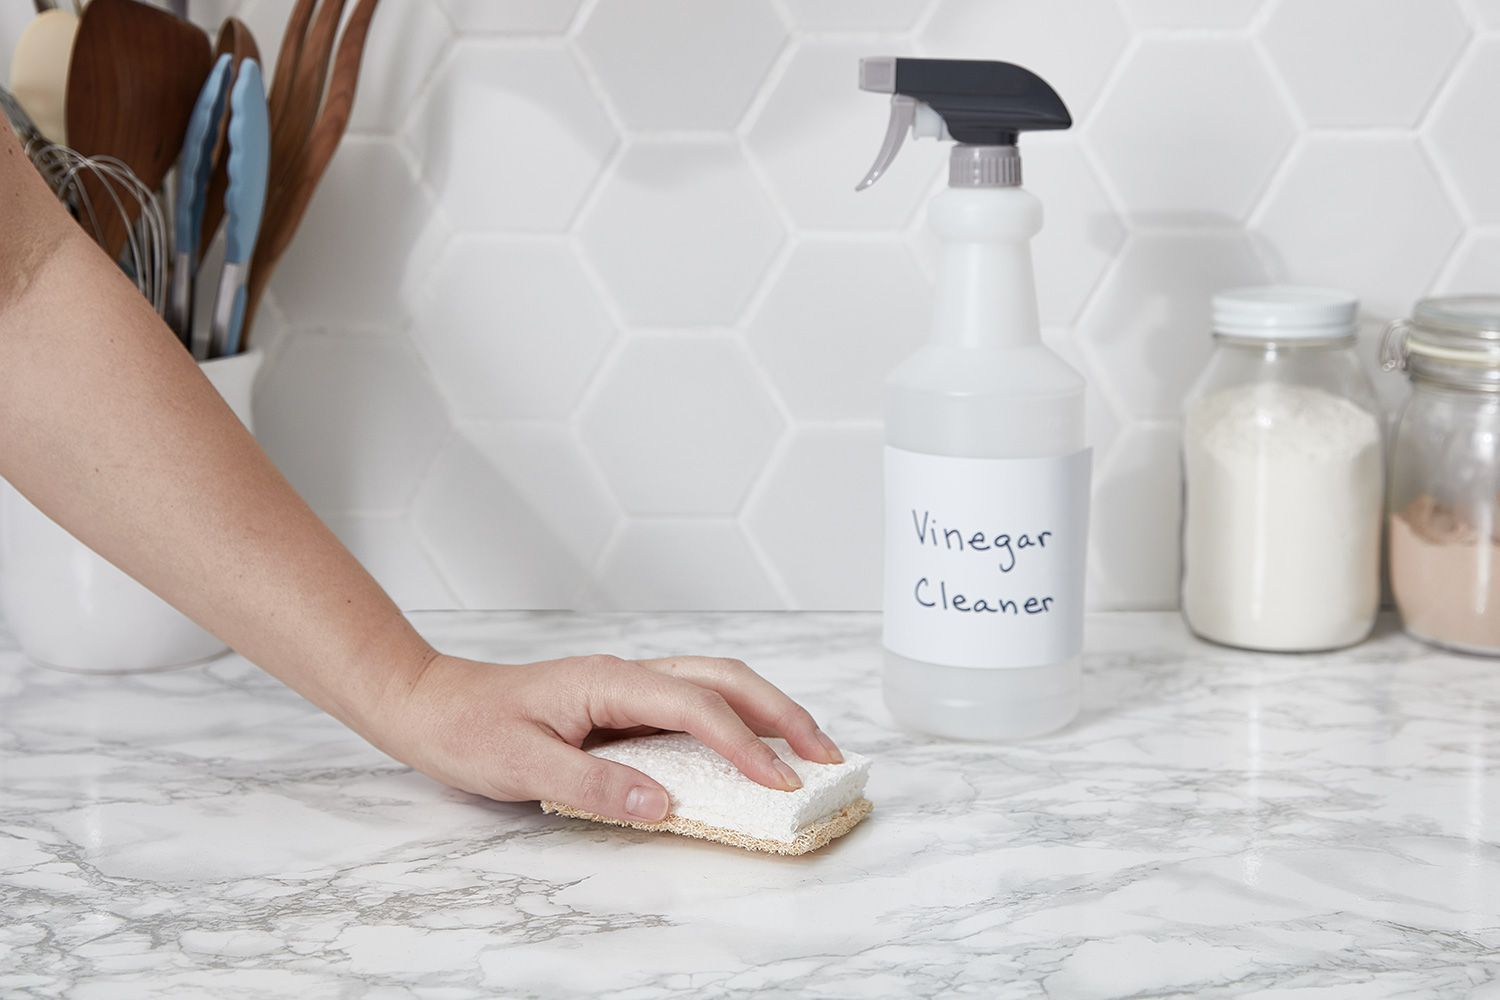
Make Your Own Cleaning Solutions
Making your own cleaning solutions is not only cost-effective but also allows you to control the ingredients and reduce your exposure to harsh chemicals. By using simple household items, you can create effective and eco-friendly cleaning solutions for your bathroom. Here are a few DIY cleaning solution recipes to try:
- All-Purpose Cleaner: Mix equal parts white vinegar and water in a spray bottle. Add a few drops of your favorite essential oil for a pleasant scent. This solution works well for cleaning countertops, sinks, and other hard surfaces in your bathroom.
- Glass Cleaner: Combine one part water, one part white vinegar, and a few drops of dish soap in a spray bottle. Shake well before using and use it to clean mirrors, windows, and glass shower doors.
- Bathroom Scrub: Create a paste by mixing baking soda and water until it forms a thick consistency. Apply the paste to tough stains, grime, or soap scum on surfaces, and scrub gently with a sponge or brush. Rinse thoroughly with water.
- Toilet Cleaner: Pour one cup of baking soda into the toilet bowl, followed by one cup of white vinegar. Let the mixture sit for a few minutes, then scrub with a toilet brush and flush. This homemade solution effectively cleans and deodorizes the toilet.
- Tile and Grout Cleaner: Combine equal parts baking soda and hydrogen peroxide to form a thick paste. Apply the paste to tile surfaces and grout lines, scrub using a brush, and rinse with water. This homemade cleaner helps remove stains and brighten grout.
By making your own cleaning solutions, you can reduce the need for multiple store-bought products and packaging waste. Not only are these homemade solutions effective, but they are also environmentally friendly and safer for your health. However, it’s important to note that different surfaces may require specific cleaning solutions, so always conduct a spot test before using a homemade cleaner on a large area.
Get creative with your DIY cleaning solutions and experiment with various ingredients to find what works best for your bathroom cleaning needs. Not only will you save money, but you’ll also feel empowered knowing exactly what goes into your cleaning products.
Consolidate Supplies
Consolidating your cleaning supplies not only helps you stay organized but also allows you to keep track of what you have, avoid duplicate purchases, and make your cleaning products last longer. Follow these tips to effectively consolidate your bathroom cleaning supplies:
- Take inventory: Start by taking inventory of all your bathroom cleaning supplies. Sort them into categories such as all-purpose cleaners, glass cleaners, bathroom disinfectants, etc.
- Eliminate duplicates: Identify any duplicate products or items that serve the same purpose. Choose one product from each category that best suits your needs and discard or repurpose the duplicates.
- Combine similar products: If you have multiple partially used bottles of the same product, consider consolidating them into a single container. This will help reduce clutter and make it easier to track the quantity of each cleaning solution.
- Invest in multi-purpose cleaners: Look for multi-purpose cleaners that can effectively clean multiple surfaces in your bathroom. This eliminates the need for separate products and reduces the storage space required.
- Use refillable containers: Instead of purchasing cleaning products in single-use bottles, opt for refillable containers. This allows you to buy cleaning solutions in bulk and refill your bottles as needed, reducing plastic waste.
- Create a cleaning caddy: Use a cleaning caddy or basket to store all your essential cleaning supplies in one place. This way, you can easily carry and access everything you need during your cleaning routine.
Consolidating your cleaning supplies not only helps you save space but also ensures that you consciously use what you have before purchasing new products. By keeping track of your inventory and avoiding duplicate purchases, you can make your cleaning products last longer and reduce unnecessary waste.
Remember to label your consolidated containers and clearly mark the contents to avoid confusion. This will help you quickly identify the cleaning solution you need and maintain an organized and efficient bathroom cleaning routine.
Read more: How To Make Air Freshener Spray Last Longer
Conclusion
Maintaining an organized and efficient bathroom storage system is essential for maximizing the lifespan of your cleaning products. By implementing the eight tips mentioned in this article, you can make your cleaning products last longer, save money, reduce waste, and create a cleaner and more sustainable bathroom environment.
Properly storing your cleaning products, diluting concentrated cleaners, using the right amount, and avoiding excessive spraying all contribute to extending the lifespan of your supplies. Additionally, using reusable cleaning tools, cleaning and maintaining them regularly, making your own cleaning solutions, and consolidating your supplies help reduce clutter, improve organization, and promote eco-friendly practices.
Remember, effective cleaning is not solely dependent on the quantity of product used but on proper application, technique, and maintaining a regular cleaning routine. By adopting these tips, you can create a harmonious balance between effective cleaning and resource conservation.
So, be proactive in optimizing your bathroom storage, and apply these tips to make your cleaning products last longer. Not only will you save money, but you’ll also contribute to a healthier and more sustainable living environment.
Frequently Asked Questions about 8 Ways To Make Your Cleaning Products Last Longer
Was this page helpful?
At Storables.com, we guarantee accurate and reliable information. Our content, validated by Expert Board Contributors, is crafted following stringent Editorial Policies. We're committed to providing you with well-researched, expert-backed insights for all your informational needs.


0 thoughts on “8 Ways To Make Your Cleaning Products Last Longer”