Home>Storage Ideas>Living Room Storage>8 Cleaning Mistakes That Are Making Your Home Dirtier
Living Room Storage
8 Cleaning Mistakes That Are Making Your Home Dirtier
Modified: October 20, 2024
Avoid these 8 cleaning mistakes that are making your home dirtier, including neglecting proper living room storage. Keep your space clean and organized for a healthier environment.
(Many of the links in this article redirect to a specific reviewed product. Your purchase of these products through affiliate links helps to generate commission for Storables.com, at no extra cost. Learn more)
Using Dirty Cleaning Tools
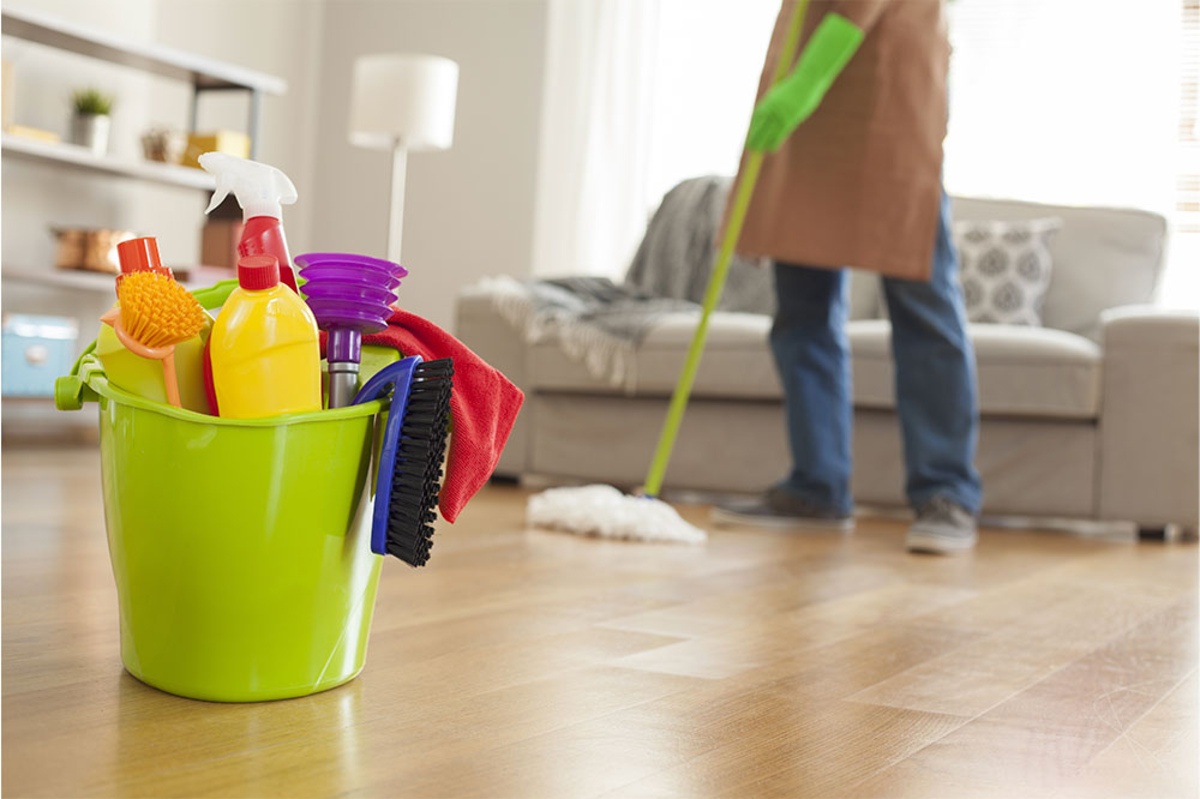
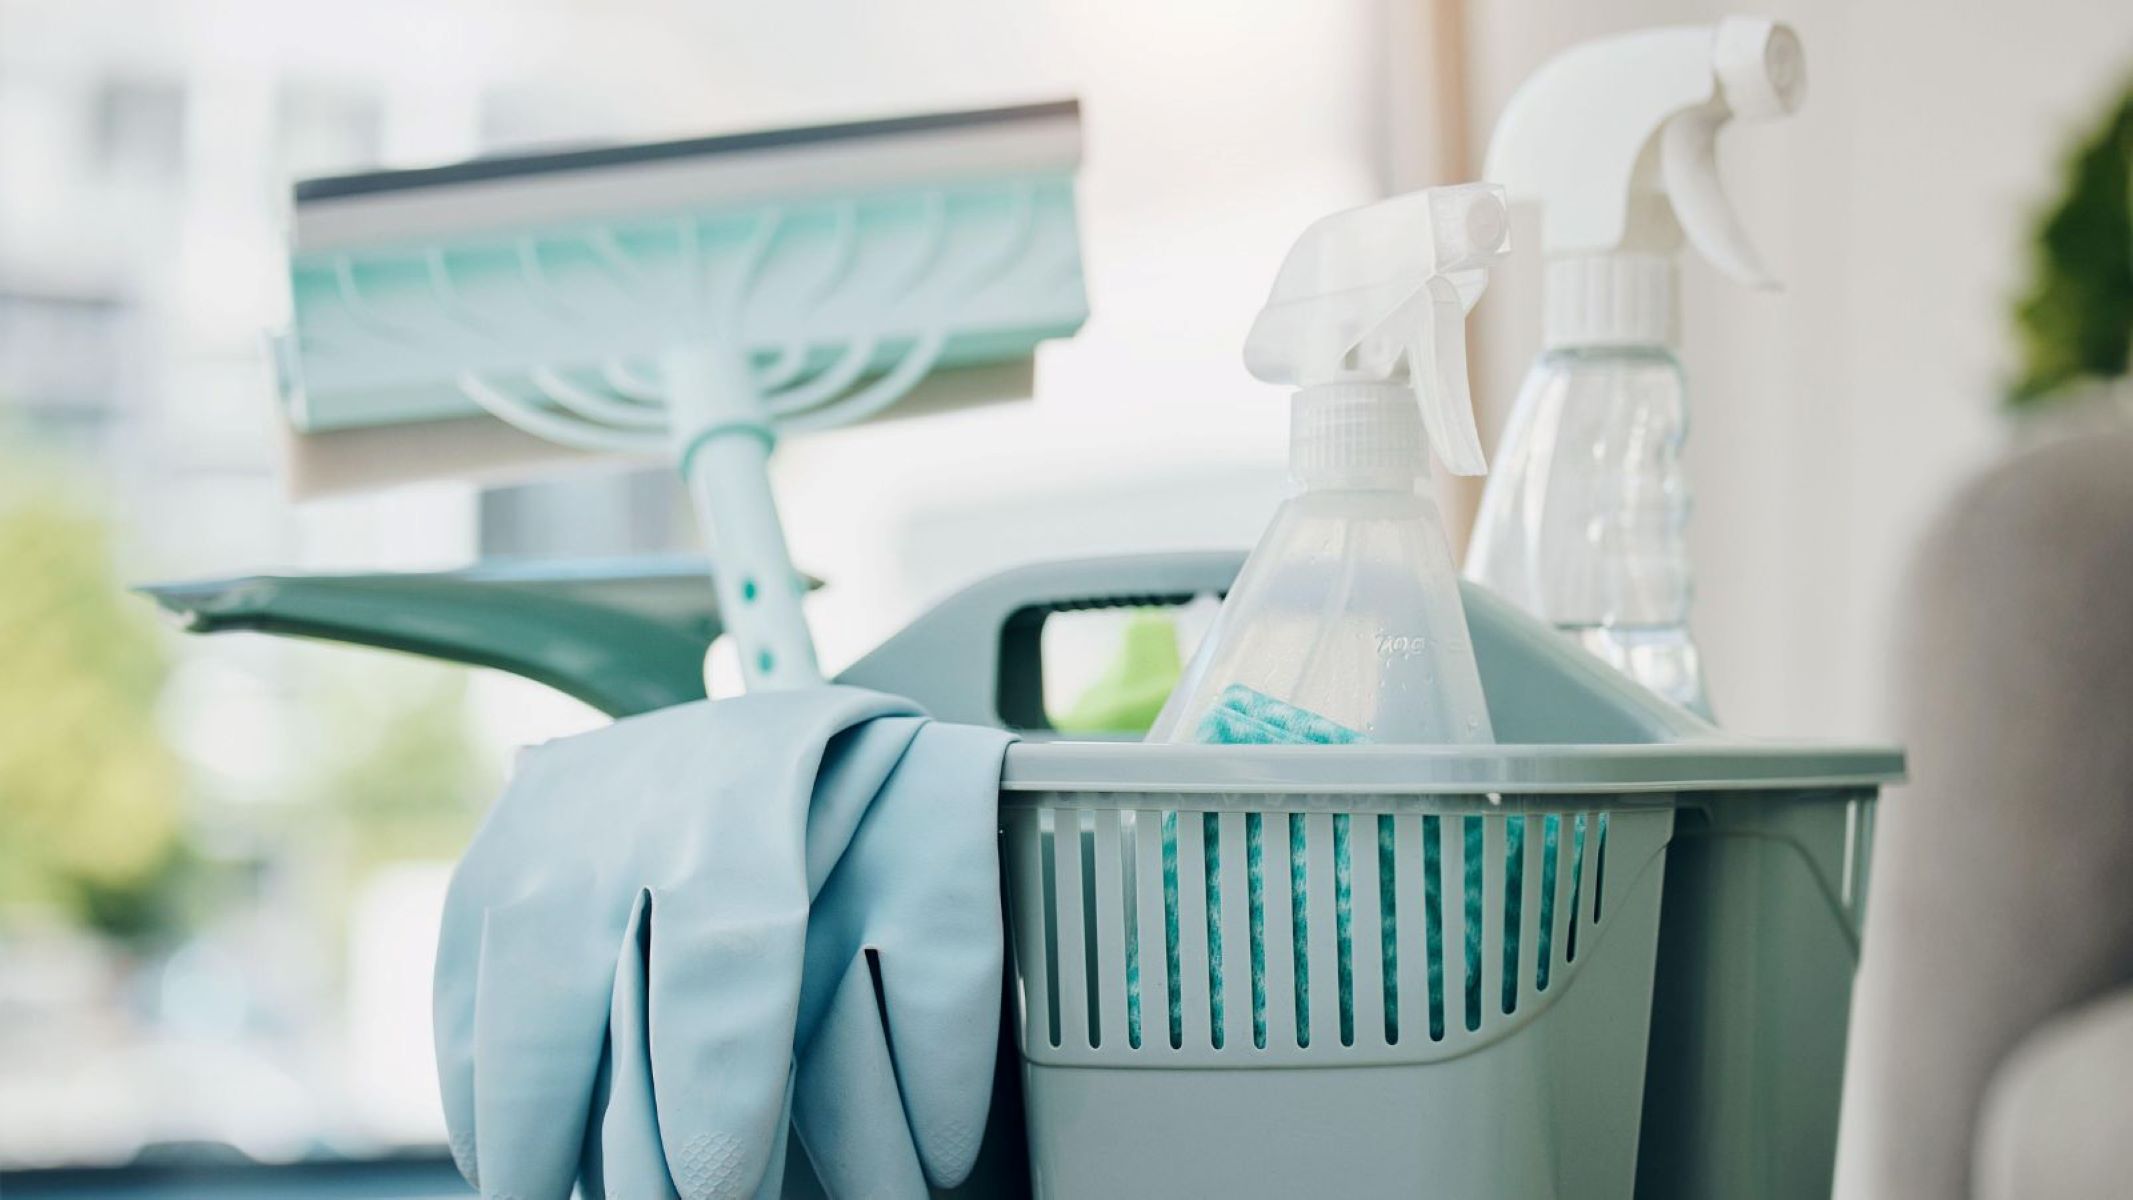
When it comes to keeping our homes clean, we often focus on the cleaning products we use and overlook the importance of using clean tools. Using dirty cleaning tools can actually make our homes dirtier, as they can spread germs and bacteria instead of effectively removing them. Here are some common cleaning tools that can become dirty and tips on how to keep them clean:
- Mops: Mops are great for cleaning floors, but they can harbor dirt, grime, and bacteria if not properly cleaned after each use. Instead of using the same mop repeatedly, have multiple mop heads on hand so you can use a fresh, clean one each time you clean. Additionally, make sure to rinse the mop thoroughly with hot water and disinfect it with a mild detergent or bleach solution regularly.
- Dusters: Dusters are essential for removing dust and allergens from surfaces, but if they are not cleaned regularly, they can actually distribute dust back into the air. To clean a duster, shake it outdoors to remove loose dust and then wash it according to the manufacturer’s instructions. If you’re using a disposable duster, make sure to replace the head regularly.
- Cloths and Sponges: These versatile cleaning tools can easily become a breeding ground for bacteria if not properly cleaned and dried between uses. If you’re using reusable cloths or sponges, wash them in hot water with detergent or bleach after each use. Alternatively, you can use disposable cloths or paper towels and discard them after use to minimize the risk of contamination.
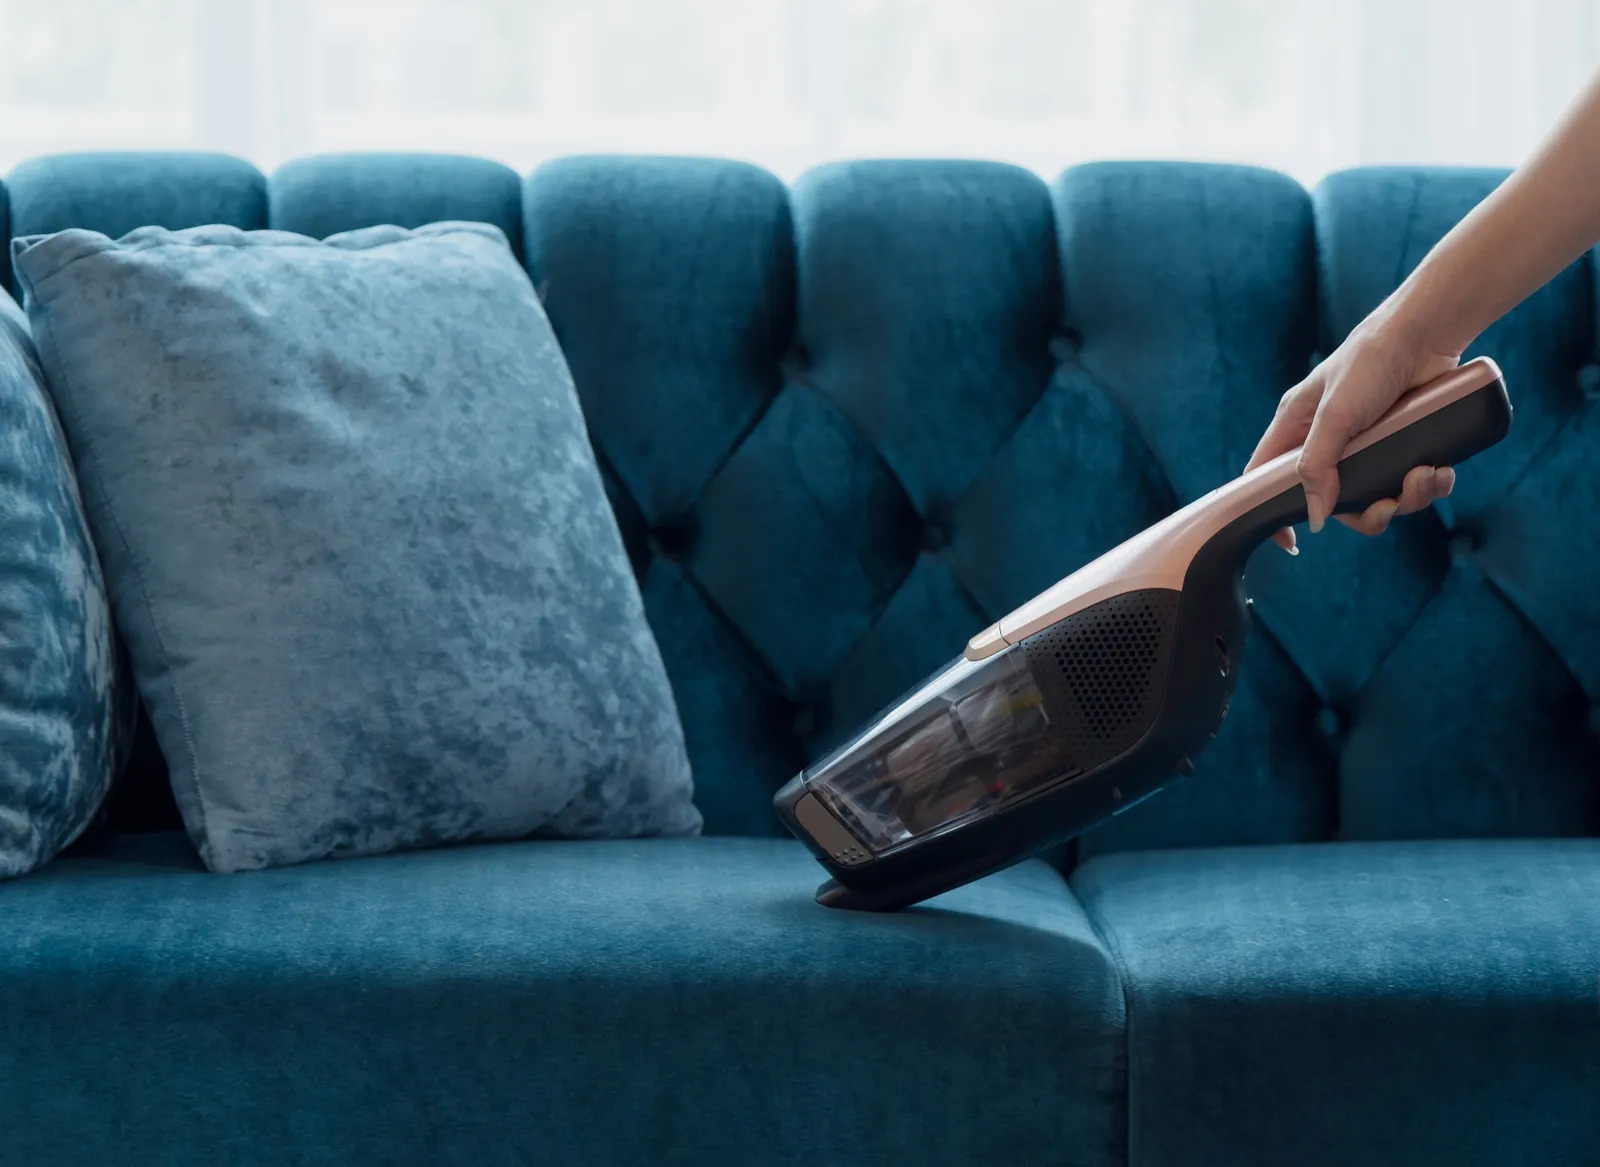
- Vacuum Cleaners: Vacuum cleaners are excellent for removing dirt and debris from carpets and floors, but if the vacuum bag or dust cup isn’t emptied regularly, it can hinder the suction power and release particles back into the air. Empty the bag or dust cup after each cleaning session and wipe down the vacuum cleaner’s exterior with a damp cloth to remove any accumulated dust or dirt.
By regularly cleaning your cleaning tools, you can ensure that they effectively remove dirt, dust, and bacteria from your home rather than spreading them around. Taking the time to maintain clean tools will not only enhance the cleanliness of your living space but also contribute to a healthier environment for you and your family.
Key Takeaways:
- Regularly cleaning your cleaning tools is crucial to prevent bacteria buildup, maintain efficiency, eliminate odors, and prolong their lifespan, ensuring a more effective and durable cleaning process.
- Establishing a logical and efficient cleaning order can streamline your routine, prevent cross-contamination, and optimize the effectiveness of your cleaning efforts, ultimately saving time and energy.
Read more: Kitchen Cabinet Cleaning Mistakes
Skipping Regular Dusting
Many of us dread the task of dusting our homes, but skipping regular dusting can lead to a buildup of dirt, allergens, and other particles. Dusting is not only crucial for maintaining a clean and tidy appearance but also for promoting better indoor air quality. Here are some reasons why regular dusting is important and tips for effective dusting:
1. Improved Indoor Air Quality: Dust consists of various particles, including dead skin cells, pet dander, pollen, and dust mites. When these particles accumulate, they can lead to respiratory issues and allergies. Regular dusting helps reduce the amount of dust in the air, making your home a healthier environment.
2. Preventing Damage: Dust can be abrasive and can damage surfaces over time. When dust settles on furniture, electronics, and other items, it can scratch or wear away finishes. Regular dusting helps prevent this damage, prolonging the life of your belongings.
3. Aesthetics: Dust makes surfaces appear dull and dirty. Regular dusting keeps your home looking clean and fresh, enhancing the overall aesthetic appeal.
Now that we understand the importance of regular dusting, let’s discuss some effective dusting tips:
a. Choose the Right Tools: Use microfiber cloths or dusting mitts that can effectively trap and remove dust particles. Avoid using feather dusters or dry rags, as they can often just move the dust around rather than capturing it.
b. Start from the Top: Dust tends to settle downward, so begin your dusting routine from the highest surfaces and work your way down. Start with ceilings, ceiling fans, and light fixtures. Then move onto shelves, furniture, and finally, floors.
c. Don’t Forget the Hidden Areas: Dust accumulates in hidden areas such as behind furniture, under beds, and on top of appliances. Make sure to reach these areas during your dusting routine to achieve a thorough clean.
d. Pay Attention to Electronics: Electronics, such as TVs, computers, and gaming consoles, are dust magnets. Use a soft, dry microfiber cloth or a specialized electronic duster to remove dust from these items, ensuring they operate efficiently.
e. Vacuum Regularly: After dusting surfaces, it’s essential to vacuum the floors and carpets to remove any dust particles that may have settled there. Use a vacuum cleaner with a HEPA filter for optimal dust trapping.
Remember, consistency is key when it comes to dusting. Aim to dust your home at least once a week, or more frequently if you have allergies or pets. By incorporating regular dusting into your cleaning routine, you can enjoy a cleaner, healthier, and more visually appealing home.
Not Cleaning High-Touch Surfaces
When it comes to cleaning our homes, it’s easy to focus on obvious areas like floors and countertops and overlook high-touch surfaces. High-touch surfaces are areas that are frequently touched by multiple people, making them hotspots for germs and bacteria. Neglecting to clean these surfaces regularly can contribute to the spread of illnesses and compromise the cleanliness of our homes. Here are some examples of high-touch surfaces and tips for effectively cleaning them:
1. Doorknobs and Handles: Doorknobs and handles are touched by everyone who enters or exits a room, making them prime breeding grounds for germs. Regularly wipe down these surfaces with a disinfecting agent to kill germs and prevent their spread. Pay extra attention to doorknobs and handles in bathrooms and kitchens, as they tend to harbor more bacteria.
2. Light Switches: Light switches are another commonly overlooked high-touch surface. We tend to use them multiple times a day, yet they rarely receive the attention they deserve when it comes to cleaning. Disinfect light switches regularly by lightly dampening a cloth with a disinfectant solution and wiping the surface. Be sure to allow the switch to dry completely before using it again.
3. Remote Controls: TV remotes, game controllers, and other handheld devices are handled by various individuals, leading to the accumulation of germs and bacteria. Clean these devices regularly using a disinfectant wipe or a cloth dampened with a mild cleaning solution. Take care to follow the manufacturer’s instructions and avoid using excessive moisture, which can damage electronic components.
4. Smartphones and Tablets: Our handheld devices are constantly in our hands, making them a prime source of germs. Clean your smartphones and tablets regularly using a microfiber cloth dampened with a gentle cleaning solution specifically designed for electronic screens. Be sure to power off the device and avoid getting moisture into the charging ports.
5. Keyboards and Computer Mice: If you use a computer, your keyboard and mouse are likely touched frequently throughout the day. Use compressed air or a small brush to remove crumbs and debris from between the keys. Wipe down the surfaces with a disinfectant wipe or a cloth dampened with rubbing alcohol to sanitize them.
6. Kitchen Countertops: Kitchen countertops are constantly exposed to a variety of bacteria and food particles. Clean and disinfect your kitchen countertops daily using a non-abrasive cleaner appropriate for their material. This will help prevent the growth of bacteria and promote a hygienic food preparation area.
Remember, regularly cleaning and disinfecting high-touch surfaces is essential for maintaining a clean and healthy living environment. By incorporating these often-overlooked areas into your regular cleaning routine, you can reduce the risk of illness transmission and ensure that your home remains a safe and welcoming space for everyone.
Neglecting to Clean Overlooked Areas
In our quest to maintain a clean and organized home, it’s easy to overlook certain areas that attract dirt, dust, and grime. Neglecting to clean these overlooked areas can lead to the accumulation of allergens, bacteria, and unpleasant odors. To ensure a thorough cleaning routine, here are some commonly neglected areas to pay attention to:
1. Ceiling Fans and Light Fixtures: While we often focus on cleaning surfaces at eye level, ceiling fans and light fixtures can harbor a lot of dust and dirt. To clean ceiling fans, use a long-handled duster or a microfiber cloth. For light fixtures, make sure to turn off the power and carefully remove any covers or shades before cleaning them with a cloth or a gentle cleaning solution.
2. Baseboards and Crown Molding: Baseboards and crown molding are prone to dust and dirt buildup. Use a microfiber cloth or a soft brush along with a mild cleaning solution to remove dust and grime from these areas. Pay attention to corners and crevices where dirt can easily accumulate.
3. Vents and Air Filters: Over time, vents and air filters can become clogged with dust, reducing the efficiency of your heating and cooling systems. Regularly vacuum and wipe down vents to remove dust. Replace or clean your air filters according to the manufacturer’s instructions to ensure proper airflow and maintain good air quality in your home.
4. Window Sills and Tracks: While we often clean the glass surfaces of windows, we tend to overlook the sills and tracks. Window sills can accumulate dirt and dead insects, while tracks can become filled with dust and debris. Use a damp cloth or a small brush to remove dirt from these areas regularly.
5. Behind Appliances: The areas behind appliances, such as refrigerators, ovens, and washing machines, are often forgotten during regular cleaning. Over time, these areas can accumulate dust, food crumbs, and even mold. Move appliances periodically and clean the floor and the back of the appliance to prevent buildup and maintain cleanliness.
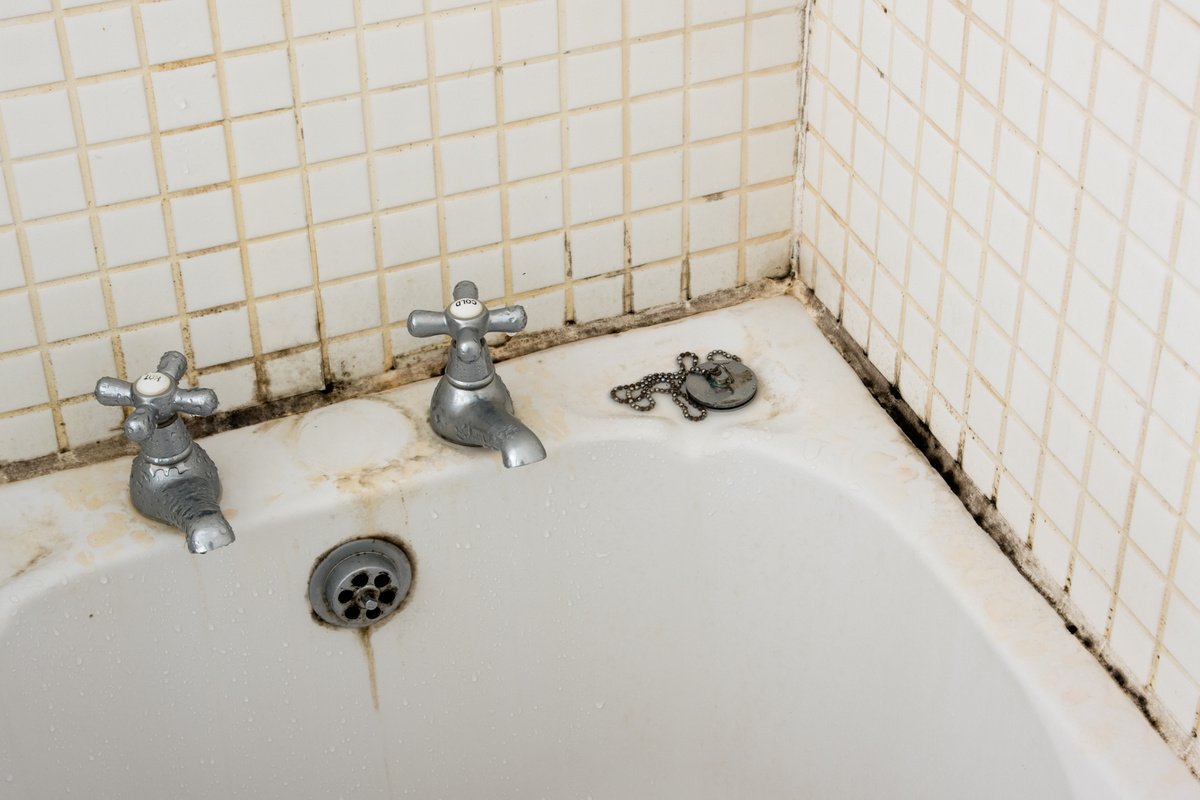
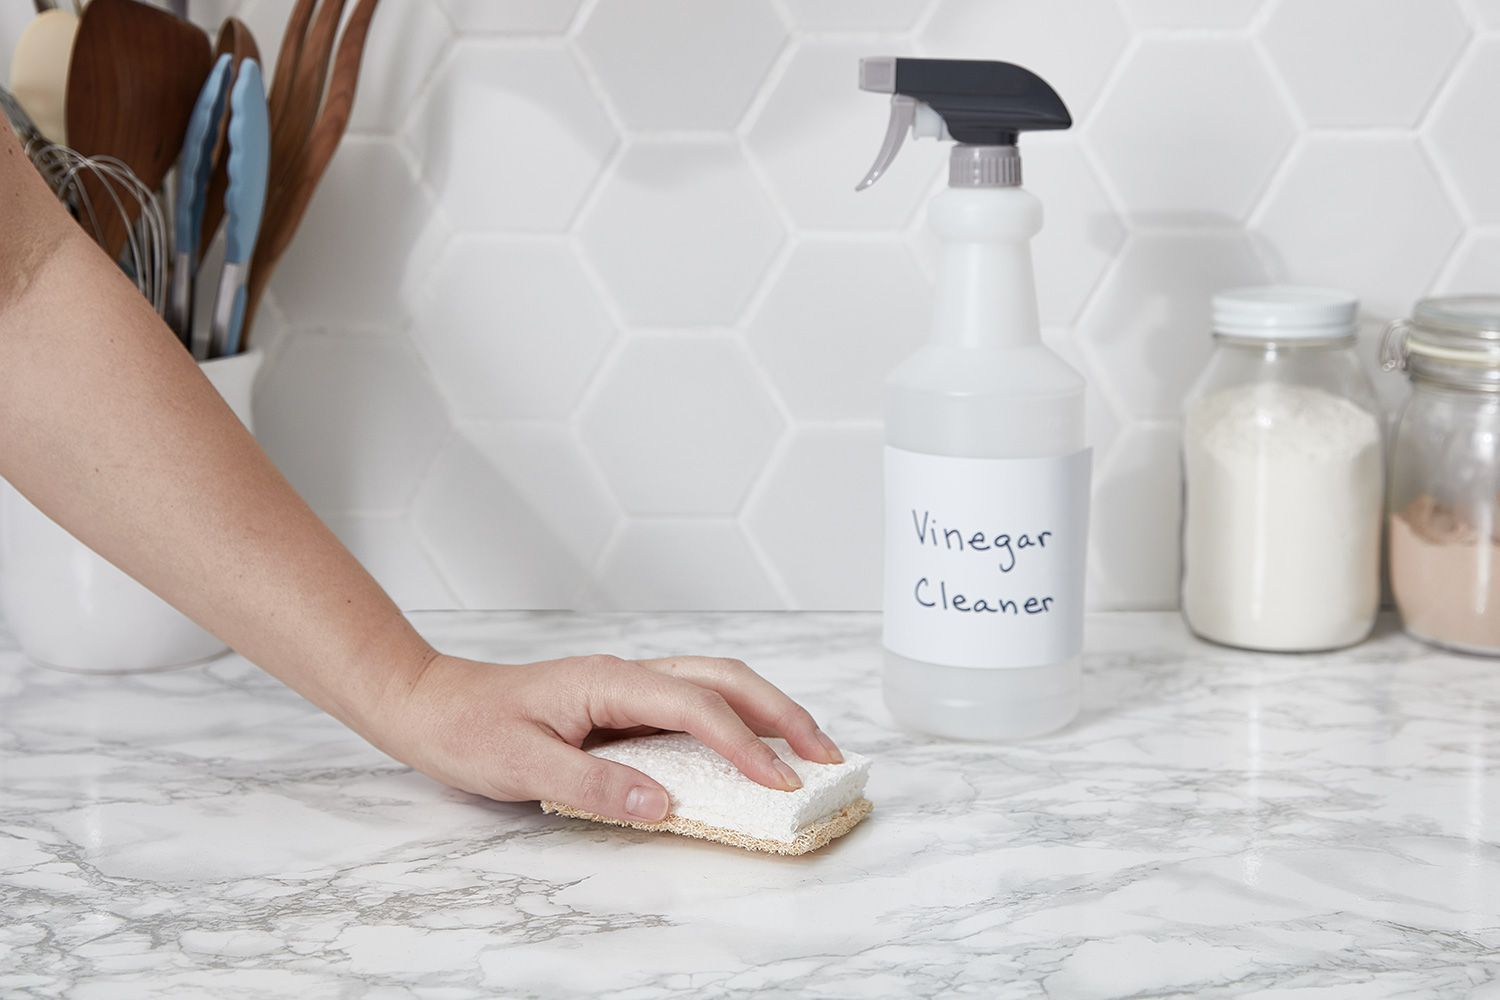
6. Showerheads and Faucets: Mineral deposits can build up on showerheads and faucets, affecting water flow and appearance. To remove mineral buildup, soak the showerhead or faucet in a solution of vinegar and water, then scrub gently with a brush. This will help restore their functionality and appearance.
By not neglecting these overlooked areas during your regular cleaning routine, you can ensure that your home remains clean, fresh, and free from hidden dirt and allergens. Remember, attention to detail is key to achieving a thorough and effective clean throughout your home.
Use separate cleaning cloths for different areas of the house to avoid spreading germs. For example, use one cloth for the kitchen and another for the bathroom.
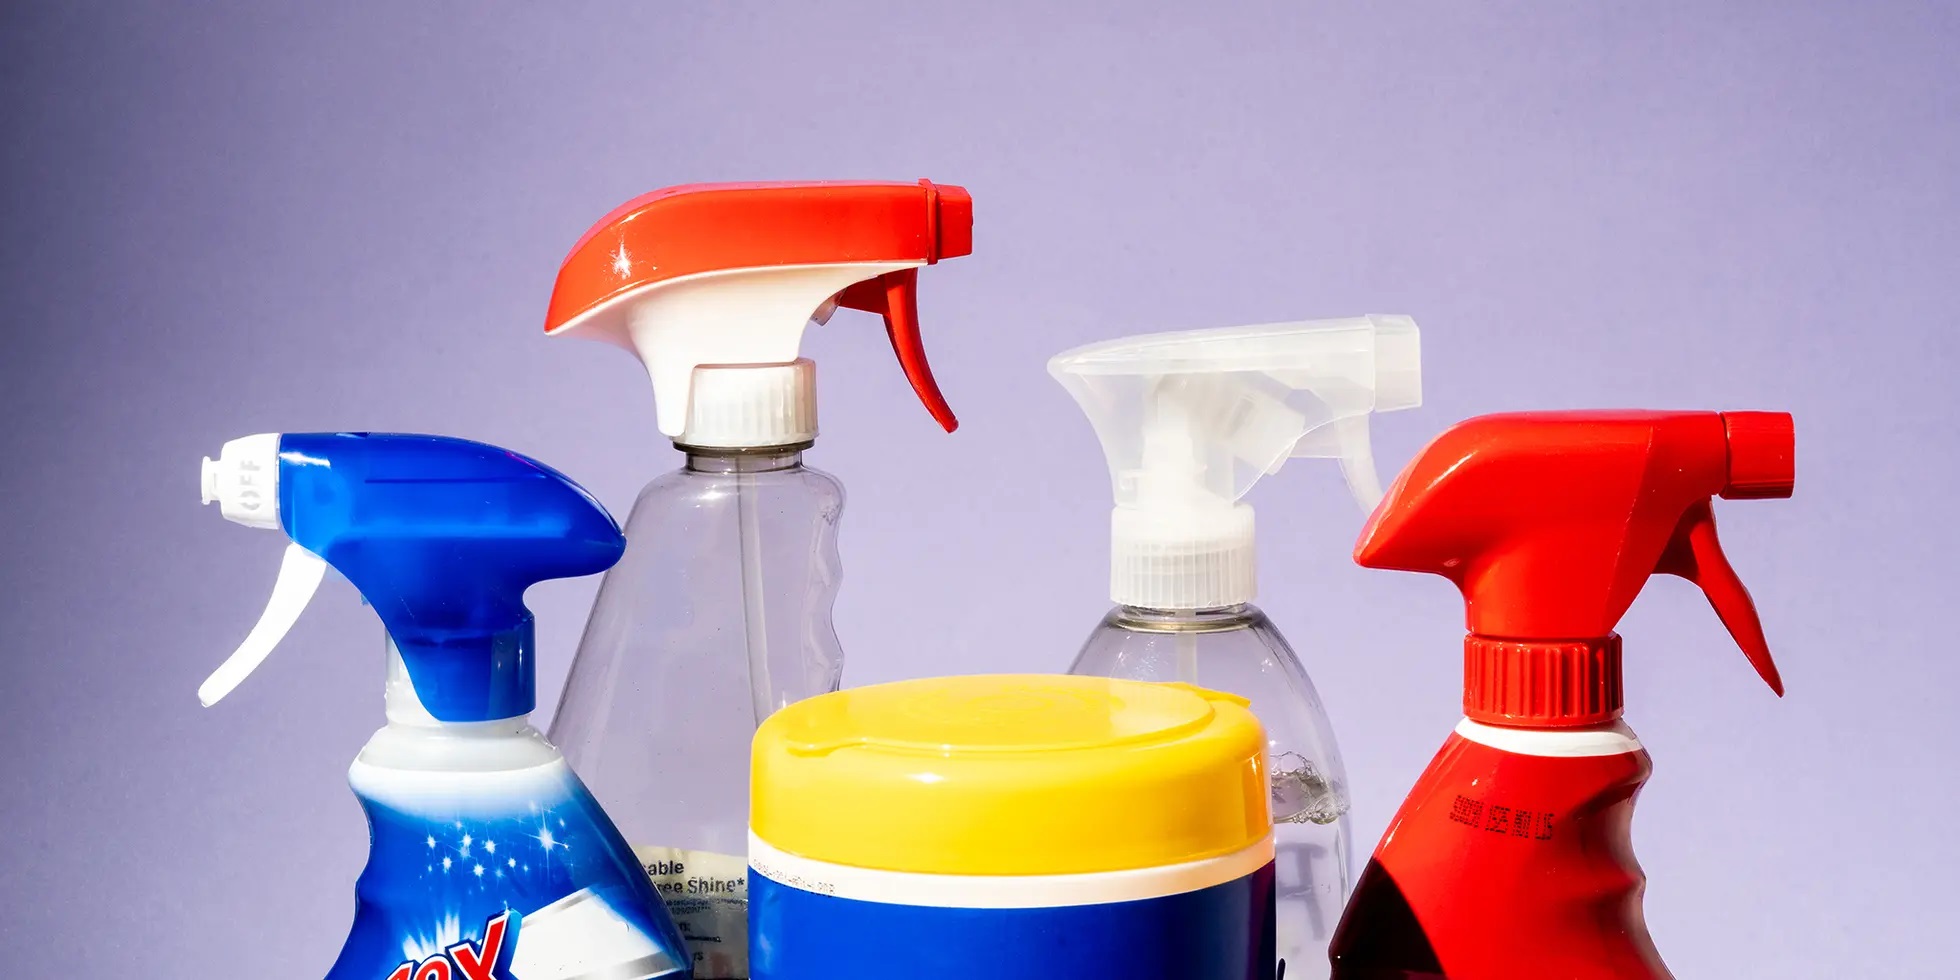
Using Too Much Cleaning Product
When it comes to cleaning our homes, we often think that using more cleaning product will result in a cleaner space. However, using too much cleaning product can actually have negative effects and make our cleaning efforts less effective. Here are some reasons why using too much cleaning product is problematic and tips for using the right amount:
1. Waste of Money: Using excessive amounts of cleaning product means you’ll be going through bottles and containers more quickly, leading to unnecessary expenses. By using the appropriate amount, you can make your cleaning supplies last longer and save money in the long run.
2. Residue Buildup: Using too much cleaning product can leave behind a residue on surfaces. This residue can attract dirt and dust, making surfaces appear dull and dirty even after cleaning. It’s important to read the instructions on cleaning product labels and follow the recommended dosage to avoid leaving residue behind.
3. Environmental Impact: Using excessive amounts of cleaning product can contribute to environmental pollution. Many cleaning products contain chemicals that can be harmful to the environment if released in large quantities. By using the appropriate amount, you can minimize your environmental footprint and still achieve a clean home.
4. Potential Health Hazards: Some cleaning products may contain harsh chemicals that can be harmful if inhaled or come into contact with the skin in large quantities. By using the right amount, you reduce the risk of exposing yourself and your family to unnecessary health hazards.
Here are some tips for using the right amount of cleaning product:
a. Read the Instructions: Cleaning products often have specific instructions on the packaging regarding the recommended amount to use. Take the time to read and follow these instructions to ensure you’re using the appropriate dosage.
b. Experiment and Adjust: Start with a small amount of cleaner and gradually increase as needed. It’s easier to add more if necessary than to remove excess cleaning product from surfaces. Find the right balance for each cleaning task by experimenting and adjusting the amount used.
c. Dilute When Necessary: Some cleaning products, such as multipurpose cleaners, can be diluted with water for certain cleaning tasks. Follow the instructions on the product to achieve the right dilution ratio. This not only helps to conserve the product but also ensures effective cleaning without residue buildup.
d. Use Tools Wisely: Utilize appropriate cleaning tools, such as microfiber cloths or sponges, that are designed to effectively clean with minimal product. These tools can help spread the cleaning product evenly and efficiently on surfaces, reducing the amount needed.
e. Focus on Problem Areas: Instead of applying cleaning product to the entire surface, concentrate the product on areas with visible stains, grime, or dirt. By targeting the problem areas, you can use less product while achieving the desired cleanliness.
Remember, using the right amount of cleaning product is key to effective cleaning. By avoiding excessive usage, you can save money, minimize environmental impact, and maintain a clean and healthy home.
Leaving Cleaning Solution Residue
When we clean our homes, we often focus on removing dirt and grime, but we may overlook the importance of properly rinsing away cleaning solution residue. Leaving behind residue can negatively affect the cleanliness and appearance of surfaces, as well as contribute to potential health hazards. Here are some reasons why leaving cleaning solution residue is problematic and tips for preventing it:
1. Streaky and Dull Surfaces: Cleaning solutions can leave behind streaks and dullness if not rinsed properly. This residue can be especially noticeable on glass, mirrors, and stainless steel surfaces. It’s essential to rinse these surfaces thoroughly with clean water or wipe them down with a damp cloth after using cleaning solutions to avoid streaks and maintain their shine.
2. Attracting More Dirt: Cleaning solution residue can act as a magnet for dirt and dust, making surfaces appear dirty even after cleaning. This can be particularly problematic for floors, countertops, and appliances. Ensure to rinse or wipe down surfaces thoroughly to avoid residue buildup and maintain a cleaner appearance for longer periods.
3. Chemical Interactions: Some cleaning solutions can have adverse reactions if they come into contact with other chemicals. For instance, mixing bleach with ammonia-based cleaners can create harmful fumes. Thoroughly rinsing away cleaning solution residue helps prevent any potential chemical interactions that could lead to health hazards.
4. Potential Skin and Respiratory Irritation: Cleaning solutions can contain chemicals that may cause skin and respiratory irritation if left on surfaces. If residue is not properly removed, it can come into contact with the skin or be released into the air, posing health risks to residents. Ensure proper rinsing to minimize these risks.
To prevent leaving cleaning solution residue, follow these tips:
a. Dilute Cleaning Solutions: If appropriate, dilute cleaning solutions according to the manufacturer’s instructions. This can help reduce the chance of leaving residue behind while maintaining the cleaning power of the product.
b. Follow Recommended Contact Time: Some cleaning solutions require a specific contact time to be effective. Allow the solution to sit for the recommended duration without letting it dry on the surface. Afterwards, rinse thoroughly with water and wipe dry.
c. Rinse with Clean Water: After using cleaning solutions, thoroughly rinse surfaces with clean water to remove any residue. Pay particular attention to glass, countertops, and other smooth surfaces that are prone to streaking.
d. Use Microfiber Cloths: When wiping down surfaces, use microfiber cloths that are highly effective in absorbing and removing cleaning solution residue. Their fine fibers can help pick up any remaining residue while leaving surfaces clean and streak-free.
e. Ventilate the Area: Open windows or turn on fans to improve air circulation while cleaning to help reduce the amount of cleaning solution residue in the air. This will also help with the overall freshness of the space.
By being mindful of cleaning solution residue and following these tips, you can ensure a more thorough and effective cleaning routine. By properly rinsing away residue, you’ll maintain cleaner surfaces, reduce the potential for health hazards, and achieve a healthier and more visually appealing home.
Not Cleaning in the Correct Order
When it comes to cleaning our homes, the order in which we tackle tasks can greatly impact the effectiveness and efficiency of our cleaning efforts. Not cleaning in the correct order can lead to the spread of dirt, cross-contamination, and wasted time and energy. By following a logical and systematic cleaning order, you can ensure a more thorough and streamlined cleaning routine. Here are some reasons why cleaning in the correct order is important and tips for establishing an effective cleaning sequence:
1. Efficiency: Cleaning in the right order allows you to work systematically, optimizing your time and energy. By planning your cleaning order, you can minimize backtracking and avoid having to reclean areas that have already been tidied.
2. Prevention of Cross-Contamination: Cleaning in the correct order helps prevent the spread of dirt, bacteria, and allergens from one area to another. For example, cleaning the bathroom before dusting can prevent bathroom germs from spreading to clean surfaces in other parts of the house. By establishing a proper cleaning sequence, you can minimize the risk of cross-contamination.
3. Removal of Loose Dirt and Debris: By starting with tasks that involve removing loose dirt and debris, such as dusting and sweeping, you can avoid spreading dirt onto already clean surfaces. This allows you to focus on thorough cleaning without having to repeatedly address loose dirt.
4. Product Efficiency: Cleaning in the correct order ensures that cleaning products are used efficiently. For example, starting with dry dusting and vacuuming eliminates the need to reapply cleaning solutions that may become diluted or ineffective from prior wet cleaning tasks.
Here are some general tips for establishing an effective cleaning order:
a. Top-to-Bottom: Start cleaning tasks from the top of the room and work your way down. This prevents dirt and dust from falling onto already cleaned surfaces, ensuring a thorough cleaning job. For example, start by dusting ceiling fans, light fixtures, and shelves before moving on to lower surfaces and floors.
b. Inside-to-Outside: When cleaning rooms or appliances, begin with the interior and work your way outward. For instance, when cleaning a refrigerator, start by cleaning the interior shelves and drawers before moving on to the exterior surfaces. This eliminates the risk of spreading dirt and contaminants from the exterior to a clean interior.
c. Room-by-Room: Clean one room at a time to maintain focus and avoid becoming overwhelmed. Complete all cleaning tasks within a room before moving on to the next one. This helps maintain consistency and ensures thorough cleaning of each space.
d. Dirty to Clean: Prioritize cleaning tasks based on the level of dirtiness. Start with tasks that involve removing loose dirt and debris, such as dusting, sweeping, or vacuuming. Then move on to tasks that involve wet cleaning, such as mopping or wiping down surfaces. This approach saves cleaning time and prevents spreading dirt onto already clean areas.
e. Specialized Areas and Items: Allocate time for specific cleaning needs, such as cleaning windows, deep cleaning carpets, or servicing appliances. Schedule these tasks separately, based on their frequency and the resources required, to ensure a comprehensive cleaning routine.
By implementing a logical and efficient cleaning order, you can streamline your cleaning routine, improve cleanliness, and make the most of your cleaning efforts. Taking the time to establish a proper cleaning sequence will ultimately save you time and energy while maintaining a cleaner and more organized home.
Forgetting to Clean Cleaning Tools
When it comes to cleaning our homes, we often focus on sanitizing surfaces and tidying up our living spaces. However, one crucial aspect of cleaning that is often overlooked is cleaning the cleaning tools themselves. Neglecting to clean our cleaning tools can lead to dirt and bacteria buildup, compromising their effectiveness and potentially spreading germs throughout our homes. Here are some reasons why cleaning our cleaning tools is important and tips for keeping them clean:
1. Bacteria and Germs: Cleaning tools such as mops, cloths, and sponges can become breeding grounds for bacteria if not cleaned regularly. When these tools come into contact with dirt and moisture, they provide an ideal environment for microbial growth. Cleaning with dirty tools can lead to cross-contamination and a less hygienic cleaning process.
2. Reduced Cleaning Efficiency: Dirty cleaning tools may not effectively remove dirt, grime, and stains from surfaces. Utilizing clean tools ensures that you can achieve a more thorough and efficient clean. When cleaning with dirty tools, the residue from previous cleanings may transfer onto surfaces, leaving behind streaks and residue.
3. Unpleasant Odors: Dirty cleaning tools can produce unpleasant odors, which can then transfer onto the surfaces you are cleaning. This can be particularly noticeable when mops and cloths are not washed and dried properly. By regularly cleaning and maintaining your cleaning tools, you can eliminate these unpleasant odors and keep your home smelling fresh.
4. Prolonged Lifespan of Cleaning Tools: Regularly cleaning your cleaning tools helps to extend their lifespan. When tools are not properly cleaned, dirt and debris can accumulate and cause deterioration or damage. By cleaning and maintaining your tools, you can ensure that they remain effective and durable for longer periods of time.
To effectively clean your cleaning tools, consider the following tips:
a. Rinse After Each Use: After using tools such as mops, cloths, and sponges, rinse them thoroughly under running water. This helps remove excess dirt and debris, preventing them from clinging to the fibers or surfaces of the tools.
b. Wash In Hot Water: Clean reusable cleaning tools by washing them in hot water with detergent. This helps break down any remaining dirt particles and eliminates bacteria. Pay attention to the manufacturer’s guidelines for washing to ensure that you are using the appropriate water temperature and detergent.
c. Disinfect Regularly: Disinfection is particularly important for tools that come into contact with high-touch surfaces or areas prone to bacteria and germs. Use disinfecting agents or diluted bleach solutions to kill bacteria and sanitize your cleaning tools. Be sure to follow instructions for proper dilution ratios and contact times.
d. Allow Proper Drying: After cleaning, allow your tools to dry thoroughly before storing them. This helps prevent the growth of mold and mildew. Hang up mops and squeegees to air dry, and lay cloths and sponges flat in a well-ventilated area.
e. Replace When Necessary: Keep an eye on the condition of your cleaning tools. If they become worn, frayed, or damaged beyond repair, it’s time to replace them. Using old or damaged tools may compromise the cleanliness and effectiveness of your cleaning routine.
By regularly cleaning and maintaining your cleaning tools, you can enhance the cleanliness and hygiene of your home. Remember, ensuring that your tools are clean and in good condition will help you achieve a more effective and efficient cleaning process, creating a healthier and more pleasant living environment.
Frequently Asked Questions about 8 Cleaning Mistakes That Are Making Your Home Dirtier
Was this page helpful?
At Storables.com, we guarantee accurate and reliable information. Our content, validated by Expert Board Contributors, is crafted following stringent Editorial Policies. We're committed to providing you with well-researched, expert-backed insights for all your informational needs.


0 thoughts on “8 Cleaning Mistakes That Are Making Your Home Dirtier”