Home>Storage Ideas>Kitchen Storage>Organizing Kitchen Countertops: 13 Ways To Keep Workspaces Neat

Kitchen Storage
Organizing Kitchen Countertops: 13 Ways To Keep Workspaces Neat
Modified: October 30, 2024
Discover 13 kitchen storage ideas to organize your countertops and maintain clean workspaces. Enhance your kitchen's functionality with clever storage solutions.
(Many of the links in this article redirect to a specific reviewed product. Your purchase of these products through affiliate links helps to generate commission for Storables.com, at no extra cost. Learn more)
Introduction
Welcome to the world of kitchen organization! If you’re someone who loves spending time in the kitchen, you know how important it is to have a clean and clutter-free workspace. A well-organized kitchen not only makes cooking a pleasant experience but also saves you valuable time and effort. One area that often gets overlooked when it comes to organization is the kitchen countertops. These workspaces tend to accumulate various items, making them look messy and reducing their functionality.
In this article, we will explore 13 ingenious ways to keep your kitchen countertops neat and organized. From decluttering to utilizing vertical space and investing in clever storage solutions, we’ve got you covered. So, let’s dive in and transform your kitchen countertops into a streamlined and efficient cooking zone!
Key Takeaways:
- Decluttering countertops is the first step to an organized kitchen. Assign dedicated spots for frequently used items and reassess regularly to maintain a clutter-free workspace.
- Utilize vertical space with open shelves, wall-mounted racks, and magnetic strips to maximize storage and keep countertops tidy. Invest in storage containers and drawer organizers for easy access.
Decluttering countertops
The first step in organizing your kitchen countertops is to declutter. Take a good look at your countertop and identify any items that don’t belong there. Remove anything that is not essential for your daily cooking routine. This could include random papers, appliances you rarely use, or unnecessary decorations. By clearing off the excess clutter, you’ll instantly create more space and make it easier to keep your countertops clean and organized.
When decluttering, consider assigning dedicated places for items that frequently end up on the countertop. For example, designate a specific spot for your keys, wallet, and phone so that they don’t clutter up the workspace. Opt for a stylish key holder or a small tray to keep these essentials organized and easily accessible.
Another effective way to declutter is to assess your countertop appliances. Be honest with yourself about how often you actually use them. If there are appliances that you rarely or never use, consider finding them a new home in a cabinet or donating them. This way, you’ll free up valuable counter space and create a more streamlined and functional kitchen.
Remember, decluttering is an ongoing process, so make it a habit to regularly reassess your countertop items and remove anything that doesn’t serve a purpose or add to the overall functionality of your kitchen.
Utilizing vertical space
When it comes to maximizing kitchen storage, don’t overlook the power of vertical space. Utilizing the walls above your countertops can significantly increase storage capacity and keep your workspaces neat and organized.
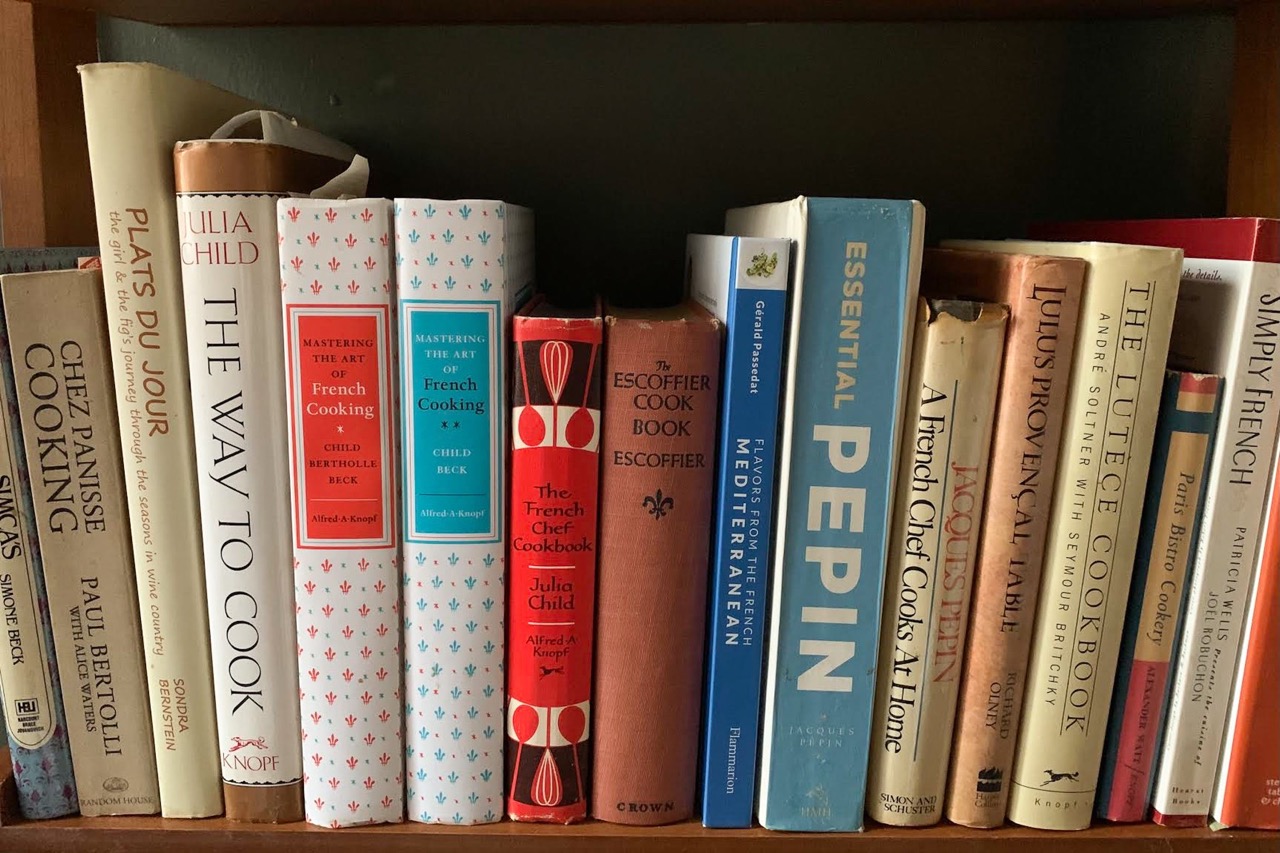
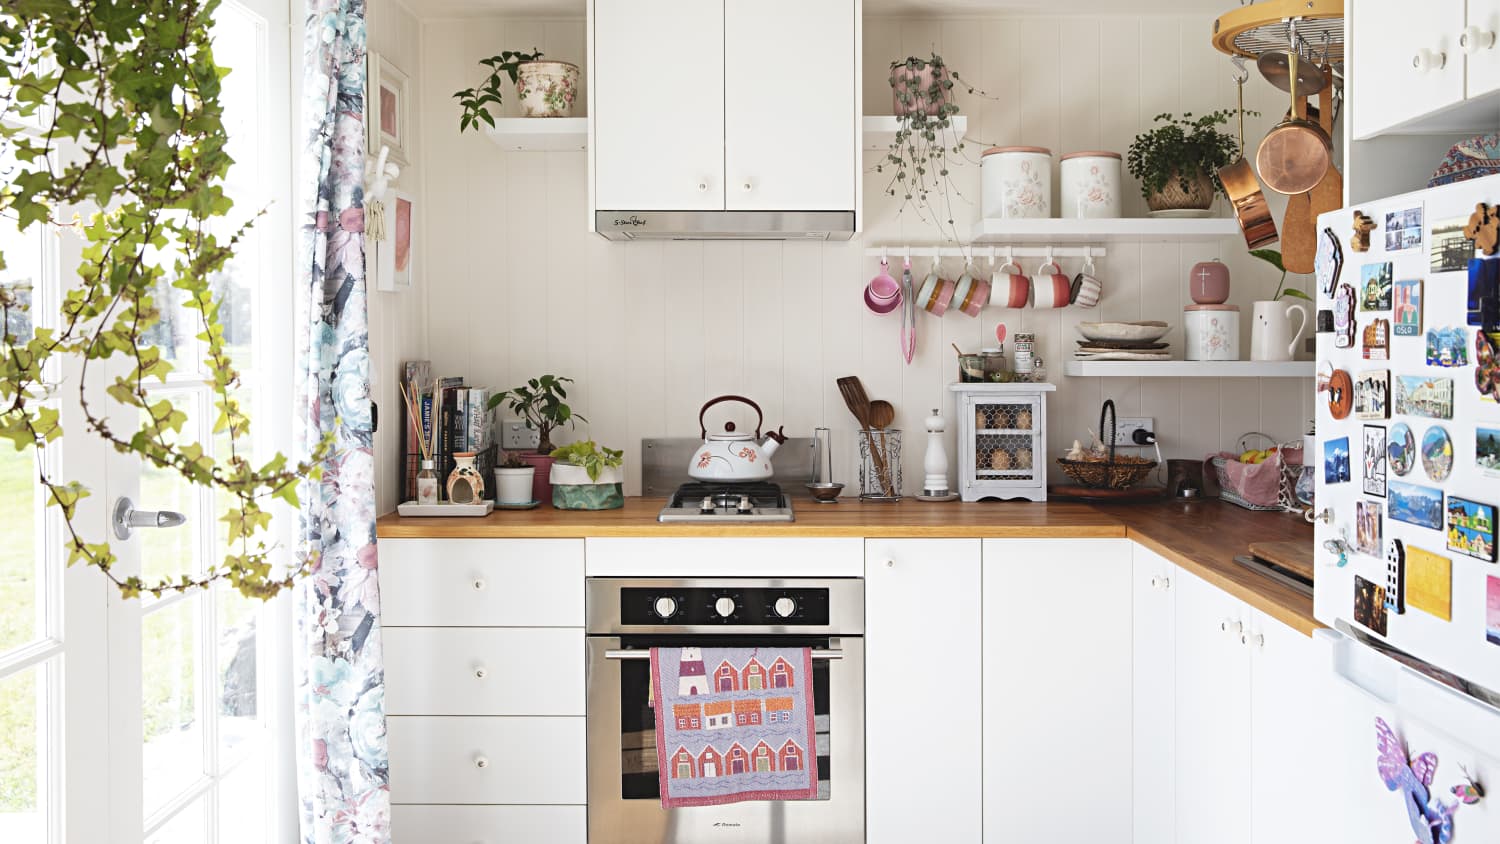
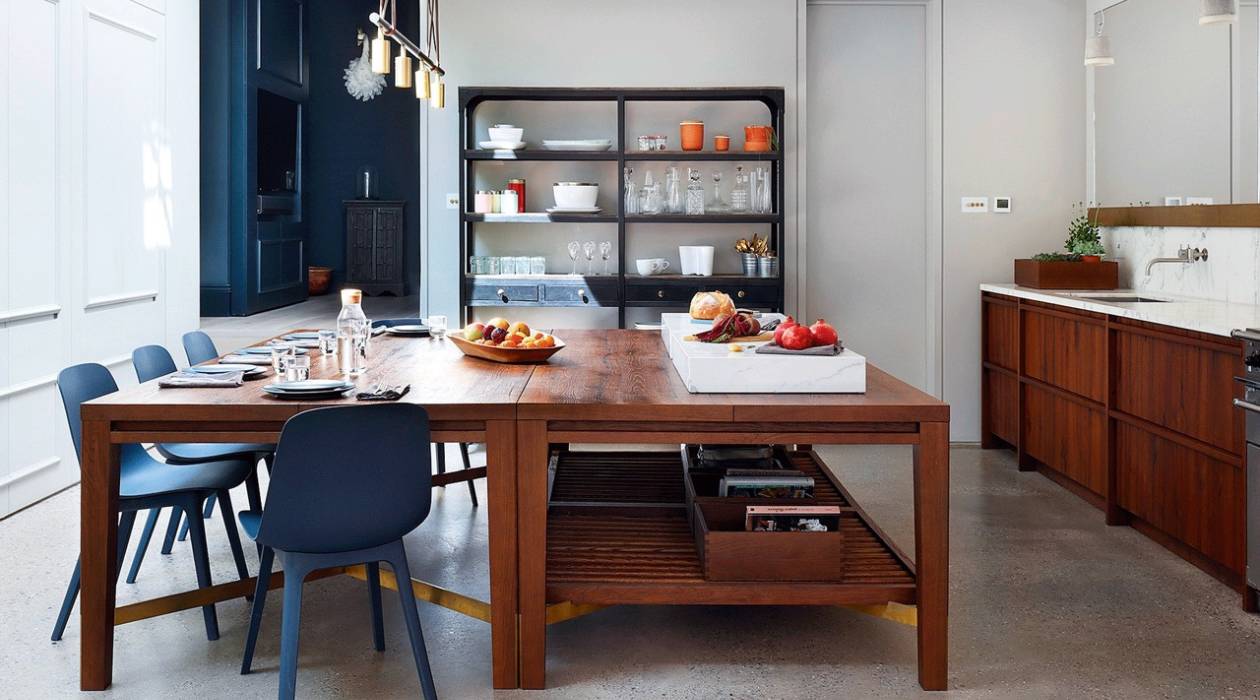
One great way to take advantage of vertical space is by installing open shelves. These shelves not only provide storage but also serve as a display area for your favorite kitchen items. You can use them to showcase your collection of beautiful plates, glasses, or even cookbooks. Choose shelves that match the style of your kitchen and arrange your items in an aesthetically pleasing manner.
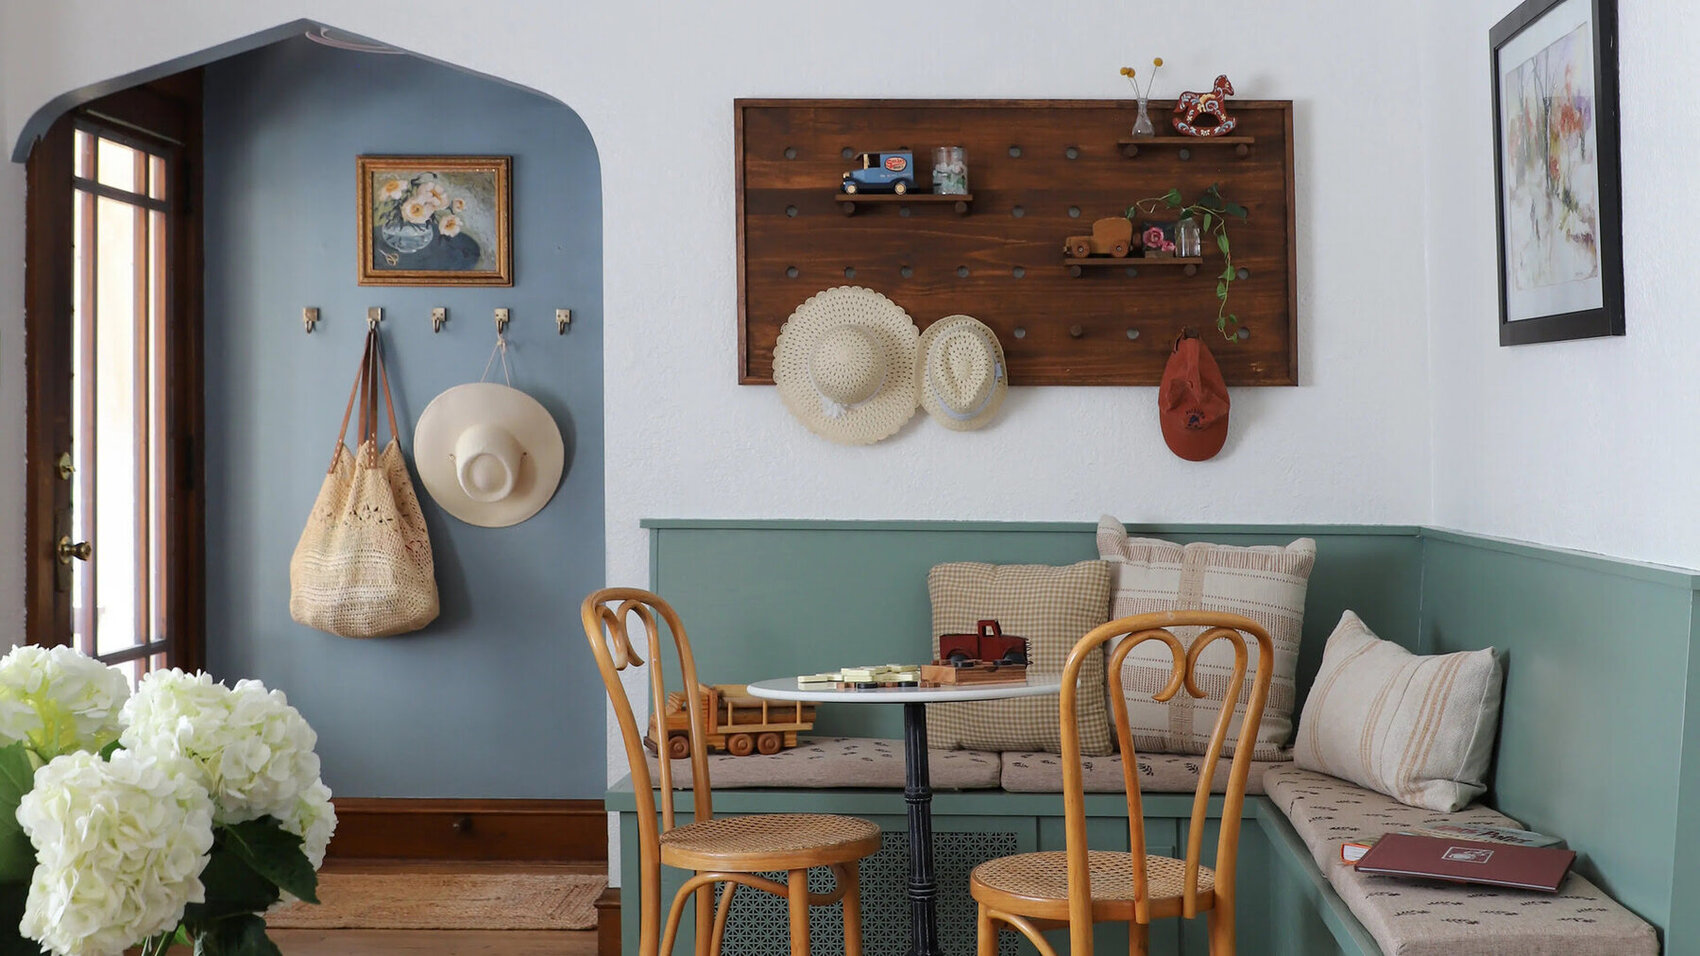
In addition to open shelves, consider installing wall-mounted racks or pegboards. These versatile solutions allow you to hang utensils, pots, and pans, keeping them within easy reach while freeing up valuable countertop space. You can also place hooks on the walls to hang measuring cups, oven mitts, or other small kitchen gadgets.
If you have limited wall space, another option is to use a magnetic strip. This strip can be mounted on the backsplash or a nearby wall and is perfect for organizing and storing metal kitchen tools such as knives, scissors, and even spice canisters.
Don’t forget to make use of the space above your cabinets as well. This area is often left empty, but it can be utilized for storing items that are not used frequently. Invest in stylish baskets or decorative boxes to keep these items organized and out of sight.
By utilizing vertical space, you’ll not only declutter your countertops but also create additional storage options to keep your kitchen essentials readily accessible.
Investing in storage containers
Storage containers are incredibly useful when it comes to keeping your kitchen countertops organized. They not only provide a designated place for various items but also help maintain a clean and clutter-free look.
Investing in a set of high-quality storage containers is well worth it. Look for containers that are stackable, transparent, and easy to clean. These features will make it easier to store different ingredients, leftovers, and pantry staples while allowing you to see the contents at a glance.
Use storage containers to store items such as rice, pasta, flour, sugar, and snacks. This not only keeps these items fresh but also prevents them from taking up valuable countertop space. Additionally, having clear labels on your containers can help you easily identify what’s inside, making it easier to find what you need without rummaging through multiple containers.
Another great use for storage containers on the countertop is to corral loose items. For example, you can use a small container to hold your cooking utensils, preventing them from scattering across the countertop and creating a mess. This way, you’ll always have your essential tools within reach while keeping your work area tidy.
In addition to investing in storage containers, consider using drawer dividers or organizers. These can be placed inside your drawers to create compartments for specific items, such as utensils, measuring spoons, and small kitchen gadgets. By keeping your drawers organized, you’ll minimize the need for cluttering your countertops with these items.
Remember, the key to using storage containers effectively is to assign a designated space for each type of item. By creating a system and sticking to it, you’ll ensure that your countertops remain clutter-free and everything has its proper place.
Using drawer organizers
When it comes to organizing your kitchen countertops, it’s essential to make the most of every inch of available space. One area that often gets overlooked but can greatly contribute to countertop organization is your kitchen drawers. Utilizing drawer organizers can help you create a tidy and efficient storage system.
Drawer organizers come in various shapes and sizes, making it easy to customize them according to your specific needs. These organizers are ideal for keeping your utensils, kitchen tools, and gadgets neatly separated and easily accessible.
Start by emptying out your drawers and assessing the items you have. Categorize them into different groups, such as utensils, measuring spoons, and gadgets. This will help you determine what type and size of drawer organizers you need.
Consider using drawer dividers with adjustable slots. These dividers allow you to create customized compartments to fit your specific items. For example, you can use larger slots for spatulas and tongs, and smaller slots for measuring spoons and small tools.
Another useful organizer for kitchen drawers is a cutlery tray. This tray provides separate compartments for your knives, forks, spoons, and other cutlery items. It not only keeps them organized but also helps prevent them from getting tangled or damaged.
If you have deep drawers, consider using stackable drawer organizers. These organizers have multiple layers, giving you extra storage space without sacrificing accessibility. You can use them to store items like baking sheets, cutting boards, and other larger kitchen essentials.
By using drawer organizers, you’re not only keeping your kitchen countertops free from clutter but also creating a systematic and efficient storage solution for your utensils and tools. With everything neatly organized within your drawers, you’ll be able to find what you need easily and quickly.
Hanging utensil racks
If you’re looking to free up valuable countertop space and add a touch of style to your kitchen, consider incorporating hanging utensil racks. These racks are not only functional but also serve as a decorative element, adding visual interest to your kitchen.
Hanging utensil racks come in various designs and materials, such as stainless steel, wood, or even magnetic strips. They provide a convenient way to store your frequently used cooking utensils, keeping them within arm’s reach while maximizing countertop space.
One popular option is a wall-mounted rod with hooks. This type of rack allows you to hang your utensils vertically, creating a visually appealing display. You can arrange them in a decorative pattern or based on their size and functionality. Not only does this keep your utensils organized, but it also adds a rustic or modern touch to your kitchen, depending on the style you choose.
Another option is a hanging utensil caddy. This is perfect for those who prefer a more compact storage solution. The caddy usually has multiple compartments or pockets, allowing you to keep different types of utensils separate. Hang it on a hook or a rail, and you’ll have your utensils easily accessible and neatly organized.
For those who have limited wall space, consider utilizing the sides of your cabinets. Install a small rail or a series of hooks where you can hang your utensils. This innovative storage solution keeps your utensils visible and accessible while minimizing clutter on your countertops.
By hanging your utensils, you not only declutter your countertops but also add a unique and functional design element to your kitchen. Explore different hanging rack options and find the one that suits your style and needs best.
Installing shelf risers
If you find that your kitchen countertops lack vertical space, installing shelf risers is a game-changer. These simple yet effective tools help you create additional levels on your shelves, maximizing storage capacity and keeping your workspaces neat and organized.
Shelf risers are available in various sizes and materials, such as wire, plastic, or acrylic. They work by elevating your items, allowing you to utilize the vertical space between shelves efficiently. This is especially beneficial if you have tall items or a stack of dishes that often topple over due to limited space.
To install shelf risers, begin by removing all items from your shelves. Place the risers on the desired shelf and adjust their width according to your needs. It’s important to choose risers that fit snugly in your cabinet or pantry, as this ensures stability and prevents items from sliding or falling.
Once the shelf risers are in place, begin organizing your items. Use the lower level of the shelf to store larger or bulkier items, while the elevated level can hold smaller items or create space for additional storage containers.
Shelf risers are particularly useful for organizing items like plates, bowls, and cutting boards. By stacking these items vertically, you’ll be able to access them more easily, while simultaneously freeing up space on your countertops.
Not only do shelf risers help maximize storage space, but they also create better visibility and accessibility. With items neatly organized on different levels, you can easily see what you have and access it without having to dig through a crowded shelf.
If you frequently struggle with a lack of storage space in your kitchen, installing shelf risers is a simple and cost-effective solution. By taking advantage of the vertical space in your cabinets or pantry, you’ll make the most of your storage areas and keep your countertops clutter-free.
Implementing a magnetic knife strip
Having a safe and organized storage solution for your knives is essential in any kitchen. Instead of cluttering up your countertops with a knife block, consider implementing a magnetic knife strip. This simple yet effective tool allows you to store your knives securely while saving precious counter space.
A magnetic knife strip is a long, narrow strip that is typically made of wood, metal, or plastic and contains magnets embedded within it. By attaching the strip to a wall or the side of a cabinet, you can easily store and access your knives without the need for a traditional knife block.
To implement a magnetic knife strip, start by selecting a suitable location in your kitchen. Ideally, it should be within reach of your primary food prep area. Take into consideration the height of the strip and ensure that it is installed securely to support the weight of your knives.
Before attaching the knife strip, make sure your knives are clean and dry. Align them against the strip, ensuring that the blade portion is in contact with the magnet. The strong magnetic force will securely hold the knives in place, preventing them from slipping off or becoming damaged.
One of the benefits of a magnetic knife strip is that it allows you to display your knife collection, instantly adding a stylish and modern touch to your kitchen. Not only does this make it easy to identify the knife you need, but it also keeps your knives accessible while keeping your countertops clear.
In addition to knives, magnetic strips can also be used to store other metal kitchen tools, such as scissors, metal spatulas, and even spice canisters equipped with magnetic bottoms. This versatile storage solution frees up drawer space and keeps your essential tools within reach.
It’s important to note that when using a magnetic knife strip, you should exercise caution and be mindful of safety. Make sure the strip is securely fastened, keep the knives out of reach of children, and always handle them carefully when removing or replacing them on the strip.
Implementing a magnetic knife strip not only keeps your knives organized and accessible but also creates a sleek and modern look in your kitchen. It’s a functional and space-saving solution that adds both style and efficiency to your countertop storage.
Use vertical storage solutions like shelves or hanging racks to maximize space on your kitchen countertops and keep them clutter-free.
Incorporating a spice rack
When it comes to cooking, having a well-organized spice collection is essential. Instead of rummaging through a cluttered cabinet or drawer, consider incorporating a spice rack into your kitchen. This will not only keep your spices neatly arranged but also save you valuable countertop space.
Spice racks come in a variety of designs, allowing you to choose one that suits your kitchen’s style and meets your storage needs. Some options include wall-mounted racks, revolving racks, or even magnetic strips designed specifically for spices.
Wall-mounted spice racks are an excellent choice if you have empty wall space above your countertops. They can be easily installed and provide a convenient way to store your spices without taking up any precious countertop space. Choose one with tiered shelves or adjustable hooks to accommodate different bottle sizes.
Revolving spice racks are another popular option. These racks consist of a central stand with multiple revolving tiers or shelves that hold the spice bottles. With a simple spin, you can easily access all your spices and find the one you need quickly. They are compact and versatile, making them suitable for kitchens with limited space.
If you prefer to keep your spices hidden but easily accessible, consider installing a dedicated pull-out spice rack inside a cabinet. These racks can be mounted on the inside of the cabinet door or on a sliding mechanism within the cabinet itself. This type of spice rack allows you to keep your spices organized and out of sight, maintaining a clutter-free appearance on your countertops.
Magnetic spice strips are ideal for those who want to save even more space. These strips can be mounted on the side of a refrigerator or a nearby wall, and the spice jars have magnetic bottoms that adhere to the strip. This storage solution keeps your spices within reach while freeing up valuable counter and cabinet space.
To keep your spice collection organized, consider labeling the spice jars or using clear containers. This will allow you to easily identify each spice and ensure that they are always in order.
By incorporating a spice rack into your kitchen, you’ll not only keep your spices organized and easily accessible but also create a streamlined and clutter-free countertop space for your cooking needs.
Creating a designated coffee station
For many of us, starting the day with a cup of coffee is an essential part of our routine. To streamline your morning coffee preparation and keep your countertops organized, consider creating a designated coffee station in your kitchen.
A coffee station is a dedicated area where you can store all your coffee essentials, such as the coffee maker, mugs, coffee beans, filters, and other accessories. By having everything in one place, you’ll be able to efficiently prepare your coffee without cluttering up your countertops.
Start by identifying a suitable location for your coffee station. It could be on a separate countertop, a corner of your kitchen, or even a small cart or tray that can be moved if needed. Aim to choose a spot near a water source and a power outlet for convenience.
Once you have determined the location, gather all your coffee-related items and arrange them in a functional and visually appealing manner. Use a tray or a small shelf to keep everything organized and contained.
Place your coffee maker or espresso machine as the centerpiece of your coffee station. If you have a separate grinder, keep it nearby for easy access. Arrange your coffee mugs neatly on a mug tree or a designated shelf. You can also consider hanging them on hooks to save space.
Next, store your coffee beans or ground coffee in airtight containers or canisters. This not only keeps them fresh but also adds a decorative element to your coffee station. Label the containers to easily identify the type of coffee inside.
Include a small basket or drawer for storing filters, coffee scoops, stirrers, and other accessories. If you enjoy flavored syrups or creamers, keep them in a separate container or organizer to minimize clutter.
Consider adding a small whiteboard or chalkboard to your coffee station. This allows you to write down special coffee blends, brewing instructions, or messages for your household members.
By creating a designated coffee station, you’ll streamline your coffee-making routine and keep your countertops organized and clutter-free. It’s a functional and stylish addition to your kitchen that will make your morning coffee experience even more enjoyable.
Utilizing a rolling cart or trolley
If you have limited counter space or frequently find yourself in need of extra storage and workspace, a rolling cart or trolley can be a game-changer in your kitchen. These versatile mobile storage solutions allow you to increase your storage capacity and create additional workspaces that can be easily moved around as needed.
A rolling cart or trolley can be used in various ways to keep your kitchen countertops organized. Here are a few ideas to get you started:
1. Prep Station: Utilize a rolling cart or trolley as a designated prep station. Place your cutting board, knives, and other food prep essentials on the cart, making it easy to prepare ingredients without taking up valuable counter space.
2. Storage Solution: Use a rolling cart to store frequently used appliances, such as a mixer, blender, or toaster. This keeps them easily accessible while freeing up space on your countertops.
3. Coffee or Tea Station: Create a mobile coffee or tea station by placing your coffee machine, mugs, tea bags, and other essentials on a rolling cart. This allows you to prepare and enjoy your favorite beverages in any corner of your kitchen or even in other rooms.
4. Bar Cart: If you enjoy hosting gatherings, a rolling cart can serve as a stylish and functional bar cart. Use it to store glasses, bottles, mixers, and other bar accessories. You can easily move the cart around to different areas of your home when entertaining.
5. Extra Storage: If you have limited cabinet space, a rolling cart can provide extra storage for items such as pots, pans, baking sheets, and even pantry items. Neatly organize these items on the cart’s shelves, making it easy to access what you need when preparing meals.
The beauty of a rolling cart or trolley is its mobility. You can move it around your kitchen or even to other areas of your home, depending on your needs. When not in use, simply roll it into a corner or a tucked-away spot to keep your countertops clean and clutter-free.
Choose a rolling cart or trolley that matches your kitchen décor and complements your style. Look for one that is sturdy, has adjustable shelves, and provides enough storage space for your needs.
By utilizing a rolling cart or trolley, you’ll not only increase your storage capacity but also create flexible workspaces that can be easily customized to suit your kitchen activities. Say goodbye to cluttered countertops and hello to a more organized and functional kitchen!
Installing hooks for hanging pots and pans
When it comes to organizing your kitchen and keeping your countertops clutter-free, installing hooks for hanging pots and pans is an excellent solution. This allows you to utilize the vertical space in your kitchen and keep your cookware easily accessible while freeing up valuable cabinet or countertop space.
Installing hooks is a simple and versatile storage solution that can work in various areas of your kitchen. Here’s how you can incorporate hooks for hanging pots and pans:
1. Ceiling or Overhead Racks: If you have high ceilings or a kitchen island, consider installing a ceiling or overhead pot and pan rack. These racks typically feature a grid or bars with hooks that allow you to hang your cookware overhead. This not only creates a visually appealing display but also keeps your pots and pans within easy reach.
2. Wall-Mounted Hooks: Another option is to install hooks on the wall, either directly or on a rack or pegboard. This is ideal for kitchens with limited ceiling height or for those who prefer a more compact storage solution. Arrange the hooks in a way that allows you to hang your cookware, ensuring that each piece has its dedicated spot.
3. Inside Cabinet Doors: Maximize your cabinet space by attaching hooks to the inside of your cabinet doors. Hang your pots, pans, and even lids on these hooks, keeping them organized and preventing them from clattering together. This is a great way to utilize often unused space while keeping everything within reach.
When installing hooks, make sure they are securely fastened to accommodate the weight of your cookware. Choose hooks made of sturdy materials, such as metal or stainless steel, to ensure they can withstand the weight of pots and pans.
Consider organizing your cookware by size or type. Hang larger items towards the back, with smaller pieces towards the front for easy access. You can also hang your frequently used pots and pans within arm’s reach, while keeping less frequently used ones higher up.
Not only does hanging pots and pans keep your countertops clutter-free, but it also adds a decorative element to your kitchen. The sight of your gleaming cookware hanging neatly on hooks can create a charming and organized ambiance.
By installing hooks for hanging pots and pans, you’ll optimize your kitchen storage, keep your cookware easily accessible, and enjoy a more open and functional countertop space.
Implementing a cookbook stand
If you love cooking and enjoy using physical cookbooks, implementing a cookbook stand in your kitchen is a practical and stylish way to keep your countertops organized. A cookbook stand allows you to prop up your recipe books, keeping them open and easily readable while freeing up space on your work surface.
There are various types and styles of cookbook stands available, ranging from simple and functional designs to more decorative and ornate options. Choose one that suits your kitchen’s aesthetics and complements your personal style.
Here are some benefits of implementing a cookbook stand:
1. Convenient Viewing Angle: A cookbook stand props up your recipe book at an ideal angle for easy reading. This prevents the book from closing or flipping pages while you’re in the middle of following a recipe. You can refer to your recipes effortlessly without having to hold the book with one hand or cluttering up your countertop with open books.
2. Keeps Pages Clean: Cooking can get messy, and having a cookbook stand ensures that your precious recipe books stay protected from spills and splatters. By keeping the pages elevated and away from the cooking area, you can easily maintain the cleanliness and readability of your recipes.
3. Saves Counter Space: By using a cookbook stand, you free up valuable counter space that would otherwise be occupied by open books. This gives you more room to work on your food preparation and keeps your countertops neat and organized.
4. Decorative Element: A cookbook stand can add a touch of elegance and personality to your kitchen. Choose a stand that complements your kitchen décor and reflects your style. It becomes both a functional tool and a decorative piece that adds charm to your cooking space.
When selecting a cookbook stand, consider the size and weight of your recipe books. Make sure the stand is sturdy enough to hold your largest and heaviest books without tipping over. Look for adjustable stands that allow you to customize the viewing angle to your preference.
If you prefer using digital recipes, a cookbook stand can also serve as a stand for your tablet or smartphone. This keeps your device at a convenient height and angle, making it easy to follow recipes displayed on your screen.
By implementing a cookbook stand, you’ll keep your recipe books easily readable, protect them from kitchen mishaps, save valuable counter space, and add a stylish touch to your kitchen. Enjoy the convenience of having your favorite recipes always at your fingertips while cooking up delicious meals!
Designating a mail and paperwork zone
Keeping your kitchen countertops organized goes beyond just cooking and food-related items. One area that often accumulates clutter is mail and paperwork. To tackle this issue, consider designating a specific zone in your kitchen for managing mail and paperwork. This will help you maintain a tidy and efficient space while keeping important documents easily accessible.
Here are some tips for creating a mail and paperwork zone:
1. Identify a Dedicated Space: Determine an area in your kitchen that can be designated as your mail and paperwork zone. It could be a countertop, a desk, or a wall-mounted organizer. The key is to have a dedicated space that is easily accessible and visible.
2. Sort and Organize: Create separate compartments or organizers for different types of mail and paperwork. For example, have a slot for incoming mail, outgoing mail, bills to be paid, and important documents to be filed. This will help you sort and prioritize your mail and paperwork effectively.
3. Use Wall-Mounted Organizers: Install wall-mounted file holders, letter trays, or bulletin boards to keep important documents, invitations, and notices visible and organized. This can help you avoid misplacing or forgetting about important papers.
4. Utilize a Whiteboard or Notepad: Hang a whiteboard or notepad in your mail and paperwork zone where you can jot down important dates, reminders, or to-do lists. This serves as a handy visual reference to keep track of upcoming events or tasks.
5. Create a Charging Station: Include a designated spot in your mail and paperwork zone for charging your electronic devices. This will keep them organized and readily available when you need to refer to digital documents or communicate electronically.
6. Implement a Shredder: To prevent piles of unnecessary paper from accumulating, have a shredder nearby. Use it to dispose of unwanted documents containing personal information, ensuring your privacy and reducing clutter.
7. Establish a Routine: Make it a habit to sort through your mail and paperwork regularly. Dedicate specific times to open and handle mail, pay bills, and file important documents. This will help you stay on top of your paperwork and prevent it from overflowing.
By designating a mail and paperwork zone in your kitchen, you’ll create an organized system for managing your mail and important documents. It will reduce countertop clutter and ensure that important papers are conveniently and efficiently handled.
Remember, maintaining an organized mail and paperwork zone requires consistency and commitment. With a well-planned system in place, you’ll be able to navigate through your mail and paperwork effortlessly, saving time and ensuring a clean and functional kitchen workspace.
Conclusion
Organizing your kitchen countertops is key to creating a functional and efficient cooking space. By implementing the thirteen kitchen storage ideas mentioned in this article, you can transform your countertops into neat and clutter-free work areas.
Start by decluttering your countertops and only keeping essential items within reach. Utilize vertical space with the help of open shelves, wall-mounted racks, or magnetic strips. Invest in storage containers and drawer organizers to keep your items neatly categorized and easily accessible.
Hanging utensil racks, shelf risers, and a magnetic knife strip are excellent ways to maximize storage and keep your countertops tidy. Incorporating a spice rack adds both convenience and style to your kitchen while creating a designated coffee station streamlines your morning routine.
Utilizing rolling carts or trolleys provides additional storage and workspace flexibility. Installing hooks for hanging pots and pans keeps your cookware within reach and frees up cabinet space. A cookbook stand not only keeps your recipes accessible but also adds a decorative touch.
To manage mail and paperwork, designating a specific zone in your kitchen helps keep important documents organized and accessible. With a systematic approach and routine, you can ensure that mail is sorted, bills are paid, and important papers are properly filed.
In conclusion, organizing your kitchen countertops goes beyond just creating a visually pleasing space. It enhances functionality and efficiency, making your cooking experience more enjoyable and stress-free. Implement these kitchen storage ideas, customize them to suit your needs, and reap the benefits of an organized and clutter-free kitchen.
Frequently Asked Questions about Organizing Kitchen Countertops: 13 Ways To Keep Workspaces Neat
Was this page helpful?
At Storables.com, we guarantee accurate and reliable information. Our content, validated by Expert Board Contributors, is crafted following stringent Editorial Policies. We're committed to providing you with well-researched, expert-backed insights for all your informational needs.




0 thoughts on “Organizing Kitchen Countertops: 13 Ways To Keep Workspaces Neat”