Home>Interior Design>Organizing Under The Sink: Keep Supplies Neat And Accessible
Interior Design
Organizing Under The Sink: Keep Supplies Neat And Accessible
Modified: October 22, 2024
Discover the secrets of interior design for organizing under the sink. Learn how to keep your supplies neat and easily accessible with these helpful tips.
(Many of the links in this article redirect to a specific reviewed product. Your purchase of these products through affiliate links helps to generate commission for Storables.com, at no extra cost. Learn more)
Introduction
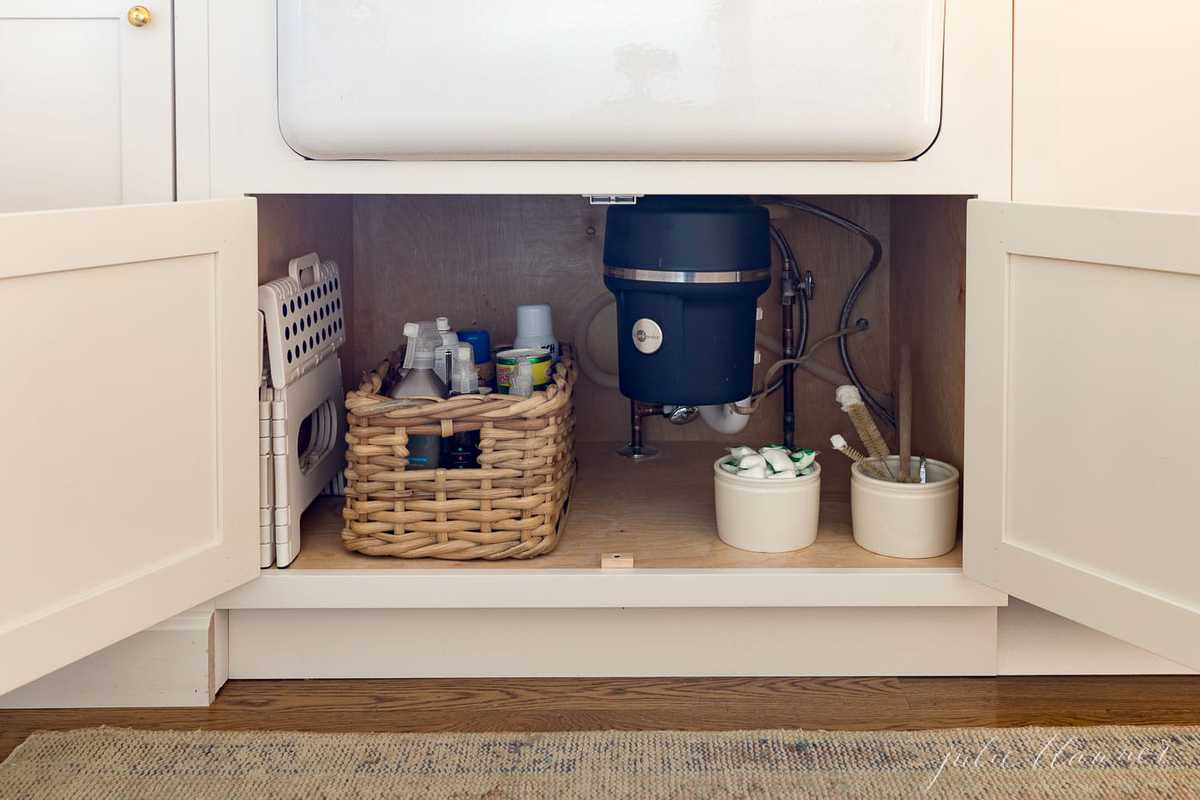
When it comes to interior design, it”s not just about creating beautiful spaces; it”s also about making those spaces functional and organized. One area that often gets overlooked but is crucial to keep in order is the area under the sink. Whether it”s in the kitchen, bathroom, or laundry room, this space tends to become a cluttered mess, making it difficult to find the supplies you need.
In this article, we will explore the art of organizing under the sink and share tips on how to keep your supplies neat and accessible. From decluttering and assessing your supplies to choosing the right organizing solutions, we will guide you through the process step by step. So let’s roll up our sleeves and transform that chaotic under-sink space into a functional and organized oasis.
Key Takeaways:
- Transform the chaos under your sink into an organized oasis by decluttering, categorizing, and choosing the right storage solutions. Enjoy a functional and efficient space with easy access to all your supplies.
- Maintain an organized under-sink area by regularly decluttering, cleaning, and replenishing supplies. Create a streamlined system, label everything, and enjoy the benefits of a well-organized space in your home.
Decluttering and Assessing Your Supplies
The first step in organizing under the sink is to declutter and assess the items you have. Start by taking everything out from under the sink and lay them out in a visible area. This will allow you to evaluate what you have and determine what is essential and what can be discarded.
As you sort through your supplies, ask yourself some questions:
- When was the last time I used this item?
- Is it expired or no longer useful?
- Do I have duplicates of the same item?
- Does it serve a purpose in this area?
Be ruthless in your decluttering process. Dispose of expired or damaged items and donate items that are still in good condition but no longer needed. This will help create more space and make it easier to find what you actually use.
Once you have narrowed down your supplies to the essentials, categorize them. Group similar items together, such as cleaning supplies, bathroom essentials, or kitchen tools. This will help you identify the types of storage solutions you need and make it easier to locate specific items when you need them.
Remember, the goal of decluttering and assessing your supplies is to create a streamlined and efficient under-sink area. By getting rid of unnecessary items and organizing the essentials, you’ll be setting the stage for a more functional space.
Choosing the Right Organizing Solutions
After decluttering and assessing your supplies, it’s time to choose the right organizing solutions for your under-sink area. There are various options available, so consider your needs and the space you have to work with.
Here are some popular organizing solutions to consider:
- Shelving units: Adjustable shelving units or stackable shelves can make the most of vertical space under the sink. They allow you to create multiple levels and customize the height to fit your items.
- Drawer organizers: Utilize small drawers or trays to keep smaller items organized. This is especially helpful for items like makeup, hair accessories, or kitchen utensils.
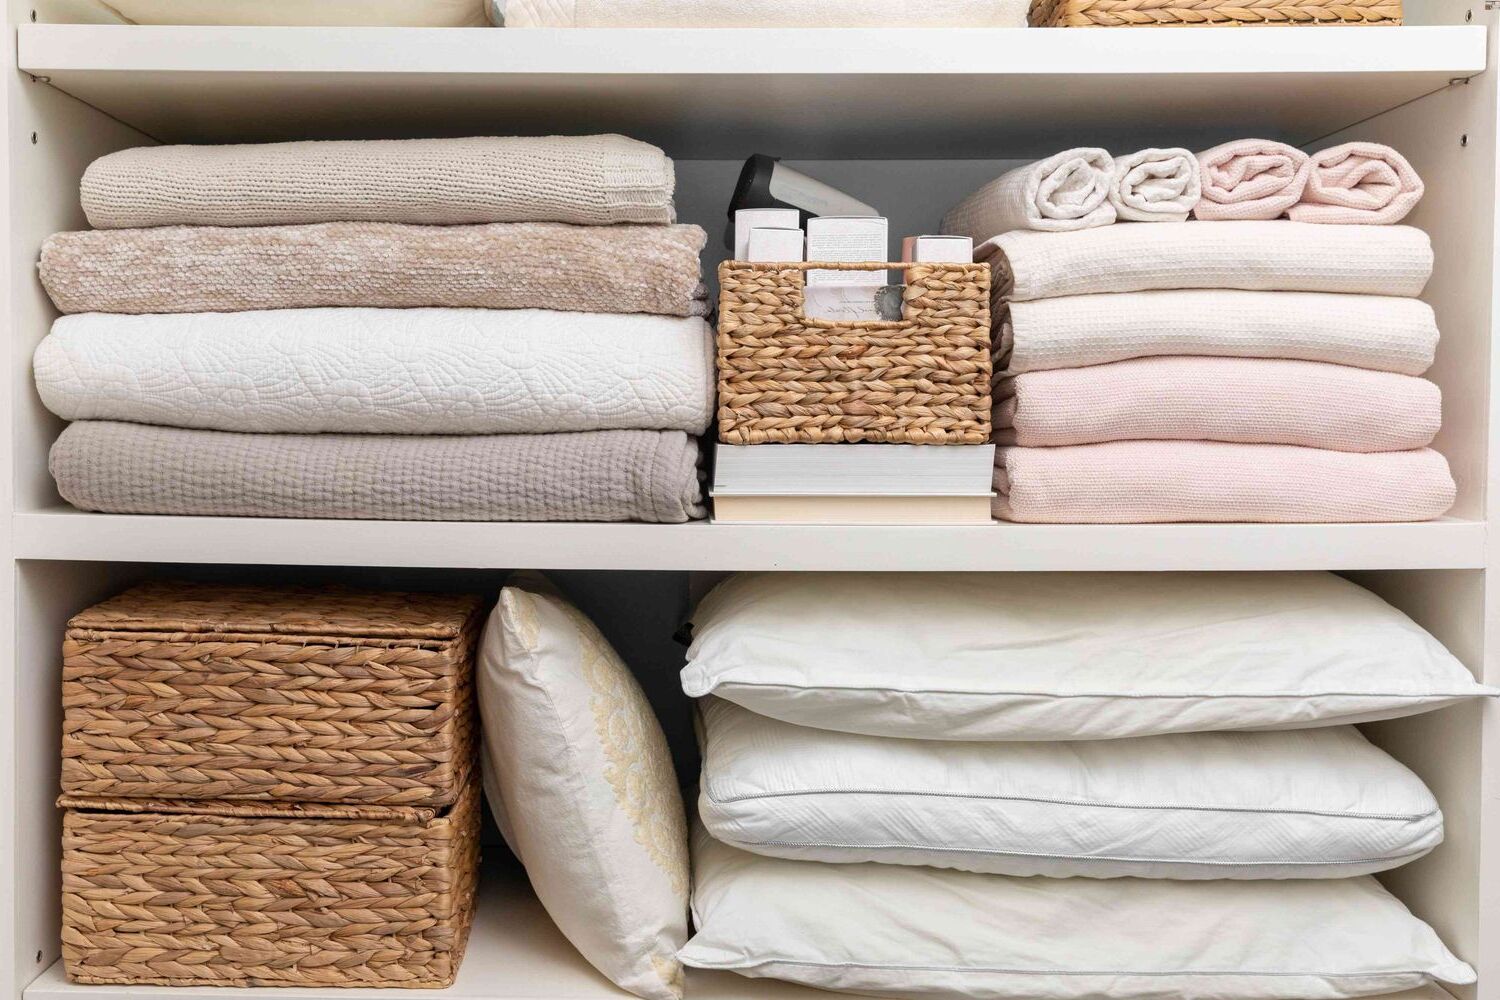
- Baskets or bins: Plastic or woven baskets are great for storing bulky items or grouping similar products together. Utilize clear bins to easily see what’s inside and label them for even more organization.
- Over-the-door organizers: If you have a cabinet door under the sink, consider using an over-the-door organizer with pockets or hooks. This provides additional storage space for items like cleaning brushes or sponges.
- Lazy Susans: These revolving trays are ideal for deeper cabinets. They allow you to easily access items at the back of the cabinet without having to dig through everything in front.
When choosing organizing solutions, consider the size and shape of the items you have and the space available under the sink. Measure the dimensions of your cabinet to ensure that the storage solutions you choose will fit properly. Additionally, opt for durable and waterproof materials that can withstand the humidity and potential water spills that can occur under the sink.
Don’t be afraid to mix and match organizing solutions to maximize your under-sink space. Customizing the storage solutions to your specific needs will make it easier to maintain an organized and functional area.
Clearing out the Space and Preparing it for Organization
Now that you have decluttered your supplies and chosen the right organizing solutions, it’s time to clear out the under-sink space and prepare it for organization. This step is crucial to ensure a clean and fresh start.
Follow these steps to clear out and prepare the space:
- Remove any remaining items: Take out any remaining items from under the sink, including old containers or cleaning tools. Wipe down the shelves or surfaces to remove any dust or grime.
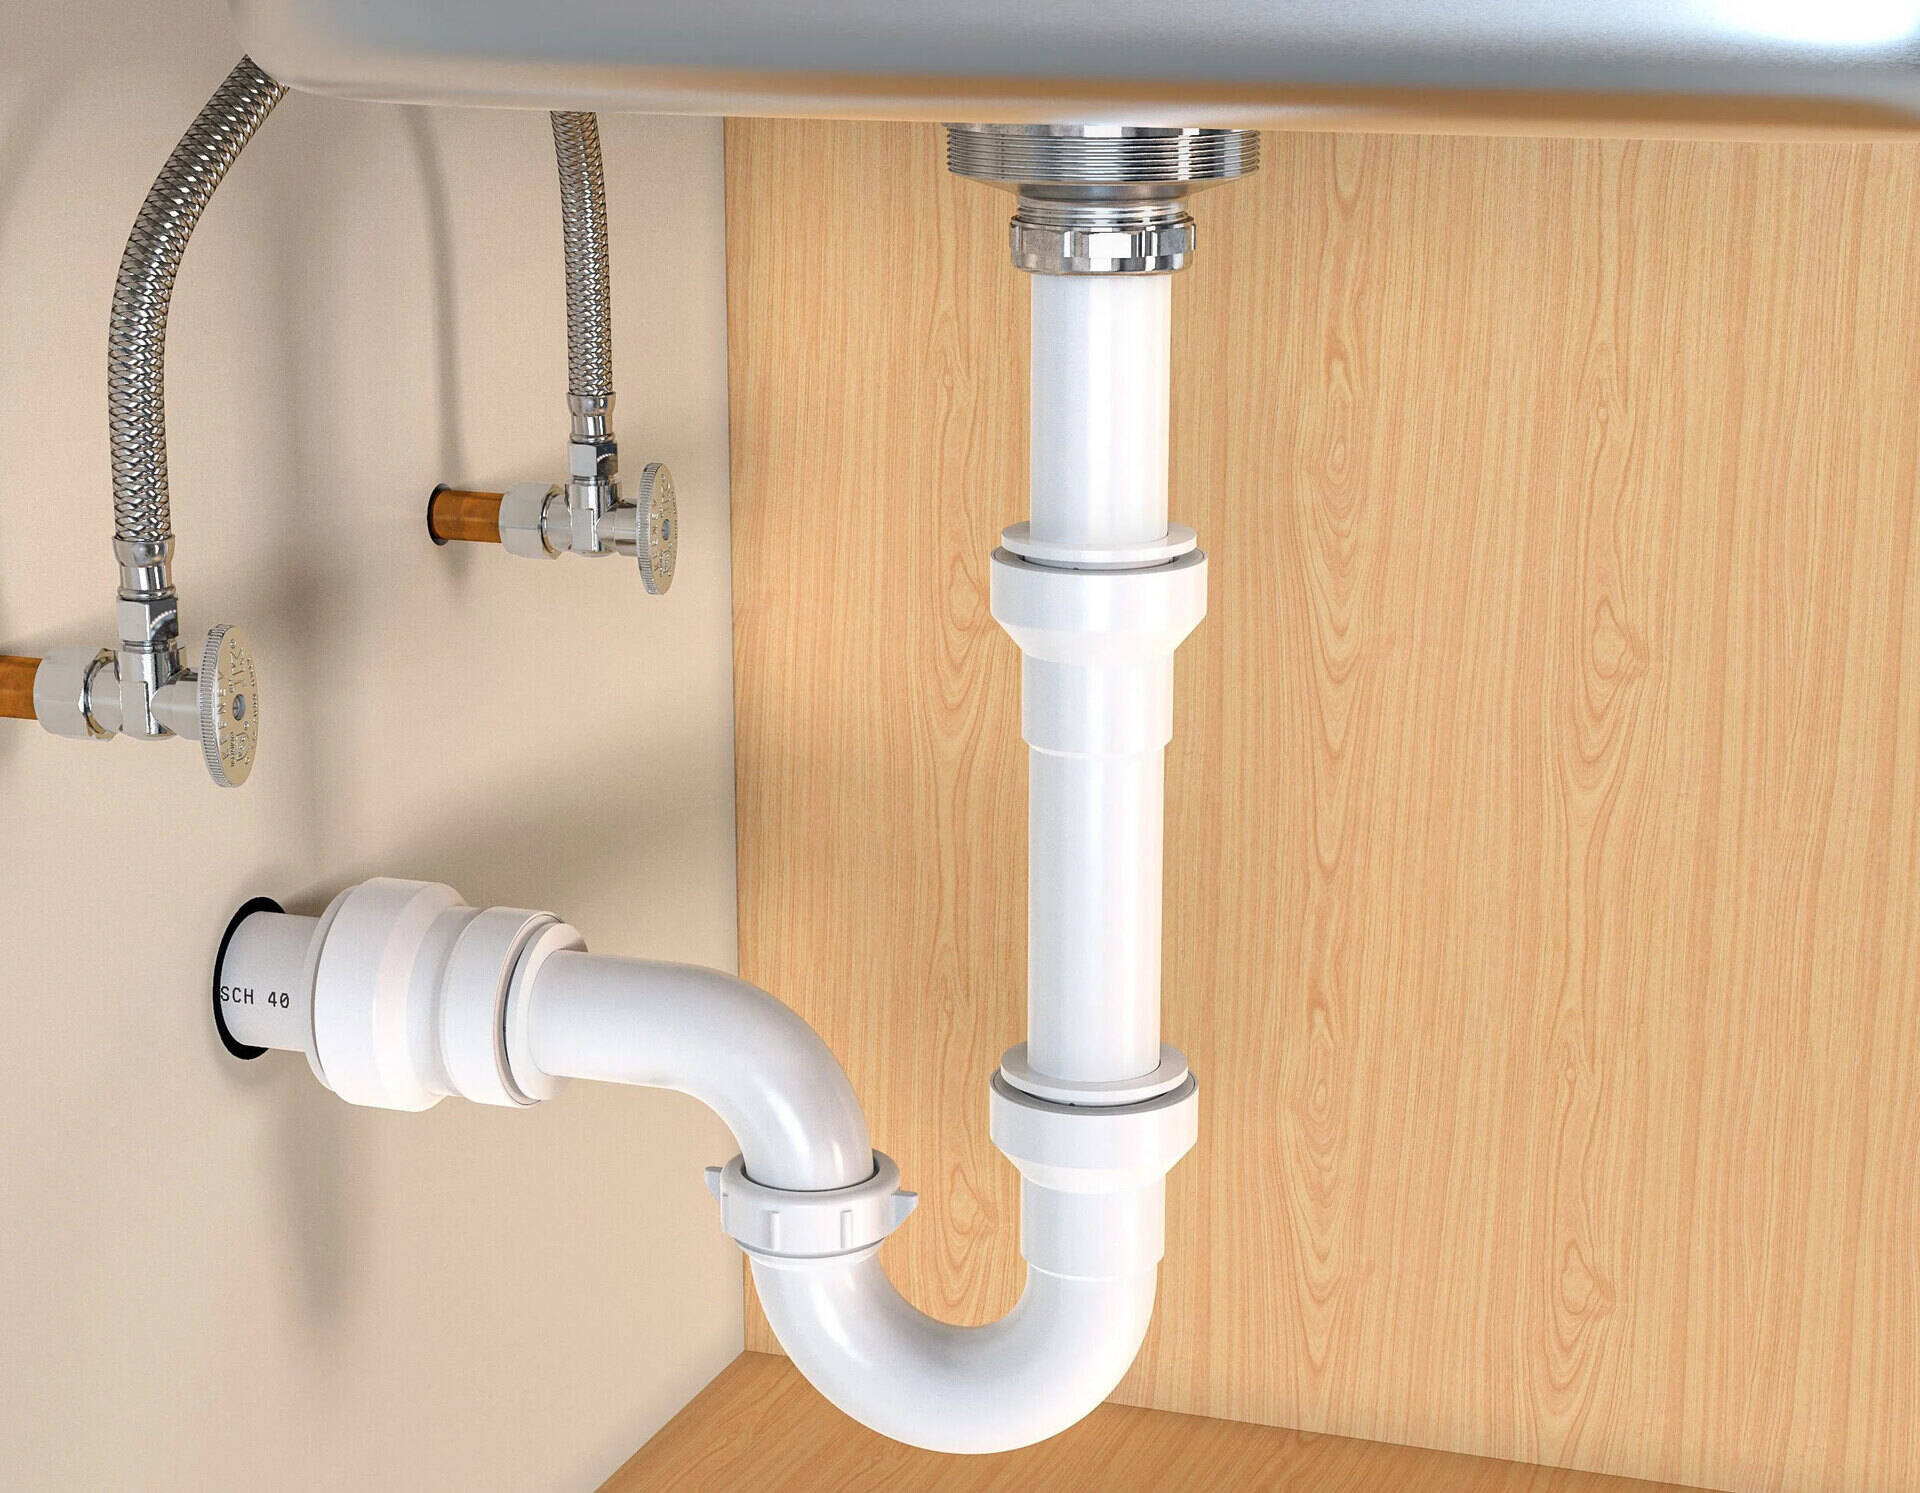
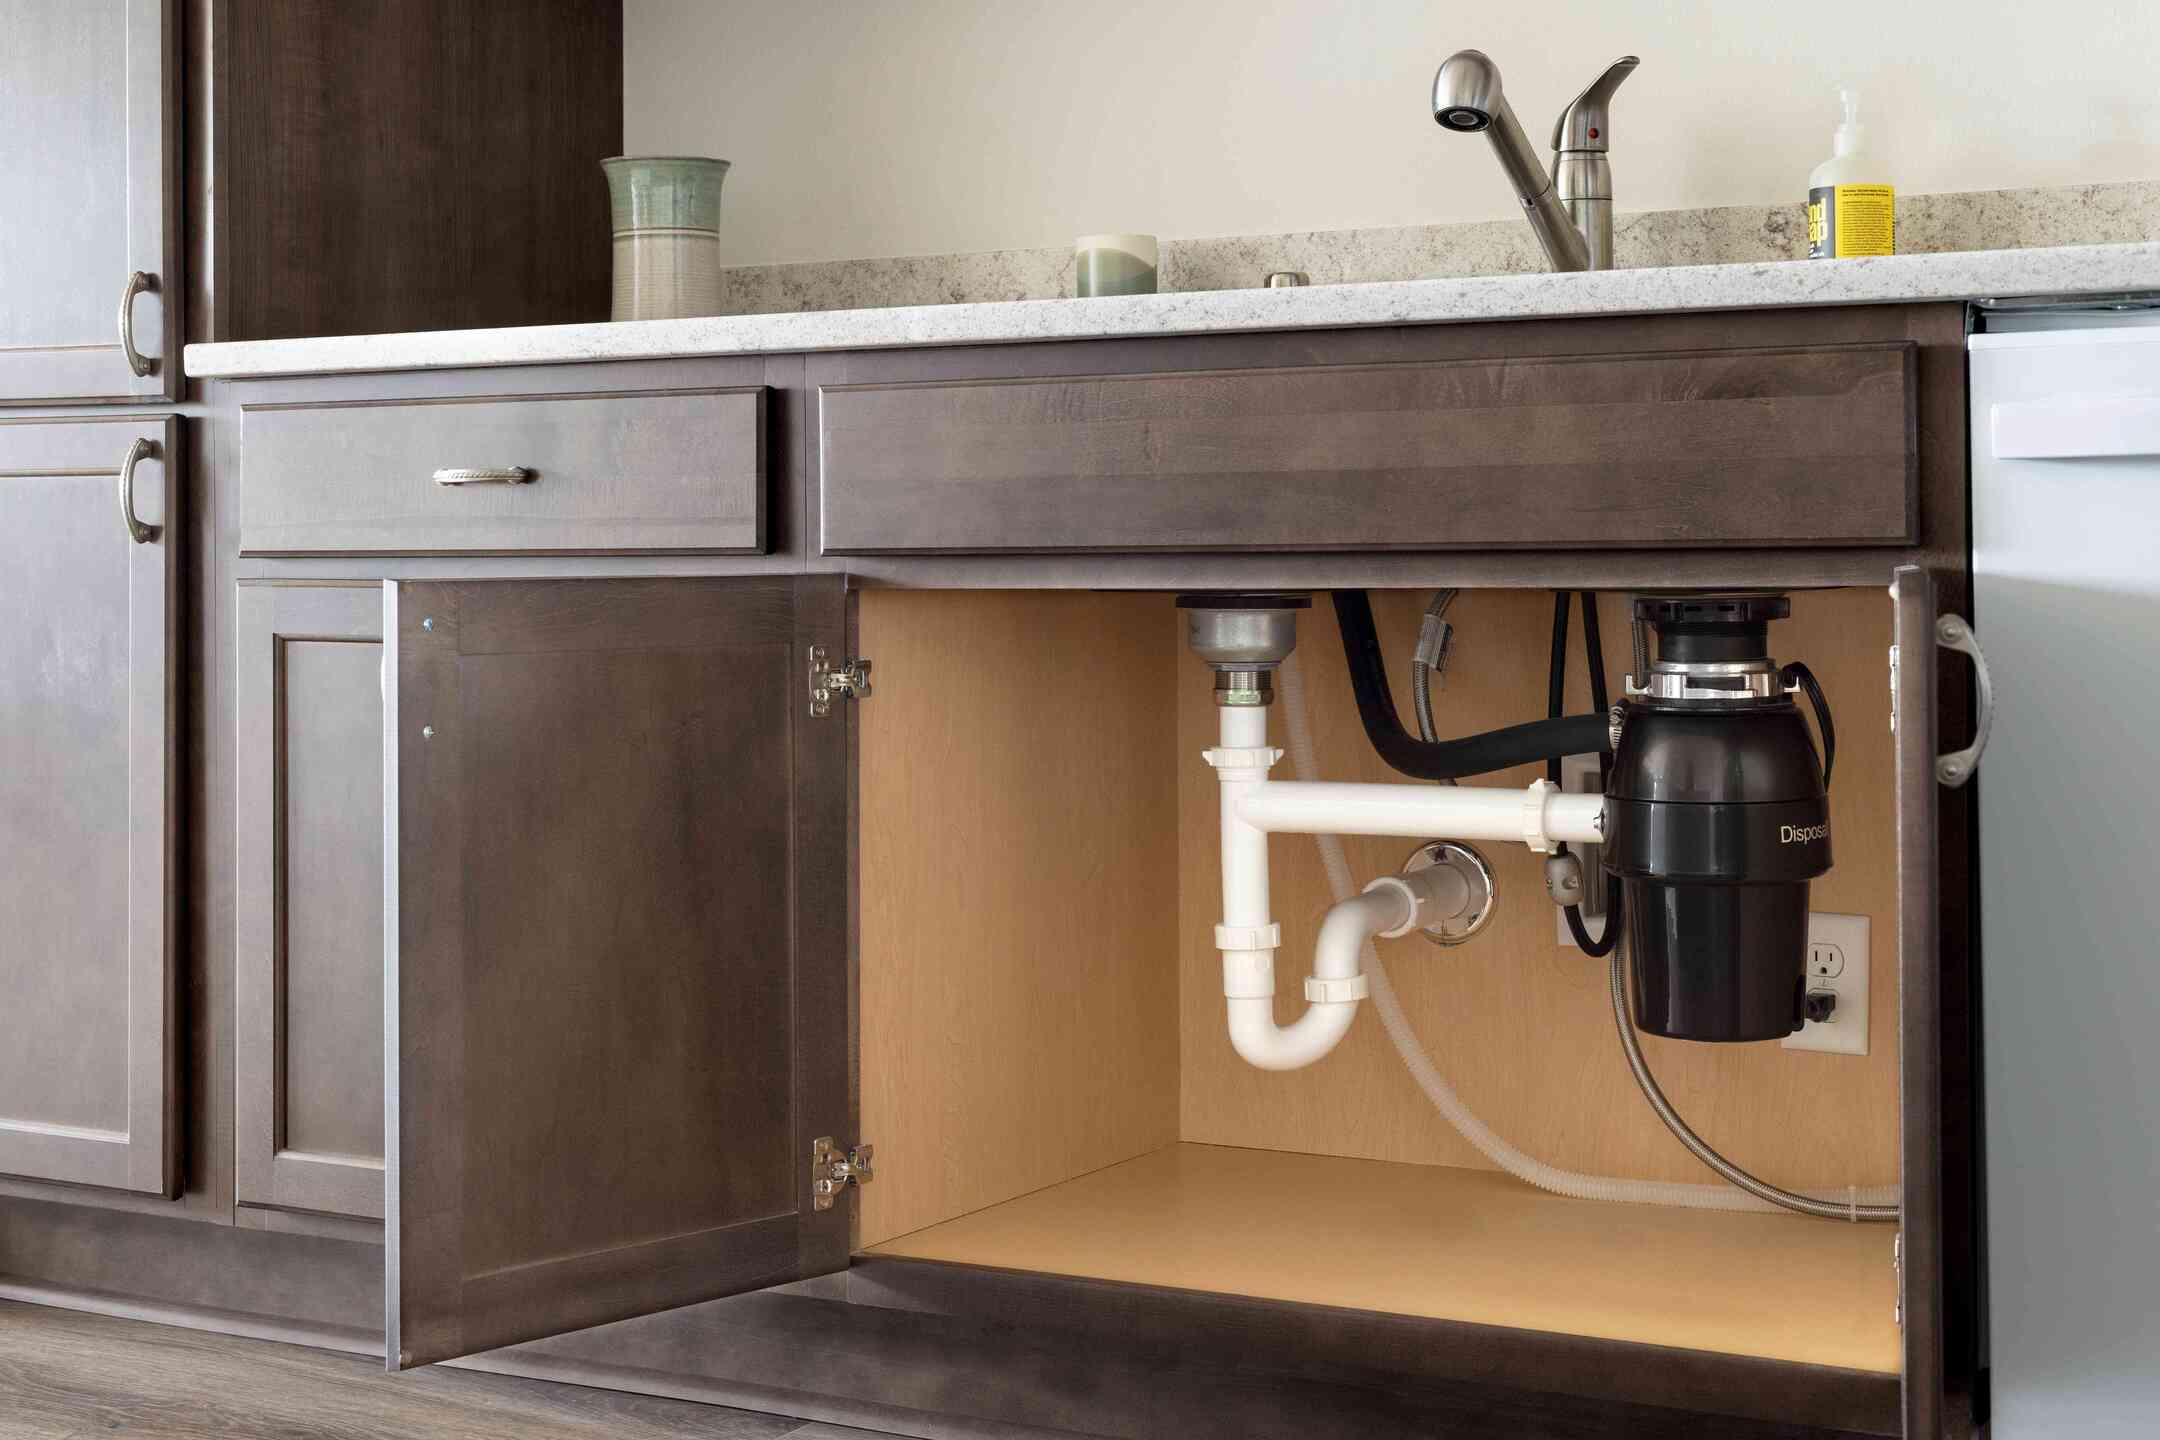
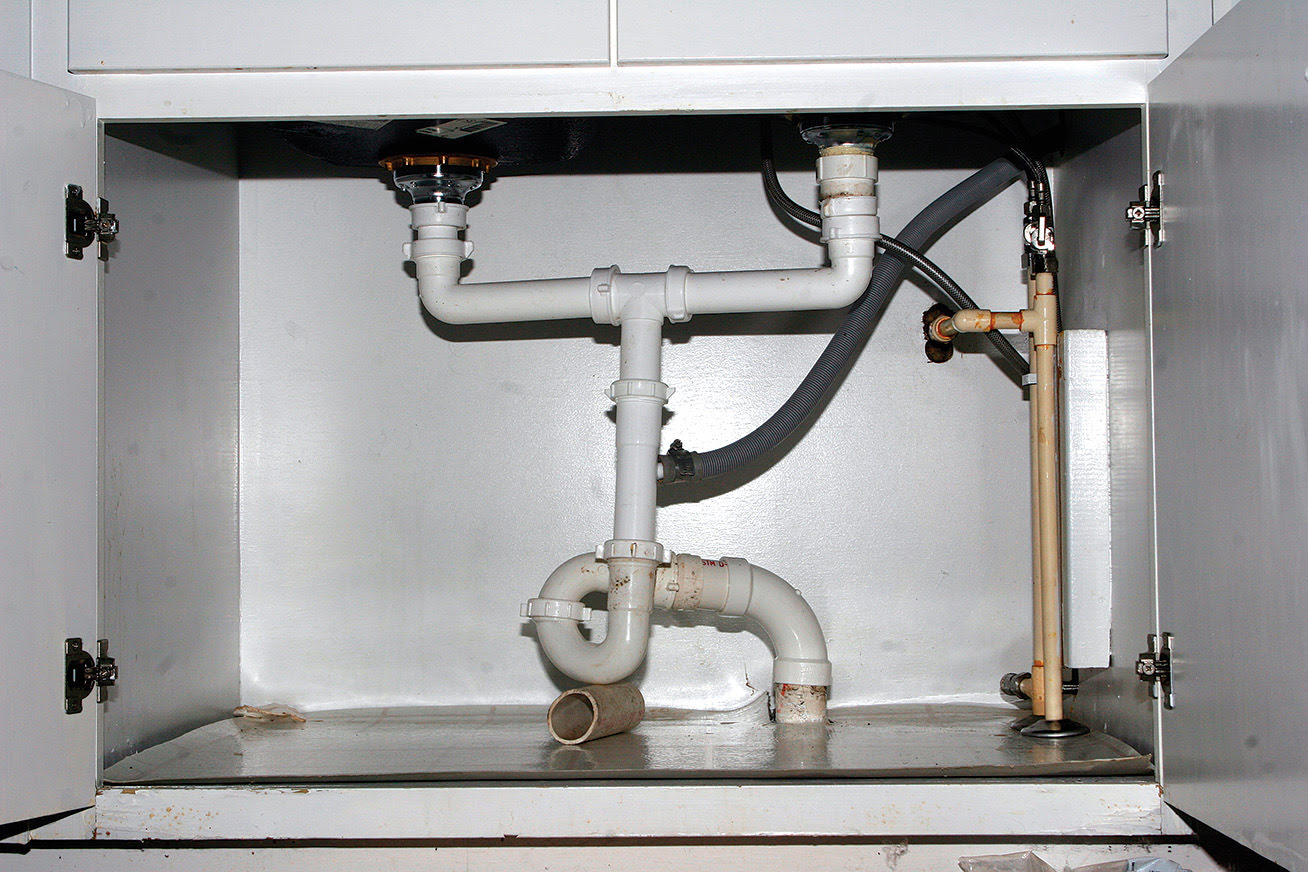
- Fix any leaks or water damage: Check for any leaks or water damage under the sink. Address any issues to prevent further damage and create a conducive environment for organizing.
- Install additional lighting: Improve visibility under the sink by installing adequate lighting. This can be in the form of battery-operated LED lights or even an adjustable under-cabinet light fixture.
- Consider adding a liner: Adding a liner to the bottom of the cabinet can protect it from spills and make cleaning easier. Choose a liner that is waterproof and easy to wipe down.
- Create designated zones: Before placing your organizing solutions, think about how you want to divide the space. Consider creating specific zones for cleaning supplies, personal care items, and other categories to ensure everything has its place.
By clearing out the space and taking these steps, you are setting the foundation for a well-organized under-sink area. The clean and prepped space will now serve as a blank canvas for the organization process.
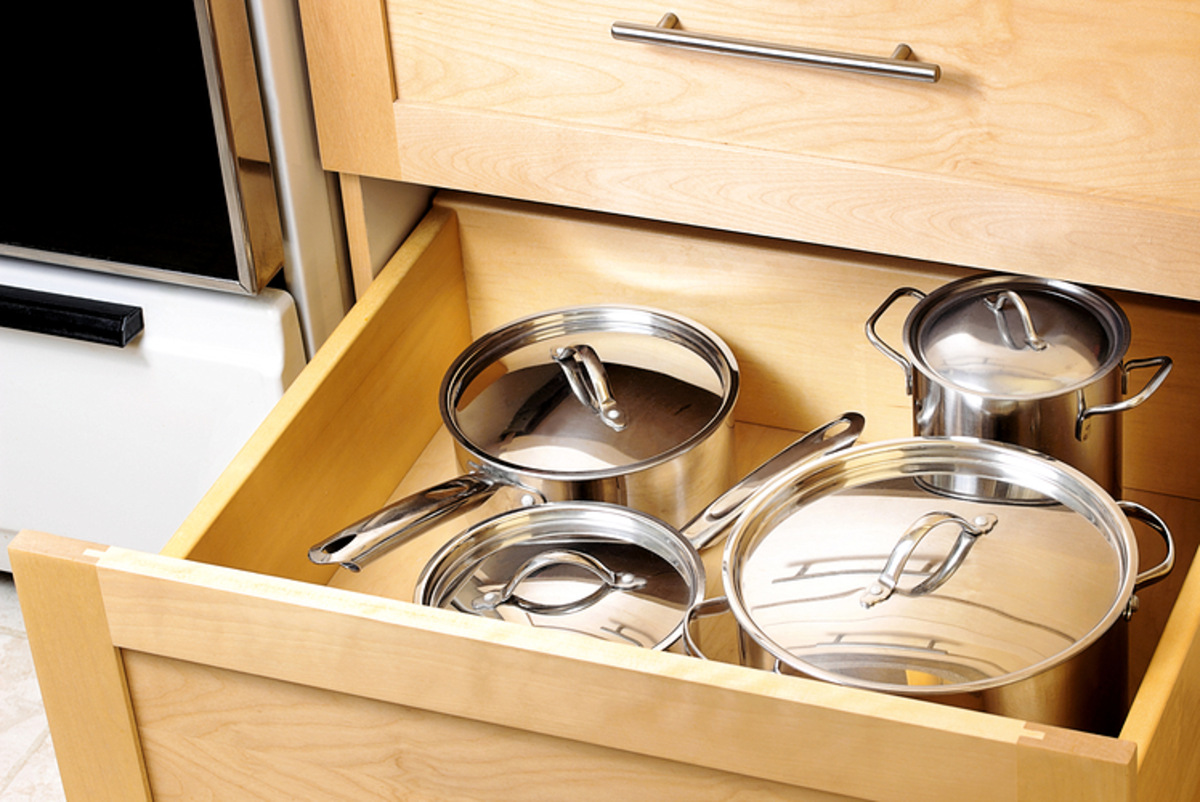
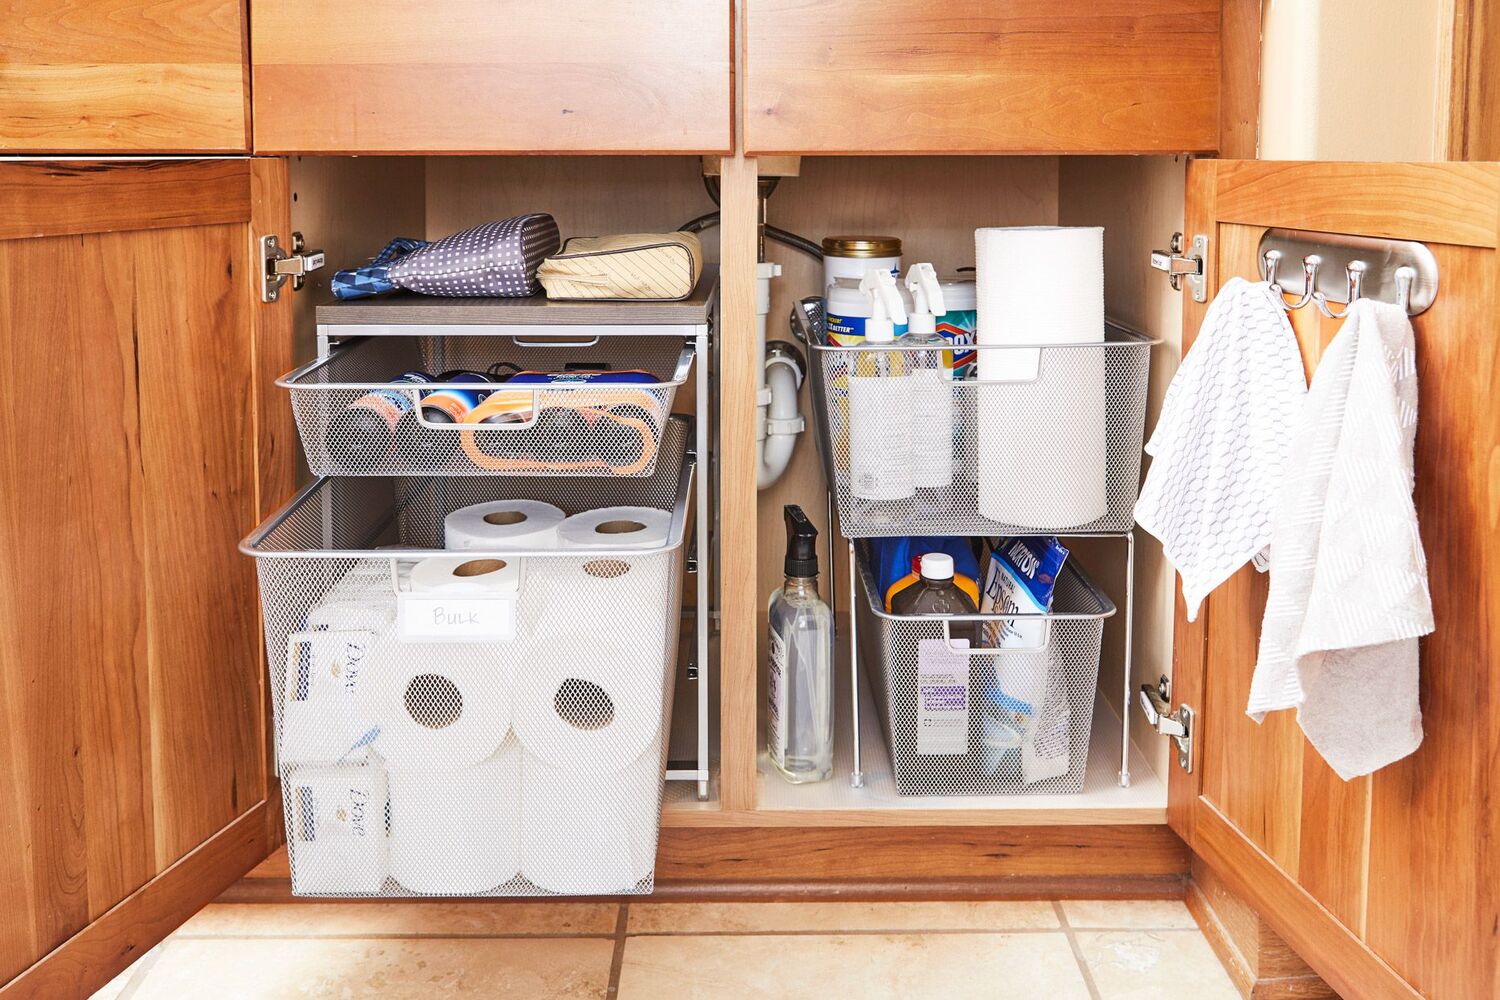
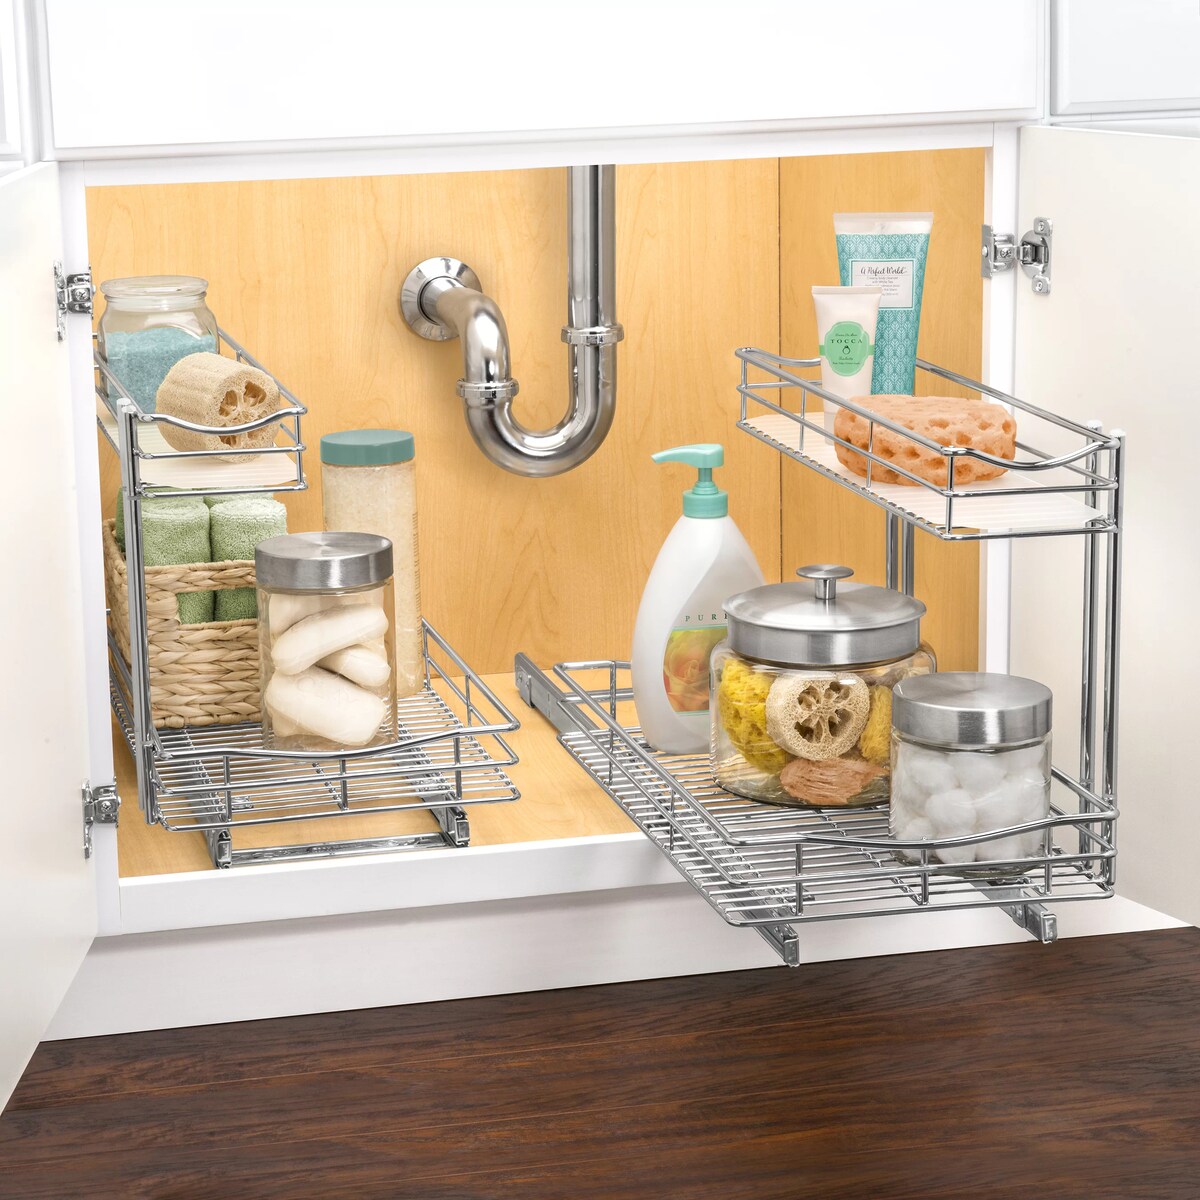
Use stackable bins or drawers to keep cleaning supplies organized and easily accessible under the sink. Group similar items together to maximize space and keep everything neat.
Adding Storage Solutions and Maximizing Space
With a cleared and prepared under-sink space, it’s time to add storage solutions and maximize the available space. By utilizing clever organizing techniques, you can make the most of even the smallest under-sink areas.
Consider the following tips when adding storage solutions:
- Utilize vertical space: Install adjustable or stackable shelves to maximize vertical space. This allows you to create multiple levels and effectively use the full height of the cabinet.
- Hang items on the cabinet doors: Use hooks or adhesive organizers on the inside of the cabinet doors to hang items such as brushes, sponges, or gloves. This makes use of otherwise wasted space.
- Invest in sliding drawers: Install sliding drawers or pull-out bins to easily access items at the back of the cabinet. These drawers allow you to pull the contents out for better visibility and reach.
- Group items in bins or baskets: Utilize plastic or woven bins to contain similar items together. Label the bins for easy identification, and consider using clear bins to see the contents at a glance.
- Make use of dividers: Install dividers within drawers or bins to create separate compartments. This helps keep items organized and prevents them from sliding around or mixing together.
Additionally, consider creative solutions to maximize space:
- Hang a tension rod: Install a tension rod near the top of the cabinet to hang spray bottles or dish towels.
- Attach hooks on the sides: Utilize the sides of the cabinet to hang small tools or even hang a small curtain rod to hang gloves or scrub brushes.
- Use adhesive velcro strips: Attach adhesive velcro strips to the inside of the cabinet doors to secure smaller items like measuring spoons or hair accessories.
Remember, the key to maximizing space is to think vertically and utilize every inch available. By incorporating the right storage solutions and thinking creatively, you’ll be able to transform your under-sink area into a functional and efficient space.
Arranging Supplies and Creating Categories
Now that you have added storage solutions and maximized the space under your sink, it’s time to arrange your supplies and create categories. This step is crucial for maintaining an organized and easily accessible under-sink area.
Follow these steps to arrange your supplies and create categories:
- Group similar items together: Arrange your supplies by category. Place cleaning products together, personal care items in another group, and so on. This will make it easier to find what you need and prevent clutter.
- Consider frequency of use: Arrange the items based on their frequency of use. Keep the products you use most frequently within easy reach, while less frequently used items can be stored towards the back or higher shelves.
- Use containers or bins: Utilize containers or bins to further organize your supplies within each category. For example, place all your cleaning sprays in one bin, bathroom essentials in another, and so on. This will help keep everything neat and prevent items from shifting around.
- Label everything: Labeling your containers or bins is essential for maintaining an organized under-sink area. Use labels or markers to clearly identify the contents of each container. This not only helps you find what you need quickly, but it also helps maintain the organization in the long run.
- Consider accessibility: Make sure the items you use most frequently are easily accessible. Place them towards the front or in easily reachable spots. This will save you time and effort when you need to grab something quickly.
Remember, the goal is to create a logical and intuitive system for organizing your supplies. By arranging them by category, considering frequency of use, and utilizing containers with clear labels, you’ll be able to maintain an organized under-sink area for the long term.
Maintaining an Organized Under-Sink Area
Now that you have successfully organized your under-sink area, it’s important to establish a maintenance routine to keep it organized and functional. Here are some tips to help you maintain an organized under-sink space:
- Regularly declutter and assess: Set a schedule to declutter and assess your supplies every few months. Take the time to remove any expired or unused items, reorganize if necessary, and ensure everything is in its designated place.
- Wipe down and clean: Take the opportunity to wipe down the surfaces under the sink regularly. Use a damp cloth or disinfectant wipes to keep the area clean and free of dust or spills. This will help maintain a hygienic space.
- Resist the urge to overstuff: Avoid the temptation to overcrowd your under-sink space. Stick to the organizing system you have established and resist the urge to cram in additional items. Leaving some breathing room will make it easier to find what you need and prevent items from becoming disorganized.
- Replenish and replace: As you use up supplies, make it a habit to replenish them promptly. This prevents the under-sink area from becoming disorganized due to half-empty or expired items. Check the expiration dates on cleaning products and personal care items regularly, and replace them as needed.
- Stay consistent: Finally, consistency is key in maintaining an organized under-sink area. Make it part of your routine to put things back in their designated spots after each use. Encourage other members of your household to do the same to ensure everyone is working together to maintain the organization.
By following these maintenance tips and staying consistent, you’ll be able to enjoy the benefits of an organized under-sink area for years to come. Not only will it save you time and frustration when searching for supplies, but it will also create a clean and functional space in your home.
Conclusion
Organizing the space under the sink may seem like a daunting task, but with the right approach and tools, it can become a truly functional and efficient area in your home. By decluttering and assessing your supplies, choosing the right organizing solutions, clearing out the space, and adding storage solutions, you can transform the under-sink area into a well-organized oasis.
Remember to arrange your supplies, create categories, and label everything to maintain a streamlined system. Regularly decluttering, cleaning, and replenishing supplies will help you maintain the organization over time.
A well-organized under-sink area not only enhances the overall aesthetics of your home but also saves you time and eliminates frustration when you need to find specific items. It allows for easier cleaning, prevents wasteful duplication of supplies, and promotes a sense of calm and order in your daily life.
So, whether it’s in the kitchen, bathroom, or laundry room, take the time to invest in organizing under the sink. The benefits of a neat and accessible space will far outweigh the effort put into creating it.
Start implementing these tips today and experience the joy and convenience of an organized under-sink area in your home. Happy organizing!
Frequently Asked Questions about Organizing Under The Sink: Keep Supplies Neat And Accessible
Was this page helpful?
At Storables.com, we guarantee accurate and reliable information. Our content, validated by Expert Board Contributors, is crafted following stringent Editorial Policies. We're committed to providing you with well-researched, expert-backed insights for all your informational needs.


0 thoughts on “Organizing Under The Sink: Keep Supplies Neat And Accessible”