Home>Garden Essentials>How To Draw A Landscape Design On Graph Paper Easily
Garden Essentials
How To Draw A Landscape Design On Graph Paper Easily
Modified: August 24, 2024
Learn how to easily draw a garden landscape design on graph paper. Create your dream garden layout with our step-by-step guide and unleash your creativity.
(Many of the links in this article redirect to a specific reviewed product. Your purchase of these products through affiliate links helps to generate commission for Storables.com, at no extra cost. Learn more)
Introduction
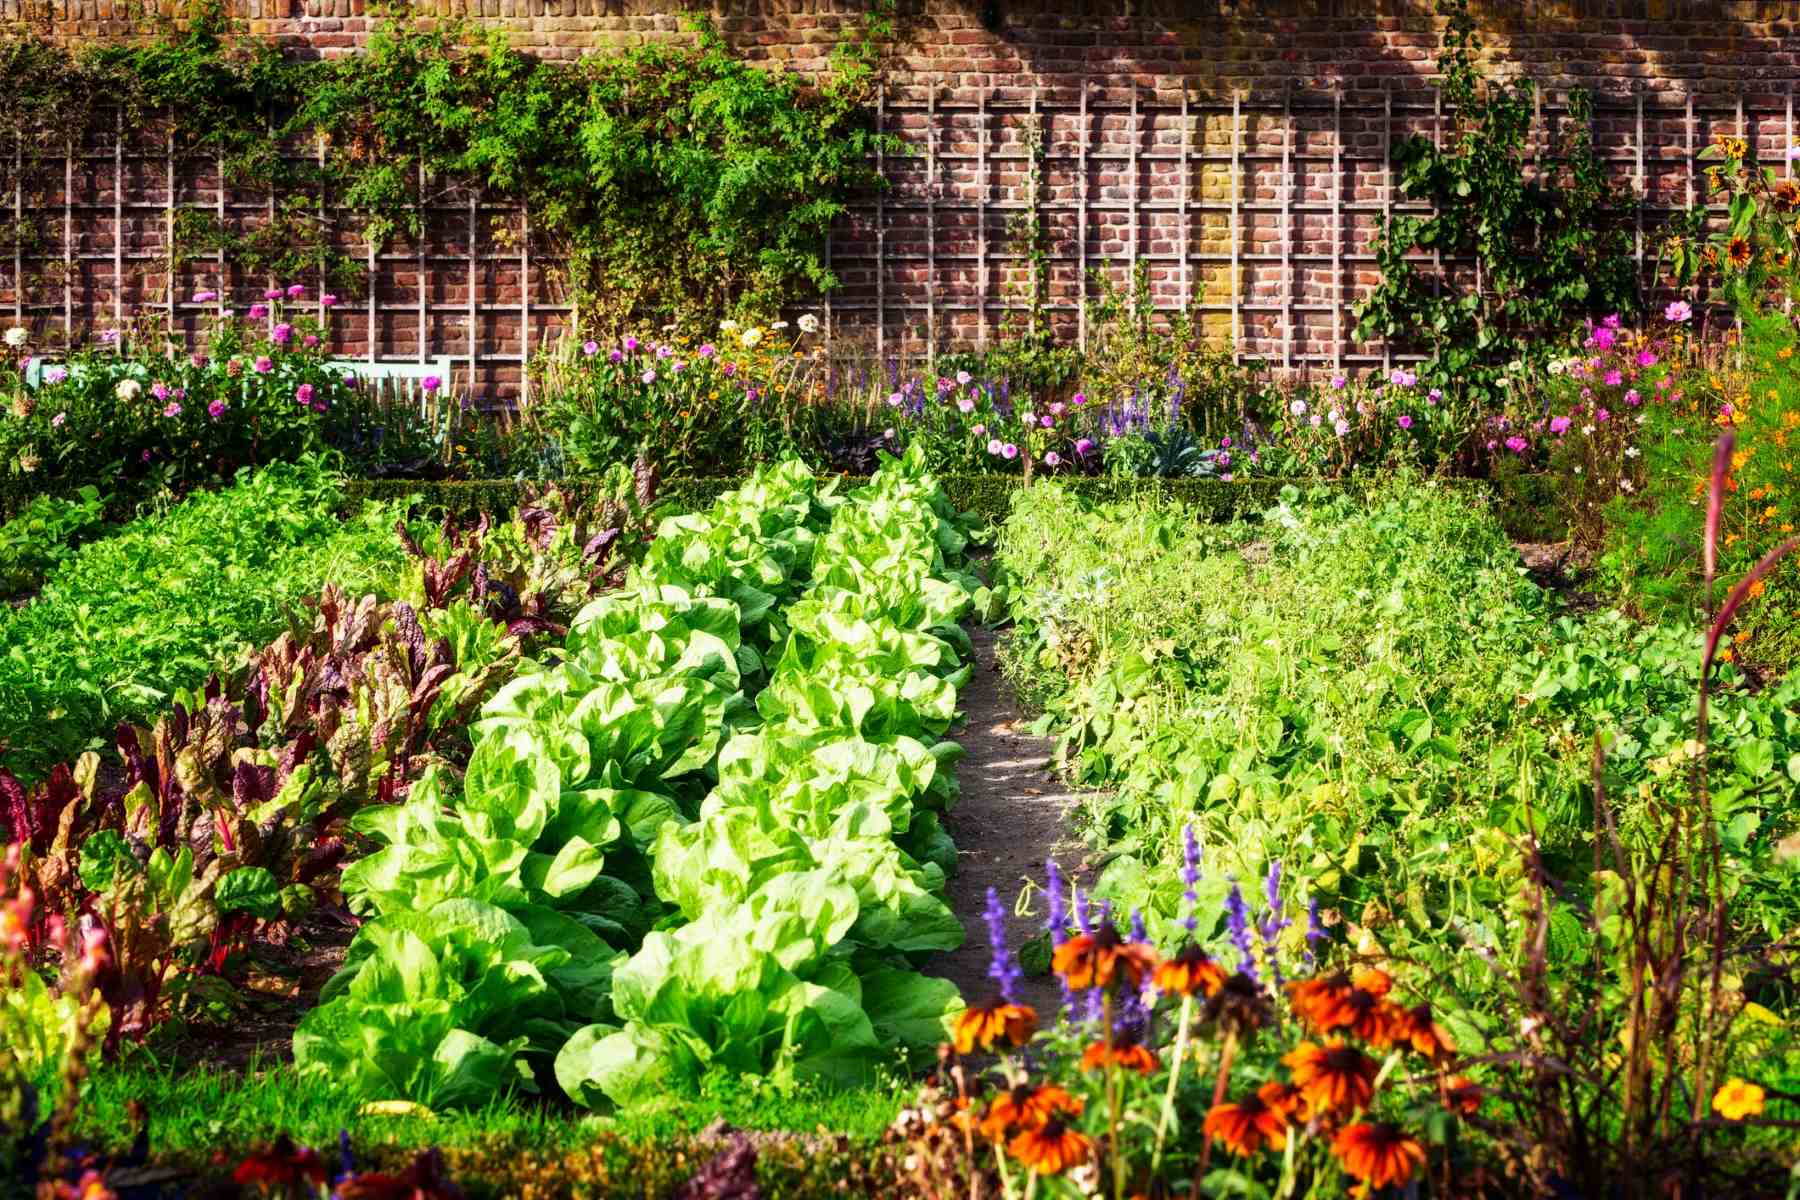
Welcome to the world of landscape design! Whether you are a seasoned gardener or a beginner with a green thumb, creating a landscape design can be a rewarding and fulfilling experience. A well-designed garden not only enhances the beauty of your outdoor space but also adds value to your property.
One essential tool that can help you in the process of visualizing and planning your landscape design is graph paper. This simple grid paper can be a valuable aid in accurately depicting the various elements of your garden layout. In this article, we will guide you through the steps to draw a landscape design on graph paper easily. So, grab your pencils and let’s get started!
Key Takeaways:
- Designing a garden on graph paper is a fun and creative way to plan your dream outdoor space. It helps you visualize and organize your ideas, making it easier to bring your garden to life.
- By following the step-by-step process of gathering inspiration, choosing a scale, and adding color and texture, you can create a beautiful and functional garden design that reflects your personal style and vision.
Read more: How To Draw A Floor Plan On Graph Paper
Materials Needed
Before you begin creating your landscape design on graph paper, it’s important to gather the necessary materials. Here’s a list of items you’ll need:
- Graph paper: Choose a sheet of graph paper with a suitable scale for your design. You can find graph paper at your local office supply store or print it out from online sources.
- Pencils: Have a range of pencils available, including a variety of lead hardness (such as HB, 2B, and 4B) for different line weights and shading.
- Eraser: A good quality eraser will come in handy to correct any mistakes or make modifications to your design.
- Straightedge: Use a ruler or a straightedge to draw straight lines and maintain neatness in your design.
- Coloring tools: Optional, but if you want to add a splash of color to your design, you can use colored pencils, markers, or watercolor paints.
- Inspiration: Gather magazines, books, or browse online resources for inspiration and ideas that will help you plan your landscape design.
Once you have these materials ready, you’re all set to begin creating your landscape design on graph paper.
Step 1: Gathering Inspiration
Before you start drawing your landscape design on graph paper, it’s essential to gather inspiration and ideas to help you visualize the look and feel you want for your outdoor space. Inspiration can come from a variety of sources, such as garden magazines, books, websites, or even visits to local parks and gardens. Here’s how you can gather inspiration:
- Browse magazines and books: Look for articles or images that showcase different styles of gardens and landscapes. Pay attention to elements like plant combinations, color schemes, and overall layout.
- Explore online resources: There are numerous websites and social media platforms dedicated to gardening and landscape design. Browse through online photo galleries, blogs, and forums to gather ideas and learn from expert gardeners.
- Visit local gardens and parks: Take a trip to nearby botanical gardens, public parks, or even your neighbors’ gardens to see what inspires you. Observe the use of plants, hardscape features, and artistic elements in these spaces.
- Consider your surroundings: Take into account the natural landscape and climate of your area. Look for designs and plants that are suitable for your region to ensure successful growth and minimal maintenance.
- Create a mood board: Once you have gathered images and ideas, create a mood board or a collage to visualize the elements you like. This will help you establish a cohesive theme for your landscape design.
Gathering inspiration is an important first step as it will help you define your style and preferences. It will also serve as a guide while you work on drawing your landscape design on graph paper. Remember, borrowing ideas or adapting them to fit your personal taste is perfectly acceptable in the world of landscape design.
Step 2: Choosing a Scale
Now that you have gathered inspiration and have a vision for your landscape design, it’s time to choose a scale for your graph paper. The scale determines the ratio between the measurements on the graph paper and the actual dimensions of your outdoor space. Here’s how to choose a scale:
- Evaluate the size of your outdoor space: Take measurements of your yard or garden to determine its dimensions. This will help you determine how much area you have to work with.
- Consider the level of detail: Decide how detailed you want your landscape design to be. If you have a small space, you may want to use a larger scale to capture intricate details. For larger areas, a smaller scale can give you a more comprehensive overview.
- Choose a suitable scale: Common scales used in landscape design are 1/8 inch equals 1 foot (1:96 scale), 1/4 inch equals 1 foot (1:48 scale), or 1/2 inch equals 1 foot (1:24 scale). Select the scale that best fits the size and level of detail you want to achieve.
- Mark the scale on your graph paper: Use a ruler or straightedge to mark the scale at the top or bottom of your graph paper. This will ensure accuracy and consistency as you draw your landscape design.
Choosing the right scale is crucial as it allows you to accurately represent the dimensions of your outdoor space and the elements you plan to include in your design. It’s important to maintain the scale throughout the drawing process to create a realistic representation of your future garden.
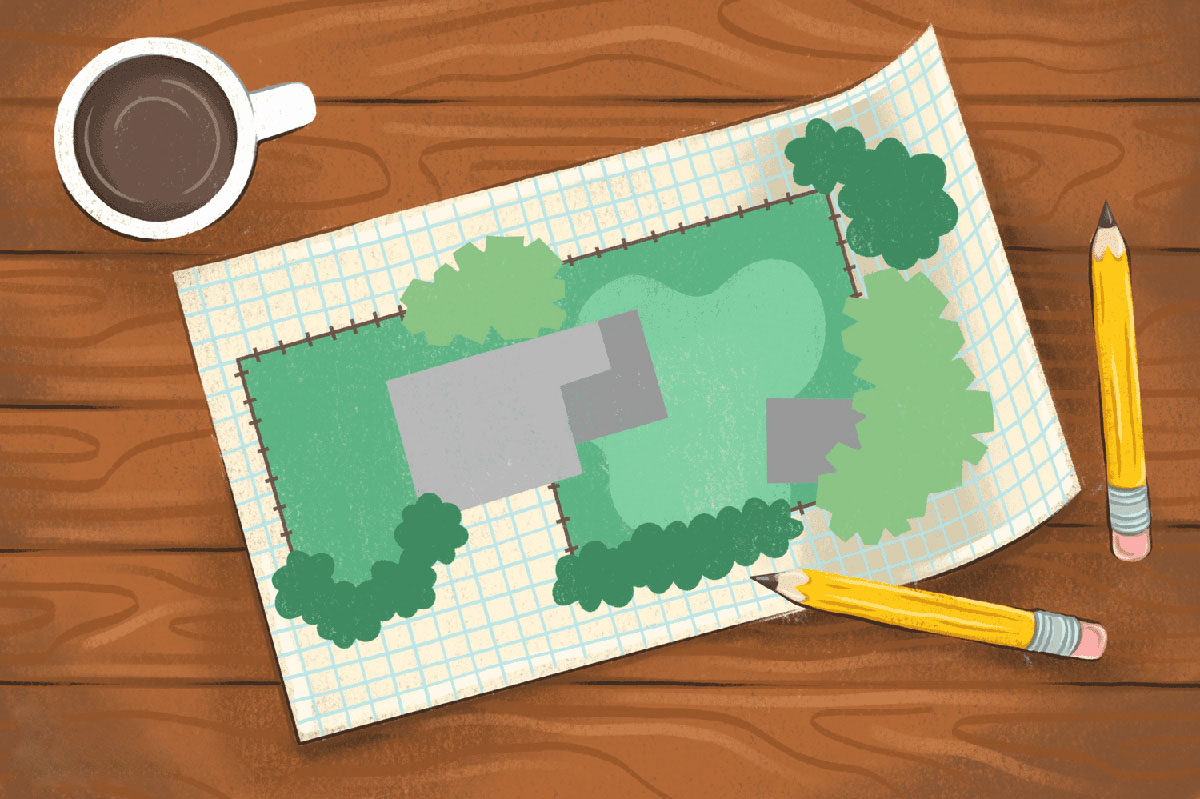
Step 3: Drawing the Frame
With the scale chosen, you can now start drawing the frame of your landscape design on graph paper. The frame serves as the boundary for your design and helps you visualize how your garden will fit into the available space. Follow these steps to draw the frame:
- Identify the boundaries: Determine the boundaries of your outdoor space. This could be the property lines or any physical features that define the edges of your garden.
- Mark the boundaries on the graph paper: Use your scale to determine the appropriate measurements and mark the boundaries on the graph paper. Start by drawing horizontal and vertical lines, ensuring they align with the scale at the top or bottom of the paper.
- Include existing structures: If you have existing structures in your yard, such as a house, deck, or patio, incorporate them into your design by drawing them within the frame. This will help you visualize how the landscape elements will interact with these structures.
- Add orientation: Consider the direction of sunlight and prevailing winds in your area. Indicate the north direction on your graph paper by drawing an arrow. This will help you plan the placement of plants and other elements in your design.
By drawing the frame, you establish the boundaries and orientation of your landscape design. It provides a framework for the placement of various elements and allows you to envision how your garden will fit into its surroundings. With the frame in place, you’re ready to move on to the next step: adding landscape elements.
Read more: How To Draw A Chandelier Easily
Step 4: Adding Landscape Elements
Now that you have drawn the frame of your landscape design, it’s time to start adding the various landscape elements that will constitute your garden. These elements can include trees, shrubs, flowers, pathways, and other features that contribute to the overall aesthetic and functionality of your outdoor space. Follow these steps to add landscape elements to your design:
- Start with the focal point: Determine the focal point of your garden. It could be a large tree, a striking sculpture, or a beautiful flower bed. Place the focal point within the frame, keeping in mind the principles of design and the desired visual impact.
- Consider the layout: Plan the layout of your landscape elements based on their size, growth requirements, and maintenance needs. Arrange them in a way that creates balance, harmony, and a pleasing visual flow.
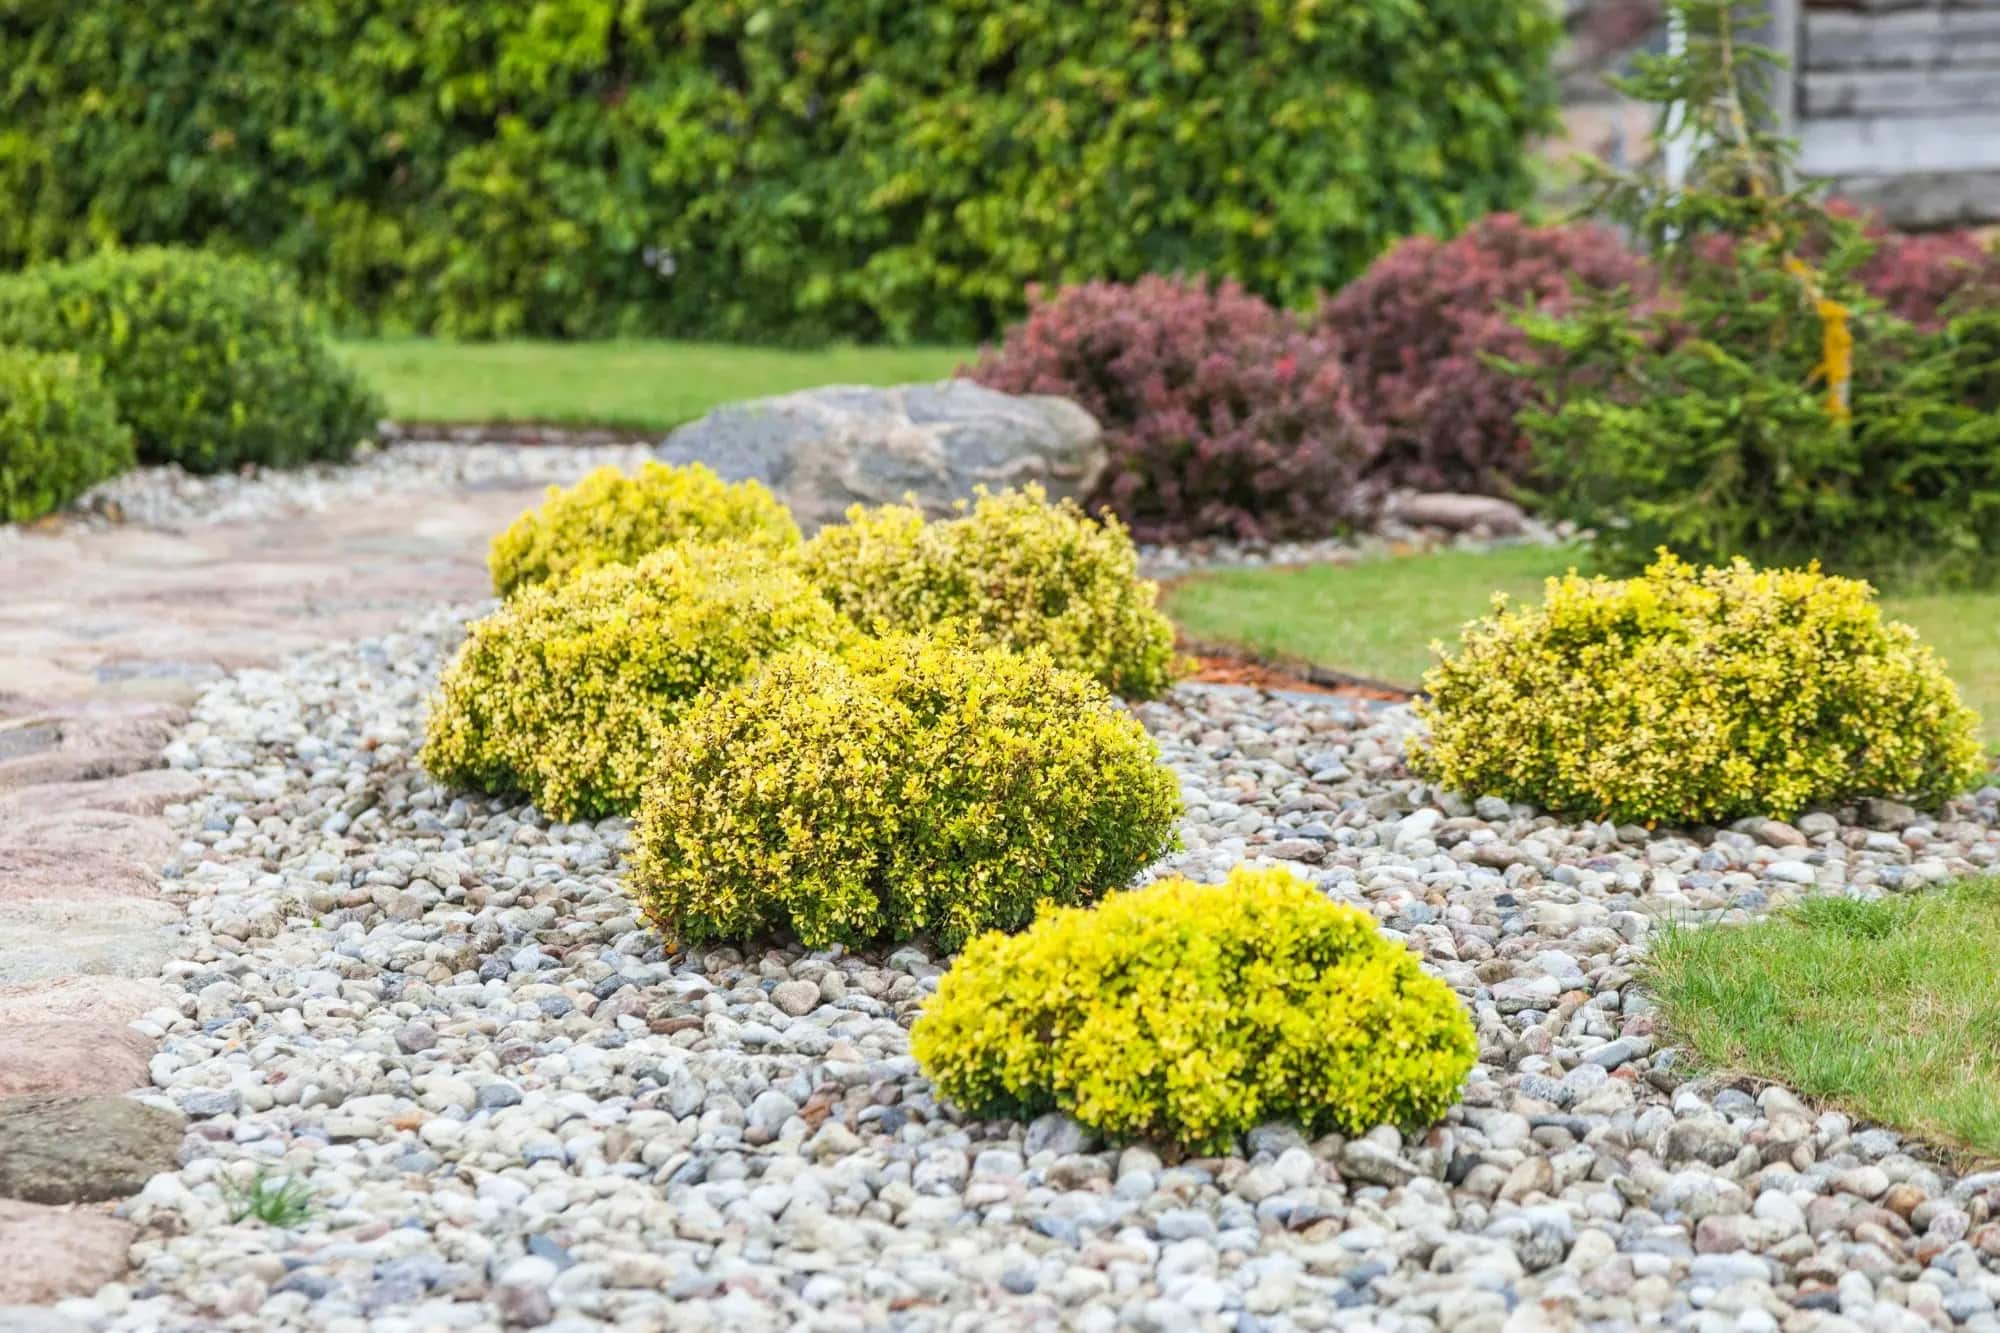
- Add trees and shrubs: Use different symbols or shapes to represent trees and shrubs in your design. Consider their height, spread, and seasonal characteristics when placing them within the frame. This will help you visualize how they will contribute to the overall structure and ambiance of your garden.
- Include flower beds and borders: Draw flower beds, borders, or planting areas using curved or straight lines, depending on the desired effect. Allocate space for different types of flowers, considering their colors, heights, and blooming seasons.
- Sketch paths and walkways: Add paths and walkways to guide visitors through your garden. Determine the width and direction of these pathways, keeping in mind accessibility and the flow of foot traffic.
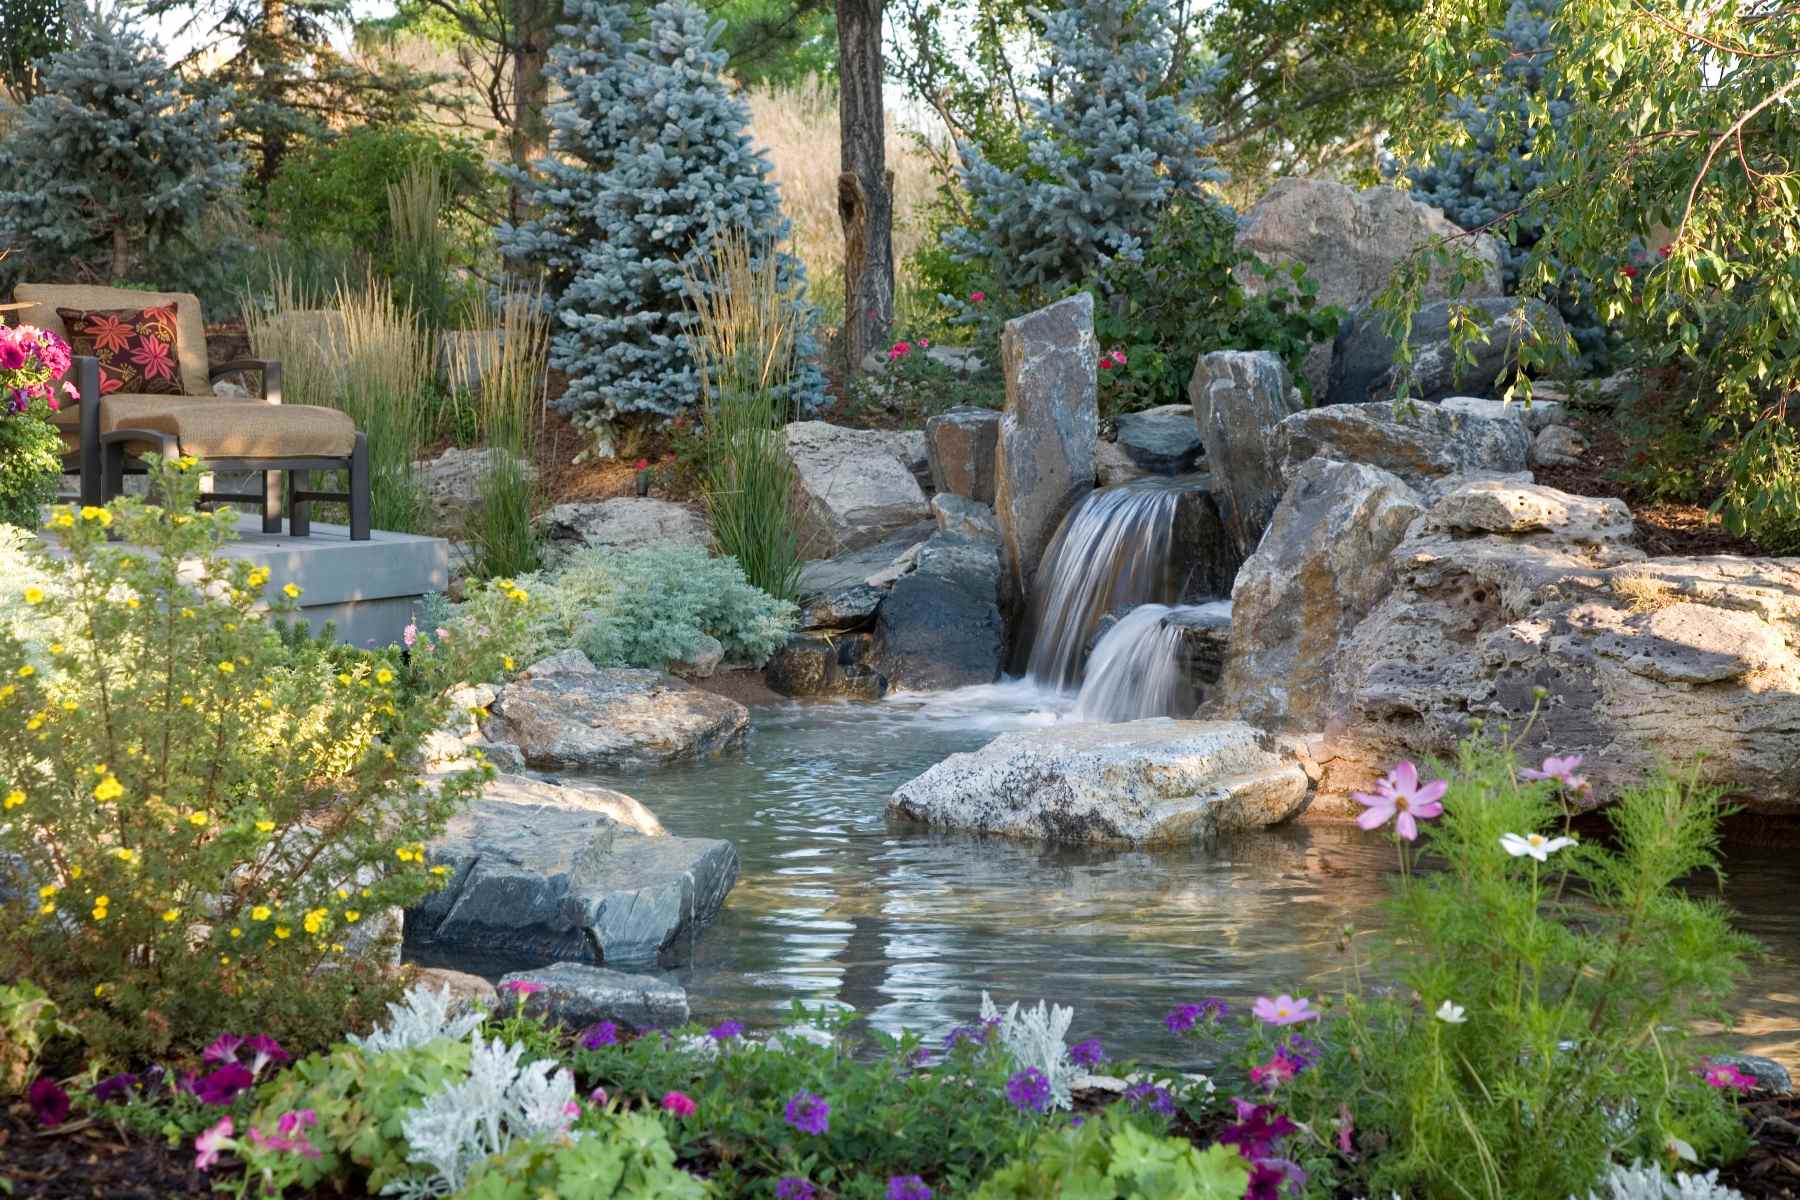
- Incorporate water features: If you plan to include a pond, fountain, or any other water feature, mark their location within the design. Consider the scale, size, and positioning to ensure they integrate seamlessly into your landscape.
Remember to refer to your inspiration and desired style as you add landscape elements. This step will bring your garden to life on paper, allowing you to visualize its composition and layout. Once you’re satisfied with the placement of these elements, you can move on to the next step: incorporating hardscape features.
When drawing a landscape design on graph paper, start by sketching the outline of the area and then use the grid lines to scale your design. Each square can represent a specific measurement, making it easier to plan out your layout.
Step 5: Incorporating Hardscape Features
Now that you have added the natural elements to your landscape design, let’s move on to incorporating the hardscape features. Hardscape refers to the non-living elements of your garden such as patios, decks, pathways, fences, and other structures. These features add structure, functionality, and visual interest to your outdoor space. Follow these steps to incorporate hardscape features into your design:
- Identify and mark the hardscape areas: Determine where you want to place hardscape features in your garden. It could be a patio for outdoor seating, a deck for entertaining, or a pathway for easy navigation. Mark these areas on your graph paper using different shapes or symbols.
- Determine the size and dimensions: Consider the size and dimensions of the hardscape features. Measure and represent them on the graph paper to ensure accurate placement and alignment.
- Add texture and patterns: Use different line styles or shading techniques to represent the materials and textures of the hardscape features. For example, use dashed lines for gravel pathways, solid lines for concrete surfaces, or dot patterns for pavers.
- Integrate with the landscape elements: Ensure that the placement of hardscape features complements the natural elements in your design. Consider how they interact with trees, shrubs, and flower beds to create a harmonious and cohesive look.
- Consider functionality and accessibility: Keep in mind the functionality and accessibility of the hardscape features. Consider factors such as seating areas, flow of movement, and privacy when incorporating items like benches, fences, or pergolas into your design.
Incorporating hardscape features into your landscape design adds depth, structure, and functionality to your outdoor space. It creates a balance between the natural and built elements and enhances the overall visual appeal of your garden. Once you have successfully integrated the hardscape features, we can move on to the next step: sketching planting areas.
Step 6: Sketching Planting Areas
Now that you have added the landscape and hardscape elements to your design, it’s time to focus on sketching the planting areas. The planting areas will determine where you will place different types of plants, including flowers, shrubs, and trees. Follow these steps to sketch the planting areas:
- Identify the planting zones: Determine the different areas in your garden where you want to incorporate plants. These areas could include flower beds, borders, containers, or even vertical gardens.
- Draw the shapes of the planting areas: Use your preferred pencil or marker to outline the shapes of the planting areas on your graph paper. Consider the size and shape of the available space, as well as the overall aesthetic you want to achieve.
- Divide the areas by plant type: Based on your desired plant selection, divide the planting areas into sections according to plant type or theme. For example, separate areas for annual flowers, perennial shrubs, or a dedicated spot for a vegetable garden.
- Consider color combinations and heights: Plan the arrangement of plants within each area, taking into account their colors, heights, and bloom times. This will ensure a visually appealing composition and a cohesive overall design.
- Leave space for growth: Remember to allow enough space between plants to accommodate their growth over time. This will prevent overcrowding and ensure that each plant has sufficient room to thrive.
Sketching the planting areas allows you to visualize how different plants will be positioned within your garden. It helps you plan for color schemes, textures, and seasonal variations. Consider using symbols or simple drawings to represent different plants within each area. Once you have sketched the planting areas, you can proceed to the next step: labeling and noting details.
Step 7: Labeling and Noting Details
With your landscape design taking shape, it’s important to label and note important details to ensure clarity and easy reference. This step involves adding labels, annotations, and notes to provide specific information about various elements in your design. Here’s how to label and note details on your landscape design:
- Label plant species: Indicate the names of plants you plan to include in your garden. This will help you remember the specific varieties and facilitate purchasing or researching information about them.
- Note planting instructions: Add notes about specific planting instructions or requirements for individual plants. For example, if a particular plant requires full sun or regular watering, make a note of it next to the plant symbol.
- Label hardscape features: Add labels to hardscape elements such as patios, decks, or water features. This will help you identify and refer to these elements easily when discussing or executing your design.
- Annotate measurements: Include measurements for paths, walkways, or other elements that require specific dimensions. This will ensure accuracy during the construction or implementation phase of your landscape design.
- Note additional details: If there are specific design features or considerations you want to remember, make note of them on your design. These could include ideas for lighting, seating, or other decorative elements.
Labeling and noting details add a level of clarity and professionalism to your landscape design. It serves as a helpful reference guide during the implementation phase and helps you stay organized and focused on your design objectives. Once you have completed this step, you can move on to the final step: adding color and texture.
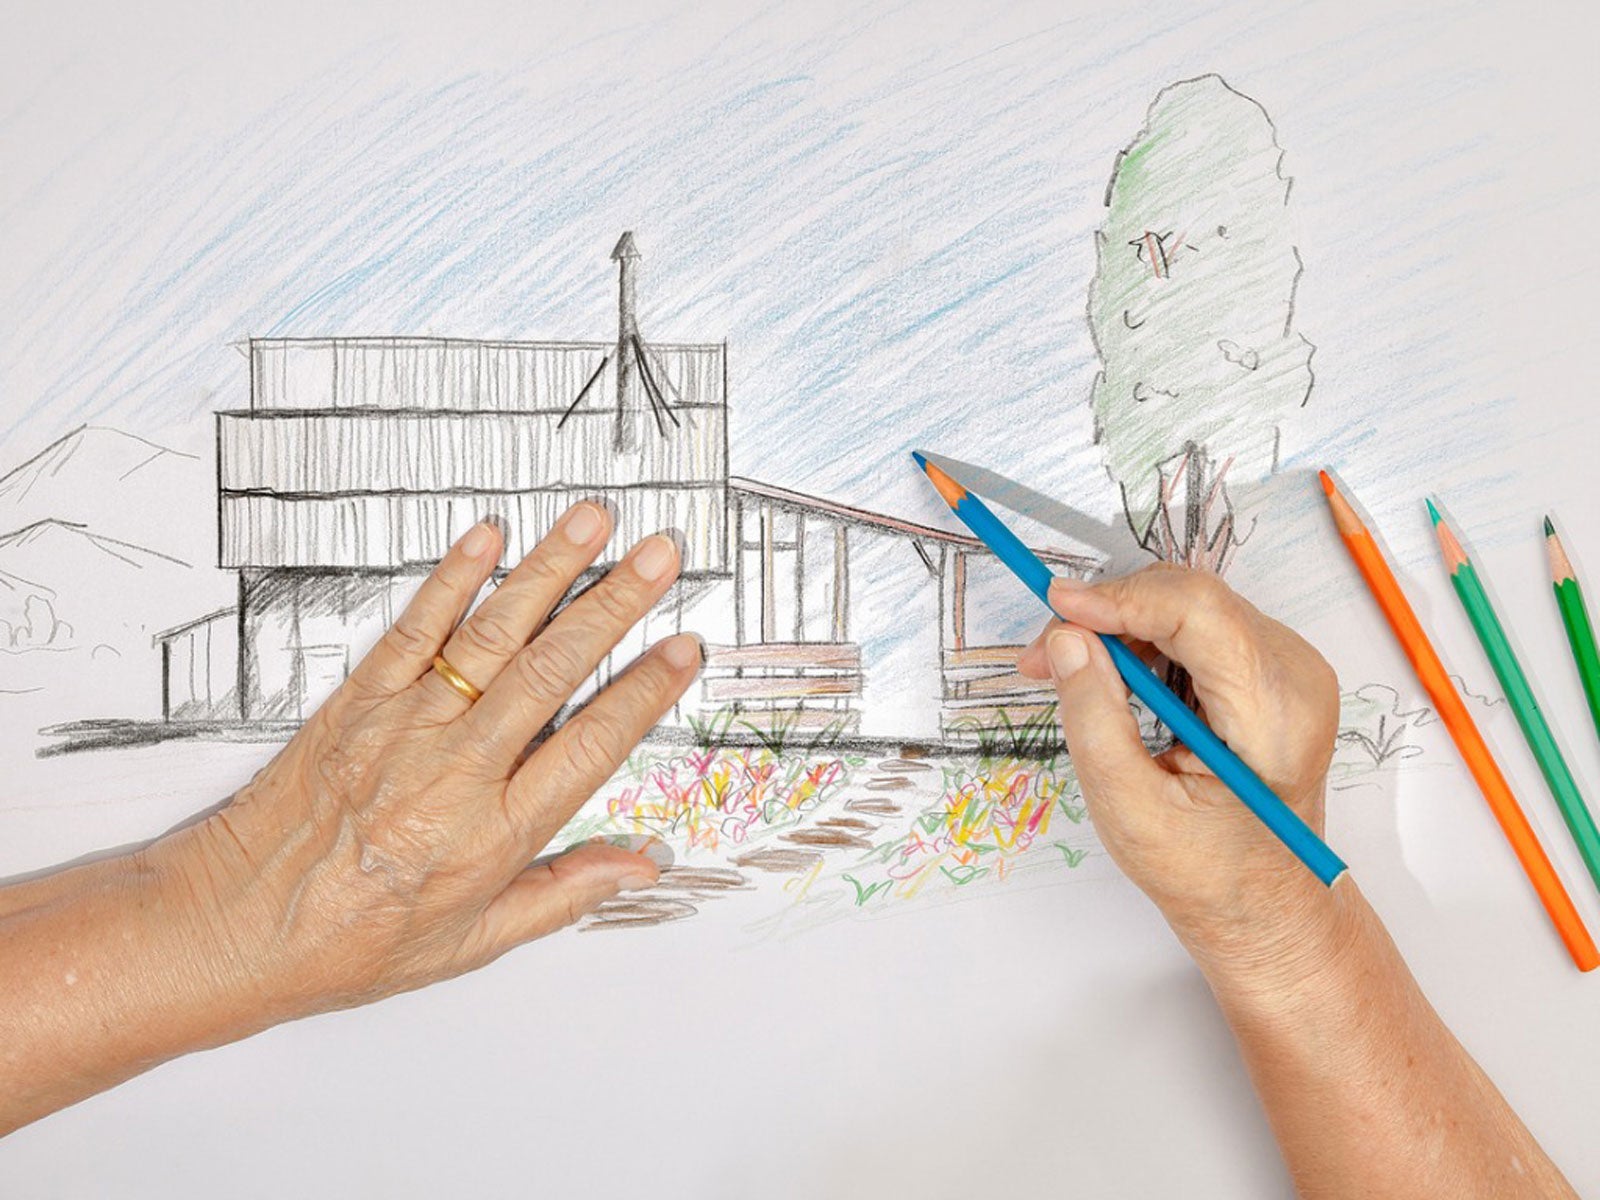
Step 8: Adding Color and Texture
Adding color and texture is the final step in bringing your landscape design to life on graph paper. This step allows you to visualize the vibrant hues and varied textures that will enhance the visual appeal of your garden. Follow these steps to add color and texture to your design:
- Select a color scheme: Choose a color scheme that complements your overall design and reflects your personal preferences. Consider using analogous colors for a harmonious look or contrasting colors for a bold and vibrant effect.
- Color the plant symbols: Use colored pencils, markers, or watercolor paints to fill in the symbols representing plants in your design. Select colors that correspond to the actual foliage or flower colors of the plants you have chosen, as accurately as possible.
- Simulate textures: Use different shading or the texture of your pencil marks to simulate various textures in your design. For example, use cross-hatching to represent the texture of tree bark, or stippling to create the impression of a gravel path.
- Add tonal shading: To create depth and dimension in your design, incorporate tonal shading. This technique involves adding lighter and darker shades to indicate areas of light and shadow, giving your landscape a realistic and three-dimensional appearance.
- Consider seasonal variations: If your garden experiences distinct seasonal changes, consider adding color variations to represent each season. Use warm tones for autumn foliage, vibrant blooms for spring and summer, and cool tones for winter.
Adding color and texture to your landscape design on graph paper brings it to life and allows you to visualize the overall aesthetic of your garden. It helps you understand how different elements will work together and creates an exciting visual representation of your future outdoor space.
With the completion of Step 8, you have successfully created your landscape design on graph paper. Take a moment to admire your work and reflect on how far you’ve come in this process. Your detailed plan will serve as a valuable guide when it comes time to implement your design and will help you achieve the garden of your dreams.
Congratulations on completing your landscape design on graph paper! Now it’s time to turn your vision into reality and start transforming your outdoor space into a beautiful and functional garden.
Conclusion
Designing a landscape on graph paper is an effective way to plan and visualize your dream garden. By following the steps outlined in this guide, you have learned how to gather inspiration, choose a scale, draw the frame, add landscape elements, incorporate hardscape features, sketch planting areas, label and note details, and finally, add color and texture to your design. This comprehensive process not only helps you create a visually appealing garden, but also ensures functionality and harmony within your outdoor space.
Throughout the design process, it’s important to let your creativity shine and infuse your own personal style into the design. Remember to consider the unique aspects of your location, such as climate, soil conditions, and sunlight, when making decisions about plant selection and placement. By doing so, you can create a garden that is not only beautiful, but also sustainable and well-suited to thrive in its environment.
Once your landscape design on graph paper is complete, you can use it as a blueprint for the implementation phase. Share your design with professional landscapers, gardening enthusiasts, or even friends and family to gather feedback and suggestions. This collaborative approach can lead to further refinement and improvement of your design.
Keep in mind that landscape design is an ongoing process, and your garden will evolve over time. As plants grow and mature, you may need to make adjustments or additions to your original design. Regular maintenance and care will ensure that your garden remains healthy and vibrant.
Creating a landscape design on graph paper is not only a practical tool, but also a rewarding experience that allows you to bring your gardening dreams to life. So, grab your graph paper, pencils, and imagination, and start planning your own oasis of beauty and tranquility.
Frequently Asked Questions about How To Draw A Landscape Design On Graph Paper Easily
Was this page helpful?
At Storables.com, we guarantee accurate and reliable information. Our content, validated by Expert Board Contributors, is crafted following stringent Editorial Policies. We're committed to providing you with well-researched, expert-backed insights for all your informational needs.


0 thoughts on “How To Draw A Landscape Design On Graph Paper Easily”