Home>Storage Ideas>Kitchen Storage>The Dirty Hidden Areas Of The Kitchen We Forget To Clean

Kitchen Storage
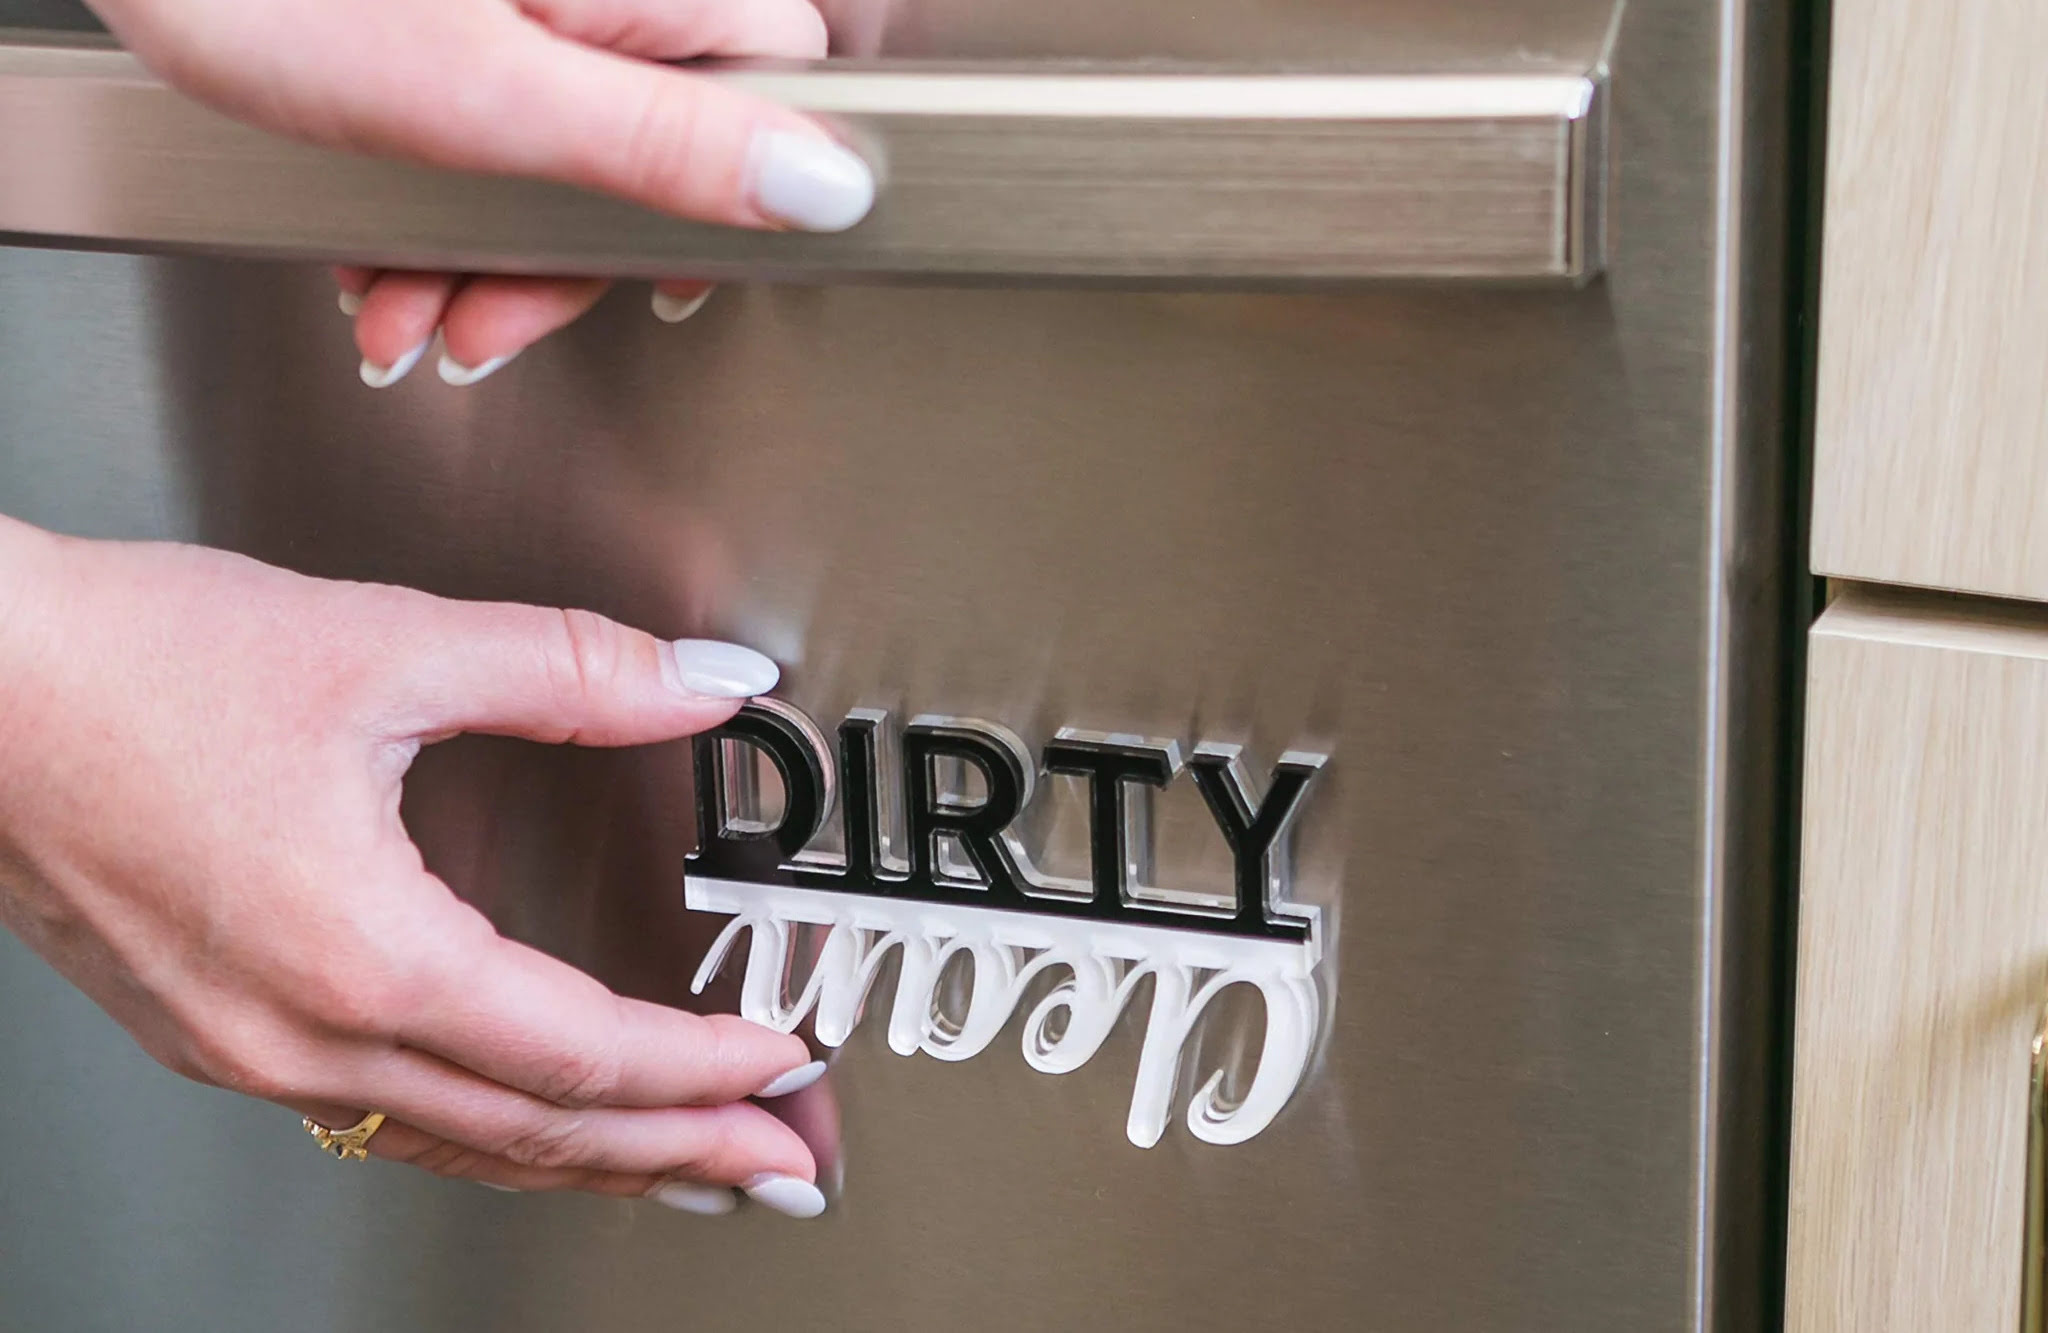
The Dirty Hidden Areas Of The Kitchen We Forget To Clean
Modified: January 5, 2024
Discover the commonly neglected spots in your kitchen that need cleaning. Explore effective kitchen storage ideas to keep your space organized and clutter-free.
(Many of the links in this article redirect to a specific reviewed product. Your purchase of these products through affiliate links helps to generate commission for Storables.com, at no extra cost. Learn more)
Introduction
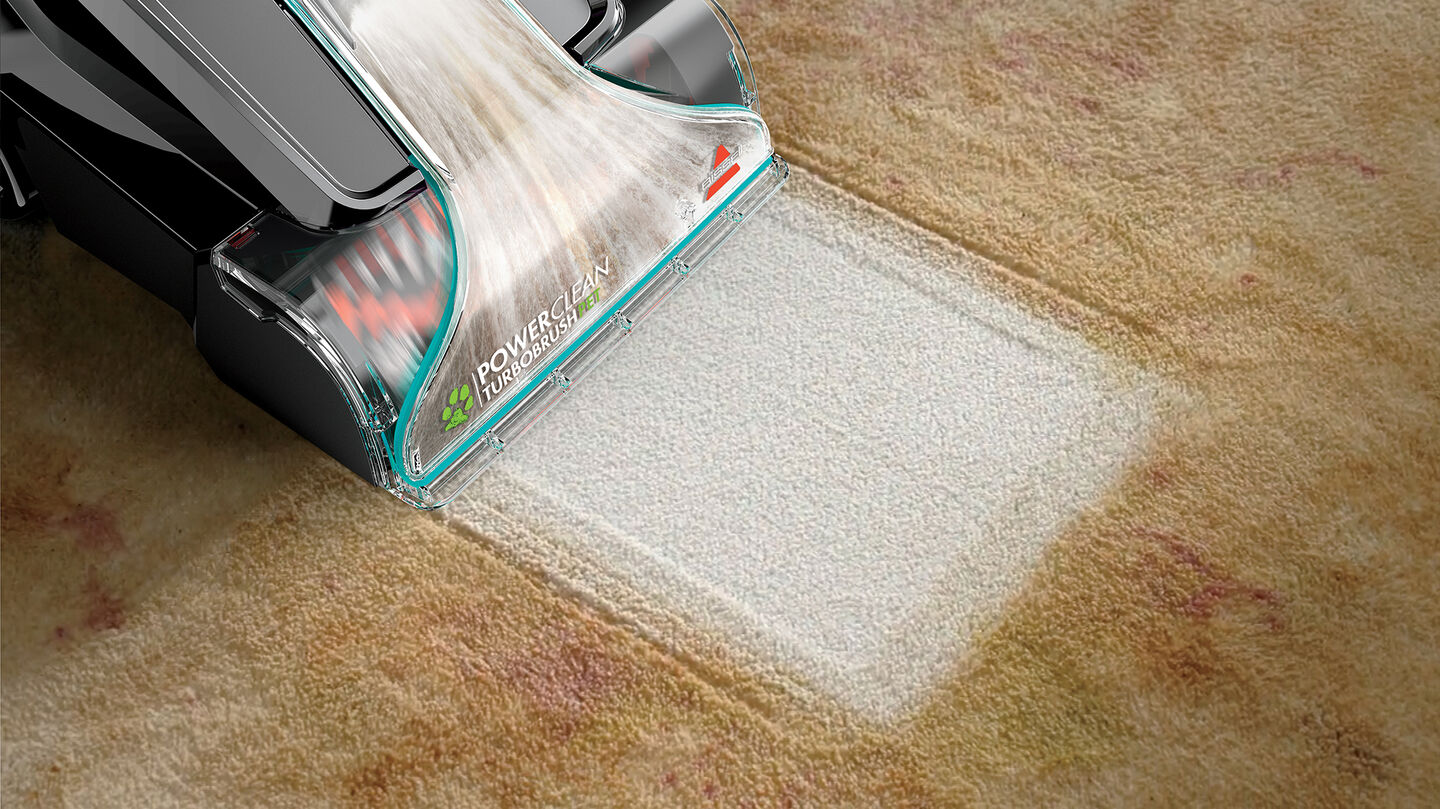
In the hustle and bustle of daily life, it’s easy to overlook the hidden areas of our kitchens that desperately need our attention. We diligently wipe down countertops, scrub dishes, and sweep the floors, but there are often forgotten nooks and crannies that harbor dirt, grime, and bacteria. In this article, we will explore the dirty hidden areas of the kitchen that we often forget to clean, and provide you with practical and effective solutions to keep your kitchen not only organized, but also hygienic.
From sink drains to cutting boards, oven racks to coffee machines, the following list uncovers these hidden problem areas and offers valuable insights into how to tackle them. By addressing these overlooked areas, you’ll not only maintain a clean and tidy kitchen, but also create a healthier environment for you and your family.
So, let’s roll up our sleeves and dive into the world of kitchen storage ideas, as we uncover the dirty secrets hiding in plain sight.
Key Takeaways:
- Don’t overlook the often-forgotten areas of your kitchen! Regularly cleaning and maintaining sink drains, refrigerator coils, and even cabinet handles can transform your kitchen into a hygienic and visually appealing space.
- From cutting boards to coffee machines, every element of your kitchen storage deserves attention. By incorporating regular cleaning and maintenance, you’ll create a healthier and more enjoyable cooking environment for you and your family.
Sink and Drain
The kitchen sink is one of the most frequently used areas in the kitchen, but it can also be one of the dirtiest if not properly cleaned. Food particles, grease, and soap scum can accumulate in the sink, leading to unpleasant odors and potential bacterial growth. Don’t forget to clean the sink and drain regularly to maintain a fresh and hygienic kitchen.
Start by removing any dishes, utensils, or debris from the sink. Give it a good rinse with warm water to remove loose dirt. Next, sprinkle baking soda all over the sink and scrub it gently with a sponge or soft brush. Baking soda acts as a natural abrasive and deodorizer, helping to remove stains and eliminate odors.
For stubborn stains or mineral deposits, create a paste with equal parts baking soda and water. Apply the paste to the affected areas and let it sit for a few minutes before scrubbing. Rinse the sink thoroughly with warm water and wipe it dry with a clean cloth.
Now, let’s move on to the sink drain. Start by removing any debris or food particles lodged in the drain. For a quick and easy solution, pour a mixture of equal parts vinegar and baking soda down the drain. The foaming action will help dislodge any buildup and deodorize the drain. Let the mixture sit for a few minutes, then flush it with hot water.
Finally, to keep your sink smelling fresh, consider regularly using a natural drain cleaner. Pour half a cup of baking soda down the drain, followed by a cup of vinegar. Let it fizz for a few minutes, then flush it with hot water. This simple trick can help prevent clogs and eliminate any lingering odors.
By regularly cleaning your sink and drain, you’ll not only maintain a visually appealing kitchen but also ensure a clean and sanitary food preparation area. Don’t forget to add this step to your cleaning routine to keep your kitchen in pristine condition.
Garbage Disposal
The garbage disposal is a convenient appliance in the kitchen that helps us dispose of food scraps. However, it can also become a breeding ground for bacteria and unpleasant odors if not properly maintained. Cleaning your garbage disposal regularly is essential for keeping your kitchen fresh and hygienic.
To start, make sure the garbage disposal is turned off and unplugged. Using a flashlight, visually inspect the disposal for any visible debris or food particles. Use tongs or pliers to remove any large items that may be stuck in the disposal.
Next, create a cleaning mixture by combining equal amounts of vinegar and baking soda. Pour the mixture down the disposal and let it sit for a few minutes to allow the foaming action to break down any grease or food residue. Afterward, turn on the cold water and run the disposal for a few seconds to flush away the cleaning solution.
To eliminate any lingering odors, cut a lemon into small pieces and drop them into the disposal. Turn the disposal on and let the lemon pieces grind up to release their fresh scent. The natural acidity of the lemon also helps to clean and disinfect the disposal.
For stubborn odors, you can make ice cubes with a mixture of vinegar and water. Drop a few of these vinegar ice cubes into the disposal and run it for a few seconds. The ice helps to dislodge any buildup while the vinegar sanitizes and freshens the disposal.
Remember to regularly clean the rubber baffle, which is the rubber piece covering the opening of the disposal. The rubber baffle can accumulate food residue and bacteria, leading to odors and even mold growth. Use a brush or sponge to scrub the baffle, and rinse it thoroughly with warm water.
By incorporating these simple cleaning steps into your routine, you can maintain a clean and odor-free garbage disposal. Your kitchen will smell fresh, and you’ll reduce the risk of bacterial growth and clogs in your disposal.
Refrigerator Coils
When it comes to kitchen storage, we often forget about the refrigerator coils, but they play a crucial role in keeping our fridge running efficiently. Over time, dust, dirt, and pet hair can accumulate on the coils, causing the refrigerator to work harder and consume more energy. Cleaning the refrigerator coils is not only important for maintaining the appliance’s performance, but also for extending its lifespan.
First, locate the coils on your refrigerator. They are usually found either at the back of the fridge or beneath the unit, protected by a metal or plastic cover. Turn off the refrigerator or unplug it from the power source before you begin cleaning.
Using a coil brush or a vacuum cleaner with a brush attachment, gently remove the accumulated debris from the coils. Be careful not to bend or damage the coils during the process. Start from the top and work your way down, ensuring that you clean between the coils to remove any trapped dirt.
If the coils are heavily soiled or caked with grime, you may need to use a damp cloth or sponge with mild soapy water to clean them. Make sure to wring out the excess water before wiping to avoid moisture damage. Once the coils are clean, use a dry cloth to remove any remaining moisture.
After cleaning the coils, don’t forget to clean the refrigerator’s condenser fan located near the coils. The fan can also accumulate dust and dirt, affecting the fridge’s cooling ability. Use a vacuum cleaner or a soft brush to remove any debris from the fan blades and motor housing.
Once you’ve finished cleaning the coils and condenser fan, plug the refrigerator back in or turn it back on. It’s a good idea to check the fridge’s temperature and ensure that it’s functioning properly.
Regularly cleaning the refrigerator coils not only improves the appliance’s efficiency, but also helps to prevent breakdowns and reduces energy consumption. By dedicating a few minutes to this often-forgotten task, you’ll prolong the life of your refrigerator and keep your food fresher for longer.
Cutting Boards
Our trusty cutting boards are essential tools in the kitchen, but they can harbor bacteria and food residue if not properly cleaned. Regularly cleaning and sanitizing your cutting boards is crucial for maintaining a hygienic food preparation area and preventing cross-contamination.
For plastic cutting boards, start by washing them with hot, soapy water. Use a scrub brush or sponge to remove any food particles or stains. Pay extra attention to the grooves or knife marks on the board, as they can trap bacteria. Rinse the cutting board thoroughly with warm water and pat it dry with a clean cloth or let it air dry.
To sanitize the plastic cutting boards, you have a few options. You can use a diluted bleach solution by mixing one tablespoon of bleach with one gallon of water. Submerge the cutting board in the solution for a few minutes, then rinse it thoroughly with water.
If you prefer a natural approach, you can use white vinegar or hydrogen peroxide as sanitizing agents. Pour either vinegar or hydrogen peroxide directly onto the cutting board and let it sit for a few minutes. Rinse the board with water and dry it thoroughly.
For wooden cutting boards, avoid soaking them in water to prevent warping or cracking. Instead, wash them with hot, soapy water and use a scrub brush to remove any food residue. Rinse the board with warm water and wipe it dry. To sanitize a wooden cutting board, you can use a mixture of one part vinegar to four parts water. Spray or wipe the solution onto the surface of the board and let it sit for a few minutes. Rinse the board with water and let it air dry.
It’s important to note that wooden cutting boards may require additional care, such as periodic oiling with food-grade mineral oil, to maintain their longevity and prevent drying or cracking.
Remember to replace your cutting boards when they become excessively worn or show deep grooves that can harbor bacteria. Having a set of multiple cutting boards, designated for different food groups, can also help prevent cross-contamination.
By following these cleaning and sanitizing guidelines, you can ensure that your cutting boards remain clean, safe, and ready for all your culinary endeavors.
Oven Racks
Oven racks are often overlooked when it comes to cleaning, but they can accumulate grease, food residue, and grime over time. Neglecting to clean them can affect the performance of your oven and even lead to unpleasant odors or smoke when cooking. It’s important to give your oven racks some attention to keep your kitchen functioning smoothly.
Start by removing the oven racks from the oven. Lay them on an old towel or in a bathtub, as they can be quite dirty. If there are any large food particles or debris on the racks, gently scrape them off using a spatula or a non-abrasive brush.
Next, prepare a cleaning solution by mixing equal parts dish soap and warm water in a bathtub or basin. If your oven racks are particularly dirty or greasy, you can add about half a cup of baking soda to the mixture. Baking soda is a natural cleaning agent that helps to remove tough stains and grease.
Submerge the oven racks in the cleaning solution and let them soak for at least a few hours, or overnight for best results. The dish soap will help to break down grease and grime, while the baking soda will act as a gentle abrasive.
After soaking, use a non-abrasive sponge or brush to scrub the oven racks. Pay attention to the areas with stubborn stains or residue. The baking soda and dish soap mixture should help to lift and remove the dirt.
Once you’re satisfied with the cleanliness of the oven racks, rinse them thoroughly with warm water to remove any remaining soap residue. If needed, you can use a damp cloth or sponge to wipe down the racks to ensure they are completely clean.
Before returning the oven racks to the oven, make sure they are completely dry to prevent rusting. You can air dry them or use a clean cloth to dry them manually.
Regularly cleaning your oven racks will not only improve the overall cleanliness of your kitchen but also help to maintain optimal performance from your oven. By incorporating this simple task into your cleaning routine, you’ll ensure that your meals are cooked evenly and without any unwanted smells or smoke.
Microwave Interior
The microwave is a kitchen appliance that sees a lot of use, which means it can quickly become a breeding ground for bacteria and food residue if not cleaned regularly. Cleaning the interior of your microwave is essential for maintaining a hygienic and odor-free cooking environment.
Start by unplugging the microwave to ensure safety while cleaning. Remove any food or debris from the interior and wipe away any loose crumbs or spills with a damp cloth.
For stubborn stains or hardened food residue, create a cleaning solution by mixing equal parts vinegar and water in a microwave-safe bowl. Place the bowl in the microwave and heat it on high for a few minutes until the mixture comes to a boil. Let the bowl sit in the microwave for a few more minutes to allow the steam to loosen the stains and grime.
Using oven mitts or a towel, carefully remove the bowl from the microwave. Be cautious as the bowl and solution will be hot. Then, take a damp cloth or sponge and gently wipe down the interior of the microwave, focusing on the stained areas. The steam created by the vinegar and water mixture will have loosened the grime, making it easier to remove.
For particularly stubborn stains, you can also use a paste made of baking soda and water. Apply the paste to the stains and let it sit for a few minutes before wiping it away with a damp cloth or sponge.
Don’t forget to pay attention to the microwave door and the seals around it. These areas can accumulate dirt and food particles. Use a clean cloth or sponge to wipe them down thoroughly.
After cleaning the interior, wipe it down with a clean, damp cloth to remove any residue from the cleaning solution or paste. Finally, leave the microwave door open for a few minutes to allow any remaining moisture to evaporate.
To maintain a clean microwave, it’s important to cover food before heating to prevent splatters and spills. Regularly wiping down the interior after each use will also help prevent any buildup of food residue.
By incorporating these cleaning tips into your routine, you’ll ensure that your microwave remains clean, odor-free, and safe for all of your cooking needs.
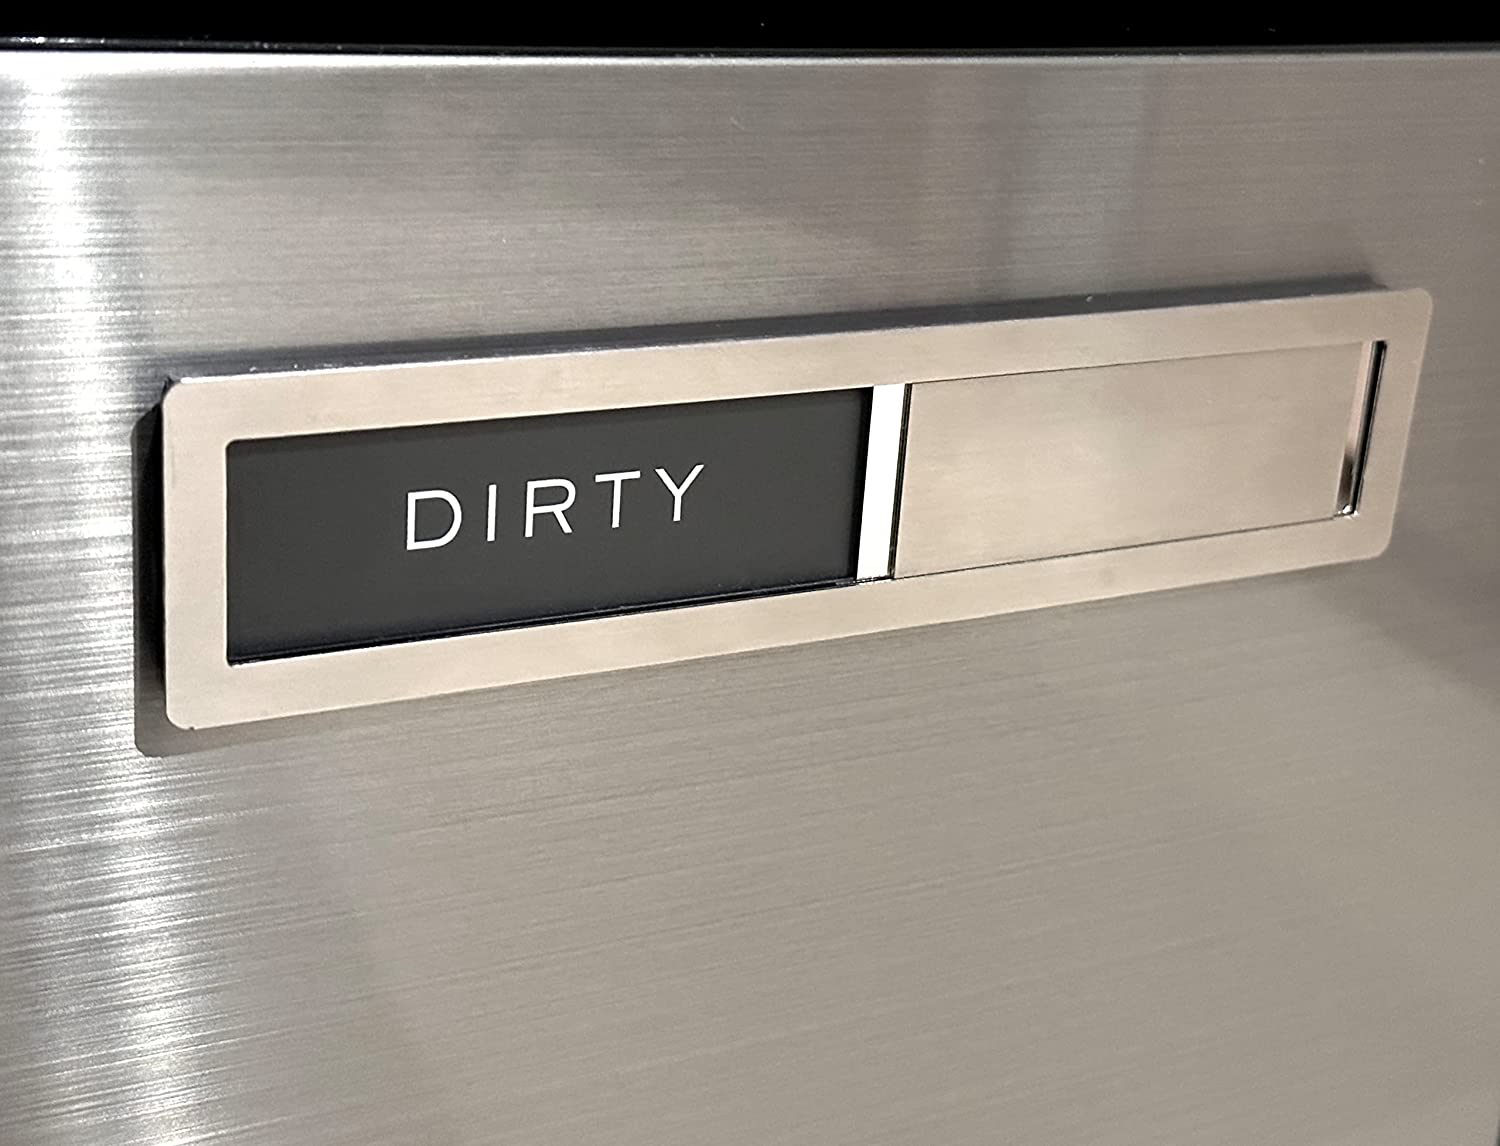
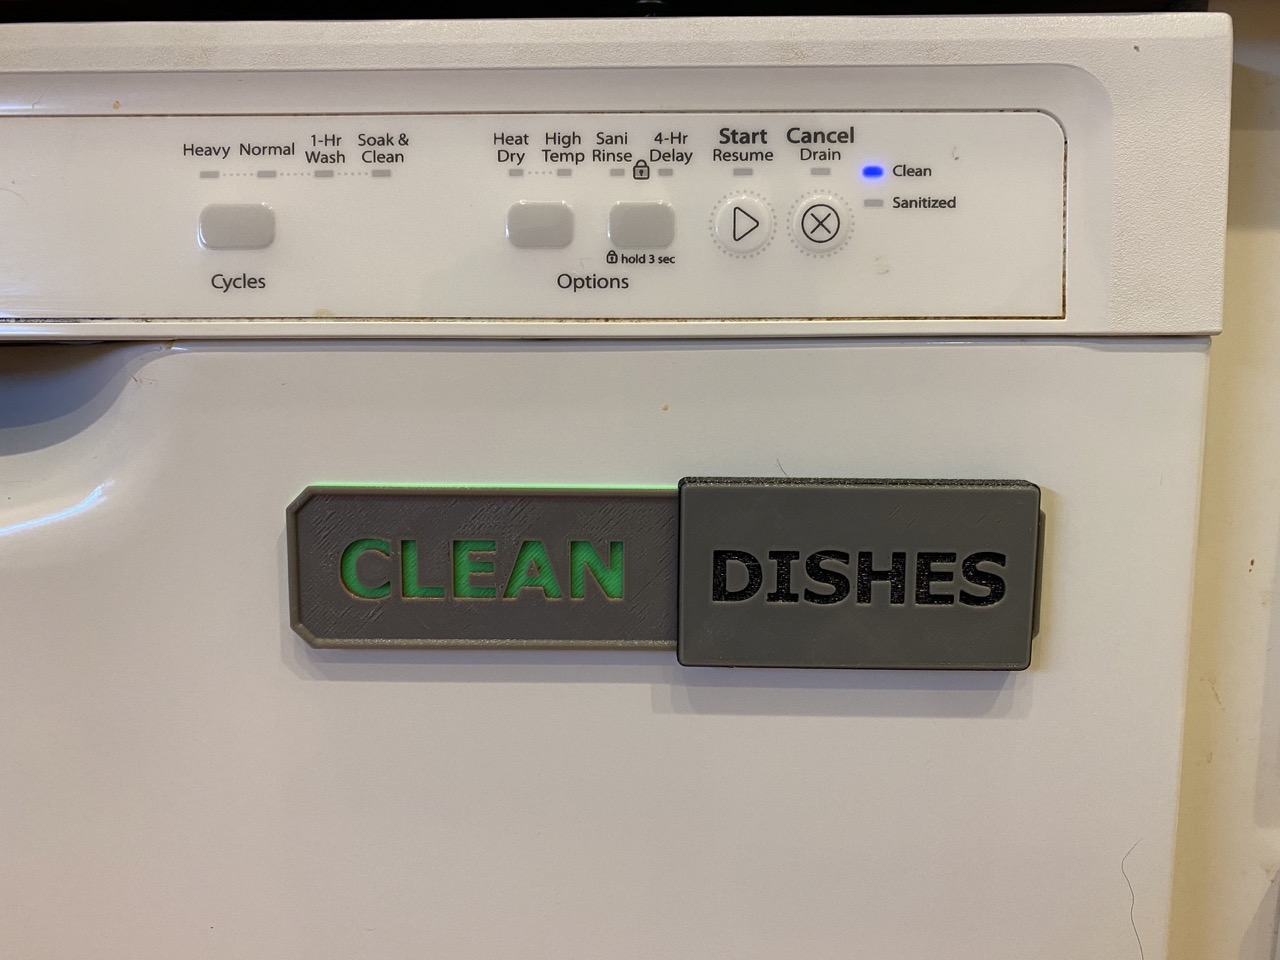
Dishwasher Filter
The dishwasher filter is an often overlooked component of the appliance, but it plays a vital role in keeping your dishes clean. Over time, food particles, grease, and debris can accumulate in the filter, leading to poor dishwasher performance and even unpleasant odors. Regularly cleaning the dishwasher filter is essential for maintaining a hygienic and efficient cleaning process.
Begin by checking your dishwasher’s user manual for specific instructions on how to access and remove the filter. Typically, the filter is located at the bottom of the dishwasher, beneath the lower spray arm.
Once you have located the filter, gently remove it from the dishwasher. The filter may consist of multiple parts, such as a coarse filter and a fine filter. Take note of how the pieces fit together for easy reassembly later on.
Rinse the filters under warm water to remove any loose debris or food particles. Use a soft brush, such as an old toothbrush, to gently scrub away any stubborn residue. Pay attention to the nooks and crannies of the filter, ensuring they are thoroughly cleaned.
If the filters are heavily soiled, you can soak them in warm, soapy water for about 15 minutes before scrubbing. This will help to loosen and dissolve any caked-on grease or food residue. After soaking, rinse the filters thoroughly with warm water.
Inspect the filter housing, the area where the filter sits, for any debris or buildup. Use a damp cloth or sponge to wipe away any dirt or grime. Ensure that the housing is clean and free from any obstructions.
Once the filters and housing are clean, carefully reassemble the filter components according to the manufacturer’s instructions. Make sure they fit snugly and securely in place.
It’s important to note that the frequency of dishwasher filter cleaning may vary depending on your usage and the manufacturer’s recommendations. However, a general guideline is to clean the filter at least once a month to maintain optimal dishwasher performance.
Regularly cleaning the dishwasher filter will not only ensure that your dishes come out clean and sparkling but also help to prevent any unpleasant smells or clogs in your dishwasher. By dedicating a few minutes to this essential maintenance task, you’ll prolong the life of your dishwasher and enjoy hassle-free dishwashing for years to come.
Don’t forget to clean the top of the refrigerator, inside the microwave, and underneath the stove. These areas often collect grease, dust, and food particles. Regular cleaning will help maintain a hygienic kitchen.
Coffee Machine
Our beloved coffee machines bring us the joy of a freshly brewed cup of java every morning, but they can also accumulate residue and oils over time. Cleaning your coffee machine regularly is essential for maintaining the best flavor and prolonging its lifespan.
Start by checking the manufacturer’s instructions for specific cleaning guidelines, as different coffee machines may have different requirements.
One common method for cleaning a coffee machine is to fill the water reservoir with equal parts white vinegar and water. This natural solution helps to descale and remove mineral buildup inside the machine. Run a brew cycle without any coffee grounds, allowing the vinegar-water mixture to flow through the machine. This process helps to clean the internal components and remove any residue.
After the vinegar-water cycle, run a few cycles with clean water to rinse out any remaining vinegar taste or smell. This step is important to ensure that your next brewed coffee is not affected by the residue of the cleaning solution.
Next, wipe down the exterior of the coffee machine with a damp cloth. Pay attention to any areas that may have coffee stains or spills. For removable parts such as the carafe, filter basket, and lid, wash them with warm, soapy water. Rinse and dry these parts thoroughly before reassembling them with the coffee machine.
Don’t forget the coffee machine’s showerhead or group head, which is the component that distributes water over the coffee grounds. This area can accumulate coffee oils and residue, affecting the taste of your brew. Use a small brush or toothbrush to gently scrub the showerhead, removing any buildup or clogs.
Finally, regularly replace the coffee machine’s filter, whether it’s a reusable mesh filter or a disposable paper filter. A clean filter ensures that no sediment or particles find their way into your brewed coffee, delivering a consistently delicious cup every time.
By incorporating these cleaning steps into your routine, you’ll have a clean coffee machine that ensures your morning brew is always fresh and flavorful. Regular maintenance not only improves the taste of your coffee but also helps your machine perform optimally for years to come.
Read more: How To Clean Dirty Brick
Spice Jars and Containers
Spices add flavor and depth to our culinary creations, but those little jars and containers can easily become neglected and messy. Cleaning and organizing your spice collection is essential for maintaining the quality and freshness of your spices, as well as ensuring a neat and functional kitchen.
Start by taking all your spice jars and containers out of their storage location, whether it’s a spice rack, drawer, or cabinet. Inspect the jars for any signs of spoilage, such as clumping, discoloration, or an off smell. If any spices appear expired or stale, it’s time to replace them.
Next, wipe down the exterior of the spice jars and containers with a damp cloth to remove any dust or residue. This step will help to ensure that your spices are stored in a clean environment and prevent cross-contamination.
For glass spice jars, you can remove the lids and wash them with warm, soapy water. Use a small brush or sponge to clean the inside of the lids, as residue can accumulate there. Rinse the lids thoroughly and let them air dry before reassembling them with the jars.
For spice containers with removable inserts, such as shakers or pour spouts, remove these inserts and wash them separately. Scrub them gently with a small brush or sponge to remove any trapped spices or residue. Rinse the inserts thoroughly and let them dry before putting them back into the containers.
Organize your spice collection in a way that makes it easy to see and access each jar or container. Consider arranging them alphabetically or by category for convenience. You can also use labels to identify the spices, ensuring that you can quickly find what you need while cooking.
Finally, it’s important to regularly check the freshness of your spices. Over time, spices lose their potency and flavor. As a general guideline, ground spices should be replaced every one to two years, while whole spices can last up to three to four years. As you replace old spices, make note of any spices you use less frequently so you can adjust your purchasing accordingly.
By periodically cleaning and organizing your spice jars and containers, you’ll not only ensure the quality and freshness of your spices but also create a streamlined and efficient cooking experience in your kitchen.
Cabinet Handles
When we think about kitchen storage and organization, we often overlook the small details, such as cabinet handles. However, these handles play a crucial role in our daily kitchen activities and can become dirty and greasy over time. Cleaning your cabinet handles is an essential step in maintaining a clean and hygienic kitchen.
Start by removing the handles from the cabinets. Depending on the style of your handles, this may involve unscrewing them or simply pulling them away from the cabinet surface. Place the handles on a clean towel or in a basin of warm soapy water.
Using a soft brush or sponge, gently scrub the handles, paying special attention to any crevices or grooves where dirt and grease may have accumulated. If the handles are particularly dirty or greasy, you can add a small amount of dish soap or a mild degreaser to the water to help break down the buildup.
For metal or stainless steel handles, you can use a mixture of equal parts vinegar and water for a natural cleaning solution. Vinegar helps to cut through grease and remove fingerprints or smudges. Apply this solution using a cloth or sponge, then rinse the handles with clean water and wipe them dry.
For wooden or painted handles, avoid using harsh cleaning agents that can damage the surface. Instead, use a mild soap or a mixture of water and gentle dish soap to clean them. Wipe the handles with a damp cloth, being careful not to saturate the wood or paint. Dry them thoroughly with a clean towel.
Once the handles are clean and dry, reattach them to the cabinets using the appropriate screws or fasteners. Make sure they are secure and aligned properly.
Regularly cleaning your cabinet handles not only improves their appearance but also prevents the spread of dirt and bacteria in your kitchen. Greasy handles can attract dust and germs, so incorporating this quick cleaning task into your regular kitchen maintenance routine is essential.
Additionally, take the time to regularly wipe down your cabinet surfaces and doors to prevent the buildup of dirt and grime around the handles. This will help to maintain a clean and organized kitchen overall.
By giving attention to the small details like cabinet handles, you’ll ensure that your kitchen is a clean and pleasant space to work in, enhancing your overall cooking experience.
Blender and Food Processor Blades
Blenders and food processors are essential kitchen appliances that make food preparation easier and more convenient. However, the blades of these appliances can quickly accumulate food residue and become dull if not properly cleaned and maintained. Cleaning your blender and food processor blades regularly is essential for maintaining their performance and ensuring safe and hygienic food preparation.
Start by unplugging the blender or food processor and disassembling the parts. Carefully remove the blades from the pitcher or bowl, following the manufacturer’s instructions. Take note of the order in which the parts are assembled for easy reassembly later.
Using warm, soapy water, wash the blades and their attachments. Use a soft brush or sponge to remove any food particles or residue that may be stuck on the blades. Pay extra attention to the areas around the edges and between the blades, as these areas tend to accumulate the most debris.
For blades that are more heavily soiled or have stuck-on residue, you can create a cleaning solution using equal parts vinegar and water. Soak the blades in this solution for a few minutes to help loosen the buildup. After soaking, give them a gentle scrub with a brush or sponge. Rinse the blades thoroughly with clean water to remove any remaining vinegar smell or residue.
For blenders with removable gaskets or sealing rings, remove these components and wash them separately. Clean them with warm, soapy water and rinse thoroughly to remove any trapped food particles. Make sure to dry all the parts completely before reassembling and storing the appliance.
It’s important to note that the blades of blenders and food processors can be very sharp, so handle them with care while cleaning. Take caution not to cut yourself and avoid touching the sharp edges directly.
To maintain the sharpness and longevity of the blades, it’s recommended to sharpen them periodically. Consult the manufacturer’s instructions or refer to a professional for guidance on how to sharpen your specific blades.
Regularly cleaning your blender and food processor blades not only ensures their optimal performance but also helps to prevent the transfer of flavors or odors from different ingredients. By incorporating this simple maintenance task into your kitchen cleaning routine, you’ll keep your appliances in top shape and enjoy the best results while blending and processing your favorite foods.
Trash Can and Recycling Bins
We often focus on keeping the interior of our kitchens clean and forget about the containers that hold our waste – the trash can and recycling bins. These containers can accumulate dirt, grime, and unpleasant odors over time. Regularly cleaning and maintaining your trash can and recycling bins is essential for maintaining a clean and hygienic kitchen environment.
Start by emptying the trash can and recycling bins completely. Remove any bags or liners and dispose of them appropriately. This step will give you a clear view of any debris or residue that may have accumulated in the containers.
Using a solution of warm water and mild dish soap, thoroughly wash the interior and exterior of the trash can and recycling bins. Scrub them with a sponge or brush to remove any dirt or grime. Pay special attention to areas around the rim, handles, and the bottom of the containers, as these areas tend to accumulate the most residue.
Rinse the containers thoroughly with clean water to remove any soap residue. If possible, use a hose or take the containers outside to ensure thorough rinsing.
For stubborn odors, sprinkle baking soda inside the empty and dry containers. Let the baking soda sit for a few hours, or overnight if possible, to absorb any lingering smells. Then, rinse the containers once more with water to remove the baking soda.
Allow the containers to air dry completely before placing new trash bags or liners inside. This will help prevent moisture buildup and the growth of mold or bacteria.
It’s also important to regularly clean the areas surrounding the trash can and recycling bins. Wipe down any surfaces, such as countertops or floors, that may have come into contact with spills or debris while disposing of waste.
Additionally, consider using odor-absorbing products such as activated charcoal or scented trash can liners to help keep unpleasant smells at bay.
By regularly cleaning your trash can and recycling bins, you’ll prevent the buildup of dirt, grime, and odors that can contaminate your kitchen environment. A clean and well-maintained waste disposal system not only promotes good hygiene but also contributes to a fresh and pleasant kitchen atmosphere.
Read more: How To Clean A Dirty Toilet Bowl
Kitchen Exhaust Fan and Filter
The kitchen exhaust fan plays a crucial role in keeping your kitchen clean and free from lingering odors. Over time, the fan and its accompanying filter can become clogged with grease, dust, and other particles, reducing its efficiency and potentially causing unpleasant odors. Cleaning and maintaining your kitchen exhaust fan and filter is essential for both a fresh-smelling kitchen and optimal ventilation.
Start by turning off the exhaust fan and unplugging it from the power source for safety. Locate the fan cover or grate and remove it. Depending on the model, this may involve unscrewing or unlatching the cover.
Once the cover is removed, inspect the fan blades for any visible buildup of grease or debris. Use a soft brush or cloth to gently wipe away any loose dirt or particles. Be careful not to bend or damage the fan blades while cleaning.
Next, focus on cleaning or replacing the filter. Some exhaust fans have reusable filters, while others have disposable ones. Check the manufacturer’s instructions for guidance.
If you have a reusable filter, rinse it under warm water to remove any loose debris. Use a mild dish soap and a brush to gently scrub the filter, paying attention to any areas with stubborn grease or buildup. Rinse the filter thoroughly to remove all soap residue.
If your exhaust fan uses disposable filters, remove the old filter and replace it with a new one following the manufacturer’s instructions. Dispose of the old filter properly.
After cleaning or replacing the filter, wipe down the fan cover or grate with a damp cloth to remove any grease or dirt. If necessary, use a mild dish soap for stubborn areas. Rinse the cover thoroughly and let it dry completely before reattaching it to the fan.
Finally, plug in the exhaust fan and turn it on to ensure it’s functioning properly. Listen for any unusual sounds or vibrations, which could indicate a need for further maintenance or repair.
It’s important to clean your kitchen exhaust fan and filter regularly, as grease and debris buildup can decrease the fan’s effectiveness in removing smoke, odors, and airborne particles from your kitchen. A clean and well-maintained exhaust fan ensures proper ventilation, helping to create a fresh and comfortable cooking environment.
Remember to consult the manufacturer’s instructions for specific cleaning and maintenance recommendations that may be specific to your kitchen exhaust fan model.
Conclusion
In the busy world of the kitchen, it’s easy to overlook the hidden areas that desperately need our attention. From the sink drain to the cabinet handles, each element plays a crucial role in maintaining a clean and organized kitchen. By taking the time to clean and maintain these often-forgotten areas, you can transform your kitchen storage and create an environment that is not only visually appealing but also hygienic.
Regularly cleaning the sink and drain helps to prevent clogs and eliminate unwanted odors. Paying attention to the garbage disposal ensures a fresh and efficient appliance that can easily dispose of food scraps. Cleaning the refrigerator coils helps to improve energy efficiency and prolong the lifespan of your refrigerator.
Don’t forget about the items we use every day, such as cutting boards and oven racks. Regularly cleaning and sanitizing these surfaces helps to maintain a safe and healthy food preparation area. And when it comes to your kitchen appliances, don’t neglect the cleanliness of your coffee machine, blender and food processor blades, and microwave interior. A clean appliance not only extends its lifespan but also ensures that your food is prepared in a sanitary environment.
Your kitchen storage ideas should also extend to the often-overlooked areas, such as the dishwasher filter, spice jars and containers, and even the trash can and recycling bins. Cleaning and organizing these areas contribute to a cleaner and more efficient kitchen.
Lastly, don’t forget about your kitchen exhaust fan and filter. Proper cleaning and maintenance improve ventilation in your kitchen, eliminating unwanted odors and improving air quality.
By incorporating regular cleaning and maintenance into your kitchen routine, you can transform your kitchen storage ideas from basic to exceptional. A clean and organized kitchen not only enhances the overall appearance of your space but also creates a healthier and more enjoyable cooking environment for you and your family.
So, let’s roll up our sleeves and give those hidden areas the attention they deserve. Your kitchen will thank you with a sparkling clean and fresh ambiance for all your culinary adventures!
Frequently Asked Questions about The Dirty Hidden Areas Of The Kitchen We Forget To Clean
Was this page helpful?
At Storables.com, we guarantee accurate and reliable information. Our content, validated by Expert Board Contributors, is crafted following stringent Editorial Policies. We're committed to providing you with well-researched, expert-backed insights for all your informational needs.


0 thoughts on “The Dirty Hidden Areas Of The Kitchen We Forget To Clean”