Home>Home Maintenance>How To Install Cabinet Handles
Home Maintenance
How To Install Cabinet Handles
Modified: September 1, 2024
Learn how to easily install cabinet handles in your home. Improve your home maintenance skills with our step-by-step guide.
(Many of the links in this article redirect to a specific reviewed product. Your purchase of these products through affiliate links helps to generate commission for Storables.com, at no extra cost. Learn more)
Introduction
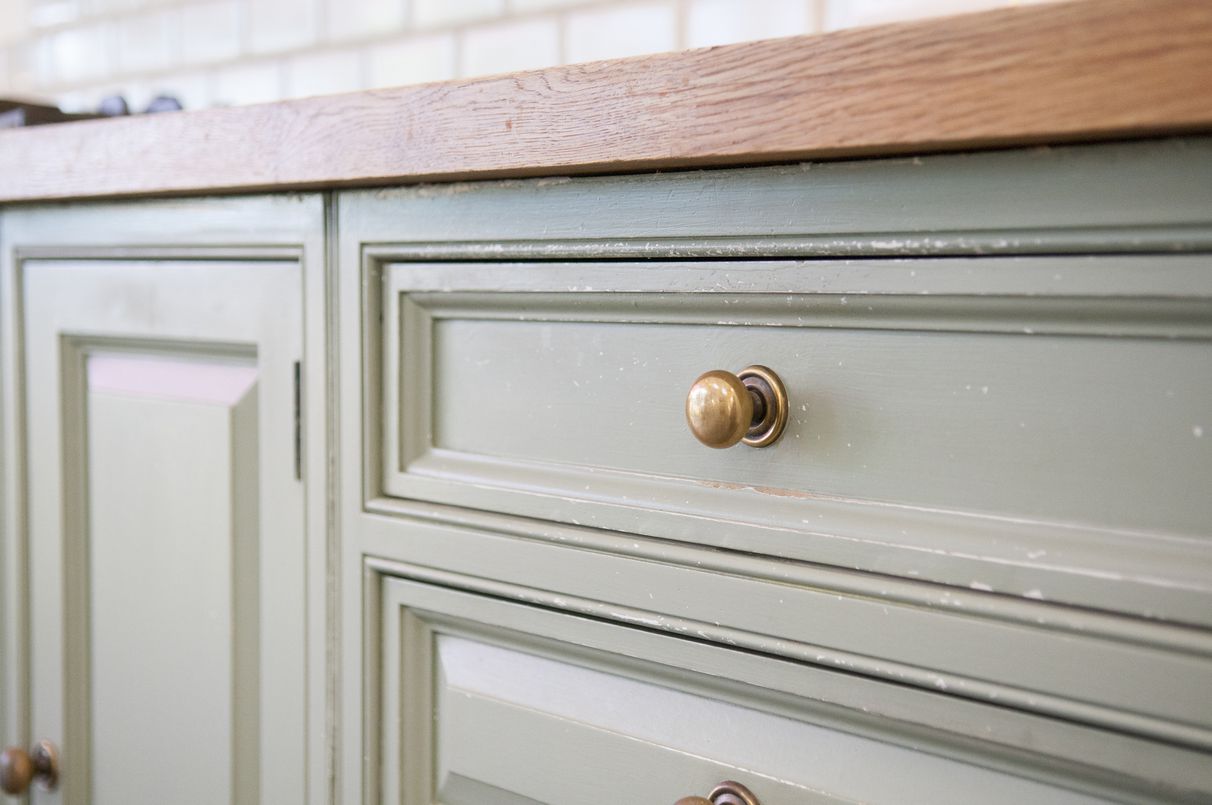
Welcome to our comprehensive guide on how to install cabinet handles. Adding handles to your cabinets can not only improve their functionality but also enhance the overall aesthetic appeal of your kitchen or any other room with cabinets. Installing cabinet handles may seem like a daunting task, but with the right tools and proper guidance, it can be a straightforward process that you can tackle on your own.
In this step-by-step guide, we’ll walk you through the process of measuring, marking, pre-drilling holes, and attaching cabinet handles. We’ll also share some tips and tricks to ensure a seamless and professional installation. So, grab your tools and let’s get started!
Key Takeaways:
- Transform the look and functionality of your cabinets by confidently installing cabinet handles with the right tools and precise measurements. Enjoy the convenience and style they bring to your space!
- Follow a straightforward DIY process to install cabinet handles, enhancing both aesthetics and functionality. From measuring and marking to final touches, enjoy the rewarding transformation of your cabinets.
Read more: Where To Place Cabinet Handles
Tools and Materials Needed
Before you begin, make sure you have the following tools and materials ready:
- Tape Measure: Used to measure the distances accurately.
- Pencil: To mark the positions where the handles will be installed.
- Drill: Needed for pre-drilling holes.
- Drill Bit: Select a drill bit size that matches the diameter of the handle screws.
- Screwdriver: Used to attach the handles to the cabinets.
- Sanding Block: In case you need to smooth any rough edges.
- Cabinet Handles: Choose handles that match your desired style and size.
- Backplates or Mounting Templates: Optional, but can provide additional support and accuracy during installation.
Ensure that your tools are in good condition and that you have the necessary safety equipment on hand, such as safety goggles and gloves.
Once you have gathered all the required tools and materials, you’re ready to move on to the next steps.
Step 1: Measure and Mark
The first step in installing cabinet handles is to measure and mark the positions where you want to place them. This step is crucial to ensure that the handles are evenly spaced and aligned properly.
Start by measuring the width of each cabinet door or drawer where you plan to install the handles. It’s important to decide on the placement beforehand, considering both aesthetics and functionality. Typically, cabinet handles are installed vertically in the center of the door or drawer, but you can choose a different position if it suits your preferences.
Using a tape measure, measure the distance from the bottom or top edge of the cabinet door or drawer to the desired placement point of the handle. Then, mark this point lightly with a pencil. Repeat this process for each cabinet door or drawer.
To ensure consistency, you can use a level or straight edge to draw a light horizontal line across all the cabinets at the marked placement points. This will serve as a guide for proper alignment during installation.
When marking the spots for handles on drawer fronts, consider the length of the drawer front. If it is longer, you may want to install two handles to ensure balance and ease of use.
Remember, accuracy is key during this step as any miscalculations or incorrect markings can affect the overall appearance and functionality of the handles. Take your time and double-check all measurements before proceeding.
Once you have measured and marked the positions for all the handles, you’re ready to move on to the next step: pre-drilling holes.
Step 2: Pre-drill Holes
Now that you have marked the positions for the cabinet handles, the next step is to pre-drill holes to make it easier to attach them securely to the cabinets.
Start by selecting a drill bit that matches the diameter of the handle screws. The drill bit should be slightly smaller than the screws to ensure a snug fit.
Using your drill, carefully drill a hole at each marked position. Make sure to drill straight and perpendicular to the surface of the cabinet door or drawer. You can use a piece of masking tape on the drill bit as a depth gauge to prevent drilling too deep and damaging the cabinet.
If your cabinets are made of a soft material like plywood or particleboard, it’s a good idea to use a pilot hole drill bit before using the regular drill bit. The pilot hole will prevent the wood from splitting when you insert the screws.
As you pre-drill the holes, be cautious not to drill all the way through the cabinet door or drawer. Stop drilling when you reach the desired depth, usually about two-thirds of the length of the handle screw.
After pre-drilling the holes for all the handles, remove any wood shavings or debris from the surface and the holes. You can use a soft cloth or brush to clean out the holes.
By pre-drilling the holes, you’ll ensure that the screws go in smoothly and securely without damaging the cabinet or handle. Now that the holes are ready, it’s time to move on to the next step: attaching the backplate or mounting template.
Step 3: Attach Backplate or Mounting Template
Once you have pre-drilled the holes, the next step is to attach the backplate or mounting template to ensure accurate placement of the cabinet handles.
A backplate is a decorative piece that can be installed between the cabinet and the handle. It adds an extra layer of style and can also provide additional support. If you are using backplates, align them with the pre-drilled holes and secure them in place using the screws provided.
If your handles did not come with backplates or if you prefer not to use them, you can create a mounting template using a piece of cardboard or paper.
To create a mounting template, place the handle on the cardboard or paper and align it with the pre-drilled holes. Use a pencil or marker to trace the outline of the handle, including the hole positions.
Carefully cut out the traced shape, creating a template that matches the handle size and hole placement. This template will serve as a guide for attaching the handles to the cabinets.
Position the backplate or mounting template over the pre-drilled holes, ensuring that it aligns with the marks on the cabinet. Make any necessary adjustments to achieve the desired placement.
Once the backplate or mounting template is securely positioned, you’re ready to move on to the next step: installing the cabinet handles.
Note: Not all handles require the use of a backplate or mounting template. If your handles have integral screws or other installation methods, you can skip this step and proceed directly to installing the handles.
When installing cabinet handles, make sure to measure and mark the placement accurately before drilling. Use a template to ensure uniformity and consider the style and size of the handles for a cohesive look.
Read more: How To Install Cabinets And Countertops
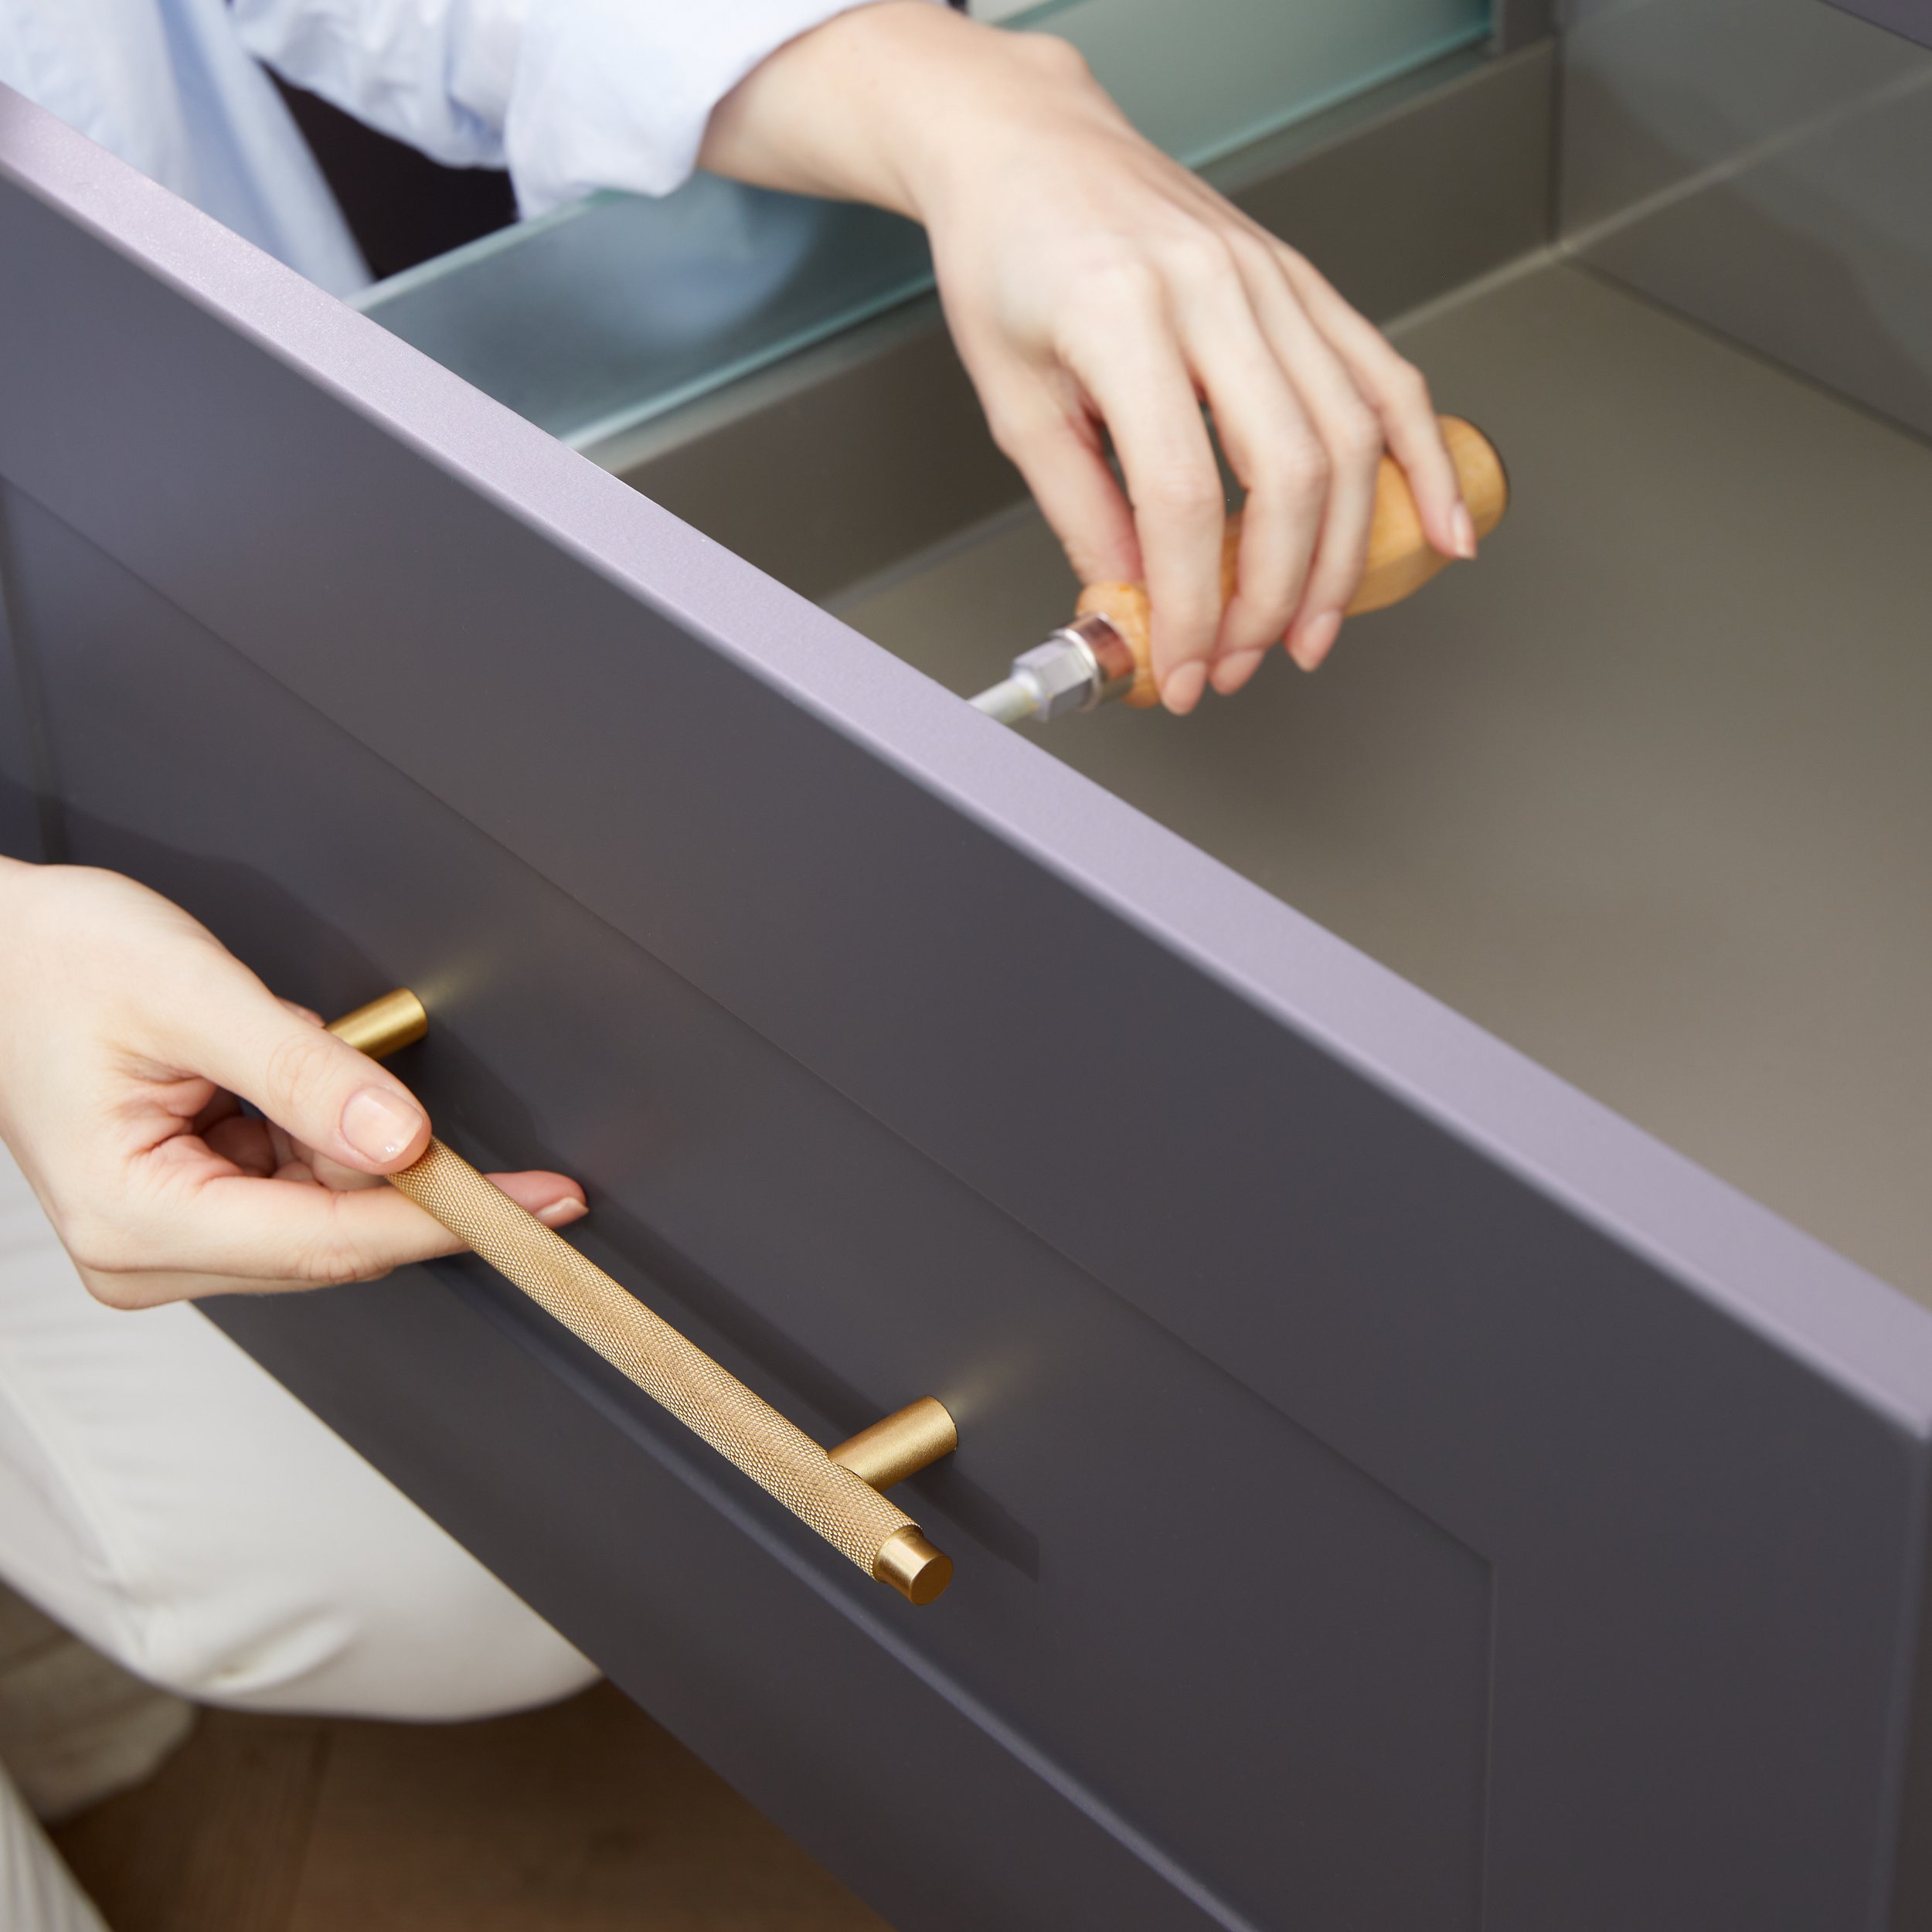
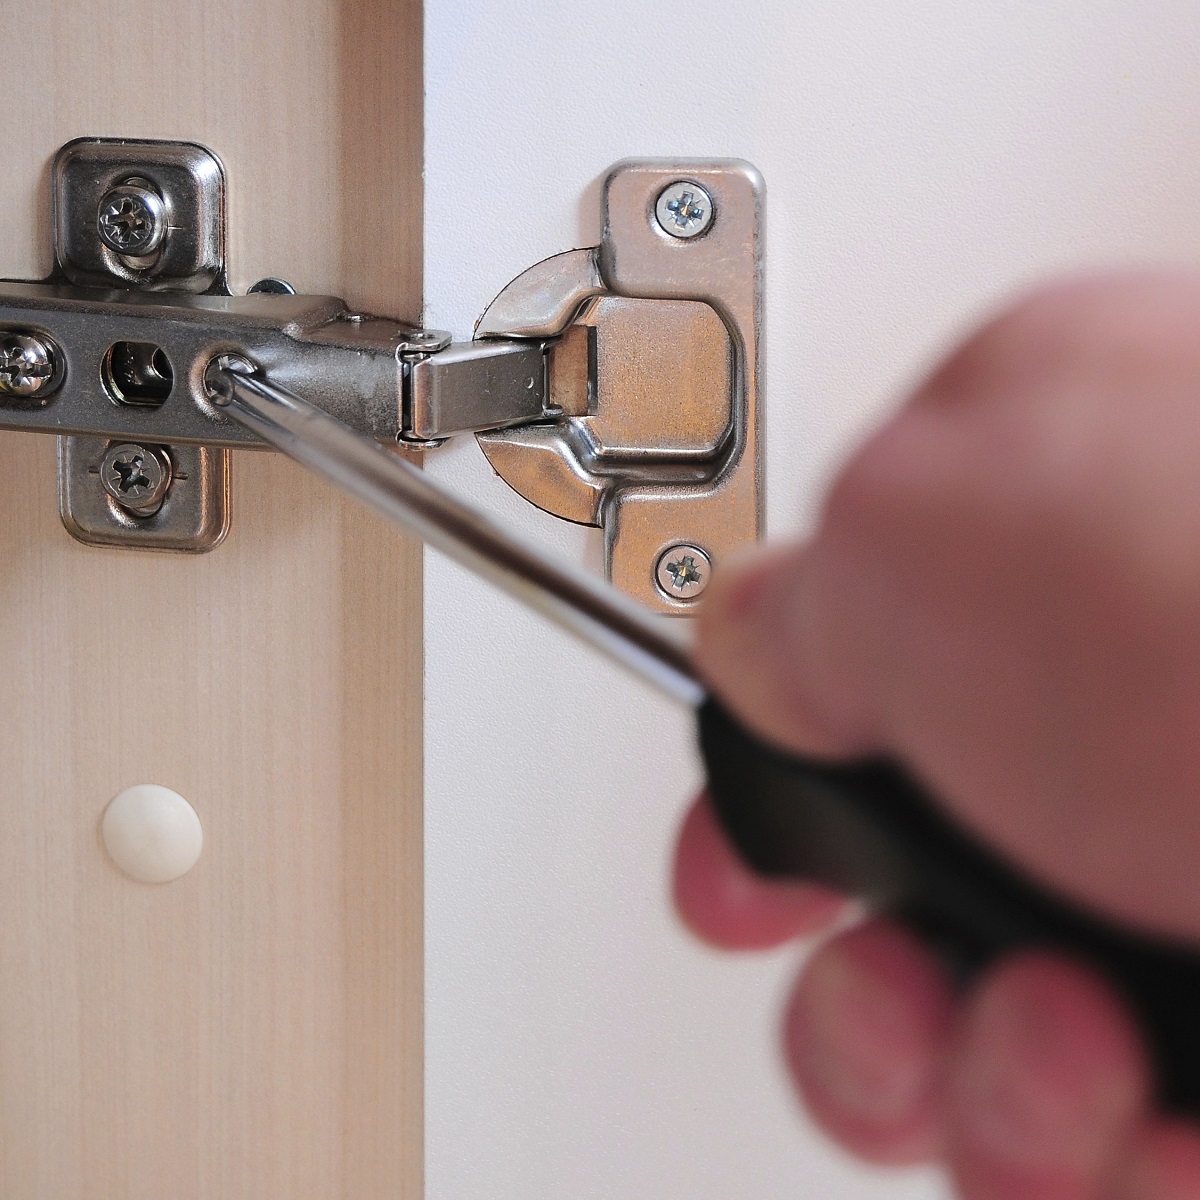
Step 4: Install Cabinet Handles
With the backplate or mounting template in place, it’s time to install the cabinet handles.
Start by inserting the handle screws through the pre-drilled holes on the backplate or mounting template. Make sure the screws are long enough to reach the cabinet door or drawer but not too long to poke through the other side.
Hold the handle against the backplate or mounting template and align it with the pre-drilled holes. Begin tightening the screws by hand until they are secure, but avoid overtightening at this stage.
Once the handles are loosely attached, test their alignment and ensure that they are level and centered on the cabinet door or drawer. Make any necessary adjustments before fully tightening the screws.
Using a screwdriver, tighten the screws firmly, but again, be cautious not to overtighten as it may damage the handle or strip the screw holes in the cabinet.
If you’re installing longer handles or handles with multiple screws, tighten the screws gradually, alternating between them to ensure even and balanced installation.
Double-check all handle placements and alignments before moving on to the next step. Now that the handles are securely attached, it’s time to test and adjust their functionality.
Note: Some handles may require different installation methods, such as using bolts or Allen wrenches. In such cases, follow the manufacturer’s instructions provided with the handles.
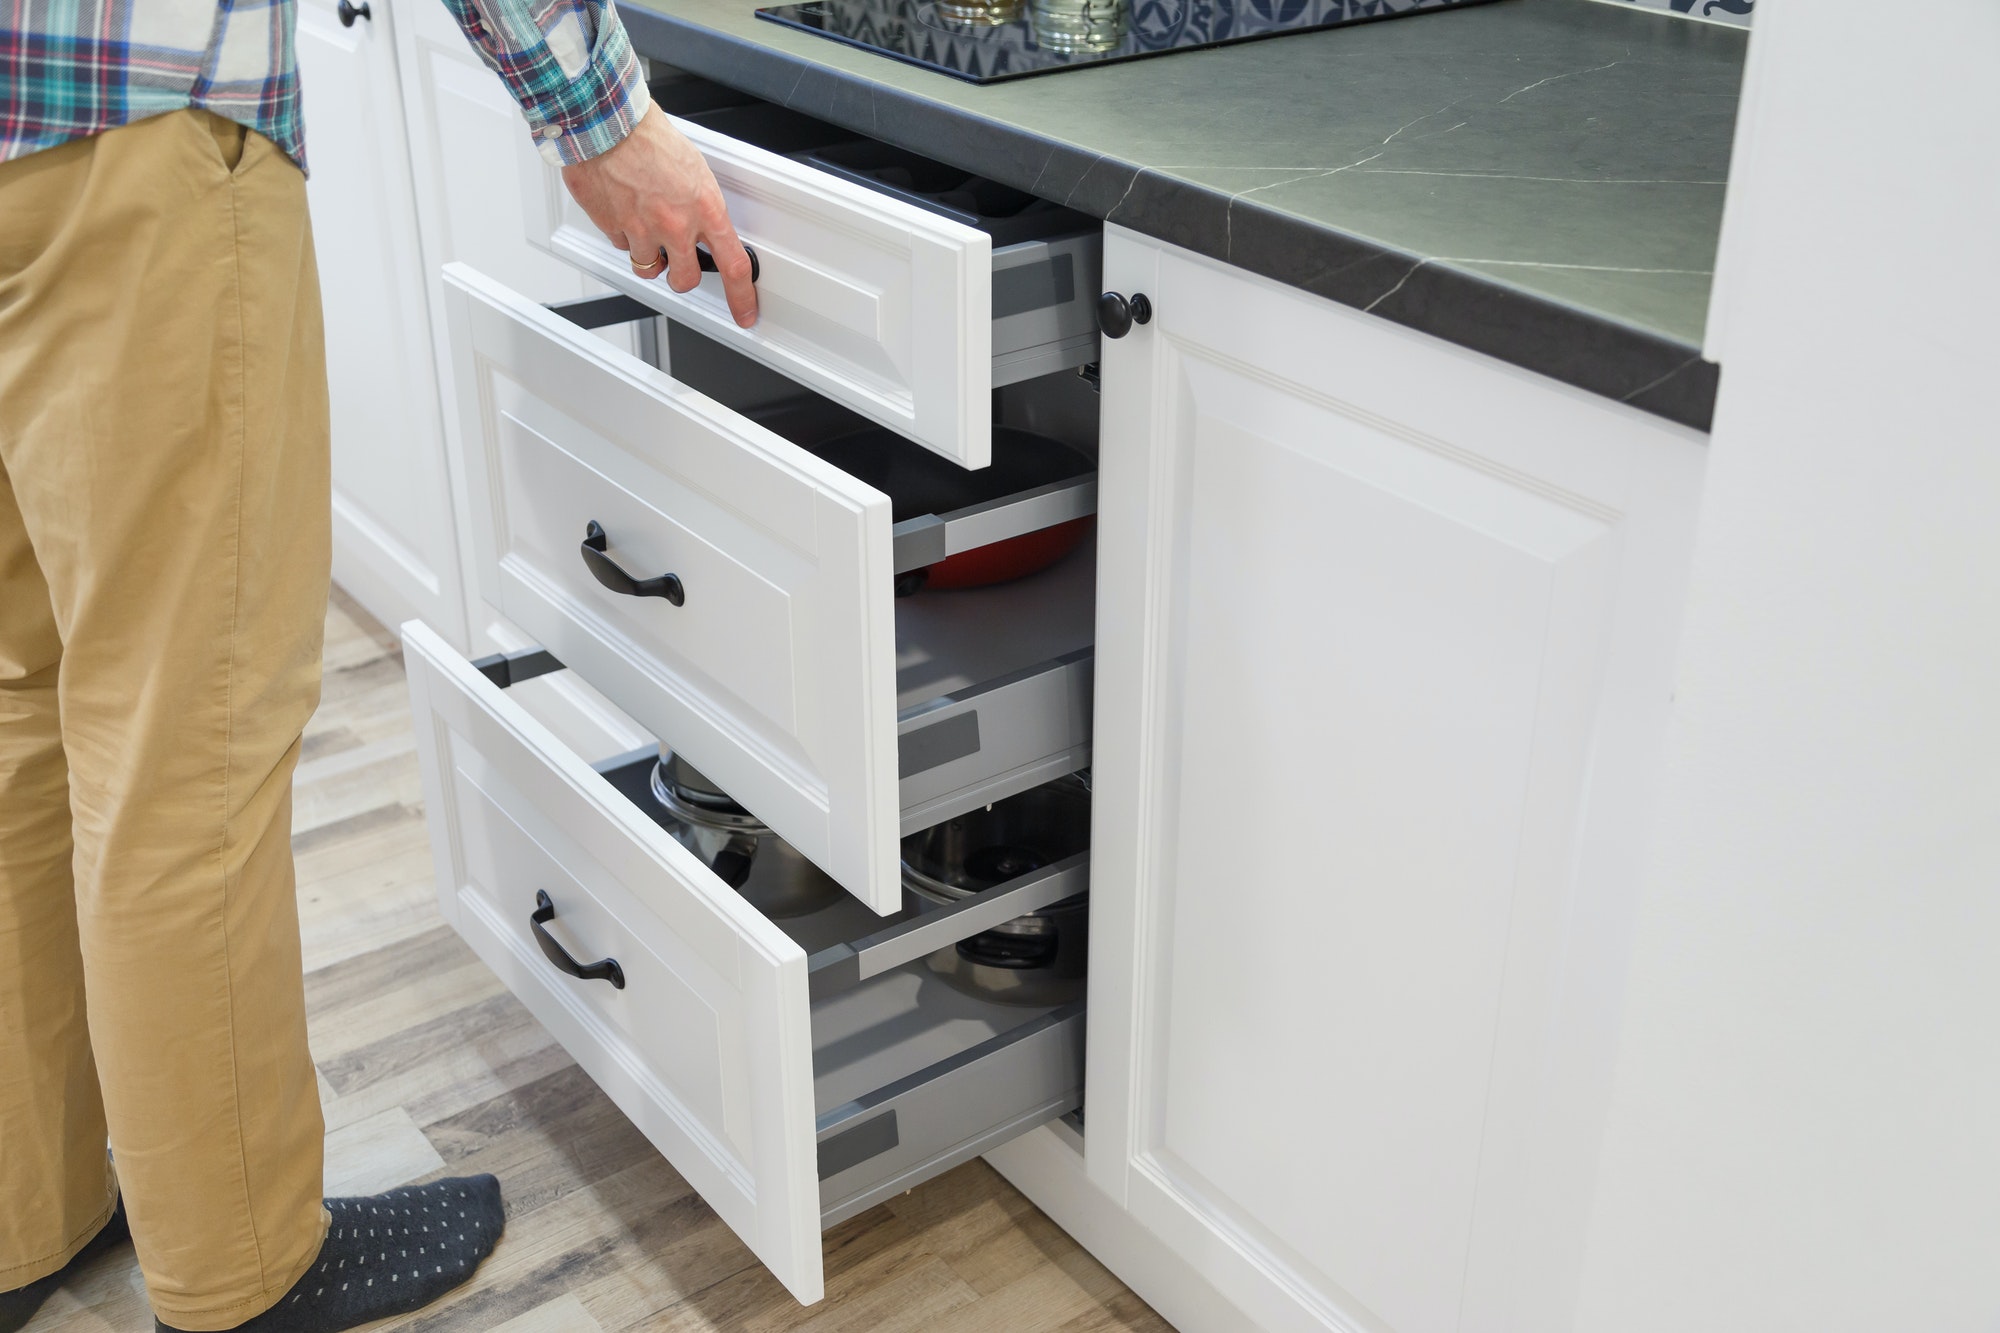
Step 5: Test and Adjust
After installing the cabinet handles, it’s important to test their functionality and make any necessary adjustments to ensure proper operation.
Gently pull or push on each handle to ensure it is securely attached and doesn’t wobble or feel loose. If any handles feel unstable, use your screwdriver to tighten the screws further.
Open and close the cabinet doors or drawers, testing the handles to make sure they are comfortable to grip and operate smoothly. Pay attention to any handles that may be misaligned or require repositioning.
If you notice any handles that are not level, use a screwdriver to slightly loosen the screws and adjust the handle’s position as needed. Once adjusted, tighten the screws again and test the handle’s functionality.
During the testing phase, take note of any handles that may not meet your expectations in terms of aesthetics or functionality. This is the time to make any necessary modifications or consider replacing the handles if needed.
Don’t forget to also check the alignment and functionality of the other handles on the cabinets to ensure consistency throughout.
Once you are satisfied with the placement and functionality of the cabinet handles, it’s time to move on to the final touches and cleanup.
Step 6: Final Touches and Cleanup
With the cabinet handles securely installed and tested, it’s time to add the final touches and clean up any mess left behind.
Start by checking the screws one last time to ensure they are tightened properly. Use a screwdriver to make any necessary adjustments.
If you used backplates or mounting templates, make sure they are aligned correctly and securely attached. Double-check the overall appearance and alignment of the handles.
Next, take a damp cloth and wipe down the cabinet doors or drawers to remove any dust or debris that may have accumulated during the installation process.
If you notice any rough edges or splinters around the pre-drilled holes, use a sanding block or sandpaper to smooth them out. This will not only improve the appearance but also prevent any accidental injuries.
Finally, dispose of any packaging materials or debris from the installation process. Ensure the work area is clean and tidy before stepping back to admire your newly installed cabinet handles.
Remember to keep any spare screws or parts in case they are needed for future repairs or replacements.
Congratulations! You have successfully installed cabinet handles and transformed the appearance and functionality of your cabinets.
Take a moment to step back and appreciate the new look of your cabinets. The added handles will not only make them easier to open and close but also add a touch of style to your space.
Whether you installed handles on kitchen cabinets, bathroom vanities, or any other type of cabinets, you can now enjoy the convenience and visual appeal they bring.
Thank you for following this guide. We hope it has been helpful in guiding you through the process of installing cabinet handles.
Remember, if you ever need to replace or update the handles in the future, you can refer back to this guide for a refresher.
Happy DIYing!
Conclusion
Installing cabinet handles can be a simple and rewarding DIY project that can transform the look and functionality of your cabinets. By following the step-by-step guide provided, you can confidently install handles that not only enhance the aesthetics of your space but also make it easier to open and close your cabinets.
Remember to gather all the necessary tools and materials before starting the installation process. Take accurate measurements, pre-drill the holes, and attach the backplates or create a mounting template for precise placement. Carefully install the handles, test their functionality, and make any necessary adjustments. Finally, clean up the work area and admire the beautiful update you’ve made to your cabinets.
With proper installation and maintenance, your cabinet handles will continue to bring both style and convenience to your space for years to come.
We hope this comprehensive guide has provided you with the knowledge and confidence to successfully install cabinet handles. Should you require further assistance or have any questions, feel free to consult with a professional or refer back to this guide for reference.
Happy DIYing and enjoy your beautifully updated cabinets!
Frequently Asked Questions about How To Install Cabinet Handles
Was this page helpful?
At Storables.com, we guarantee accurate and reliable information. Our content, validated by Expert Board Contributors, is crafted following stringent Editorial Policies. We're committed to providing you with well-researched, expert-backed insights for all your informational needs.


0 thoughts on “How To Install Cabinet Handles”