Home>Storage Ideas>Storage Baskets>How To Hang Baskets On The Wall

Storage Baskets
How To Hang Baskets On The Wall
Modified: December 7, 2023
Discover the perfect storage solution with our step-by-step guide on how to hang baskets on the wall. Transform any space with stylish storage baskets.
(Many of the links in this article redirect to a specific reviewed product. Your purchase of these products through affiliate links helps to generate commission for Storables.com, at no extra cost. Learn more)
Introduction
Adding hanging baskets to your wall is a great way to create functional storage and bring a touch of aesthetic appeal to any room. Whether you’re looking to declutter your space by storing small items or showcase your favorite décor pieces, hanging baskets offer a versatile solution. With the right materials and a few simple steps, you can easily hang baskets on your wall and elevate the style and functionality of your living area, kitchen, or even your bathroom.
In this guide, we will walk you through the process of hanging baskets on the wall, providing tips and tricks along the way to ensure a secure and visually pleasing result. So, gather your materials and let’s get started!
Key Takeaways:
- Elevate your space with functional and visually appealing hanging baskets. Carefully choose locations, secure with wall anchors if needed, and add decorative elements for a personalized touch.
- Transform your walls into stylish and organized havens with hanging baskets. Follow precise steps, ensure stability, and get creative with decorative elements to showcase your unique style.
Read more: How To Hang Baskets On The Wall For Storage
Materials Needed
Before you begin hanging baskets on your wall, gather the following materials:
- Wall anchors (if necessary)
- Measuring tape
- Pencil
- Level
- Drill
- Screws
- Wall hooks or brackets
- Hanging baskets
- Decorative elements (optional)
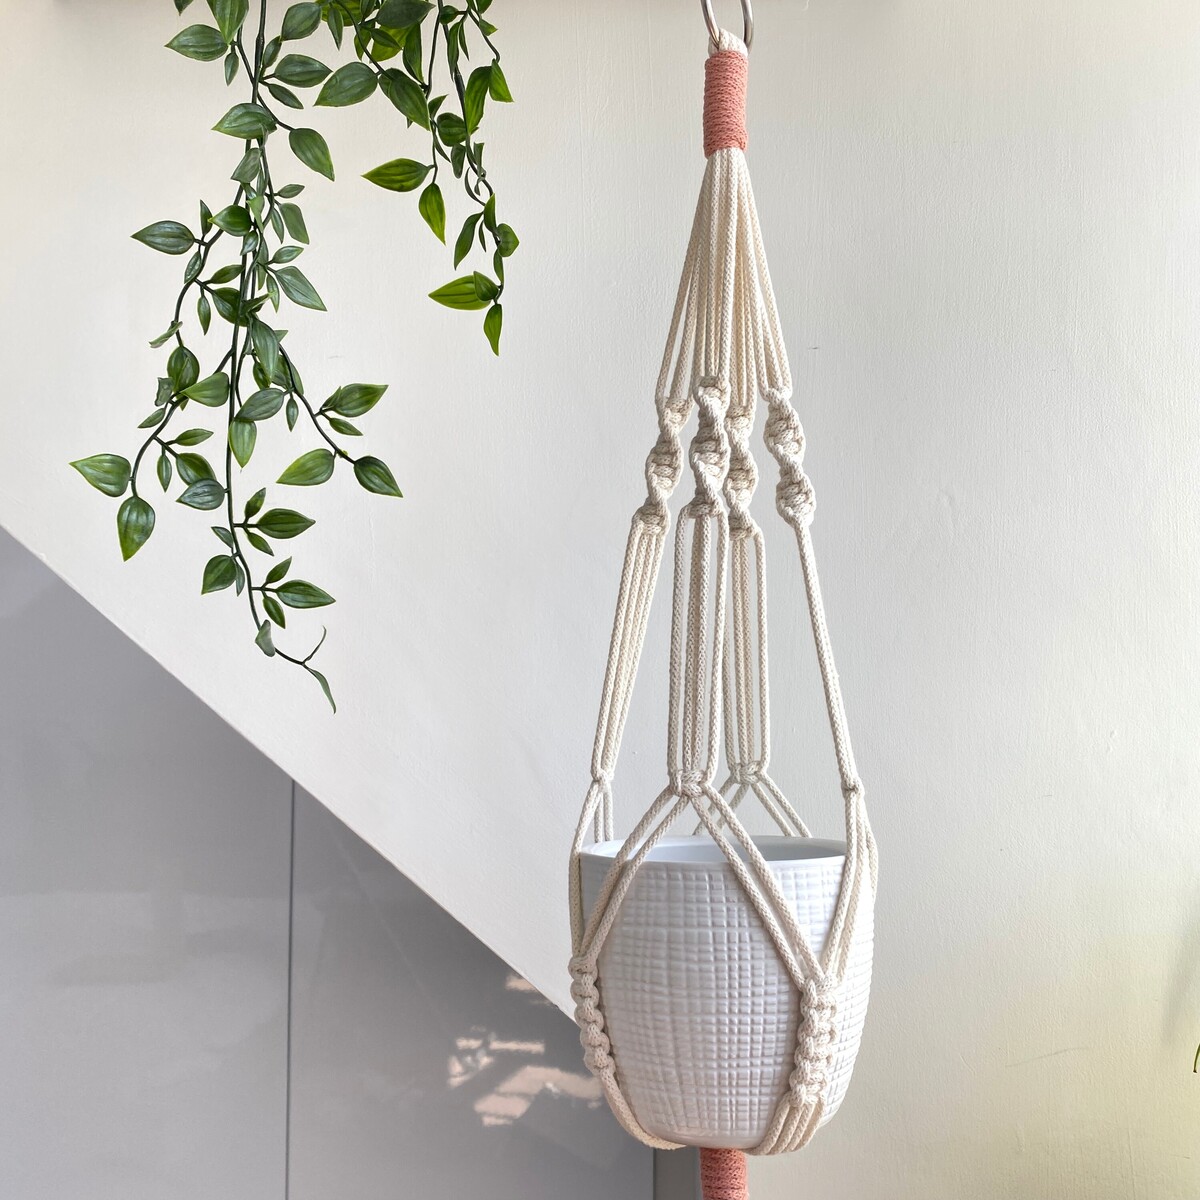
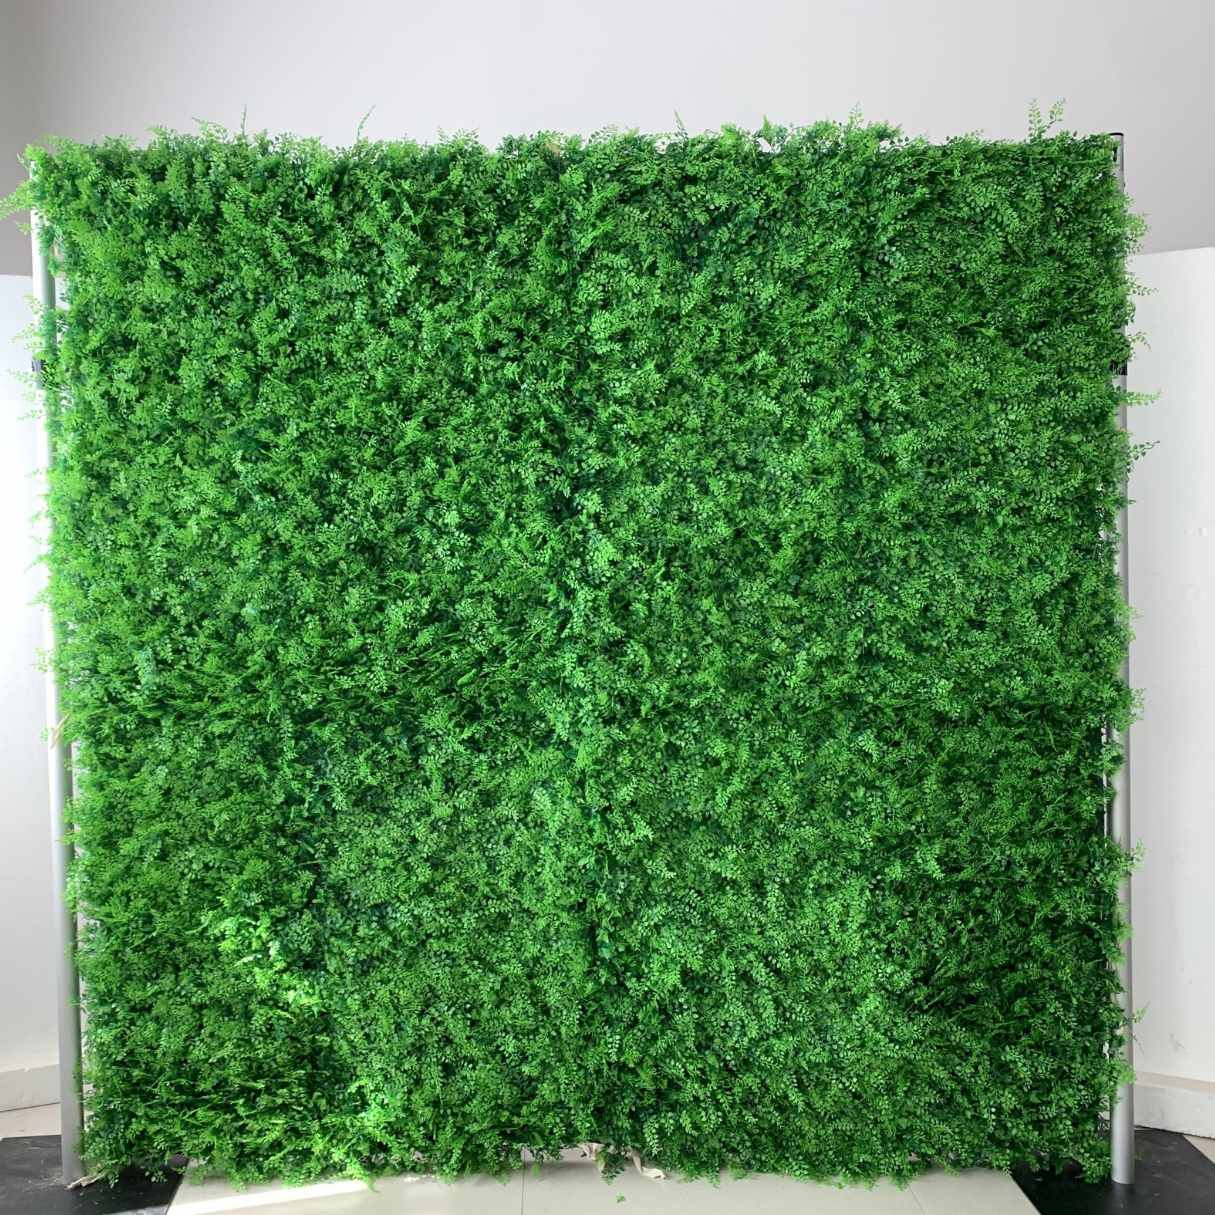
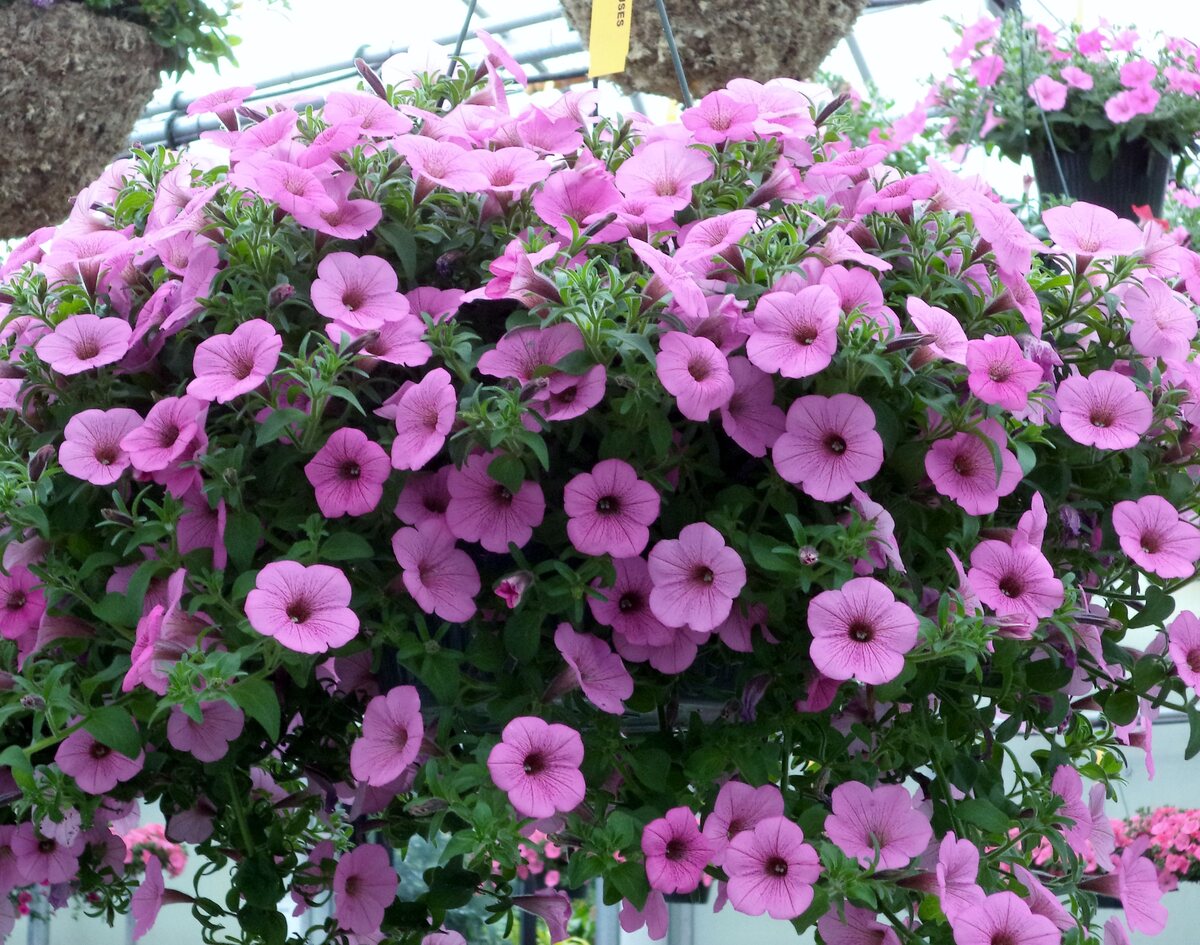
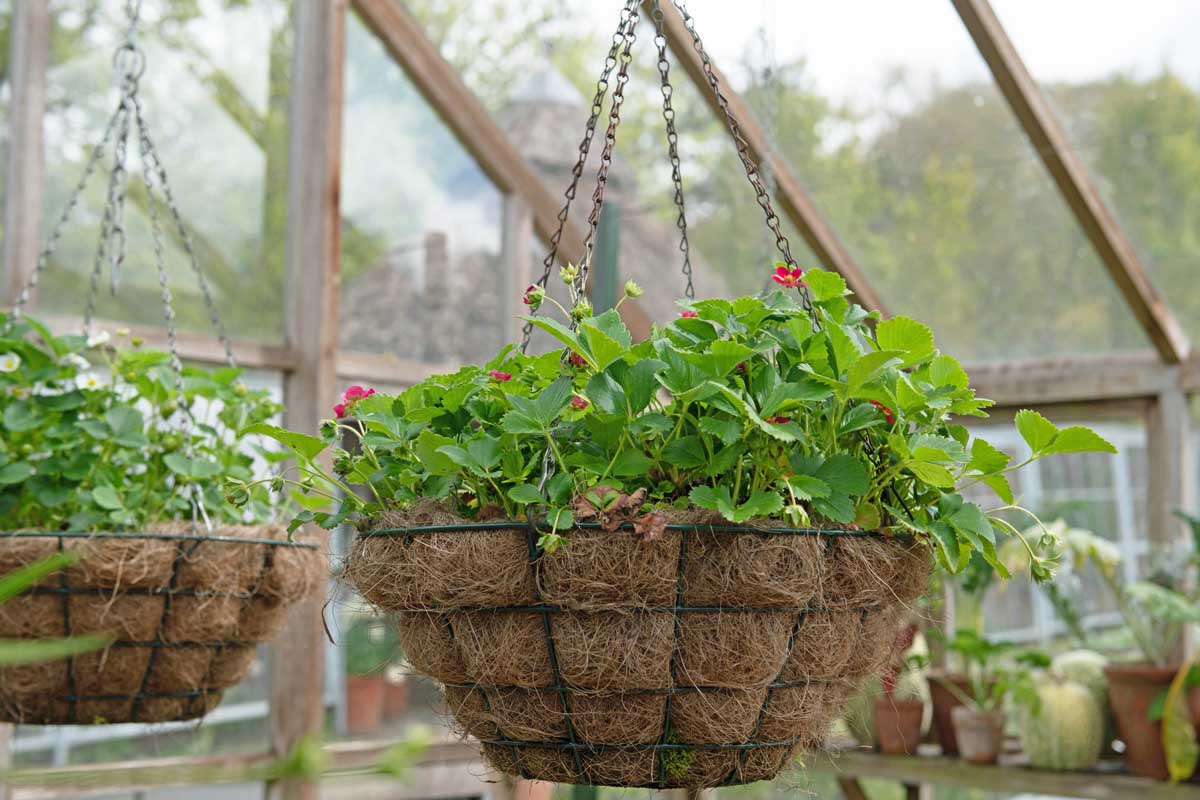
It’s important to choose the right size and style of hanging baskets according to your needs and the aesthetics of your space. Opt for sturdy baskets that can securely hold items without compromising their structural integrity. You can find a wide variety of hanging baskets in different materials, such as woven seagrass, metal, or even glass.
Additionally, consider any decorative elements you may want to add to your baskets, such as artificial plants, flowers, or ribbon. These elements can enhance the visual appeal and make your hanging baskets truly stand out.
Now that you have all the necessary materials, let’s move on to the step-by-step process of hanging your baskets on the wall.
Step 1: Choose the Location
The first step in hanging baskets on your wall is to carefully choose the location where you want to install them. Consider both the functionality and aesthetics of the area. Here are a few factors to keep in mind:
- Functionality: Determine the purpose of the hanging baskets. Are you using them for storage, decoration, or a combination of both? For example, in a kitchen, you might want to hang baskets to store utensils or spices, while in a living room, you might use them to showcase decorative items.
- Visibility: Think about the visibility of the baskets. Choose a location where they can be easily seen and appreciated. Consider areas such as empty walls, above furniture, or even above countertops.
- Accessibility: Ensure that the chosen location is easily accessible for adding or removing items from the baskets. Avoid placing them too high or in hard-to-reach areas.
- Weight-bearing capacity: Take note of the weight-bearing capacity of the wall. If you plan to hang heavy baskets or store items of significant weight, make sure the wall can support the load. For extra support, you may need to use wall anchors or choose a different location with more structural support.
Once you have considered these factors, take a step back and visually assess the chosen location. Imagine how the hanging baskets will look in the space and whether they will complement the overall decor. Once you are confident with your choice, move on to the next step.
Step 2: Mark the Hanging Points
Now that you have chosen the location for your hanging baskets, it’s time to mark the hanging points on the wall. This will ensure that the baskets are symmetrical and evenly spaced.
Start by measuring the width of your hanging baskets. Divide this measurement in half to determine the center point. Use a measuring tape to find the desired height at which you want to hang the baskets.
Once you have determined the center point and desired height, take a pencil and mark these points on the wall. Use a level to ensure that the marks are straight and aligned. This will help you maintain a visually pleasing arrangement.
If you plan to hang multiple baskets, repeat the process for each one. Ensure that the marks for each basket are evenly spaced and aligned with one another. This will create a cohesive look and prevent any imbalanced appearance. Adjust the marks as necessary until you are satisfied with their placement.
By marking the hanging points before installation, you can avoid potential mistakes and ensure a clean and professional-looking result.
Now that you have marked the hanging points, you can move on to the next step of the installation process.
Step 3: Install Wall Anchors (if necessary)
Before proceeding with the installation of your hanging baskets, it’s important to determine if you need additional support in the form of wall anchors. Wall anchors are especially essential if you plan to hang heavier baskets or if your wall is made of drywall or plaster, which may not provide sufficient support on its own.
Here’s how to determine if you need wall anchors:
- Consider the weight of the baskets: If your baskets are relatively lightweight and you are confident that your wall can support them without causing damage, you may not need wall anchors. However, if the baskets are heavy or will hold a significant amount of weight, it is advisable to use wall anchors to ensure stability and prevent any damage to the wall.
- Assess the wall material: Different types of walls have different load-bearing capacities. If your wall is made of drywall or plaster, it may require wall anchors to provide extra support. On the other hand, if your wall is made of solid materials like concrete or wood, wall anchors might not be necessary.
If you determine that wall anchors are necessary, follow these steps:
- Choose the appropriate wall anchors: There are various types of wall anchors available, such as expansion anchors, toggle bolts, or plastic anchors. Select the type that is suitable for your wall material and the weight of your baskets.
- Mark the location for the anchors: Refer to the marks you made earlier and use a pencil to indicate where the wall anchors will be installed.
- Pre-drill the holes: Use a drill and the appropriate size drill bit for the wall anchors to pre-drill holes at the marked locations. Ensure that the holes are deep enough to accommodate the length of the wall anchors.
- Insert the wall anchors: Place the wall anchors into the pre-drilled holes, making sure they are flush with the wall surface.
By installing wall anchors, you can ensure that your hanging baskets are securely attached to the wall, providing stability and peace of mind.
Once the wall anchors are in place, you are ready to move on to the next step of the hanging process.
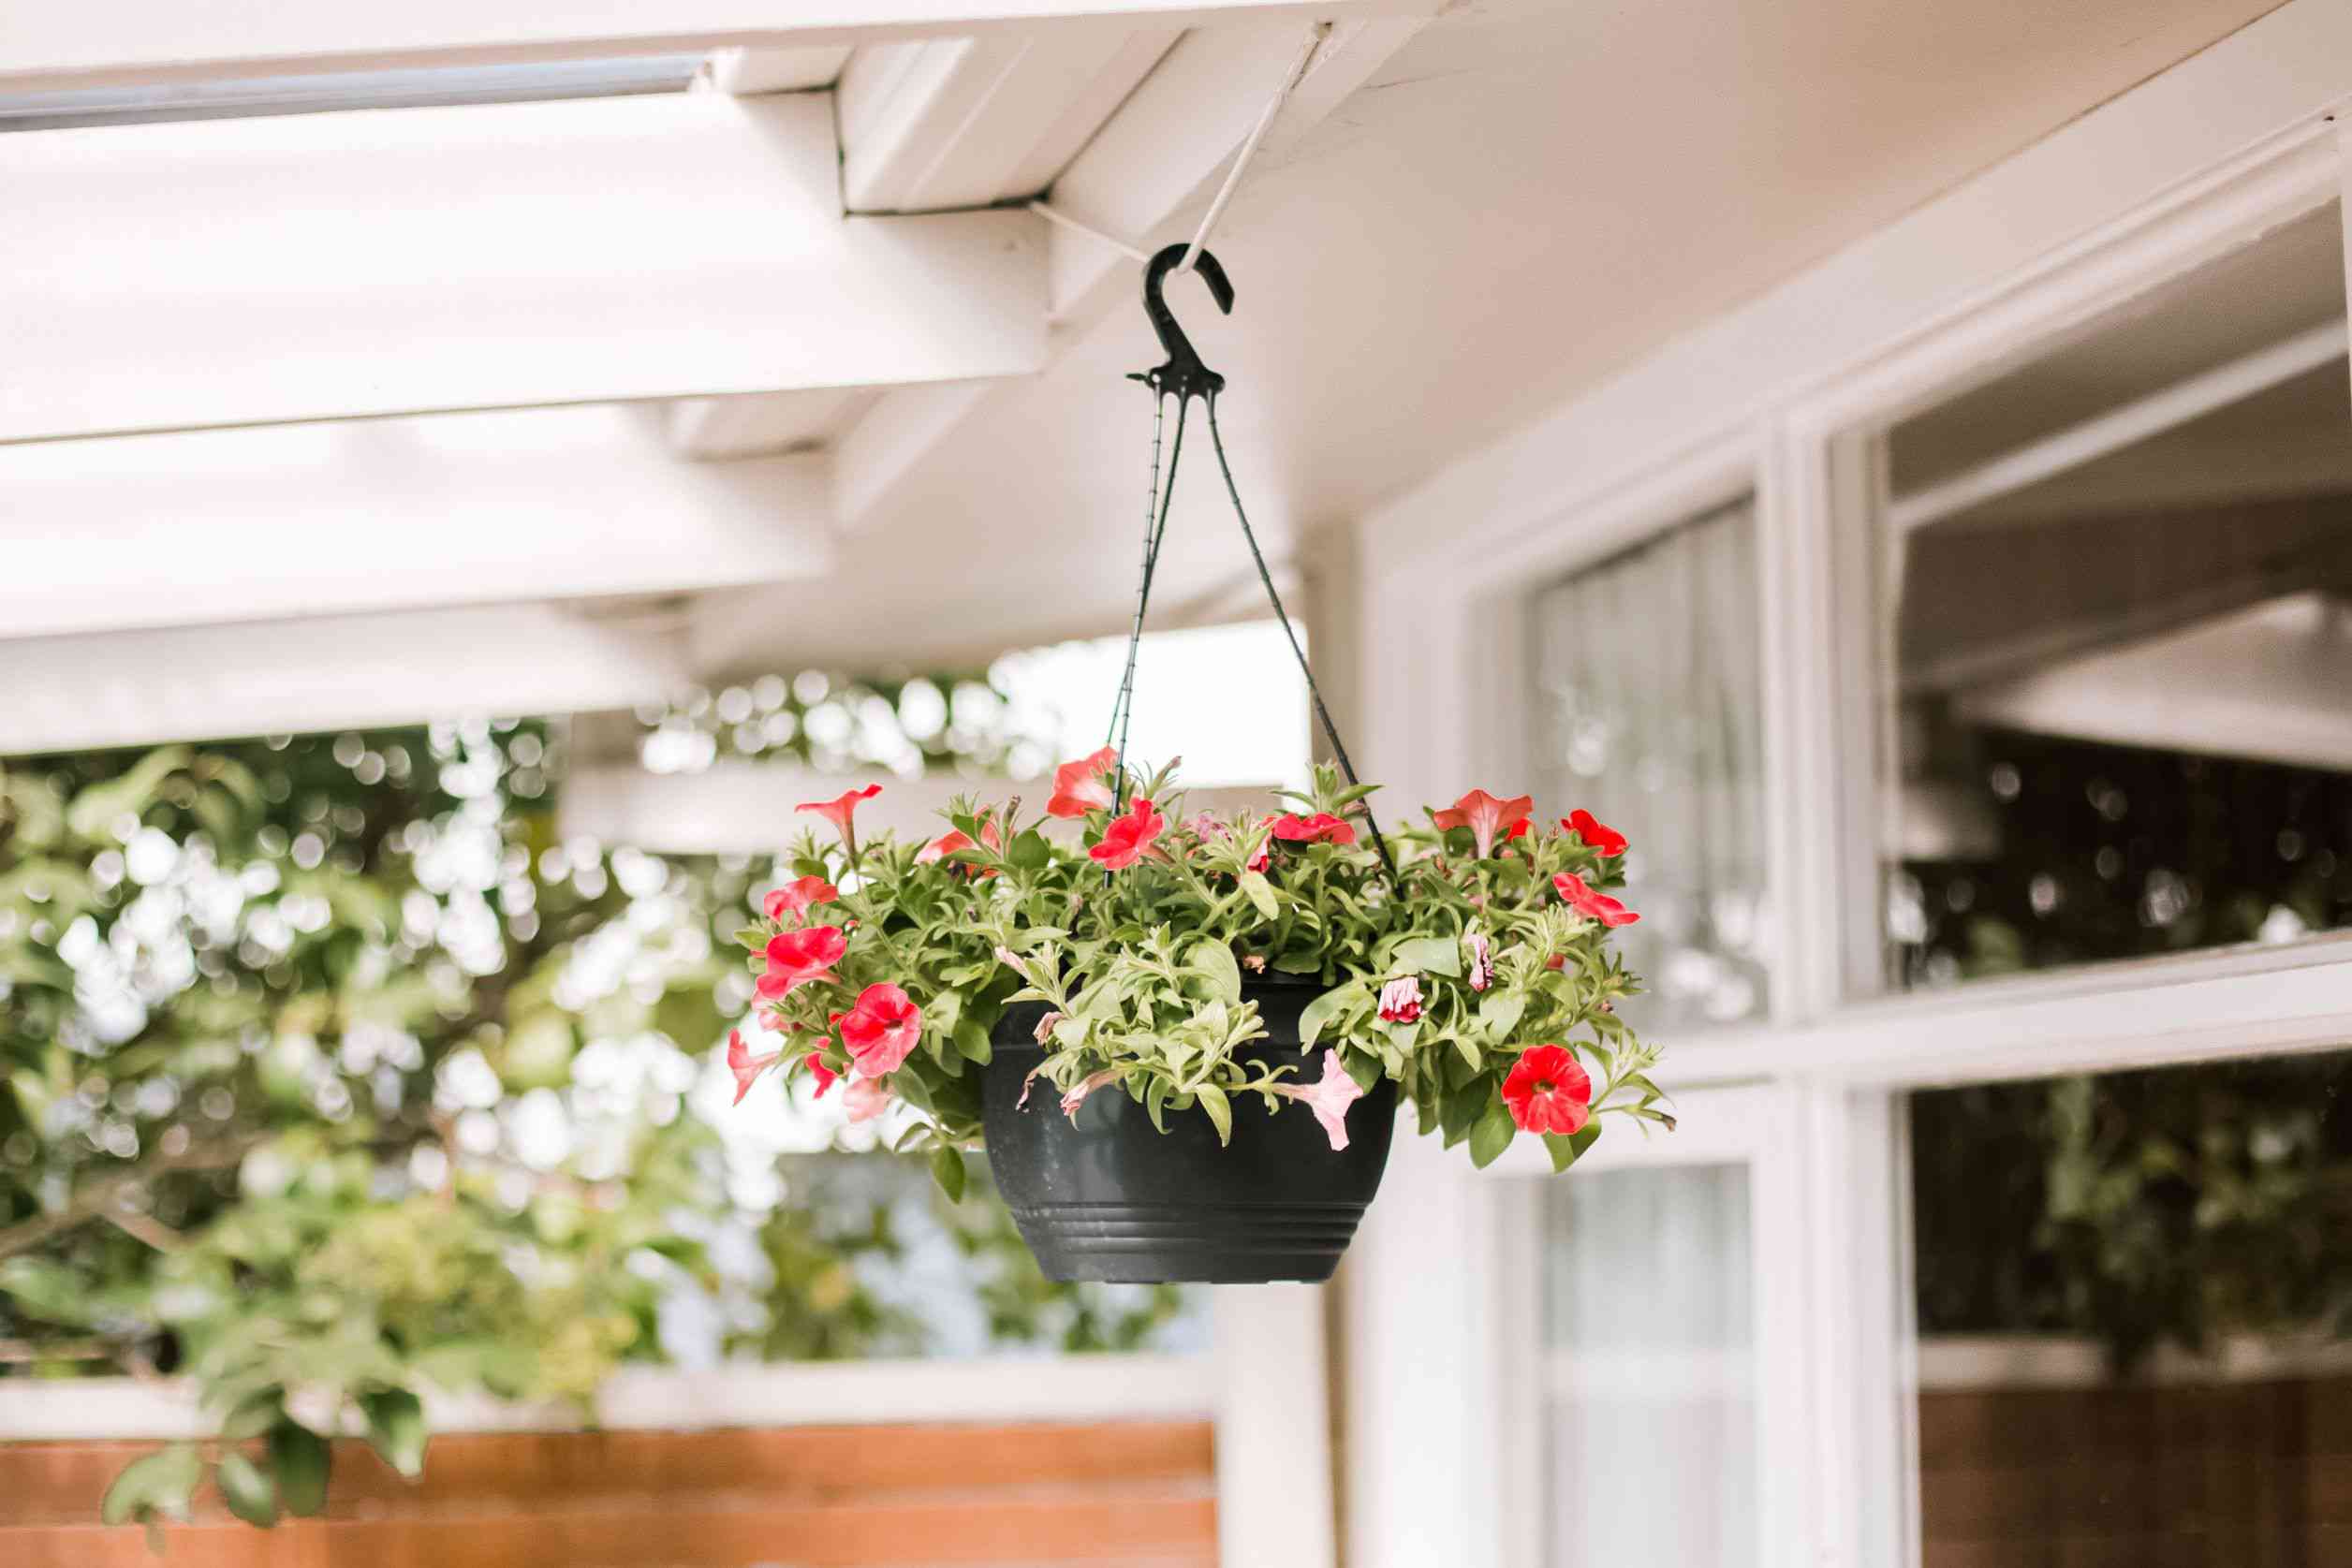
Use sturdy hooks or brackets to hang baskets on the wall. Make sure to secure them properly to avoid accidents. Consider the weight of the baskets and use appropriate hardware.
Step 4: Attach Hooks or Brackets to the Wall
With the marks and wall anchors in place, it’s time to attach the hooks or brackets that will hold your hanging baskets. These hooks or brackets will provide the support needed to securely hang the baskets on the wall.
Here’s how to attach hooks or brackets to the wall:
- Choose the right hooks or brackets: Select hooks or brackets that are suitable for the weight and size of your baskets. Consider the material, design, and durability of the hooks or brackets to ensure they will securely hold the baskets.
- Position the hooks or brackets: Align the hooks or brackets with the marks you made earlier. Ensure that they are level and evenly spaced, maintaining the desired arrangement of your baskets.
- Secure the hooks or brackets: Use a drill and screws to attach the hooks or brackets to the wall. Make sure to go through the wall anchors if they were installed in the previous step. Tighten the screws until the hooks or brackets are firmly secured to the wall.
It’s essential to double-check the stability and levelness of the hooks or brackets before proceeding to the next step. Adjust them as needed to ensure a balanced and secure attachment.
Once the hooks or brackets are securely in place, you are ready to move on to the next step of hanging your baskets on the wall.
Step 5: Hang the Basket
Now that the hooks or brackets are securely attached to the wall, it’s time to hang your baskets. This step will bring your vision to life as you see the baskets take their place on the wall.
Here’s how to hang your baskets:
- Prepare the baskets: Make sure your baskets are clean and free from any dust or debris. If you plan to add any decorative elements, such as artificial plants or flowers, now is the time to arrange them within the baskets.
- Position the baskets: Hold your basket by the handle or rim and carefully hook it onto the installed hooks or brackets. Secure the basket in place, ensuring it rests securely on the hooks or brackets.
- Step back and assess: Take a moment to step back and assess the placement of the baskets. Ensure they are level, evenly spaced, and aligned with one another. Make any necessary adjustments to achieve the desired arrangement.
As you hang each basket, take your time to ensure they are hung securely and levelly. This will create a harmonious display and prevent any accidents or damage.
Once all the baskets are hung, congratulate yourself on a job well done! You’re almost finished, but there are a few more steps to go to ensure your baskets are perfect.
Step 6: Adjust and Secure the Basket
After hanging your baskets on the wall, it’s important to adjust and secure them to ensure they are properly positioned and won’t accidentally fall or shift over time.
Follow these steps to adjust and secure your baskets:
- Check levelness: Take a step back and use a level to ensure that all the baskets are hanging straight and level. Adjust them as necessary to maintain a visually pleasing arrangement.
- Tighten hooks or brackets: If you notice any looseness or movement in the hooks or brackets, use a screwdriver or drill to tighten them. This will ensure the baskets are securely attached to the wall.
- Test stability: Gently push on each basket to make sure it is stable and not prone to tipping or swinging. If a basket feels unstable, reposition it or adjust the hooks or brackets to provide better support.
By taking the time to adjust and secure your baskets, you can have peace of mind knowing that they will remain in place and maintain their desired arrangement.
Now that your baskets are properly adjusted and secured, it’s time to add those finishing touches to enhance their visual appeal.
Step 7: Add Decorative Elements (optional)
To add a personal touch and elevate the visual appeal of your hanging baskets, consider incorporating decorative elements. These elements can enhance the overall aesthetic and make your baskets stand out as unique and vibrant pieces of decor.
Here are some ideas for adding decorative elements to your hanging baskets:
- Artificial plants or flowers: Place artificial plants or flowers within the baskets to bring in a touch of greenery or color. Opt for realistic-looking options or choose vibrant blooms to create a lively display.
- Ribbon or twine: Wrap ribbon or twine around the handles or perimeter of the baskets to add a decorative and textural element. Choose colors and patterns that complement your existing decor or add a pop of contrast.
- Hanging ornaments: Attach small hanging ornaments, such as mini wind chimes, dreamcatchers, or small sculptures, to the baskets for an eye-catching and whimsical effect.
- Mini lights or fairy lights: Wind battery-operated mini lights or fairy lights around the baskets to create a warm and cozy ambiance. This is especially effective for evening or nighttime settings.
- Seasonal accents: Switch out the decorative elements based on the season or occasion. For example, hang small ornaments during the holiday season, or incorporate seashells and starfish for a coastal theme.
Remember that the decorative elements you choose should complement the style and theme of your space. Experiment with different combinations and placements to achieve the desired effect.
By adding these optional decorative elements, your hanging baskets will become unique focal points and conversation starters in your home.
With that, you have completed the process of hanging baskets on the wall. Take a step back and admire your handiwork!
Read more: How To Hang Hanging Baskets From Porch
Conclusion
Congratulations! You have successfully learned how to hang baskets on the wall, transforming your living space into a functional and visually appealing area. By following these step-by-step instructions, you can create organized storage solutions or showcase your favorite décor pieces with ease.
Remember to carefully choose the location for your hanging baskets, considering both the functionality and aesthetics of the area. Mark the hanging points, ensuring they are level and aligned. Install wall anchors if necessary, especially for heavier baskets or walls made of drywall or plaster.
Attach hooks or brackets securely to the wall, ensuring they can support the weight of the baskets. Hang the baskets on the hooks or brackets, adjusting and securing them for stability. Optionally, you can add decorative elements such as artificial plants, ribbon, or lights to enhance the visual appeal of your baskets.
Throughout the process, it’s important to maintain attention to detail and precision to achieve a polished look. By taking your time and following each step carefully, you can enjoy perfectly hung baskets that enhance the functionality and charm of your space.
So, go ahead and get creative with your hanging baskets. Experiment with different styles, colors, and arrangements to create a unique and personalized display. Get ready to receive compliments from visitors as they admire the beautiful transformation of your walls!
Remember, the possibilities are endless when it comes to utilizing hanging baskets on your wall. Whether you’re looking to organize your kitchen utensils, display your favorite decorative pieces, or create a functional storage solution, the versatility of hanging baskets offers endless opportunities.
Now it’s time to put your newfound knowledge into practice and start hanging those baskets on the wall. Enjoy the process and have fun turning your space into a stylish and organized haven!
Frequently Asked Questions about How To Hang Baskets On The Wall
Was this page helpful?
At Storables.com, we guarantee accurate and reliable information. Our content, validated by Expert Board Contributors, is crafted following stringent Editorial Policies. We're committed to providing you with well-researched, expert-backed insights for all your informational needs.


0 thoughts on “How To Hang Baskets On The Wall”