Home>Storage Ideas>Storage Baskets>How To Make Macramé Hanging Baskets
Storage Baskets
How To Make Macramé Hanging Baskets
Modified: August 26, 2024
Learn how to create stunning macramé hanging baskets that are perfect for storage. Find step-by-step instructions and tips for making your own decorative storage baskets.
(Many of the links in this article redirect to a specific reviewed product. Your purchase of these products through affiliate links helps to generate commission for Storables.com, at no extra cost. Learn more)
Introduction
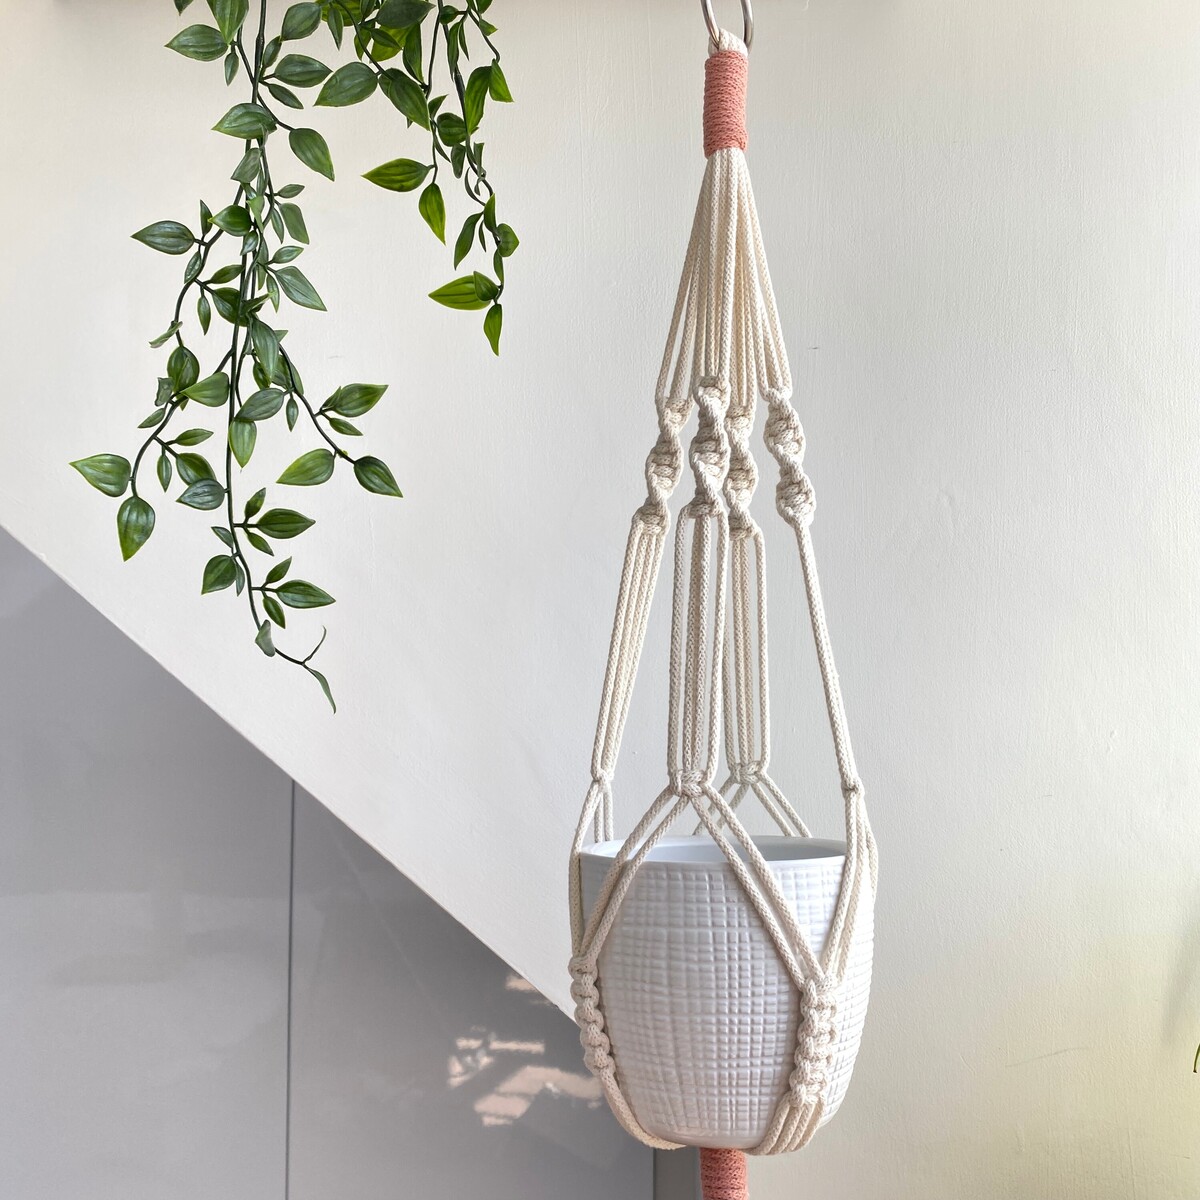
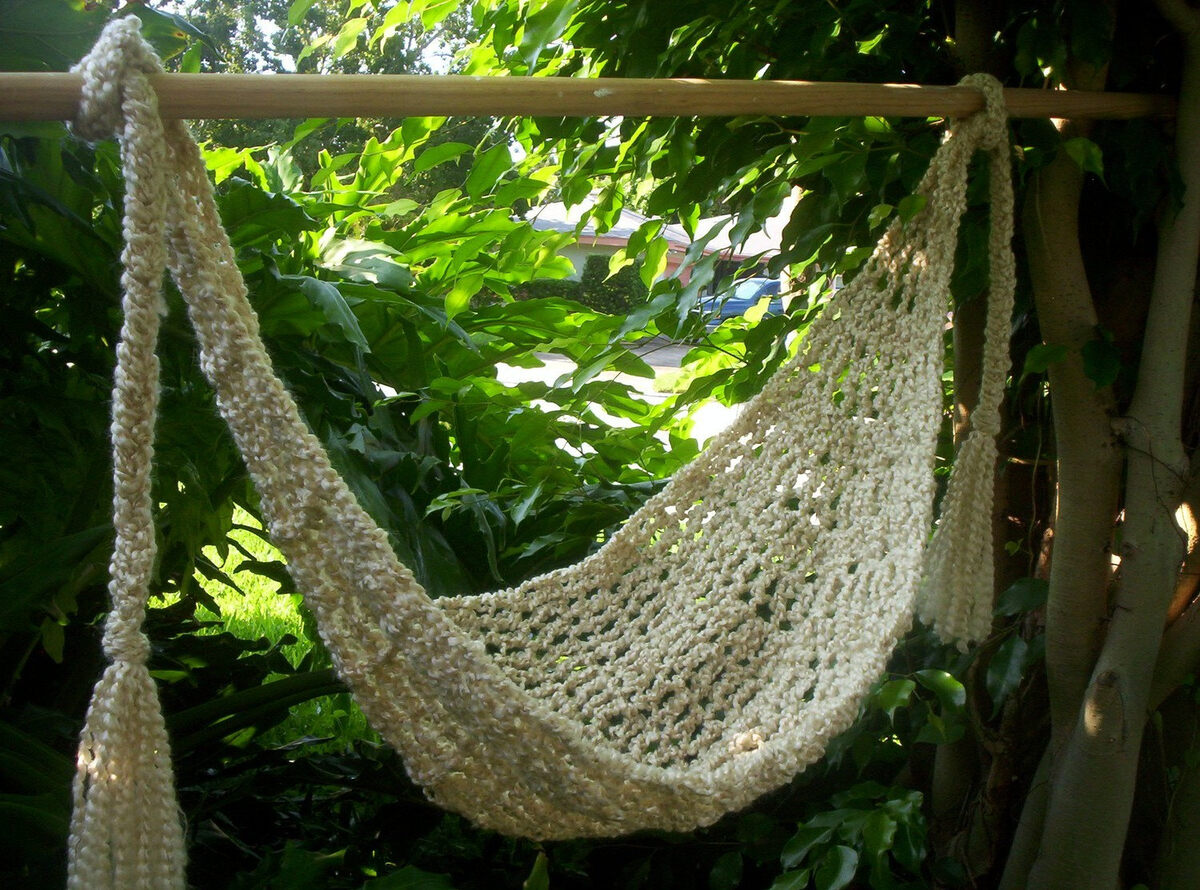
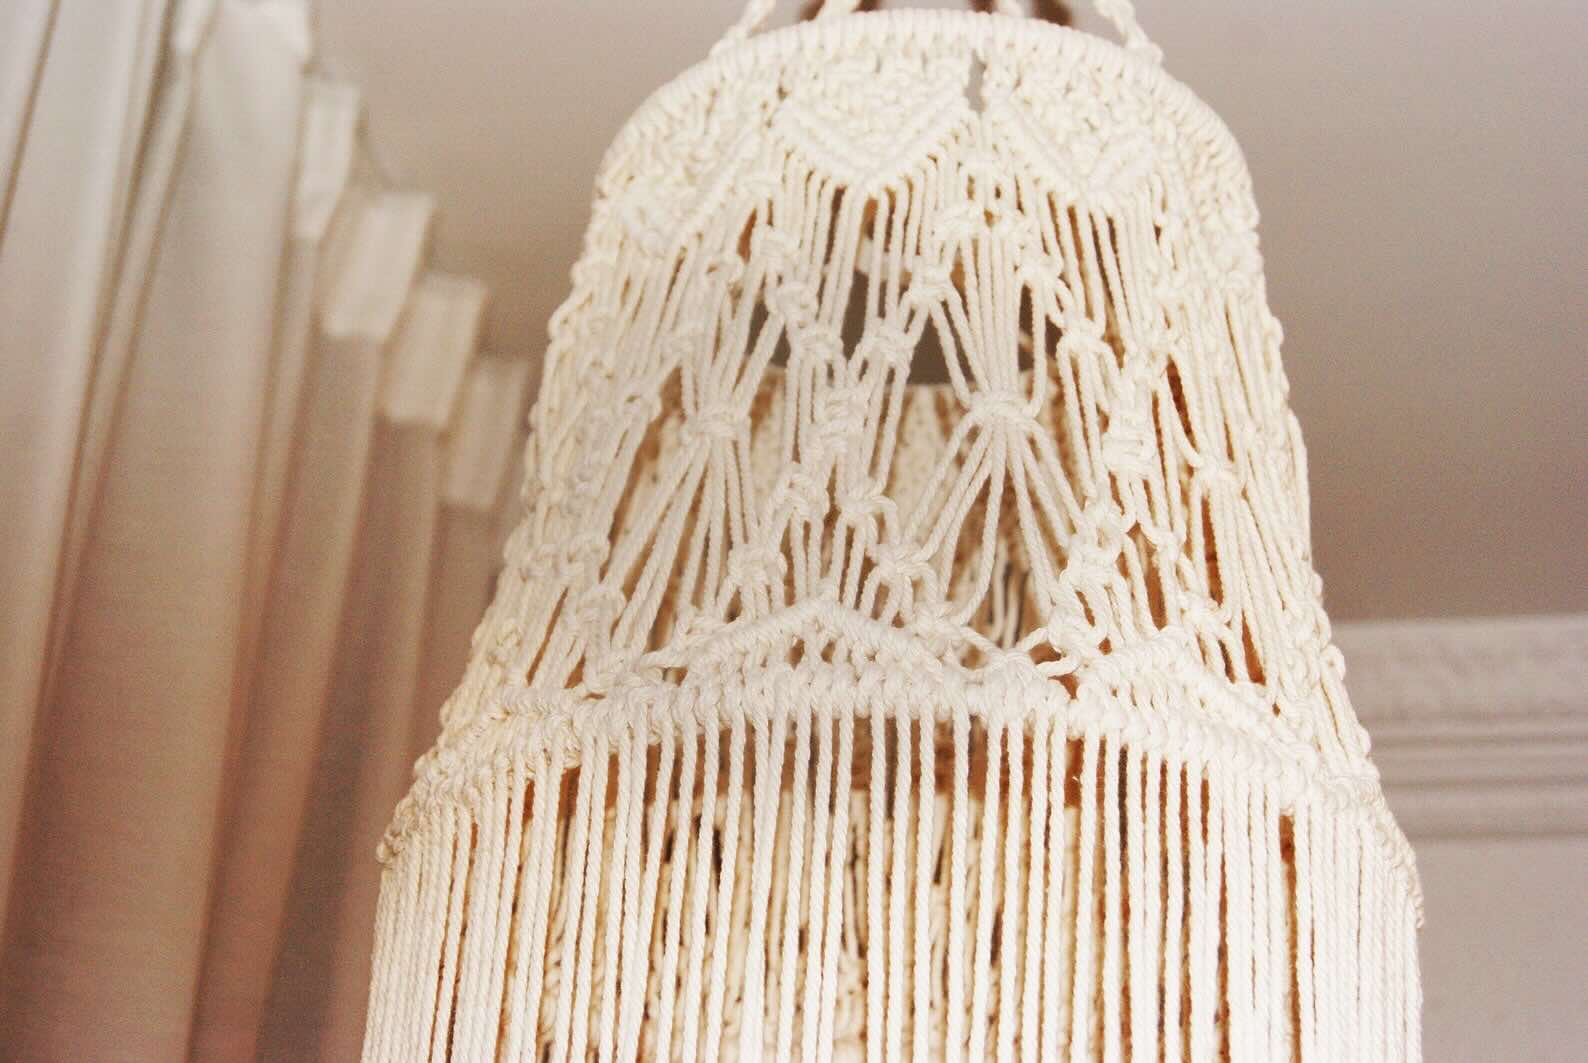
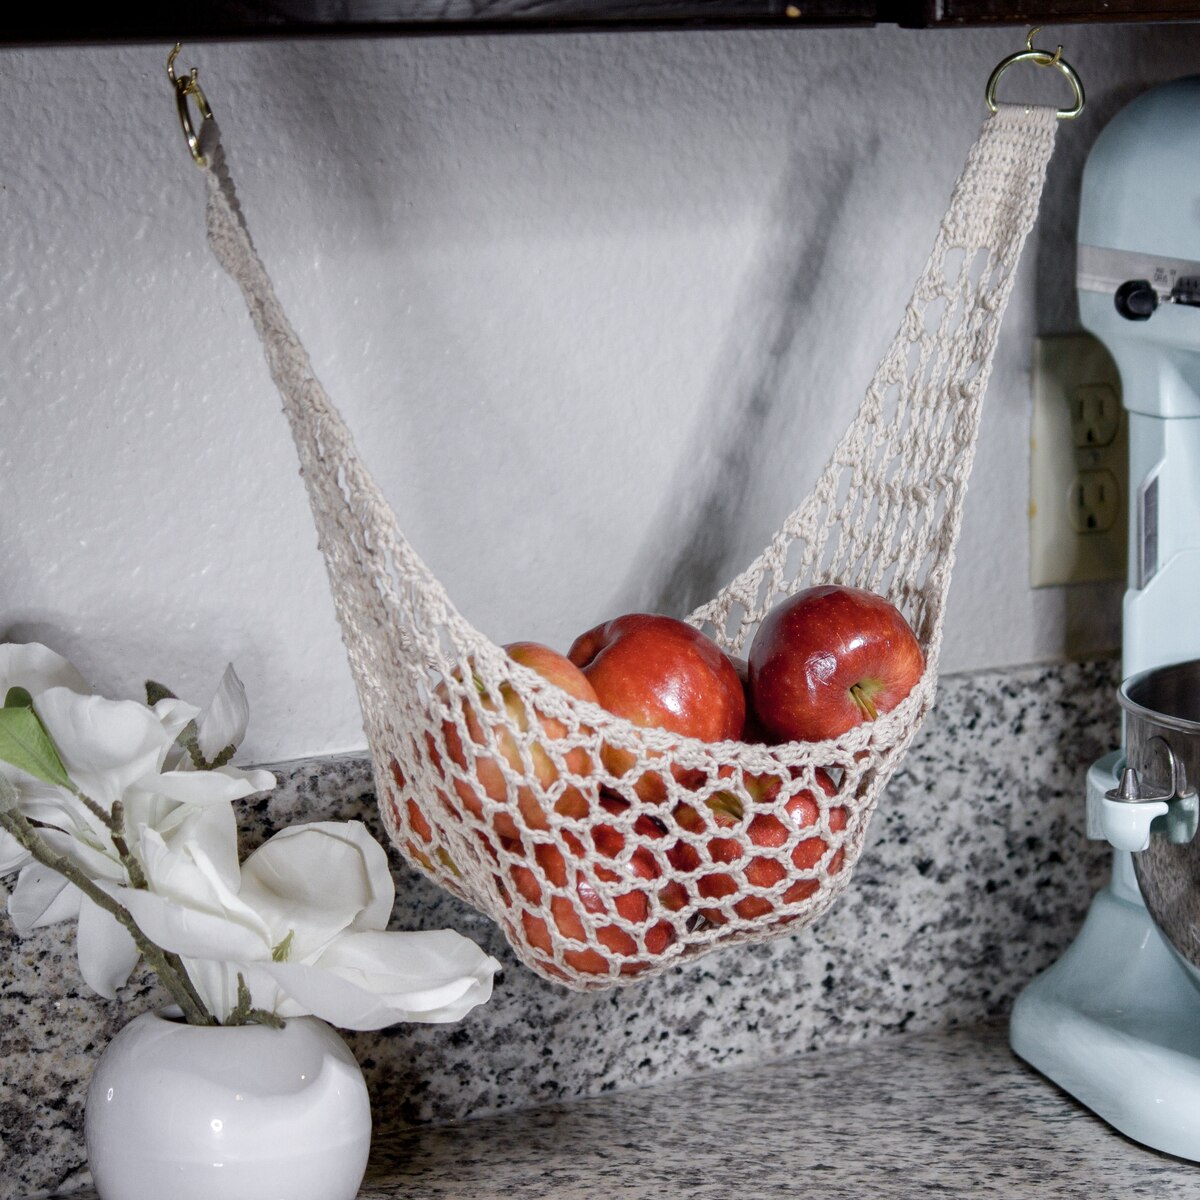
Macramé hanging baskets are a trendy and stylish way to add a touch of boho-chic to your home or garden. These beautiful hanging baskets not only serve as functional storage solutions but also make stunning decorative accents. Whether you’re a seasoned macramé enthusiast or a beginner looking to try your hand at a new craft, making your own macramé hanging basket is a fun and rewarding project.
Macramé is an ancient art form that involves knotting cords together to create intricate patterns. It’s a versatile technique that can be used to create a wide range of projects, including plant hangers, wall hangings, and, of course, hanging baskets. With just a few simple materials and some basic knotting techniques, you can create a stunning macramé hanging basket that will be the envy of all your friends.
In this article, we will guide you through the process of making your own macramé hanging basket, from choosing the right rope to adding the finishing touches. So, grab some rope, put on your creative hat, and let’s get started on this macramé adventure!
Key Takeaways:
- Create stunning macramé hanging baskets with the right rope, intricate knots, and personalized finishing touches. Add a touch of boho-chic to your home or garden with this versatile and timeless craft.
- Master the art of macramé to craft functional and decorative hanging baskets. From choosing the right rope to adding the finishing touches, unleash your creativity and elevate your space with personalized, stunning designs.
Materials Needed
Before diving into the macramé hanging basket project, it’s important to gather all the necessary materials. Here’s a list of items you will need:
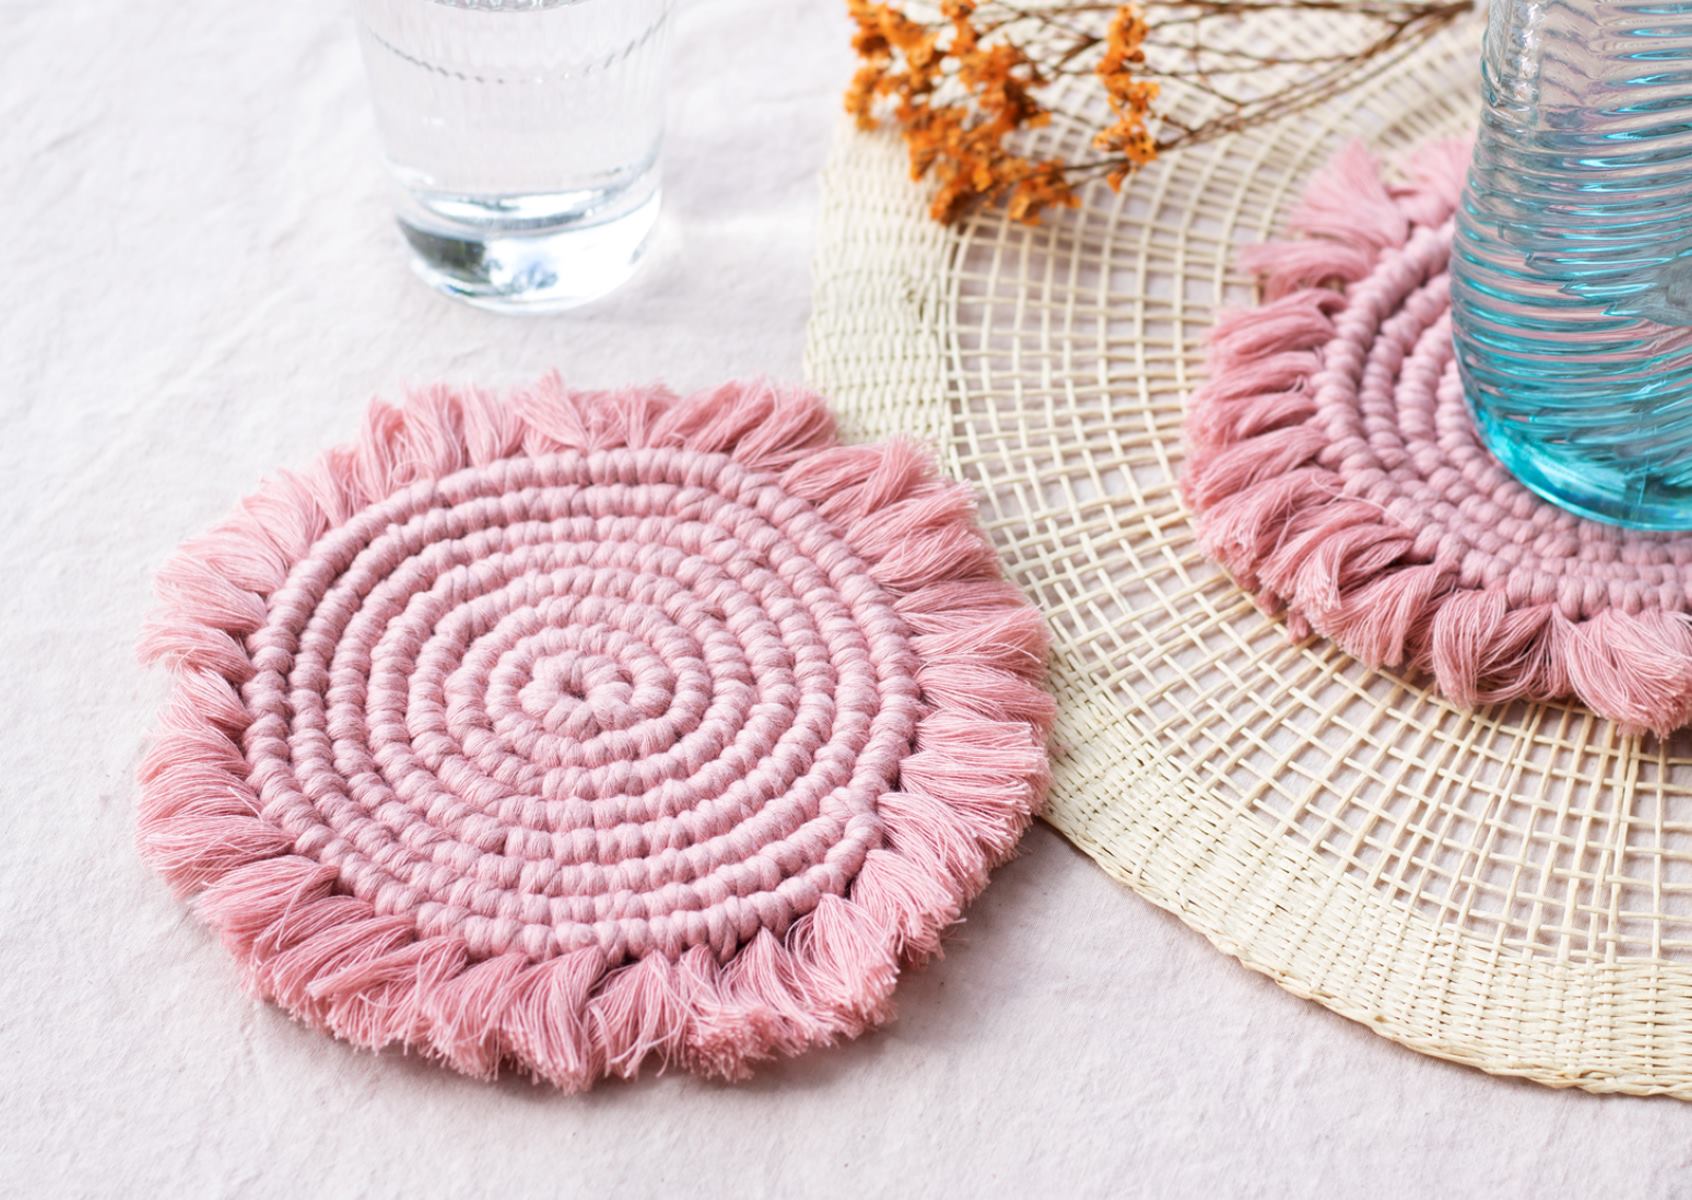
- 1. Rope: The key material for macramé hanging baskets is a sturdy rope. There are various types available, such as cotton cord, nylon cord, or jute twine. Choose a rope that suits your desired style and the weight of the items you plan to put in the basket.
- 2. Scissors: You’ll need a trusty pair of scissors to cut the rope to the desired lengths.
- 3. Measuring Tape: This will come in handy to ensure you have the right lengths of rope for your project.
- 4. Hanging Ring: To create the hanging mechanism for your basket, you’ll need a sturdy metal ring. This can be a keyring, a metal hoop, or any other circular object that can support the weight of the basket.
- 5. S-hooks or Carabiner: These hooks will be used to attach the hanging ring to a ceiling hook or any other support.
- 6. Optional: Beads or Fringe: If you want to add some extra flair to your macramé hanging basket, you can incorporate beads or fringe into your design. These decorative elements can be threaded onto the rope as you create your knots.
Once you have gathered all the materials, you are ready to embark on your macramé hanging basket journey. Let’s move on to the next step: choosing the right rope.
Step 1: Choosing the Right Rope
In order to create a sturdy and visually appealing macramé hanging basket, it’s important to choose the right type of rope. The type of rope you select will not only affect the strength of the basket but also the overall aesthetic.
There are several options to consider when it comes to choosing your macramé rope. Here are a few popular choices:
Cotton Cord: Cotton cord is a popular choice for macramé projects due to its soft and natural feel. It is available in various thicknesses, allowing you to choose the level of sturdiness you desire. Cotton cord is easy to work with and creates a beautiful, clean look.
Nylon Cord: Nylon cord is a great option if you’re looking for a more durable and weather-resistant material. It has a smooth texture and comes in different thicknesses. Nylon cord is ideal if you plan to hang your macramé basket outdoors or in a humid environment.
Jute Twine: Jute twine offers a rustic and natural appearance, perfect for a bohemian or farmhouse-style basket. It is a bit rougher in texture compared to cotton or nylon, but still provides a strong hold.
When choosing your rope, consider the weight of the items you plan to put in the basket. A thicker and sturdier rope is recommended for heavier items to ensure the basket can support the weight without sagging or breaking.
It’s also a good idea to choose a rope color that complements your home or garden décor. Neutral tones like beige, white, or natural tan are versatile options, while bold colors can add a pop of personality.
Once you’ve selected the perfect rope, it’s time to move on to the next step: cutting the rope.
Step 2: Cutting the Rope
Now that you have chosen the right rope for your macramé hanging basket, it’s time to cut it into the appropriate lengths. The length of the rope will depend on the size of the basket you want to create and the desired length of the hanging portion.
To determine the length of the rope needed, consider the following guidelines:
- Measure the desired height of your basket. This will determine the length of the longer hanging cords.
- Decide how low you want your basket to hang. Add this measurement to the desired basket height to calculate the total length of the hanging cords.
- Measure and cut several pieces of rope to the desired length. It’s recommended to cut at least four equal lengths to create a balanced basket. However, you can adjust the number of cords depending on the style you want to achieve.
Make sure to account for the extra length needed for knots and fringe if you plan on incorporating those into your design.
Use a sharp pair of scissors to cut the rope cleanly and prevent fraying. It’s important to have clean ends for easier knotting and a polished final look.
Once you’ve cut the rope to the desired lengths, you’re now ready to move on to the next step: creating the base of the macramé hanging basket.
Step 3: Creating the Base
With your cut rope lengths in hand, it’s time to begin creating the base of your macramé hanging basket. The base will provide the foundation for the rest of the knotting and determine the size and shape of your basket.
To create the base, follow these steps:
- Gather the cut rope lengths and fold them in half. This will create a loop at the top.
- Take the looped end of the ropes and pass them through the metal hanging ring. Pull the loop through until you have a clean and snug fit.
- Arrange the ropes evenly so that you have an equal number on each side of the ring. This will ensure a balanced and symmetrical basket.
- At this point, you can choose to secure the ropes together at the base with an overhand knot. This will keep the ropes in place and prevent them from tangling as you work.
- Now you have the base cords ready to create the knots for your macramé hanging basket!
By creating a sturdy base, you’ll provide stability to your hanging basket and create a solid structure for the rest of the macramé knots. Pay attention to the tension of the ropes as you arrange them, ensuring they are evenly spaced and neatly aligned.
With the base complete, you’re ready to move on to the next step: starting the macramé knots that will form the body of your hanging basket.
When making macramé hanging baskets, be sure to use a sturdy rope or cord that can support the weight of the plant and soil. It’s important to secure the knots tightly to ensure the basket is strong and durable.
Step 4: Starting the Macramé Knots
Now that you have the base of your macramé hanging basket in place, it’s time to start creating the intricate knots that will form the body of your basket. There are various types of knots used in macramé, but one of the most common ones for hanging baskets is the square knot.
To start the square knot, follow these steps:
- Divide the base cords into pairs. Each pair will consist of two neighboring ropes.
- Take one rope from the first pair and cross it over the second rope.
- Bring the first rope under the second rope and through the loop created by the crossing.
- Pull the ropes tightly to create a tight and secure knot. This is the first half of the square knot.
- Repeat this process with the second pair of ropes, but this time cross the second rope over the first rope.
- Bring the second rope under the first rope and through the loop created by the crossing.
- Pull the ropes tightly to complete the square knot.
- Continue with the next set of rope pairs, alternating between the first and second rope crossing each time, until you have completed a row of square knots.
Make sure to tighten each knot as you go to maintain a firm and uniform appearance. This will ensure that your macramé hanging basket has a consistent and balanced look.
As you progress with the square knots, you’ll start to see the body of your hanging basket take shape. This is where you can get creative by incorporating different patterns or adding beads or fringe for a personalized touch.
In the next step, we’ll explore how to continue the macramé knots to create the desired length and shape of your hanging basket.
Step 5: Continuing the Macramé Knots
With the base knots in place, it’s time to continue the macramé knots to create the desired length and shape for your hanging basket. By repeating the same knotting pattern, you’ll gradually build up the body of the basket and achieve the desired look.
To continue the macramé knots, follow these steps:
- Take two adjacent ropes from neighboring pairs and separate them from the rest.
- Like before, create a square knot by crossing one rope over the other and pulling it under and through the loop created.
- Repeat this process by taking the adjacent ropes on the other side and creating another square knot.
- Continue alternating between the two sets of adjacent ropes until you reach the desired length for your hanging basket.
By repeating these knots, row after row, you’ll create a beautiful and intricate pattern that forms the body of your macramé hanging basket. The length of the knots will determine the depth of the basket, so feel free to experiment with different lengths to achieve your desired look.
You can continue the square knot pattern throughout the entire length of the basket or mix it up by incorporating other macramé knot variations. This is where you can let your creativity shine and experiment with different knotting techniques to add depth and texture to your hanging basket.
Remember to maintain consistent tension as you work, ensuring that the knots are tight and secure. This will help maintain the shape of the basket and ensure its durability.
Now that you’re comfortable with continuing the macramé knots, it’s time to move on to the next step: adding the hanging mechanism to your hanging basket.
Step 6: Adding the Hanging Mechanism
As you near the completion of your macramé hanging basket, it’s time to add the hanging mechanism that will allow you to display your creation. The hanging mechanism consists of a metal ring and S-hooks or a carabiner that will securely attach the basket to a ceiling hook or any other support.
To add the hanging mechanism, follow these steps:
- Measure and cut a piece of rope approximately double the desired hanging length you prefer.
- Thread one end of the cut rope through the metal ring, making sure to leave a loop at the other end.
- Create a secure knot at the end of the threaded rope to prevent it from slipping out of the ring.
- Attach the S-hooks or carabiner to the looped end of the rope.
- Hang the metal ring with the attached rope mechanism onto a ceiling hook or any other sturdy support.
- Ensure that the hanging mechanism is securely fastened and can bear the weight of the macramé hanging basket.
By adding the hanging mechanism, you can now proudly display your macramé hanging basket in any desired location. Whether you choose to showcase it indoors or outdoors, make sure to choose an appropriate spot that complements your home or garden decor.
The hanging mechanism not only adds functionality but also adds an additional decorative element to the overall design of the basket. You can customize the rope used for the mechanism by incorporating knots, beads, or fringe to match the style of your macramé hanging basket.
Now that you’ve successfully added the hanging mechanism, it’s time for the final step: putting the finishing touches on your macramé hanging basket.
Step 7: Finishing Touches
Congratulations, you’re almost there! In this final step, you’ll put the finishing touches on your macramé hanging basket to elevate its visual appeal and ensure its longevity.
Here are some ideas for adding those extra touches to your macramé hanging basket:
- Trim the Ends: Take your scissors and trim any excess rope at the bottom of the basket to create a clean and polished look.
- Add Fringe: If you want to enhance the boho-chic vibe of your hanging basket, consider adding fringe. Cut lengths of rope and attach them to the bottom of the basket using lark’s head knots. Trim the fringe to your desired length for a stylish finish.
- Incorporate Beads: Get creative by incorporating beads into your macramé design. Thread them onto the ropes as you create your knots or add them as accents between knots for a pop of color and texture.
- Try Different Knots: Experiment with different knotting techniques to add variety and visual interest. For example, you could incorporate a half hitch knot or a spiral knot within your macramé design.
- Consider Dyeing: If you want to add a splash of color to your macramé hanging basket, consider dyeing the rope before starting the project. Choose a dye that is suitable for the type of rope you’re using and follow the instructions carefully for a vibrant and unique look.
Remember to step back and admire your work throughout the process. Adjust and make any necessary tweaks to create the desired shape, balance, and overall aesthetic appeal of your macramé hanging basket.
Finally, make sure to regularly inspect and maintain your macramé hanging basket to ensure its longevity. Clean the ropes as needed and check for any signs of wear or damage. With proper care, your macramé hanging basket will be a stunning addition to your home or garden for years to come.
Now that you’ve added the finishing touches, take a moment to appreciate your beautiful macramé hanging basket. You’ve completed a captivating and functional piece of art!
Conclusion
Congratulations on completing your macramé hanging basket! By following the steps outlined in this article, you have created a stunning and functional piece of art that adds a touch of boho-chic to your home or garden.
Throughout the process, you have learned how to choose the right rope, cut it to the desired lengths, create the base, and master the art of macramé knots. By adding the hanging mechanism and applying the finishing touches, you have personalized your macramé hanging basket and made it truly unique.
Macramé is a versatile and timeless craft that allows for endless creativity and customization. Once you’ve mastered the basics, you can explore more intricate patterns, incorporate different knot variations, and experiment with different materials to create even more intricate and stunning designs.
Remember to showcase your macramé hanging basket in a location that highlights its beauty. Whether indoors or outdoors, it is sure to become a focal point and conversation starter.
Additionally, don’t forget to maintain and care for your macramé hanging basket to ensure its longevity. Regularly inspect the ropes for any signs of wear or damage, clean it as necessary, and make any repairs to keep it looking beautiful for years to come.
Now, it’s time to enjoy the fruits of your labor and admire your creation. Whether you use your macramé hanging basket to store items or display your favorite plants, it will undoubtedly bring a touch of elegance and style to any space.
So, gather your materials, unleash your creativity, and dive into the wonderful world of macramé. Let your imagination run wild and create more beautiful macramé pieces to decorate your surroundings. Happy knotting!
Frequently Asked Questions about How To Make Macramé Hanging Baskets
Was this page helpful?
At Storables.com, we guarantee accurate and reliable information. Our content, validated by Expert Board Contributors, is crafted following stringent Editorial Policies. We're committed to providing you with well-researched, expert-backed insights for all your informational needs.


0 thoughts on “How To Make Macramé Hanging Baskets”