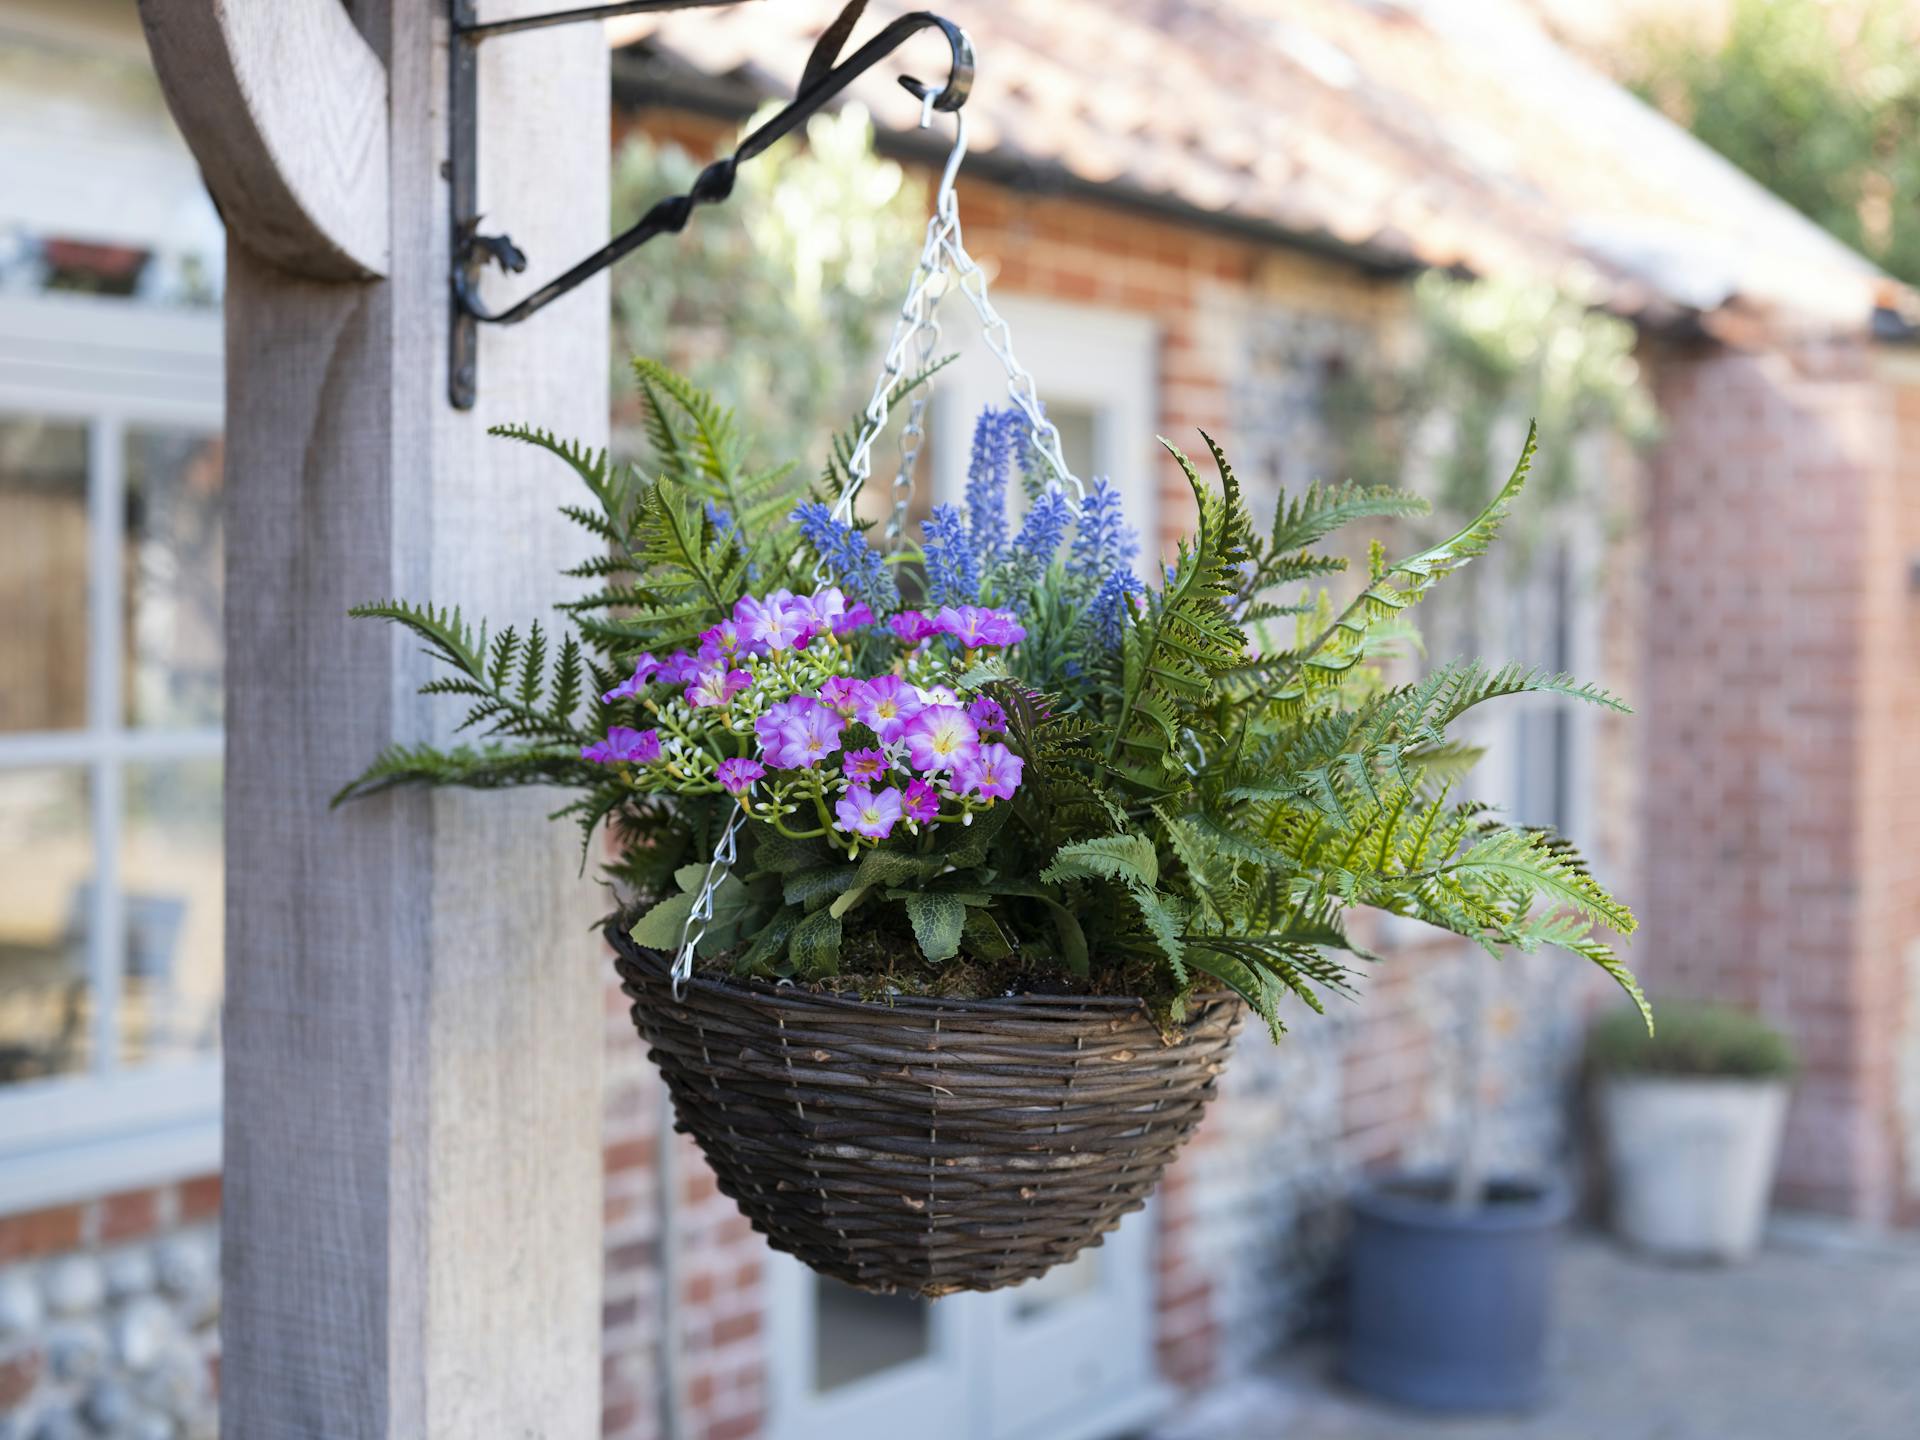
Home>Garden Essentials>How To Hang A Greenery Wall
Garden Essentials
How To Hang A Greenery Wall
Modified: March 7, 2024
Learn how to hang a stunning greenery wall in your garden with our step-by-step guide. Transform your outdoor space with this simple DIY project.
(Many of the links in this article redirect to a specific reviewed product. Your purchase of these products through affiliate links helps to generate commission for Storables.com, at no extra cost. Learn more)
Introduction
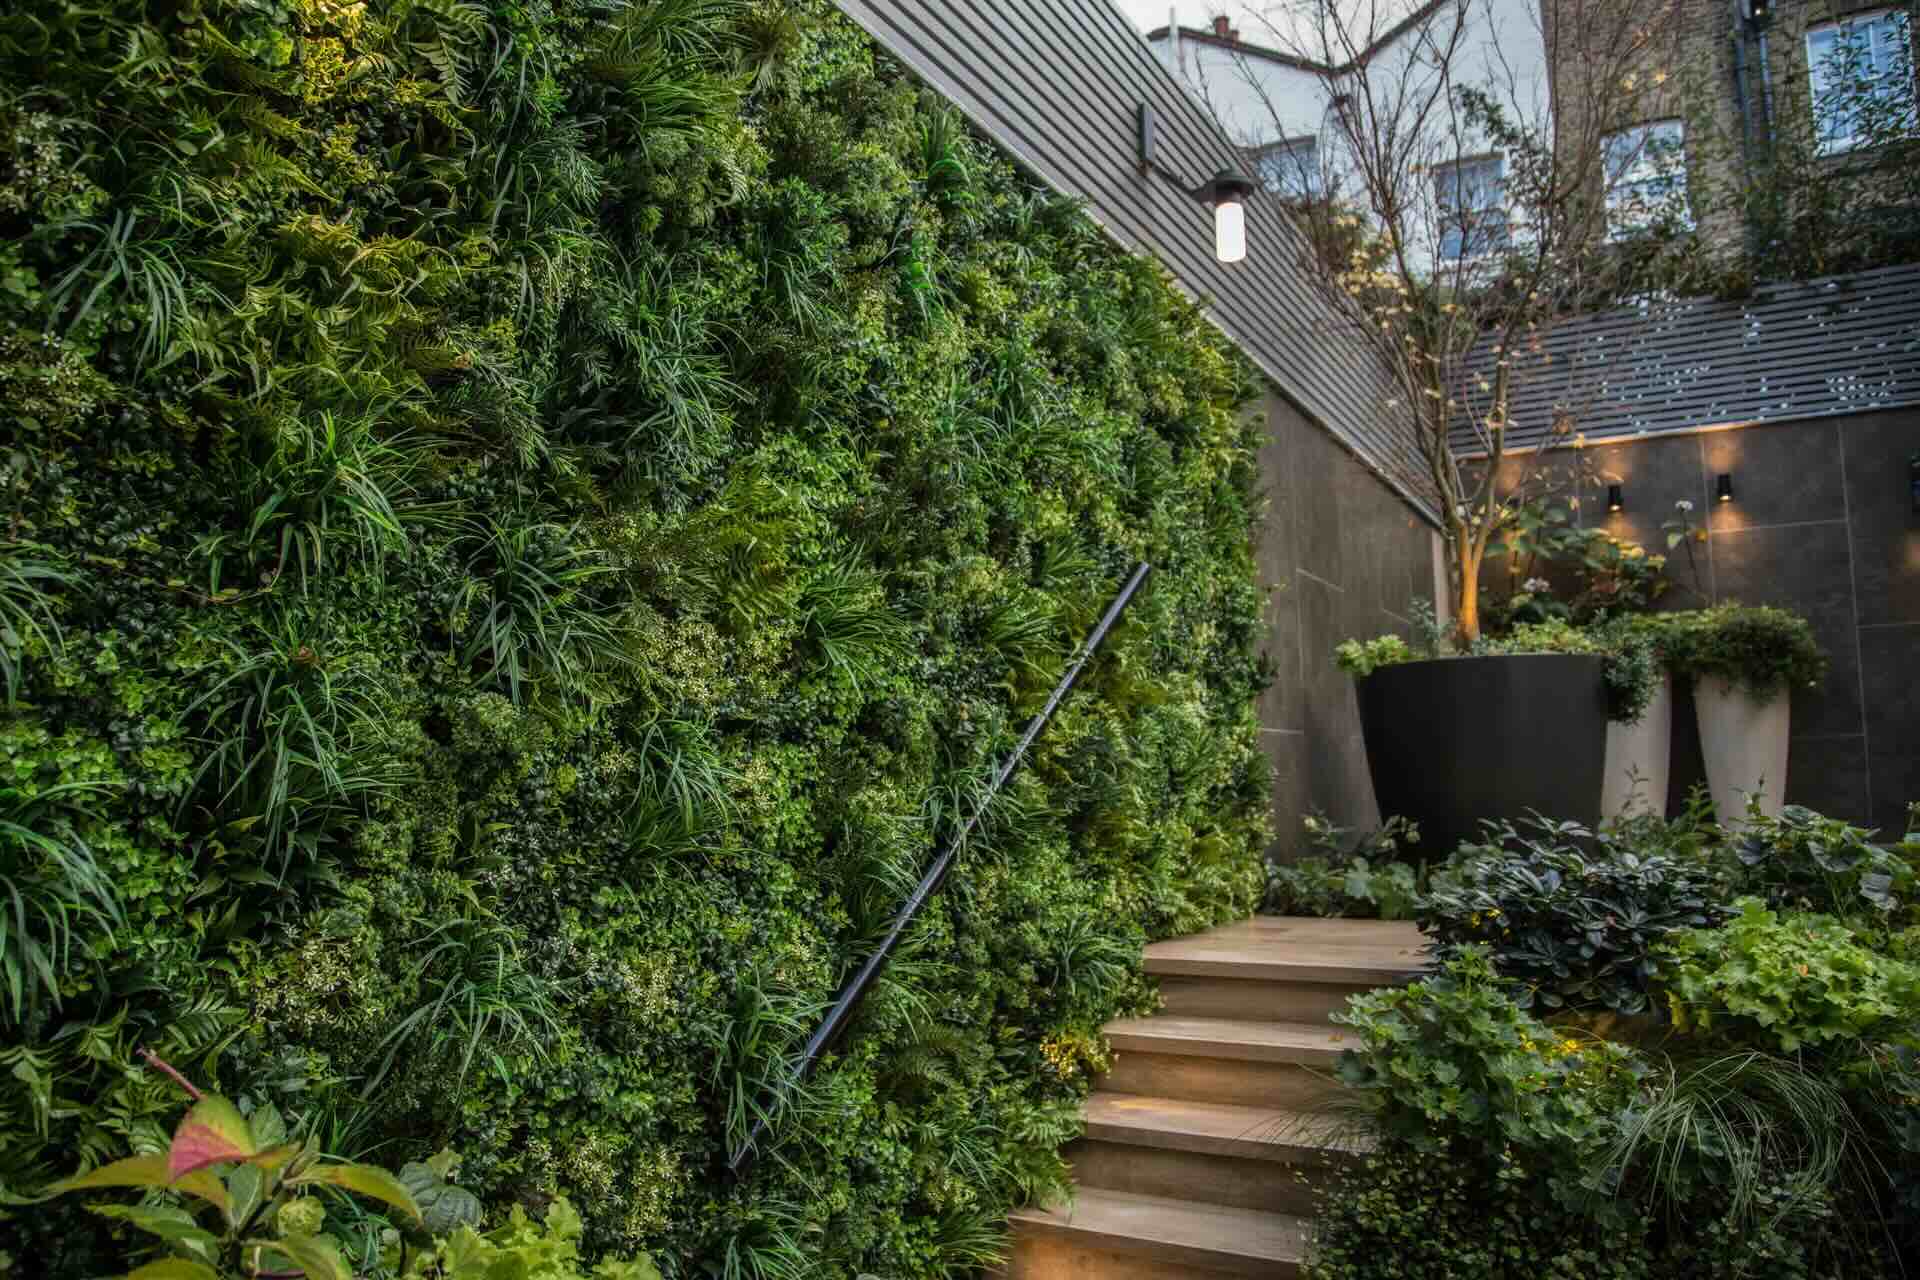
Welcome to the wonderful world of greenery walls! If you’re looking to add a touch of nature and beauty to your space, hanging a greenery wall can be the perfect solution. Whether it’s for your backyard, balcony, or even indoors, a greenery wall creates a stunning visual impact and brings the calming effects of nature right to your doorstep.
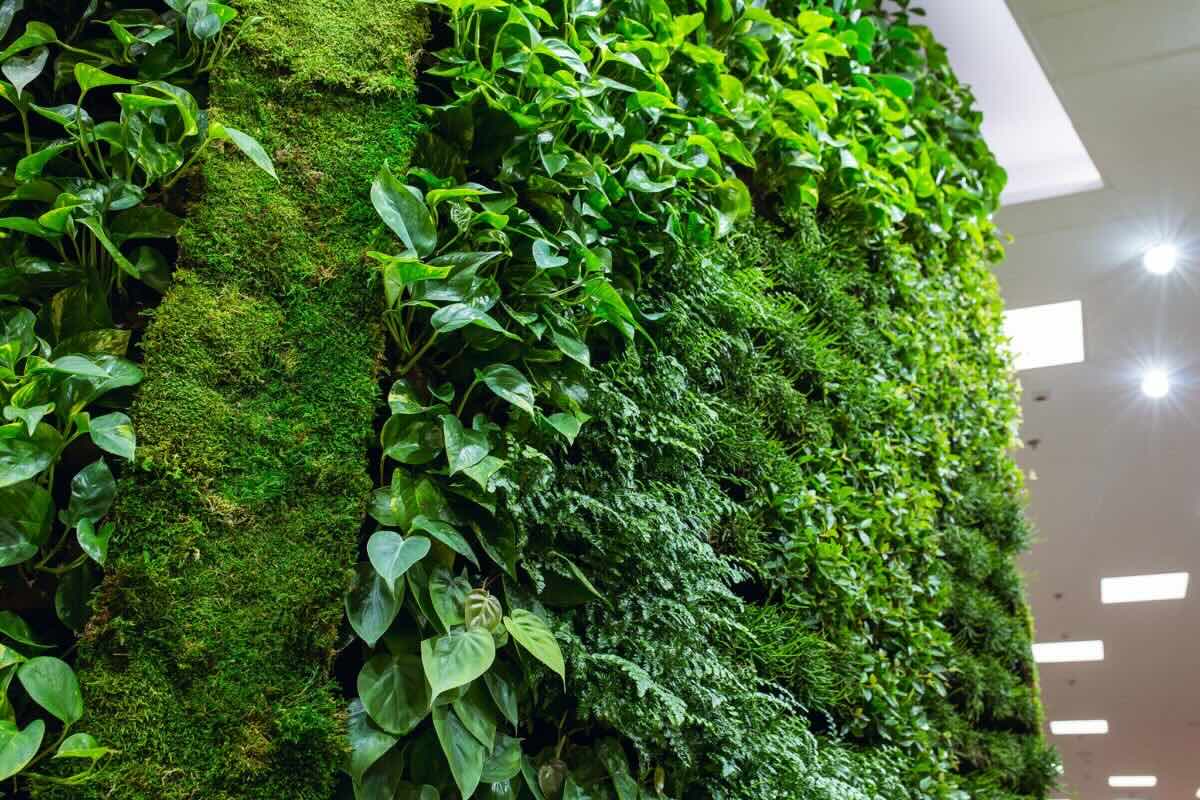
A greenery wall, also known as a living wall or vertical garden, is a creative way to incorporate plants into your environment without taking up valuable floor space. It not only adds aesthetic appeal but also offers numerous benefits such as improving air quality, reducing noise pollution, and promoting a sense of tranquility.
In this article, we’ll guide you through the process of hanging a greenery wall and provide you with valuable tips to make it a success. From gathering materials to maintaining your greenery wall, we’ve got you covered. So let’s dive in and get started!
Key Takeaways:
- Hanging a greenery wall is a creative and space-saving way to bring nature into your environment, offering benefits like improved air quality and a sense of tranquility.
- To hang a greenery wall, gather materials like plants, containers, wall frames, and a support system. Choose the right location, prepare the wall, install the support system, attach the greenery, and maintain it for long-lasting beauty.
Read more: How To Hang Greenery At A Wedding
Gathering Materials
Before you begin the process of hanging a greenery wall, it’s important to gather all the necessary materials. Having everything ready beforehand will make the installation process much smoother and more efficient. Here are the essential items you’ll need:
- Greenery: Decide on the type of plants you want to use for your greenery wall. Consider the lighting conditions of the location and choose plants that thrive in those conditions. You can opt for low-maintenance succulents, vibrant flowering plants, or a mix of different foliage.
- Planter Pots or Containers: Depending on the size and design of your greenery wall, you’ll need suitable planter pots or containers to hold the plants. Ensure they have drainage holes to prevent waterlogging.
- Wall Frames or Panels: Decide whether you want to create a freestanding frame or attach the greenery directly to a wall. You can use pre-made wall frames or DIY panels made of materials like wood or metal.
- Support System: Depending on the weight and size of your greenery wall, you’ll need appropriate support systems such as brackets, hooks, or wire grids. Ensure they are sturdy enough to hold the weight of the plants.
- Soil or Potting Mix: Choose a high-quality soil or potting mix that provides good drainage and nutrients for your plants. Avoid using garden soil, as it can become compacted and hinder plant growth.
- Irrigation System: Consider installing an irrigation system to ensure your plants receive adequate water. This can be in the form of drip irrigation, self-watering systems, or manual watering methods.
- Tools: Gather basic tools such as a drill, screws, hammer, nails, measuring tape, level, and wire cutters. These will be necessary for installing the support system and securing the greenery wall.
Once you’ve gathered all the materials, you’re ready to move on to the next step: choosing the right location for your greenery wall.
Choosing the Right Location
The success of your greenery wall largely depends on selecting the right location. Consider the following factors when choosing where to hang your greenery wall:
- Sunlight: Different plants have varied sunlight requirements. Determine how much sunlight the intended location receives throughout the day. If it’s a sunny spot, choose plants that thrive in full sun. If it’s a shaded area, opt for shade-tolerant plants.
- Accessibility: Consider how easily you can access and maintain the greenery wall. If it’s in an indoor space, ensure it’s easily reachable for watering and pruning. In outdoor spaces, consider the proximity to a water source.
- Structural Integrity: Assess the structural integrity of the wall where you plan to hang the greenery. Ensure it can support the weight of the plants, containers, and the support system. If uncertain, consult a professional to avoid any potential damage to the wall.
- Aesthetics: Think about the overall aesthetics of the space. Consider the size, shape, and design of the greenery wall in relation to the surrounding environment. You want it to complement the space and create a visually pleasing focal point.
- Climate: Different plants thrive in different climates. Take into account the climate of your region and choose plants that are well-suited to the conditions. If you live in an area with extreme temperatures, consider plants that can withstand those conditions.
- Water Drainage: Ensure there is proper water drainage in the chosen location. If it’s an indoor space, be cautious about potential water damage to the floor or walls. Outdoor spaces should have proper drainage to prevent waterlogging.
By carefully considering these factors, you’ll be able to select the best location for your greenery wall. Once you’ve chosen the location, it’s time to prepare the wall for installation.
Preparing the Wall
Before you can hang your greenery wall, it’s important to prepare the wall surface for installation. Here are the steps to follow:
- Clean the Wall: Start by thoroughly cleaning the wall surface to remove any dirt, debris, or loose paint. Use a brush or a damp cloth to wipe away any dust or grime. This ensures a clean and smooth surface for attaching the support system.
- Repair Any Damages: Inspect the wall for any cracks, holes, or other damages. Fill in any gaps with spackling paste or a suitable wall filler. Smooth out the surface with sandpaper and allow it to dry completely before continuing.
- Apply a Primer (if necessary): If the wall has a rough or porous surface, it’s advisable to apply a primer to improve adhesion. Choose a primer that’s suitable for the wall material and follow the manufacturer’s instructions for application.
- Mark Your Installation Points: Use a pencil or marker to mark the locations where you’ll be installing the support system. Measure and mark the desired spacing between each point to ensure an even and balanced installation.
- Protect Adjacent Surfaces: If you’re working indoors or near sensitive surfaces, such as a floor or furniture, consider using protective sheets or plastic to prevent any accidental damage from dust or debris during the installation process.
- Level the Wall: Use a level tool to ensure the wall is straight and level. Adjust as necessary to ensure a visually appealing installation.
By properly preparing the wall surface, you create a solid foundation for your greenery wall. It also ensures a secure and stable installation, minimizing the risk of any damage in the long run. With the wall prepared, it’s time to move on to the next step: installing the support system.
When hanging a greenery wall, make sure to use sturdy hooks or anchors to support the weight of the plants. Also, consider using a watering system to keep the plants hydrated and healthy.
Installing the Support System
The support system is a crucial element of hanging a greenery wall, as it provides the stability and structure needed to hold the weight of the plants and containers. Here are the steps to follow for installing the support system:
- Measure and Mark: Using the marks you made during the wall preparation process, measure and mark the exact points where you’ll be installing the support brackets, hooks, or wire grids. Ensure the spacing is even for a balanced appearance.
- Attach Brackets or Hooks: Depending on the type of support system you’ve chosen, attach brackets or hooks to the marked points on the wall. Use a drill or appropriate screws to secure them firmly into place. Ensure they are level and securely fastened.
- Install Wire Grids: If you’re using wire grids as your support system, follow the manufacturer’s instructions to install them properly. Ensure they are held securely and can support the weight of the plants.
- Double-Check Stability: After installing the support system, give it a gentle shake to ensure it’s stable and secure. Make any necessary adjustments or reinforce areas that may require additional support.
It’s essential to choose a support system that is appropriate for the weight and size of your greenery wall. If uncertain, consult a professional or refer to the manufacturer’s guidelines for guidance. Once the support system is in place, it’s time to move on to the exciting part: attaching the greenery!
Read more: How To Hang A DIY Hoop With Greenery
Attaching the Greenery
Now it’s time to bring your greenery wall to life by attaching the plants and containers to the support system. Follow these steps for a successful installation:
- Prepare the Plants: Take each plant out of its pot and gently loosen the root ball, ensuring not to damage the roots. Trim any dead or yellowing leaves, as well as any excessively long stems.
- Place Plants in Containers: Fill each planter pot or container with the appropriate soil or potting mix. Carefully place each plant into its designated container, ensuring it’s centered and at the desired height.
- Attach Containers to Support System: Use hooks or clips to secure the containers onto the support system. Ensure they are securely fastened and will not come loose over time. If using wire grids, thread the container through the grid or attach it using wire ties.
- Arrange the Greenery: Step back and assess how the greenery wall is coming together. Adjust the positioning of the plants and containers as needed to create an aesthetically pleasing arrangement. Consider alternating colors, textures, and sizes for a visually dynamic display.
- Water the Plants: Once the greenery is attached, give all the plants a thorough watering. Be cautious not to overwater, as this can lead to root rot. Follow the watering recommendations for each type of plant, ensuring they receive proper hydration.
It’s important to regularly monitor the health of the plants and adjust their positioning as they grow. Prune any dead or yellowing leaves and provide additional support to any plants that may need it. With the greenery attached, your living wall is now complete!
Maintaining the Greenery Wall
Once your greenery wall is installed, it’s essential to provide regular care and maintenance to ensure the health and longevity of the plants. Here are some tips to keep your greenery wall thriving:
- Watering: Establish a regular watering schedule based on the needs of the plants and the environment. Monitor the moisture levels and adjust the frequency of watering accordingly. Avoid overwatering, as it can lead to root rot, and underwatering, which can cause the plants to wither.
- Fertilizing: Depending on the type of plants used in your greenery wall, you may need to fertilize them periodically. Follow the instructions on the chosen fertilizer and apply it according to the recommended dosage. This will provide essential nutrients for healthy plant growth.
- Pruning: Regularly trim and prune the plants to remove any dead or yellowing leaves, encourage bushier growth, and maintain the desired shape and size of the greenery wall. Be mindful not to over-prune, as it can stress the plants.
- Monitoring: Keep an eye out for any signs of pest infestation or disease. Inspect the leaves, stems, and soil regularly for any abnormalities. If you notice any issues, take appropriate measures such as using organic pest control or consulting a professional for diagnosis and treatment.
- Light and Temperature: Ensure that your greenery wall receives adequate light based on the specific needs of the plants. Monitor the temperature in the chosen location, especially if it’s an outdoor greenery wall, and protect the plants from extreme heat or cold if necessary.
- Seasonal Adjustments: Some plants may require specific care and attention during different seasons. Take into account seasonal changes and adjust your maintenance routine accordingly. This may include protecting the plants from frost, providing shade during scorching summers, or adjusting watering frequencies.
By regularly tending to your greenery wall and addressing any issues promptly, you’ll ensure its health and beauty for years to come. Enjoy the tranquil ambiance and natural beauty it brings to your space!
Conclusion
Congratulations, you’ve successfully learned how to hang a greenery wall! By following the steps outlined in this guide, you’ve created a stunning visual display of nature that enhances the beauty and tranquility of your space.
Hanging a greenery wall is not only a creative and visually appealing way to incorporate plants into your environment, but it also offers numerous benefits. From improving air quality to reducing noise pollution and promoting a sense of calm, your greenery wall contributes to a healthier and more relaxed atmosphere.
Remember, the key to maintaining a thriving greenery wall is regular care and attention. Water your plants appropriately, fertilize when needed, prune to promote growth, and monitor for any signs of pests or diseases. By taking proper care of your greenery wall, you’ll ensure its longevity and continued beauty.
So go ahead, sit back, and enjoy the natural oasis you’ve created. Whether it’s in your backyard, balcony, or indoor space, your greenery wall will be a source of joy, relaxation, and inspiration for years to come.
Frequently Asked Questions about How To Hang A Greenery Wall
Was this page helpful?
At Storables.com, we guarantee accurate and reliable information. Our content, validated by Expert Board Contributors, is crafted following stringent Editorial Policies. We're committed to providing you with well-researched, expert-backed insights for all your informational needs.


0 thoughts on “How To Hang A Greenery Wall”