Home>Storage Ideas>Storage Baskets>How To Hang Baskets On The Wall For Storage
Storage Baskets
How To Hang Baskets On The Wall For Storage
Modified: January 6, 2024
Learn how to creatively utilize storage baskets by hanging them on your wall for efficient organization. Find out the best methods and tips for hanging baskets in our guide.
(Many of the links in this article redirect to a specific reviewed product. Your purchase of these products through affiliate links helps to generate commission for Storables.com, at no extra cost. Learn more)
Introduction
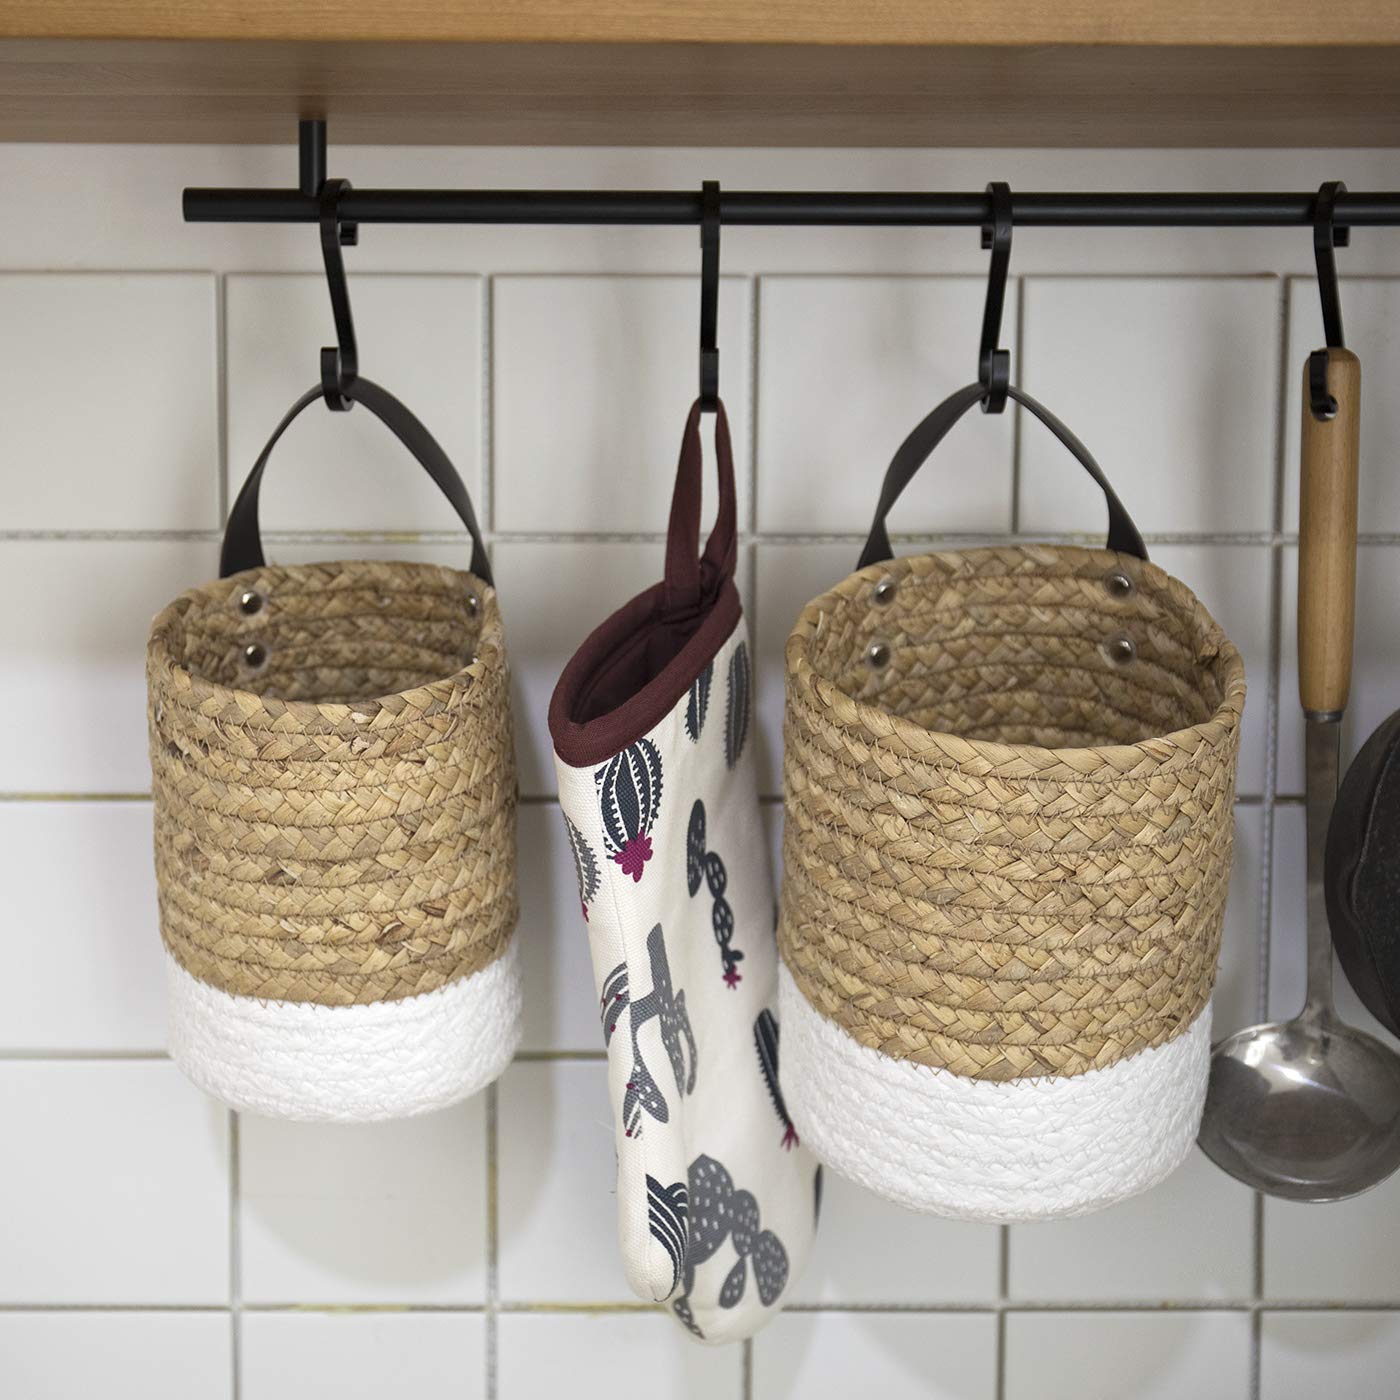
When it comes to organizing and maximizing storage space in your home, hanging baskets on the wall can be a game-changer. Not only do they provide a stylish and practical solution for storing a variety of items, but they also add a unique decorative element to your living space. Whether you need extra storage in the kitchen, bathroom, bedroom, or even in your office, wall-mounted baskets can help you declutter and keep essentials within easy reach.
But how do you hang baskets on the wall effectively and securely? In this article, we will guide you through the process step-by-step, ensuring that your baskets are safely affixed to the wall and ready for use. From choosing the right baskets to organizing and styling them, we’ve got you covered.
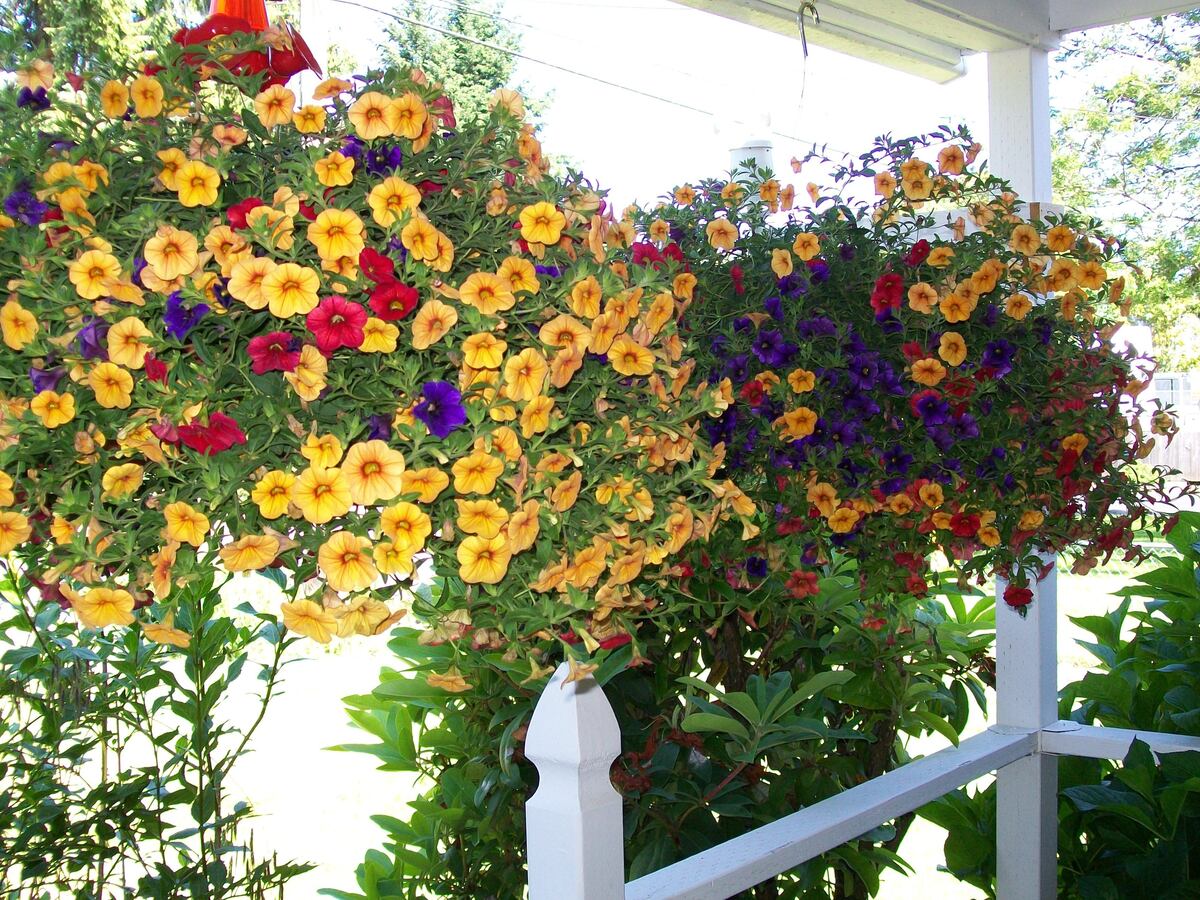
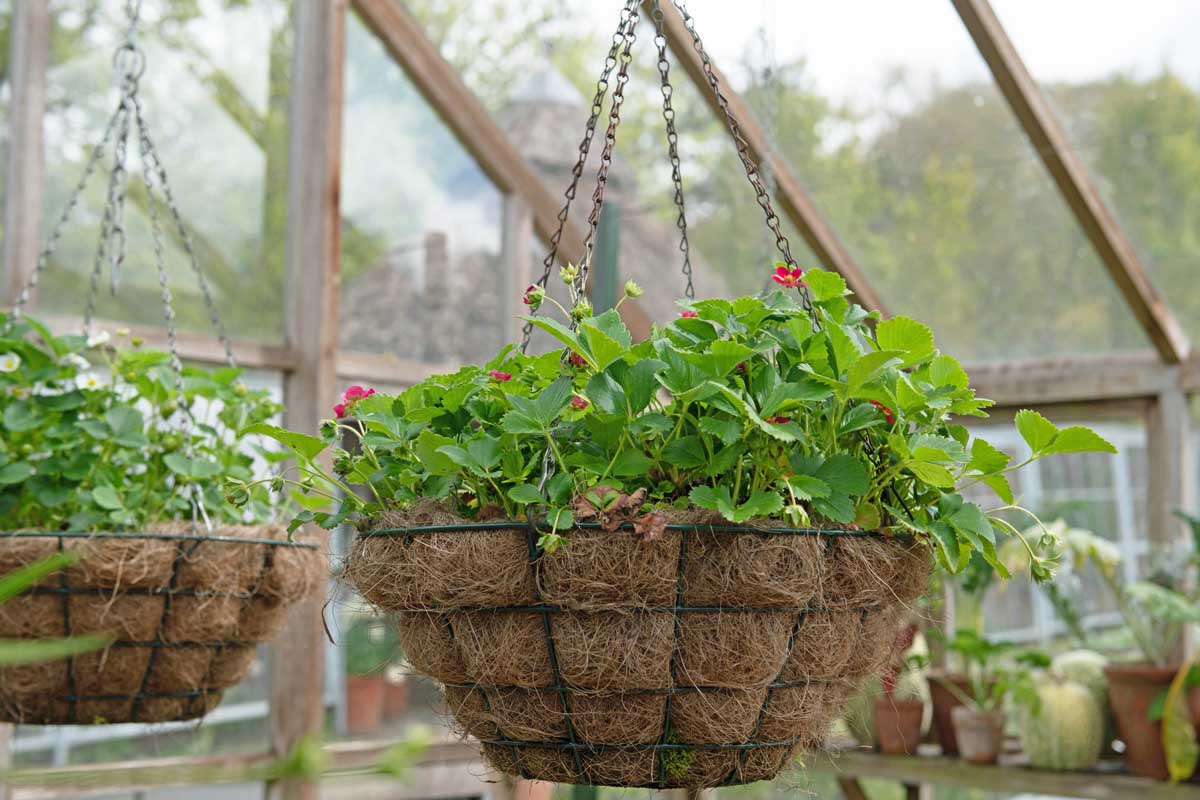
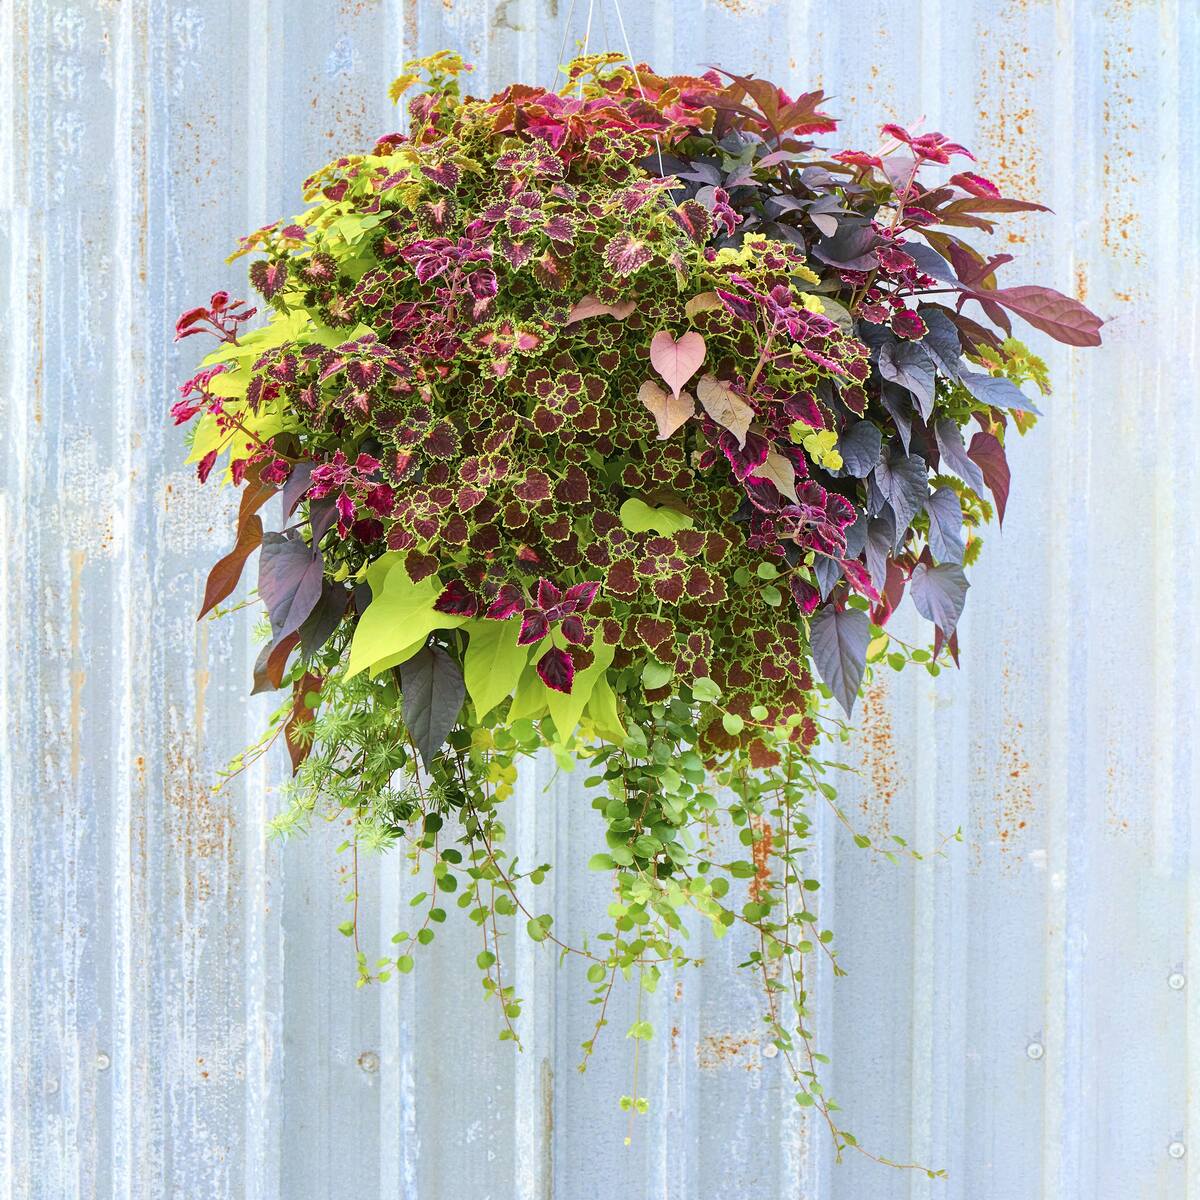
Before we dive into the installation process, let’s briefly discuss the types of baskets that are ideal for wall hanging. Look for baskets that are lightweight yet durable, preferably made of materials such as wicker, wire, or woven fabric. These materials are not only sturdy but also add a touch of rustic or bohemian charm to your space. Consider the size and shape of the baskets, ensuring that they fit the items you intend to store. Additionally, if you want to include plants in your wall display, opt for baskets with built-in planters or consider adding plant pot holders to your chosen baskets.
Now that you have an idea of the baskets you’re looking for, let’s move on to the step-by-step process of hanging them on the wall for storage.
Key Takeaways:
- Maximize space and add decorative flair by hanging baskets on the wall for stylish and practical storage. Follow the step-by-step guide to choose, install, and style wall-mounted baskets for a clutter-free and visually appealing living space.
- Create a personalized and versatile storage solution by choosing the right baskets, measuring and marking the wall, installing wall anchors, and organizing and styling the baskets. Enjoy the benefits of additional storage space while adding a touch of style to your home.
Read more: How To Hang Baskets On The Wall
Step 1: Choosing the Right Baskets
Before you can begin the process of hanging baskets on the wall, it’s essential to choose the right baskets for your needs. Here are a few factors to consider when selecting the perfect baskets for wall storage:
- Size: Determine the size you require based on the items you plan to store. If you need to store small accessories or office supplies, smaller baskets may be suitable. For bulkier items like towels or blankets, larger baskets would be more appropriate.
- Material: Select baskets made of durable materials such as wicker, wire, or fabric. These materials are not only sturdy but also add a touch of visual interest. You can even consider eco-friendly options like bamboo or seagrass baskets.
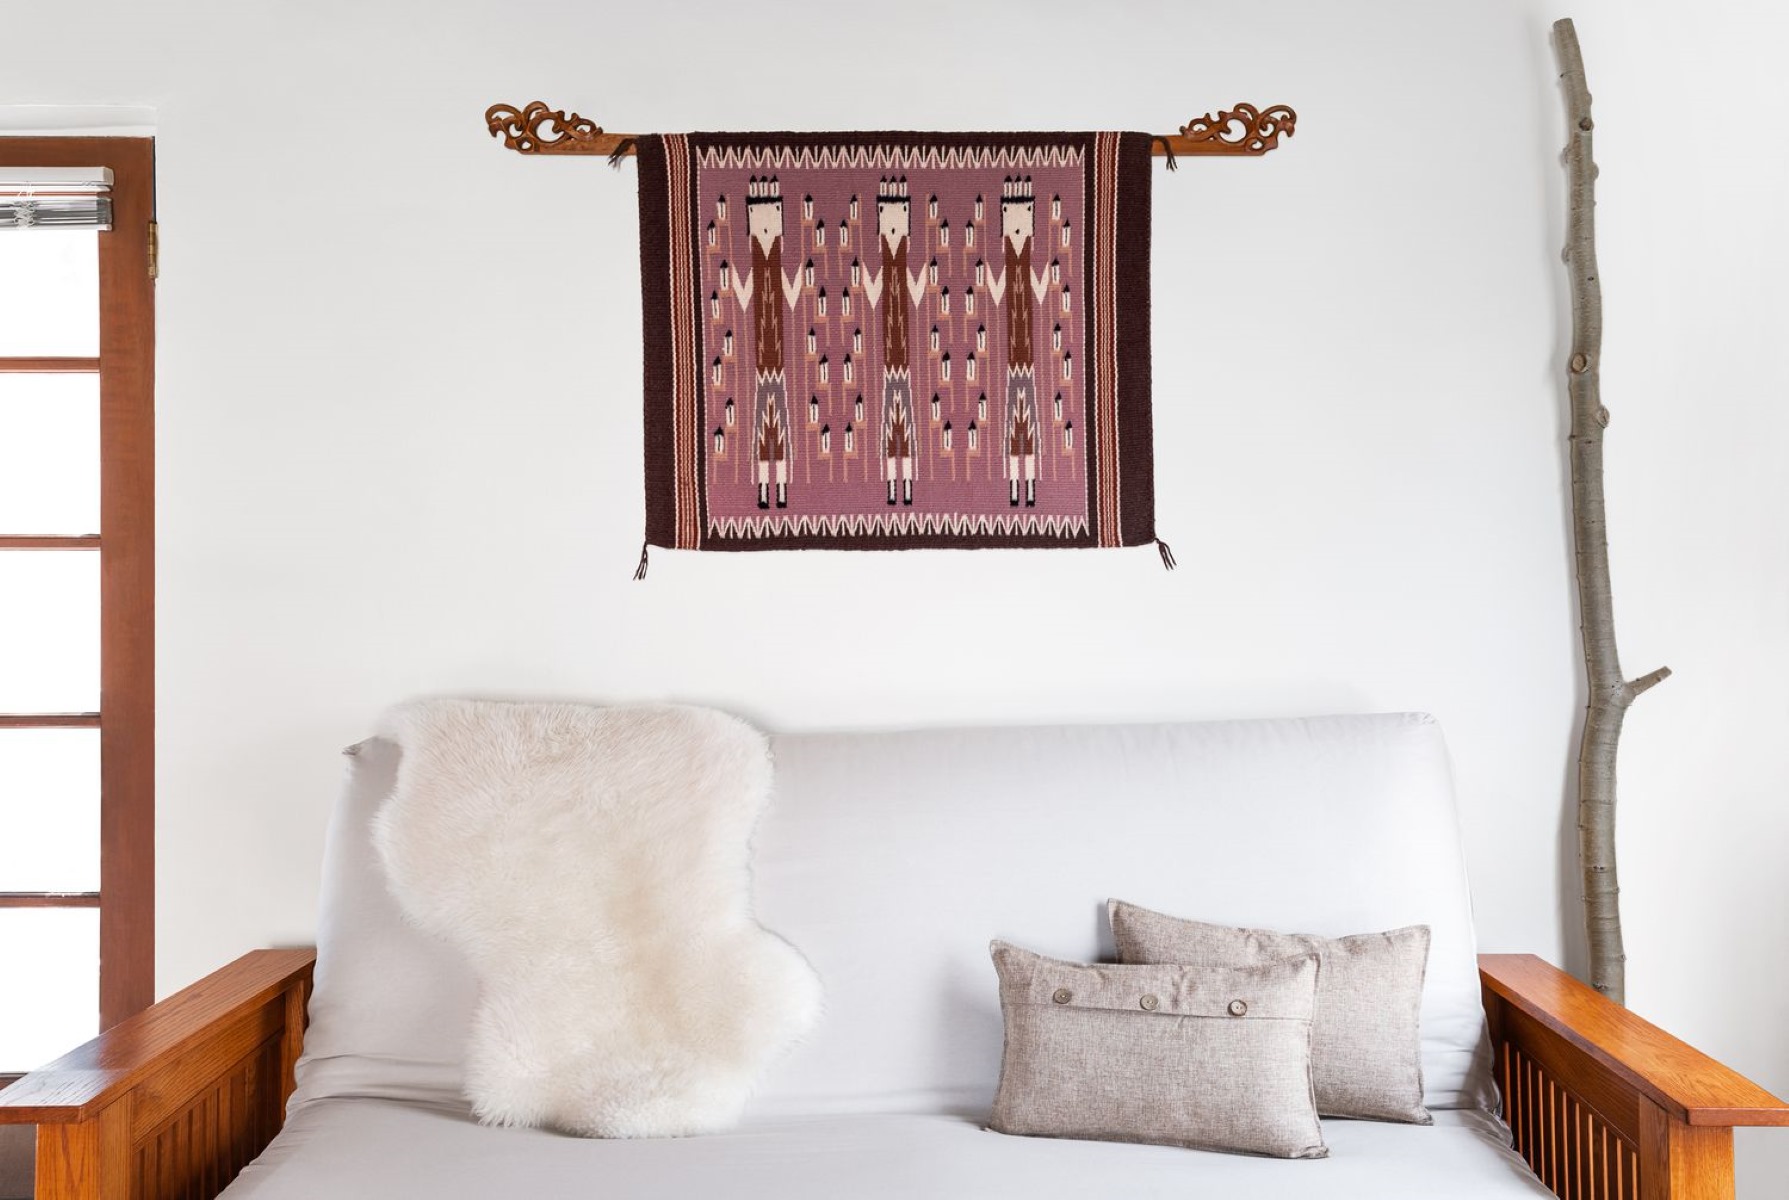
- Style: Choose baskets that complement the decor and style of your space. From bohemian to farmhouse, there are various styles to choose from. Consider the color and texture of the baskets to ensure they enhance the overall aesthetic of the room.
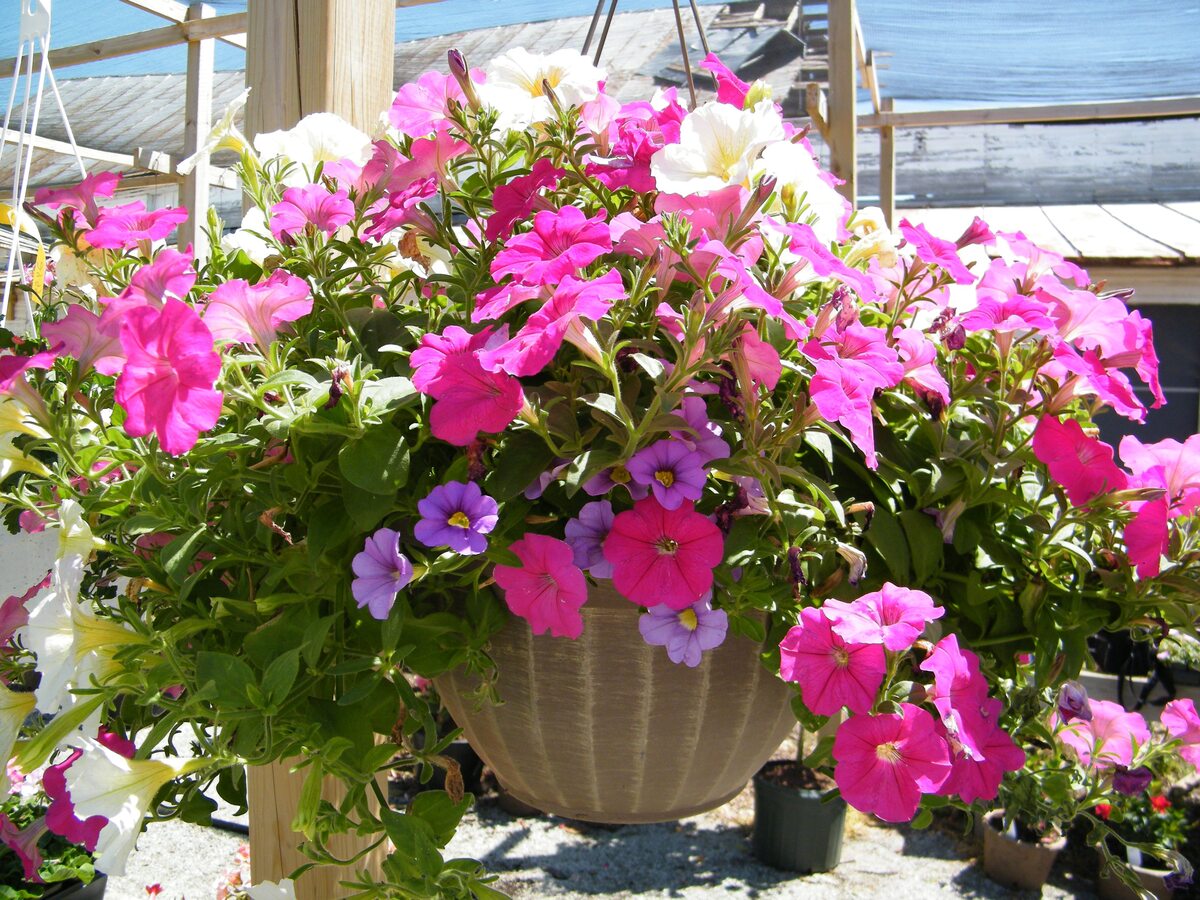
- Functionality: Think about how you plan to use the baskets. If you intend to store plants, opt for baskets with built-in planters. If you need to label the contents of each basket, look for ones with a flat surface that can be easily labeled.
Once you have a clear idea of the type of baskets you need, take measurements of the wall space where you plan to hang them. This will help you determine the number and size of baskets that will fit comfortably.
Consider mixing and matching different sizes and styles of baskets for an eclectic look. This adds visual interest and allows you to create a more personalized storage solution. Experiment with various shapes and colors to achieve a unique and cohesive arrangement on your wall.
Now that you have chosen the right baskets for your wall storage project, it’s time to move on to the next step: measuring and marking the wall.
Step 2: Measuring and Marking the Wall
Now that you have your baskets ready, it’s time to measure and mark the wall to ensure proper placement and alignment. Follow these steps to measure and mark the wall accurately:
- Gather your tools: You will need a measuring tape, a pencil, a level, and painter’s tape.
- Decide on the placement: Consider the overall aesthetic you want to achieve and the functionality of the baskets. Determine the desired height and spacing between each basket.
- Measure and mark: Use the measuring tape to measure the distance from the floor or a fixed reference point to the desired height of the first basket. Mark this point lightly with a pencil. Repeat this process for the remaining baskets, ensuring that the spacing between them is consistent.
- Check for balance and symmetry: Use a level to ensure that the marked points are aligned horizontally. This will help create a visually balanced and pleasing arrangement.
- Use painter’s tape for visual guidance: If you want a better visual representation of your planned arrangement, use painter’s tape to create an outline of each basket on the wall. This will allow you to visualize the final look and make any necessary adjustments before drilling or installing the baskets.
Keep in mind that the measurements and markings may vary based on the size and number of baskets you plan to hang. Take your time during this step to ensure accuracy and avoid any unwanted mistakes.
Once you have successfully measured and marked the wall, you’re ready to move on to the next step: installing wall anchors.
Step 3: Installing Wall Anchors
Before you can securely hang your baskets on the wall, it’s important to use wall anchors to provide proper support. Wall anchors are essential for ensuring that the baskets remain stable and can support the weight of the stored items. Follow these steps to install wall anchors:
- Gather your tools: You will need a power drill, an appropriate drill bit, wall anchors, and a hammer.
- Locate the marked points: Refer to the markings on the wall that indicate the placement of the baskets. These are the points where you will install the wall anchors.
- Select the appropriate drill bit: The size of the drill bit should match the size of the wall anchors you are using. Consult the packaging of the wall anchors for guidance on the correct drill bit size.
- Drill the holes: Using the drill and the selected drill bit, carefully drill holes at the marked points on the wall. Make sure to drill to the appropriate depth specified by the wall anchor packaging.
- Insert the wall anchors: Take the wall anchors and gently tap them into the drilled holes using a hammer. Ensure that they are snugly fit into the holes and flush with the wall surface.
- Test the stability: Give the wall anchors a gentle tug to ensure that they are securely in place and can withstand the weight of the baskets. If they feel loose, remove and replace them with larger or more suitable wall anchors.
Wall anchors provide stability and prevent the baskets from pulling away from the wall. They ensure that your baskets are securely fastened, giving you peace of mind as you utilize the added storage space.
With the wall anchors installed, you’re now ready to move on to the next step: attaching the hanging hardware.
Use sturdy hooks or brackets to hang baskets on the wall for storage. Make sure to secure them properly to support the weight of the baskets and their contents.
Step 4: Attaching the Hanging Hardware
After installing the wall anchors, the next step is to attach the hanging hardware to the baskets. This will allow you to securely hang the baskets on the wall. Follow these steps to attach the hanging hardware:
- Gather your tools: You will need screws, a screwdriver, and the appropriate hanging hardware, such as D-rings or sawtooth hangers.
- Position the hanging hardware: Determine the desired placement of the hanging hardware on the back of each basket. This will depend on the size and shape of the basket, as well as the type of hardware you are using.
- Mark the screw holes: Use a pencil to mark the positions of the screw holes for the hanging hardware on the back of each basket.
- Attach the hanging hardware: With the marked positions, align the hanging hardware on the back of the basket and use a screwdriver to secure it in place. Make sure the screws are tight to ensure stability.
- Repeat for each basket: Repeat the process of attaching the hanging hardware for each basket that you plan to hang on the wall.
It’s important to choose hanging hardware that is suitable for the weight and size of your baskets. Ensure that the hardware is securely attached and can support the maximum weight of the filled basket. If you have larger or heavier baskets, consider using multiple sets of hanging hardware to evenly distribute the weight.
Once you have attached the hanging hardware to all the baskets, you’re ready to move on to the next step: hanging the baskets on the wall.
Step 5: Hanging the Baskets on the Wall
With the wall anchors and hanging hardware in place, it’s time to hang the baskets on the wall. Follow these steps to ensure a secure and visually pleasing arrangement:
- Position the baskets: Hold each basket up to the wall, aligning it with the wall anchors and the marked points that indicate the desired placement.
- Double-check the alignment: Ensure that the baskets are level and properly aligned with each other. This will create a balanced and cohesive look.
- Secure the baskets: Once you have positioned the baskets correctly, gently press them against the wall to engage the wall anchors. You may need to provide a little pressure to ensure they are securely attached.
- Test the stability: Give the baskets a slight tug to ensure that they are firmly attached and stable on the wall. If any basket feels loose, adjust it or tighten the wall anchors if necessary.
Remember to consider the weight distribution and load-bearing capacity of the wall anchors and hanging hardware you have used. Avoid overloading the baskets with heavy items that may strain the wall anchors or cause the baskets to become unstable.
Take a step back and admire your newly hung baskets on the wall. This brings us to the final step: organizing and styling the baskets.
Step 6: Organizing and Styling the Baskets
Now that your baskets are securely hung on the wall, it’s time to organize and style them to maximize their functionality and aesthetic appeal. Follow these tips for organizing and styling your wall-mounted baskets:
- Sort and categorize: Before placing items in the baskets, sort and categorize them to ensure a logical and organized storage system. Group similar items together, such as office supplies, toiletries, or kitchen utensils.
- Utilize containers: To prevent small items from getting lost or cluttered within the baskets, consider using smaller containers or dividers inside the baskets. This will help maintain order and make it easier to access specific items.
- Label the baskets: If needed, label each basket to clearly identify its contents. This can be done using adhesive labels, chalkboard tags, or even handwritten notes. It adds a personalized touch and makes finding items a breeze.
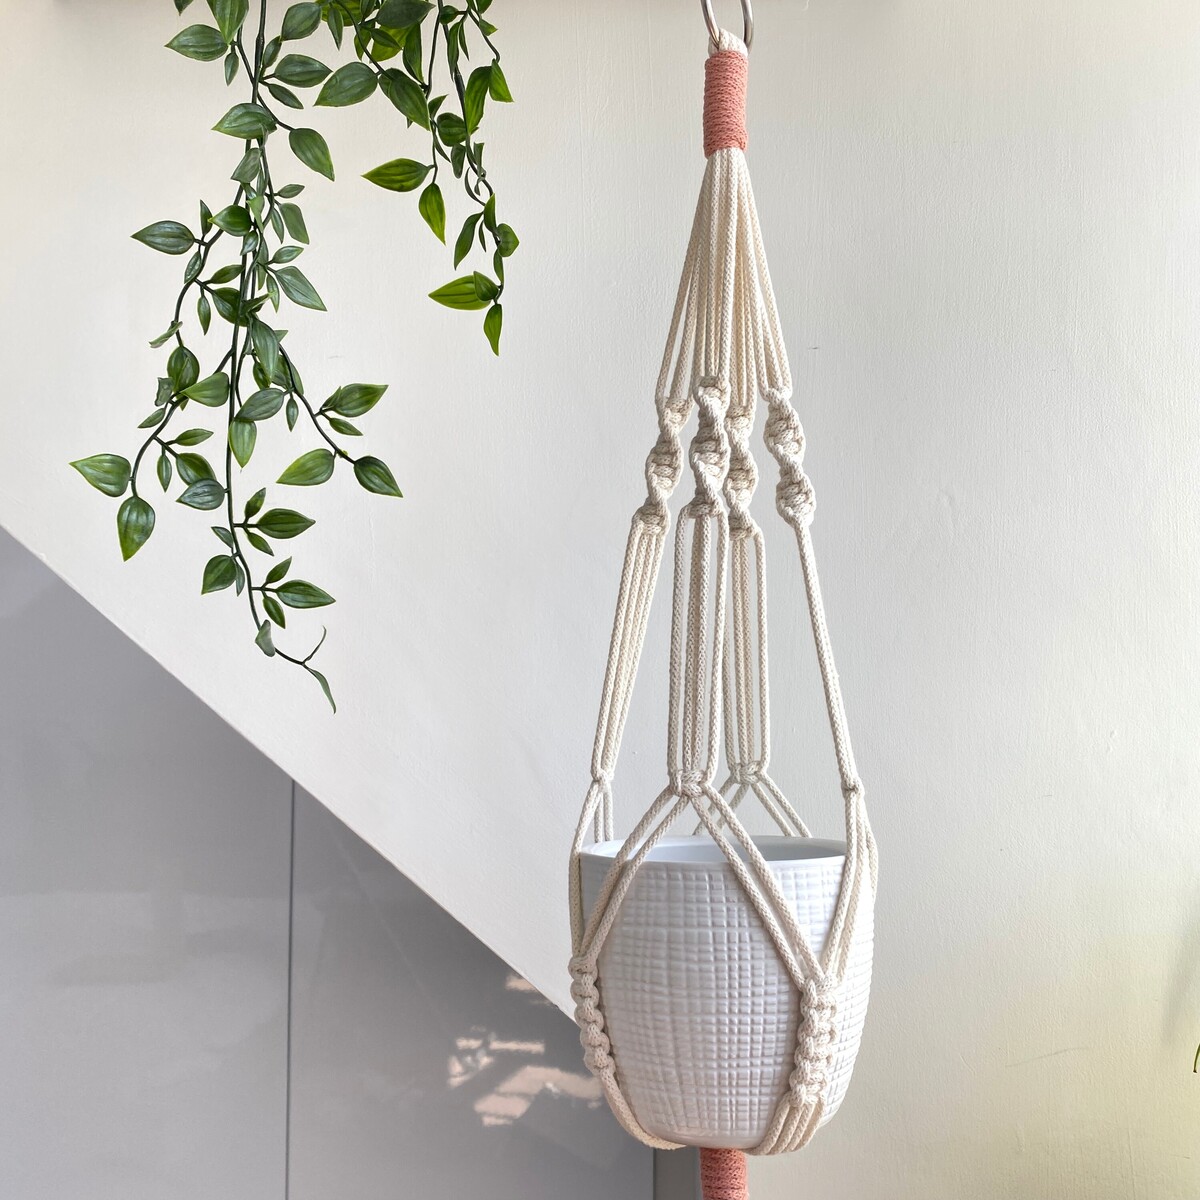
- Add decorative elements: Enhance the visual appeal of your wall-mounted baskets by incorporating decorative elements. Consider adding faux plants, decorative accents, or artwork to create a unique and eye-catching display.
- Experiment with arrangements: Play around with the arrangement of the baskets on the wall. You can create visual interest by staggering the heights or grouping them asymmetrically. Allow your creativity to shine through as you find the arrangement that suits your space best.
Remember, the beauty of wall-mounted baskets is their versatility. You can easily switch up the contents and rearrange them as your storage needs change or as you introduce new decor elements into your space.
With the baskets organized and styled to your liking, step back and admire your beautifully functional wall storage solution. Your space will feel more organized, clutter-free, and visually appealing.
By following these steps, you have successfully learned how to hang baskets on the wall for storage. Enjoy the benefits of additional storage space while adding a touch of style to your home!
Now that you’ve completed the process, you can sit back, relax, and enjoy the practicality and aesthetic charm that your wall-mounted baskets bring to your living space.
Conclusion
Hanging baskets on the wall for storage is a fantastic way to maximize space, add decorative flair, and keep your essentials organized and easily accessible. By following the steps outlined in this guide, you have learned how to choose the right baskets, measure and mark the wall, install wall anchors, attach hanging hardware, hang the baskets securely on the wall, and organize and style them to suit your needs.
Remember to consider the size, material, style, and functionality of the baskets when making your selection. Take your time measuring and marking the wall to ensure accurate placement. Install wall anchors to provide stability and support. Attach the appropriate hanging hardware to secure the baskets to the wall. Finally, organize and style the baskets to create a visually appealing and functional storage solution.
Wall-mounted baskets not only offer practical storage space, but they also bring a unique charm to any room. Whether you use them in the kitchen to store utensils, in the bathroom to hold toiletries, or in the bedroom to keep accessories within reach, they serve as both practical and decorative elements.
As you incorporate wall-mounted baskets into your home, feel free to experiment with different arrangements, mix and match basket sizes and styles, and add personalized touches. Let your creativity shine through and create a storage solution that reflects your personal style.
So go ahead, hang those baskets on the wall, and enjoy the benefits of a clutter-free and stylish living space. Embrace the functionality and creativity that comes with utilizing wall storage, and make your home a more organized and visually appealing place to live.
Frequently Asked Questions about How To Hang Baskets On The Wall For Storage
Was this page helpful?
At Storables.com, we guarantee accurate and reliable information. Our content, validated by Expert Board Contributors, is crafted following stringent Editorial Policies. We're committed to providing you with well-researched, expert-backed insights for all your informational needs.


0 thoughts on “How To Hang Baskets On The Wall For Storage”