Articles
How To Hang Wall Quilt
Modified: January 5, 2024
Learn how to hang wall quilts with these informative articles. Find tips, tricks, and step-by-step instructions to beautifully display your quilt collection.
(Many of the links in this article redirect to a specific reviewed product. Your purchase of these products through affiliate links helps to generate commission for Storables.com, at no extra cost. Learn more)
Introduction
Quilts are not just warm and cozy blankets; they are also works of art that deserve to be proudly displayed. Hanging a wall quilt can bring warmth, beauty, and a touch of personalization to your home decor. Whether you have a family heirloom quilt or a handmade masterpiece, knowing how to properly hang it is essential to preserve its beauty and ensure it is showcased to its fullest potential.
However, hanging a wall quilt requires more than just casually nailing it to the wall. There are specific steps and techniques to follow to ensure that the quilt is securely attached and properly displayed. This article will guide you through the process of hanging a wall quilt, from choosing the right location to adding the finishing touches.
Follow these steps to hang your wall quilt with ease, and transform your space into a gallery showcasing your quilted masterpiece.
Key Takeaways:
- Showcase your quilt as a work of art by choosing the right location, preparing the wall, and adding final touches like accent lighting and decorative borders for a visually stunning display.
- Securely hang your wall quilt with care and attention to detail, ensuring it is properly aligned, level, and complemented with decor to enhance your home’s aesthetic appeal.
Read more: How To Make A Wall Hanging Quilt
Step 1: Choosing the Right Location
The first step in hanging a wall quilt is to select the ideal location for display. Consider the following factors when choosing the right spot:
- Visibility: Choose a location where the quilt will be easily seen and appreciated. A well-lit area with minimal obstructions is ideal.
- Wall color: Take into account the color of the wall where you plan to hang the quilt. Select a contrasting color that will make the quilt stand out.
- Size and proportion: Consider the size and proportions of the quilt and the available wall space. Ensure that the quilt fits the wall well and does not overpower or get lost in the surroundings.
- Environmental factors: Be mindful of environmental factors such as direct sunlight, moisture, and temperature fluctuations. Avoid hanging the quilt in areas prone to excessive sunlight or humidity, as it may damage the fabric over time.
Once you have chosen the perfect location, you can proceed to the next step of preparing the wall.
Step 2: Preparing the Wall
Before you hang your wall quilt, it’s important to ensure that the wall is properly prepared. Here are the steps to follow:
- Clean the wall: Remove any dust, dirt, or debris from the wall surface. Wipe it down with a clean, dry cloth or use a mild cleaner if necessary. This will ensure a smooth and clean surface for hanging.
- Repair any damage: Inspect the wall for any cracks, holes, or other imperfections. Use spackling compound or putty to fill in any holes and sand down rough areas until the wall is smooth. Allow the compound to dry completely before proceeding.
- Consider the weight: Take into account the weight of the quilt and choose appropriate hanging hardware accordingly. For lightweight quilts, simple picture hooks may suffice. However, for heavier quilts, it is recommended to use wall anchors or brackets for added support.
- Protect the wall: To avoid damage to the wall, especially if using adhesive hooks or hanging brackets, consider using removable adhesive strips or protective pads. These will provide a cushion and prevent any scratches or marks on the wall’s surface.
By properly preparing the wall, you will create a solid foundation for securely hanging your wall quilt. With the wall ready, it’s time to move on to the next step: measuring and marking.
Step 3: Measuring and Marking
Accurate measuring and marking are crucial steps in hanging a wall quilt to ensure it is level and properly centered. Follow these steps to measure and mark the wall:
- Measure the quilt: Measure the width and height of the quilt to determine its exact dimensions. This will help you determine the positioning and spacing on the wall.
- Find the center: Divide the width of the quilt in half to find the center point. Mark this point on the wall with a pencil. This will serve as your starting point for hanging the quilt.
- Consider the desired positioning: Decide how high or low you want the quilt to hang on the wall. Take into account the average eye level of viewers or the existing layout of your room. Mark the desired height on the wall.
- Mark additional points: Depending on the size of the quilt, you may want to mark additional points at equal distances from the center to maintain symmetry. Use a measuring tape or ruler to ensure accurate measurements.
By measuring and marking the wall before hanging the quilt, you will have a clear guide to ensure proper alignment and positioning. This will help create a visually appealing display and avoid any crooked or uneven hanging. Now let’s move on to the next step: attaching hanging hardware.
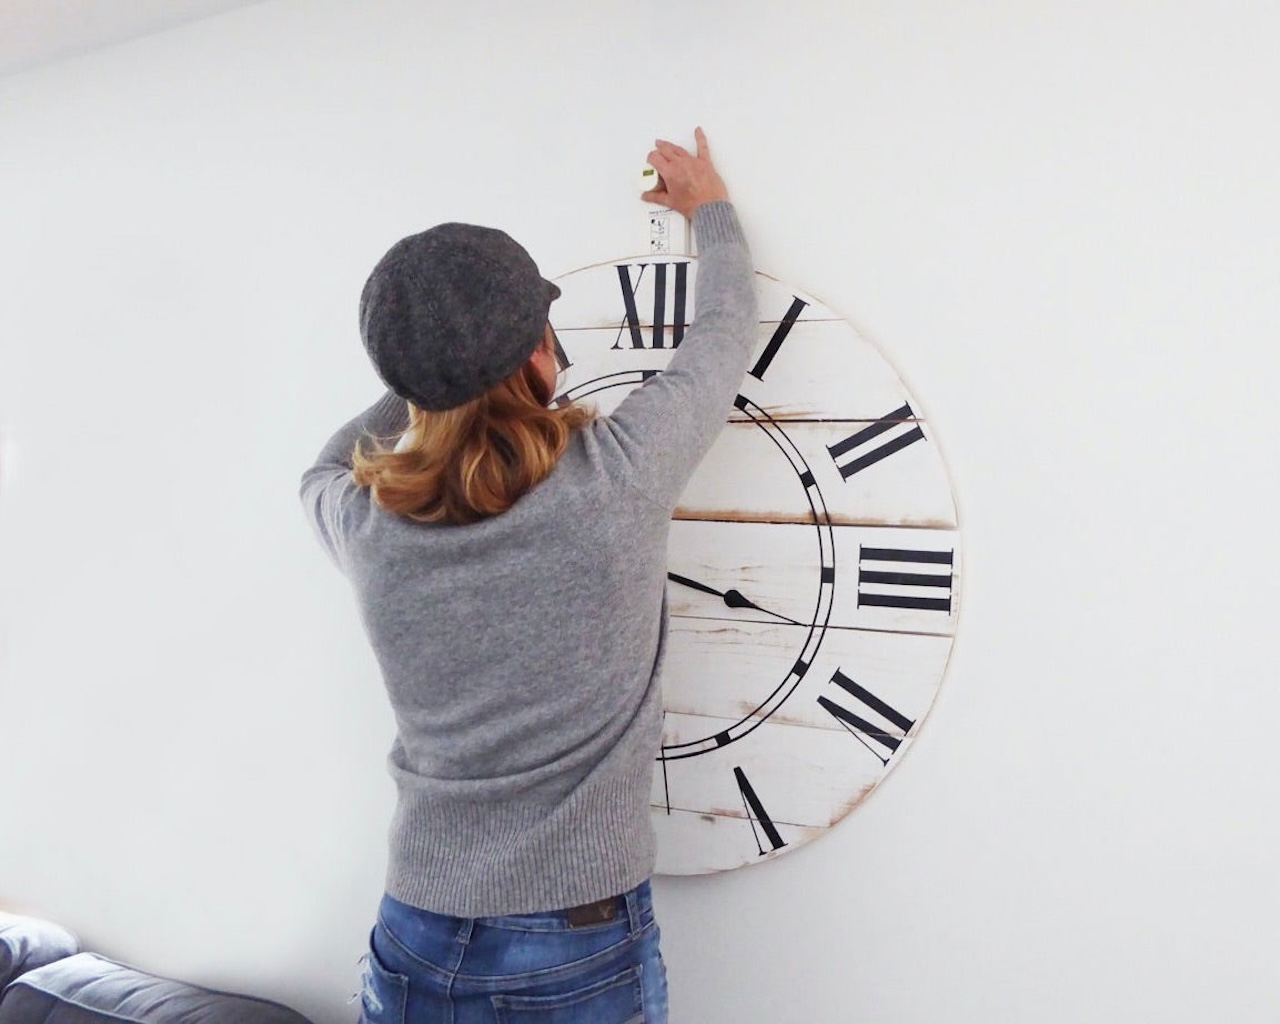
Step 4: Attaching Hanging Hardware
Once you have measured and marked the wall, it’s time to attach the appropriate hanging hardware to securely hang your wall quilt. Follow these steps:
- Choose the right hardware: Select the appropriate hanging hardware based on the weight and size of your quilt. Options include picture hooks, adhesive hooks, wall anchors, or brackets. Ensure that the hardware can support the weight of the quilt.
- Align the hardware: Using your measurements and markings as a guide, align the chosen hardware with the marked points on the wall. Follow the manufacturer’s instructions for proper installation, considering the type of wall material you have (drywall, plaster, etc.).
- Secure the hardware: Install the hanging hardware firmly into the wall, ensuring it is level and securely attached. Use a level to double-check the alignment and make any necessary adjustments.
- Test the stability: Once the hardware is in place, test its stability by gently pulling on it. Ensure that it is firmly attached and can support the weight of the quilt without wobbling or shifting.
By attaching the appropriate hanging hardware, you provide a stable and secure foundation for your wall quilt. This ensures that it will hang safely and remain in place for years to come. With the hardware in place, it’s time to move on to the exciting step of hanging the quilt!
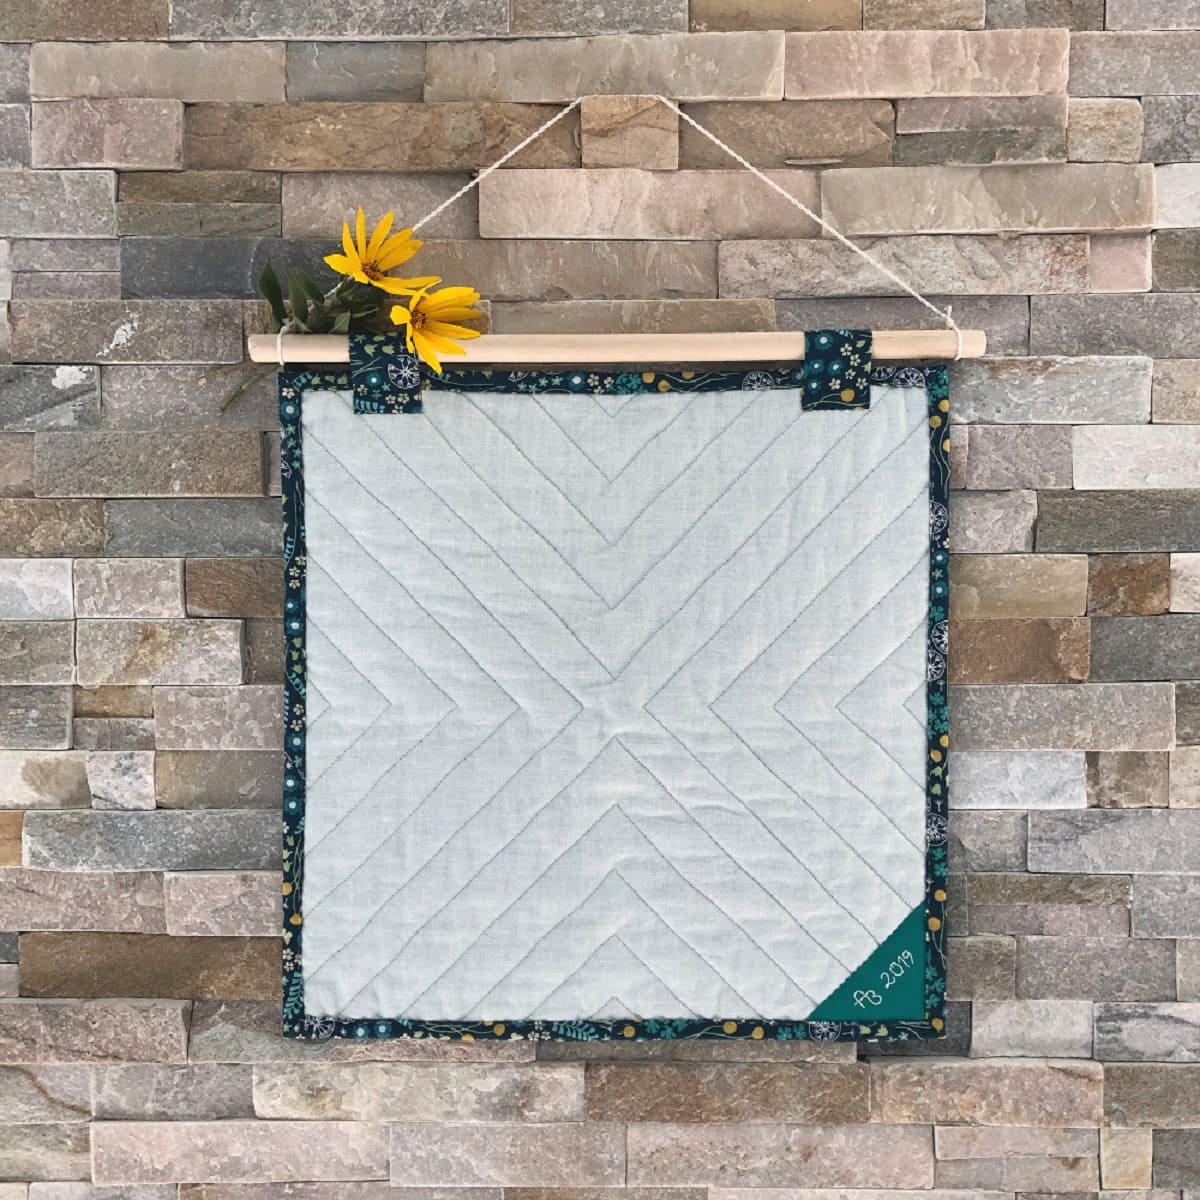
When hanging a wall quilt, use a hanging sleeve on the back for a clean and secure display. Sew the sleeve to the top edge of the quilt and insert a rod for hanging.
Step 5: Hanging the Quilt
Now that you have prepared the wall and attached the hanging hardware, it’s time to hang your cherished quilt. Follow these steps to properly hang your wall quilt:
- Enlist a helper: Hanging a quilt can be easier with an extra set of hands. Enlist the help of a friend or family member to assist you in lifting and positioning the quilt.
- Align the quilt: Position the quilt in front of the wall, aligning it with the hanging hardware. Ensure that it is centered and level using a level or by visually comparing it to the markings on the wall.
- Attach the quilt: Gently lift the quilt and hook it onto the hanging hardware. Follow any specific instructions provided by the hardware manufacturer to ensure a secure attachment. Take your time and make any necessary adjustments to ensure that the quilt hangs straight and evenly.
- Step back and assess: Stand back and observe the quilt from different angles to ensure it is hanging properly and at the desired height. Make any necessary adjustments to the positioning or levelness of the quilt.
By following these steps, you can hang your quilt with confidence, knowing that it is securely attached and beautifully displayed. Now let’s move on to the next step: adjusting and leveling.
Step 6: Adjusting and Leveling
After hanging your quilt, it’s important to take the time to adjust and level it for the perfect display. Follow these steps to ensure your quilt looks its best:
- Check for levelness: Use a level to ensure that the quilt is hanging straight. Adjust the quilt as necessary by gently lifting it and making small adjustments to the position of the hanging hardware.
- Make minor adjustments: If the quilt appears uneven or crooked, you can make subtle adjustments by lifting it slightly and repositioning it on the hanging hardware.
- Align with the markings: Refer back to the measurements and markings on the wall to ensure that the quilt is properly aligned and centered. Use a measuring tape or ruler for precise adjustments if needed.
- Step back and assess: Take a step back and observe the quilt from different angles. Ensure that it is hanging evenly and at the desired height. Make any final adjustments to achieve the perfect display.
By taking the time to adjust and level your quilt, you can create a visually pleasing display that enhances the overall aesthetic of your space. With your quilt perfectly positioned, it’s time for the final touches.
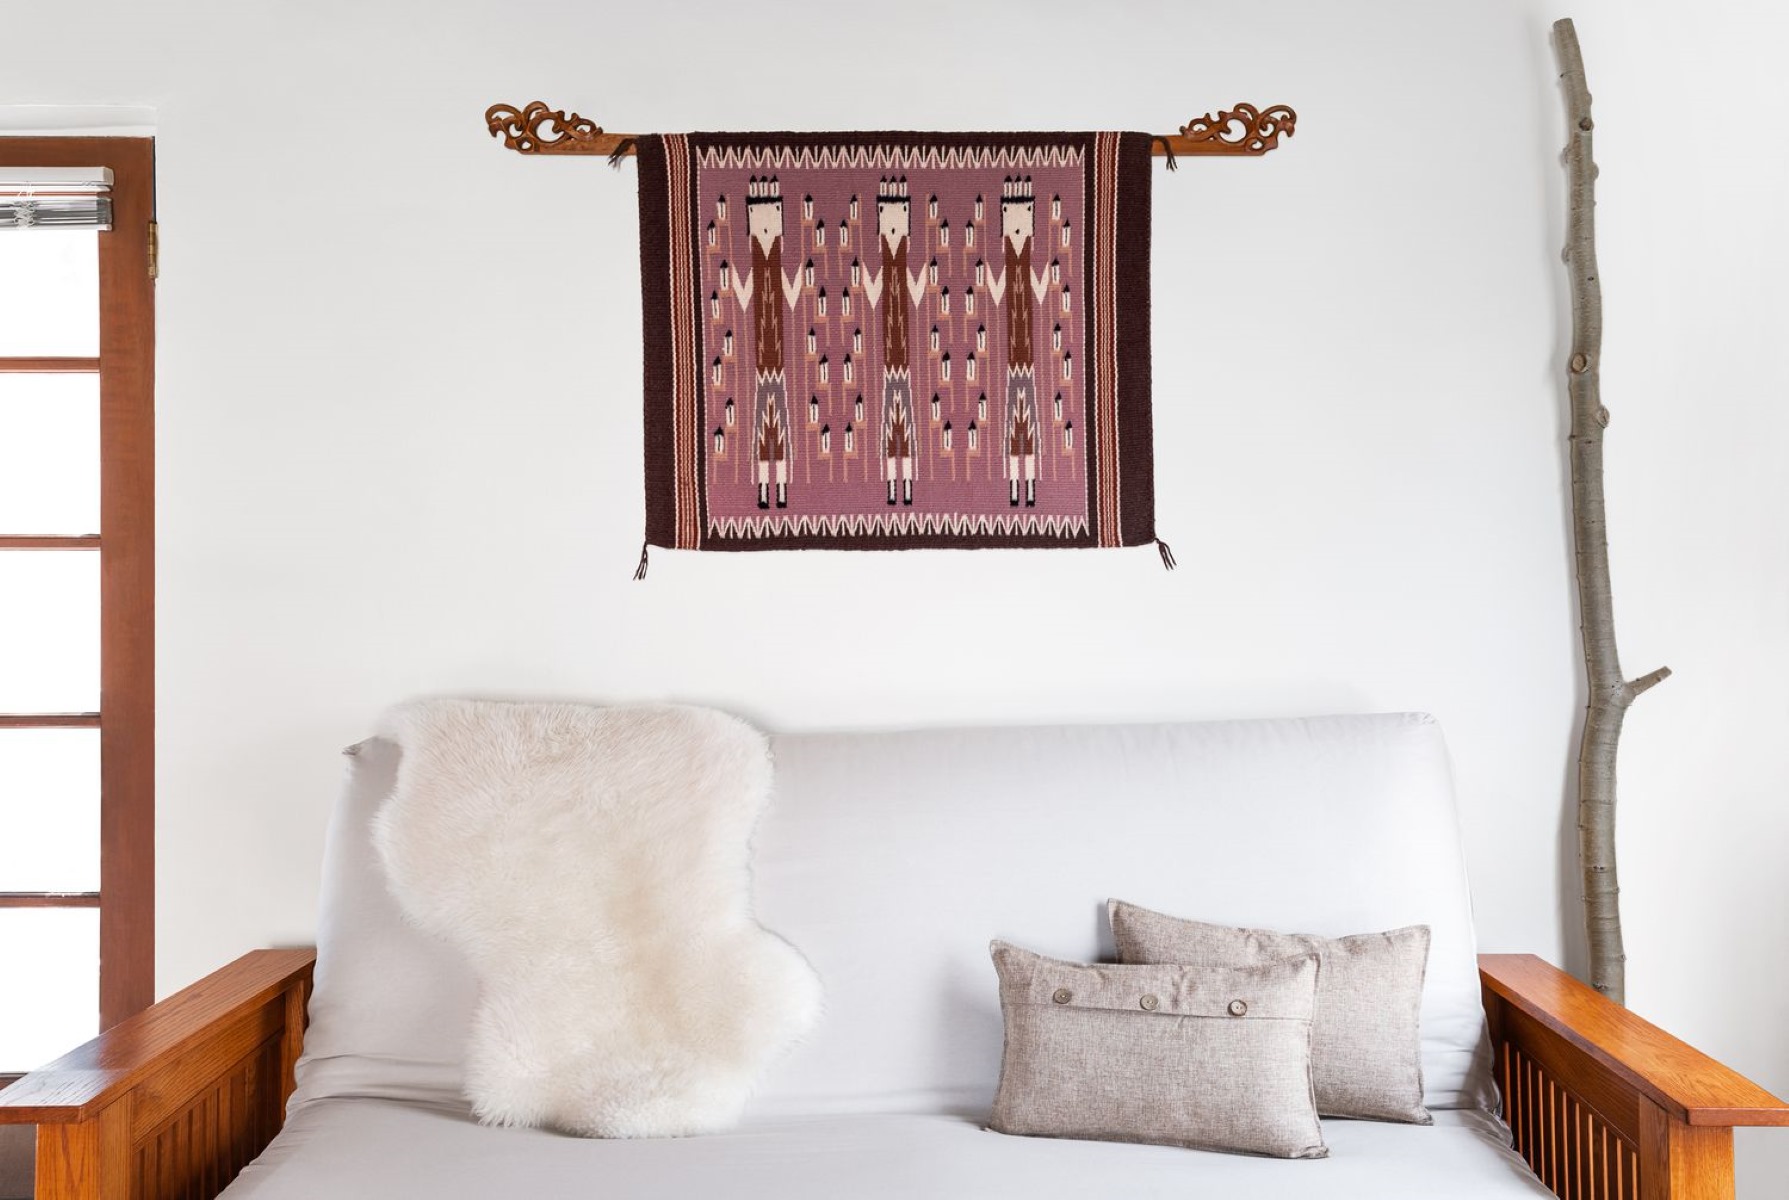
Step 7: Final Touches
With your wall quilt securely hung and properly adjusted, it’s time to add the final touches to enhance its presentation. Consider the following suggestions:
- Accent lighting: Install accent lighting above or below the quilt to highlight its colors and textures. This can create a dramatic effect and draw attention to your quilt.
- Frame or border: Consider framing your quilt or adding a decorative border around it to create a polished and finished look. This can elevate the overall presentation and showcase your quilt as a true work of art.
- Complement with decor: Add complementary decor items, such as decorative pillows, throws, or artwork, to enhance the overall aesthetic appeal of the quilt and create a cohesive look in the room.
- Rotate and refresh: Over time, you may want to rotate your wall quilts to keep the display fresh and prevent damage from excessive sunlight or dust. Be sure to handle them with care when making any changes.
By adding these final touches, you can create a visually stunning display that showcases your wall quilt and enhances your overall home decor. Remember to periodically check the hanging hardware and the condition of the quilt to ensure its longevity and maintain its beauty.
With the completion of these steps, you have successfully learned how to hang a wall quilt with care and attention to detail. Now, take a step back and admire your beautifully displayed quilt, knowing that it is securely anchored and can be enjoyed for years to come.
Happy quilting and decorating!
Conclusion
Hanging a wall quilt is not just about showcasing a beautiful piece of fabric; it’s an opportunity to add warmth, character, and personalization to your living space. By following the steps outlined in this article, you can confidently hang your wall quilt and create a stunning display that will be a focal point of your home decor.
From choosing the right location to properly preparing the wall, measuring and marking, attaching hanging hardware, and adjusting and leveling, each step plays a vital role in ensuring that your quilt hangs securely and looks visually appealing. Taking the time and care to follow these steps will help preserve the beauty of your quilt and allow it to be enjoyed for years to come.
Remember, a wall quilt is more than just a decorative piece; it is a reflection of your personality, craftsmanship, and creativity. By adding the final touches such as accent lighting, framing, and complementary decor, you can elevate the overall presentation and create a captivating display that showcases the true artistry of your quilt.
As you hang your wall quilt, be sure to periodically check the hardware and the quilt itself to ensure its stability and condition. Additionally, feel free to rotate and refresh your displays to keep them interesting and prevent any potential damage.
Now armed with the knowledge and understanding of how to hang a wall quilt, go ahead and confidently transform your living space into a gallery of quilted masterpieces. Your quilts deserve to be proudly displayed, admired, and cherished for their beauty and craftsmanship.
Happy hanging!
Frequently Asked Questions about How To Hang Wall Quilt
Was this page helpful?
At Storables.com, we guarantee accurate and reliable information. Our content, validated by Expert Board Contributors, is crafted following stringent Editorial Policies. We're committed to providing you with well-researched, expert-backed insights for all your informational needs.


0 thoughts on “How To Hang Wall Quilt”