Home> Faucet Fixing
Faucet Fixing Guide: Become an Expert in No Time | DIY Solutions
Master the skill of faucet fixing with our comprehensive guide. Enriched with simple DIY solutions, achieve flawless results in minutes.
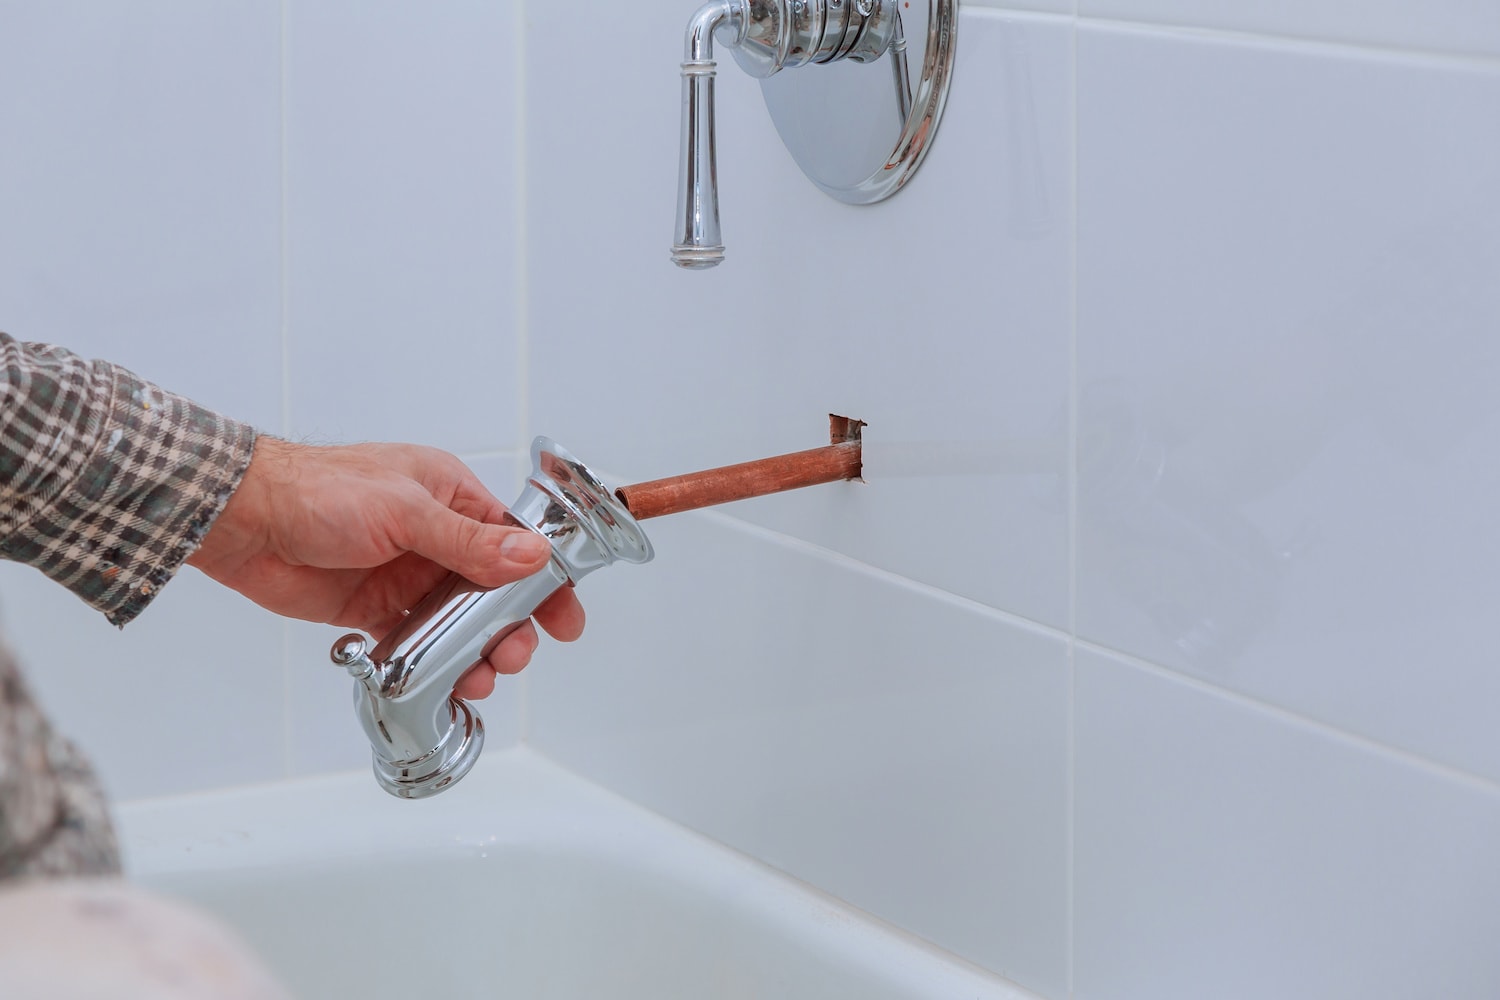
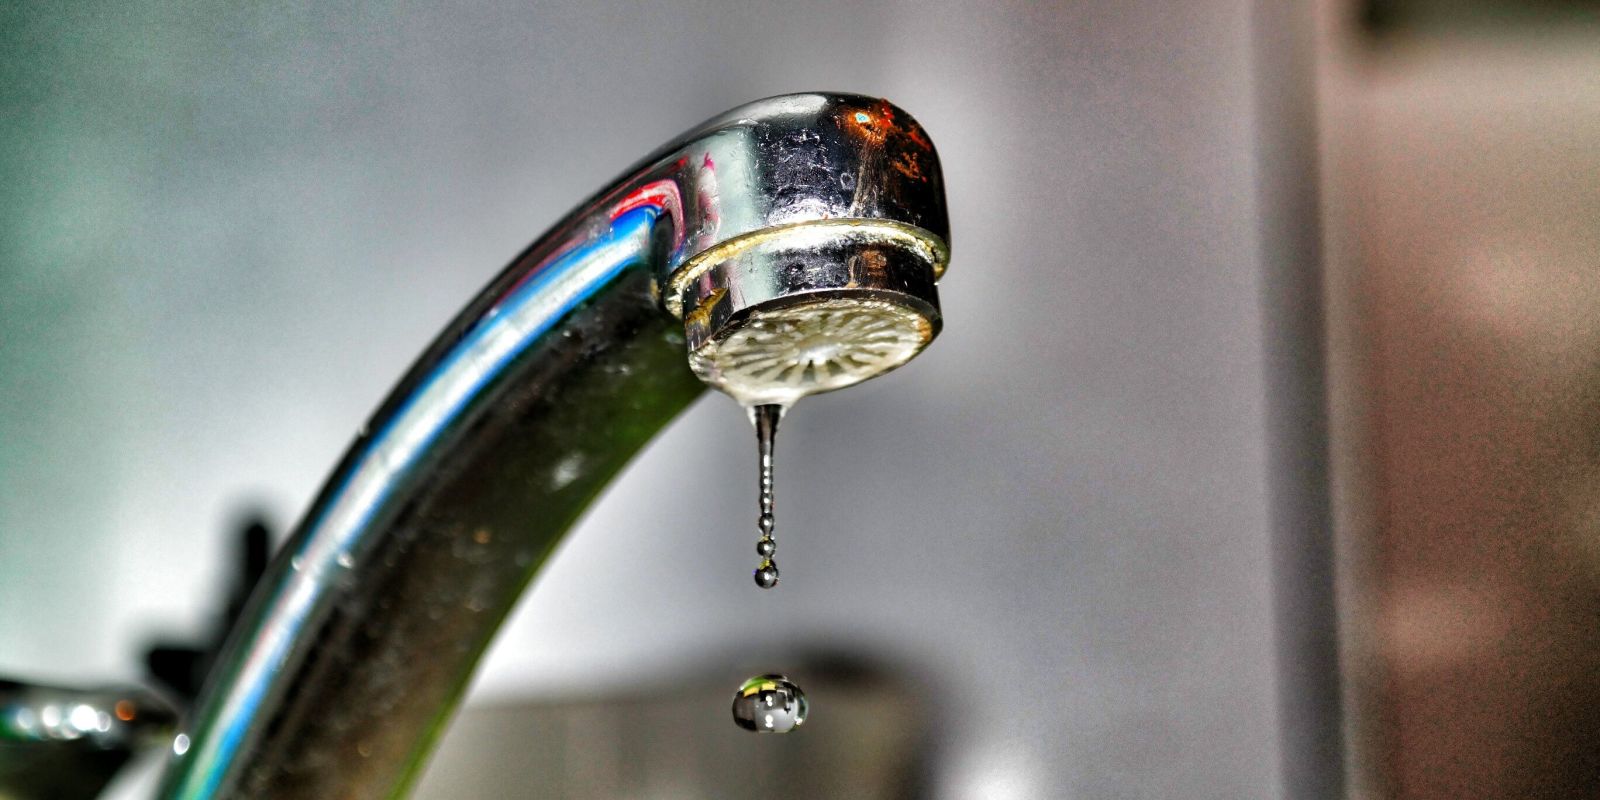
How To Repair Your Tub And Shower Faucet To Stop The Dripping
By: Emily Roberts • Articles
Introduction
A faucet is an everyday appliance that we’ve all become accustomed to using. Found in bathrooms, kitchens, and utility areas, faucets control the flow of water thanks to their simple but efficient design. But like any frequently used item, faucets can develop faults over time, some of which may require professional repair, or even a full replacement. However, with some basic knowledge and a few handy tools, you can perform most faucet fixes yourself, saving time and expense.
This guide will walk you through the process, starting with understanding the types of faucets, recognizing common faucet problems, and navigating the repair process effectively.
Understanding Faucet Types
Before delving into the practical aspects of faucet repair, it’s important to understand some basic types of faucets and how they function. The type of faucet you have can influence how you approach fixing it.
Compression Faucets: These are traditional faucets, usually with a separate handle for hot and cold water. They work on a screw mechanism where the handles control the up and down movement of a washer, which in turn controls the flow of water.
Ball Faucets: These are typically single-handle faucets, where the handle is connected to a cap-like structure. The movement of the handle adjusts the water flow and temperature.
Cartridge (Sleeve) Faucets: These faucets can be single or double-handled. Inside, a cartridge controls water flow and temperature. Although they resemble compression faucets, cartridge faucets do not require you to apply force to stop the flow of water.
Common Faucet Problems
Faucets may seem complicated, but most problems stem from a few common issues. Familiarizing yourself with these can make diagnosis and fixing much faster.
Dripping Faucets: This problem is perhaps the most common, and usually means that an interior part is worn out or damaged. The part in question often depends on the kind of faucet you have.
Low Water Pressure: If water trickles out of your faucet instead of flowing, the issue might be low water pressure. This problem can stem from several issues, including blocked or damaged pipes, or even issues with the local water supply.
Leaky Handles: If water pools around the base of your handles when the faucet is running, this might mean a part of the faucet near the handle is worn out or faulty.
Tools Required for Faucet Fixing
Faucet repair doesn’t require a ton of specialized equipment. Usually, a few basic tools that most homeowners already have can take care of the job. These include:
Screwdrivers: A set of screwdrivers of different sizes is often necessary for removing handles and other small parts. Many faucets use Phillips-head screws, although some might require a flathead.
Adjustable Wrenches: Wrenches are essential for loosening and tightening parts that are beyond hand strength. As faucets come in many different sizes and models, an adjustable wrench can be a lifesaver.
Plumber’s Tape: Also known as Teflon tape, plumber’s tape helps seal pipe threads to prevent leaks around joints and fittings.
The Basics of Faucet Anatomy
A standard faucet comprises several key parts. These include:
Handle(s): Handles control the water’s flow and temperature. Most faucets have either one or two handles depending on the model.
Spout: This is where the water comes out. The spout can sometimes rotate to aim water in different directions in the sink.
Valves/cartridges: These are located inside the faucet and control the water flow when the handles are turned.
Steps to Shut Off the Water Supply
Before starting any repair, it’s crucial to turn off the water to your faucet. This step prevents spraying water when you disassemble parts and can help prevent further damage.
Locating the shut-off valves: Shut-off valves are typically located beneath the sink. In some cases, there might be separate valves for the hot and cold water supply.
Turning off the water supply: Once you’ve located the valve(s), turn them clockwise until they won’t turn any further. This action should stop the water supply.
Confirming the water supply is off: After turning off the valves, test the faucet to ensure no water is flowing. If water is coming out, the valves might not be fully turned off, or there might be an issue with the valves themselves.
Decommissioning the Faucet
After shutting off the water supply, the first task is to remove parts of the faucet for inspection and possible repair or replacement. Follow these steps:
Removing the faucet handle: The procedure varies based on faucet design. Some models have a cap on the handle covering the screw. Remove the cap and unscrew the handle. For others, you might need a specialized tool, such as an Allen wrench. Here are some detailed instructions to guide you.
Taking off the packing nut: After you remove the handle, you’ll find a packing nut or adjuster ring that applies pressure to the handle stem to prevent leaking. Use a wrench to remove this nut.
Extracting the stem: This part connects the handle to the cartridge. Once the packing nut is removed, the stem will come out. If it doesn’t, it might be stuck due to corrosion, and you may need to apply some force.
Inspection for Damage
Once you’ve decommissioned the faucet, it’s time to inspect the component for any visible signs of damage:
Identifying apparent faults: Check the parts—like the stem or the O-ring for visible wear, damage, or corrosion. A damaged part might be the root of your faucet issue.
Spotting signs of wear and tear: All faucet parts have a life span, and normal use will eventually wear them out. Look for signs of aging such as rust, cracks, or mineral build-up.
Assessing the need for replacement parts: If you find faulty pieces, note their type and size. You’ll need this information to procure the right replacements.
Replacing Faulty Parts
Finding faulty parts is half the job. The next step is to replace them correctly:
Procuring the correct parts: Most home improvement stores carry a broad selection of faucet parts. Ensure you get the right model and size for your faucet. Take the faulty parts with you for clarity. Online platforms are also a great resource for finding the perfect replacement.
Swapping old parts with new ones: After acquiring your replacement parts, switch them out for the old ones. Ensure that all parts are securely attached and fit in their appropriate slots. For instance, if you’re replacing a handle, this guide could be helpful.
Ensuring correct fitting of new parts: Once you’ve assembled everything together, slowly turn on the water source and check your faucet’s operation. Pay particular attention to making sure there are no leaks.
Fixing a Dripping Faucet
Identifying the cause of the leak: A dripping faucet can be simple to fix once you identify the problem. Often, a worn-out washer is the culprit behind it. The washer can worn out over time because of regular use or an ill-fitted one can cause the leak. Other reasons can be a damaged valve seat, seals, or O-ring depressions.
Replacing the damaged part: Once you identify the faulty part, replace it with a new one. Ensure the new part is a perfect fit, or your faucet might continue to leak. This guide can give you more detailed insights on fixing a dripping faucet.
Checking for leaks: Once you’ve replaced the faulty piece, turn on your faucet slowly to see if there are any leaks. If it’s still dripping, you might have missed other worn-out parts, or the replaced part may not be fitted properly.
Fixing Low Water Pressure
Detecting the pressure issue: Low water pressure from your faucet might be due to clogged aerators, pipes, cartridge, or a pressure reducing valve. To find where the problem lies, start by checking the aerator as it’s often the most common cause of reduced water pressure. It’s the screen where water comes out of the faucet. Over time, particles in the water get trapped in the aerator, reducing water pressure.
Clearing blockages: If your aerator is clogged, unscrew it, soak it in vinegar for a few hours to loosen the deposits, and then scrub it lightly to remove the blockage. You can also replace the damaged aerator entirely. Detailed steps on how to clean an aerator can be found here. If your aerator is clean, consider inspecting other parts like the cartridge and valves for blockages.
Replacing parts if necessary: If after cleaning, water pressure does not improve, your low pressure might be because of a damaged part, and replacing it might solve the issue. You might also need to call a professional if your water pipes are clogged.
Troubleshooting Leaky Handles
Pinpointing the source of the leak: If your faucet handle is dripping, the hot or cold water supply could be leaking. To determine which handle is leaking, touch the water to check its temperature. This guide can help you identify the source of the leak.
Tightening loose parts: Sometimes handles leak due to loose parts. Check the adjusting ring or packing nut and tighten them if necessary. However, be careful not to over-tighten as it can cause damage.
Replacing worn-out components: If tightening does not work, inspect the stem and packing. If they have signs of wear and tear, replace them. Once you have replaced the faulty parts, check if the leaking has stopped.
Bathroom Faucets
Identifying common bathroom faucet issues: Common bathroom faucet problems can range from a slow drip to a steady leak. The issue could be the result of a faulty cartridge or a worn-out seal. The kind of issue usually depends on the kind of faucet in use — for instance, a leaky cartridge faucet is often due to a damaged O-ring or cartridge.
Another common issue homeowners face is a squeaky handle, usually caused by rust or a loose handle. An extensive guide on identifying problems in bathroom faucets can be found in this resource.
Fixing common bathroom faucet problems:
To resolve common issues, first shut off the water supply before working on your faucet as a safety measure. If your bathroom faucet is dripping, it’s often due to a worn-out washer or seal which can be replaced. A squeaky handle can be corrected by applying plumber’s grease or replacing the handle if it’s rusty. A detailed guide on fixing a leaky faucet can be found here.
Maintaining bathroom faucets:
Regular maintenance keeps your tap operating optimally and extends its lifespan. Clean your faucet regularly with non-abrasive materials and inspect the parts occasionally for wear and tear. Make timely replacements if necessary to avoid damage to the whole system.
Kitchen Faucets
Identifying common kitchen faucet problems: Kitchen faucets, because of their frequent use, can face issues like leaking, low water pressure, and squeaky handles. Sometimes, the leak could be from the base, or the handle might be hard to move. Another common problem is a spraying faucet – a result of a damaged diverter or aerator. Find some tips on how to fix common kitchen faucet problems here.
Fixing common kitchen faucet issues:
Leaks can be fixed by tightening or replacing the damaged parts. If your handle is hard to move, clean the handle area to remove any dirt deposits. On the other hand, low water pressure might require cleaning or changing the aerator. A quick fix guide for Moen kitchen faucets can be found here.
Maintaining kitchen faucets:
Proper maintenance can prevent most common kitchen faucet issues. Regularly clean the handle area and aerator to prevent deposits. Lubricate the handle area occasionally, and replace any worn-out parts timely.
Faucets in Utility Areas
Identifying common utility area faucet problems: Utility area faucets are prone to external damage due to exposure to the elements. Common issues include burst pipes, leakage, and damage by exposure to severe weather conditions.
Repairing common utility area faucet issues:
For burst pipes, shut off the water supply immediately and repair or replace as needed. Minor leaks can be fixed using plumber’s tape or a wrench, while major leaks might require professional assistance. Insulate faucets in utility areas to protect them against severe weather conditions.
Preserving utility faucets:
Regular inspection of faucets is critical, especially prior to and after severe weather conditions. Insulate external faucets in winter to prevent freezing and bursting of pipes. Keep the area around the faucets clean and free of any damaging elements.
Faucet Maintenance Tips
Regular cleaning routines: It’s important to establish a consistent cleaning schedule for your faucets. Regular cleaning can prevent deposit buildup, which can cause deterioration over time. Cleaning can be as easy as wiping your faucets with a mild cleaner and soft cloth. For the aerator, specific cleaning instructions like this guide can aid in maintaining optimum water flow.
Periodic inspections: Every homeowner should inspect their faucets regularly for signs of wear and tear. Check for slow leaks, rust, and squeaky handles. Early detection of minor problems can help prevent major issues down the line.
Timely replacement of worn-out parts: Once you’ve identified worn-out parts during your routine inspections, replace them promptly. Timely replacement prevents further damage which might lead to more expensive repairs or replacements.
Professional vs DIY Faucet Fixes
When to resort to professional help: As a rule of thumb, if the repair seems complex, involves the main water line, or if there’s a big risk of causing further damage, it’s time to call a professional. Sometimes, the problem might seem straightforward but can become complex, as is the case with some types of Delta faucets.
Budget considerations: While DIY fixes can save on labor costs, remember to factor in the cost of tools and parts required. A professional plumber might seem expensive but can save money in the long run, preventing further damage or incorrect installations.
Time and skill requirements: DIY repair projects can be time-consuming, particularly for newcomers. Consider whether you have the time to learn, troubleshoot and implement the repair. Factor in your skill level as well- while repairing a leaky single handle faucet might be a simple task for some, for others it requires a steep learning curve.
Legal Considerations in Faucet Fixing
Building code regulations: Laws governing plumbing vary from location to location. Before undertaking any significant DIY plumbing project, check your local building code laws to ensure you’re allowed to make the desired changes or repairs.
Permitted DIY plumbing work: Most areas permit minor DIY plumbing work, which includes faucet repair. However, projects involving changes to the primary water supply, sewage or installing new plumbing lines might require a permit.
Required professional interventions: Some repairs or changes, due to their complexity or potential to cause widespread impact, may be legally mandated to be handled by a licensed professional. In such cases, the wise course of action would be to hire a professional to avoid potential legal issues or safety risks.
The Environmental Impact of Faucet Leaks
Connection between leaks and water wastage: Minor faucet leaks can appear inconsequential, but over time, they can lead to chronic water wastage. A leaky faucet dripping at the rate of one drip per second can waste more than 3,000 gallons per year. That’s an amount of water equivalent to the water needed for over 180 showers!
Impact on water bills: Apart from the environmental impact, faucet leaks can also have a direct impact on your finances. Even a small leak can significantly increase your water bills over time, costing you more money. Using the above example of a faucet leaking at one drip per second, you could be looking at about 10% added to your annual water bill.
Contribution to overall environmental conservation: Fixing leaky faucets promptly helps conserve water, an increasingly scarce resource. Not only does it help save the environment, but it also reduces your water footprint. Everyone playing their part in fixing faucet leaks promptly can make a significant difference in global water conservation efforts.
Conclusion
Understanding the basics of faucet anatomy and common faucet problems can help homeowners identify and resolve minor issues promptly, preventing the escalation of major issues. The guide on how to fix a leaking shower faucet is a good start.
The skills necessary for DIY faucet repair vary according to the problem at hand, but basic problems like a leaky faucet handle can usually be handled without calling in a professional. However, always bear in mind the need for proper safety measures, legal requirements, and when it is time to call the experts.
Regular faucet maintenance can extend the life of your faucets, save on water and dollars, contribute to environmental conservation, and keep your home in optimal condition. Knowing when to fix and when to call in a specialist can be an invaluable resource in home maintenance.