
Articles
How To Fix A Stripped Faucet Handle
Modified: October 20, 2024
Learn how to easily fix a stripped faucet handle with our step-by-step guide. Read our informative articles for expert advice on DIY plumbing repairs.
(Many of the links in this article redirect to a specific reviewed product. Your purchase of these products through affiliate links helps to generate commission for Storables.com, at no extra cost. Learn more)
Introduction
When it comes to plumbing issues, a stripped faucet handle can be a common problem that homeowners face. A stripped faucet handle occurs when the screw threads inside the handle become worn or damaged, making it difficult to turn the handle and control the water flow. This issue can be quite frustrating, but the good news is that it can be easily fixed with the right tools and know-how.
In this article, we will guide you through the process of fixing a stripped faucet handle. We will cover the necessary tools and materials, as well as the step-by-step instructions to help you successfully repair your faucet handle. By following these steps, you will be able to restore the functionality of your faucet and eliminate any leaks or drips that may have resulted from the stripped handle.
Before we begin, it’s important to note that while repairing a stripped faucet handle can be a DIY project, it does require some basic plumbing knowledge and skills. If you are not comfortable with these types of repairs or if you encounter any difficulties, it is always a good idea to seek professional help.
So, let’s get started on fixing that stripped faucet handle and bringing back the convenience and functionality to your sink!
Key Takeaways:
- Easily repair a stripped faucet handle using a faucet handle puller or a longer screw and screwdriver. Ensure proper functioning and enjoy a fully functional faucet once again.
- Save money and prevent further damage by repairing a stripped faucet handle yourself. Remember to shut off the water supply and seek professional help if needed.
Read more: How To Fix Squeaky Faucet Handle
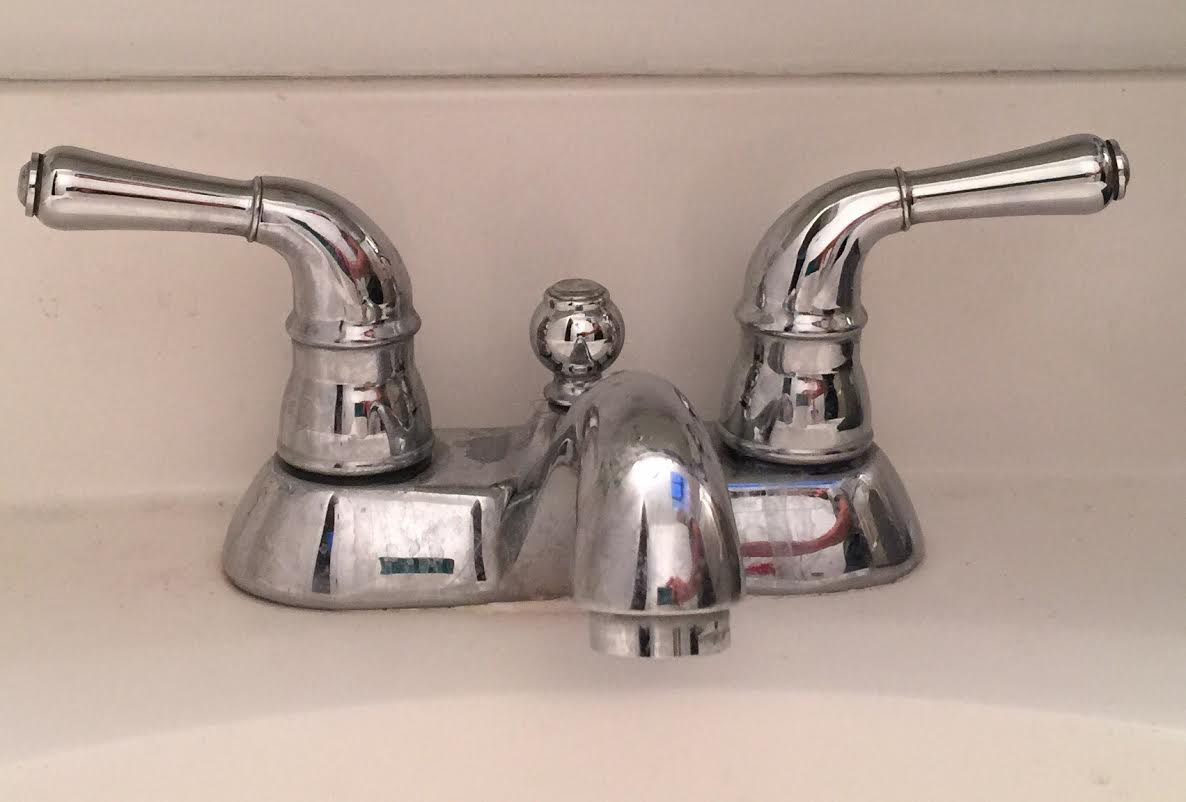
Understanding a Stripped Faucet Handle
Before we dive into the repair process, it’s important to understand what exactly is meant by a stripped faucet handle. This will help you identify the issue and choose the appropriate repair method.
A stripped faucet handle refers to the condition where the threads inside the handle have become worn or damaged, making it difficult to turn the handle and control the flow of water. This can happen due to several reasons, including regular wear and tear, excessive force, or improper installation.
When the threads of the handle become stripped, it can lead to a loose or wobbly handle that spins without turning the valve properly. This not only makes it challenging to regulate the water temperature and pressure but can also result in leaks or drips from the faucet.
It’s worth noting that a stripped faucet handle is a common issue in older faucets, particularly those made of plastic or low-quality materials. However, even newer faucets can experience this problem over time.
To determine if your faucet handle is stripped, you can try turning the handle and observe if it rotates freely without affecting the water flow. If so, it is likely that the threads inside the handle are worn or damaged.
Now that we have a clear understanding of what a stripped faucet handle is, let’s move on to the tools and materials you’ll need for the repair process.
Tools and Materials Needed
Before you begin fixing a stripped faucet handle, it’s important to gather all the necessary tools and materials. Having everything on hand will make the repair process smoother and more efficient. Here’s a list of what you’ll need:
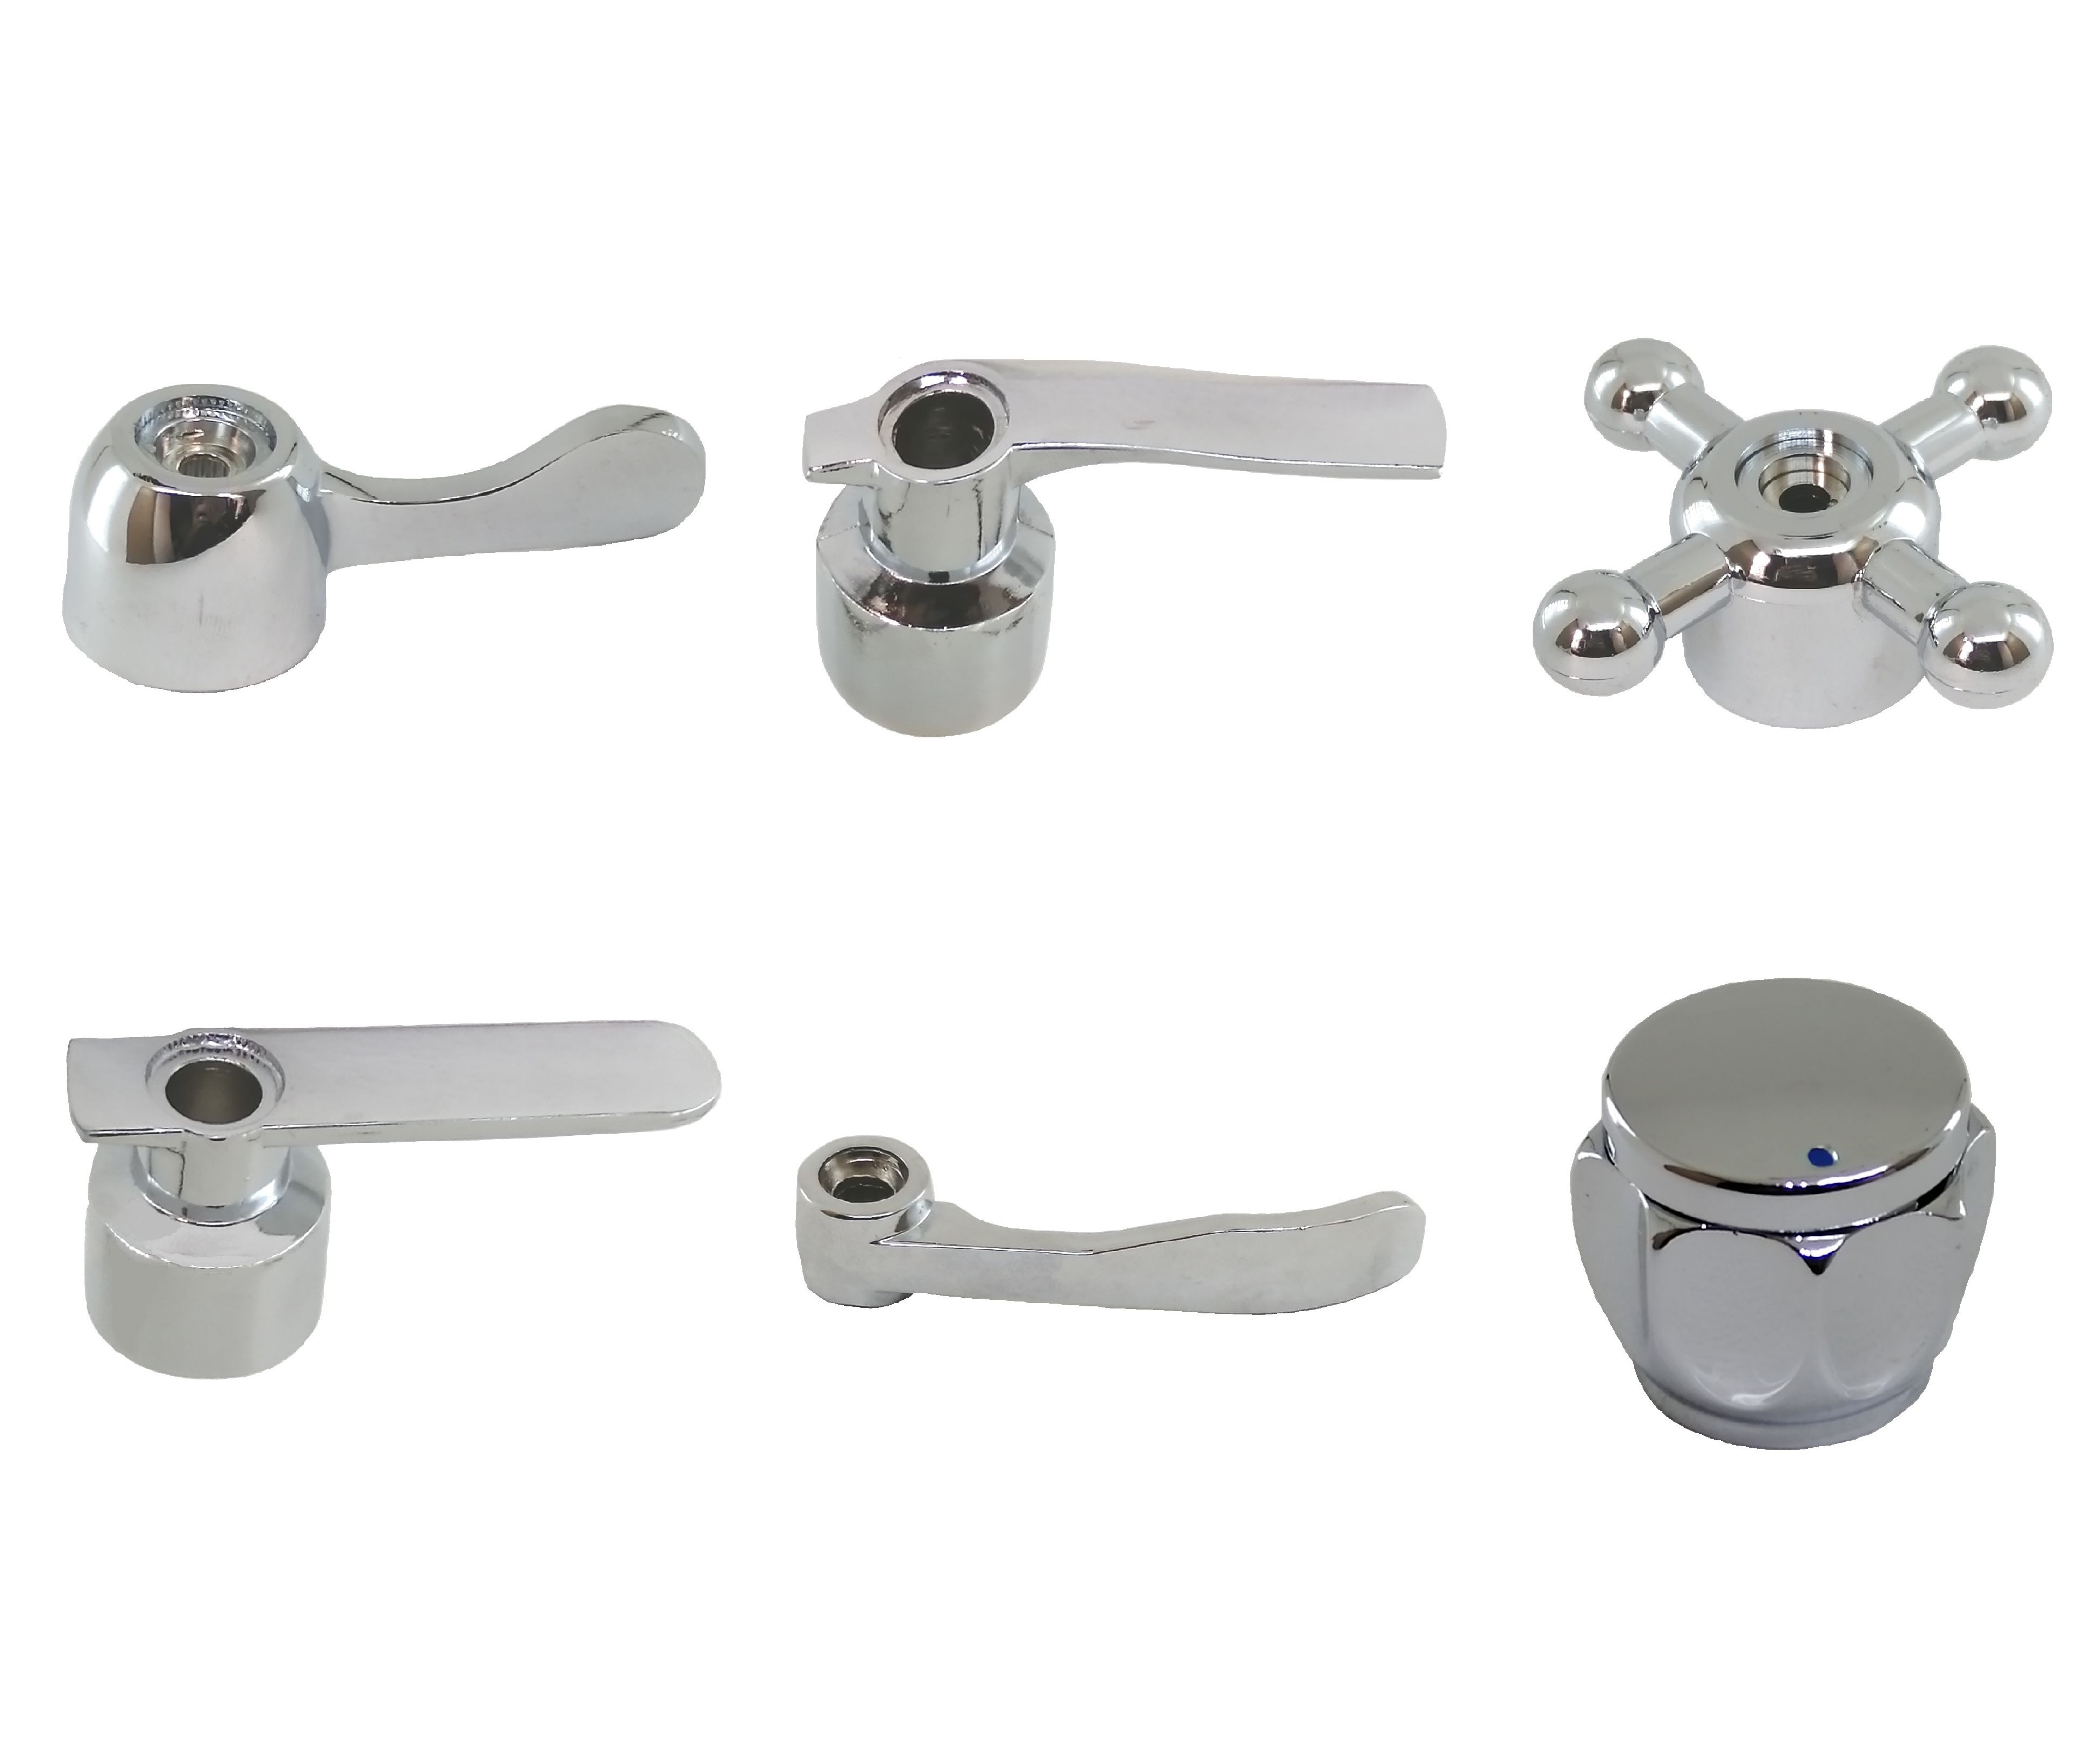
- Adjustable wrench: This tool is essential for removing the faucet handle and accessing the internal components.
- Faucet handle puller: A faucet handle puller is a specialized tool designed to remove stubborn faucet handles without damaging them further. This tool can be very helpful in cases where the handle is firmly attached to the valve stem.
- Screwdriver: Depending on the type of faucet, you may need either a Phillips or flathead screwdriver to remove screws and access the handle mechanism.
- Replacement screws: If the original screws are stripped or damaged, it’s a good idea to have spare screws on hand for reassembling the handle.
- Thread seal tape: Also known as plumber’s tape, thread seal tape is used to create a watertight seal between threaded connections. It may be needed during the reassembly process.
- Rag or towel: A rag or towel is helpful for wiping away any water or debris that may be present around the faucet area.
It’s important to note that the specific tools and materials required may vary depending on the type and brand of your faucet. Before beginning the repair, it’s a good idea to consult the manufacturer’s instructions or consult a professional if you are unsure.
Now that you have all the necessary tools and materials, we’re ready to move on to the step-by-step process of fixing the stripped faucet handle.
Step 1: Shutting Off the Water Supply
Before you start any plumbing repair, it’s crucial to turn off the water supply to your faucet. This step is essential to prevent any potential leaks or water damage during the repair process. Here’s how to shut off the water supply:
- Locate the main water shut-off valve in your home. This valve is usually located near the water meter or where the water enters your property.
- Turn the valve clockwise (to the right) to shut off the water supply. You may need to use a wrench or pliers if the valve is difficult to turn.
- Once the water supply is shut off, turn on the faucet to release any remaining water pressure. This will help prevent any water from leaking out during the repair.
- Leave the faucet in the open position to allow the water to drain from the pipes.
It’s crucial to ensure that the water supply is completely shut off before proceeding with the repair. This will minimize the risk of any accidents or damage while working on the faucet handle.
Now that the water supply is turned off and the pressure is relieved, we can move on to removing the faucet handle in the next step.
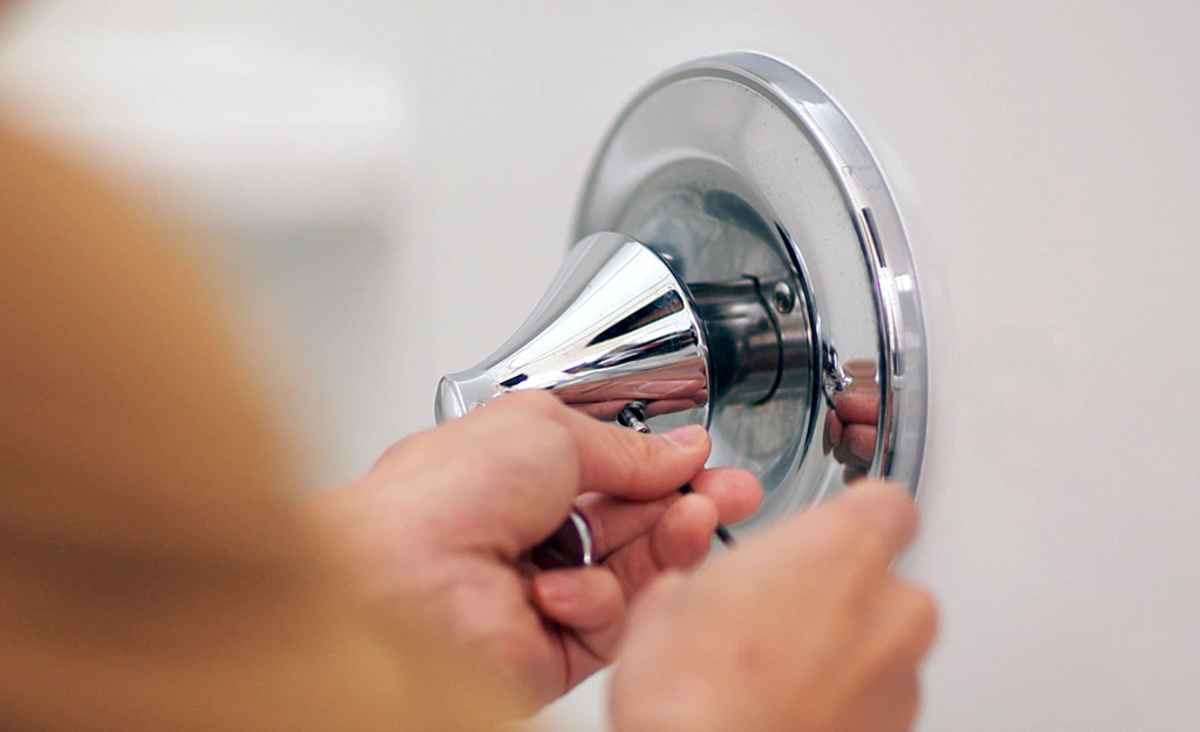
Step 2: Removing the Handle
With the water supply shut off, it’s time to remove the stripped faucet handle. Here’s a step-by-step guide on how to do it:
- Locate the decorative cap or cover on top of the handle. This cap is usually made of plastic and can be pried off using a flathead screwdriver or your fingers.
- Once the cap is removed, you’ll likely find a screw underneath. Use a screwdriver (Phillips or flathead, depending on the type of screw) to loosen and remove the screw.
- Once the screw is removed, the handle should be loose. Gently pull the handle straight up to remove it from the valve stem.
- If the handle is still stuck, you may need to use a faucet handle puller. This tool provides extra leverage and helps remove stubborn handles without causing damage. Follow the instructions provided with the puller to safely remove the handle.
It’s important to be gentle when removing the handle to avoid any unnecessary damage. If you encounter any difficulties or the handle is firmly attached, consider using a puller or seeking professional assistance.
Now that the handle is removed, we can proceed to evaluate the extent of the damage and determine the best repair method in the following step.
Read more: How To Fix A Leaky Single Handle Faucet
Step 3: Evaluating the Damage
Once you have removed the stripped faucet handle, it’s time to assess the extent of the damage. This step will help you determine the best repair method for your specific situation. Here’s how to evaluate the damage:
- Inspect the handle and the valve stem for any visible signs of stripping or wear. Look for worn-out threads or any other noticeable damage.
- If the threads on the handle or valve stem are completely worn or damaged, a simple repair may not be possible, and you may need to consider replacing the handle or the entire faucet.
- If the threads are partially stripped or damaged, they can potentially be repaired using one of the methods that we will discuss in the following steps.
It is important to note that the level of damage will determine the feasibility of a repair and the long-term durability of the fix. If the damage is extensive, it may be more cost-effective and practical to replace the entire faucet or handle.
Also, keep in mind that the evaluation process may vary depending on the type and brand of your faucet. Consult the manufacturer’s instructions or seek professional advice if you are unsure about the repairability of your specific faucet.
With the damage assessed, we can now move on to choosing the most suitable repair method in the next step.
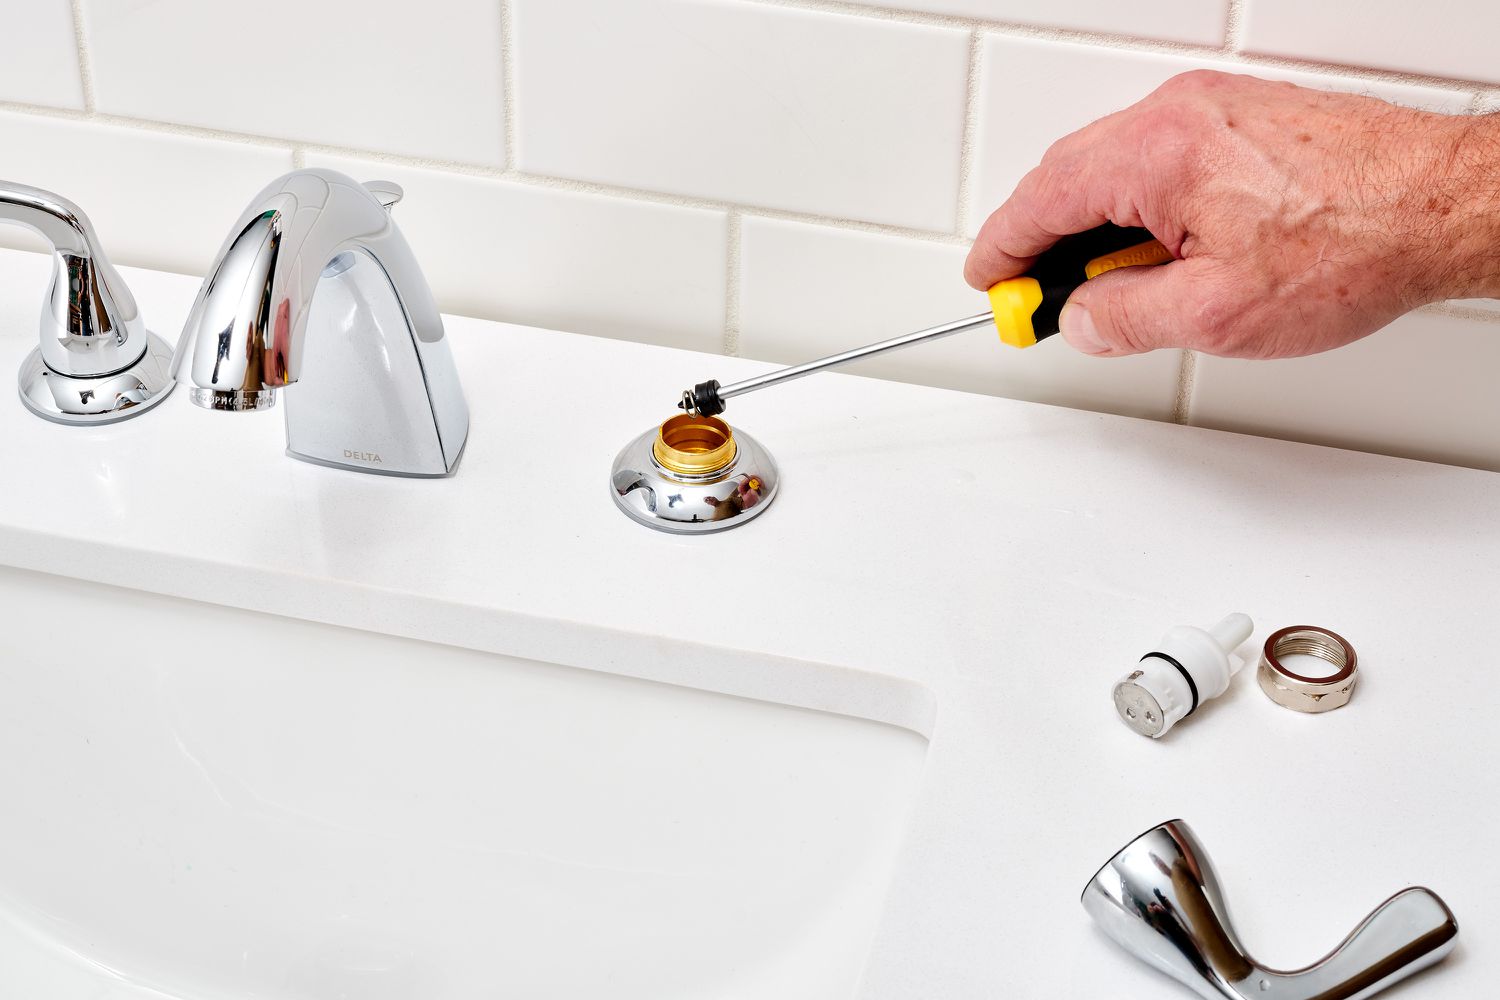
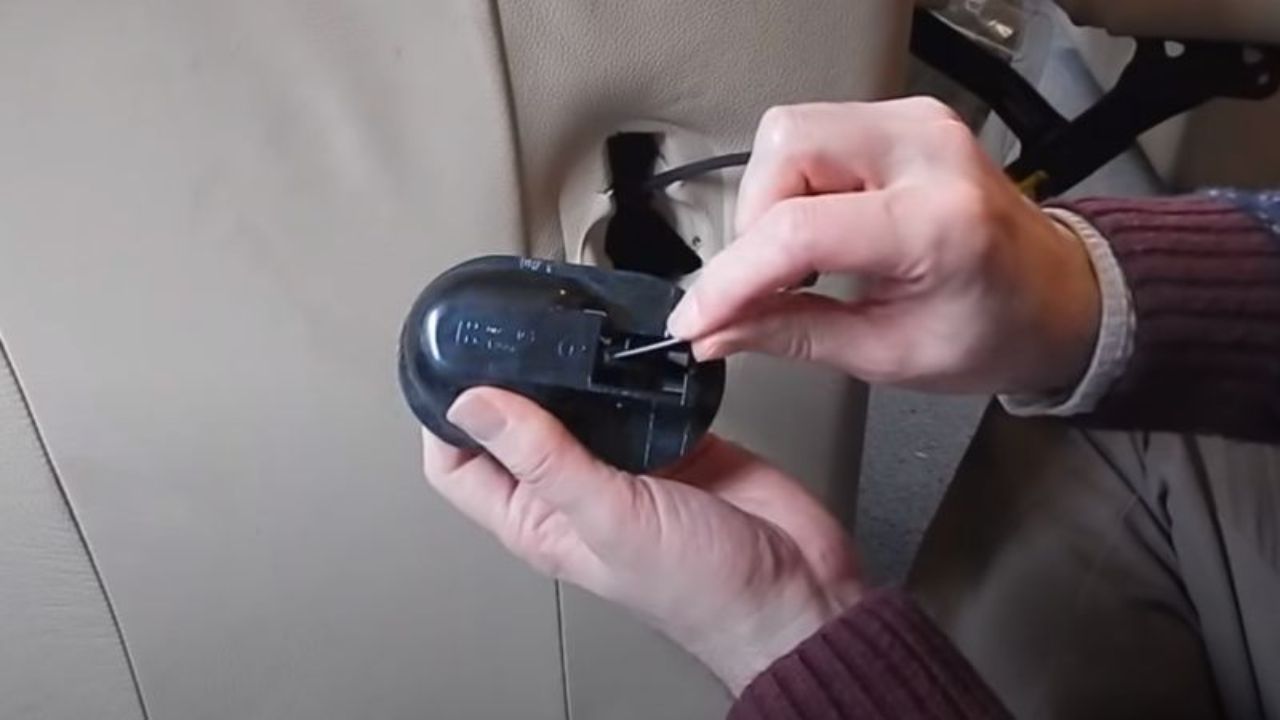
If the faucet handle is stripped, try using a faucet handle puller tool to remove it. This tool can grip the handle securely and help you remove it without causing further damage to the faucet.
Step 4: Choosing a Repair Method
After evaluating the damage to your stripped faucet handle, it’s time to choose the appropriate repair method. The repair method you choose will depend on the extent of the damage and the availability of replacement parts. Here are two common repair methods:
- Using a Faucet Handle Puller: If the handle threads are partially stripped but still intact, you can try using a faucet handle puller. This tool can help rethread the handle onto the valve stem, providing a tighter and more secure fit. Check if you have a faucet handle puller available, or you can purchase one from a local hardware store.
- Using a Screw and Screwdriver: If the handle threads are completely stripped or if a faucet handle puller is not available, you can try using a longer screw and a screwdriver. By screwing in the longer screw tightly, it creates new threads on the valve stem, allowing the handle to grip more securely.
It’s important to remember that the success of these repair methods may vary depending on the specific faucet make and model. Consider consulting the manufacturer’s instructions or seeking professional guidance if you are unsure about which method to choose.
Additionally, it’s worth mentioning that some faucets may require specific replacement parts, such as a new handle or valve stem. Consider checking with the manufacturer or a plumbing professional for the availability of replacement parts and the best course of action for your specific faucet.
With the repair method chosen, we can now move on to the step-by-step instructions for each repair method. Let’s start with using a faucet handle puller in the following step.
Step 5: Repairing with a Faucet Handle Puller
If you have a faucet handle puller available, this method can help rethread the handle onto the valve stem, providing a tighter and more secure fit. Follow these steps to repair your stripped faucet handle using a faucet handle puller:
- Place the faucet handle puller over the handle, ensuring a secure fit.
- Tighten the handle puller by turning the screw or nut on the puller. This will apply pressure to the handle, gradually pulling it off the valve stem.
- Continue tightening until the handle is completely removed from the valve stem. Be careful not to apply too much force, as it could cause further damage.
- Inspect the handle and the valve stem for any debris or worn-out threads. Clean them thoroughly with a rag or brush to ensure a clean surface for rethreading.
- Once the handle and valve stem are clean, align the handle with the valve stem and begin screwing it back on.
- Use the faucet handle puller in reverse, slowly turning the screw or nut in the opposite direction to push the handle onto the valve stem.
- Tighten the handle onto the valve stem until it is snug and secure.
After completing the repair, test the handle by turning it on and off to ensure that it operates smoothly and controls the water flow effectively. If everything is functioning properly, proceed to the next step of reassembling the handle.
If you don’t have a faucet handle puller or if this method doesn’t work for your specific faucet, don’t worry. There is an alternative repair method using a screw and screwdriver, which we will discuss in the next step.
Step 6: Repairing with a Screw and Screwdriver
If you don’t have a faucet handle puller available or if it doesn’t work for your specific faucet, you can try repairing your stripped faucet handle using a longer screw and a screwdriver. Follow these steps to fix your handle using this method:
- Inspect the stripped handle and valve stem for any debris or worn-out threads. Clean them thoroughly with a rag or brush to ensure a clean surface for the repair.
- Obtain a longer screw that is compatible with the screw hole in the handle. The length of the screw should be sufficient to engage new threads on the valve stem when tightened.
- Insert the longer screw into the handle’s screw hole, making sure it aligns with the valve stem.
- Use a screwdriver to tightly turn the screw into the valve stem. Applying firm pressure, create new threads on the stem with the screw. This will enable the screw to grip securely and provide a tight fit for the handle.
- Continue tightening until the handle is securely attached to the valve stem. Be careful not to overtighten, as it could cause damage.
After repairing the stripped handle using this method, test it by turning it on and off to check for smooth operation and water flow control. If the handle functions properly, proceed to the next step of reassembling the handle.
It’s important to note that while this method can be effective for some stripped faucet handles, it may not be a permanent solution. If the handle becomes loose or stripped again in the future, you may need to consider replacing the handle or seeking professional assistance.
Now that the handle is repaired, let’s move on to the reassembly process in the next step.
Read more: How To Fix Leaky Two Handle Shower Faucet
Step 7: Reassembling the Handle
After successfully repairing the stripped faucet handle using either the faucet handle puller or the screw and screwdriver method, it’s time to reassemble the handle. Follow these steps to ensure a proper reassembly:
- Carefully align the repaired handle with the valve stem.
- Insert any screws or fasteners that were removed during the initial disassembly. Make sure they are securely tightened to hold the handle in place.
- If the handle has a decorative cap or cover, reattach it by pressing it firmly into place.
It’s important to ensure that all the components are properly aligned and securely fastened to avoid any leaks or future issues. Take your time and double-check that everything is in its correct position.
If you encounter any difficulties during the reassembly process, consult the manufacturer’s instructions or seek professional assistance.
With the handle reassembled, we can move on to the final step of testing the faucet for proper functioning.
Step 8: Testing for Proper Functioning
Now that you’ve completed the repair and reassembly of your stripped faucet handle, it’s crucial to test it to ensure proper functioning. Follow these steps to test your handle:
- Turn on the water supply by gradually opening the main shut-off valve.
- Slowly turn the repaired faucet handle on and off, observing the water flow and temperature control.
- Check for any leaks or drips around the handle and the base of the faucet. If you notice any leaks, tighten the handle or consult a professional for further assistance.
- Ensure that the handle operates smoothly and without any resistance. It should provide easy control over the water flow.
If you find any issues, such as leaks, difficulty turning the handle, or improper water flow control, you may need to reevaluate the repair or consider seeking professional help. Sometimes, a persistent stripped handle may require replacing the entire faucet or specific components.
Remember to clean up any water or debris around the faucet area and wipe it dry. This will help prevent any water damage and maintain the cleanliness of your sink and countertop.
Congratulations! You have successfully repaired your stripped faucet handle and restored its functionality. By following these steps, you can avoid the inconvenience of a loose or wobbly handle and enjoy a well-functioning faucet once again.
If you have any concerns or encounter any difficulties during the repair process, it’s always recommended to consult a professional plumber for guidance.
With your faucet handle repaired and working properly, you can now enjoy the convenience and efficiency of a fully functioning faucet in your kitchen or bathroom.
Thank you for using our guide, and happy plumbing!
Conclusion
Dealing with a stripped faucet handle can be a frustrating experience, but with the right tools and knowledge, you can easily repair it yourself. Throughout this guide, we have discussed the step-by-step process of fixing a stripped faucet handle, from shutting off the water supply to reassembling the handle.
Understanding the nature of a stripped faucet handle and assessing the extent of the damage are crucial first steps. This knowledge will help you choose the most appropriate repair method, whether it’s using a faucet handle puller or a screw and screwdriver.
By following the repair steps carefully and testing for proper functioning, you can restore the functionality and control of your faucet handle. Remember to always shut off the water supply before starting any plumbing repairs and to consult a professional if you’re unsure or encounter any difficulties.
Repairing a stripped faucet handle can save you money and prevent further damage, but it’s important to note that there may be cases where replacement is the more practical solution. If the damage is extensive or if the repair methods don’t provide a satisfactory fix, consider consulting a professional or replacing the entire faucet.
Now armed with the knowledge and tools, you can confidently tackle the issue of a stripped faucet handle and enjoy the convenience of a fully functioning faucet once again.
Thank you for using our guide, and we hope it has been helpful in your repair journey. Remember to always stay cautious and aware while working on plumbing projects, ensuring the safety and integrity of your home’s water system.
Happy fixing!
Frequently Asked Questions about How To Fix A Stripped Faucet Handle
Was this page helpful?
At Storables.com, we guarantee accurate and reliable information. Our content, validated by Expert Board Contributors, is crafted following stringent Editorial Policies. We're committed to providing you with well-researched, expert-backed insights for all your informational needs.


0 thoughts on “How To Fix A Stripped Faucet Handle”