Home>Articles>How To Repair Your Tub And Shower Faucet To Stop The Dripping
Articles
How To Repair Your Tub And Shower Faucet To Stop The Dripping
Modified: August 21, 2024
Learn how to repair your tub and shower faucet and put an end to that annoying dripping. Our articles provide step-by-step guides for fixing common plumbing issues.
(Many of the links in this article redirect to a specific reviewed product. Your purchase of these products through affiliate links helps to generate commission for Storables.com, at no extra cost. Learn more)
Introduction
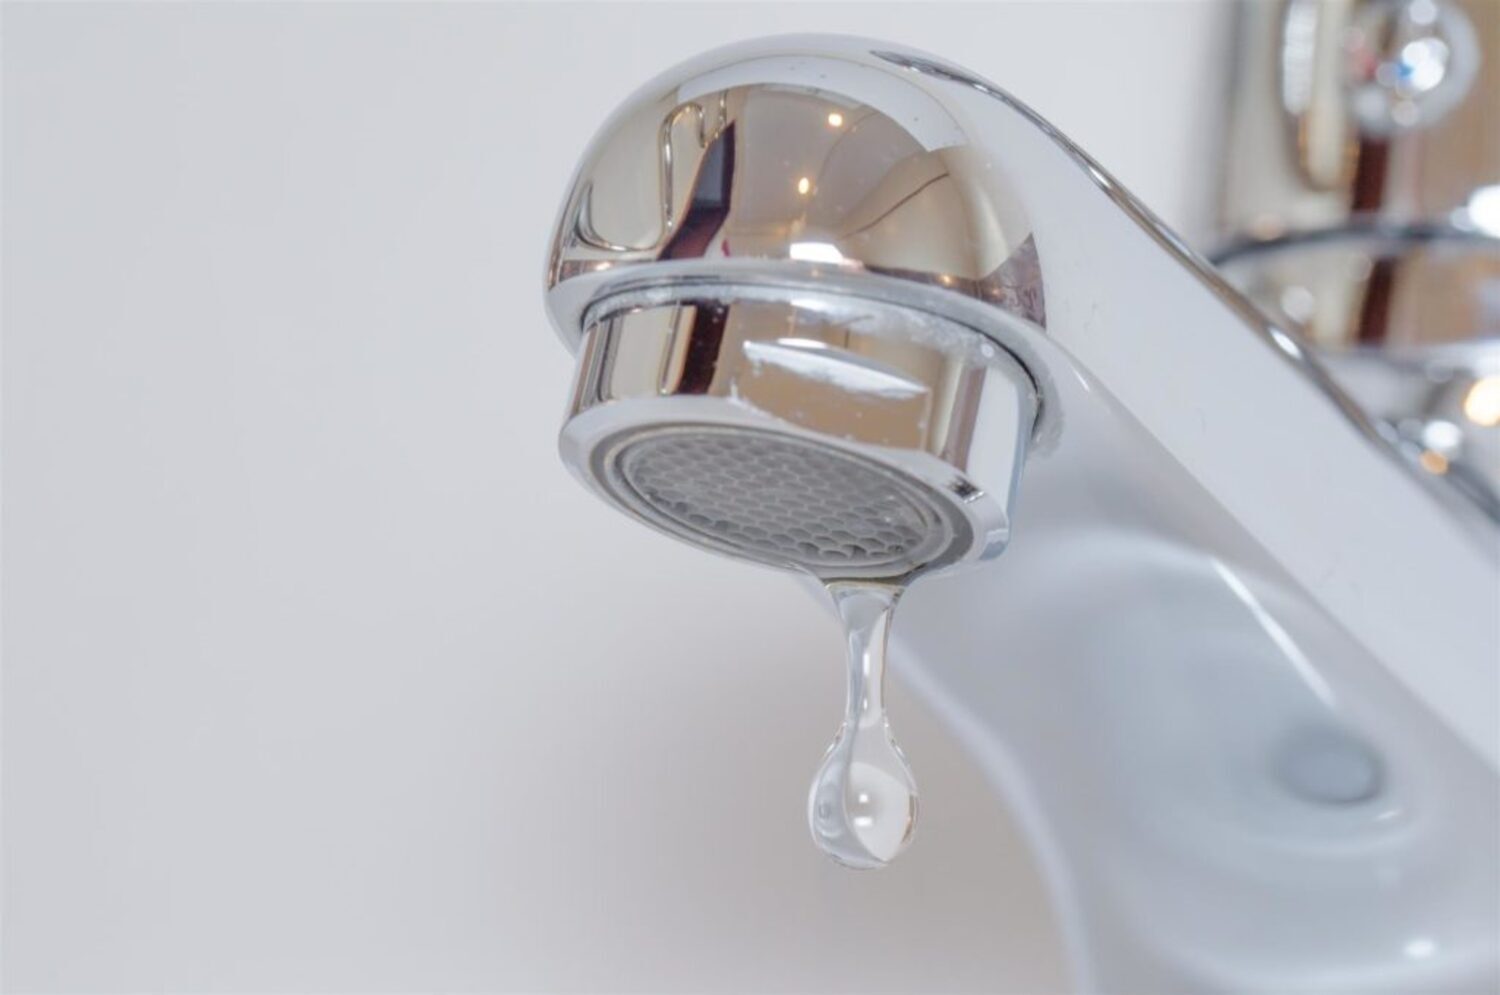
Have you ever noticed that persistent, annoying drip coming from your tub and shower faucet? Not only is it a frustrating sound, but it can also waste a significant amount of water over time. Fortunately, repairing your tub and shower faucet to stop the dripping is a relatively simple and cost-effective DIY task that can save you money on your water bill and prevent further damage to your plumbing.
In this article, we will guide you through the step-by-step process of repairing your tub and shower faucet. Whether you’re a seasoned DIY enthusiast or a beginner, this guide will provide you with all the information you need to fix the problem and restore your faucet to its optimal working condition.
Before we dive into the repair process, let’s take a moment to gather the necessary tools and materials you’ll need:
Key Takeaways:
- Save money and prevent water waste by repairing your tub and shower faucet to stop the annoying drip. Follow the step-by-step guide to restore optimal functionality and eliminate leaks.
- Gather the necessary tools and materials, turn off the water supply, replace O-rings and washers, and reassemble the faucet to successfully repair your tub and shower faucet. Enjoy a drip-free bathroom and reduced water bills.
Read more: How To Drip Faucet
Tools and Materials Needed
- Adjustable wrench
- Phillips screwdriver
- Replacement O-ring
- Replacement washers
- Plumber’s tape
- Lubricant (silicone or plumber’s grease)
- Towel or rag
Now that you have all the tools and materials ready, let’s get started with the repair process.
Key Takeaways:
- Save money and prevent water waste by repairing your tub and shower faucet to stop the annoying drip. Follow the step-by-step guide to restore optimal functionality and eliminate leaks.
- Gather the necessary tools and materials, turn off the water supply, replace O-rings and washers, and reassemble the faucet to successfully repair your tub and shower faucet. Enjoy a drip-free bathroom and reduced water bills.
Read more: How To Drip Faucet
Tools and Materials Needed
Before you begin repairing your tub and shower faucet, it’s important to gather all the necessary tools and materials. Having these items on hand will ensure a smooth and efficient repair process. Here are the tools and materials you’ll need:
- Adjustable wrench: This versatile tool will come in handy for removing and tightening various components of your faucet.
- Phillips screwdriver: You’ll need a screwdriver with a Phillips head to remove screws and disassemble the faucet.
- Replacement O-ring: The O-ring is responsible for preventing leaks around the handle. If your faucet is dripping, a worn-out or damaged O-ring may be the culprit.
- Replacement washers: Washers play a crucial role in sealing the water flow. If they are old or deteriorated, they can cause leaks and drips.
- Plumber’s tape: Also known as Teflon tape, plumber’s tape is used to create a watertight seal on threaded connections.
- Lubricant (silicone or plumber’s grease): Lubricant is essential for ensuring smooth operation of the faucet components. It helps reduce friction and extend the lifespan of the parts.
- Towel or rag: Having a towel or rag nearby will help you clean up any excess water and keep your work area tidy.
By gathering these tools and materials beforehand, you’ll be well-prepared to tackle the repair process. Now that you’re equipped with everything you need, let’s move on to the step-by-step instructions for repairing your tub and shower faucet.
Step 1: Turn off the water supply
Before you begin any work on your tub and shower faucet, it is crucial to turn off the water supply to prevent any potential leaks or water damage. Here’s how to do it:
- Locate the shut-off valve: In most cases, the shut-off valve for the tub and shower faucet will be located adjacent to the fixture. It may be in the bathroom or in the basement. If you’re unable to locate it, check your home’s main water supply valve and turn off the water for the entire house.
- Turn off the water supply: Once you’ve located the shut-off valve, turn it clockwise until it is fully closed. This will stop the flow of water to the faucet.
- Confirm the water is off: To ensure that the water supply is fully turned off, open the tub and shower faucet handles and let any remaining water drain out. If no water comes out, you have successfully shut off the water supply.
By turning off the water supply, you can work on your faucet without the risk of water spouting out unexpectedly. This will make the repair process much more manageable and prevent any further water damage in your bathroom.
Now that you’ve successfully turned off the water supply, it’s time to move on to the next step: removing the handle of your tub and shower faucet.
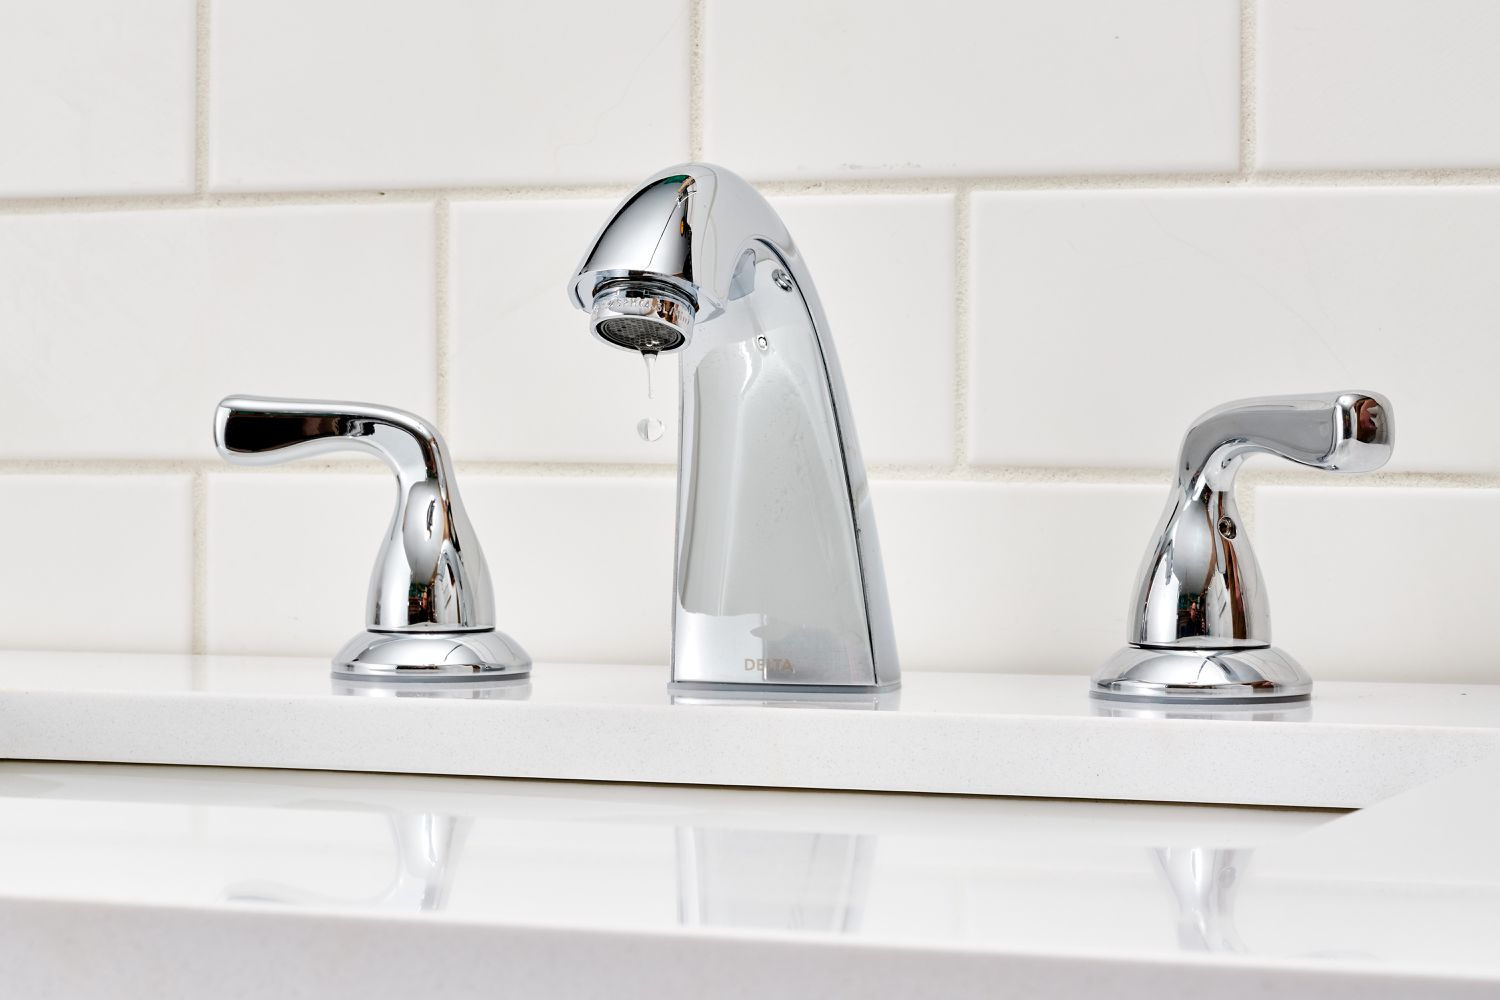
Step 2: Remove the handle
Now that the water supply is turned off, you can proceed to remove the handle of your tub and shower faucet. Follow these steps:
- Examine the handle: Take a close look at the handle to identify any screws or caps that are holding it in place. Some handles may have a small cover or cap that needs to be popped off to reveal the screw.
- Remove the cover or cap: If your handle has a cap, use a flat-head screwdriver to gently pry it off. Alternatively, if there is a small screw visible on the handle, unscrew it using a Phillips screwdriver.
- Unscrew the handle: Once the cover or cap is removed, you should see a screw holding the handle onto the stem of the faucet. Use a Phillips screwdriver to loosen and remove the screw.
- Remove the handle: With the screw removed, you should be able to easily lift off the handle. If it feels stuck, try gently wiggling it or carefully prying it off using a flat-head screwdriver.
- Set aside the handle and screw: Keep the handle and screw in a safe place so that they don’t get misplaced during the repair process.
By removing the handle, you gain access to the inner components of the tub and shower faucet. This will allow you to proceed with the necessary repairs to fix any leaks or drips. Next, we’ll move on to step 3: removing the trim sleeve.
When repairing your tub and shower faucet to stop the dripping, start by turning off the water supply to the faucet before disassembling it to avoid any accidents or water damage.
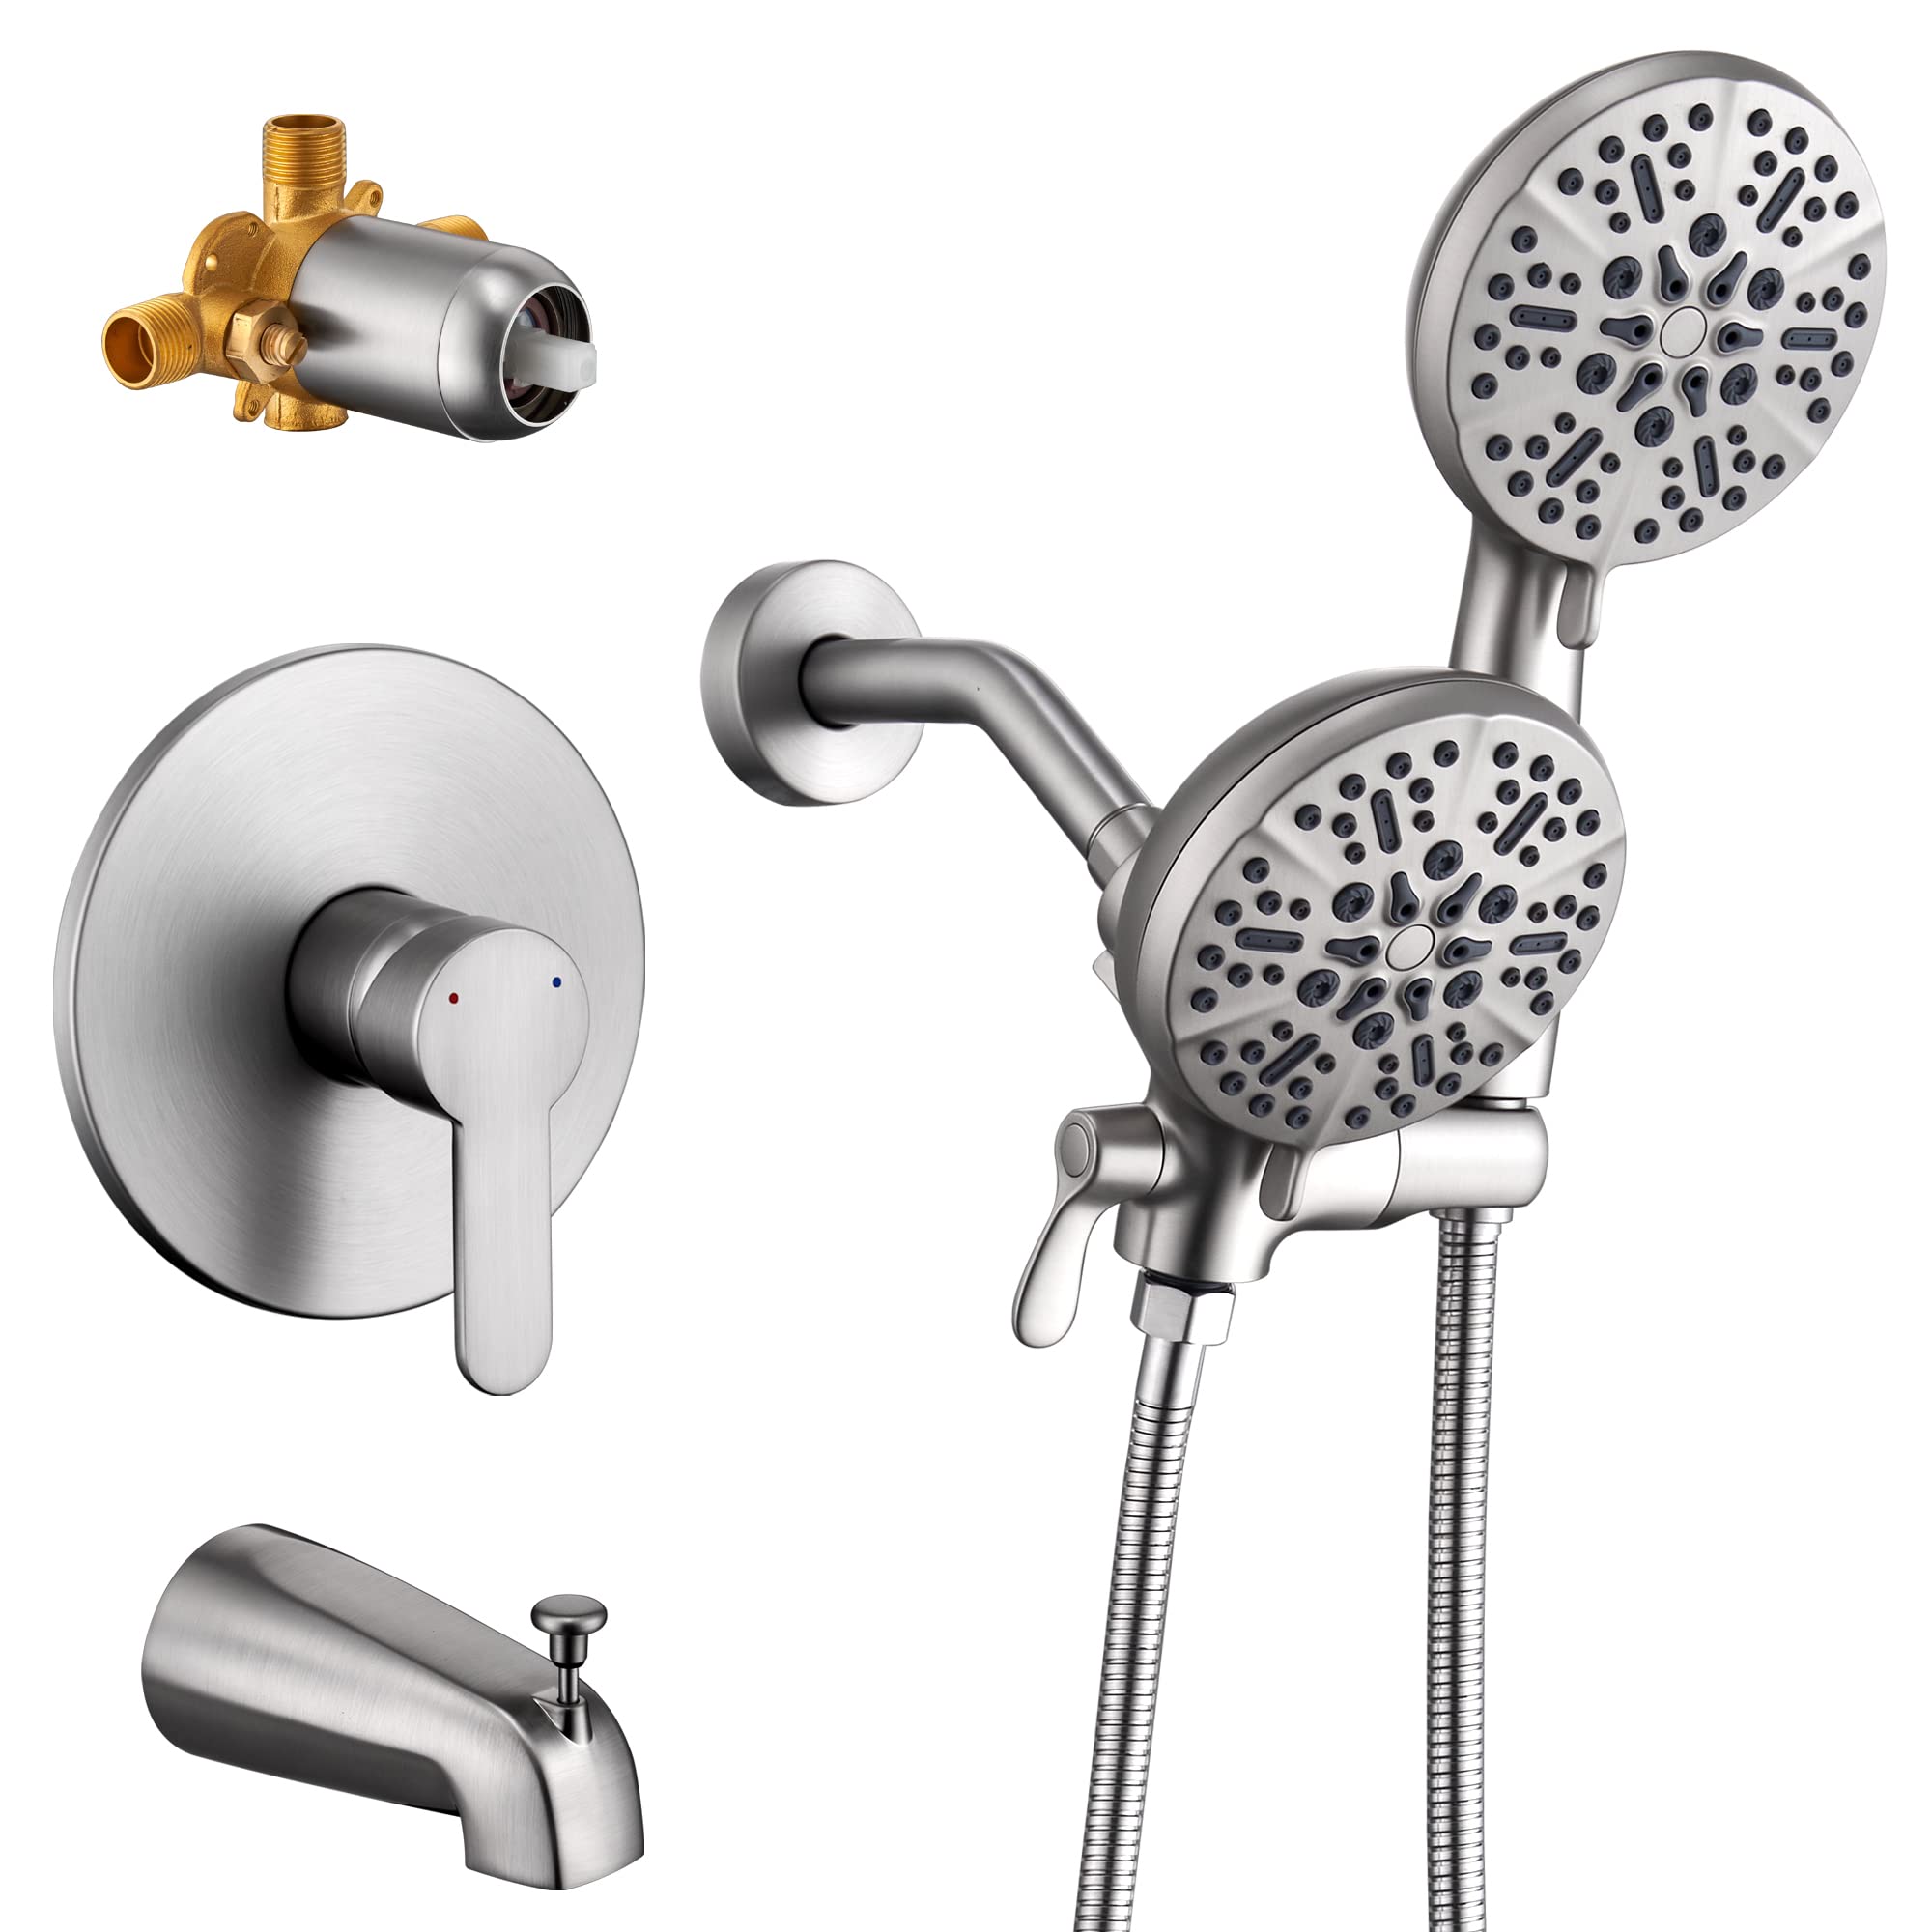
Read also: 13 Best Tub Shower Faucet for 2025
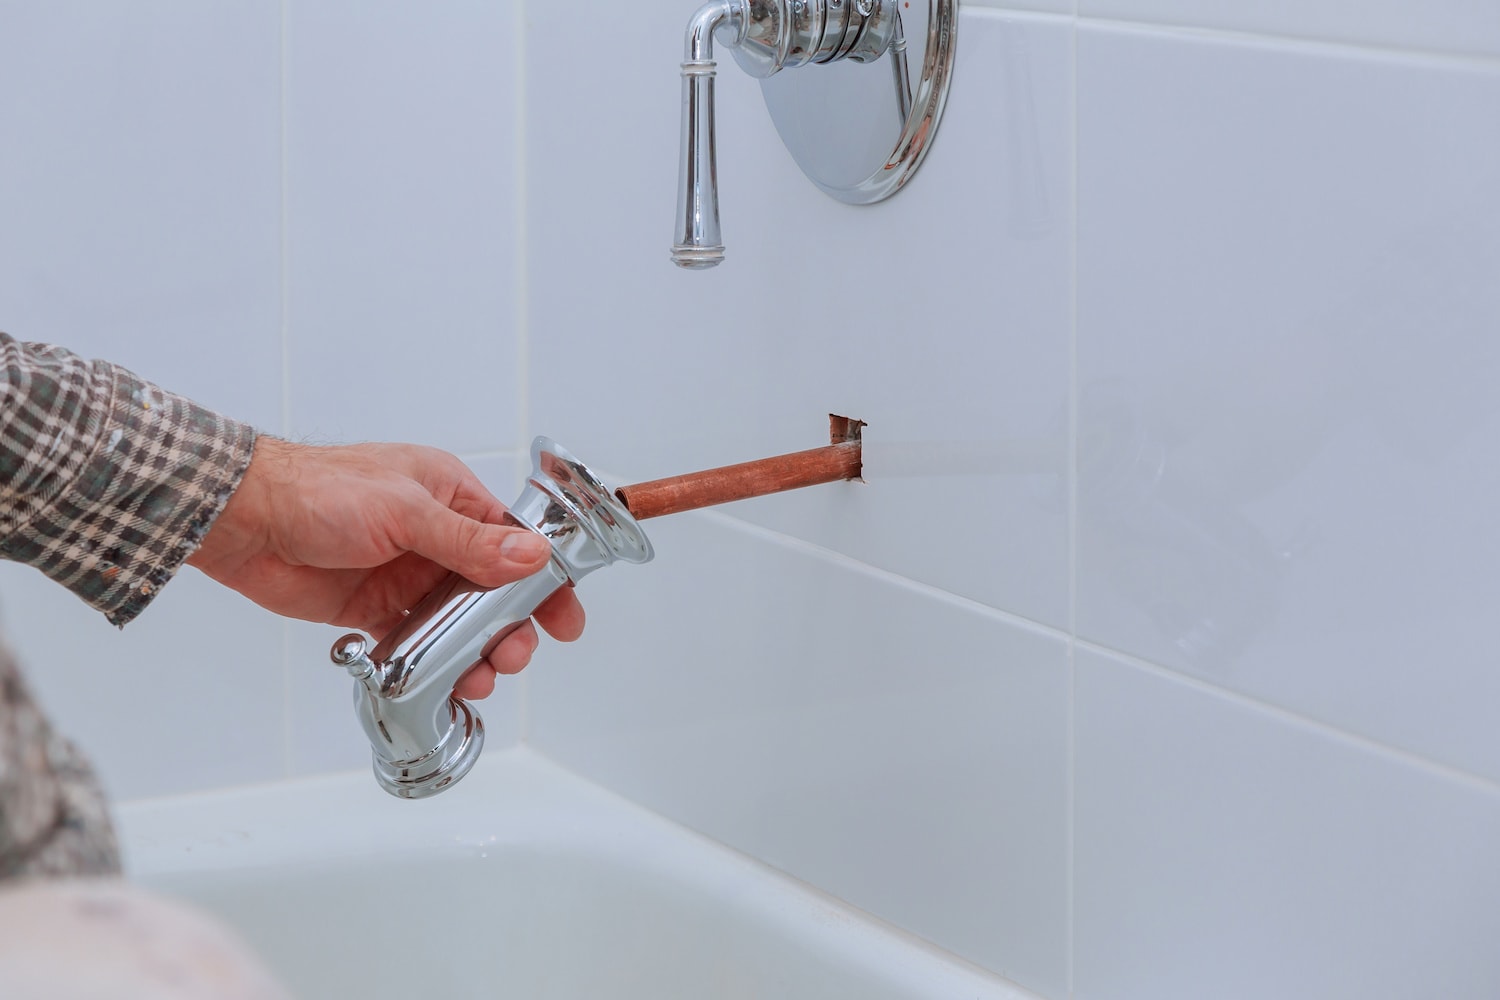
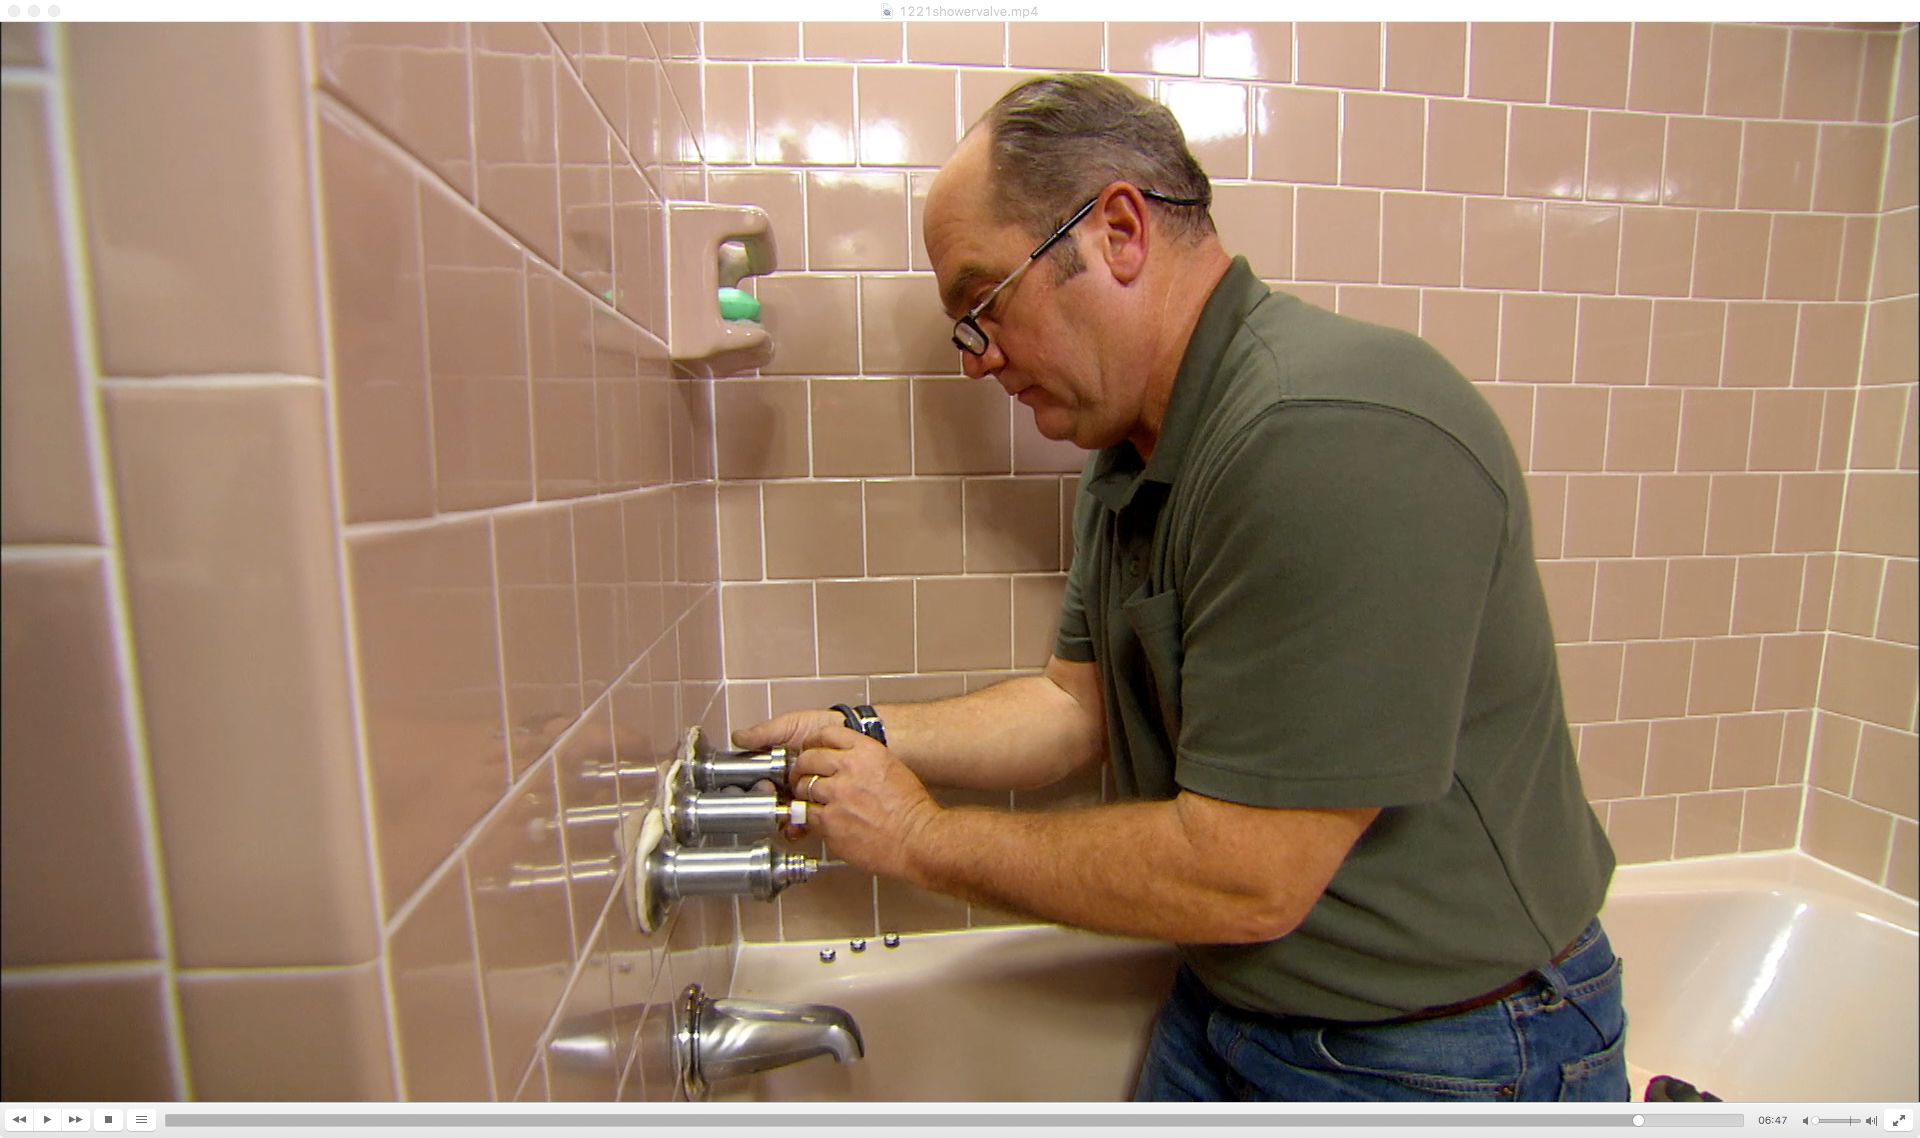
Step 3: Remove the trim sleeve
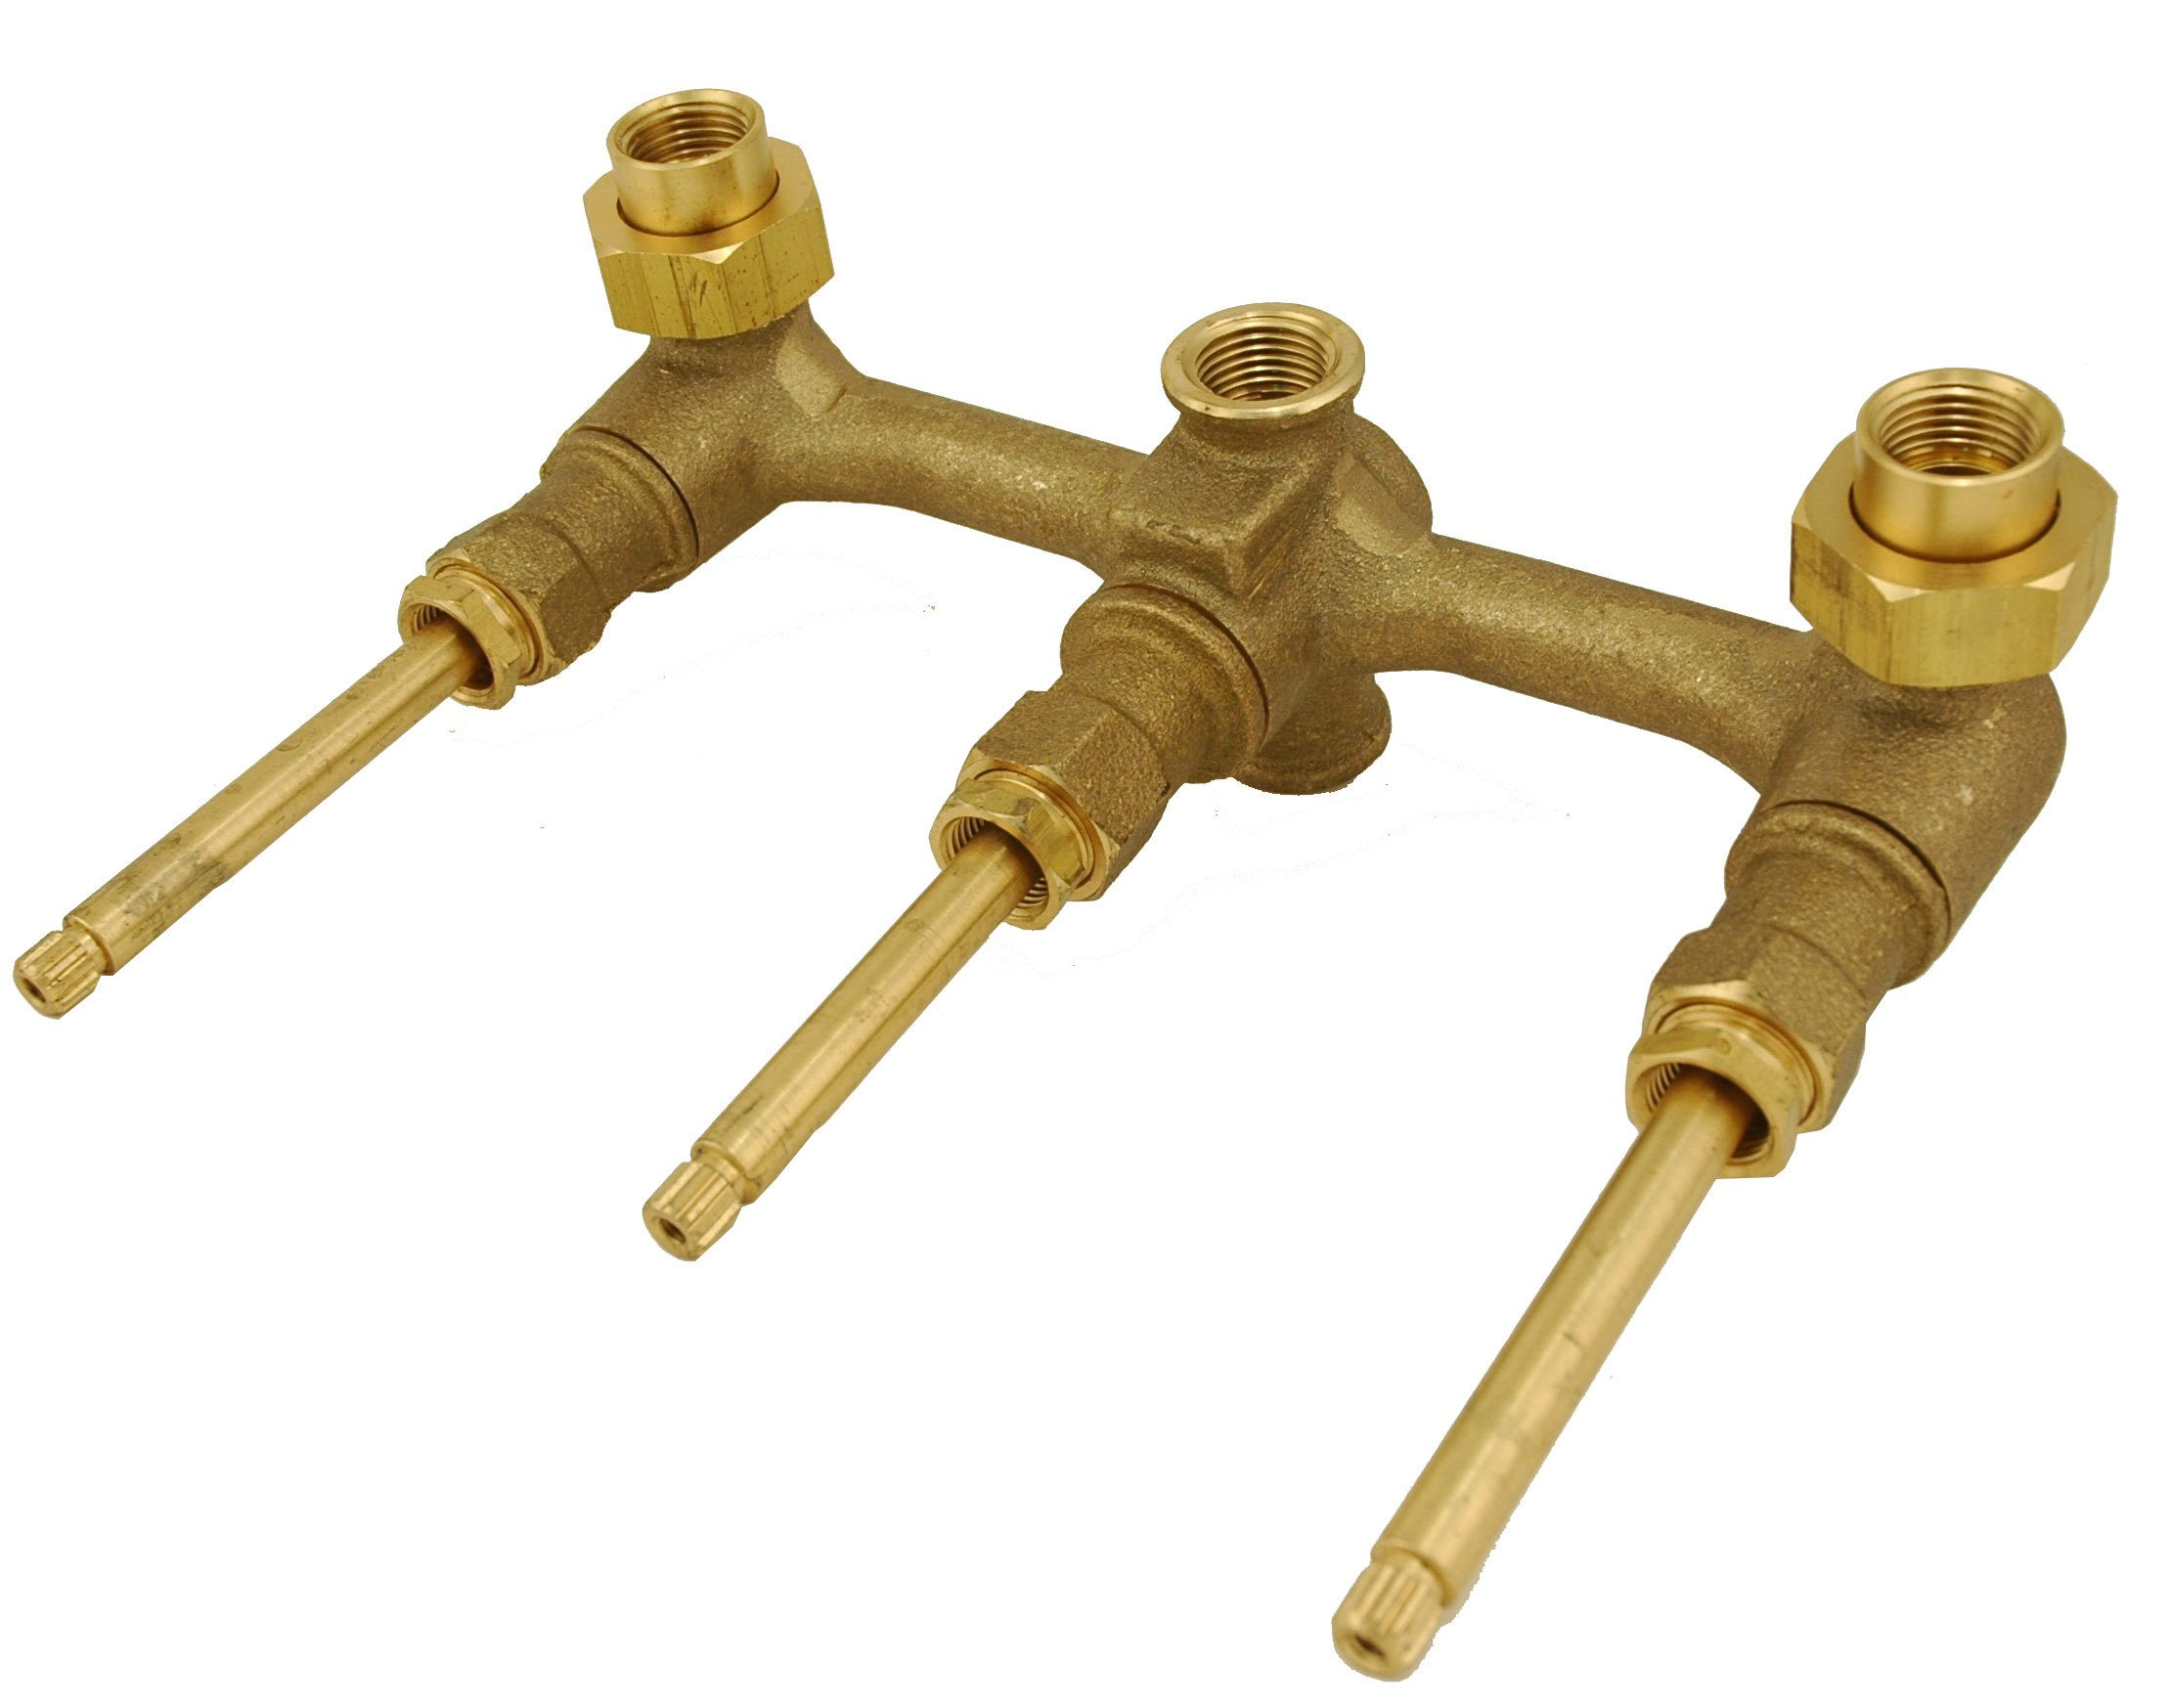
After removing the handle, the next step in repairing your tub and shower faucet is to remove the trim sleeve. The trim sleeve is the outer decorative cover that surrounds the valve stem. Follow these steps to remove it:
- Inspect the trim sleeve: Take a moment to examine the trim sleeve and look for any visible screws or clips. These securing mechanisms may be located near the base of the trim sleeve or in other inconspicuous areas.
- Remove screws or clips: If your trim sleeve is held in place by screws, use a Phillips screwdriver to carefully unscrew them. If there are clips, gently press or pry them to release the trim sleeve.
- Slide off the trim sleeve: Once any screws or clips have been removed, you should be able to slide the trim sleeve off the valve stem. If it feels stuck, you may need to apply a small amount of pressure or gently twist it to loosen it.
- Set aside the trim sleeve and screws: Keep the trim sleeve and any accompanying screws or clips in a safe place to prevent them from being misplaced.
By removing the trim sleeve, you expose the inner workings of the tub and shower faucet, making it easier to access and repair any damaged or worn-out components. Now that you’ve successfully removed the trim sleeve, you’re ready to move on to the next step: replacing the O-ring and washers.
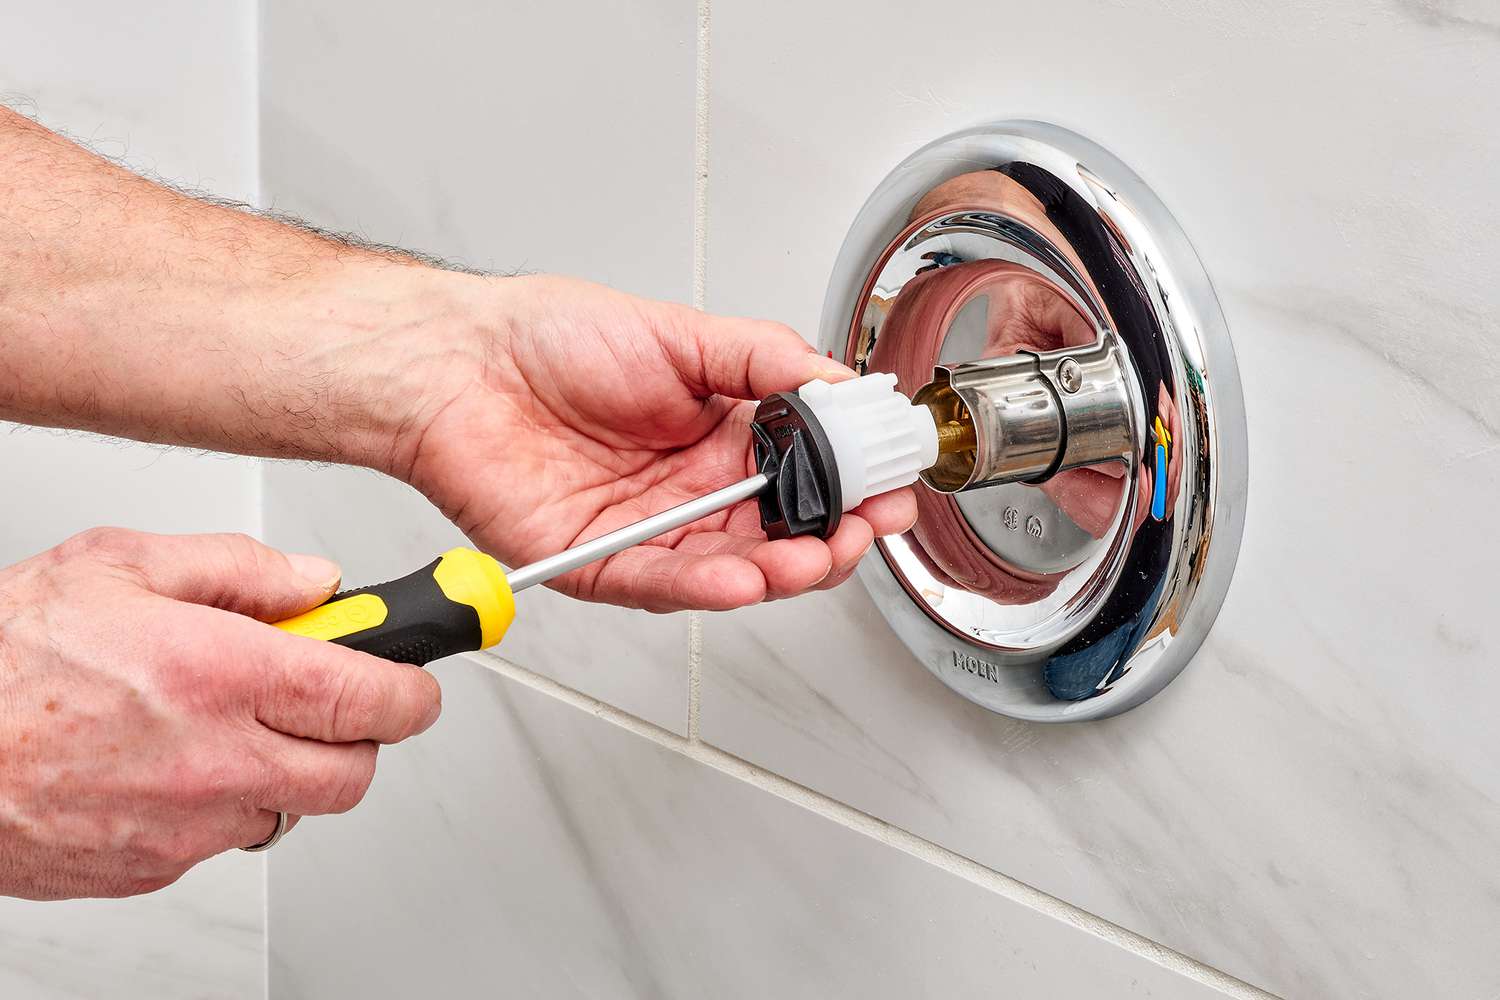
Step 4: Replace the O-ring and washers
With the trim sleeve removed, you can now proceed to replace the O-ring and washers in your tub and shower faucet. These components are often the culprit behind leaks and drips. Follow these steps to replace them:
- Inspect the O-ring and washers: Take a close look at the O-ring and washers to assess their condition. If they appear worn, cracked, or damaged, it is recommended to replace them.
- Remove the old O-ring: Gently pry off the old O-ring using your fingers or a flat-head screwdriver. Be careful not to scratch or damage the valve stem during this process.
- Replace the O-ring: Take a new O-ring that matches the size and shape of the old one and slide it onto the valve stem. Ensure that it sits securely and seals the connection between the valve stem and handle.
- Remove the old washers: Locate the washers on the valve stem and carefully remove them using pliers or a small wrench. Take note of their position and orientation for easier installation of the new washers.
- Install the new washers: Take new washers that match the size and type of the old ones and install them in the same position as the previous washers. Make sure they are snug and properly seated on the valve stem.
Replacing the O-ring and washers can significantly improve the functionality of your tub and shower faucet and help prevent any future leaks or drips. Once you’ve successfully replaced these components, you’re ready to move on to the next step: reassembling the faucet.
Step 5: Reassemble the faucet
Now that you’ve replaced the O-ring and washers, it’s time to reassemble the tub and shower faucet. Follow these steps to put everything back together:
- Place the trim sleeve back onto the valve stem: Slide the trim sleeve back over the valve stem, aligning it properly with any screw holes or clips. Ensure that it fits snugly and sits flush against the wall or tile surface.
- Secure the trim sleeve: If there were screws or clips holding the trim sleeve in place, reattach them using a Phillips screwdriver or by pressing them back into position. Make sure they are tightened adequately to hold the trim sleeve securely.
- Position the handle onto the valve stem: Take the handle and align the screw hole with the valve stem. Slide it onto the stem, ensuring that it fits properly and engages with any splines or grooves.
- Tighten the handle screw: Insert the handle screw and tighten it using a Phillips screwdriver. Make sure it is securely fastened but be careful not to overtighten, as it may cause damage to the handle or valve stem.
- Test the handle: Give the handle a test turn to ensure that it operates smoothly and doesn’t have any excessive wobble or play. The handle should turn on and off the water without any difficulty.
By reassembling the faucet, you’re putting all the components back in their proper places and ensuring that everything is securely attached. Once you’ve completed this step, you’re almost done with the repair process. All that’s left to do is turn on the water supply, which we’ll cover in the next step.
Step 6: Turn on the water supply
Now that you’ve successfully reassembled the tub and shower faucet, it’s time to turn on the water supply and test your repair work. Follow these steps to complete the repair process:
- Locate the shut-off valve: Remember the shut-off valve we discussed in Step 1? Locate it again, and turn it counterclockwise to gradually restore the water supply.
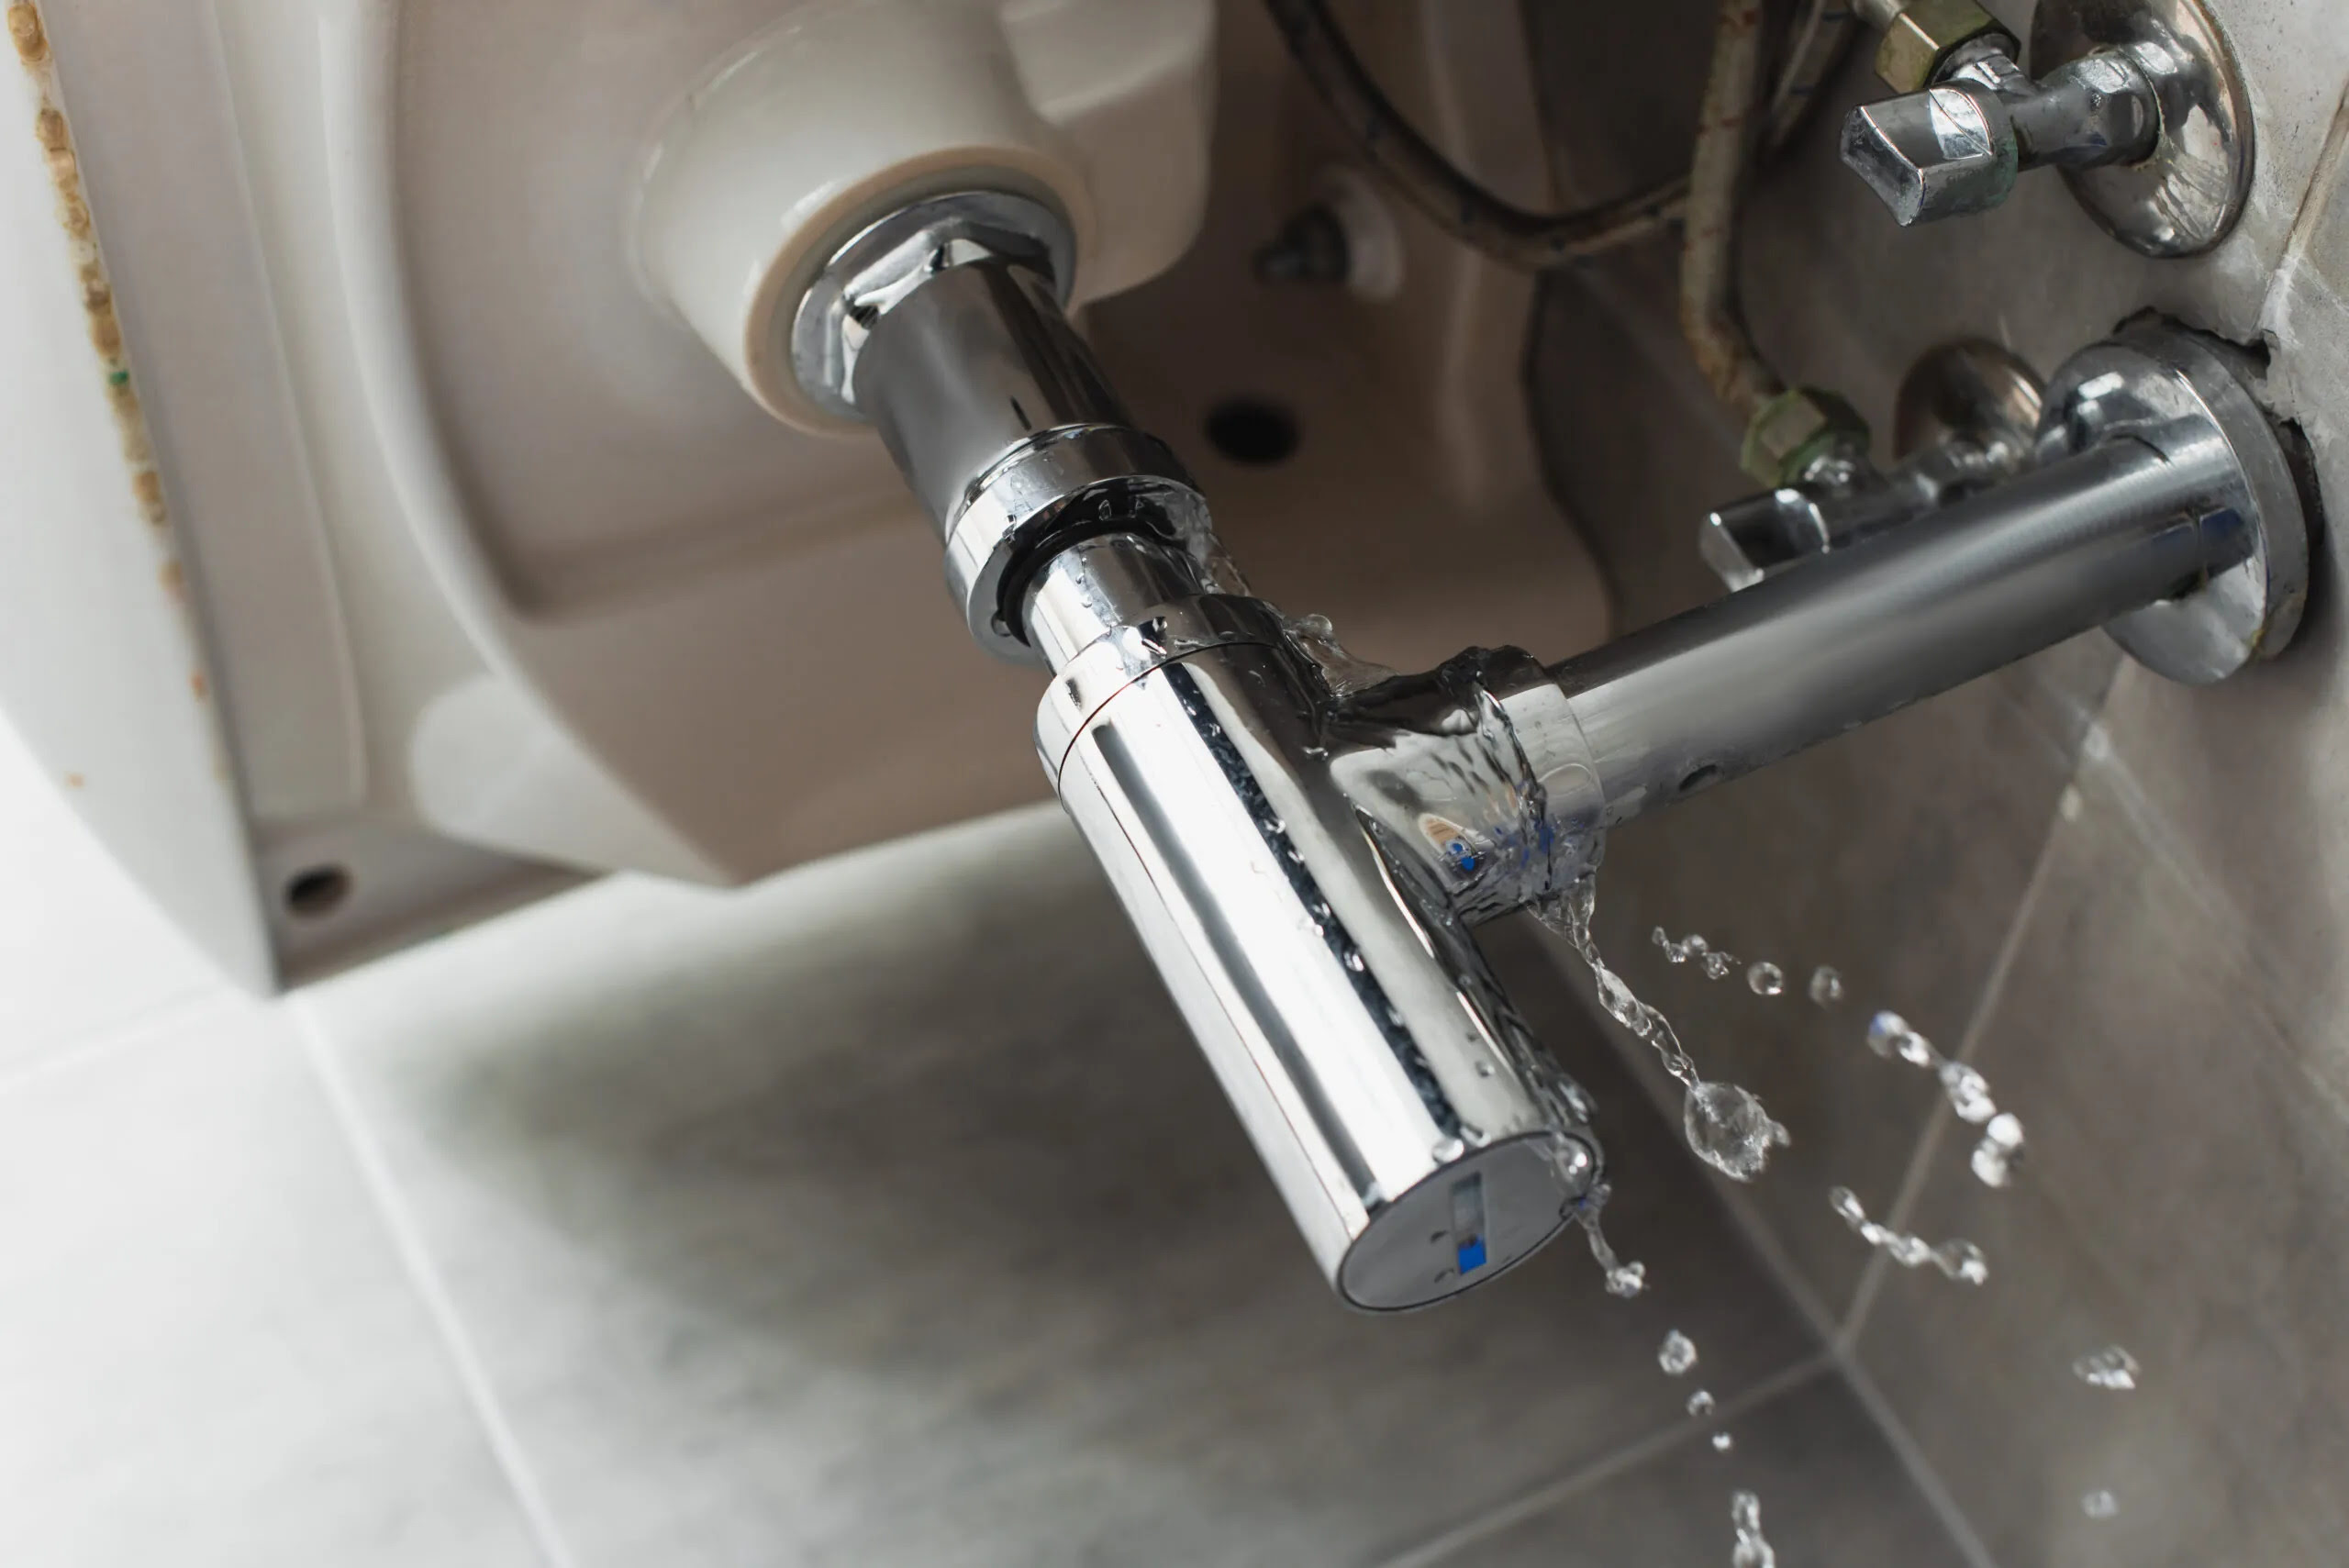
- Check for leaks: As you turn on the water supply, keep a close eye on the faucet and surrounding area for any signs of leaks or drips. If you notice any leaks, tighten the affected connections or replace any faulty parts.
- Test the faucet: With the water supply fully turned on, test the tub and shower faucet by turning the handle on and off. Ensure that it operates smoothly and that there are no leaks or drips when the water is both on and off.
- Make any necessary adjustments: If you encounter any issues during the testing phase, such as a loose handle or a persistent leak, make the necessary adjustments to fix the problem. This may involve tightening connections, replacing faulty parts, or adjusting the handle mechanism.
- Clean up and enjoy: Once you’re confident that the faucet is working properly and free from leaks, clean up any residual water and debris. Enjoy your repaired tub and shower faucet, and revel in its refreshed functionality.
By turning on the water supply and conducting a thorough test, you can ensure that your repair efforts have been successful. Enjoy the satisfaction of a drip-free tub and shower, knowing that you’ve successfully fixed the issue on your own.
With the completion of Step 6, you’ve reached the end of the repair process. Congratulations on a job well done!
Read also: 11 Amazing Tub And Shower Faucet for 2025
Conclusion
Repairing a dripping tub and shower faucet is a task that can save you both time and money in the long run. By following the step-by-step guide provided in this article, you can successfully fix the issue and restore your faucet to its optimal working condition.
We began by gathering the necessary tools and materials, including an adjustable wrench, Phillips screwdriver, replacement O-ring, replacement washers, plumber’s tape, lubricant, and a towel or rag. These items ensure that you’re well-equipped for the repair process.
We then went through each step, starting with turning off the water supply to prevent any potential leaks or water damage. We removed the handle, trim sleeve, and proceeded to replace the O-ring and washers, which are common causes of faucet drips.
After replacing the components, we reassembled the faucet and made sure everything fit securely. Finally, we turned on the water supply, checked for leaks, and tested the faucet for smooth operation.
By following these steps, you can effectively repair your tub and shower faucet and eliminate that annoying drip once and for all. Not only will you save water and reduce water bills, but you’ll also prevent further damage to your plumbing and maintain a more functional bathroom.
Remember, if you encounter any difficulties during the repair process or if the problem persists, it’s always a good idea to consult a professional plumber for assistance. They have the expertise and tools to tackle more complex issues and ensure that your faucet is repaired to the highest standard.
We hope this article has empowered you to take on the task of repairing your tub and shower faucet. With a little effort and the right tools, you can regain control over your plumbing and enjoy a fully functioning, drip-free bathroom.
Frequently Asked Questions about How To Repair Your Tub And Shower Faucet To Stop The Dripping
Was this page helpful?
At Storables.com, we guarantee accurate and reliable information. Our content, validated by Expert Board Contributors, is crafted following stringent Editorial Policies. We're committed to providing you with well-researched, expert-backed insights for all your informational needs.


0 thoughts on “How To Repair Your Tub And Shower Faucet To Stop The Dripping”