Articles
How To Fix A Leaky Faucet
Modified: October 20, 2024
Learn how to fix a leaky faucet with step-by-step articles. Stop wasting water and money by following our easy DIY guides.
(Many of the links in this article redirect to a specific reviewed product. Your purchase of these products through affiliate links helps to generate commission for Storables.com, at no extra cost. Learn more)
Introduction
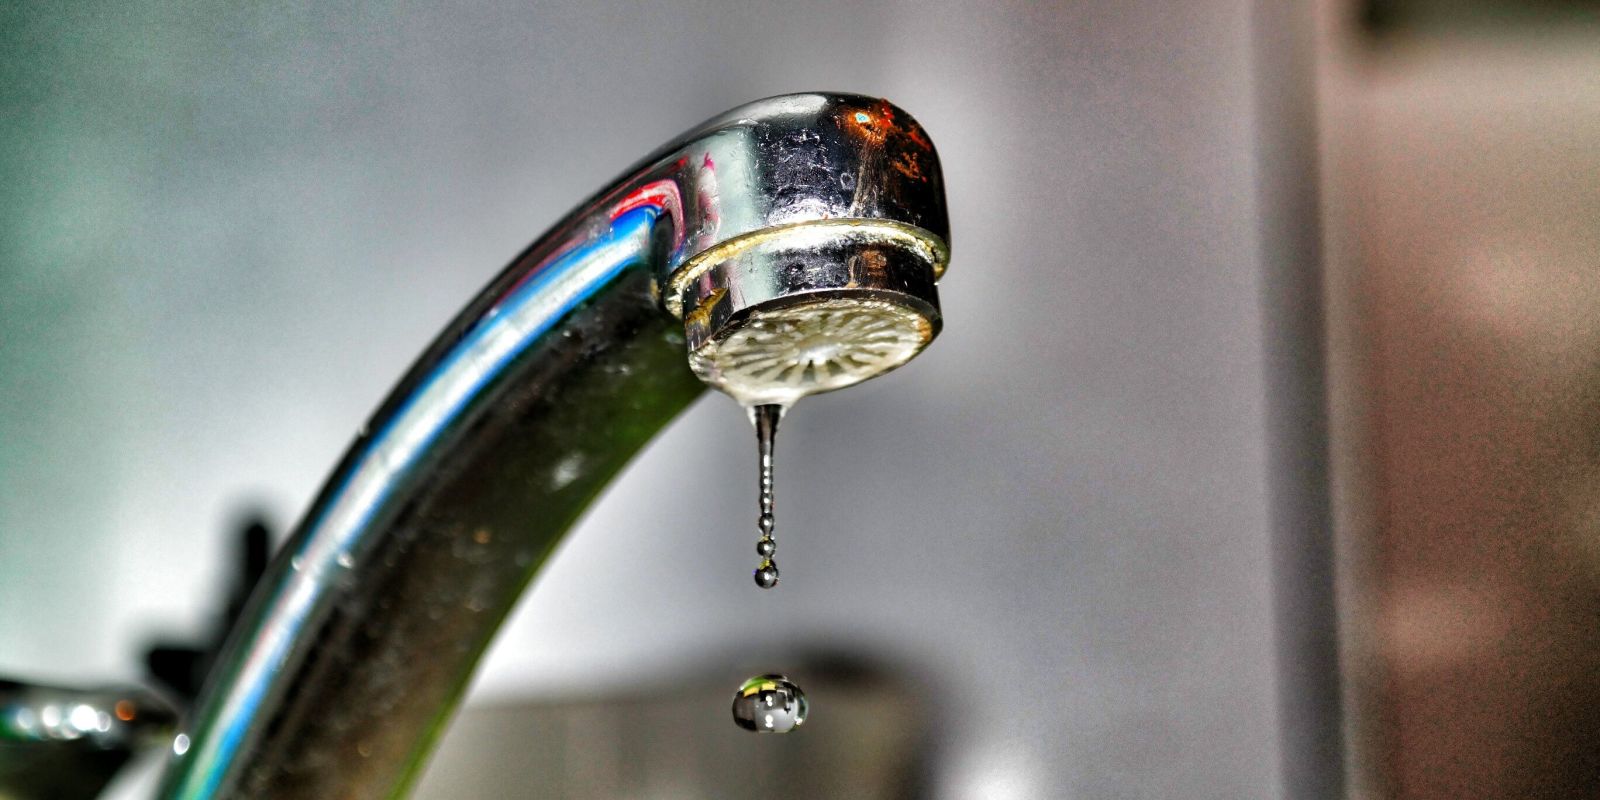
A leaky faucet can be a frustrating problem to deal with. Not only is the constant dripping sound annoying, but it can also waste a significant amount of water over time. Fixing a leaky faucet may seem like a daunting task, but with some basic tools and a little know-how, you can easily tackle this DIY project.
In this article, we will guide you through the step-by-step process of fixing a leaky faucet. Whether you have a traditional two-handle faucet or a more modern single-handle faucet, the principles are generally the same. By following these instructions, you can save money on water bills and prevent further damage to your plumbing system.
Before we delve into the details, it’s essential to gather the necessary tools and materials. Having everything ready beforehand will help streamline the repair process and ensure you have everything at hand.
Key Takeaways:
- Save money and prevent water waste by fixing a leaky faucet with basic tools and know-how. Gather replacement parts, identify faucet type, and test for leaks to ensure a successful DIY repair.
- Empower yourself to tackle home maintenance confidently. Follow step-by-step instructions, exercise caution, and test for leaks to fix a leaky faucet and enjoy a leak-free home.
Read more: How To Fix A Leaky Moen Faucet
Tools and Materials Needed
Before you begin fixing a leaky faucet, you’ll need to gather the following tools and materials:
- Adjustable wrench
- Phillips and flathead screwdrivers
- Allen wrench (if applicable)
- Replacement parts (such as O-rings or washers)
- Plumber’s tape
- Rag or towel
- Bucket or basin (to catch water)
It’s important to have the right tools and materials to ensure a successful repair. If you’re unsure about the specific replacement parts needed for your faucet, you can often find this information on the manufacturer’s website or by consulting a plumbing professional.
Step 1: Turn Off the Water Supply
Before you start working on the faucet, it’s crucial to turn off the water supply to prevent any accidents or further leakage. The location of the shut-off valve may vary depending on your home’s plumbing setup.
In most cases, you can find the shut-off valve under the sink. Look for two small valves—one for hot water and one for cold water. Turn both of these valves clockwise until they are fully closed. This will cut off the water supply to the faucet you’re working on.
If you cannot locate the shut-off valves under the sink, you may need to shut off the main water supply for your entire home. The main shut-off valve is typically located near the water meter or at the point where the main water line enters your house. Turn this valve clockwise to shut off the water supply.
After turning off the water supply, open the faucet you’re working on to relieve any remaining pressure and ensure the water is fully shut off. This step is crucial to avoid any unexpected water flowing while you disassemble the faucet.
Remember, it’s essential to take the necessary safety precautions when working with plumbing. If you’re unsure about shutting off the water supply or any other aspect of the repair, it’s best to consult a professional plumber.
Step 2: Determine the Type of Faucet
Before you proceed with fixing a leaky faucet, it’s important to determine the type of faucet you have. The type of faucet will dictate the specific steps you need to take to disassemble and repair it.
There are generally two types of faucets: a two-handle faucet and a single-handle faucet.
A two-handle faucet has separate handles for hot and cold water. These faucets can have compression valves, cartridge valves, or ceramic disc valves.
A single-handle faucet, on the other hand, has a single lever to control both the temperature and the flow of water. Single-handle faucets can have a ball valve, cartridge valve, or ceramic disc valve.
To determine the type of faucet you have, visually inspect the faucet handles and spout. Look for any branding or markings that indicate the manufacturer or specific model. Additionally, you can search for the faucet type online using the manufacturer’s name and any visible details.
Identifying the type of faucet is essential because it will help you gather the correct replacement parts and understand the specific repair process.
If you’re having difficulty identifying your faucet type or are unsure how to proceed, you may consider consulting a plumbing professional or contacting the manufacturer for guidance.
Step 3: Gather Replacement Parts
Once you have determined the type of faucet you have, it’s time to gather the necessary replacement parts. Depending on the specific issue with your faucet, you may need to replace components such as O-rings, washers, cartridges, valves, or seals.
To ensure a smooth repair process, it’s recommended to purchase a faucet repair kit that is compatible with your faucet model. These kits typically contain all the necessary replacement parts for common faucet issues.
If you’re unable to find a repair kit for your specific faucet, you may need to purchase individual replacement parts. It’s important to know the make and model of your faucet to ensure you get the right parts.
You can typically find the model information on the faucet itself or in the original product documentation. If you’re having trouble finding this information, consider taking pictures of your faucet and bringing them to your local hardware or plumbing supply store. The experts there can help you identify the correct replacement parts.
It’s always a good idea to have a variety of replacement parts on hand, as you may encounter additional issues as you disassemble the faucet.
Once you have gathered the necessary replacement parts, you’re ready to start disassembling the faucet handle and fixing the leak.
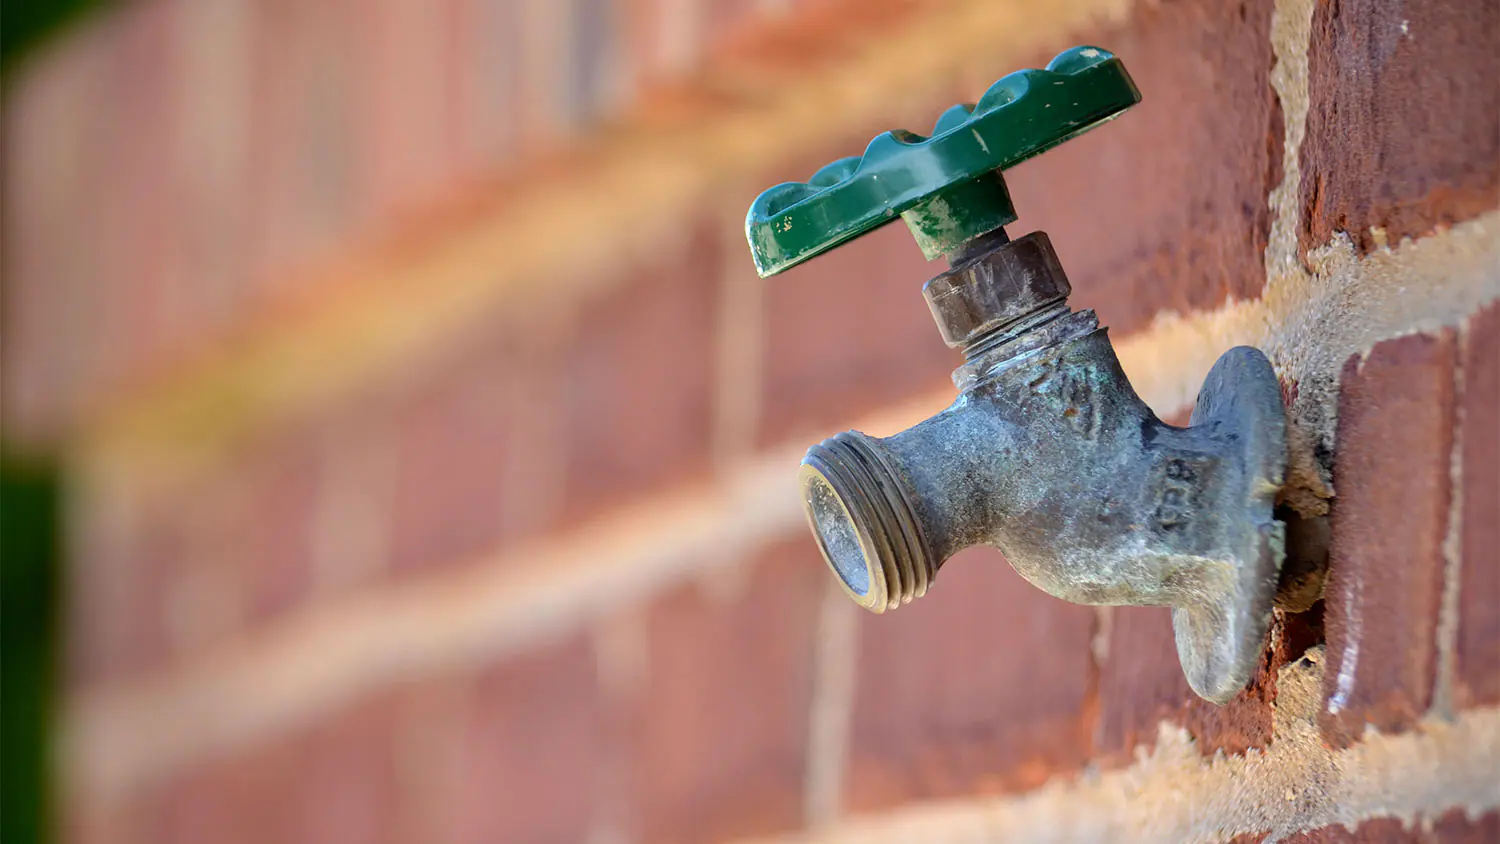
Read more: How To Fix A Leaky Hose Faucet
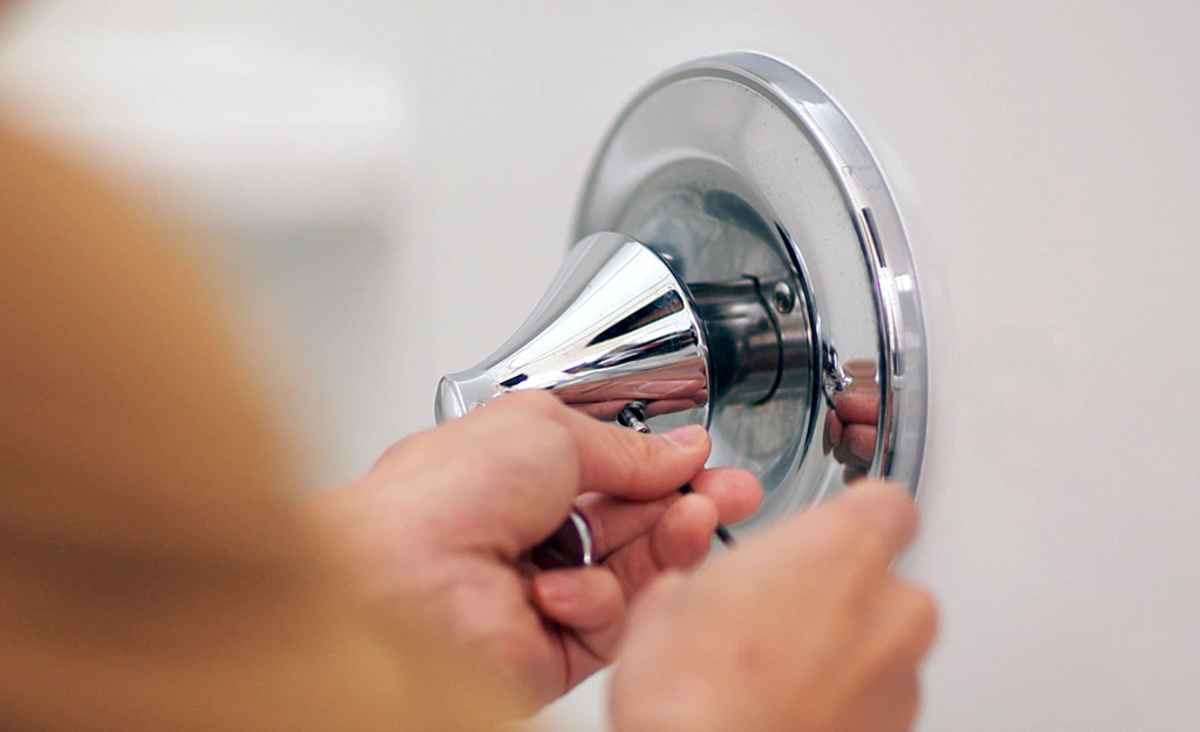
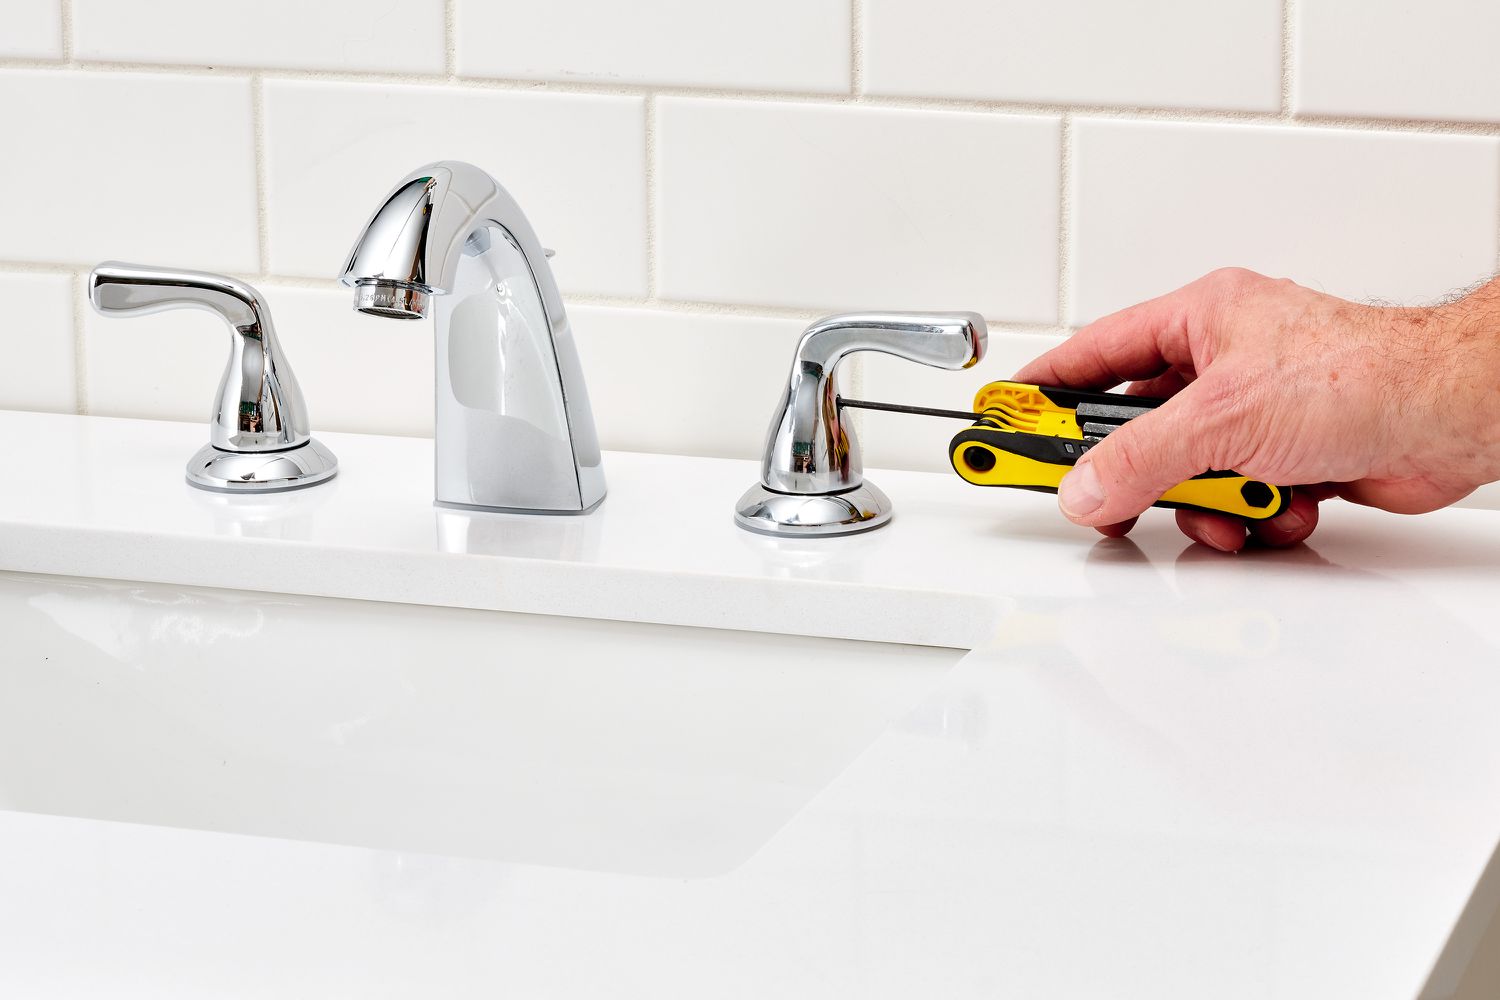
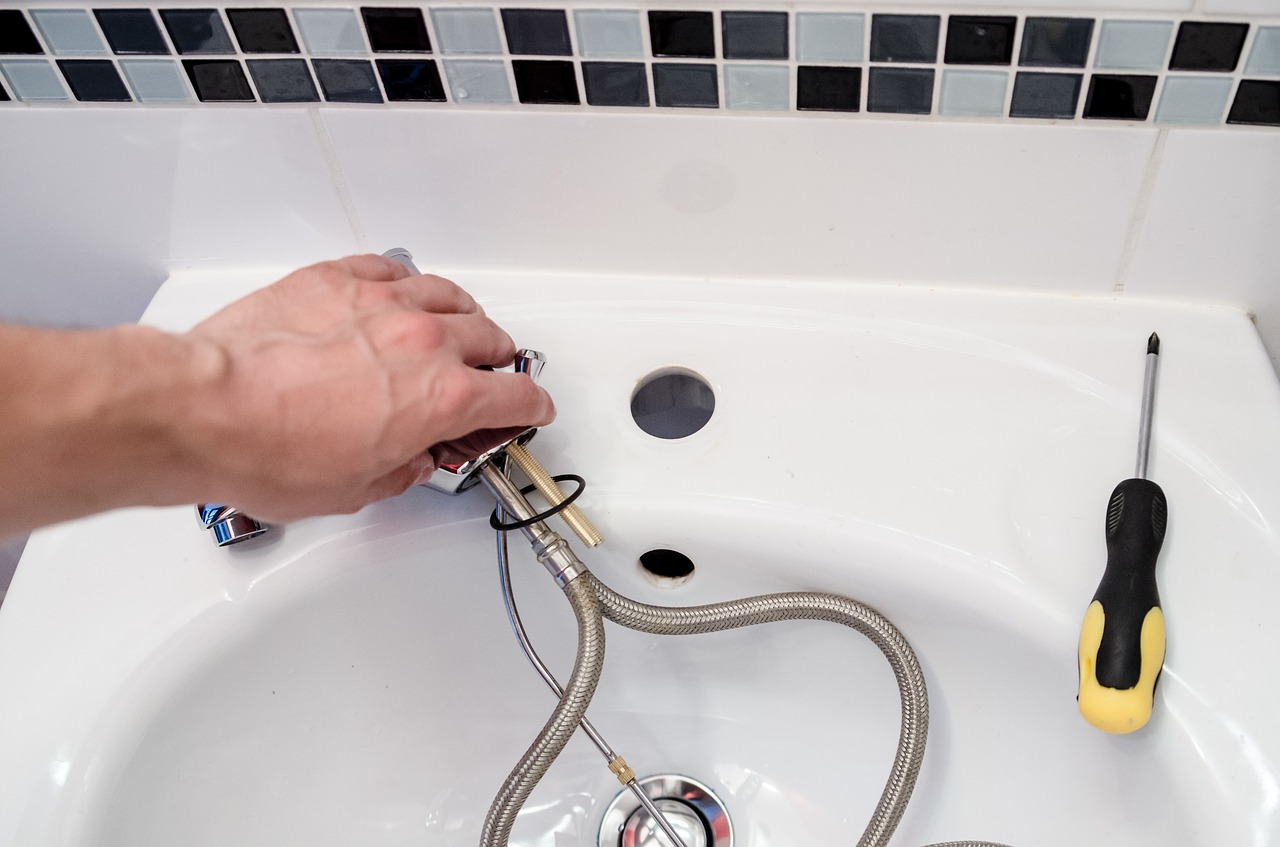
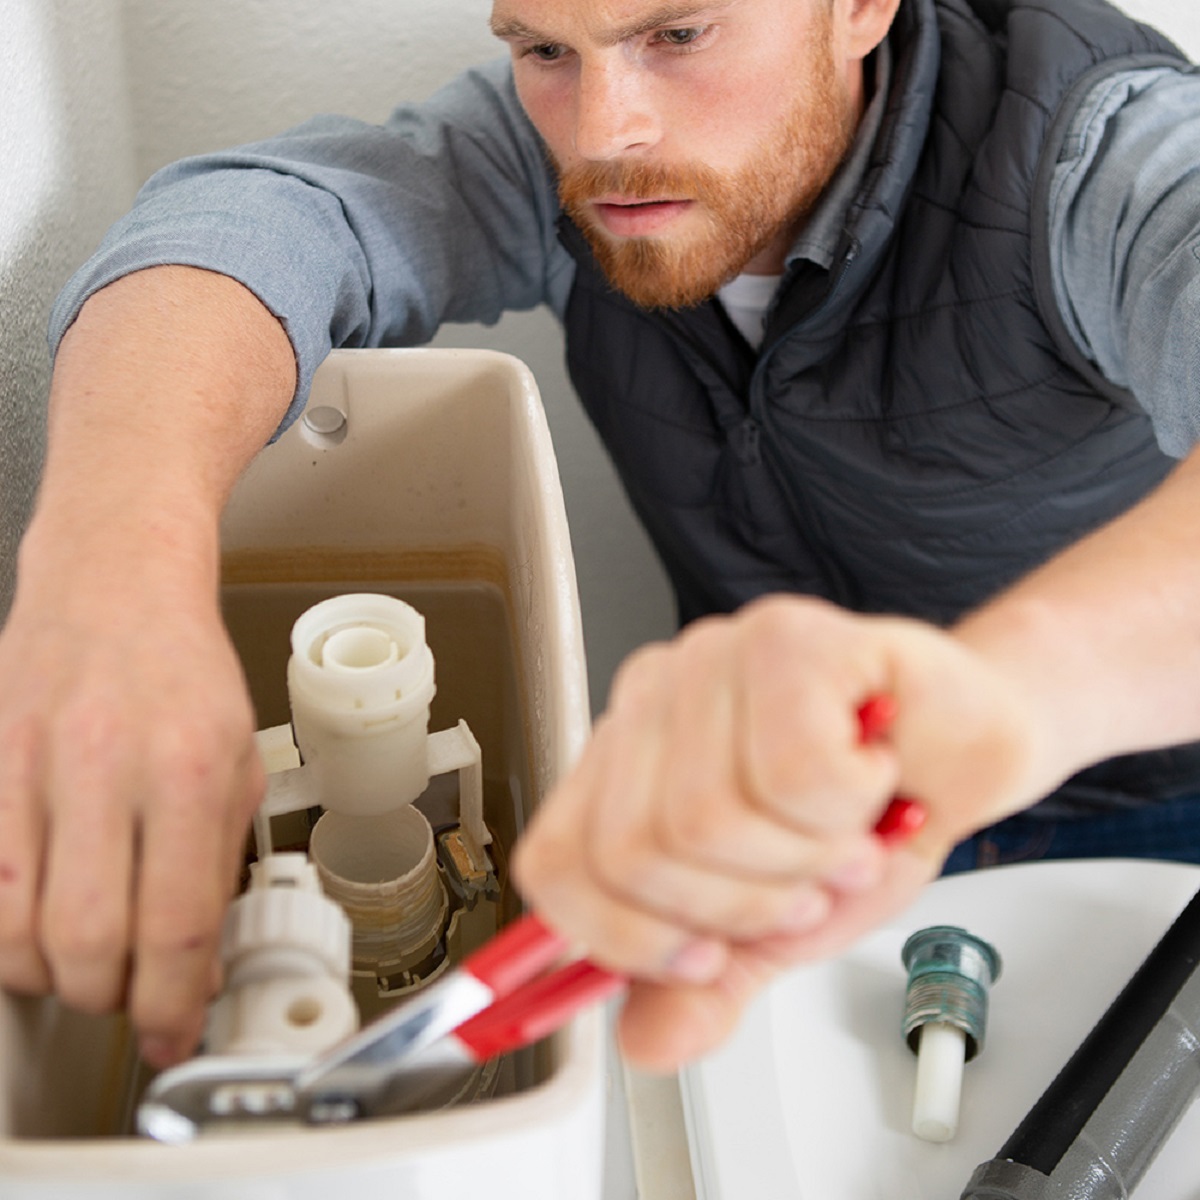
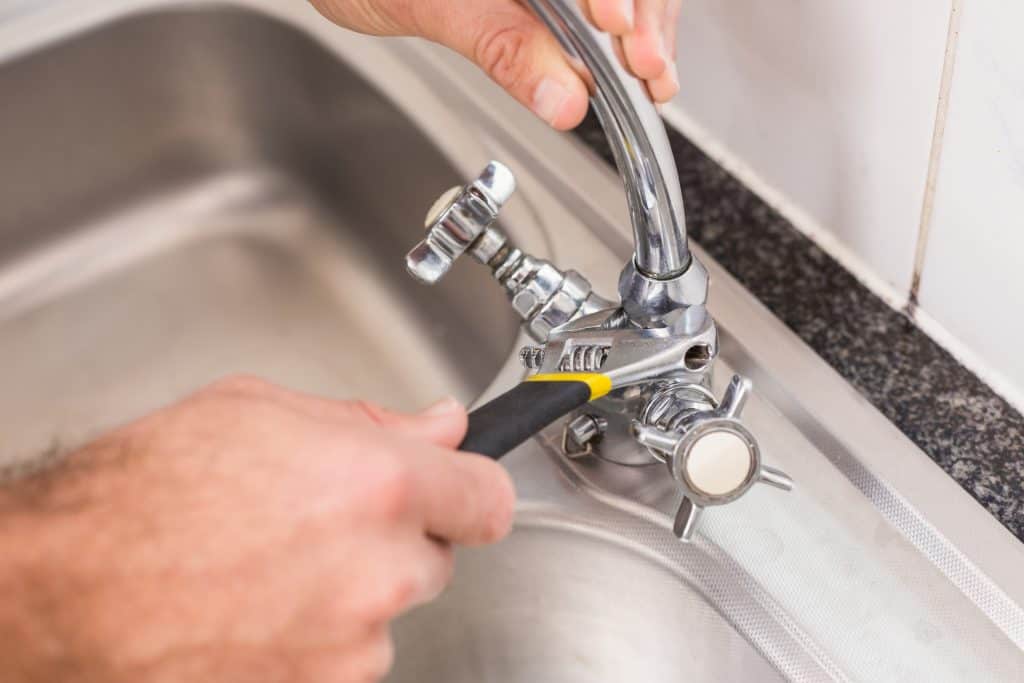
Step 4: Disassemble the Faucet Handle
Now that you have the replacement parts ready, it’s time to disassemble the faucet handle. This step will give you access to the components that may be causing the leak.
Start by finding the screw or set screw that holds the handle in place. This screw is typically located under a decorative cap or cover at the base of the handle. Use a screwdriver or Allen wrench to remove the screw, depending on the type of faucet.
Once the screw is removed, gently lift the handle off the faucet body. If the handle feels stuck, you can give it a gentle wiggle or use a faucet handle puller tool to help remove it.
Set the handle aside and inspect the inside of the faucet body. You may see a bonnet or retaining nut that holds the cartridge or valve in place. Use a wrench or adjustable pliers to loosen and remove this nut.
Once the nut is removed, carefully pull the cartridge or valve out of the faucet body. Take note of its orientation for easy reassembly later. If you encounter any resistance, gently wiggle or twist the cartridge or valve to loosen it.
With the cartridge or valve removed, you have now successfully disassembled the faucet handle. It’s a good idea to clean any debris or mineral buildup from the faucet body using a rag or brush.
Take this opportunity to inspect all the components and check for any signs of damage or wear. If you notice any cracks, corrosion, or worn-out parts, these are the components that you will need to replace with the new parts you gathered earlier.
In the next step, we’ll guide you through the process of removing and replacing the O-rings or washers, depending on your faucet type.
If you have a leaky faucet, try replacing the worn out O-ring or cartridge inside the handle. This is a common cause of leaks and can be a simple fix.
Step 5: Remove and Replace the O-Rings or Washers
With the faucet handle disassembled, you can now focus on removing and replacing the O-rings or washers, depending on the type of faucet you have.
If you have a two-handle faucet, you’ll typically find rubber O-rings or washers at the base of each valve stem. These components create a watertight seal and prevent leaks. Over time, they can become worn out or damaged, leading to a leaky faucet.
Using a small flathead screwdriver, gently pry off the old O-rings or washers from the valve stems. Take care not to scratch or damage the valve stems during this process.
Clean the valve stems thoroughly, removing any debris or mineral buildup with a rag or brush. This will ensure a proper seal with the new O-rings or washers.
Take the new O-rings or washers from the faucet repair kit or individual replacement parts. Lubricate them with some plumbing grease or silicone grease to facilitate smooth installation and provide better longevity.
Slide the new O-rings or washers onto the valve stems, making sure they are seated firmly against the base of the stems. Use your fingers to press them down, ensuring a secure fit.
Once the new O-rings or washers are in place, it’s time to reassemble the faucet handle and test for leaks, which we will cover in the next steps.
If you have a single-handle faucet, the process may differ slightly. Instead of O-rings or washers, you may need to replace a cartridge or a ceramic disc valve. The exact steps for replacing these components can vary depending on your faucet model. It’s best to consult the manufacturer’s instructions or seek professional assistance if you’re unsure.
At this stage, you have successfully removed the old O-rings or washers and installed the new ones. In the following steps, we’ll guide you through the process of reassembling the faucet handle and testing for leaks.
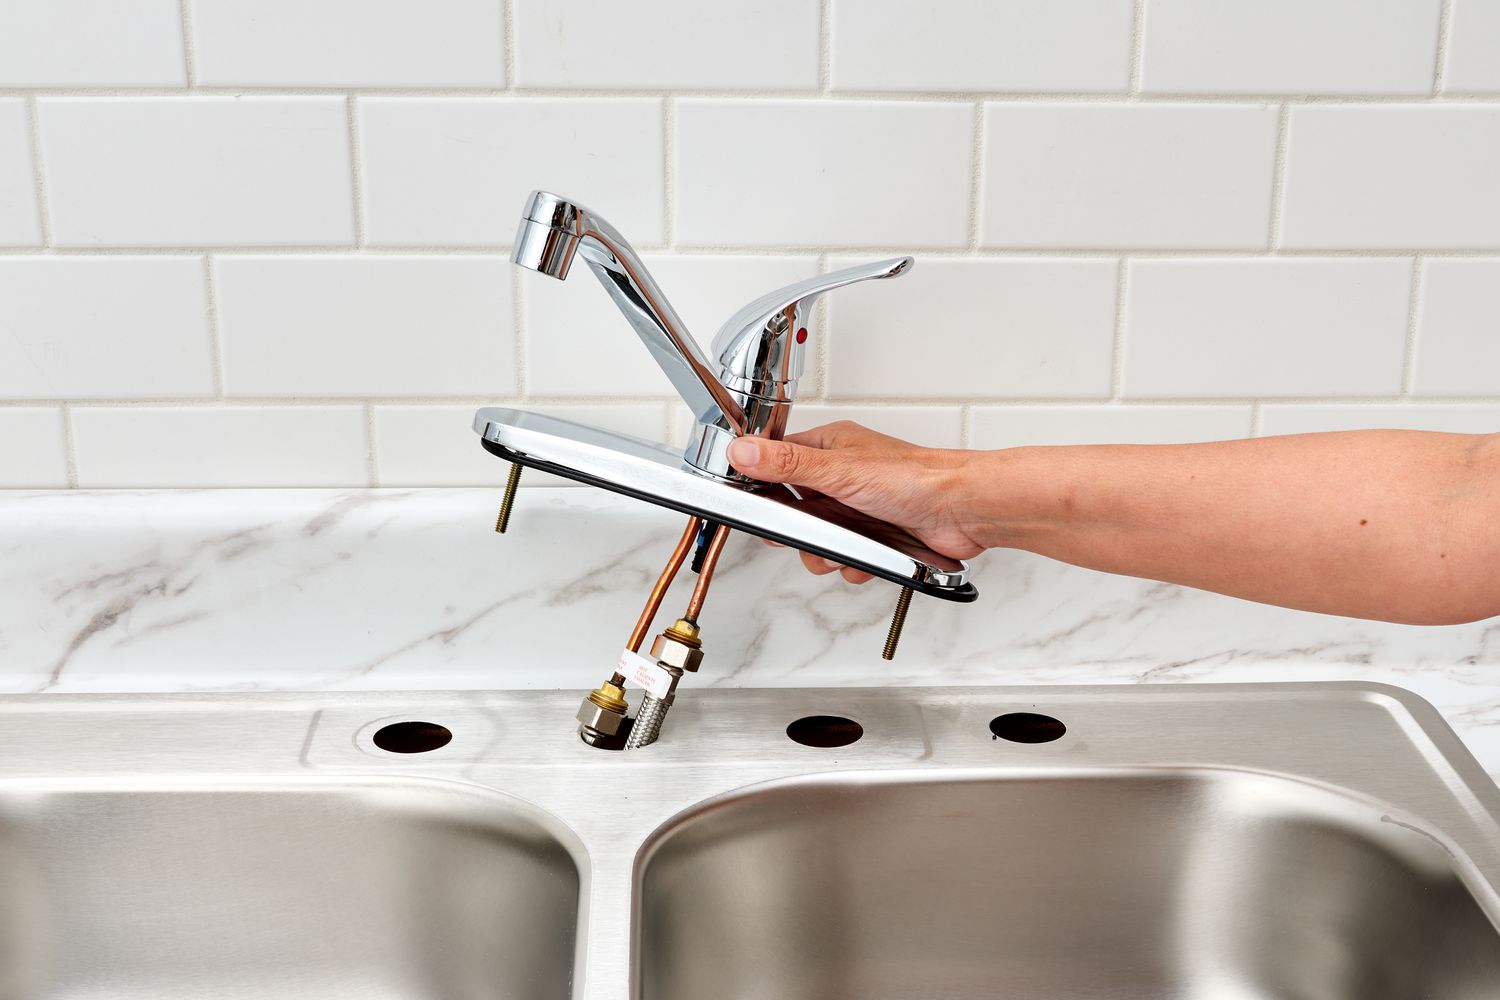
Step 6: Reassemble the Faucet Handle
With the new O-rings or washers in place, it’s time to reassemble the faucet handle. Follow these steps to ensure a proper reassembly:
- Take the cartridge or valve you removed earlier and carefully insert it back into the faucet body. Make sure it aligns properly with the opening.
- Replace the bonnet or retaining nut and tighten it securely using a wrench or adjustable pliers. Take care not to overtighten, as this can cause damage.
- Place the faucet handle back onto the valve stem, aligning it properly with the cartridge or valve. Ensure it fits snugly onto the stem.
- If applicable, insert the screw or set screw back into place, securing the handle to the valve stem. Use a screwdriver or Allen wrench to tighten it.
- Double-check that the handle is properly secured and doesn’t wobble or feel loose.
It’s important to reassemble the faucet handle correctly to ensure proper functionality and to prevent any leaks.
Once the handle is securely reassembled, move on to the next step to turn on the water supply and test for leaks.
Please note that the reassembly process may vary slightly depending on your faucet type and model. If you encounter any difficulties or discrepancies, refer to the manufacturer’s instructions or seek professional assistance.
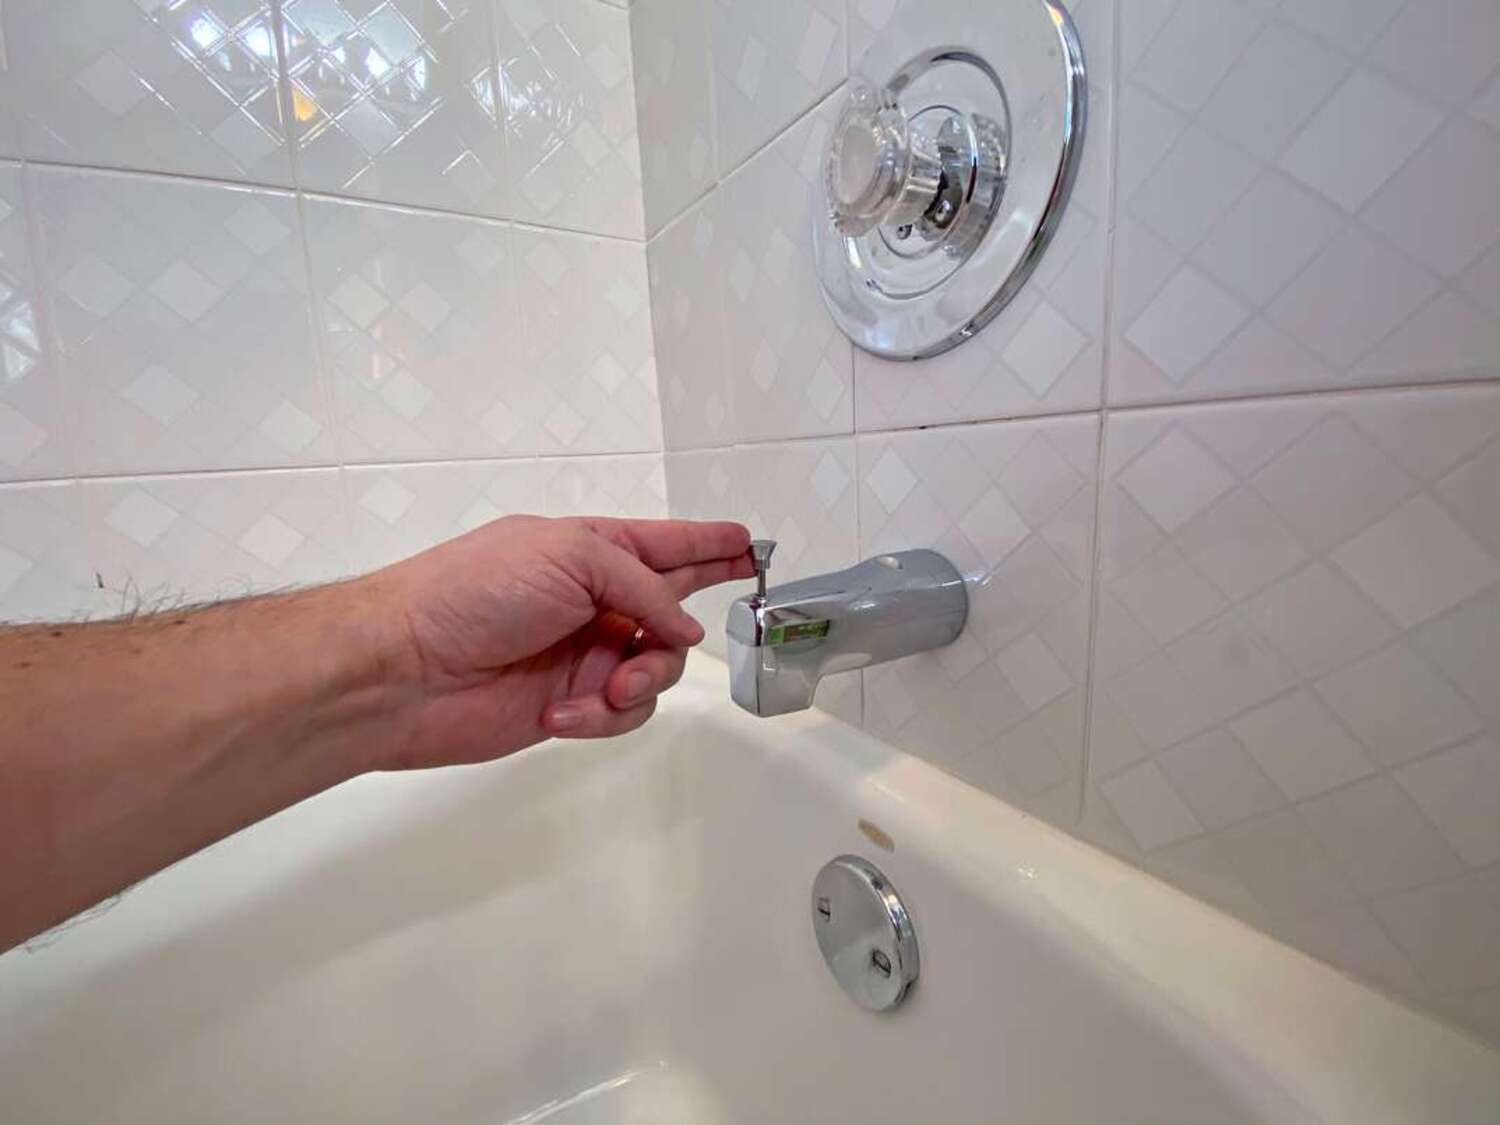
Step 7: Turn on the Water Supply
After successfully reassembling the faucet handle, it’s time to turn on the water supply and check for any leaks. Follow these steps to complete this crucial step:
- Locate the shut-off valves that you turned off earlier to disconnect the water supply. These valves are typically located under the sink.
- Turn each shut-off valve counterclockwise to gradually open them. This will allow water to flow back into the faucet.
- Once the water supply is turned on, check for any visible leaks around the base of the faucet or any other plumbing connections.
- If you notice any leaks, tighten the affected connections with a wrench or adjust the valve stems as needed. Be careful not to overtighten, as this can cause damage.
- Allow the water to run for a few minutes to flush out any air or debris that may have accumulated during the repair process.
It’s important to thoroughly check for leaks during this step to ensure that the repair was successful. Pay close attention to any dripping or water pooling around the faucet or any unusual sounds coming from the plumbing.
If you do notice leaks or any other issues, you may need to disassemble the faucet handle again to inspect and address the problem. In such cases, it’s best to consult a professional plumber for thorough troubleshooting and repair.
Assuming there are no leaks or other issues detected, you can proceed to the final step: testing the faucet for proper functionality.
Read more: How To Fix A Leaky Single Handle Faucet
Step 8: Test for Leaks
After turning on the water supply, it’s important to test the faucet for any remaining leaks. Follow these steps to ensure that your repair has been successful:
- Close the faucet handle tightly to restrict the water flow.
- Inspect the base of the faucet and all connections for any signs of dripping or leaking.
- Slowly open the faucet handle to allow water to flow. Keep a close eye on the faucet and surrounding areas for any signs of leakage.
- If you notice any leaks, turn off the water supply again and disassemble the faucet handle to identify the source of the problem. It is likely that you may need to replace faulty components or adjust connections.
- If no leaks are found, allow the water to flow for a few minutes to ensure proper functionality and to flush out any remaining debris.
- Observe the faucet for any unusual noises, such as rattling or vibrations, which may indicate an issue with the newly installed components.
If you encounter any persistent leaks or other unresolved issues, it is advisable to seek professional assistance from a qualified plumber. They have the expertise to diagnose and resolve more complex problems with your faucet.
By thoroughly testing for leaks, you can ensure the success of your repair and enjoy a leak-free faucet once again.
Finally, if there are no leaks or other issues detected, congratulations! You have successfully fixed your leaky faucet and saved both water and money in the process.
Conclusion
Fixing a leaky faucet is a rewarding DIY project that not only saves you money on water bills but also prevents further damage to your plumbing system. By following the step-by-step instructions outlined in this article, you can successfully repair your leaky faucet and restore its proper functionality.
Remember, before starting any repairs, gather the necessary tools and replacement parts to ensure a smooth and efficient process. Take the time to identify the type of faucet you have, as this will determine the specific steps and replacement parts required.
During the repair process, it’s important to exercise caution and follow safety guidelines. Always turn off the water supply and take necessary precautions to avoid any accidents or injuries.
Take your time when disassembling the faucet handle, ensuring that you properly remove and replace any worn-out O-rings or washers. Carefully reassemble the faucet, making sure all connections are secure and tight.
Once you’ve reassembled the faucet, turn on the water supply and carefully check for any leaks. If leaks persist, troubleshoot and make any necessary adjustments, or consider consulting a professional plumber for further assistance.
Testing for leaks and ensuring the proper functionality of the faucet is the final step in the repair process. By conducting a thorough examination and listening for any unusual noises, you can confirm the success of your repair.
Fixing a leaky faucet not only saves water and money, but it also empowers you to take care of your own home maintenance. With the knowledge gained from this article, you can tackle similar plumbing issues confidently in the future.
Remember, if you encounter any complex issues or feel uncertain about the repair process, it is always wise to seek the help of a professional plumber. They have the expertise to handle more challenging tasks and ensure the long-term integrity of your plumbing system.
So, go ahead and tackle that leaky faucet with confidence. With the right tools, materials, and knowledge, you can successfully fix your faucet and enjoy the benefits of a leak-free home.
Frequently Asked Questions about How To Fix A Leaky Faucet
Was this page helpful?
At Storables.com, we guarantee accurate and reliable information. Our content, validated by Expert Board Contributors, is crafted following stringent Editorial Policies. We're committed to providing you with well-researched, expert-backed insights for all your informational needs.


0 thoughts on “How To Fix A Leaky Faucet”