
Articles
How To Fix Leaky Two Handle Shower Faucet
Modified: September 2, 2024
Learn how to fix a leaky shower faucet with two handles with step-by-step instructions in this informative article. Find tips and tricks to solve the problem and save money on plumbing repairs.
(Many of the links in this article redirect to a specific reviewed product. Your purchase of these products through affiliate links helps to generate commission for Storables.com, at no extra cost. Learn more)
Introduction
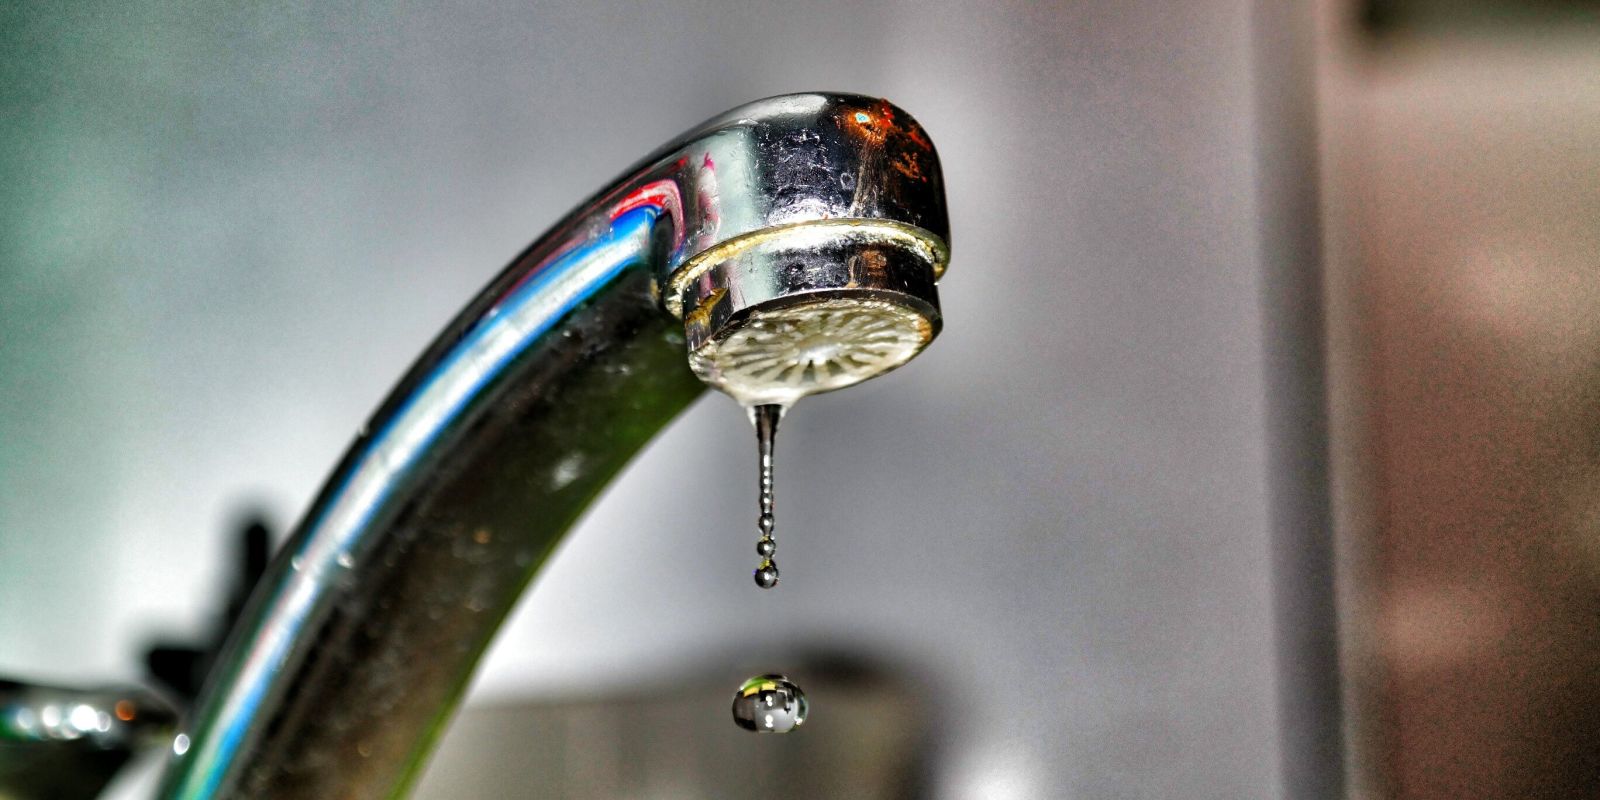
A leaky shower faucet can be an annoying and wasteful problem to deal with. Not only does it create a constant dripping sound, but it can also lead to water damage and increased water bills over time. However, fixing a leaky shower faucet with two handles is a task that you can easily tackle yourself with just a few tools and some basic knowledge.
In this article, we will guide you through the step-by-step process of fixing a leaky shower faucet with two handles. We’ll walk you through each stage, from understanding the shower faucet to reassembling the faucet handle, ensuring that you have all the information you need to successfully fix the leak.
Before we get started, let’s briefly understand how a shower faucet works. The basic mechanism of a shower faucet involves a valve that controls the flow of hot and cold water. Over time, the valve components, such as the O-rings and valve stem packing, can wear out, causing leaks.
Now that you have a general understanding of the problem, let’s gather the necessary tools and materials to fix the leaky shower faucet.
Key Takeaways:
- Easily tackle a leaky shower faucet with two handles using basic tools and knowledge. Understand the faucet’s components, gather necessary materials, and follow step-by-step instructions for a successful DIY repair.
- Save money and gain satisfaction by fixing a leaky shower faucet yourself. From turning off the water supply to reassembling the faucet handle, each step plays a crucial role in achieving a leak-free shower.
Read more: How To Fix A Leaky Single Handle Faucet
Understanding the Shower Faucet
Before attempting to fix a leaky shower faucet, it’s important to have a clear understanding of its components and how they work together. This knowledge will help you identify the cause of the leak and determine the appropriate steps for repair.
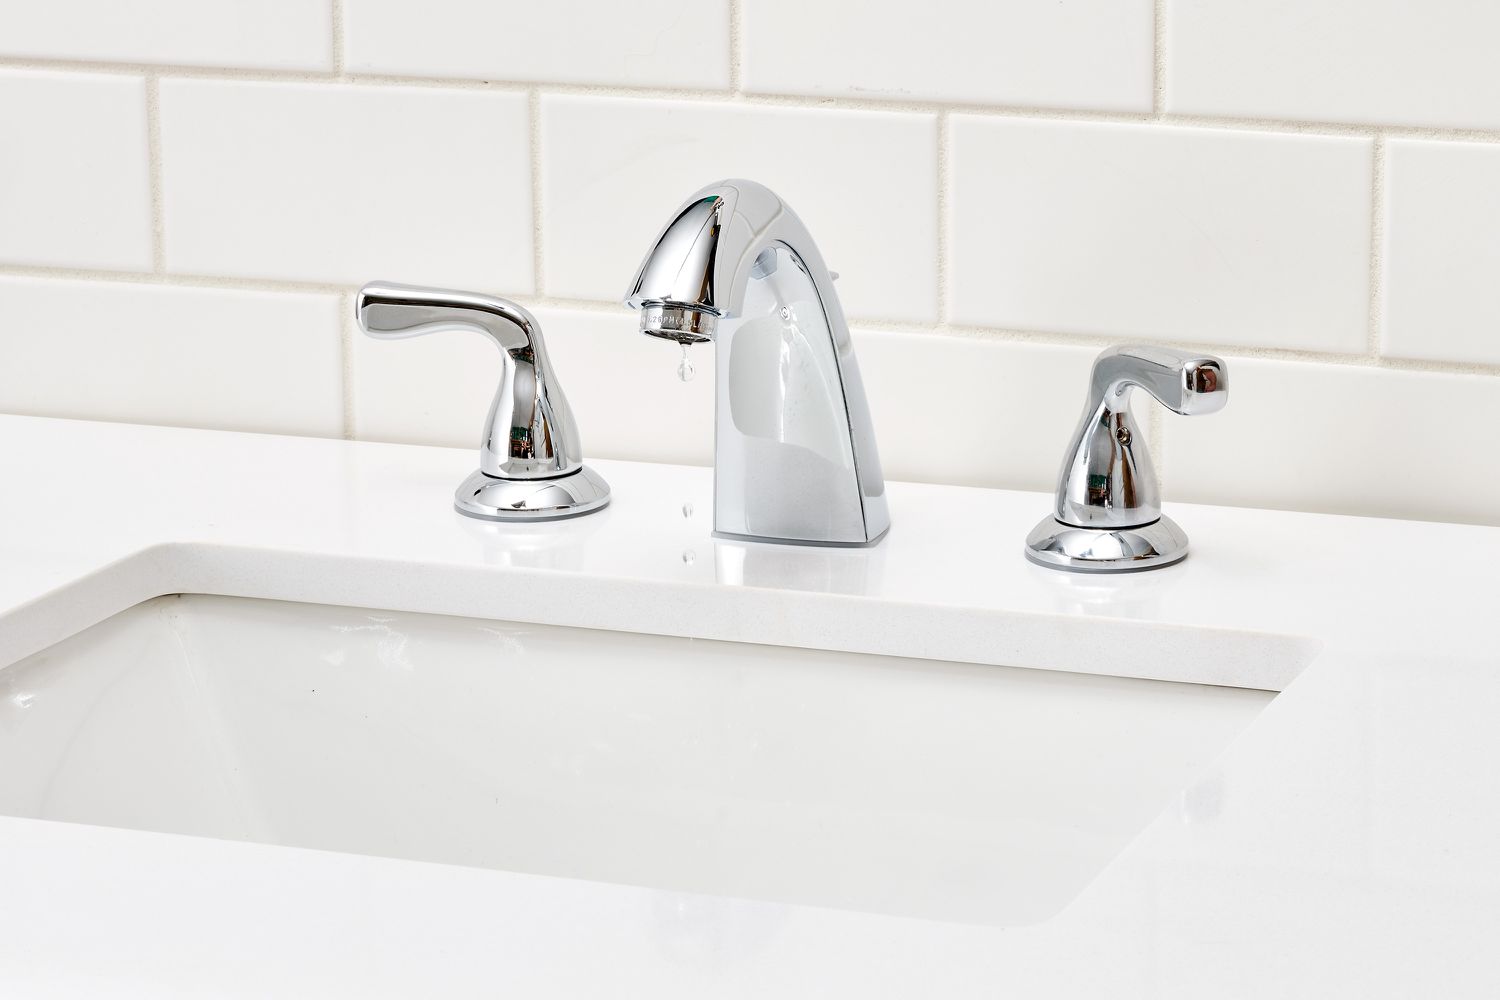
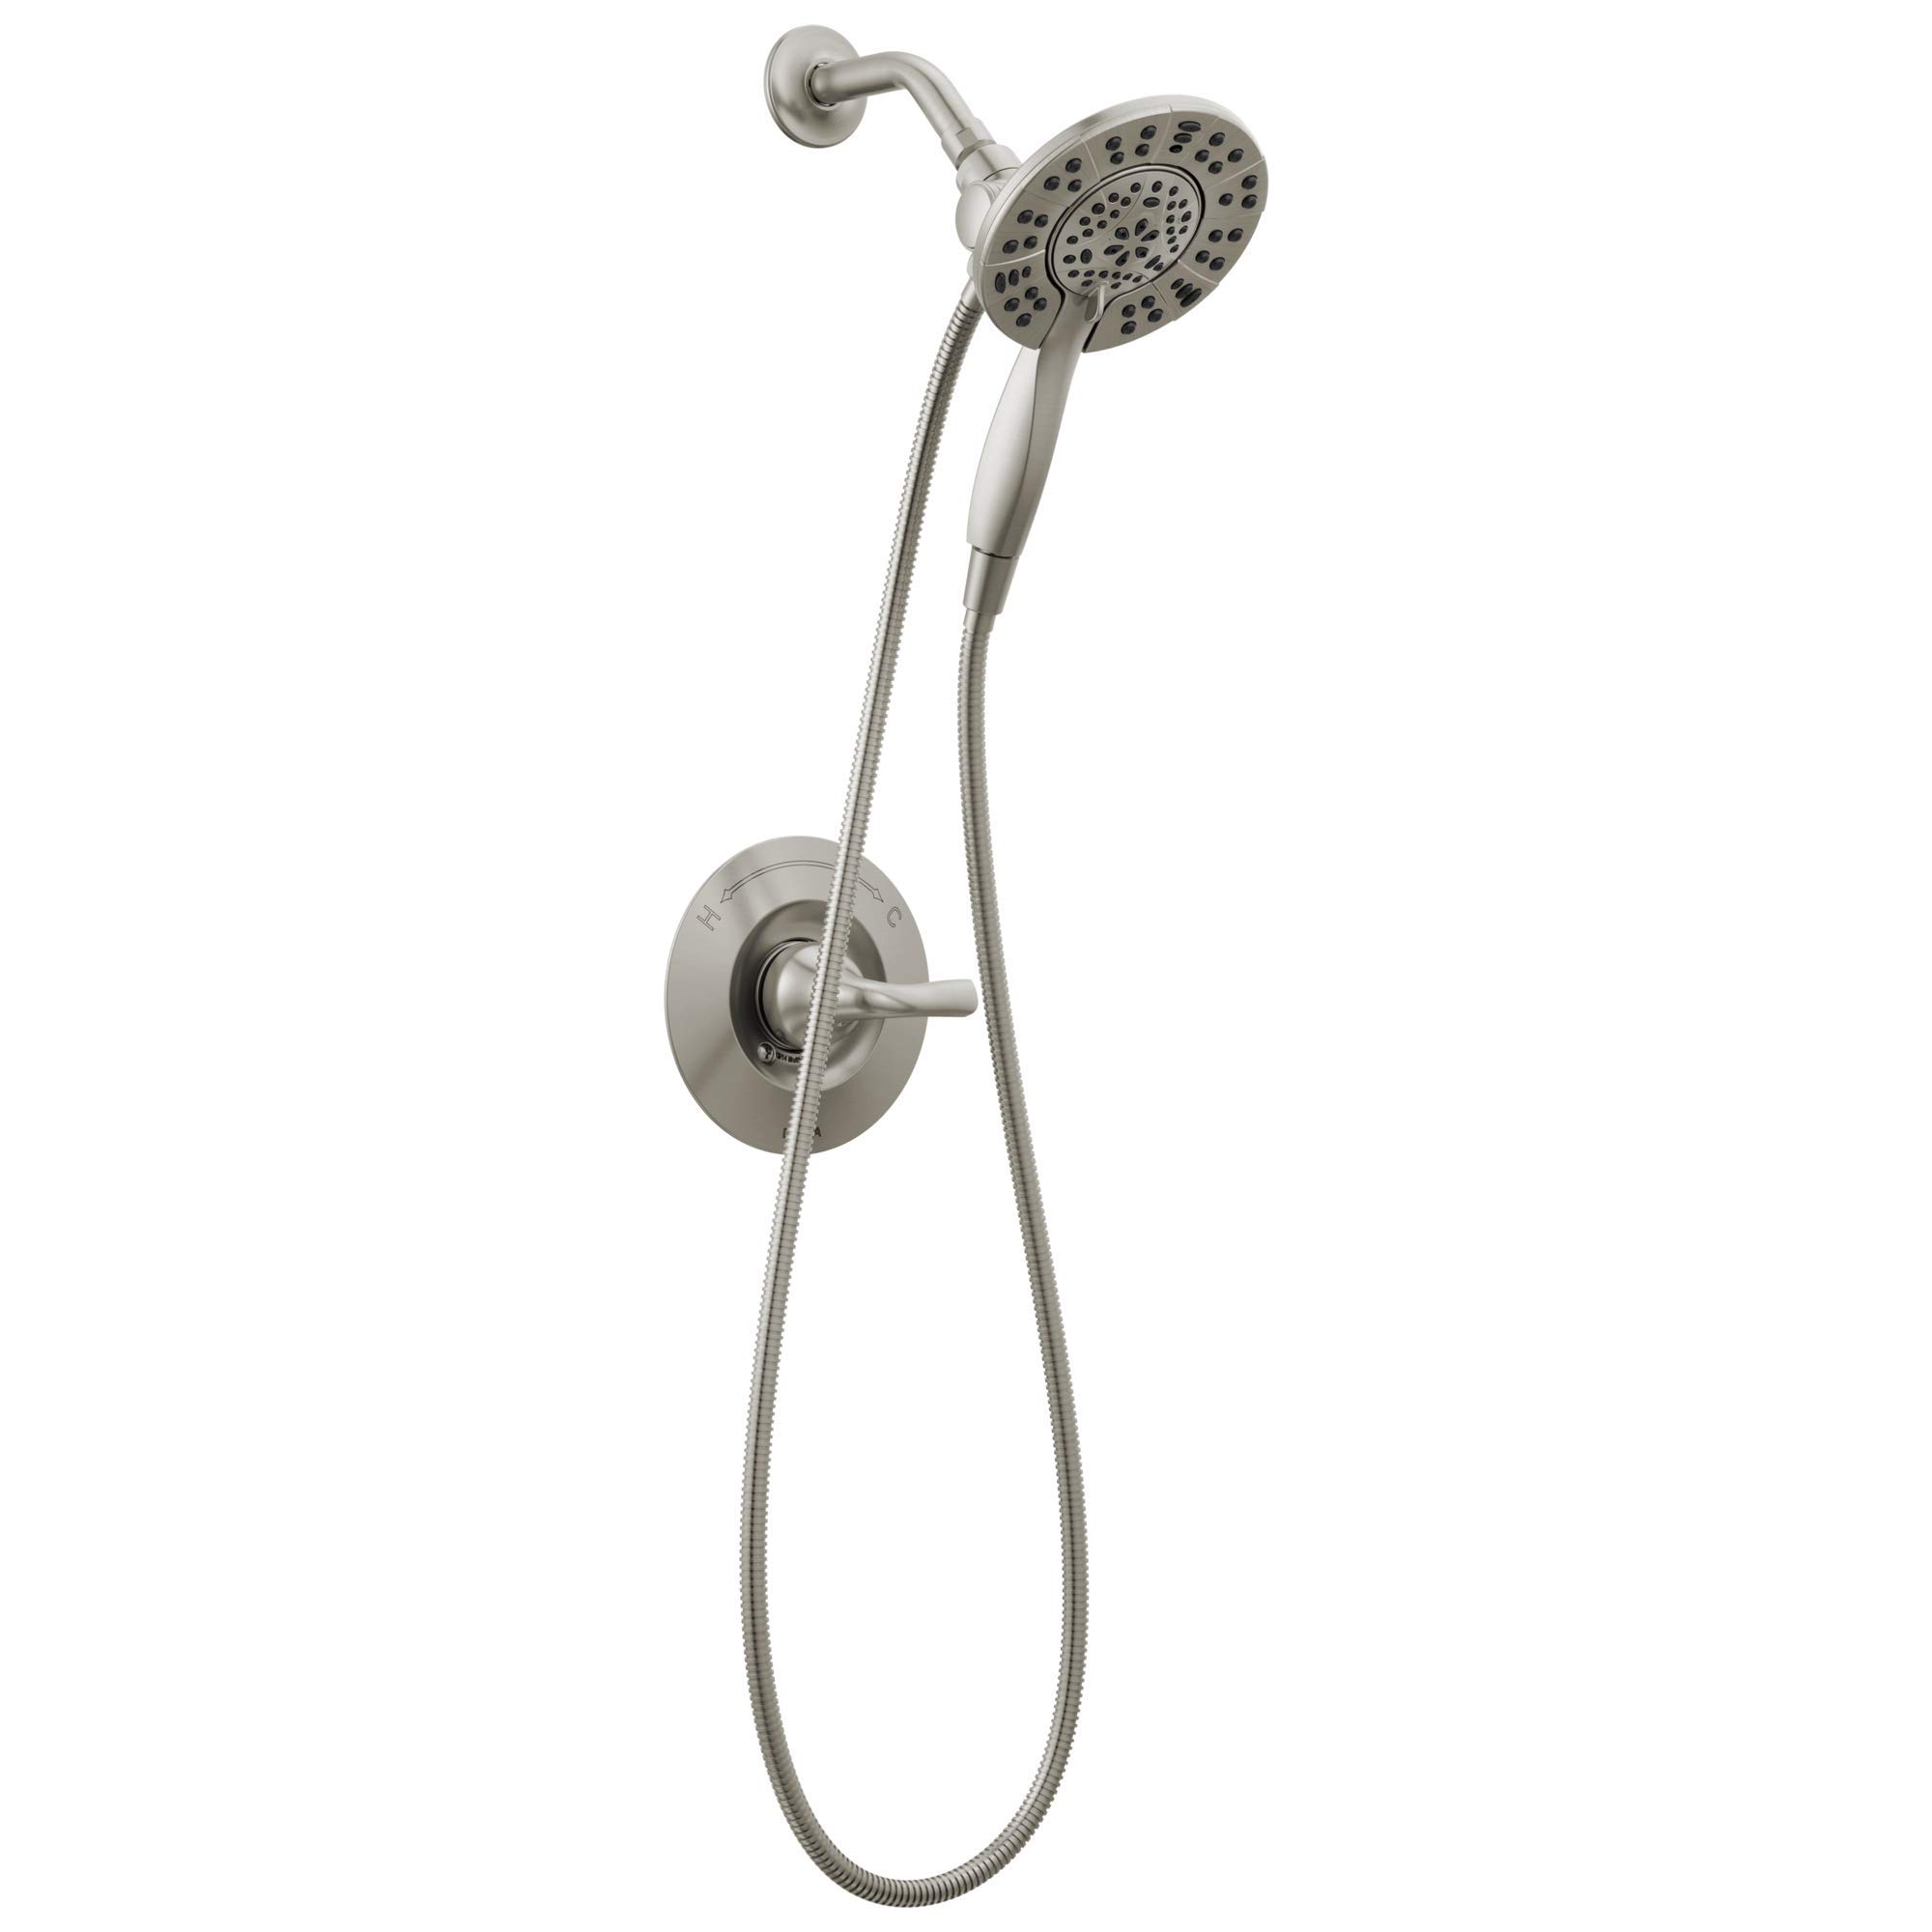
A typical shower faucet with two handles consists of several key parts:
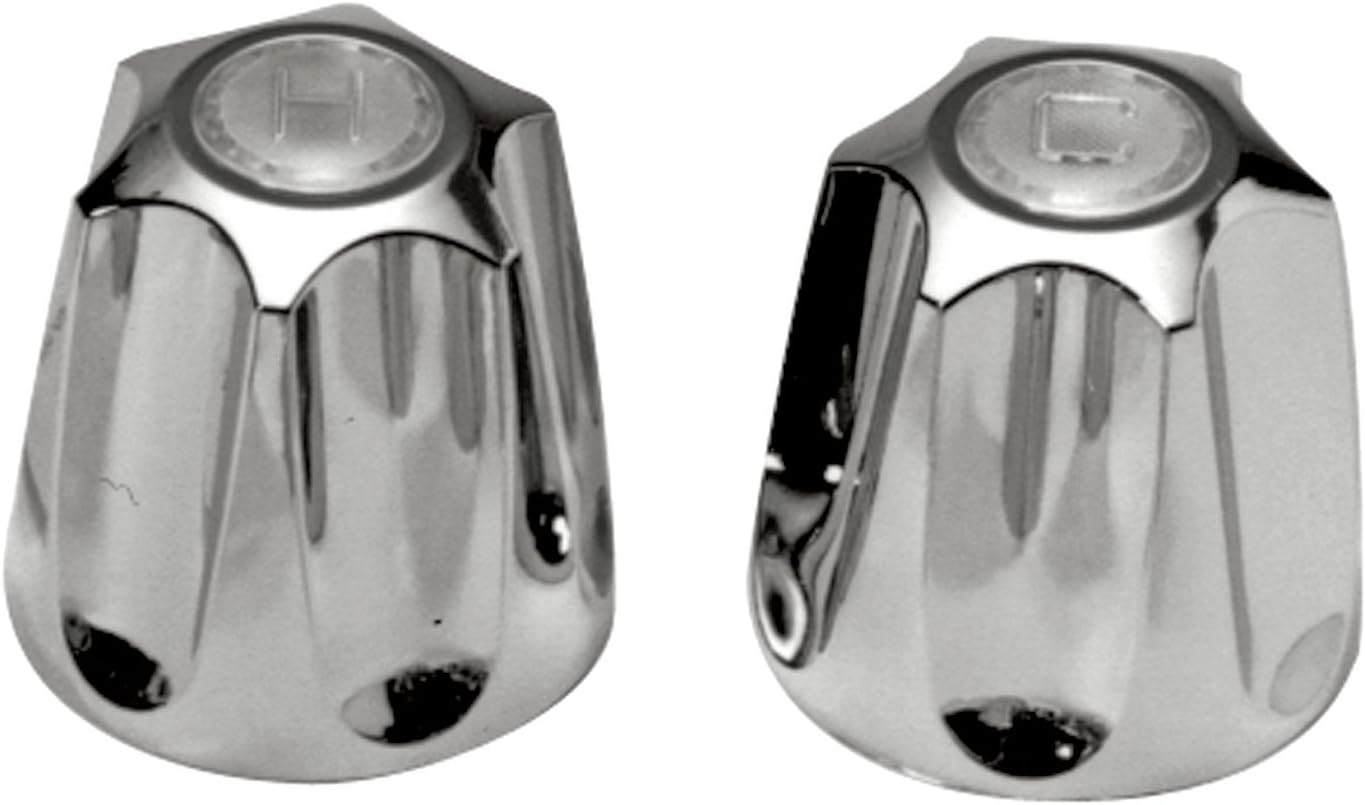
- Handles: These are the knobs or levers that you turn to adjust the water temperature and flow rate. In a two-handle faucet, one handle controls hot water, while the other controls cold water.
- Valve bodies: These are the main mechanisms that control the water flow. The valve bodies contain the valve stems, which are attached to the handles and move according to your adjustments.
- O-rings: These small rubber rings seal the valve stems inside the valve bodies, preventing water from leaking out. O-rings can wear out over time, causing leaks.
- Valve stem packing: This is another type of sealing material that prevents water from leaking around the valve stems. Like O-rings, the valve stem packing can degrade and cause leaks.
A leaky shower faucet can occur due to various reasons, such as worn-out O-rings, damaged valve stem packing, or loose connections. By understanding these components and their functions, you’ll be better equipped to identify the source of the leak and proceed with the necessary repairs.
Now that you have a grasp on the shower faucet’s anatomy, let’s move on to the next section where we will list the tools and materials you’ll need for the repair.
Tools and Materials Needed
Before you begin fixing the leaky shower faucet, it’s essential to gather all the necessary tools and materials. Having everything prepared in advance will allow you to work efficiently and complete the repair without any unnecessary delays. Here’s a list of what you’ll need:
- Adjustable wrench: This tool will be used to loosen and tighten various components of the shower faucet. Make sure to choose an adjustable wrench that fits the size of the faucet parts.
- Screwdriver: You may need a screwdriver, either Phillips or flat-head, to remove screws that hold the faucet handle or other parts in place.
- Replacement O-rings: Since worn-out O-rings are a common cause of leaks in shower faucets, you will need to have replacement O-rings on hand. Check the size and type of O-rings required for your specific faucet before purchasing.
- Valve stem packing: If your shower faucet has valve stem packing that needs replacement, make sure to have the appropriate packing material ready. Again, check the size and type of packing required for your faucet.
- Plumber’s tape: Also known as thread seal tape, plumber’s tape is used to create a watertight seal when reassembling the faucet. It helps prevent leaks at the threaded connections.
- Cloth or rag: Keep a cloth or rag nearby to wipe away any excess water and to protect the surface of the shower or bathtub from scratches.
- Bucket or container: In order to catch any water that may spill during the repair process, have a bucket or container ready.
By having these tools and materials prepared, you’ll be well-equipped to fix your leaky shower faucet efficiently and effectively. Once you have everything ready, it’s time to proceed with the repair process.
Step 1: Turn Off the Water Supply
Before you start working on your leaky shower faucet, it’s crucial to turn off the water supply to avoid any accidents or further damage. Here’s how you can do it:
- Locate the main water shut-off valve: In most homes, this valve is typically found near the water meter or where the main water line enters the house. It may be in the basement, garage, or utility closet.
- Turn off the main water supply: Once you’ve located the shut-off valve, turn it clockwise (right) to shut off the water supply. This will stop the flow of water to the entire house.
- Drain any remaining water: To ensure that there is no water left in the pipes, turn on a faucet at a lower level, such as a sink or bathtub, and let the water drain out completely.
By following these steps, you can safely turn off the water supply and prevent any water from flowing while you work on the leaky shower faucet.
Now that you have turned off the water supply, you can proceed to the next step, which involves removing the faucet handle.
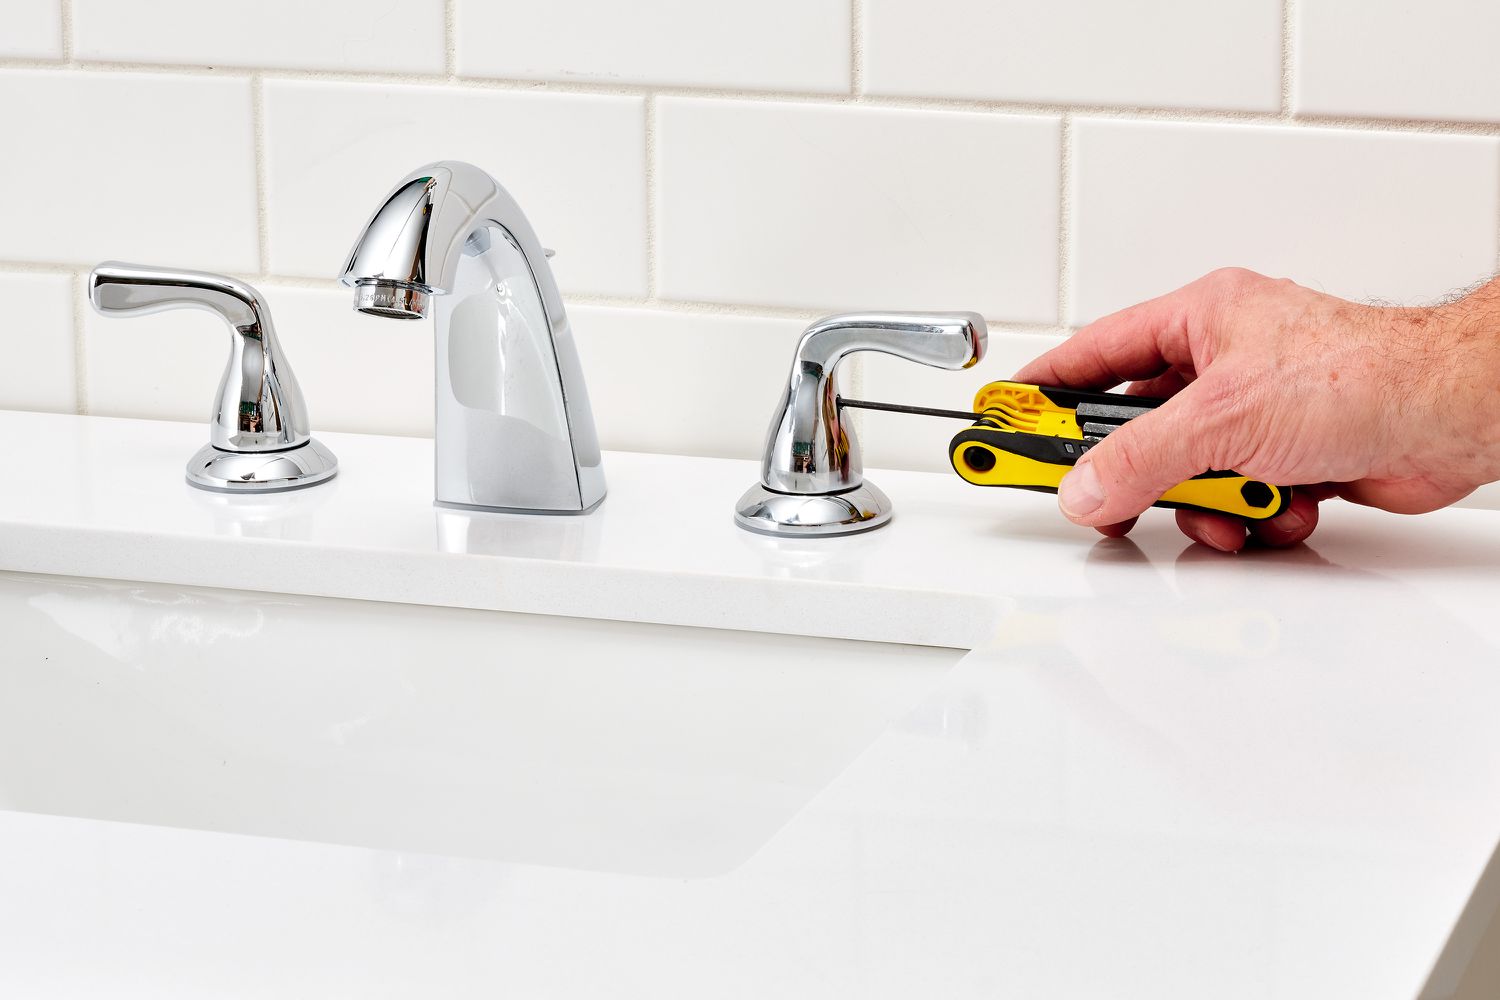
Step 2: Remove the Faucet Handle
Now that you have turned off the water supply, it’s time to remove the faucet handle. Follow these steps:
- Locate the decorative cap: Look for a small cap on the top of the handle. This cap is usually made of plastic or metal and covers the screw holding the handle in place.
- Remove the decorative cap: Use a flat-head screwdriver or your fingers to carefully pry off the decorative cap. Be gentle to avoid scratching or damaging the cap.
- Unscrew the handle screw: Once the decorative cap is removed, you will see a screw that secures the handle. Use a screwdriver to loosen and remove the screw. Set the screw aside in a safe place.
- Take off the handle: With the screw removed, you can now pull the handle straight up or wiggle it gently to loosen it from the valve stem. Be careful not to apply excessive force to avoid breaking the handle or the valve stem.
By following these steps, you should be able to successfully remove the faucet handle. Remember to keep track of any small parts, such as screws or washers, that may have come loose during the process.
Now that the handle is removed, you can move on to the next step, which involves inspecting and potentially replacing the O-ring.
If you have a leaky shower faucet with two handles, try replacing the cartridge or the O-rings to fix the issue. Make sure to turn off the water supply before starting the repair.
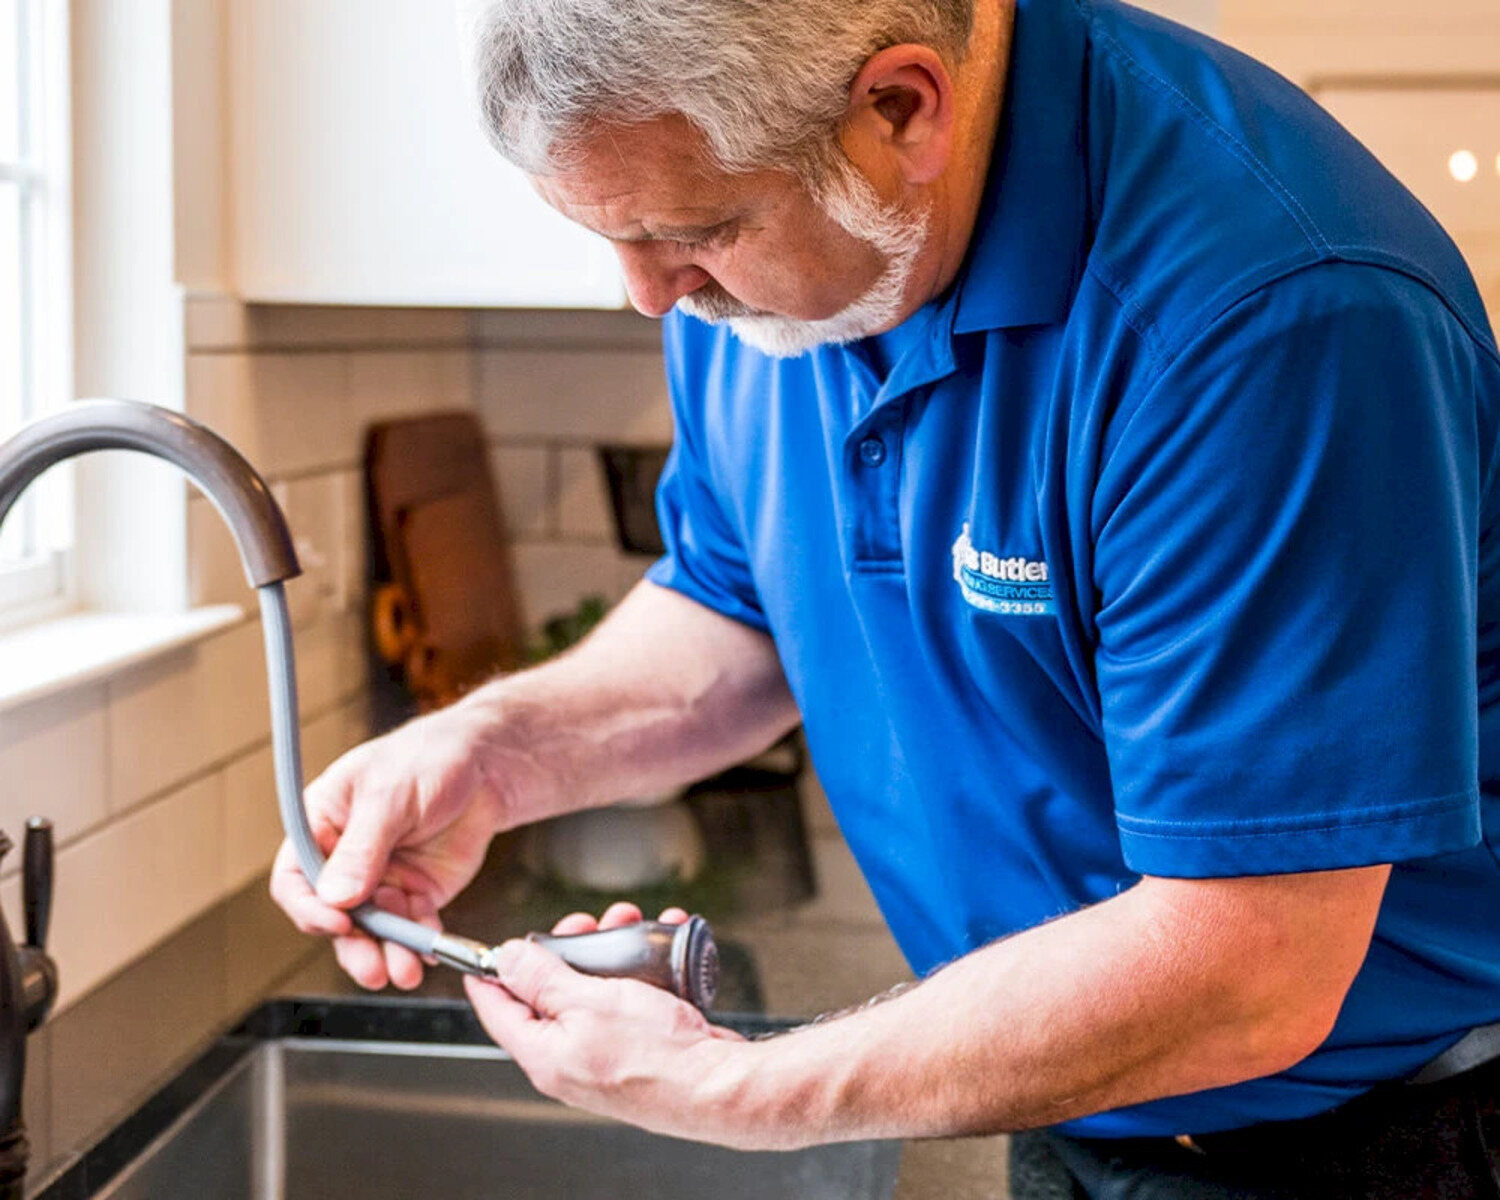
Step 3: Inspect and Replace the O-Ring
With the faucet handle removed, it’s time to inspect the O-ring, which is a common culprit of leaks in shower faucets. Follow these steps:
- Locate the O-ring: Look for a small rubber ring located around the valve stem inside the valve body. The O-ring helps create a watertight seal and prevents leaks.
- Inspect the O-ring: Carefully examine the O-ring for any signs of wear, cracks, or deterioration. If you notice any damage or if the O-ring appears worn out, it’s a good idea to replace it.
- Remove the old O-ring: If the O-ring needs to be replaced, use a flat-head screwdriver or your fingers to gently pry it off the valve stem. Take note of the size and type of O-ring so you can find a suitable replacement.
- Install the new O-ring: Take a new O-ring of the appropriate size and type and slide it onto the valve stem. Ensure that it fits snugly and is sitting flat against the valve body.
Replacing the O-ring can help restore the watertight seal and eliminate the leak. It’s a relatively simple step that can make a big difference in the performance of your shower faucet.
Now that you’ve inspected and replaced the O-ring (if needed), it’s time to move on to the next step: replacing the valve stem packing.
Step 4: Replace the Valve Stem Packing
After inspecting and potentially replacing the O-ring, it’s time to address the valve stem packing, another important component that can contribute to a leaky shower faucet. Follow these steps to replace the valve stem packing:
- Locate the valve stem packing: The valve stem packing is typically found inside the valve body, surrounding the valve stem. It is responsible for creating a seal and preventing water from leaking around the valve stem.
- Inspect the valve stem packing: Check the condition of the existing valve stem packing. If it appears worn, frayed, or damaged, it’s time to replace it with a new one.
- Remove the old valve stem packing: Use a flat-head screwdriver or a specialized valve stem packing removal tool to carefully pry out the old packing material. Be gentle to avoid damaging the valve body.
- Install the new valve stem packing: Take a length of new valve stem packing material and wrap it tightly around the valve stem, making sure it covers the entire circumference. Trim off any excess material if necessary.
Replacing the valve stem packing can help create a tighter seal and prevent leaks around the valve stem. It’s an important step in ensuring the long-term functionality of your shower faucet.
Now that you’ve replaced the valve stem packing, it’s time to reassemble the faucet handle. Move on to the next step to complete the repair process.
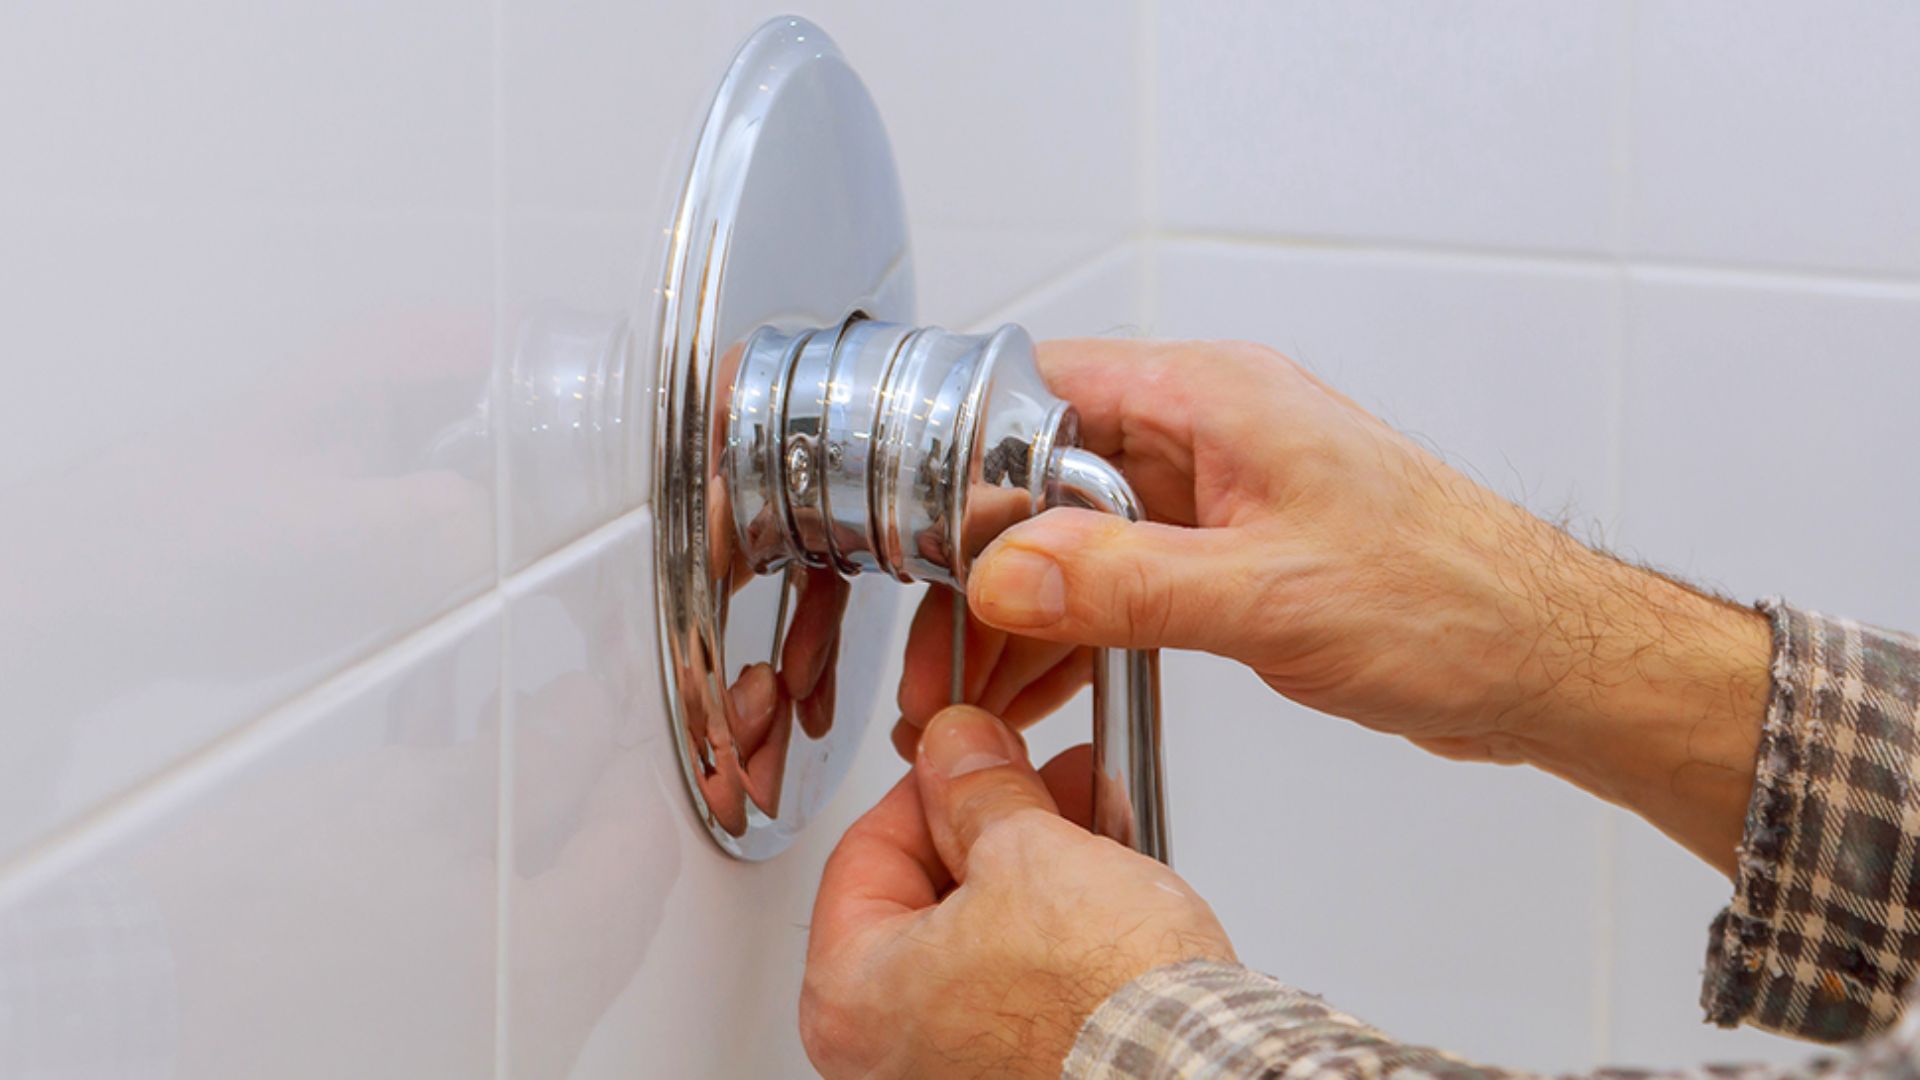
Step 5: Reassemble the Faucet Handle
Now that you have addressed the internal components of the shower faucet, it’s time to put everything back together. Follow these steps to reassemble the faucet handle:
- Slide the handle onto the valve stem: Carefully align the faucet handle with the valve stem and slide it back into place. Make sure it sits flush against the valve body.
- Secure the handle with the screw: Locate the screw that you removed earlier and insert it back into the handle. Tighten it securely using a screwdriver, ensuring that the handle is firmly held in place.
- Replace the decorative cap: Take the decorative cap and snap it back onto the top of the handle. Make sure it is aligned correctly and sits evenly on the handle.
By completing these steps, you have successfully reassembled the faucet handle. The handle should now be securely attached to the valve stem, allowing you to control the water flow and temperature without any leaks.
With the faucet handle reassembled, it’s time to move on to the final step: testing for leaks.
Step 6: Test for Leaks
After completing the repair process, it’s important to test your shower faucet for any remaining leaks. Here’s how to do it:
- Turn on the water supply: Go back to the main water shut-off valve and turn it counterclockwise (left) to restore the water supply to your house.
- Inspect for leaks: With the water supply turned on, carefully observe the shower faucet for any signs of leakage. Pay attention to the base of the faucet, the handle, and around the valve stem.
- Check for drips: Let the water run for a few minutes and then turn it off. Look for any drips or drops of water coming from the faucet. Use a cloth or rag to dry any wet spots.
If you don’t notice any leaks or drips, congratulations! You have successfully fixed your leaky shower faucet. Your faucet should now be functioning properly, with no more wasteful dripping or water damage. However, if you do notice any leaks, you may need to revisit the previous steps and ensure that all components are properly installed and sealed.
By testing for leaks, you can ensure that your repair efforts have been successful and address any remaining issues before they lead to further damage.
With the testing complete, you can now enjoy a leak-free shower experience. Remember to periodically check your shower faucet for any signs of future leaks and address them promptly to avoid further problems.
That concludes our guide on how to fix a leaky shower faucet with two handles. We hope this step-by-step process has been helpful in resolving your faucet issue. Thank you for following along, and happy DIY repair!
Read more: How To Remove A Two-Handle Bathroom Faucet
Conclusion
Fixing a leaky shower faucet with two handles may seem like a daunting task, but with the right knowledge and tools, it is a repair that you can easily tackle yourself. By following the step-by-step process outlined in this guide, you can successfully fix the leak and restore the functionality of your shower faucet.
Throughout the repair process, it’s important to have a clear understanding of how the shower faucet works and how its components interact with each other. This knowledge allows you to identify the source of the leak and take the appropriate steps to fix it.
Remember to gather all the necessary tools and materials before starting the repair to ensure a smooth and efficient process. From adjustable wrenches to replacement O-rings and valve stem packing, having everything prepared will save you time and hassle.
Each step of the repair process, from turning off the water supply to reassembling the faucet handle, plays a crucial role in resolving the leak. Inspecting and potentially replacing the O-ring and valve stem packing are critical in achieving a watertight seal and preventing future leaks.
Once the repair is complete, it’s important to test for leaks to ensure your efforts have been successful. Observing the faucet for any signs of leakage and checking for drips will give you the confidence that your shower faucet is now leak-free.
By fixing a leaky shower faucet yourself, you not only save money on professional repairs but also gain the satisfaction of successfully completing a DIY project. Remember to periodically check your shower faucet for any signs of future leaks and address them promptly to avoid further issues.
We hope this comprehensive guide has equipped you with the necessary knowledge and confidence to fix your leaky shower faucet with two handles. With the right tools, materials, and step-by-step instructions, you can enjoy a fully functional and leak-free shower. Happy repairing!
Ready to elevate your bathroom's style and functionality? Dive into our guide on choosing two handle faucets for a fresh look in 2024. If tackling leaks across your home sounds daunting, our detailed walkthrough on fixing leaky faucets, from bathtubs to kitchen mixers, will turn you into a handy expert. Also, don't miss out on comprehensive tips for DIY home improvement projects that can transform your living space without breaking the bank. Gear up to make your home more efficient and stylish with these easy-to-follow guides!
Frequently Asked Questions about How To Fix Leaky Two Handle Shower Faucet
Was this page helpful?
At Storables.com, we guarantee accurate and reliable information. Our content, validated by Expert Board Contributors, is crafted following stringent Editorial Policies. We're committed to providing you with well-researched, expert-backed insights for all your informational needs.


0 thoughts on “How To Fix Leaky Two Handle Shower Faucet”