Articles
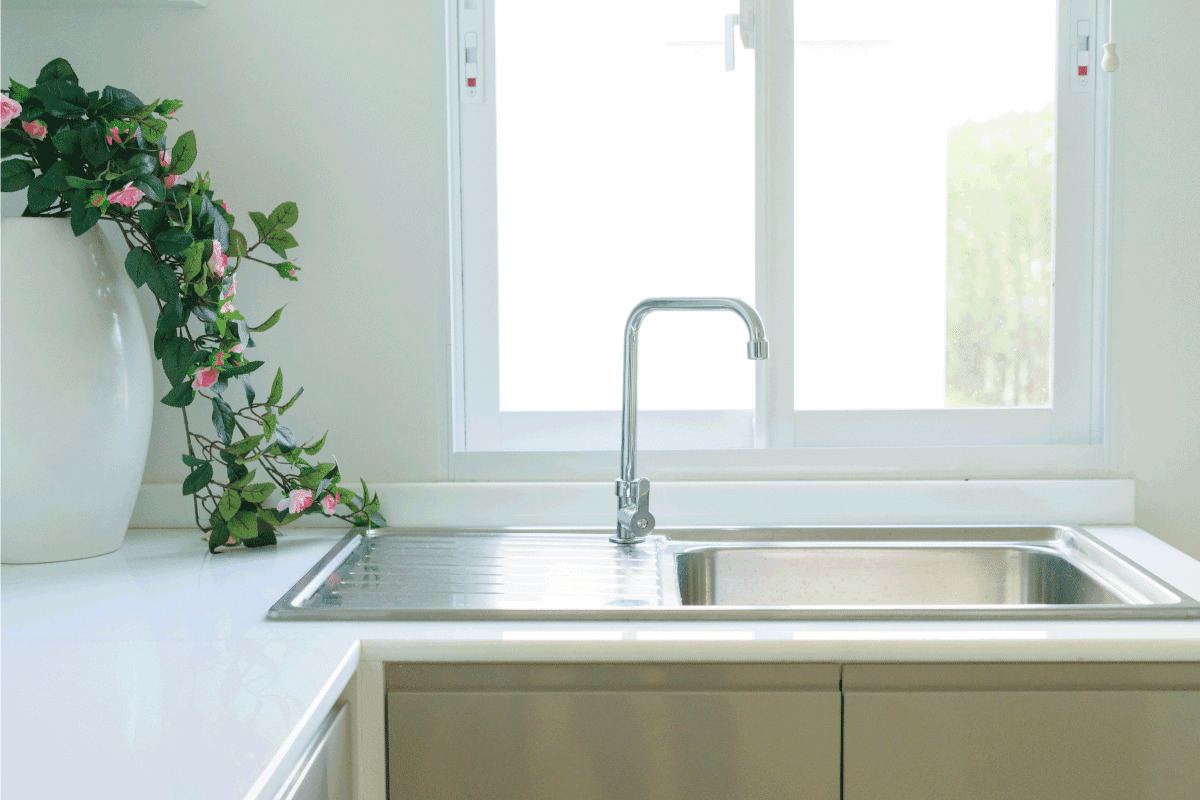
How To Fix Leaking Faucet In Bathroom Sink
Modified: August 28, 2024
Learn how to fix a leaking faucet in your bathroom sink with our helpful articles. Find step-by-step instructions and troubleshooting tips here!
(Many of the links in this article redirect to a specific reviewed product. Your purchase of these products through affiliate links helps to generate commission for Storables.com, at no extra cost. Learn more)
Introduction
A leaking faucet in the bathroom sink can be a frustrating and costly problem. Not only does it waste water, but it can also lead to mold and water damage if left untreated. Fortunately, fixing a leaking faucet is a task that you can tackle on your own, even if you have limited plumbing experience. In this article, we will guide you through the step-by-step process of fixing a leaking faucet in a bathroom sink.
Before you start, it’s important to gather the necessary tools and materials. Having everything you need on hand will make the process much smoother and help avoid any unnecessary delays. Here are the tools and materials you will need:
- Adjustable wrench
- Phillips screwdriver
- Replacement O-rings
- Replacement cartridge (if necessary)
- Plumber’s tape
- Clean cloth or towel
- Bucket or basin to catch any water
With these tools and materials ready, you’re all set to begin fixing your leaking faucet. Let’s dive into the step-by-step process.
Key Takeaways:
- Don’t let a leaking faucet in your bathroom sink go unresolved. With the right tools and steps, you can easily fix the issue, save water, and prevent potential damage to your home.
- By following the step-by-step process and taking the necessary precautions, you can successfully repair a leaking faucet in your bathroom sink, saving water and preventing potential water damage.
Read more: How To Fix A Leaking Tub Faucet
Tools and Materials Needed
Before you start fixing a leaking faucet in your bathroom sink, it’s important to gather all the necessary tools and materials. Having these items ready will make the process much smoother and save you from any last-minute frustrations. Here’s a list of the tools and materials you’ll need:
- Adjustable wrench: This tool will come in handy for removing the faucet handle and other components.
- Phillips screwdriver: You’ll need this screwdriver to remove any screws holding the faucet handle in place.
- Replacement O-rings: O-rings are rubber rings that create a watertight seal in the faucet. If your faucet is leaking, replacing the O-rings may solve the problem.
- Replacement cartridge (if necessary): Some faucets have a cartridge that controls the flow of water. If the O-rings are in good condition and the faucet still leaks, you may need to replace the cartridge.
- Plumber’s tape: Plumber’s tape, also known as Teflon tape, is used to create a watertight seal on threaded connections. You may need it when reassembling the faucet components.
- Clean cloth or towel: It’s always a good idea to have a clean cloth or towel on hand to wipe away any water or debris and keep your workspace neat.
- Bucket or basin: A bucket or basin will come in handy to catch any water that may spill during the repair process.
Gather these tools and materials before you get started, and you’ll be well-prepared to fix your leaking faucet. Now, let’s move on to the step-by-step process.
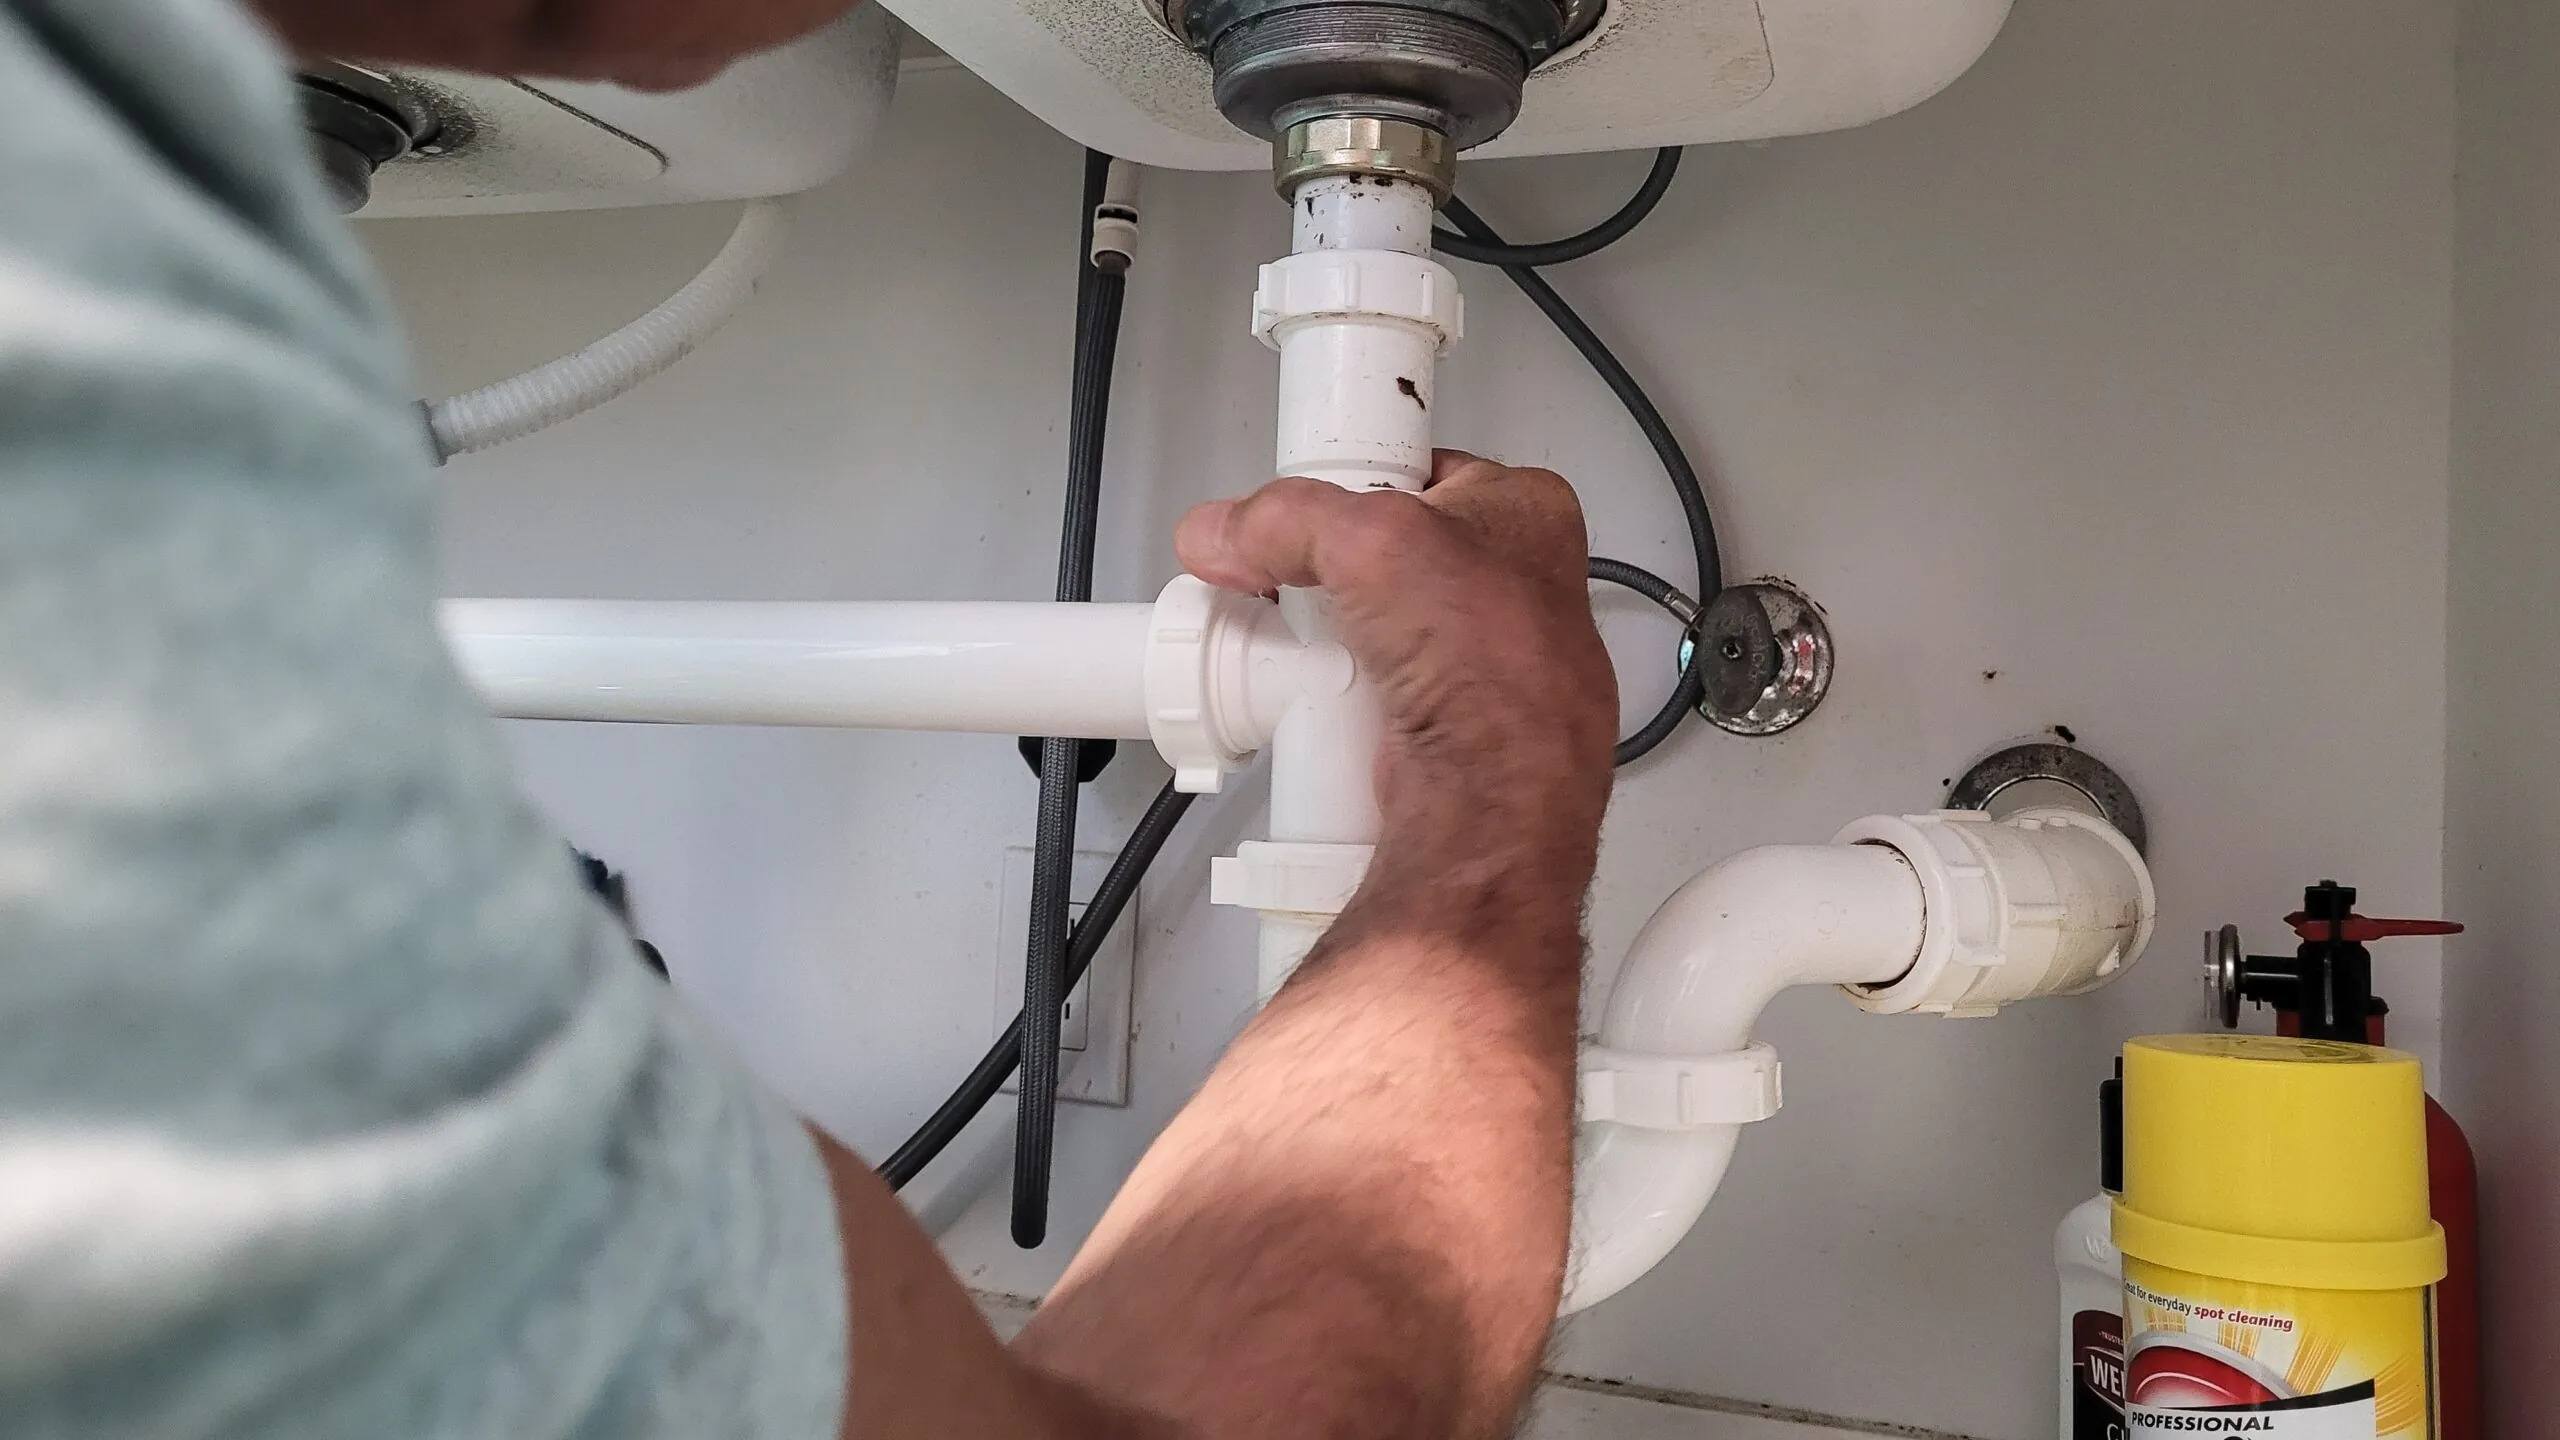
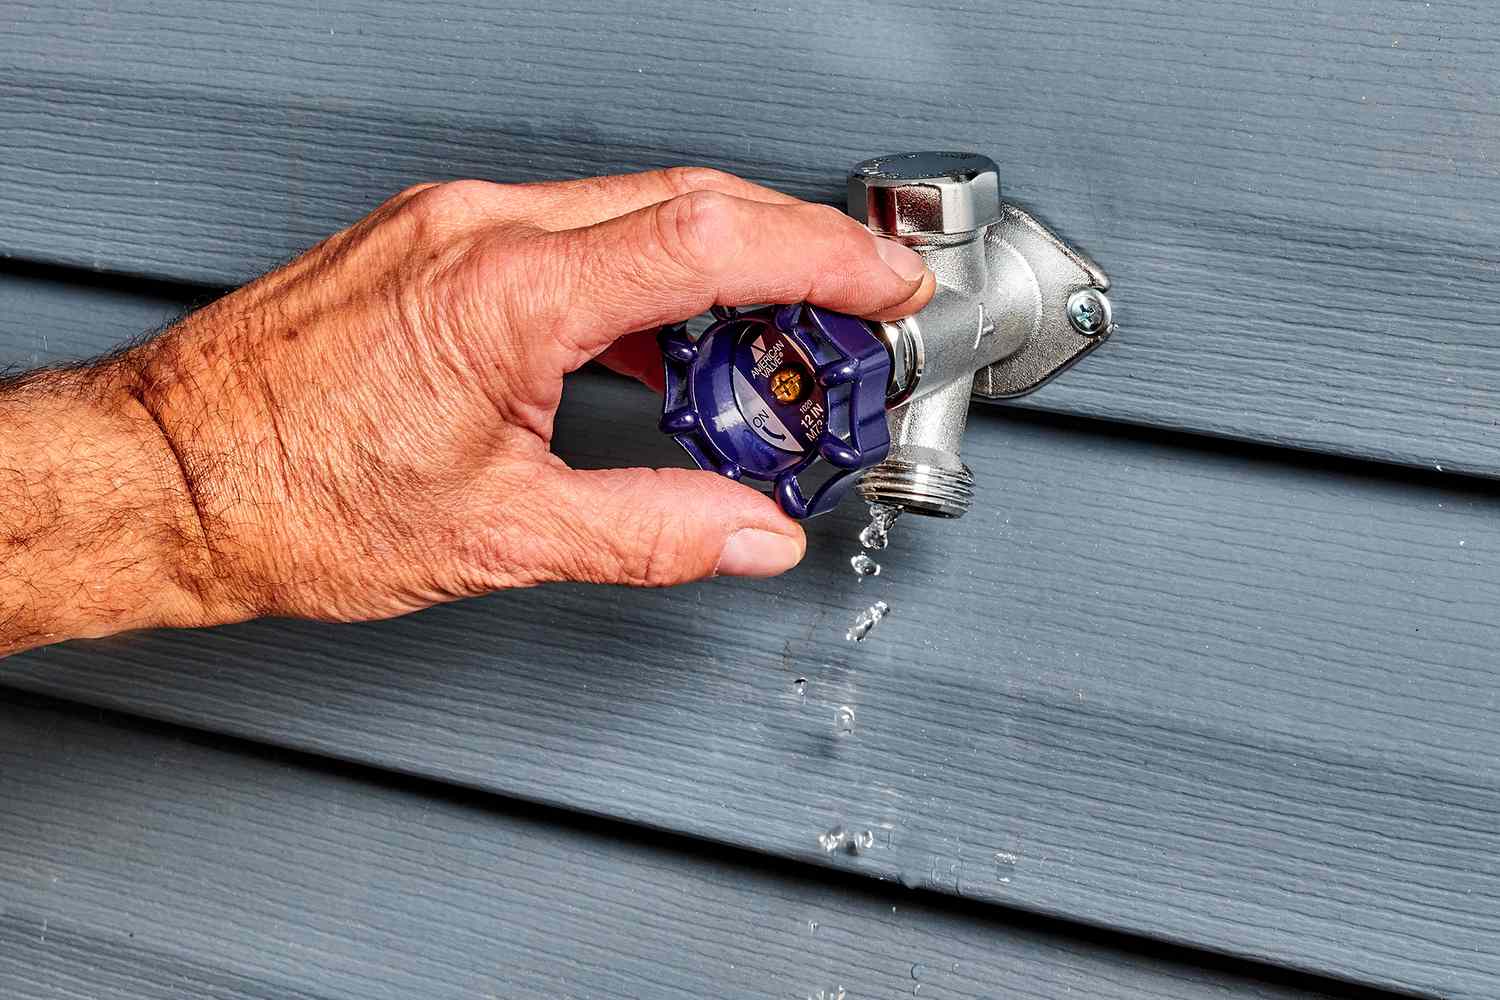
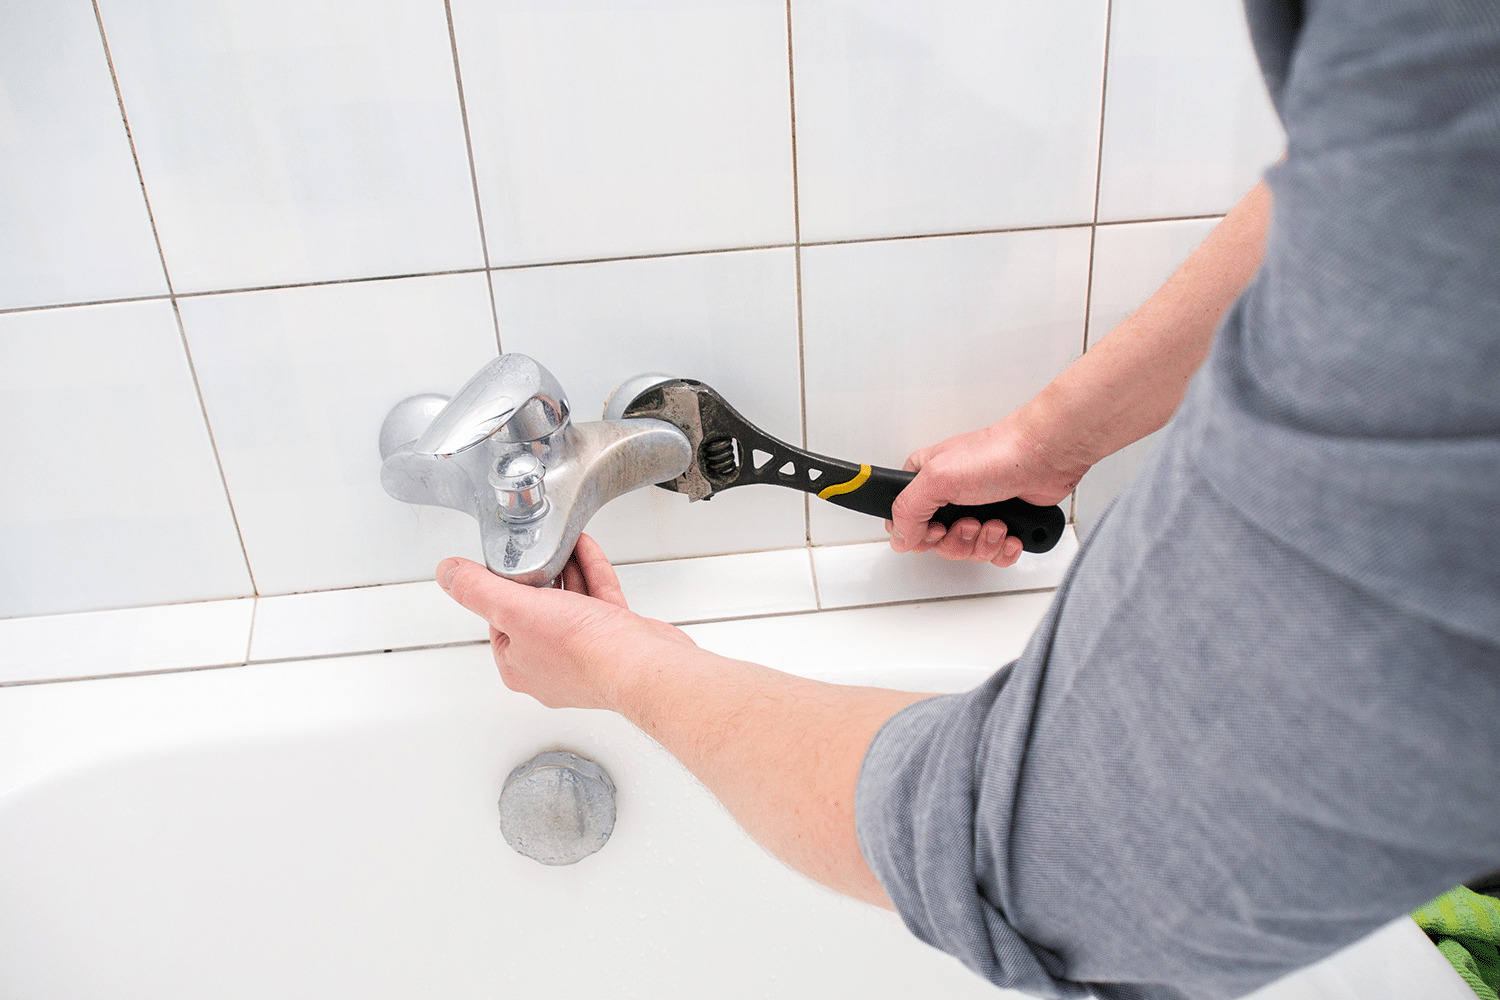
Step 1: Turn off the Water Supply
The first step in fixing a leaking faucet in your bathroom sink is to turn off the water supply. This is important to prevent any water from flowing while you work on the faucet. Here’s how you can do it:
- Locate the shut-off valve: Look under the sink for the shut-off valve. It is usually located on the water supply line leading to the faucet.
- Turn off the water supply: Once you’ve located the shut-off valve, turn it clockwise to shut off the water supply. You may need to use an adjustable wrench to turn the valve if it’s tight or difficult to move.
- Open the faucet: After shutting off the water supply, open the faucet handles to release any remaining water in the pipes. This will help relieve the pressure and ensure that no water is left in the system.
Once the water supply is turned off and the faucet is open, you can proceed to the next step of fixing the leaking faucet. It’s important to ensure the water supply is completely shut off to avoid any accidental water leakage during the repair process.
Now that you’ve successfully turned off the water supply, we can move on to the next step: removing the faucet handle. Continue following the step-by-step guide to fix your leaking faucet in the bathroom sink.
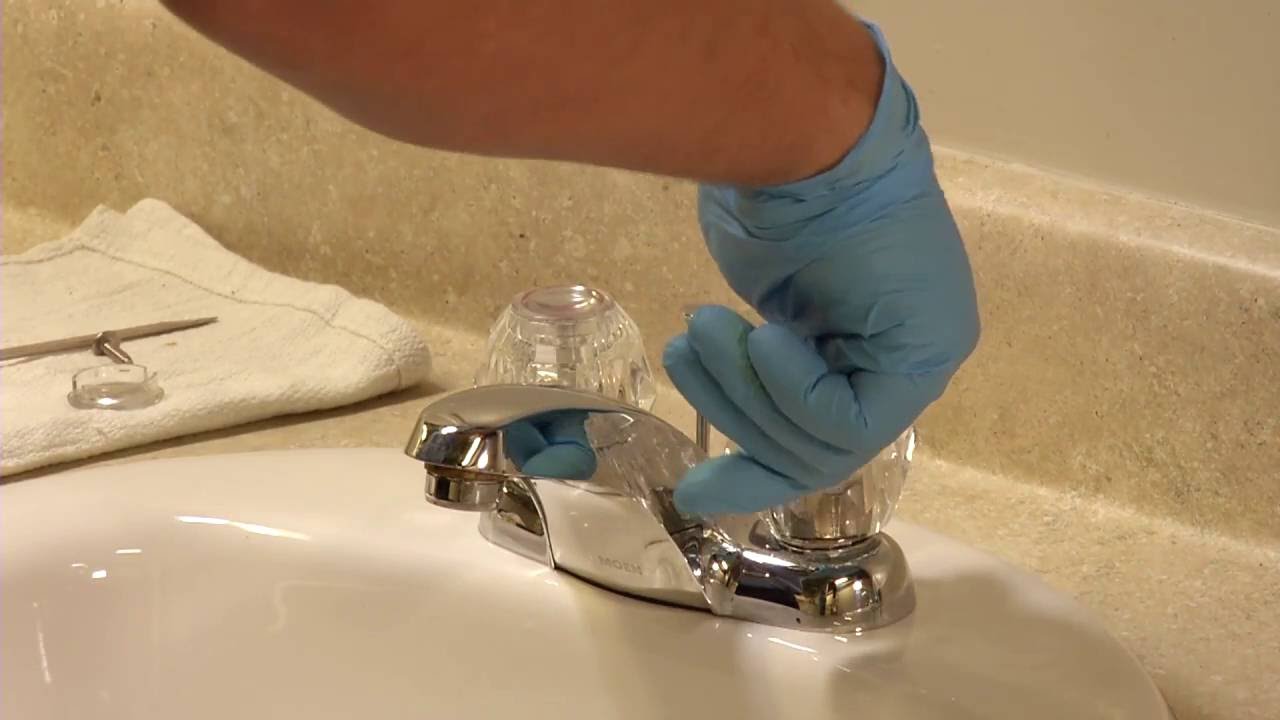
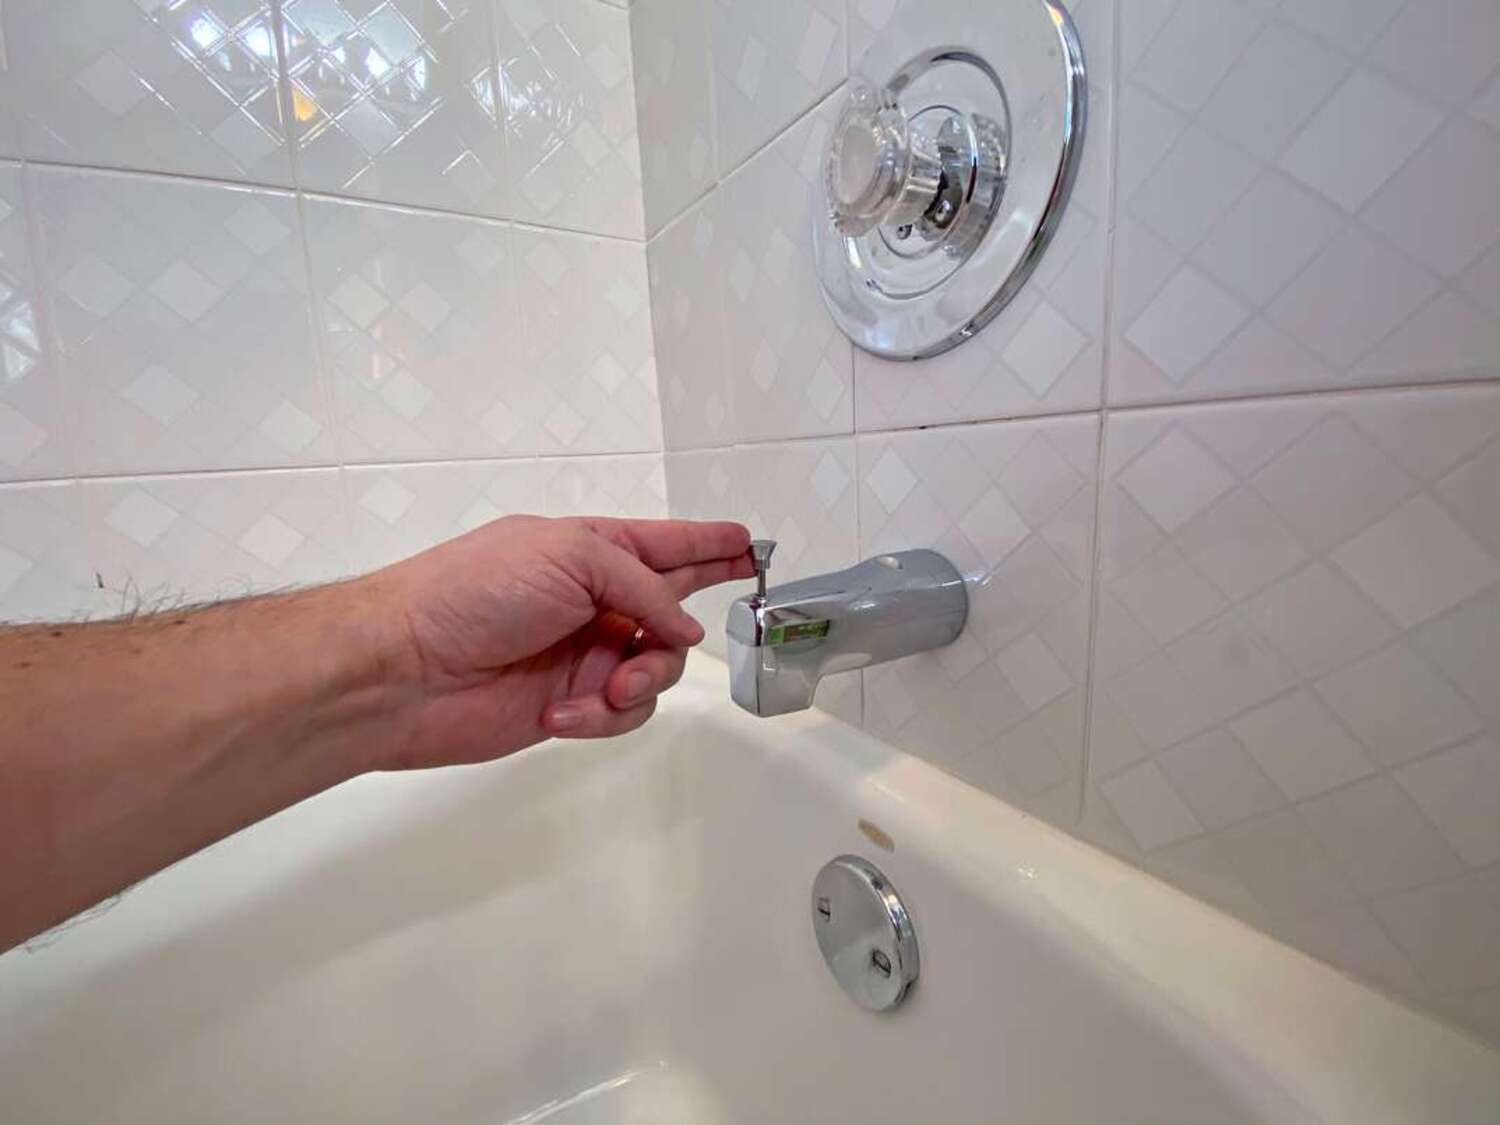
Step 2: Remove the Faucet Handle
Now that the water supply is turned off, it’s time to remove the faucet handle. This will give you access to the components that may be causing the leak. Follow these steps to remove the faucet handle:
- Inspect the handle: Take a close look at the faucet handle and locate any decorative caps or covers. These caps are often found on top of the handle or at the base. Use a small flathead screwdriver or a tool provided with the faucet to gently pry off the caps.
- Remove the screws: Once the caps are removed, you’ll see screws holding the faucet handle in place. Use a Phillips screwdriver to unscrew these screws counterclockwise. Set the screws aside in a safe place to avoid losing them.
- Remove the handle: With the screws removed, carefully lift the faucet handle off the stem. If the handle is stuck or difficult to remove, gently wiggle it back and forth while applying upward pressure. Be cautious not to apply too much force to avoid damaging the handle or stem.
Once the faucet handle is successfully removed, you can proceed to the next step of inspecting and replacing the necessary components. Removing the handle is a crucial step in the repair process, as it allows you to access the internal parts of the faucet and identify the cause of the leak. Follow the step-by-step guide to fix your leaking faucet in the bathroom sink.
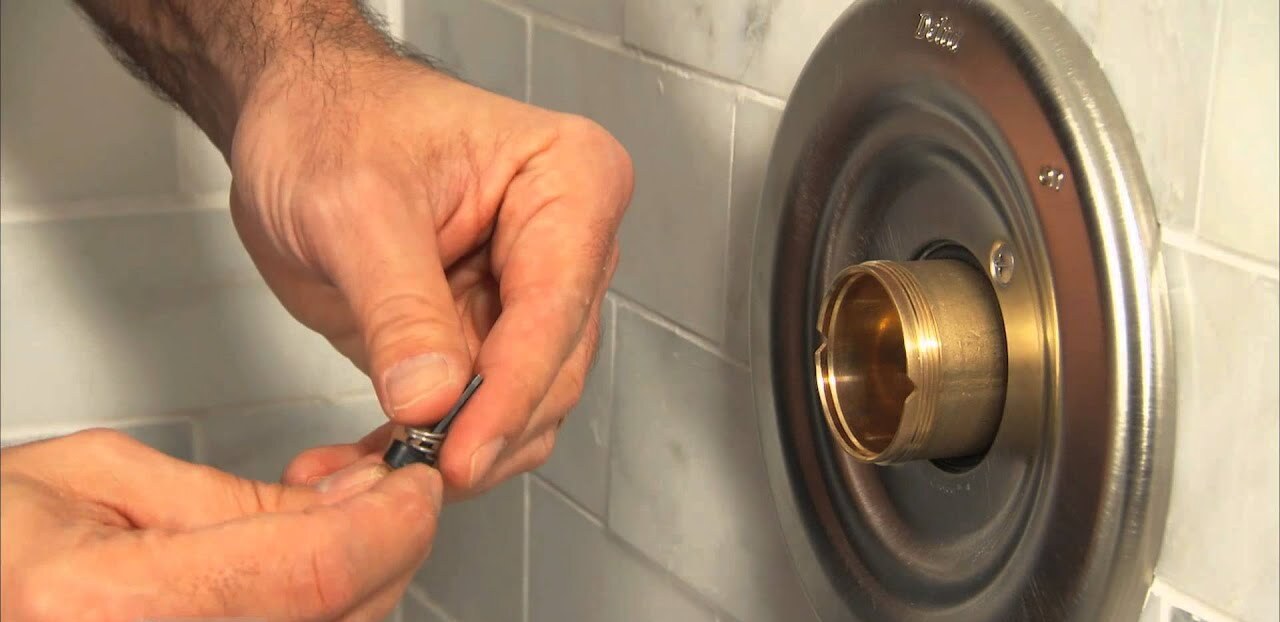
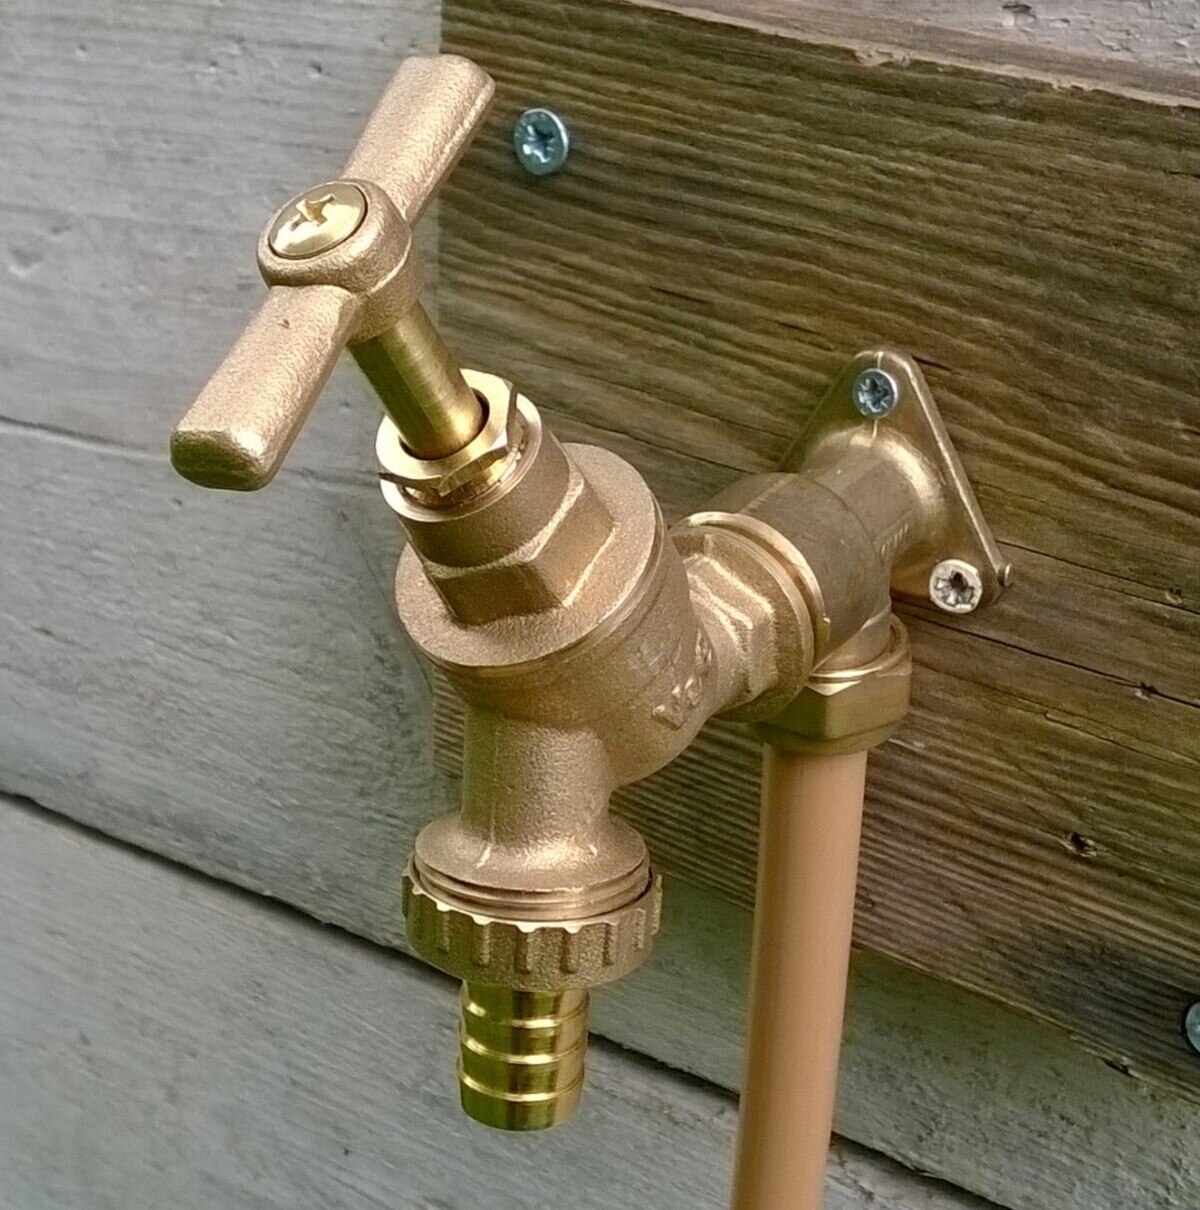
Step 3: Inspect and Replace the O-Ring
With the faucet handle removed, you can now inspect the O-ring, which is a common culprit of a leaking faucet. The O-ring is a small rubber ring that provides a watertight seal between the handle and the faucet body. Follow these steps to inspect and replace the O-ring if necessary:
- Inspect the O-ring: Take a close look at the O-ring for any signs of wear, cracking, or damage. If the O-ring is worn out or torn, it may not be creating a proper seal, resulting in a leak. The O-ring is usually located around the base of the faucet handle.
- Remove the old O-ring: If the O-ring is damaged or worn out, gently pry it off the faucet body using a small flathead screwdriver or your fingers. Be careful not to scratch or damage the surrounding area.
- Replace with a new O-ring: Once the old O-ring is removed, replace it with a new one of the same size and shape. Lubricate the new O-ring with a small amount of plumber’s grease or water-based lubricant to ensure a smooth installation and proper seal.
- Reassemble the faucet handle: Carefully place the faucet handle back onto the stem, aligning it properly. Secure the handle by tightening the screws clockwise with a Phillips screwdriver.
After replacing the O-ring, reassemble the remaining components of the faucet handle. Make sure everything is tightly secured but be cautious not to over-tighten, as it can cause damage. Once the handle is back in place, it’s time to move on to the next step of the repair process.
Now that you’ve inspected and replaced the O-ring if necessary, continue following the step-by-step guide to fix your leaking faucet in the bathroom sink.
Check the faucet’s O-ring, valve seat, and washers for wear and tear. Replace any damaged parts to fix the leak.
Read more: How To Fix A Leaking Shower Faucet
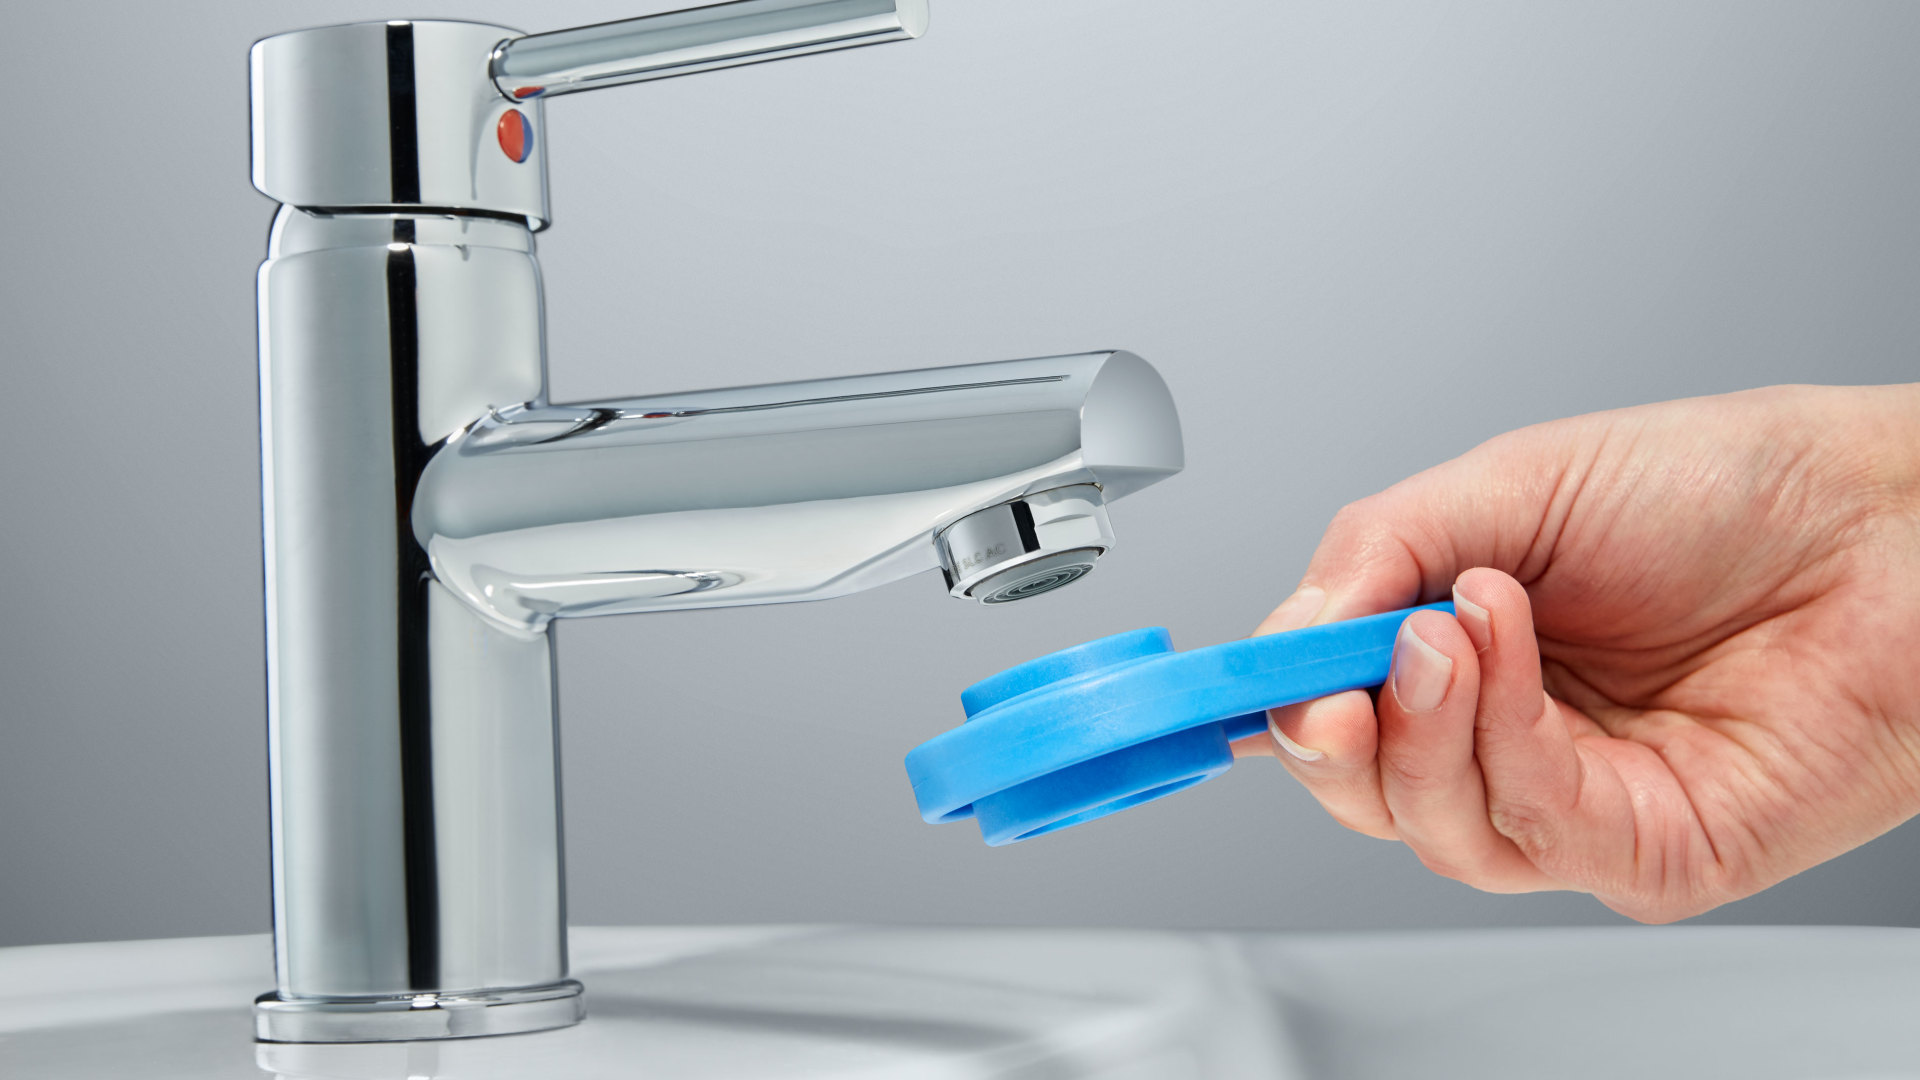
Step 4: Check and Replace the Cartridge
If your faucet is still leaking after replacing the O-ring, the next component to inspect is the cartridge. The cartridge is responsible for controlling the flow of water in the faucet. Follow these steps to check and replace the cartridge if needed:
- Remove the cartridge: Locate the cartridge inside the faucet body. It is usually situated beneath the handle. Depending on the faucet model, you may need to unscrew the cartridge or use a cartridge removal tool to extract it. Refer to the manufacturer’s instructions for specific guidance.
- Inspect the cartridge: Once the cartridge is removed, examine it for any signs of damage, corrosion, or wear. Look for any cracks, leaks, or mineral buildup. These issues can cause the cartridge to malfunction and result in a leaking faucet.
- Replace with a new cartridge: If the cartridge is damaged or shows signs of wear, replace it with a new one. Make sure to purchase a compatible cartridge that matches your faucet model. Insert the new cartridge into the faucet body, following the correct orientation as indicated in the manufacturer’s instructions.
- Reassemble the faucet handle: Place the faucet handle back on the stem and secure it with the screws in a clockwise direction. Ensure that the handle is properly aligned and tightened, but avoid over-tightening.
Once the new cartridge is installed and the faucet handle is reassembled, the leak should be resolved. If the issue persists, you may need to consult a professional plumber for further assistance or consider replacing the entire faucet.
Now that you’ve checked and replaced the cartridge if necessary, continue following the step-by-step guide to fix your leaking faucet in the bathroom sink.
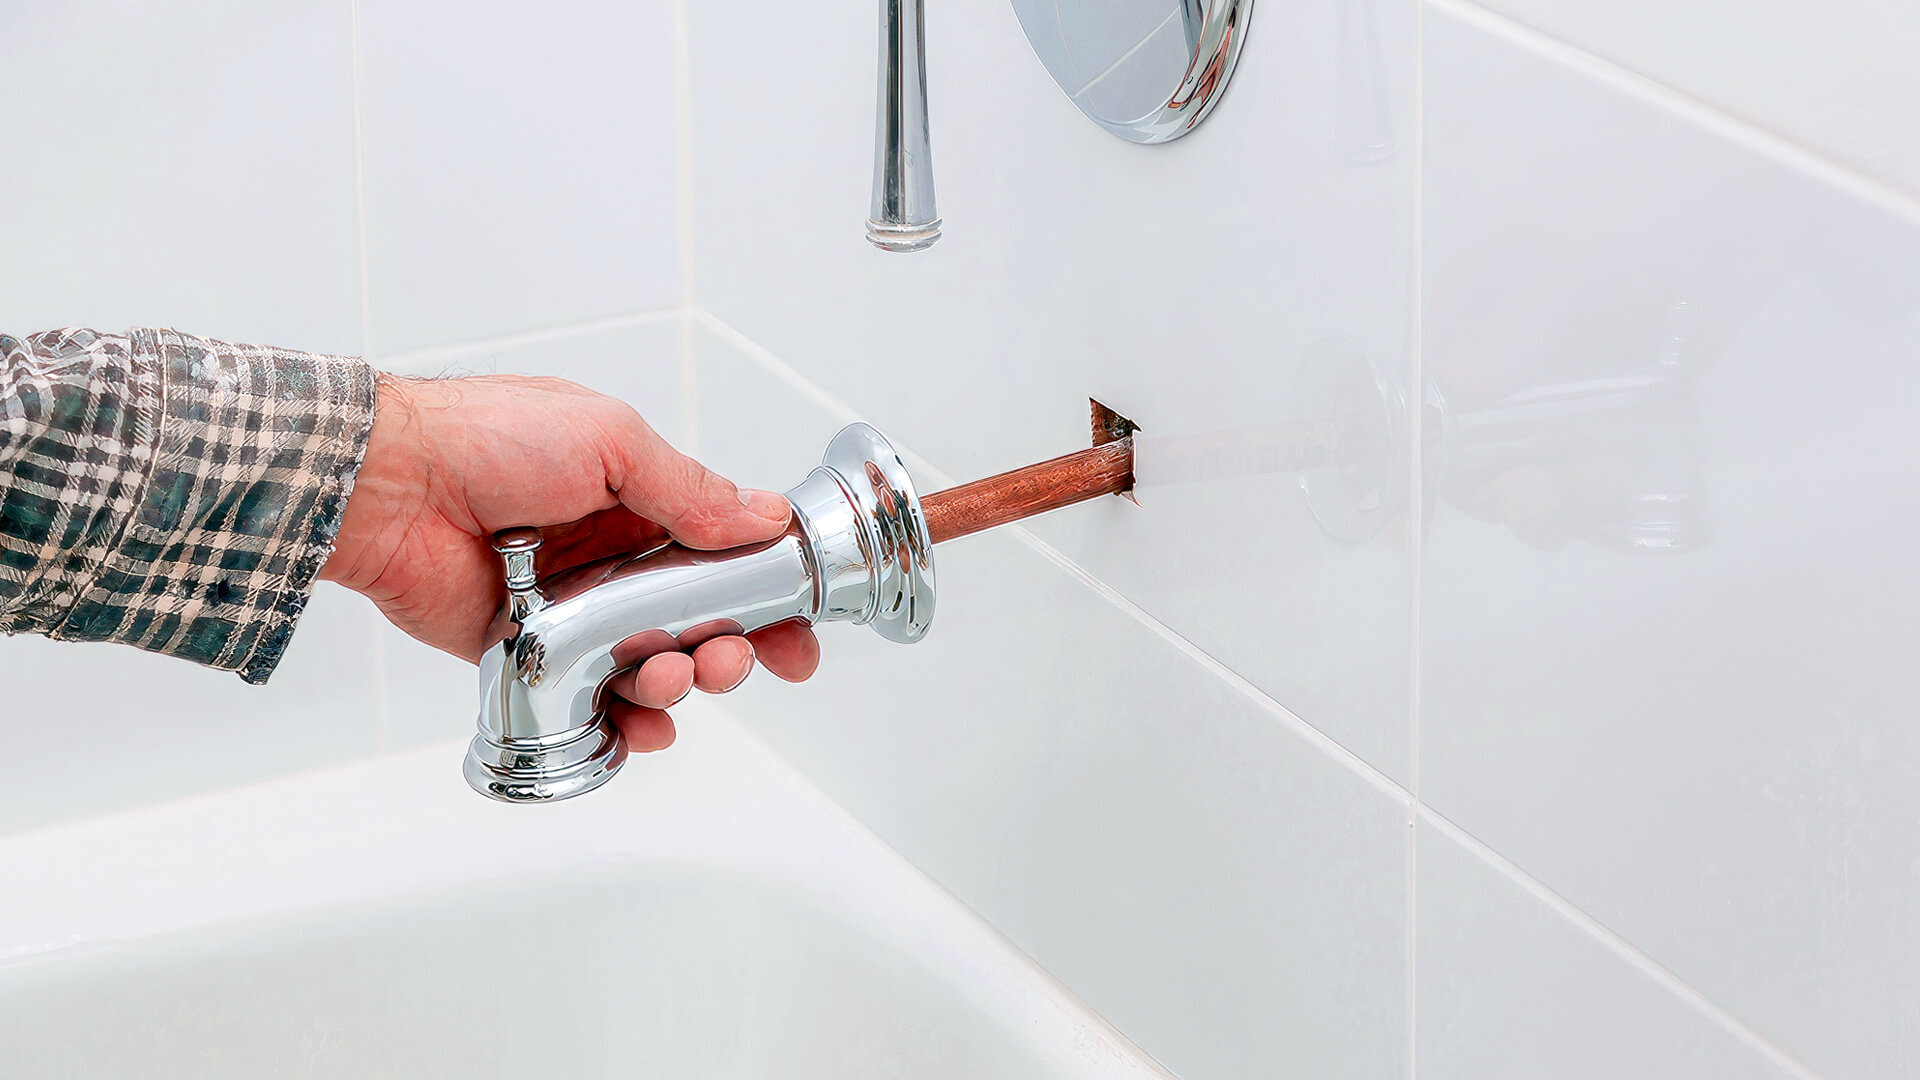
Step 5: Reassemble the Faucet Handle
After inspecting and replacing the necessary components, it’s time to reassemble the faucet handle. Reassembling the handle properly is crucial to ensure a secure and leak-free connection. Follow these steps to reassemble the faucet handle:
- Place the handle back onto the stem: Align the faucet handle with the stem and carefully slide it back into position. Make sure it fits snugly and sits flush against the faucet body.
- Tighten the screws: Once the handle is in place, use a Phillips screwdriver to tighten the screws in a clockwise direction. Ensure that the screws are securely fastened, but be cautious not to overtighten as it can damage the handle or other components.
- Replace any decorative caps or covers: If your faucet has decorative caps or covers, reinstall them by gently pressing them back into their respective positions. Ensure that they fit securely and are aligned correctly.
Take note of any specific instructions provided by the manufacturer regarding the reassembly process. It’s important to follow these instructions to ensure a proper and secure fit of the faucet handle.
Once you have reassembled the faucet handle, give it a gentle test by turning it on and off. Check for any leaks or unusual movements. If everything appears to be working fine, you can proceed to the final step of fixing your leaking faucet.
Now that you have reassembled the faucet handle, continue to the last step of the repair process to complete the task of fixing your leaking faucet in the bathroom sink.
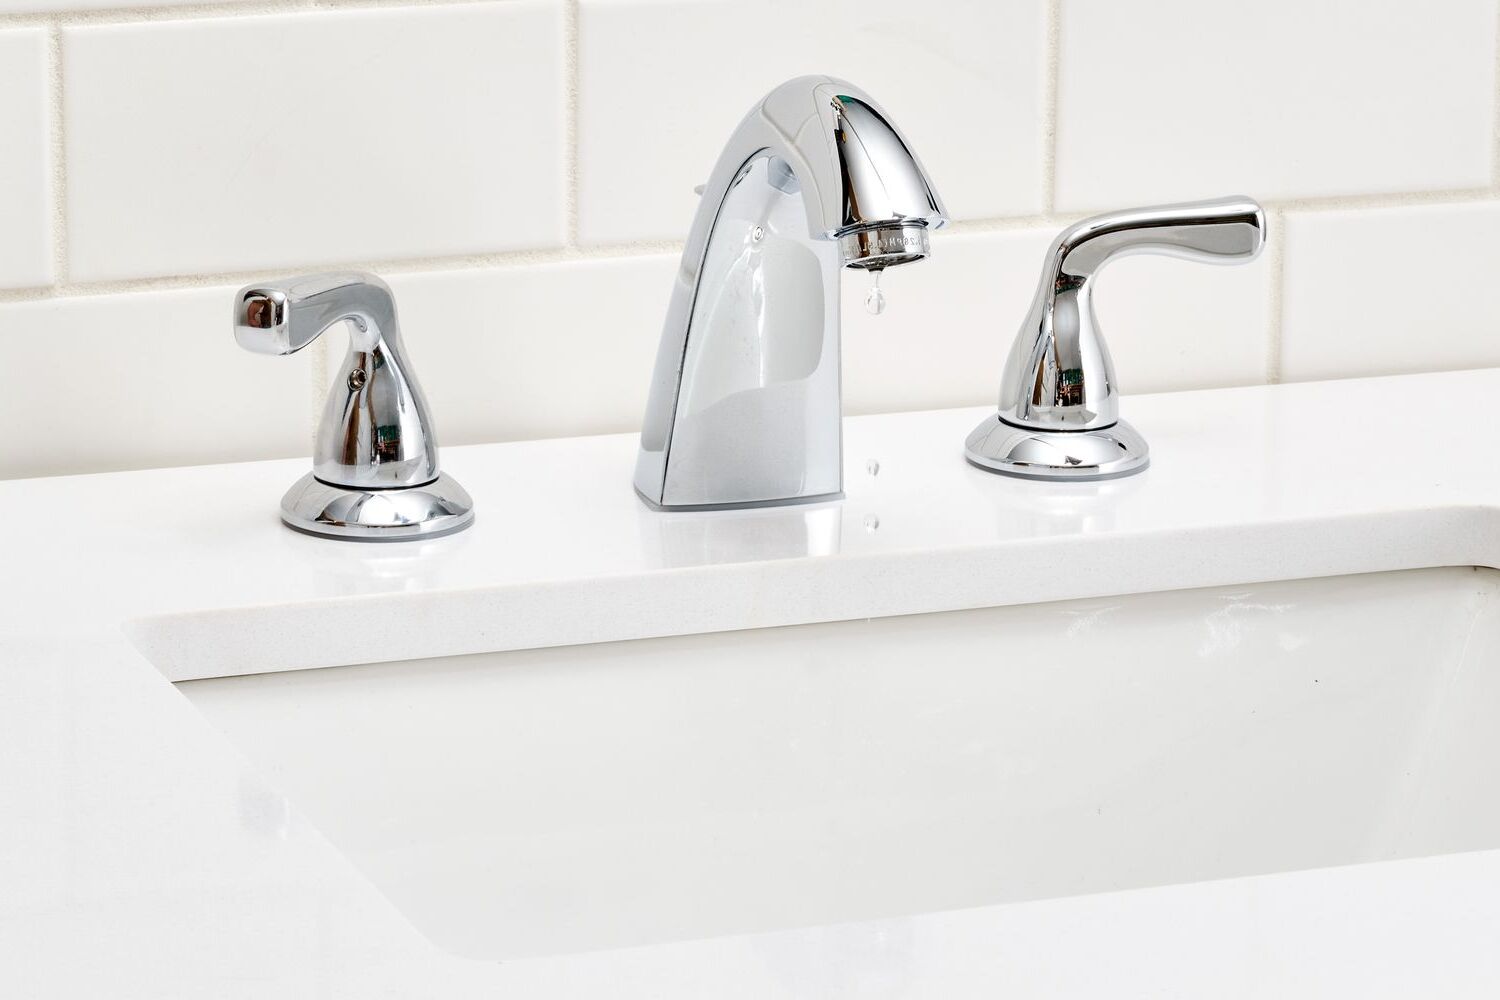
Step 6: Turn on the Water Supply
Now that you have completed the necessary repairs and reassembled the faucet handle, it’s time to turn on the water supply and check for any remaining leaks. Here’s how you can do it:
- Locate the shut-off valve: As you did in Step 1, locate the shut-off valve under the sink that controls the water supply to the faucet.
- Turn on the water supply: Using your adjustable wrench, turn the shut-off valve counterclockwise to gradually open the water supply. Be careful not to twist it too quickly, as it can cause water hammer or sudden pressure surges.
- Check for leaks: After you have opened the water supply, closely inspect the area around the repaired faucet for any signs of leaks. Look for dripping water, moisture, or any unusual water flow. If you notice any leaks, shut off the water supply immediately and make any necessary adjustments or repairs.
If there are no leaks and the faucet is functioning properly, congratulations! You have successfully fixed your leaking faucet in the bathroom sink.
It’s a good idea to give the faucet a few test runs by turning it on and off to ensure that it operates smoothly and doesn’t show any signs of leakage. Additionally, check the water flow and temperature to make sure everything is as it should be.
If you do encounter any issues or persistent leaks, it may be necessary to seek assistance from a professional plumber. They can provide further guidance and help resolve any underlying problems that may be causing the leak.
Congratulations on successfully fixing your leaking faucet in the bathroom sink! By following these steps and taking the necessary precautions, you’ve not only resolved the issue but also saved water and prevented potential water damage. Remember to periodically check your faucets for any signs of leaks and address them promptly to avoid further complications.
Conclusion
Fixing a leaking faucet in the bathroom sink is a task that can be accomplished with the right tools and a little bit of knowledge. By following the steps outlined in this article, you can successfully repair a leaking faucet and save yourself from unnecessary water waste and potential damage to your home. Whether it’s a faulty O-ring or a malfunctioning cartridge, identifying the problem and taking the appropriate measures to fix it can make a significant difference.
Remember, before you begin any repairs, gather all the necessary tools and materials and ensure that the water supply is turned off. Take your time during the process to carefully inspect and replace the components as needed. Reassemble the faucet handle, being mindful of not over-tightening any screws or damaging any parts.
Once the repairs are complete, it’s important to turn on the water supply and check for any remaining leaks. Be thorough in your inspection and make any adjustments or repairs as required. By doing so, you can be confident that your faucet is now in proper working condition.
If you encounter any difficulties during the repair process or the leaks persist even after your attempts, it is advisable to seek the help of a professional plumber. They have the expertise and knowledge to handle more complex faucet issues and can ensure a long-term solution.
Congratulations on taking the initiative to fix your leaking faucet! Not only have you prevented water wastage and potential damage, but you have also gained valuable knowledge and skills in basic plumbing repairs. Remember to regularly check your faucets for any signs of leaks and address them promptly to maintain the efficiency and longevity of your plumbing system.
Thank you for reading this article. We hope it has been informative and helpful in your quest to fix a leaking faucet in the bathroom sink.
Frequently Asked Questions about How To Fix Leaking Faucet In Bathroom Sink
Was this page helpful?
At Storables.com, we guarantee accurate and reliable information. Our content, validated by Expert Board Contributors, is crafted following stringent Editorial Policies. We're committed to providing you with well-researched, expert-backed insights for all your informational needs.


0 thoughts on “How To Fix Leaking Faucet In Bathroom Sink”