
Articles
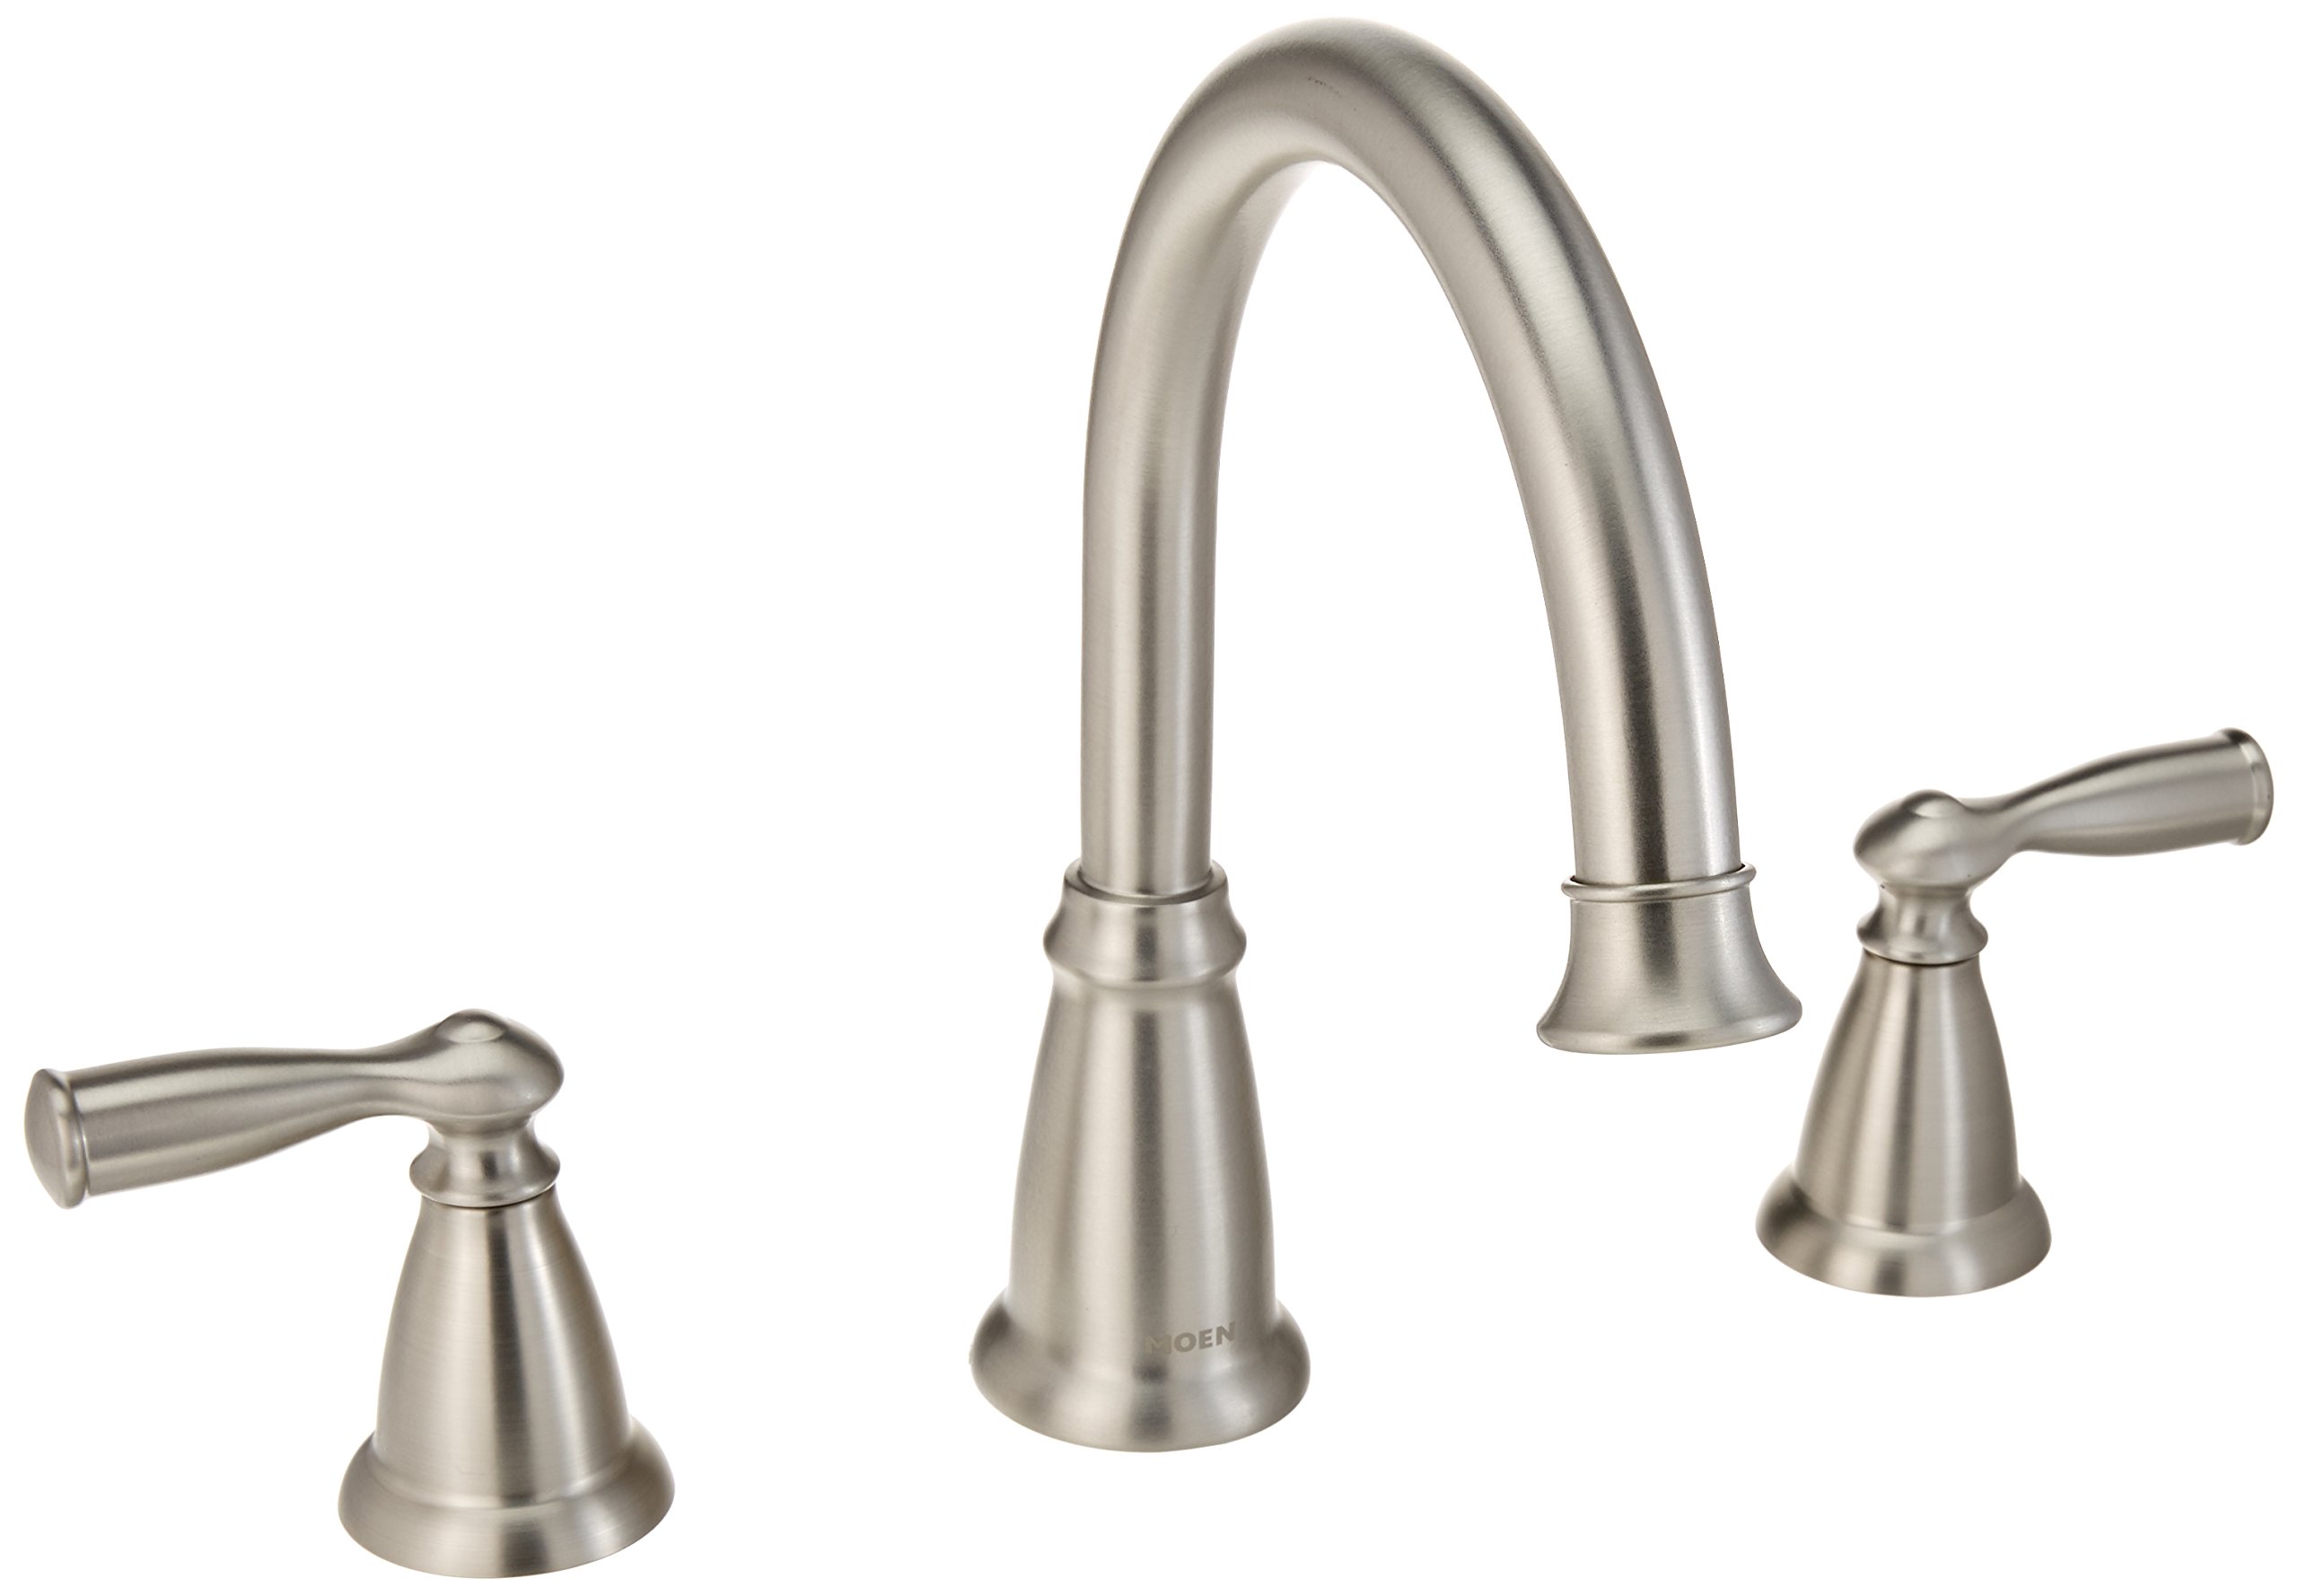
How To Fix A Leaky Moen Faucet
Modified: October 20, 2024
Learn how to easily fix a leaky Moen faucet with our helpful articles. Get step-by-step instructions and save money on plumbing repairs.
(Many of the links in this article redirect to a specific reviewed product. Your purchase of these products through affiliate links helps to generate commission for Storables.com, at no extra cost. Learn more)
Introduction
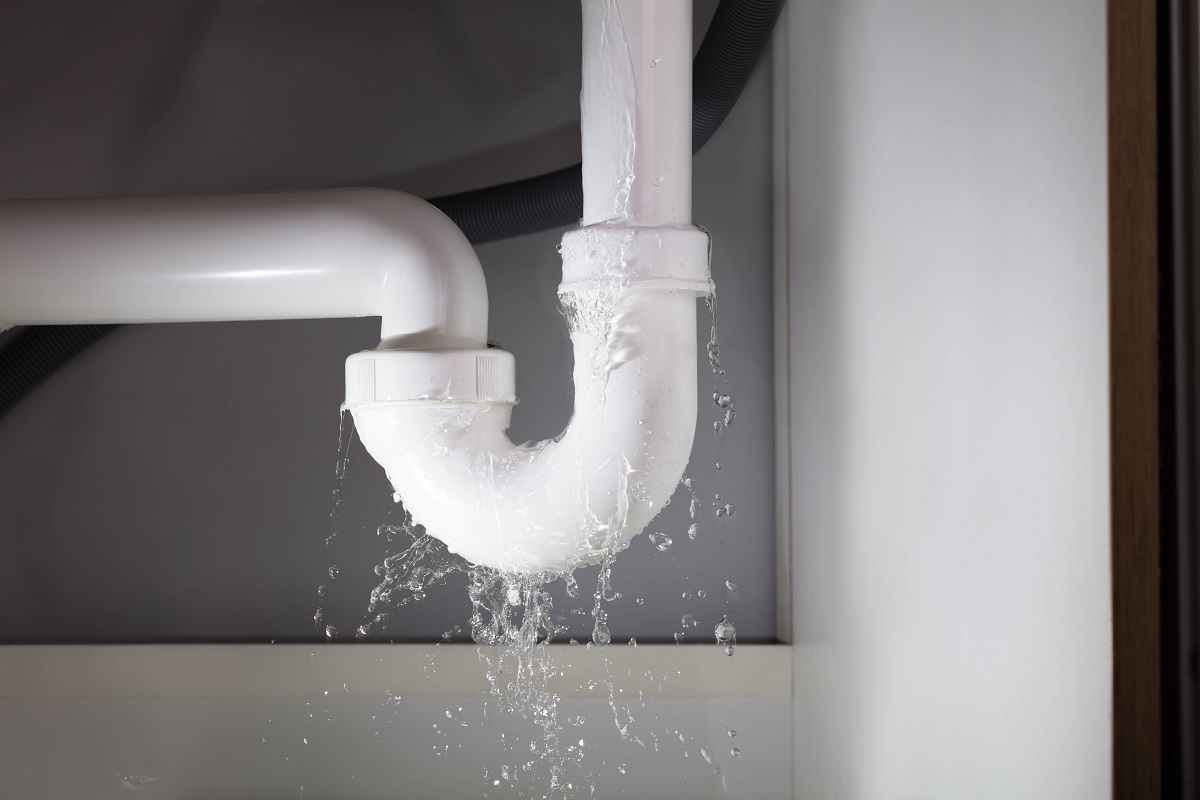
A leaky faucet can be a frustrating and wasteful problem to deal with. Not only does it create an annoying dripping sound, but it can also waste a significant amount of water over time if left unattended. Fortunately, fixing a leaky Moen faucet is a relatively simple task that you can do yourself with just a few tools and some basic knowledge.
In this article, we will guide you through the step-by-step process of fixing a leaky Moen faucet. Whether you have a single-handle or a double-handle Moen faucet, the procedure is generally the same. By following these instructions, you can save yourself the time and money of calling a plumber and have your faucet working like new in no time.
Key Takeaways:
- Save time and money by fixing your leaky Moen faucet yourself with just a few tools and some basic knowledge. Shut off the water supply, inspect and clean the cartridge, and test for leaks to ensure a successful repair.
- Restoring your leaky Moen faucet’s functionality is easy with the right tools and materials. Follow the step-by-step process to replace the cartridge, reassemble the faucet handle, and thoroughly test for leaks.
Read more: How To Fix A Leaky Faucet
Tools and Materials Needed
Before you begin, gather the following tools and materials:
- Adjustable wrench
- Phillips screwdriver
- Allen wrench
- Replacement cartridge
- Plumber’s tape
- Clean cloth or rag
- Bucket or towel
Having these tools and materials ready will ensure that you have everything you need to complete the job without any interruptions.
Step 1: Shutting off the Water Supply
The first step in fixing a leaky Moen faucet is to shut off the water supply. Locate the shutoff valves under the sink and turn off both the hot and cold water supply. You can also shut off the main water supply if you are unable to locate the individual shutoff valves.
Once the water supply is turned off, turn on the faucet to release any remaining water in the lines. This will help prevent any potential water leaks or messy spills during the repair process. Place a bucket or towel underneath the sink to catch any water that may drip out.
It’s important to ensure that the water supply is completely shut off before proceeding to the next steps.
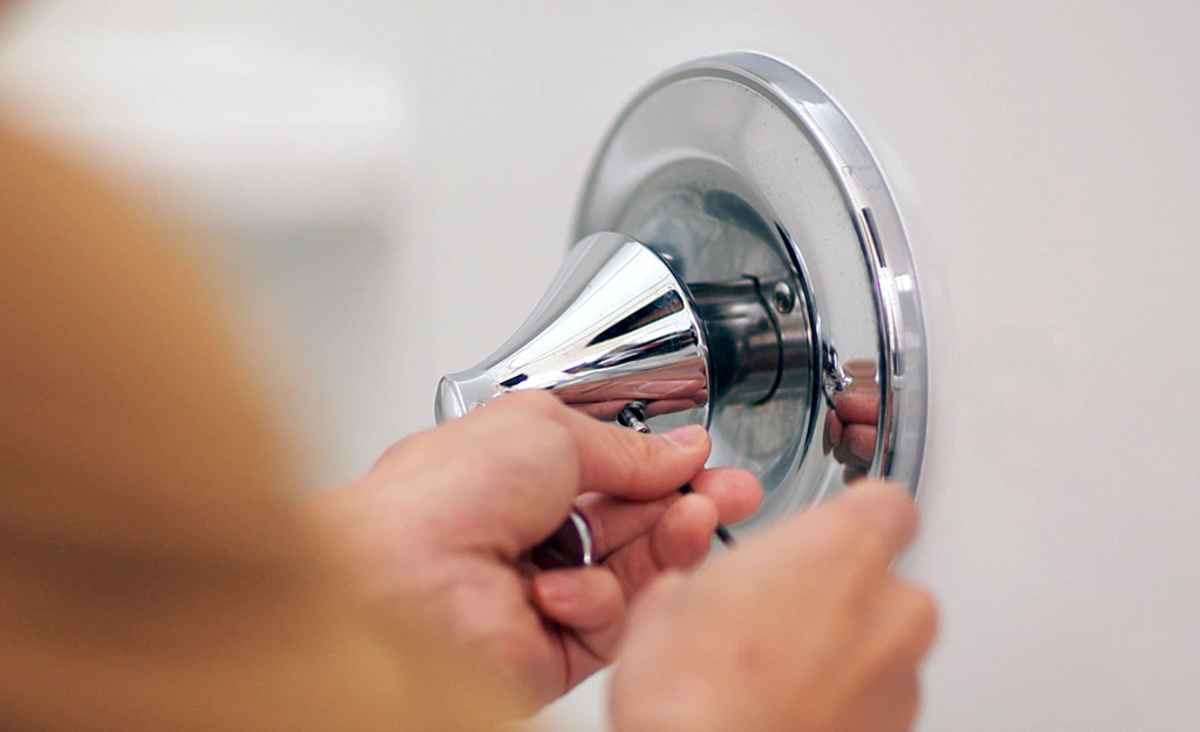
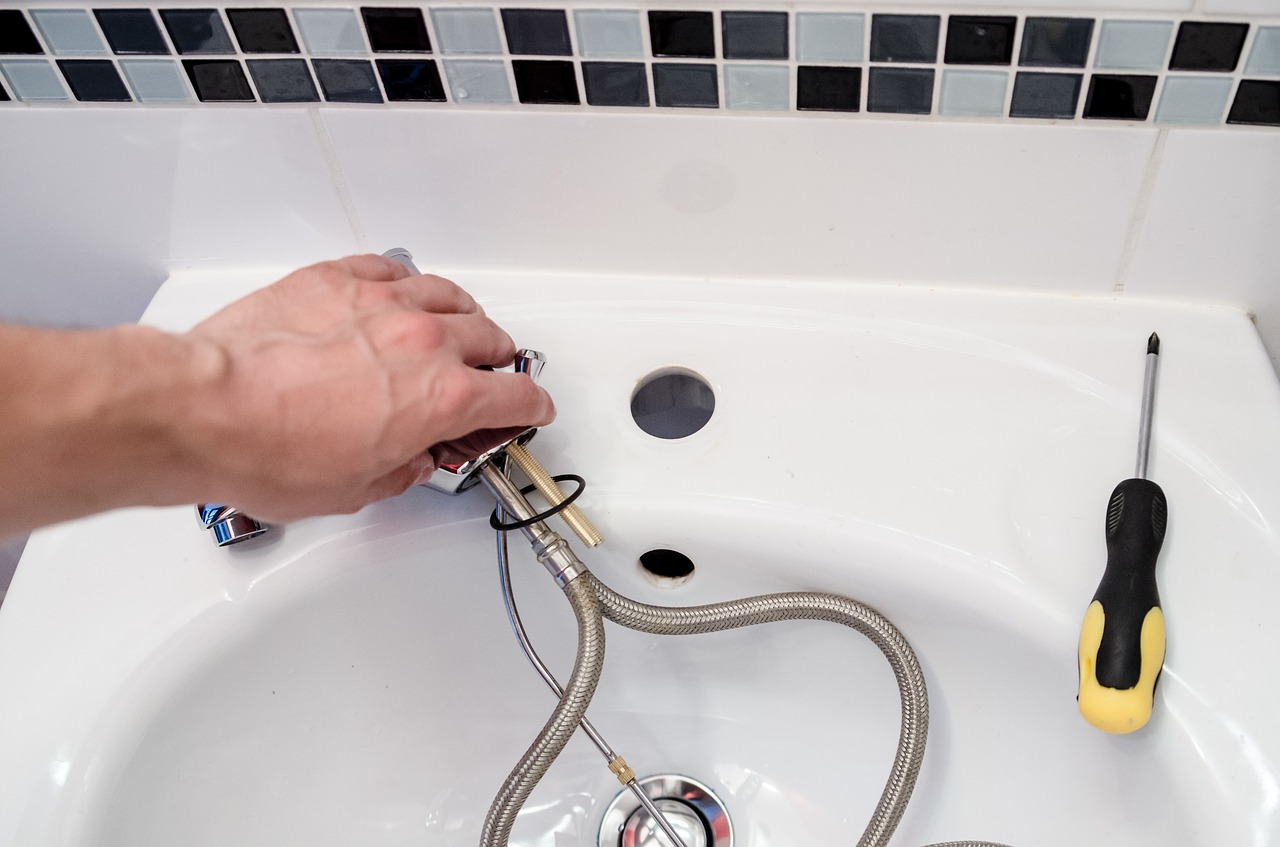
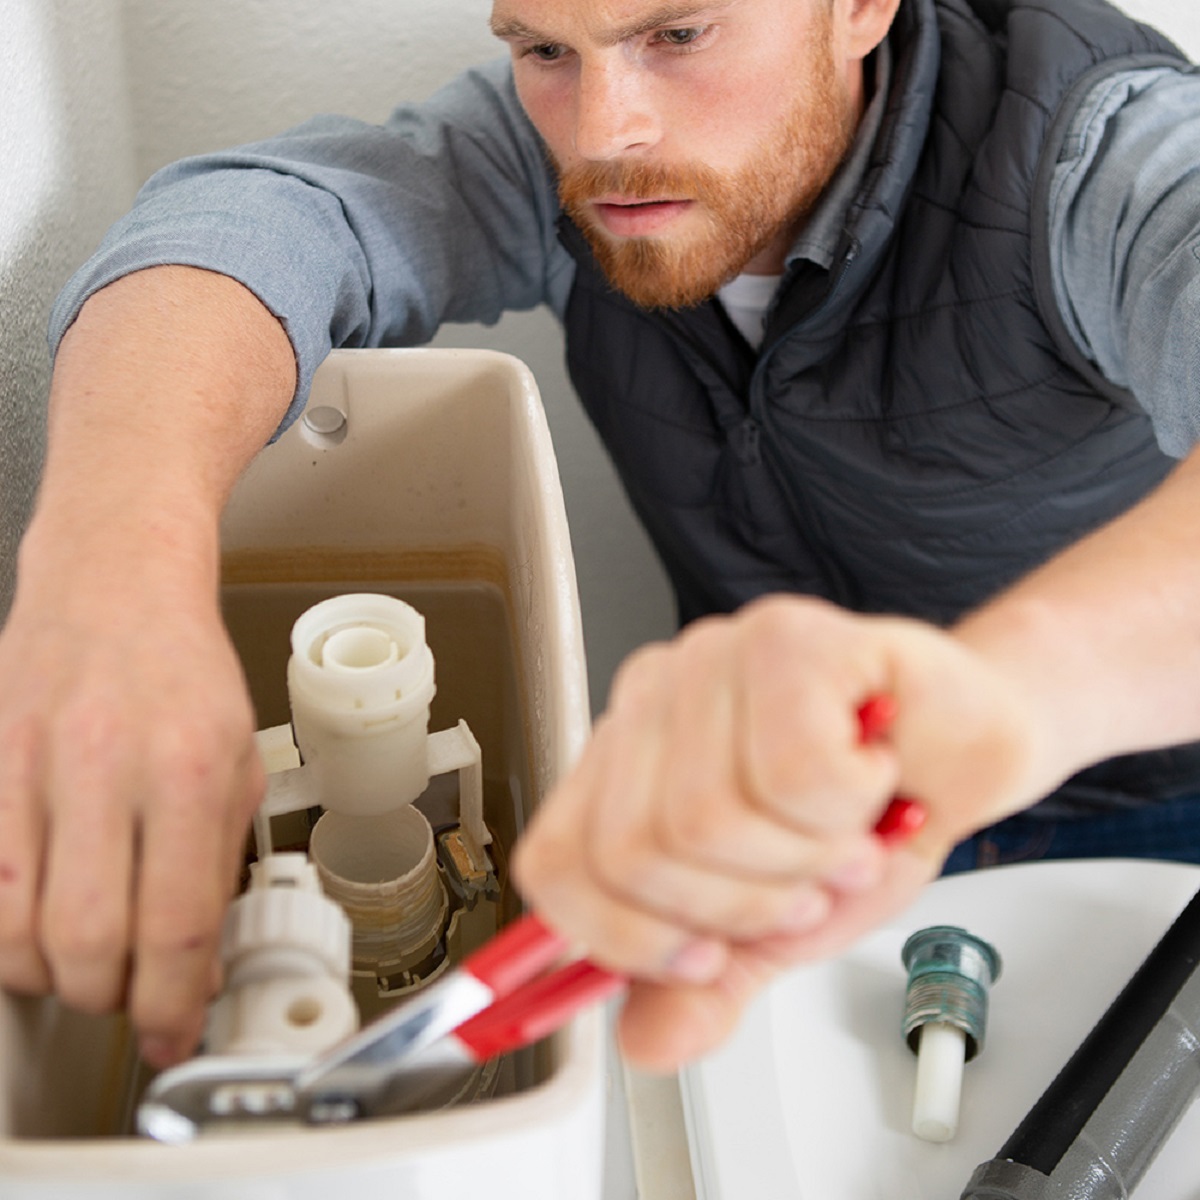
Step 2: Removing the Faucet Handle
Once the water supply is shut off, you can begin removing the faucet handle. The process may vary slightly depending on whether you have a single-handle or double-handle Moen faucet.
For a single-handle faucet:
- Locate the set screw on the handle. This is usually located underneath a small cap or button on the handle.
- Use an Allen wrench to loosen and remove the set screw.
- Gently pull off the faucet handle, exposing the cartridge beneath.
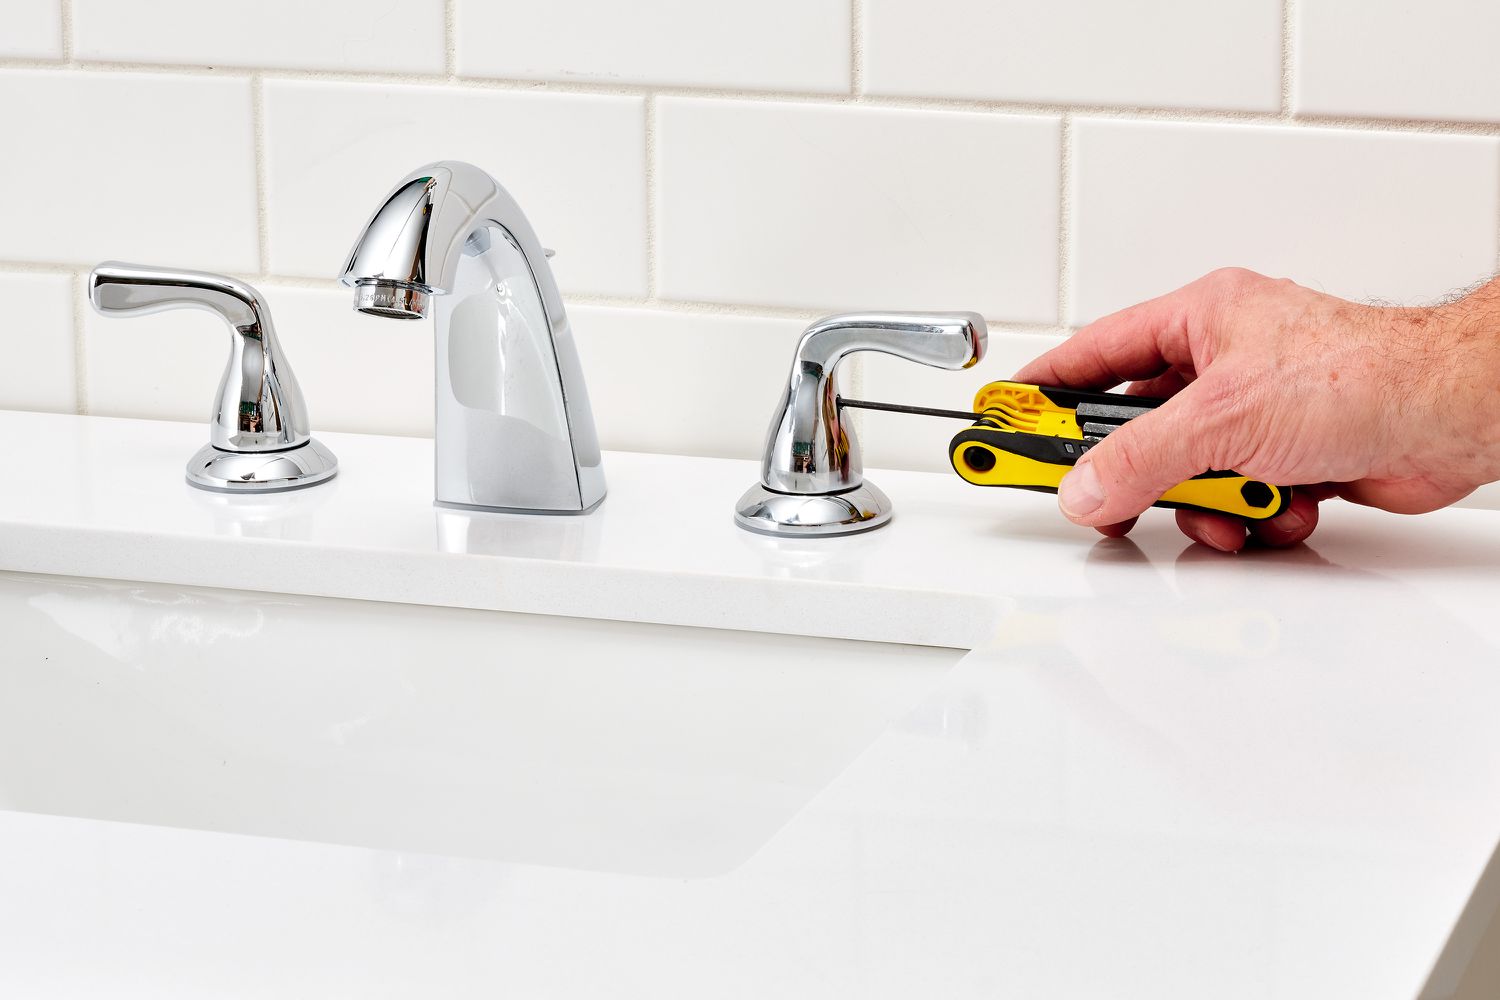
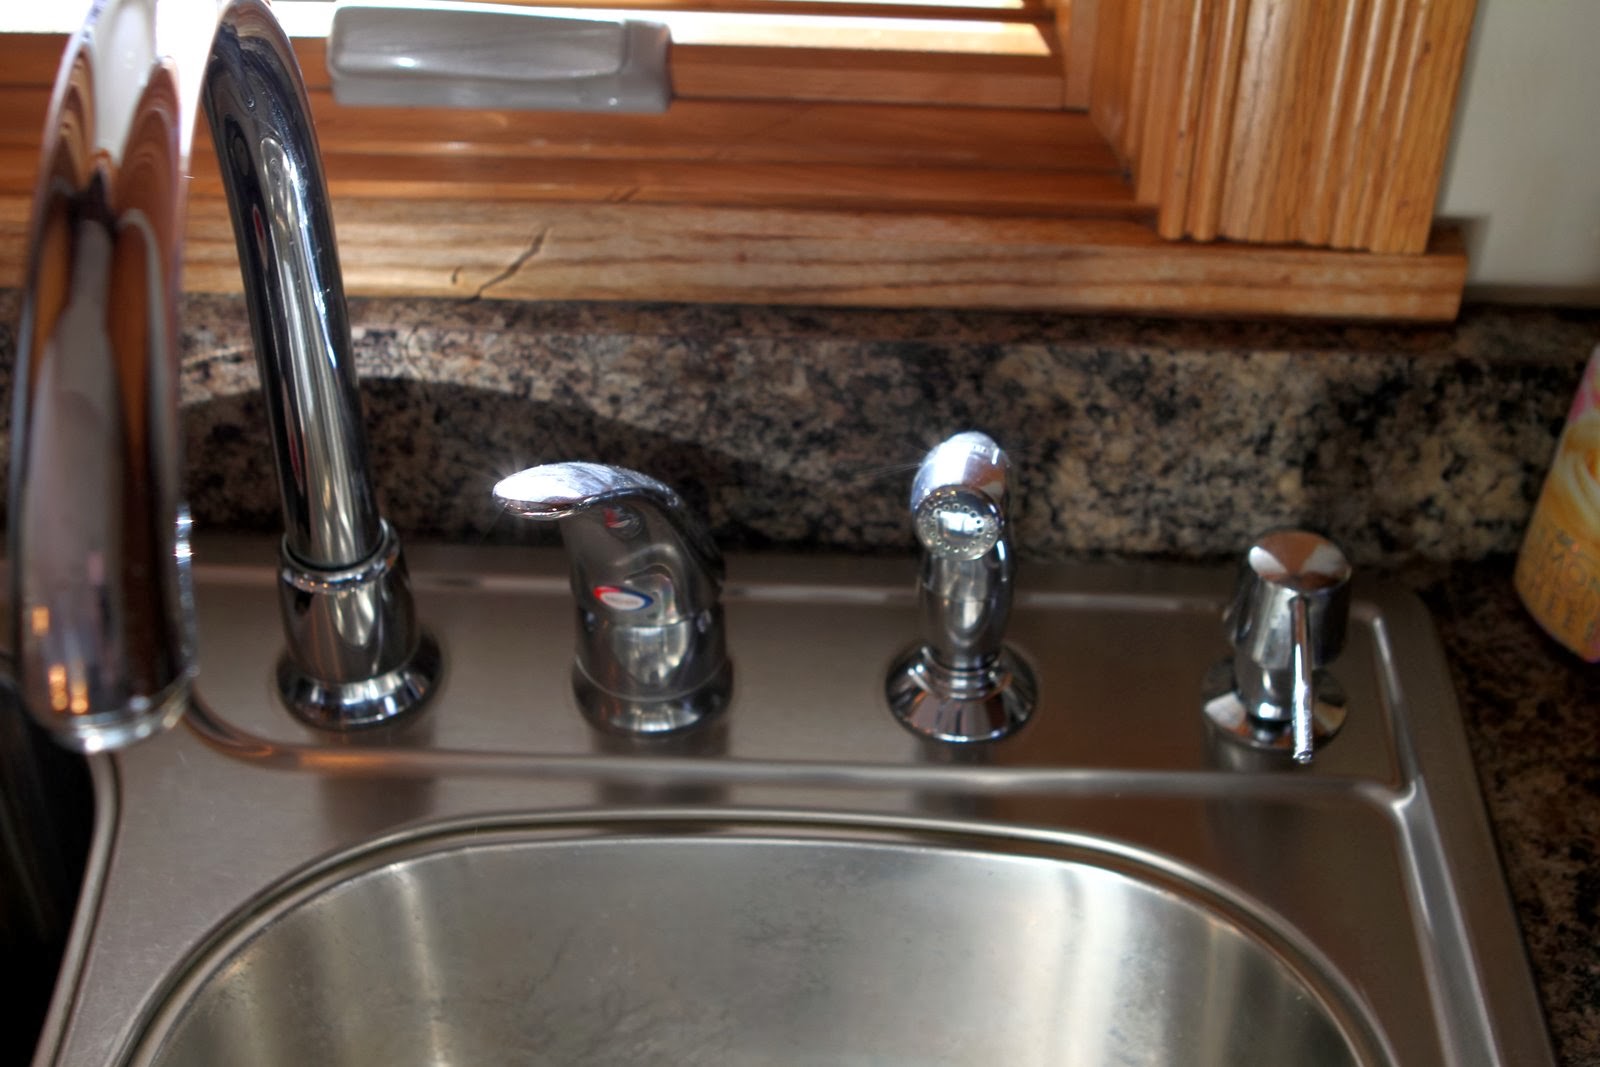
For a double-handle faucet:
- Locate the decorative cap on top of each handle.
- Use a small flathead screwdriver to gently pry off the cap.
- Once the cap is removed, you will see a screw. Use a Phillips screwdriver to remove the screw from each handle.
- Gently pull off the handles, revealing the cartridges beneath.
Removing the faucet handle will provide you with access to the cartridge, which is often the cause of the leak. By following these steps, you’ll be prepared to move on to the next phase of the repair process.
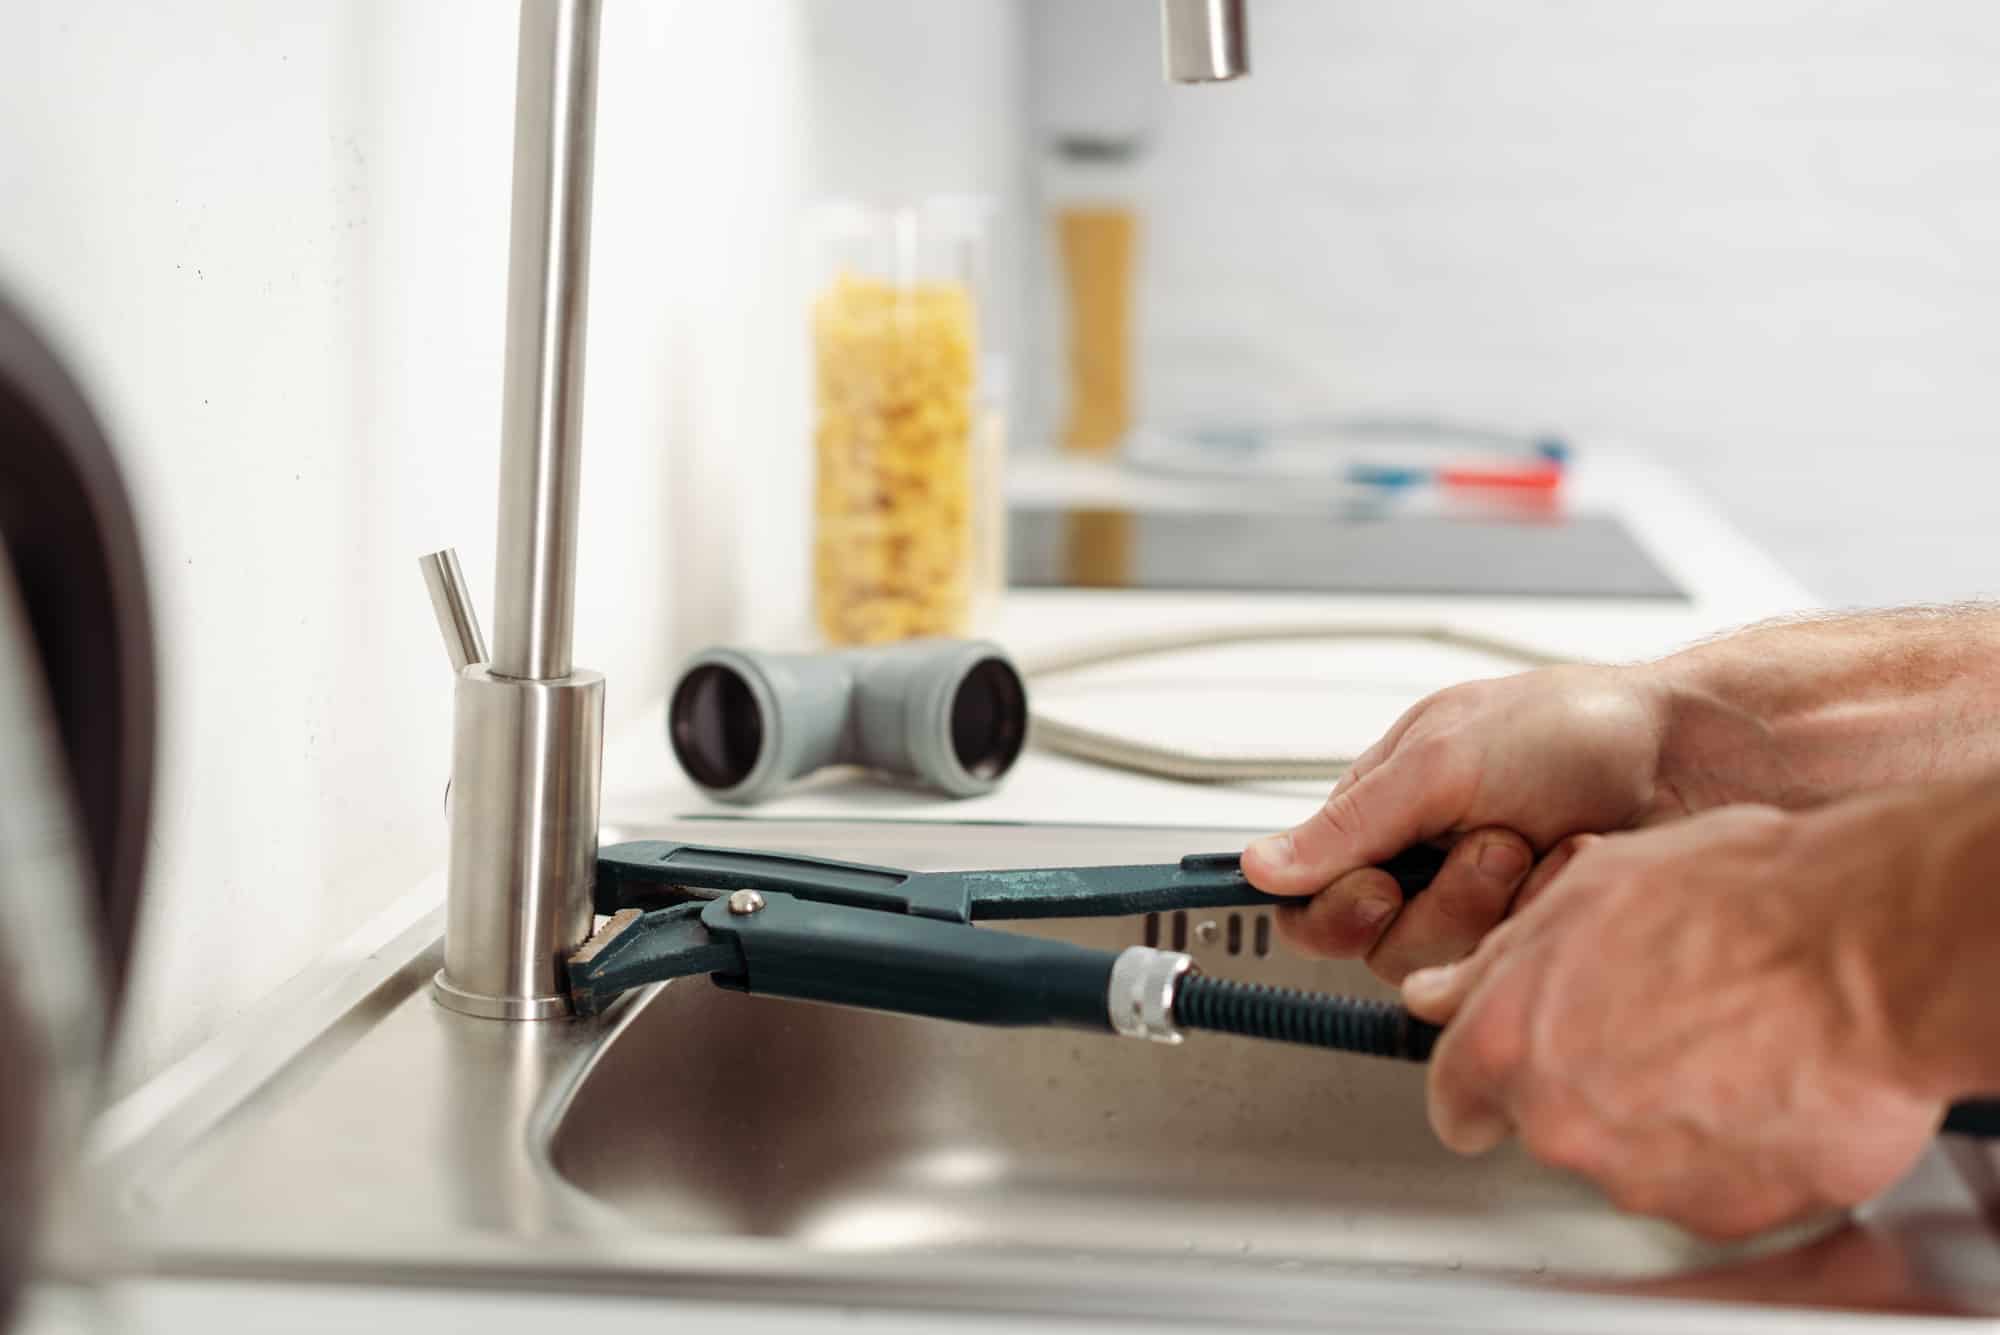
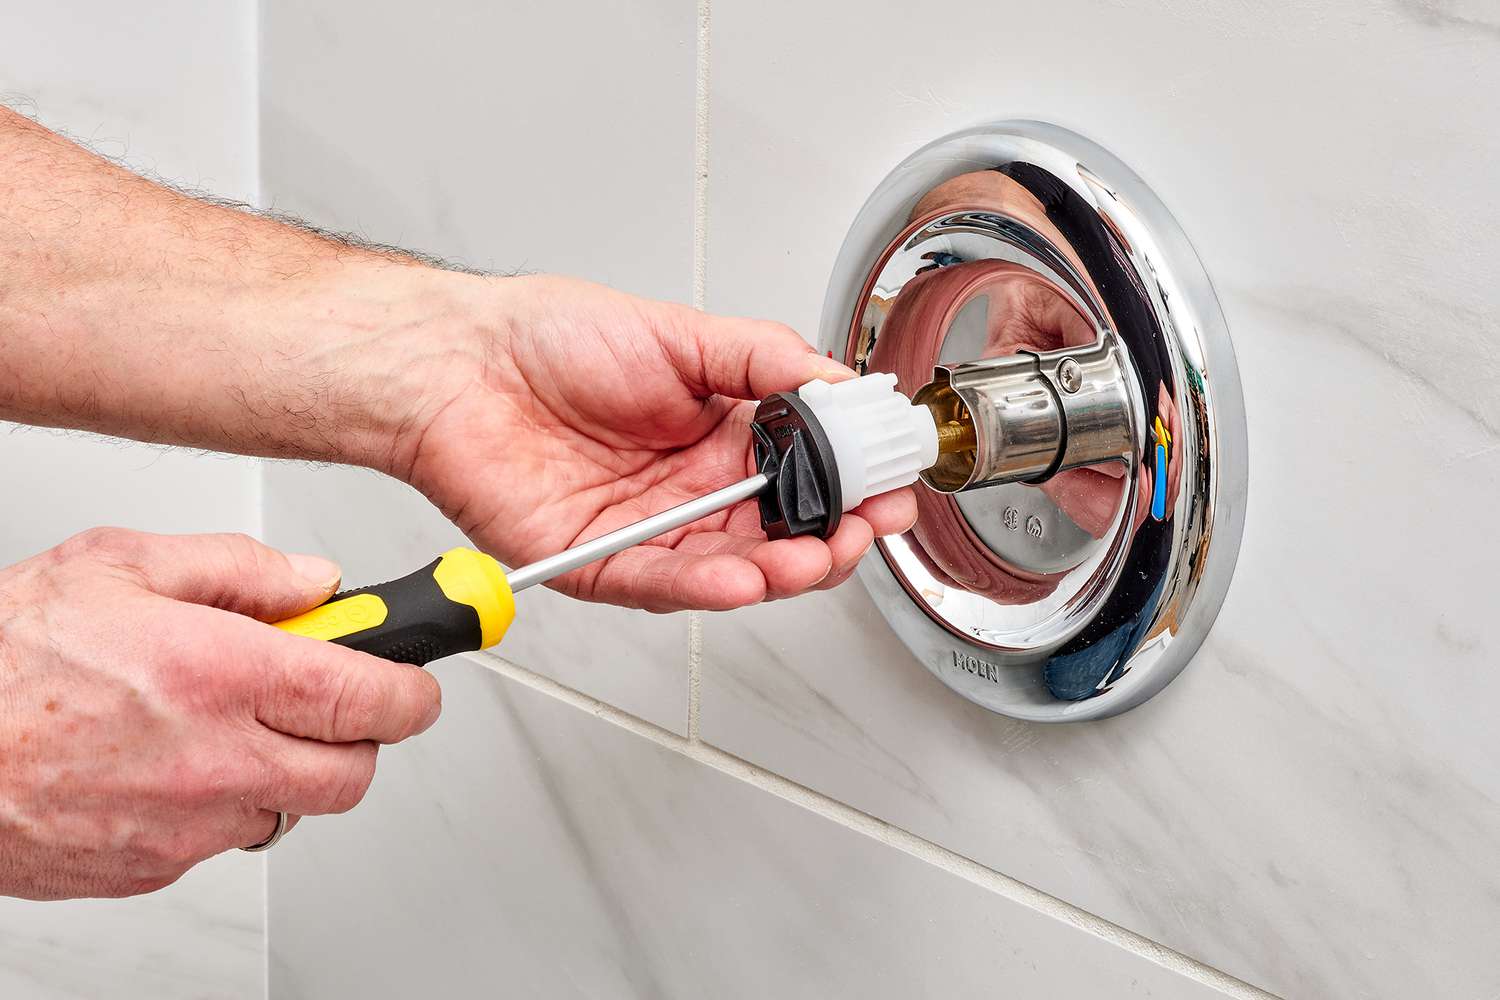
Step 3: Removing the Cartridge
With the faucet handle removed, the next step is to remove the cartridge. The cartridge is the component responsible for controlling the flow of water in your Moen faucet. To remove it, follow these steps:
- Inspect the cartridge to identify any retaining clips or rings that may be holding it in place.
- Use pliers or an adjustable wrench to carefully remove any retaining clips or rings.
- Gently pull the cartridge straight out of the faucet body. If it’s stuck, you can use a cartridge puller tool for added leverage.
Removing the cartridge might require some effort, especially if it has been in place for a long time. Be patient and exert steady pressure, ensuring not to damage the surrounding area.
Once the cartridge is successfully removed, you can move on to the next step of inspecting and cleaning it to address any issues causing the leak.
Check the O-rings and cartridge for wear and tear. Replace them if necessary to stop the leak in your Moen faucet.
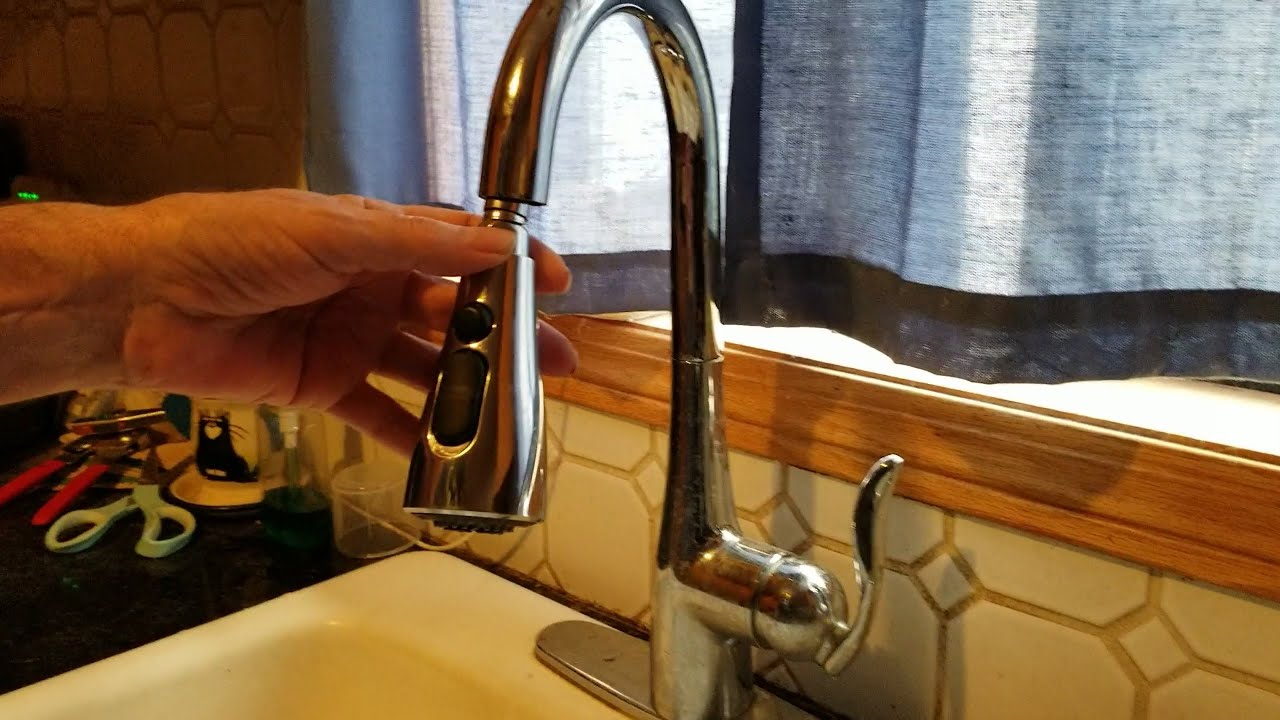
Read more: How To Fix A Moen Kitchen Faucet
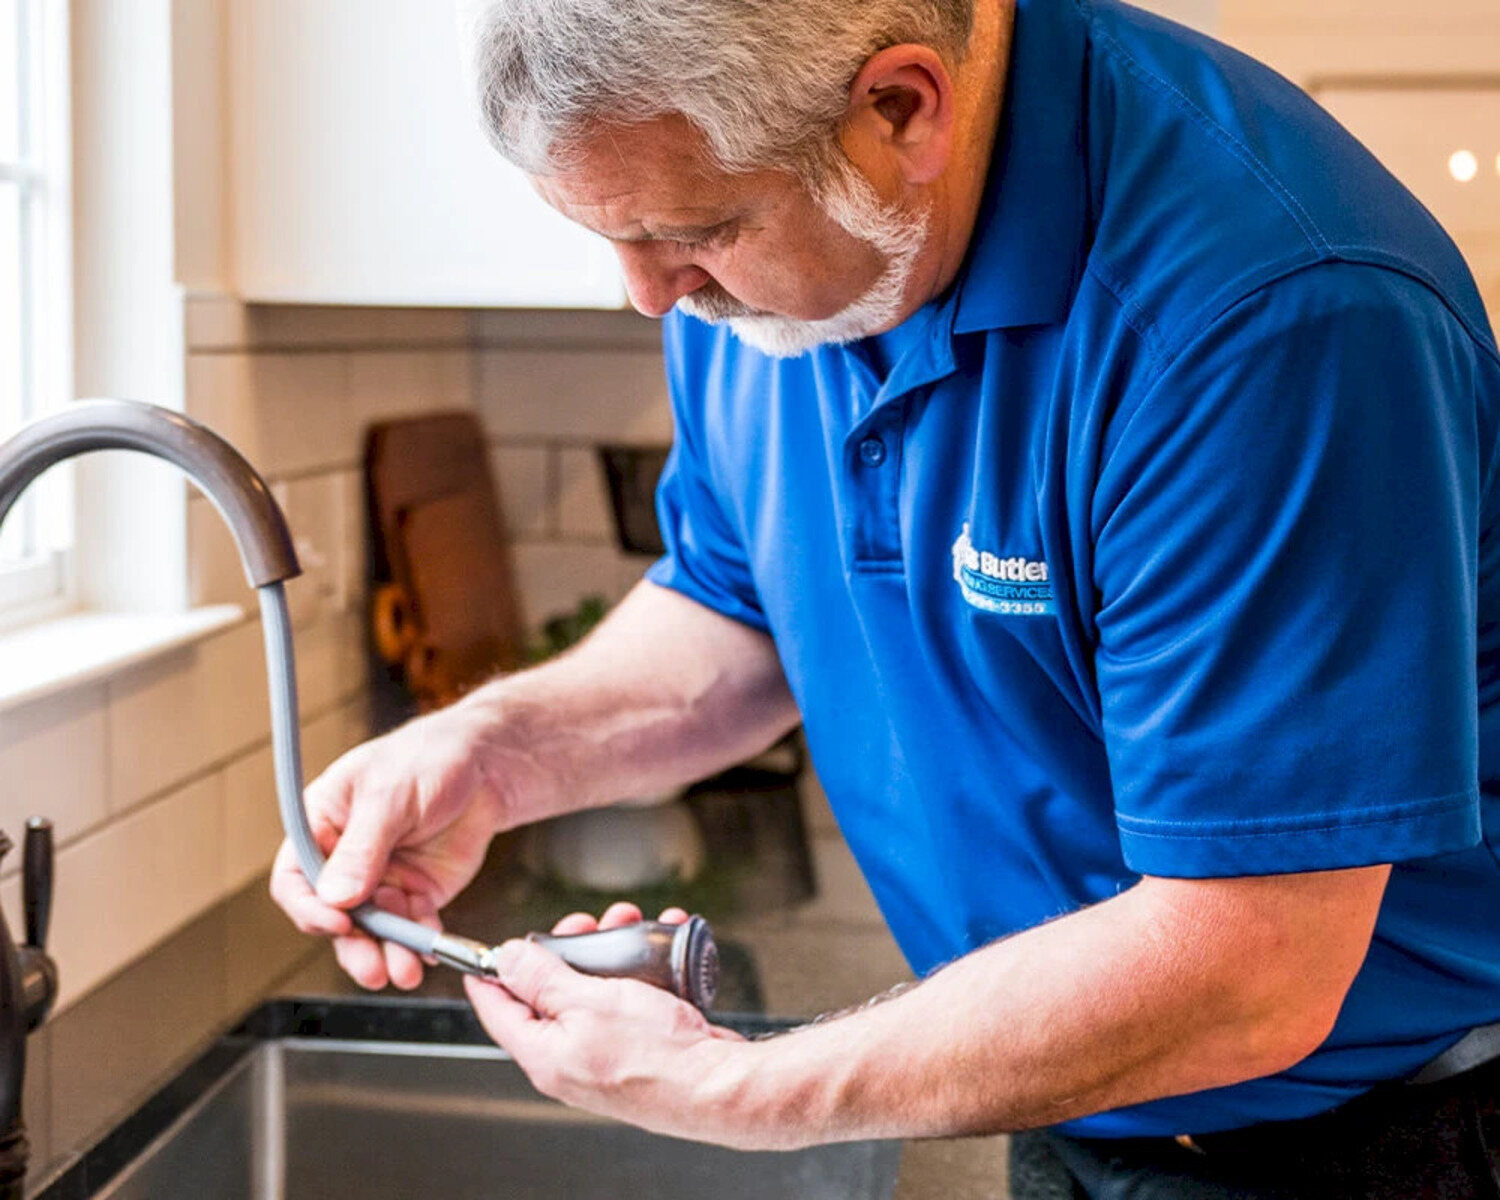
Step 4: Inspecting and Cleaning the Cartridge
After removing the cartridge from your Moen faucet, it’s essential to inspect and clean it thoroughly. Over time, sediment, mineral deposits, or worn-out seals can cause leaks or hinder the cartridge’s functionality. Follow these steps to inspect and clean the cartridge:
- Examine the cartridge for any visible signs of damage, such as cracks or worn-out seals. If you notice any significant damage, it’s best to replace the cartridge altogether.
- Use a clean cloth or sponge to remove any debris or mineral buildup on the surface of the cartridge.
- If there are stubborn deposits or buildup, soak the cartridge in a mixture of equal parts vinegar and water for a few hours or overnight.
- After soaking, use an old toothbrush or a soft brush to scrub away any remaining deposits on the cartridge.
- Rinse the cartridge thoroughly with clean water to remove any vinegar residue.
Cleaning the cartridge will help restore its functionality and minimize the risk of future leaks. Once it’s clean, you can move on to the next step of replacing the cartridge to complete the repair process.
Step 5: Replacing the Cartridge
After inspecting and cleaning the cartridge, it’s time to replace it in your Moen faucet. Follow these steps to ensure a proper replacement:
- Take the new cartridge and apply a thin layer of plumber’s tape to the threads. This will help create a watertight seal when you install it.
- Align the cartridge correctly with the opening in the faucet body. Make sure it fits snugly and is properly seated.
- Push the cartridge firmly into place, using gentle pressure. Ensure that it is fully inserted and aligned properly.
- If there are any retaining clips or rings, place them back in their original position to secure the cartridge in place.
It’s important to ensure that the cartridge is installed correctly, as improper placement can result in leaks or difficulty in operating the faucet.
Once the new cartridge is in place, you’re ready to move on to reassembling the faucet handle and testing for leaks, which we’ll cover in the next steps.
Step 6: Reassembling the Faucet Handle
With the new cartridge installed, it’s time to reassemble the faucet handle. Follow these steps to ensure a proper reassembly:
- Take the faucet handle and align it with the cartridge stem.
- Secure the handle in place by tightening the set screw with an Allen wrench for single-handle faucets or by placing the screw back in the handle and tightening it with a Phillips screwdriver for double-handle faucets.
- Make sure the handle is secure and doesn’t wobble.
- If your faucet handle had a decorative cap, place it back on top of the handle and press it down firmly to secure it in place.
By reassembling the faucet handle properly, you ensure smooth operation and avoid any potential leaks or loose fittings.
With the handle securely in place, you’re ready to move on to the final step of the repair process: testing for leaks.
Step 7: Testing for Leaks
After completing the reassembly of the faucet handle, it’s crucial to test for any remaining leaks before considering the job done. Follow these steps to ensure that your Moen faucet is leak-free:
- Turn on the water supply by opening the shutoff valves or main water supply.
- Slowly turn on the faucet to its fullest hot and cold positions.
- Observe the faucet closely for any signs of leaks, including dripping or puddling around the base or handles.
- If you notice any leaks, try tightening the handle or cartridge slightly to see if that resolves the issue. If not, you may need to disassemble and inspect the parts again to identify the source of the leak.
- Once you are confident that there are no leaks, turn off the faucet and dry any excess water around the area.
By thoroughly testing for leaks, you can ensure that your Moen faucet is functioning properly and that the repair was successful.
Congratulations! You have successfully fixed your leaky Moen faucet. Remember to periodically check your faucet for any signs of leaks and address them promptly to prevent further damage or water wastage.
Read more: How To Fix A Leaky Hose Faucet
Conclusion
Fixing a leaky Moen faucet doesn’t have to be a daunting task. With the right tools, materials, and a little bit of know-how, you can tackle this common household problem on your own. By following the step-by-step process outlined in this article, you can successfully repair your faucet and save both time and money.
Remember to always start by shutting off the water supply before removing the faucet handle and cartridge. Take the time to inspect and clean the cartridge, as this is often the culprit behind leaks. If necessary, replace the cartridge with a new one to ensure a proper seal.
Reassembling the faucet handle correctly is crucial to prevent leaks and ensure smooth operation. Finally, testing for leaks is essential to confirm that your repair work was successful.
By following these steps, you can fix a leaky Moen faucet and restore its functionality. Not only will this save you money on water bills, but it will also prevent further damage to your faucet. Remember to perform regular maintenance checks on your faucet to catch any potential leaks early and address them promptly.
With a little DIY knowledge and the right tools, you can become a master at fixing common household issues like a leaky Moen faucet. So don’t wait, roll up your sleeves, and get ready to tackle that leaky faucet!
Frequently Asked Questions about How To Fix A Leaky Moen Faucet
Was this page helpful?
At Storables.com, we guarantee accurate and reliable information. Our content, validated by Expert Board Contributors, is crafted following stringent Editorial Policies. We're committed to providing you with well-researched, expert-backed insights for all your informational needs.


0 thoughts on “How To Fix A Leaky Moen Faucet”