Home>Technology>Home Entertainment Systems>How To Fix A Projector Lens
Home Entertainment Systems
How To Fix A Projector Lens
Published: December 30, 2023
Learn how to fix a projector lens and enhance your home entertainment system with our expert tips and tricks. Get your projector back in top shape today!
(Many of the links in this article redirect to a specific reviewed product. Your purchase of these products through affiliate links helps to generate commission for Storables.com, at no extra cost. Learn more)
Introduction
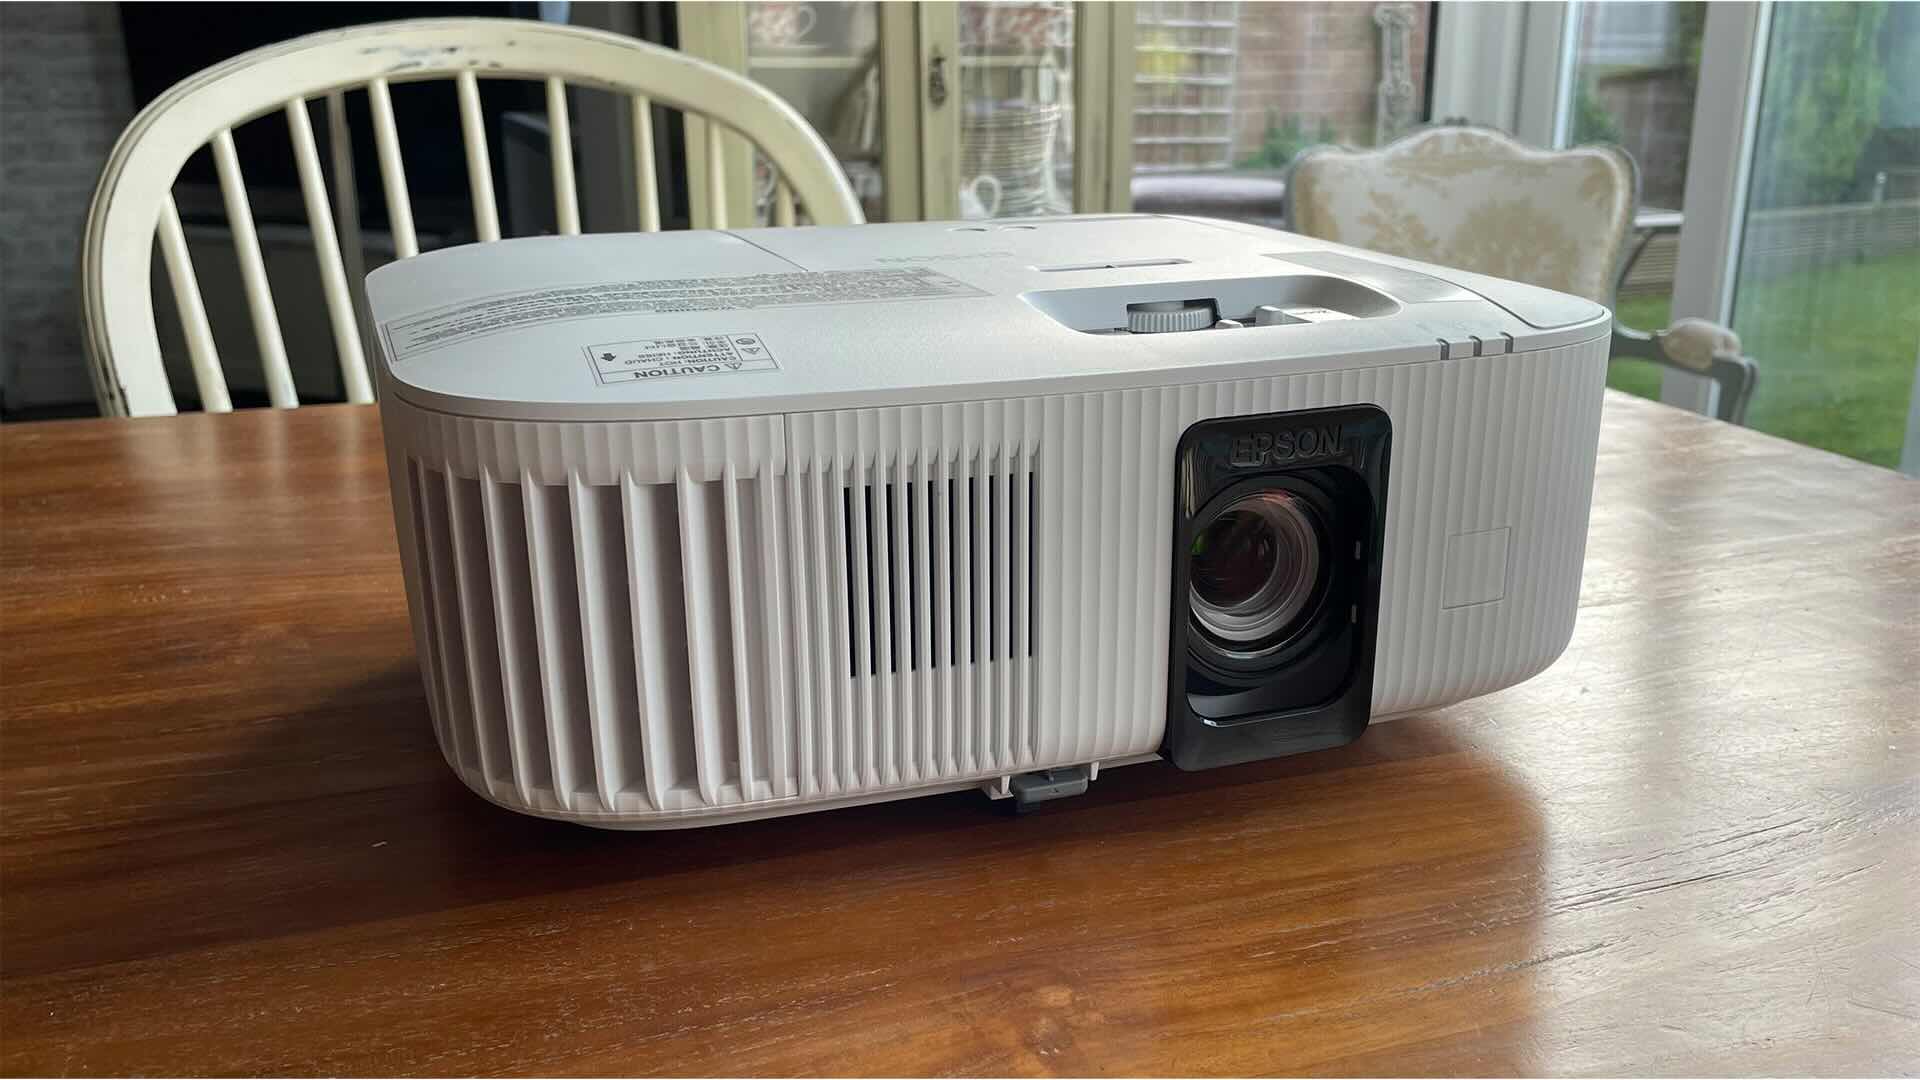
Welcome to the world of home entertainment systems, where the mesmerizing allure of a projector can elevate your viewing experience to new heights. Whether you're indulging in a cinematic adventure, immersing yourself in a gaming marathon, or delivering a captivating presentation, the projector's lens serves as the gateway to a world of vivid visuals. However, encountering issues with the projector lens can disrupt this enchanting experience. Fear not, as we delve into the art of troubleshooting and fixing a projector lens, empowering you to reclaim the brilliance of your visual escapades.
A projector lens, akin to the eye of the projector, plays a pivotal role in the quality and clarity of the projected image. Over time, various factors such as dust accumulation, misalignment, or physical damage can impede the lens's performance, leading to distorted or blurry projections. Understanding how to diagnose and resolve these issues is essential for maintaining the optimal functionality of your projector and preserving the magic of visual projection.
In this comprehensive guide, we will embark on a journey through the intricacies of projector lens maintenance and repair. From assessing the issue and cleaning the lens to adjusting the focus and exploring potential internal damage, we will navigate the terrain of projector lens troubleshooting with expertise and finesse. Additionally, we will uncover the steps involved in replacing the lens, should the need arise, equipping you with the knowledge to address even the most challenging lens-related dilemmas.
So, fasten your seatbelt as we embark on a captivating expedition into the realm of projector lens restoration. By the end of this journey, you will emerge equipped with the insights and techniques to breathe new life into your projector's visual prowess, ensuring that every projection is a masterpiece of clarity and brilliance. Let's embark on this illuminating odyssey together!
Key Takeaways:
- Keep your projector lens clean to maintain clear and sharp visuals. Use a soft, lint-free cloth and gentle cleaning solution to remove dust and smudges for an immersive viewing experience.
- Adjust the focus of your projector lens for razor-sharp visuals. Project a test image onto a clear surface and make subtle adjustments to achieve the desired level of sharpness and clarity.
Read more: What Is Lens Shift On A Projector
Assessing the Issue
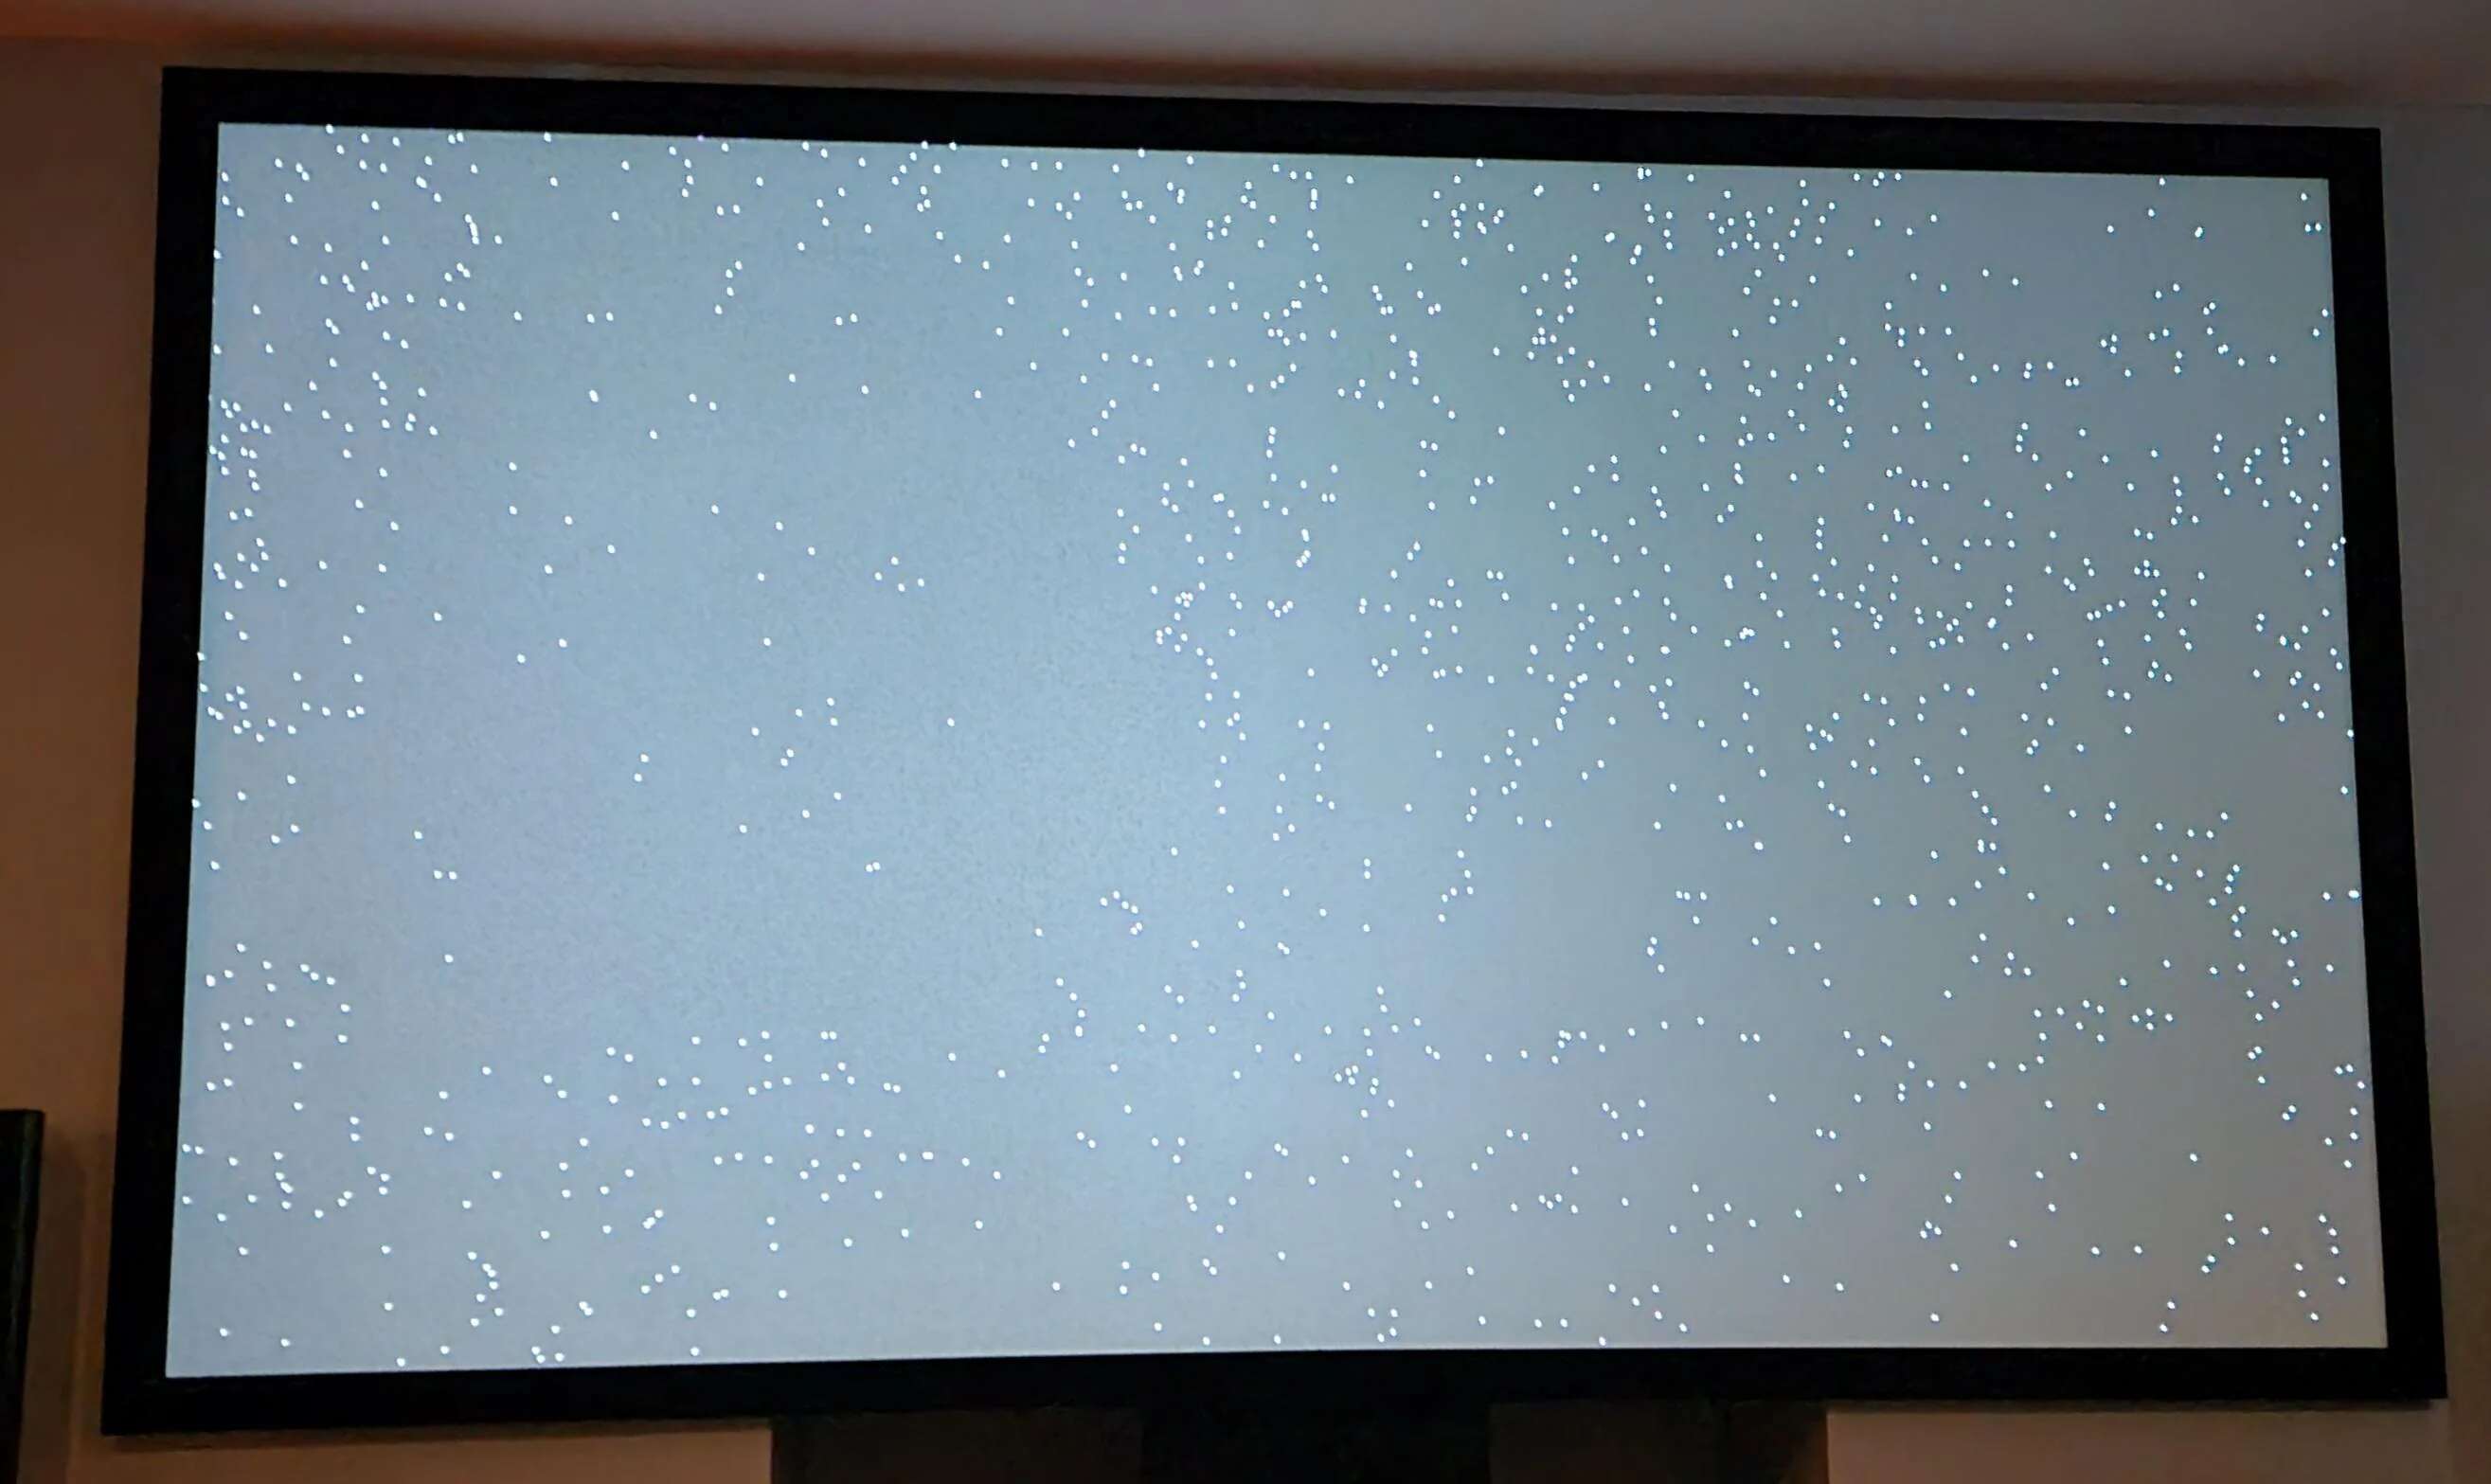
Before delving into the intricacies of addressing projector lens issues, it is crucial to conduct a comprehensive assessment to pinpoint the root cause of the problem. When encountering visual anomalies in the projected image, such as blurriness, distortion, or irregularities in color and contrast, it’s essential to embark on a systematic evaluation to diagnose the issue accurately.
Begin by examining the projected image and noting the specific aberrations or inconsistencies that are detracting from the visual quality. Pay close attention to the clarity of text, the sharpness of edges, and the overall crispness of the image. Additionally, observe if there are any visible spots, smudges, or irregularities on the projected surface that could be attributed to the lens.
Next, inspect the physical condition of the projector lens itself. Look for signs of dust accumulation, smudges, or scratches on the lens surface, as these factors can significantly impact the clarity and focus of the projected image. Dust particles and smudges can obstruct the path of light through the lens, leading to diminished image quality, while scratches can cause light dispersion and distortion.
Furthermore, consider the environmental factors that may contribute to lens issues. Assess the ambient lighting conditions in the projection area, as excessive glare or inadequate lighting can affect the perceived image quality. Additionally, evaluate the projector’s positioning and alignment to ensure that it is projecting the image onto the screen or surface accurately.
By meticulously evaluating the projected image, inspecting the lens for physical imperfections, and considering environmental variables, you can gain valuable insights into the nature of the lens-related issue. This initial assessment sets the stage for targeted troubleshooting and remedial actions, empowering you to embark on the journey of restoring the projector lens to its optimal functionality.
Armed with a clear understanding of the issue at hand, we are poised to venture into the realm of lens maintenance and repair, equipped with the knowledge to address the specific challenges that may be affecting your projector’s visual performance.
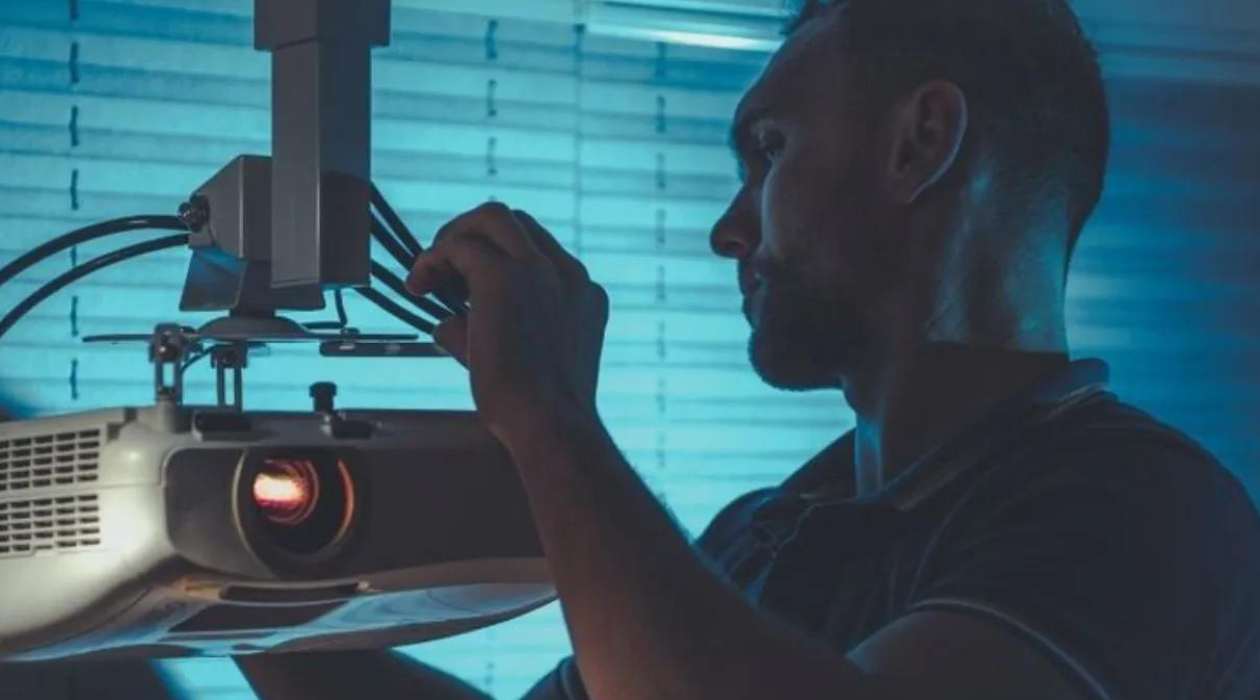
Cleaning the Lens
One of the most common culprits behind diminished projector performance is the accumulation of dust, smudges, and other contaminants on the lens surface. Cleaning the lens is a fundamental yet impactful maintenance task that can significantly enhance the clarity and sharpness of the projected image. By undertaking this essential upkeep, you can breathe new life into your projector’s visual prowess and restore its ability to render captivating visuals.
Before embarking on the cleaning process, it is imperative to gather the necessary supplies. A soft, lint-free microfiber cloth is an ideal tool for cleaning projector lenses, as it minimizes the risk of scratching or damaging the delicate lens surface. Additionally, specialized lens cleaning solutions or lens wipes designed for optical surfaces can aid in effectively removing stubborn smudges and contaminants.
To initiate the cleaning procedure, power off the projector and allow it to cool down to a safe temperature. Carefully remove the lens cap or protective cover, if applicable, to access the lens surface. Gently blow away any loose dust particles using a bulb blower or compressed air, ensuring that the lens surface is free from abrasive particles that could scratch the glass during the cleaning process.
Next, lightly dampen the microfiber cloth with the lens cleaning solution, ensuring that it is not excessively wet, as excess moisture can seep into the lens assembly and potentially damage internal components. With gentle and circular motions, delicately wipe the lens surface, starting from the center and gradually moving towards the outer edges. This method helps to dislodge and lift away accumulated dust and smudges without exerting excessive pressure on the delicate glass surface.
In cases where stubborn contaminants persist, a specialized lens wipe designed for optical surfaces can be employed to effectively remove smudges and blemishes without leaving residue or streaks. Exercise caution and patience during this process, as vigorous rubbing or the use of abrasive materials can compromise the integrity of the lens coating and lead to irreparable damage.
Once the cleaning process is complete, allow the lens surface to air dry for a brief period before reattaching the lens cap or protective cover. Power on the projector and observe the revitalized clarity and sharpness of the projected image, reveling in the transformative impact of a meticulously cleaned lens.
By incorporating regular lens cleaning into your projector maintenance routine, you can uphold the visual excellence of your projection system and ensure that every viewing experience is characterized by stunning clarity and precision. With a gleaming lens as the gateway to your visual escapades, the enchanting allure of your projector is poised to captivate and mesmerize with unparalleled brilliance.
Adjusting the Focus
The ability to achieve precise focus is integral to the delivery of a captivating and visually immersive projection experience. When encountering issues with image sharpness or clarity, the focus adjustment mechanism of the projector becomes a crucial element in restoring the visual brilliance of the projected image. By mastering the art of focus adjustment, you can fine-tune the lens to deliver razor-sharp visuals that captivate and enthrall.
Commence the focus adjustment process by projecting a test image onto a flat and uniform surface, ensuring that the projection area is devoid of any obstructions or visual distractions. This test image can comprise a combination of text, graphics, and high-definition visuals, allowing you to gauge the sharpness and clarity of the projected content across various elements.
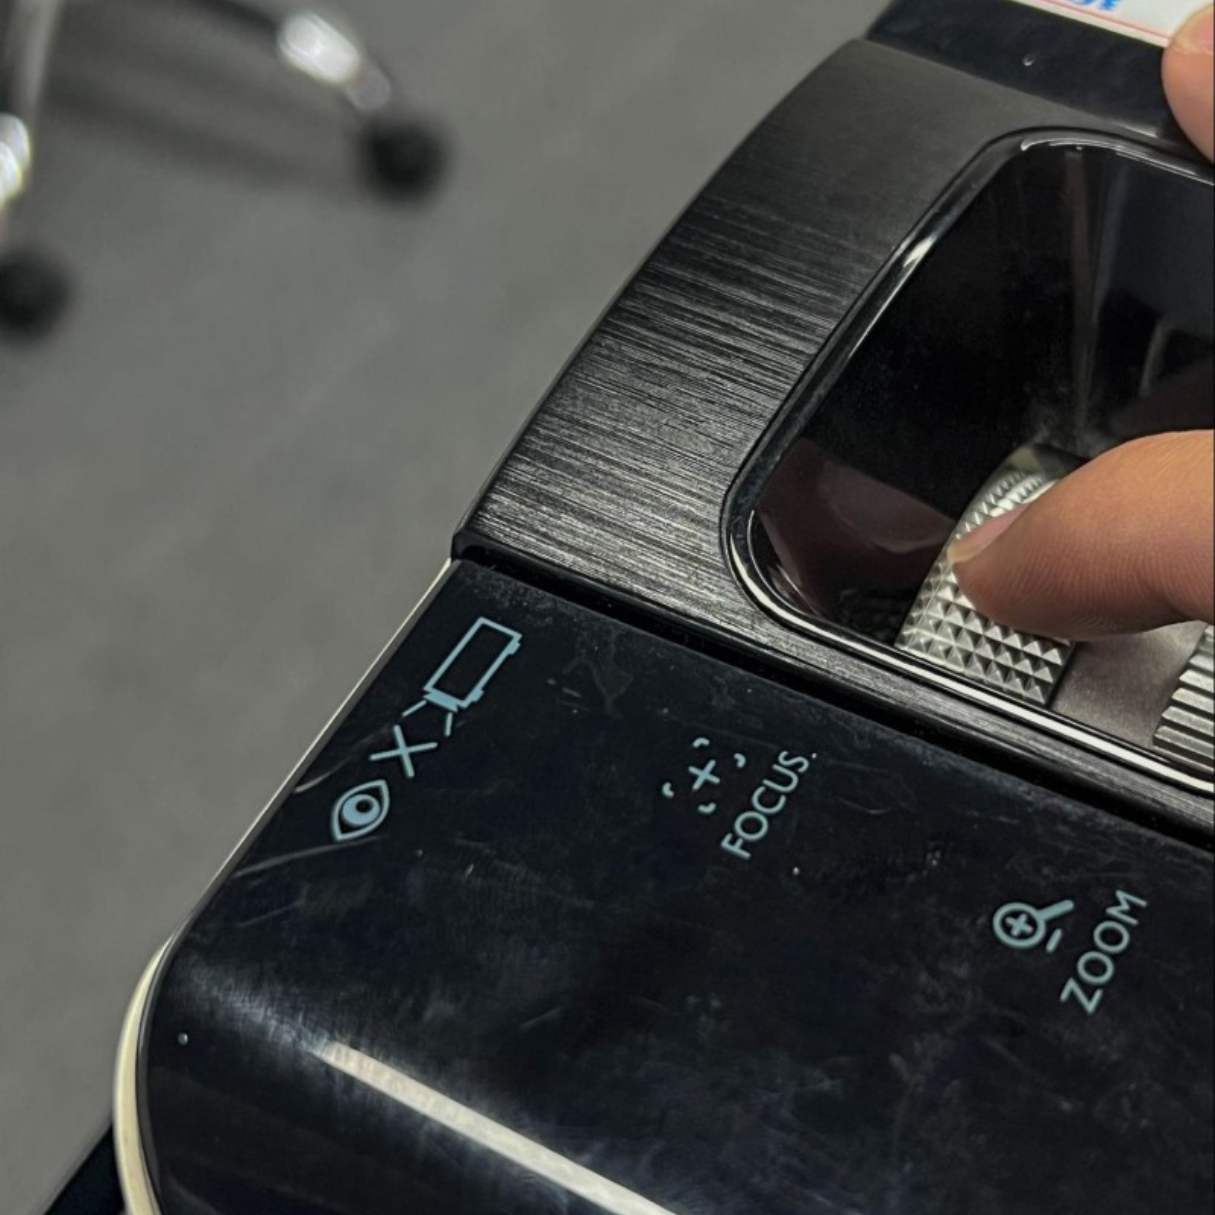
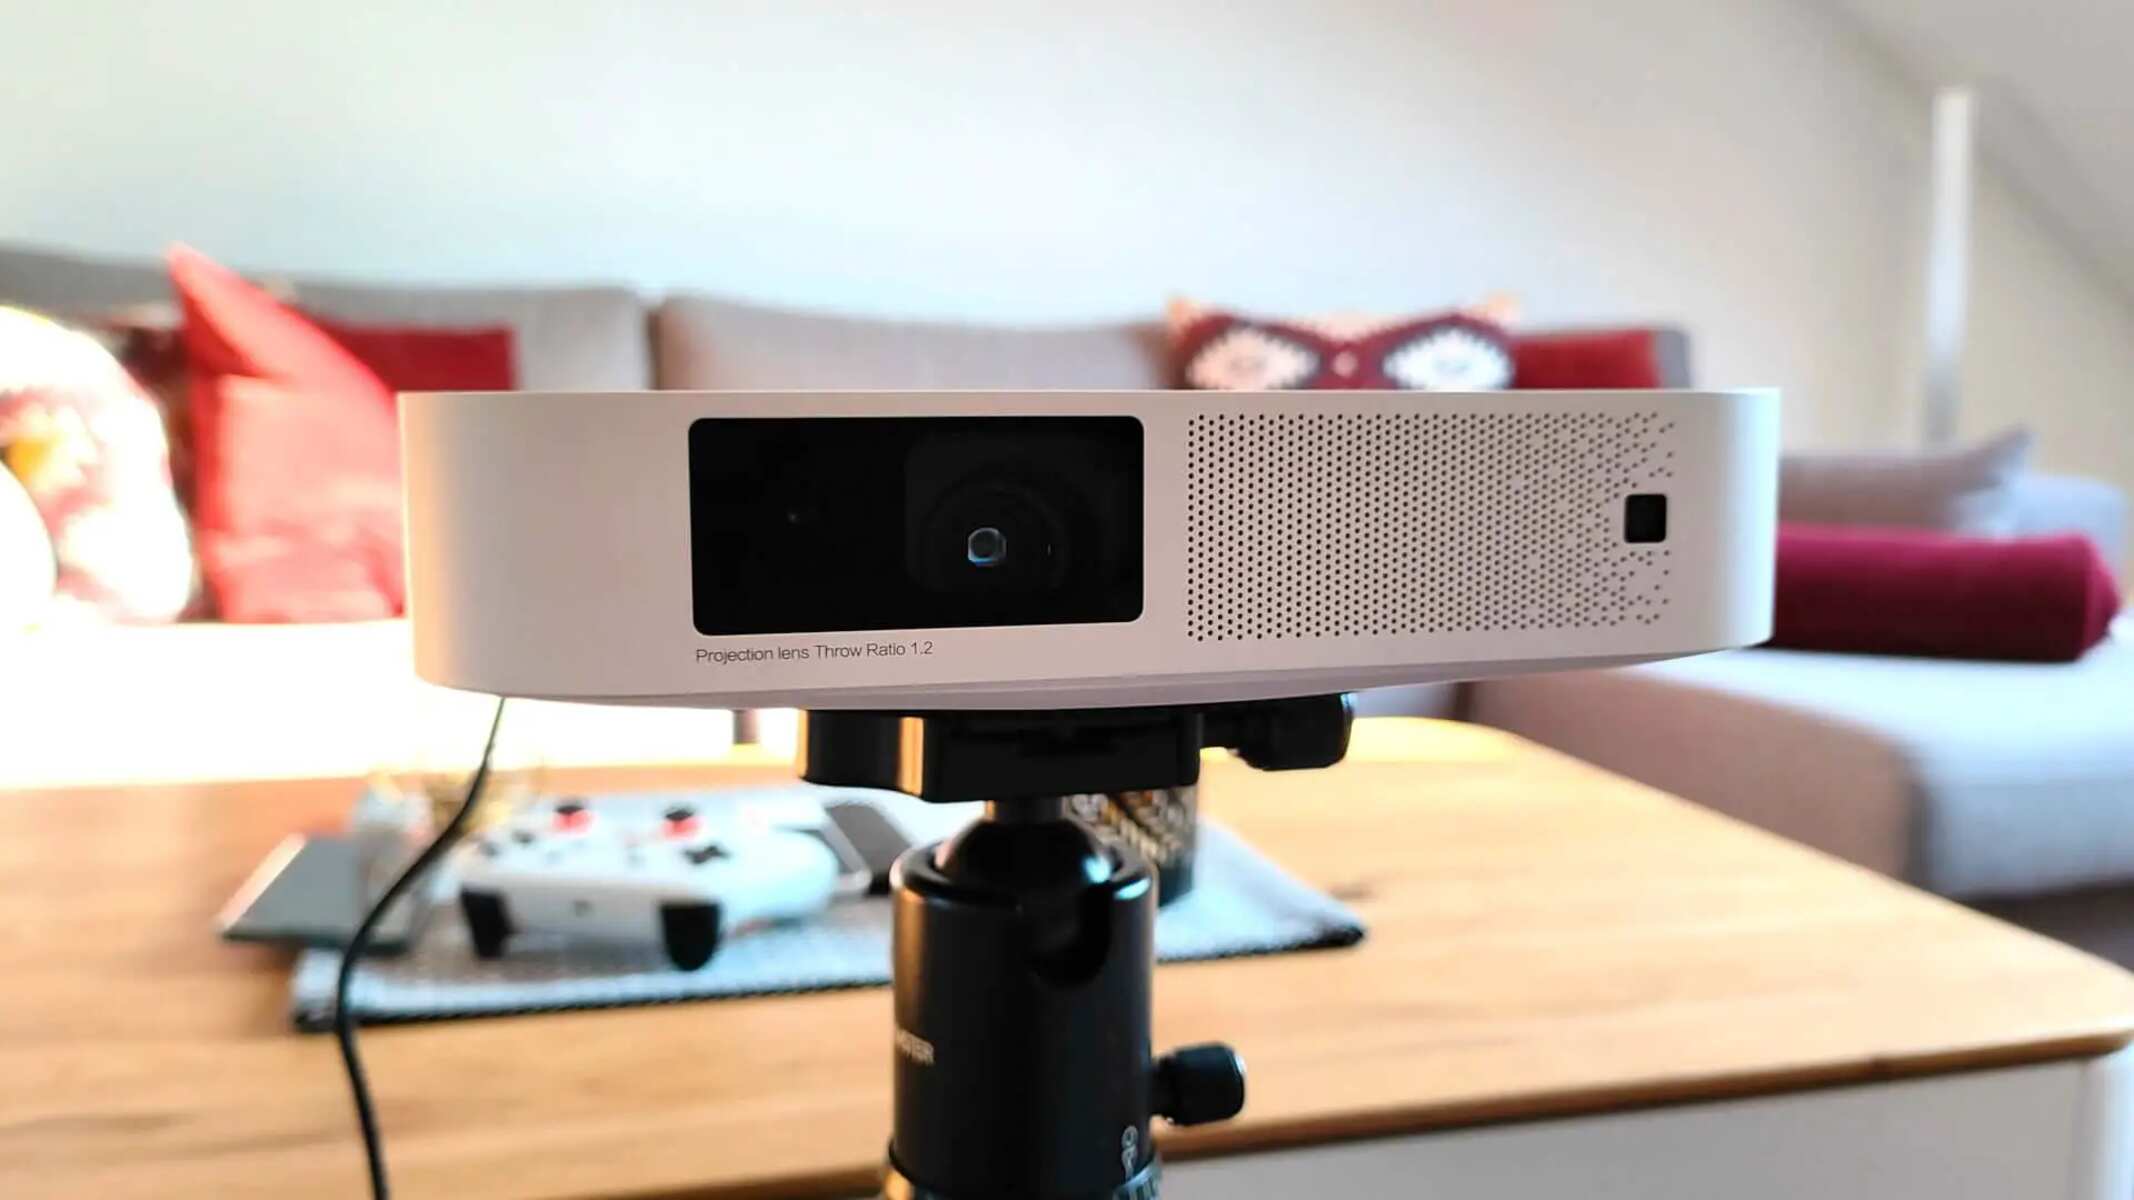
With the test image displayed, access the projector’s focus adjustment controls, which are typically located on the lens assembly or the projector body. Depending on the model and design of the projector, the focus adjustment mechanism may manifest as a focus ring, a slider, or a digital control interface that allows for precise adjustments to the focal length of the lens.
Engage in a systematic process of fine-tuning the focus control, incrementally adjusting the focal length to discern the impact on the sharpness and clarity of the projected image. As you make subtle adjustments, observe the changes in the crispness of text, the delineation of edges, and the overall clarity of the visuals, ensuring that each modification brings the image closer to the desired level of sharpness.
It is essential to exercise patience and attentiveness during the focus adjustment process, as minute alterations can yield significant improvements in visual clarity. Take the time to evaluate the impact of each adjustment on the projected image, refining the focus to achieve a level of sharpness and clarity that aligns with your visual standards and preferences.
Throughout the focus adjustment process, consider the environmental variables that may influence the perceived sharpness of the image, such as ambient lighting conditions and the reflective properties of the projection surface. By accounting for these factors and making nuanced adjustments, you can optimize the focus to deliver visually stunning projections that captivate and mesmerize.
Upon achieving the desired level of focus, revel in the transformative impact of razor-sharp visuals that elevate the immersive quality of your projection experience. With a keen eye for detail and a mastery of focus adjustment, you can ensure that every projected image is a masterpiece of clarity and precision, captivating audiences and immersing them in a world of captivating visuals.
When fixing a projector lens, start by cleaning the lens with a soft, lint-free cloth. If there are scratches, use a lens repair kit. If the issue persists, seek professional help.
Checking for Internal Damage
While external factors such as dust and smudges can visibly impair the performance of a projector lens, it is equally important to consider the possibility of internal damage or misalignment that may be contributing to the diminished visual quality. Internal components and mechanisms within the projector can impact the functionality of the lens, necessitating a thorough inspection to identify and address potential sources of internal damage.
Commence the assessment by examining the projector for any signs of physical trauma or mishandling that may have affected its internal components. Look for indications of impact, excessive vibration, or irregular noises during operation, as these can serve as clues to potential internal damage that may be affecting the lens assembly.
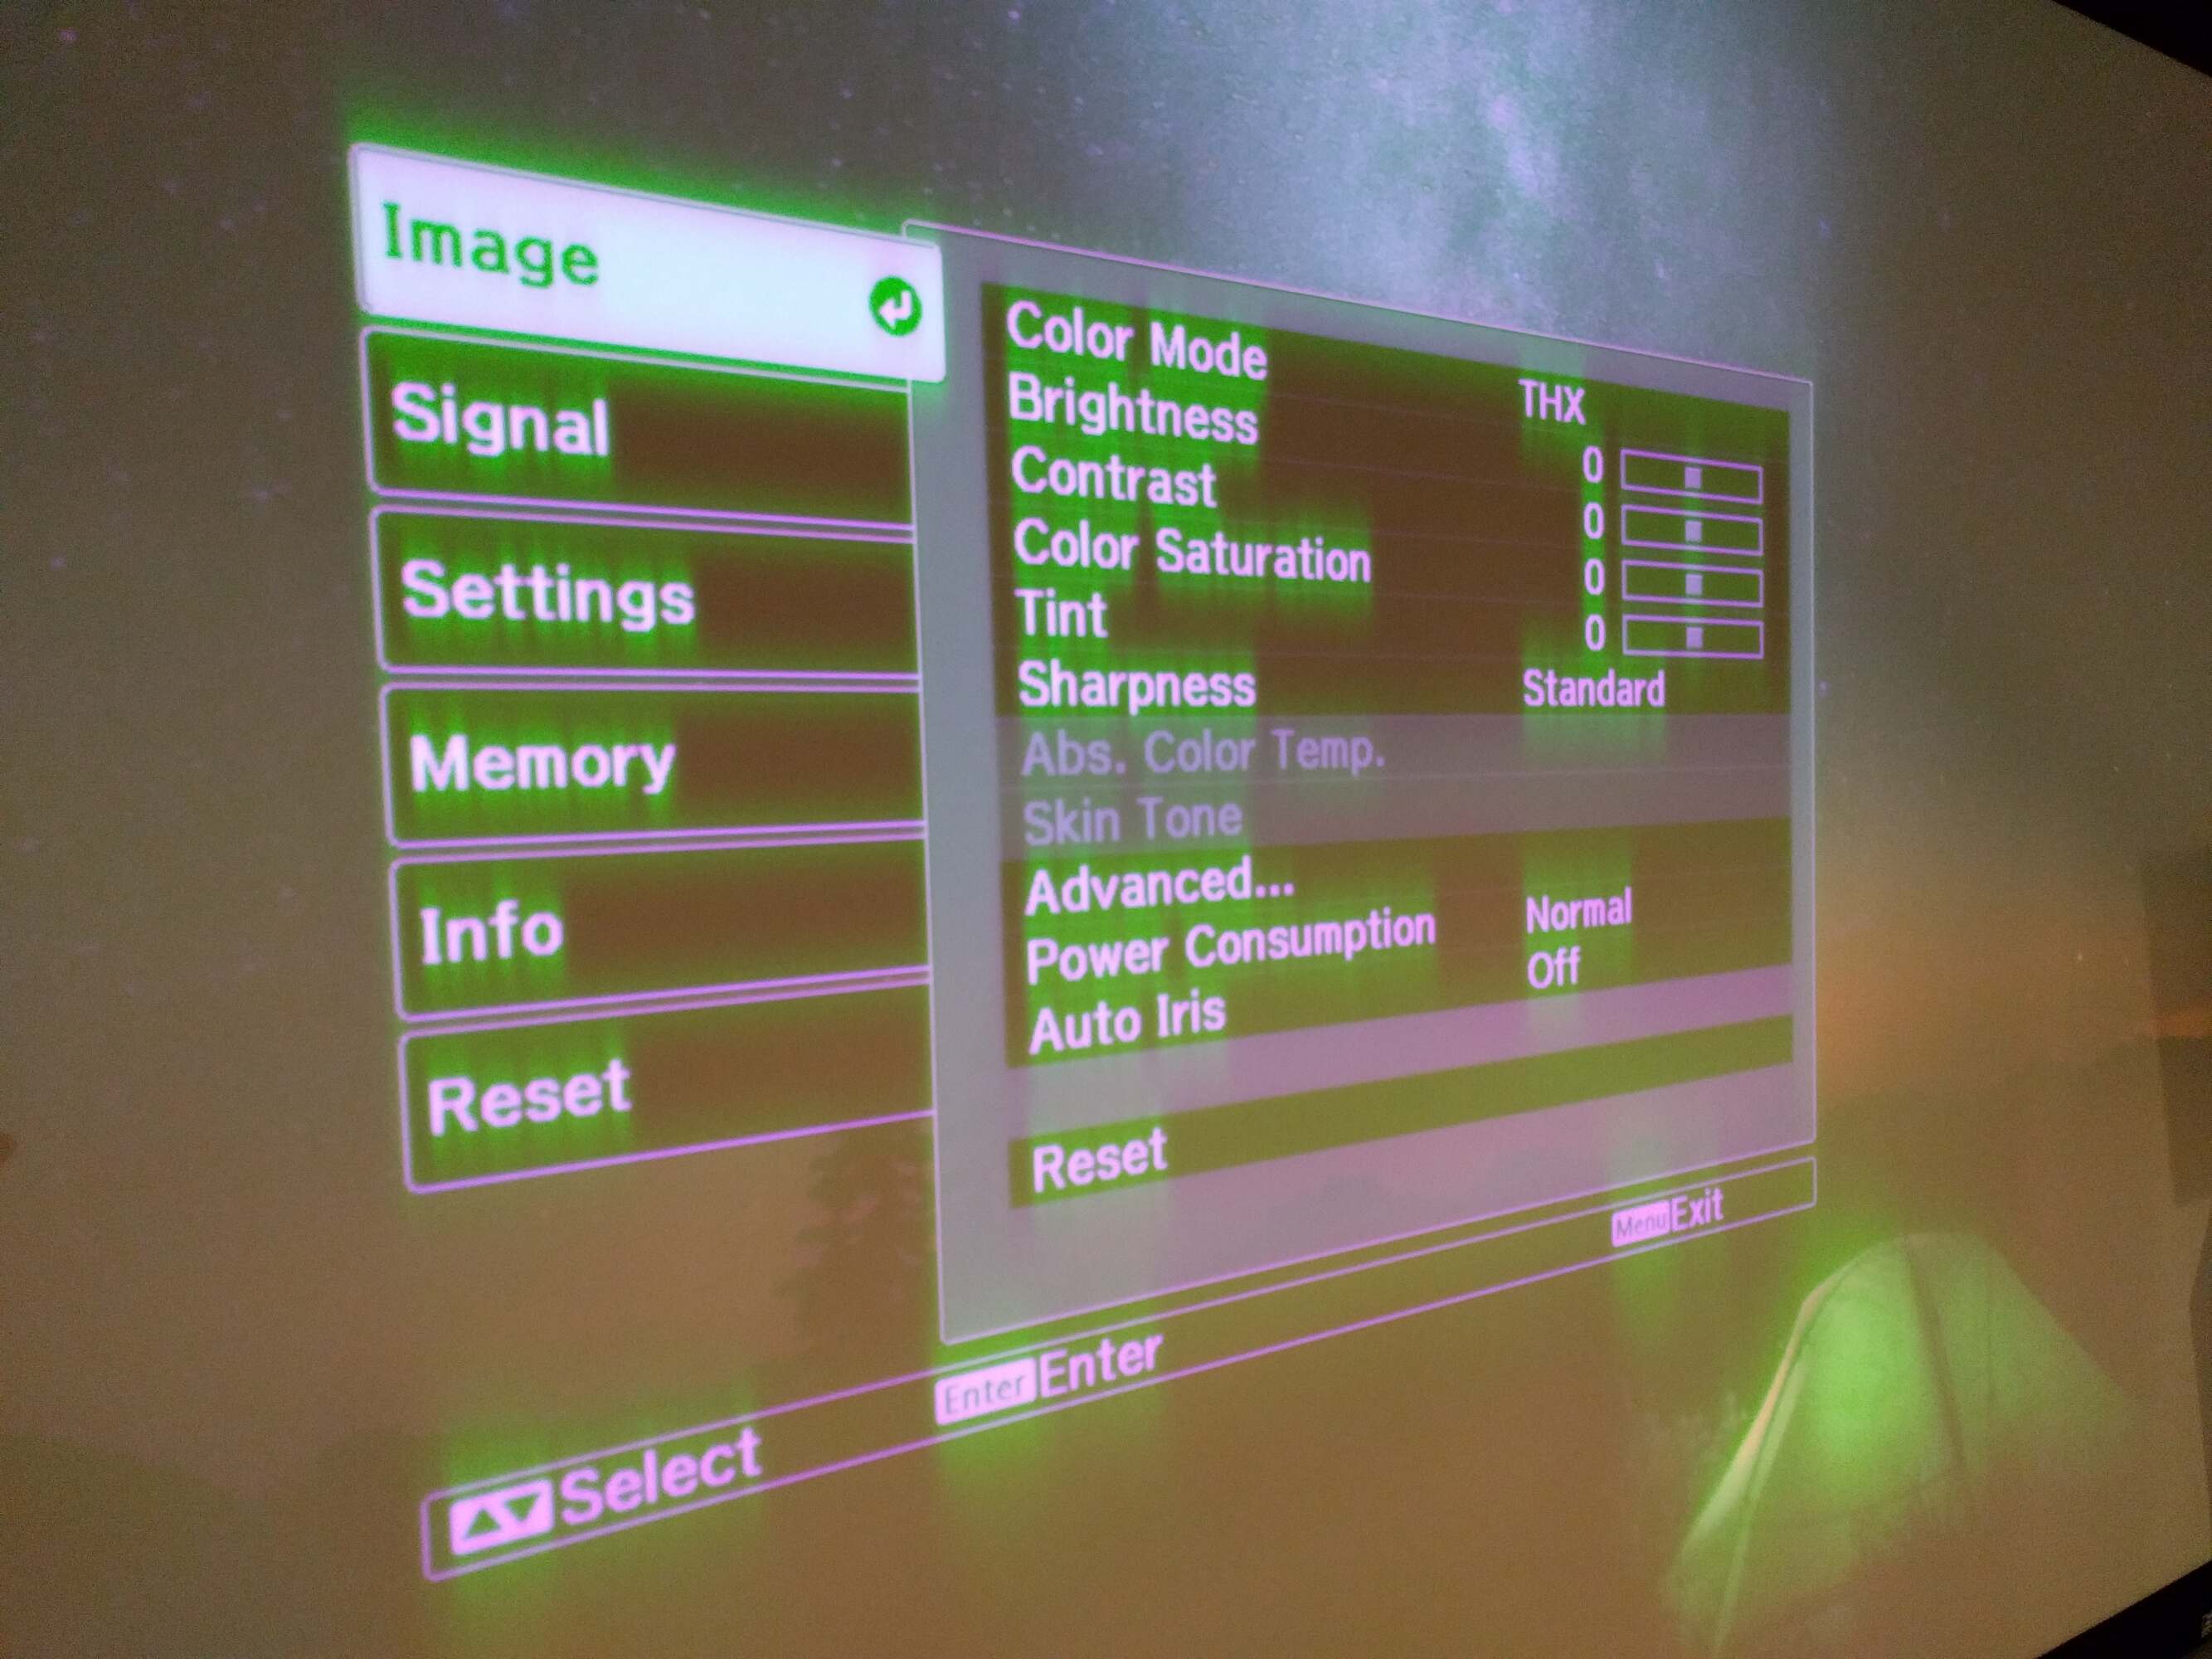
Next, delve into the projector’s menu or settings to access diagnostic tools and calibration options that allow for the evaluation of internal components and alignment. Some projectors feature built-in diagnostic utilities that facilitate the assessment of lens alignment, sensor functionality, and internal calibration, providing valuable insights into the integrity of the internal mechanisms that govern the lens’s performance.
Engage in a systematic evaluation of the projector’s internal components, paying close attention to the alignment of the lens assembly, the functionality of motorized focus and zoom controls, and the integrity of sensor arrays that contribute to automatic calibration and adjustment. Look for irregularities, malfunctions, or error messages that may indicate internal damage or misalignment, warranting further investigation and remedial action.
Consider consulting the projector’s user manual or technical documentation to gain insights into the diagnostic procedures and internal mechanisms specific to your projector model. Manufacturers often provide detailed guidelines for assessing internal components and troubleshooting potential issues, empowering users to navigate the intricacies of projector maintenance and repair with precision and expertise.
If the assessment reveals indications of internal damage or misalignment that are beyond the scope of user-adjustable settings, it is advisable to seek professional assistance from certified technicians or authorized service centers. These experts possess the expertise and specialized tools required to diagnose and address internal projector issues, ensuring the comprehensive restoration of the lens’s functionality and the optimal performance of the projection system.
By conducting a thorough examination of the projector’s internal components and seeking professional assistance when necessary, you can safeguard the integrity of the lens assembly and address potential sources of internal damage that may be impeding the projector’s visual performance. With a keen focus on internal diagnostics and remediation, you can ensure that the projector’s lens operates at peak efficiency, delivering captivating visuals that captivate and enthrall with unrivaled clarity and brilliance.
Read more: How To Store Contact Lens
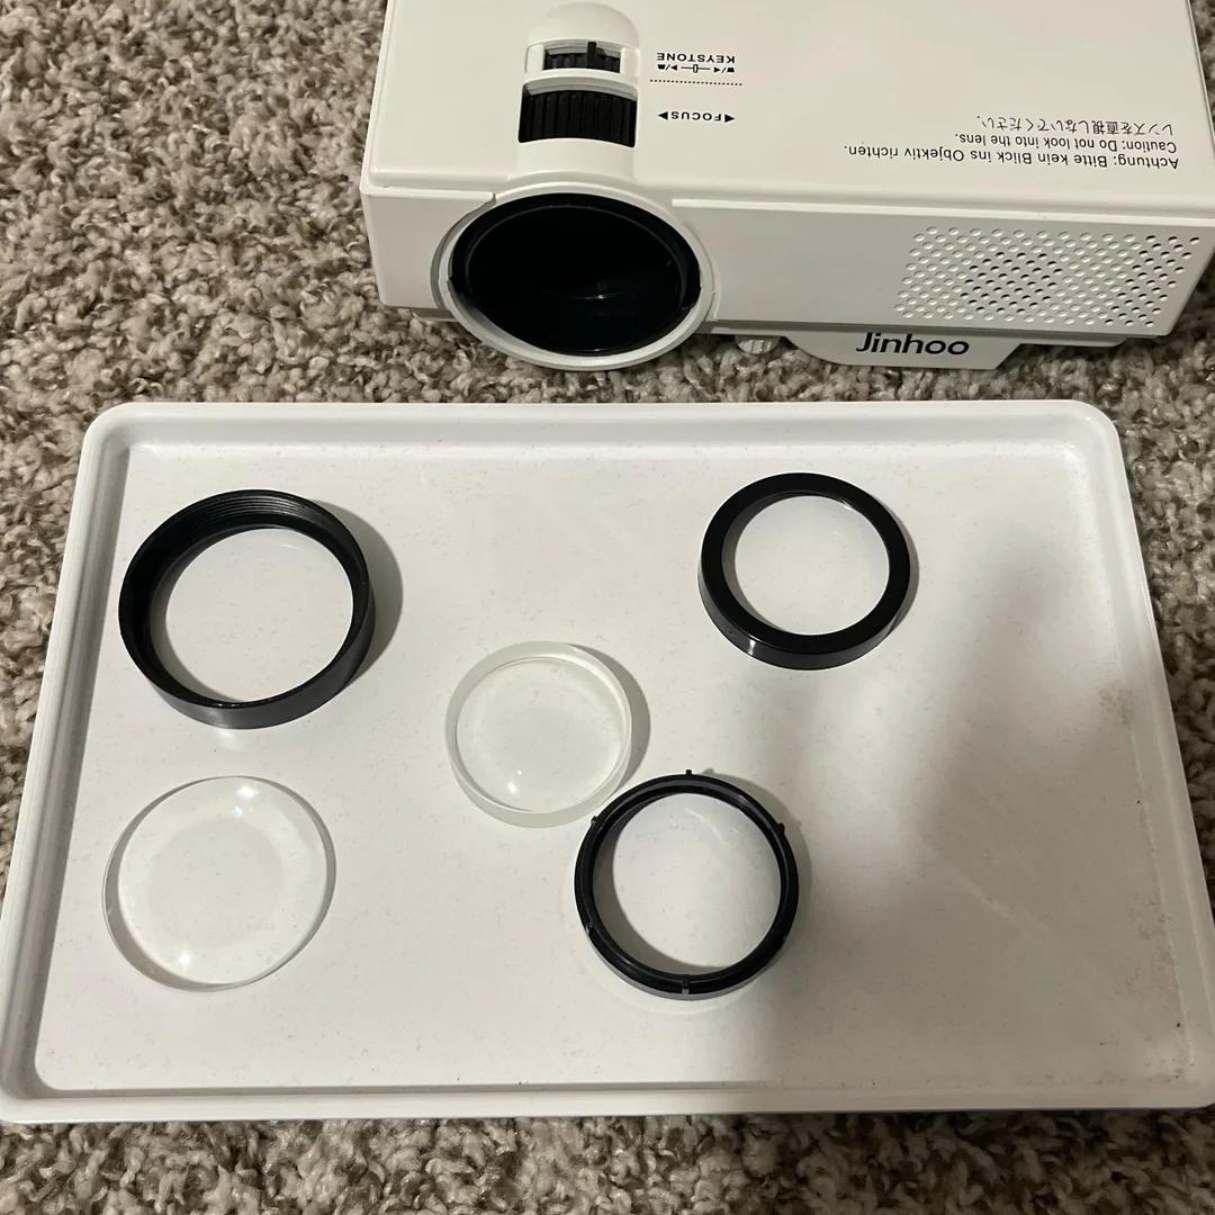
Replacing the Lens
While proactive maintenance and troubleshooting can often resolve issues with a projector lens, there are instances where the replacement of the lens becomes necessary to restore the optimal visual performance of the projection system. Whether due to irreparable damage, extensive wear, or the desire to upgrade to a higher-quality lens, the process of replacing the lens demands precision, care, and a comprehensive understanding of the projector’s compatibility and assembly.
Prior to embarking on the lens replacement procedure, it is essential to identify a compatible replacement lens that aligns with the specifications and mounting mechanisms of your projector model. Manufacturers often provide detailed documentation and support resources that outline the compatible lens options and the steps involved in the replacement process, empowering users to make informed decisions and undertake the replacement with confidence.
Begin the replacement process by powering off the projector and allowing it to cool down to a safe temperature. Carefully remove the existing lens, following the specific disassembly instructions outlined in the projector’s user manual or technical documentation. Exercise caution and attentiveness during this step to prevent damage to the lens assembly or the projector’s optical components.
As you prepare to install the replacement lens, meticulously clean the lens mounting interface and surrounding areas to ensure a pristine and debris-free environment for the new lens. This step minimizes the risk of contamination and ensures a secure and stable connection between the projector and the replacement lens.
Gently position the replacement lens in alignment with the mounting interface, taking care to engage any locking mechanisms or fasteners in accordance with the manufacturer’s guidelines. Exercise precision and delicacy during this step to avoid misalignment or damage to the replacement lens, ensuring a seamless and secure installation that upholds the optical integrity of the projection system.
Once the replacement lens is securely installed, reassemble any protective covers, lens caps, or housing components in accordance with the disassembly instructions, ensuring that the lens is adequately shielded from environmental contaminants and potential damage. Power on the projector and verify the proper alignment and functionality of the replacement lens, observing the clarity and sharpness of the projected image to confirm the successful installation.
Upon completing the replacement process, revel in the transformative impact of the new lens, experiencing a renewed visual brilliance and precision that elevates the immersive quality of your projection experience. Whether seeking to address damage, upgrade the optical capabilities of the projector, or explore specialized lens options, the replacement process empowers you to tailor the visual performance of your projector to your exacting standards and preferences.
By mastering the art of lens replacement and leveraging the wealth of resources and support provided by manufacturers, you can navigate the replacement process with confidence and expertise, ensuring that your projector’s lens operates at peak efficiency, delivering captivating visuals with unrivaled clarity and brilliance.
Conclusion
Embarking on a journey through the intricacies of projector lens maintenance and repair has unveiled the transformative power of proactive upkeep and meticulous troubleshooting in preserving the visual brilliance of your projection system. From the initial assessment of lens issues to the meticulous cleaning, focus adjustment, and evaluation of potential internal damage, this comprehensive guide has equipped you with the insights and techniques to restore and optimize the performance of your projector’s lens.
By mastering the art of lens maintenance and repair, you have gained the ability to breathe new life into your projector’s visual prowess, ensuring that every projected image is a masterpiece of clarity and precision. Through the diligent application of cleaning techniques, focus adjustment mastery, and internal diagnostics, you have fortified the lens against the adverse effects of contaminants, misalignment, and potential damage, preserving its ability to deliver captivating visuals that captivate and enthrall.
Furthermore, the exploration of lens replacement has empowered you to tailor the visual performance of your projector to your exacting standards and preferences, whether seeking to address damage, upgrade optical capabilities, or explore specialized lens options. The replacement process has demystified the intricacies of installing a new lens, enabling you to elevate the immersive quality of your projection experience with renewed visual brilliance and precision.
As you continue to immerse yourself in the enchanting world of home entertainment systems, remember that the lens serves as the gateway to a world of vivid visuals, and its optimal functionality is essential for delivering captivating and immersive projection experiences. By integrating the knowledge and techniques gleaned from this guide into your projector maintenance routine, you can ensure that every viewing, gaming, or presentation endeavor is characterized by stunning clarity and brilliance, captivating audiences and immersing them in a world of captivating visuals.
Armed with a deep understanding of projector lens maintenance and repair, you are poised to navigate the terrain of troubleshooting and restoration with expertise and finesse, ensuring that the allure of your projector’s visual prowess remains undiminished. As you apply these insights to uphold the visual excellence of your projection system, revel in the transformative impact of razor-sharp visuals that elevate the immersive quality of your projection experience, captivating and mesmerizing with unparalleled brilliance.
So, as you venture forth into the realm of projector lens maintenance and repair, may every projection be a testament to the meticulous care and expertise that you have invested in preserving the magic of visual projection. With a gleaming lens as the gateway to your visual escapades, the enchanting allure of your projector is poised to captivate and mesmerize with unrivaled clarity and brilliance. Here’s to a future filled with captivating visuals and immersive projection experiences!
Frequently Asked Questions about How To Fix A Projector Lens
Was this page helpful?
At Storables.com, we guarantee accurate and reliable information. Our content, validated by Expert Board Contributors, is crafted following stringent Editorial Policies. We're committed to providing you with well-researched, expert-backed insights for all your informational needs.


0 thoughts on “How To Fix A Projector Lens”