Home>Technology>Home Entertainment Systems>How To Fix A Projector Screen

Home Entertainment Systems
How To Fix A Projector Screen
Modified: January 9, 2024
Learn how to fix a projector screen for your home entertainment system with our expert tips and troubleshooting guide. Keep your movie nights running smoothly!
(Many of the links in this article redirect to a specific reviewed product. Your purchase of these products through affiliate links helps to generate commission for Storables.com, at no extra cost. Learn more)
Introduction
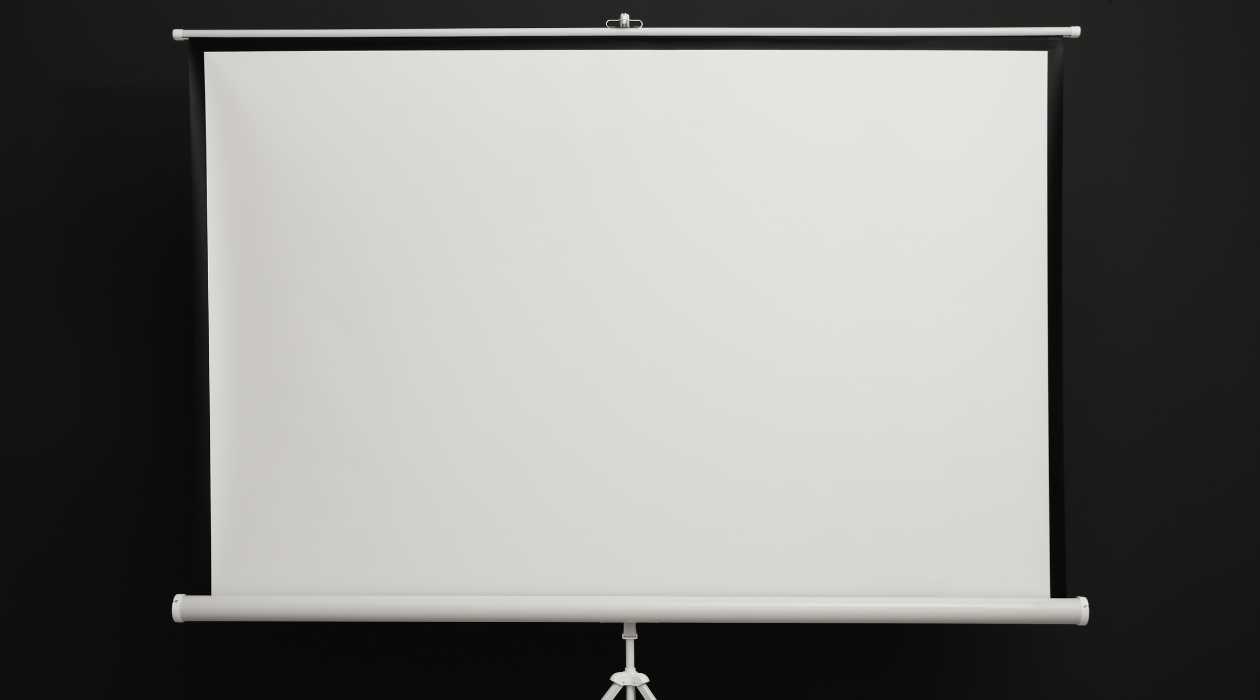
Welcome to the world of home entertainment systems, where the magic of cinema comes alive in the comfort of your own living room. A key component of this experience is the projector screen, which serves as the canvas for larger-than-life cinematic adventures. However, like any other piece of equipment, projector screens may encounter issues that can compromise the viewing experience. Whether it's a stubborn crease, a tear, or a cleanliness concern, knowing how to address these issues is essential for maintaining optimal picture quality.
In this comprehensive guide, we will delve into the art of fixing a projector screen. From assessing the issue to implementing practical solutions, we will explore various troubleshooting techniques to help you restore your screen to its full glory. Whether you're a seasoned cinephile or a casual movie enthusiast, mastering the art of projector screen maintenance will ensure that every movie night is a captivating and immersive experience.
So, grab your toolkit and prepare to embark on a journey of screen restoration. Let's dive into the world of projector screen repair and discover the tips and tricks that will elevate your home theater experience to new heights.
Key Takeaways:
- Keep your projector screen clean and well-maintained to enjoy high-quality visuals. Regular dusting and gentle cleaning with the right materials can preserve the immersive experience of your home theater.
- Address tears, holes, and tension irregularities promptly to ensure a smooth and captivating projection surface. Small repairs and tension adjustments can extend the lifespan of your projector screen, enhancing your viewing pleasure.
Read more: How To Fix White Dots On A Projector Screen
Assessing the Issue
Before diving into the repair process, it’s crucial to assess the nature of the issue affecting your projector screen. By conducting a thorough evaluation, you can pinpoint the specific problem and determine the most effective course of action. Here are some common issues to look out for:
- Creases and Wrinkles: Inspect the surface of the screen for any visible creases or wrinkles that may be distorting the projected image. These imperfections can detract from the viewing experience and may require attention.
- Stains and Debris: Check for any stains, smudges, or accumulated dust on the screen. Over time, airborne particles and accidental spills can mar the surface, affecting image clarity and overall visual appeal.
- Tears or Holes: Carefully examine the screen for any tears, punctures, or holes. These physical damages can compromise the integrity of the screen and may necessitate repair or replacement.
- Tension Irregularities: Assess the tension of the screen material. Sagging or uneven tension can result in an uneven projection surface, leading to distorted images and an unsatisfactory viewing experience.
Once you’ve identified the specific issue(s) affecting your projector screen, you can proceed to address them with targeted solutions. Whether it’s a simple cleaning task or a more complex repair endeavor, understanding the root cause of the problem is the first step towards restoring your screen to its optimal condition.
Now that we’ve identified the potential challenges, let’s roll up our sleeves and explore the step-by-step process of remedying these issues, ensuring that your projector screen remains a beacon of cinematic excellence.
Cleaning the Projector Screen
Over time, projector screens can accumulate dust, fingerprints, and other blemishes that diminish the quality of the projected image. To maintain pristine picture quality, regular cleaning is essential. Here’s a comprehensive guide to cleaning your projector screen:
Materials Needed:
- Mild, non-abrasive screen cleaning solution
- Soft microfiber cloth
- Gentle, lint-free wipes
- Distilled water (if needed)
Step 1: Preparation
Before cleaning the screen, ensure that the projector is turned off and unplugged to prevent accidental damage. If the screen is motorized, retract it fully to access the entire surface for cleaning.
Read more: How To Choose A Projector Screen
Step 2: Dusting
Gently dust the screen surface with a soft microfiber cloth to remove loose particles and debris. Avoid applying excessive pressure to prevent stretching or damaging the screen material.
Step 3: Cleaning Solution
Dampen a lint-free wipe or microfiber cloth with the screen cleaning solution. If a dedicated cleaning solution is unavailable, a mixture of distilled water and a small amount of mild dish soap can be used as an alternative. Ensure that the cloth is only slightly damp, not dripping wet, to prevent excess moisture from seeping into the screen material.
Step 4: Gentle Wiping
Starting from the top of the screen, gently wipe the surface in horizontal or vertical motions, applying minimal pressure. Avoid circular motions, as they can spread any smudges or stains. Use a light touch to lift away any marks or blemishes, periodically re-dampening the cloth as needed.
Step 5: Drying
Allow the screen to air dry naturally. Avoid using heat sources or abrasive drying materials, as they can damage the screen surface. Once dry, inspect the screen for any remaining blemishes and repeat the cleaning process if necessary.
Read more: How To Retract A Projector Screen
Additional Tips:
- Avoid using harsh chemicals, alcohol-based cleaners, or abrasive materials, as they can damage the screen surface.
- Regularly dust the projector area to minimize airborne particles that can settle on the screen.
- Consider using a screen protector or cover when the projector is not in use to prevent dust accumulation.
By incorporating regular cleaning into your maintenance routine, you can preserve the pristine quality of your projector screen, ensuring that every movie night delivers a captivating visual experience.
Adjusting the Screen Tension
Proper tension is crucial for maintaining a flat and smooth projection surface. Over time, the screen material may loosen or develop uneven tension, resulting in distortions and imperfections in the projected image. Here’s a step-by-step guide to adjusting the tension of your projector screen:
Manual Tension Adjustment:
If your projector screen features manual tension adjustment, follow these steps:
Step 1: Identify Tension Mechanism
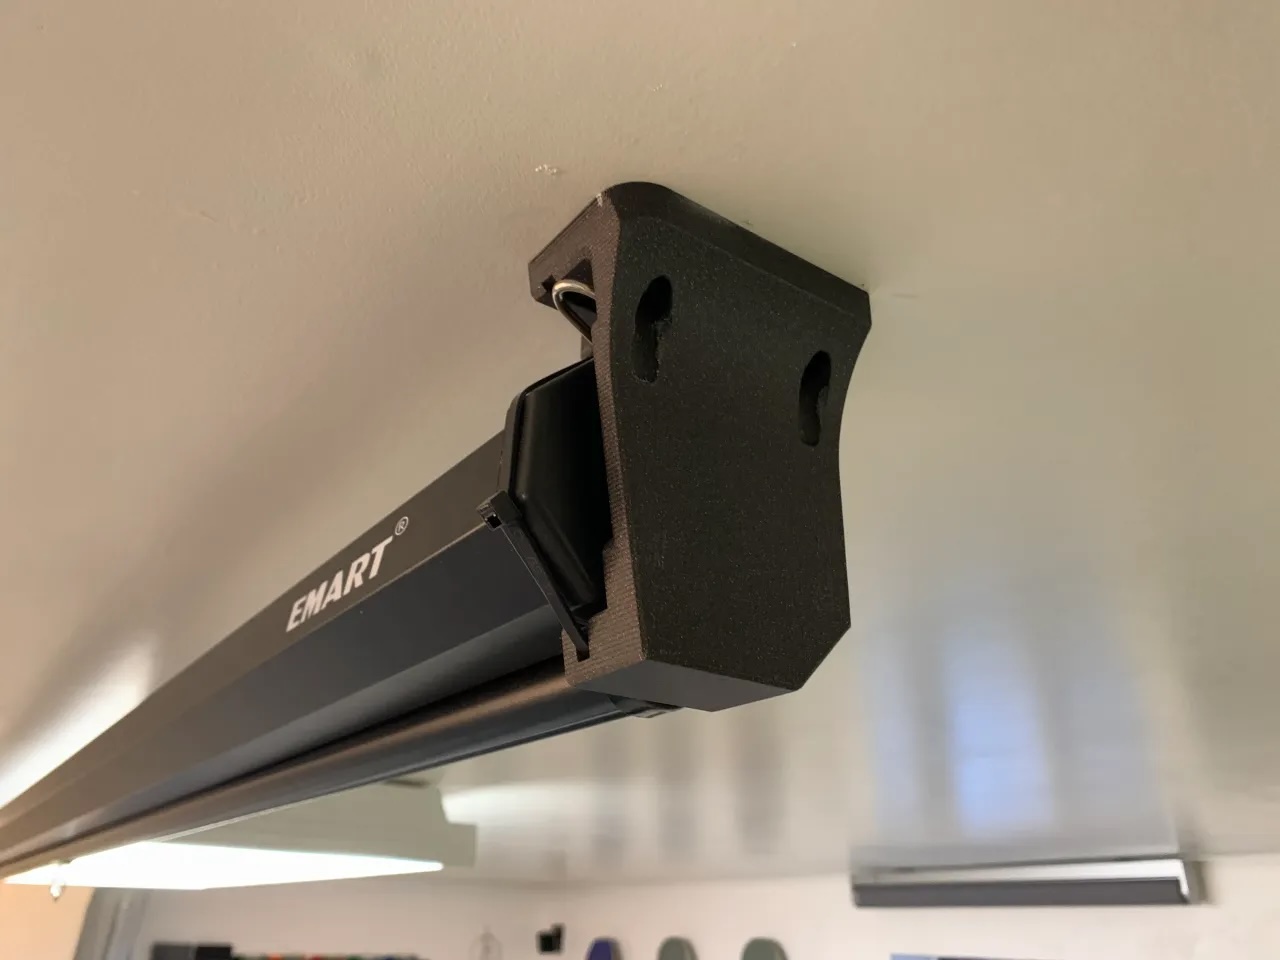
Locate the tension adjustment mechanism, which may involve tensioning straps, knobs, or screws positioned along the screen’s casing or frame.
Read more: How To Make A Projector Screen
Step 2: Tension Adjustment
Using the designated adjustment feature, carefully tighten or loosen the tension of the screen material. Make gradual adjustments and test the screen’s flatness after each alteration to achieve an even and taut surface.
Motorized Tension Adjustment:
For motorized projector screens, consult the manufacturer’s instructions for specific tension adjustment procedures. This may involve accessing the screen’s control panel or utilizing remote control functions to initiate tension adjustments.
Professional Assistance:
If you encounter challenges in adjusting the screen tension or if the tensioning mechanism appears damaged or malfunctioning, consider seeking professional assistance from a qualified technician or the screen’s manufacturer. They can provide expert guidance and ensure that the tensioning process is carried out effectively.
Benefits of Proper Tension:
By maintaining optimal screen tension, you can enjoy the following benefits:
- Elimination of wrinkles and creases for a smooth projection surface
- Enhanced image clarity and sharpness
- Prevention of image distortion and irregularities
- Extended longevity of the screen material
Regularly assessing and adjusting the tension of your projector screen will contribute to a consistently high-quality viewing experience, ensuring that every movie or presentation is displayed with precision and clarity.
Read more: How To Split Screen On A Projector
Repairing Tears or Holes
Discovering tears or holes in your projector screen can be disheartening, but with the right approach, these imperfections can be effectively addressed. Here’s a comprehensive guide to repairing tears or holes in your projector screen:
Assessment and Preparation:
Before commencing the repair process, carefully examine the extent of the damage. If the tear or hole is relatively small and confined, it can often be remedied with targeted repair techniques. Here’s how to proceed:
For Small Tears:
If the damage is minimal, consider using a clear adhesive tape designed for delicate surfaces. Gently align the torn edges and apply the tape to the reverse side of the screen, ensuring a smooth and secure bond. This approach can effectively mend small tears without compromising the viewing experience.
For Larger Tears or Holes:
For more substantial damage, consider utilizing a screen repair patch or kit specifically designed for projector screens. These kits often include adhesive patches or fabric swatches that can be affixed to the damaged area, providing a durable and inconspicuous repair solution.
Read more: How To Freeze A Projector Screen
Professional Repair Services:
If the damage is extensive or if you prefer professional assistance, reach out to specialized screen repair services or the screen’s manufacturer. These experts can assess the damage and offer tailored repair solutions, ensuring that the screen is restored to its optimal condition.
Preventive Measures:
Once the repair is complete, consider implementing preventive measures to safeguard the screen from future damage. This may include establishing clear guidelines for handling and maintaining the screen, as well as incorporating protective measures to minimize the risk of accidental damage.
Benefits of Effective Repairs:
By promptly addressing tears or holes in your projector screen, you can enjoy the following benefits:
- Preservation of image integrity and quality
- Extended lifespan of the screen material
- Enhanced viewing experience without distractions or imperfections
- Cost-effective resolution of screen damage
By mastering the art of repairing tears or holes in your projector screen, you can ensure that the visual centerpiece of your home theater continues to deliver immersive and captivating cinematic experiences.
Replacing the Screen Material
When the integrity of your projector screen’s material is compromised beyond repair, or when significant damage renders the screen unsuitable for viewing, replacing the screen material becomes a viable solution. Here’s a guide to navigating the process of replacing the screen material:
Read more: Which Is The Best Screen For A Projector?
Assessment of Damage:
Prior to embarking on the replacement process, thoroughly evaluate the condition of the screen material. Look for extensive tears, irreparable creases, or other forms of damage that significantly impact the screen’s functionality and visual performance.
Sourcing Replacement Material:
Identify the appropriate replacement material for your projector screen. Consult the screen’s manufacturer or reputable suppliers to obtain screen material that matches the specifications and dimensions of your existing screen. Consider factors such as gain, aspect ratio, and material quality when selecting the replacement material.
Disassembling the Screen Casing:
If the screen material is integrated into a casing or frame, carefully disassemble the components to access the existing screen material. Follow the manufacturer’s guidelines or seek professional assistance to ensure that the disassembly process is carried out effectively.
Screen Material Installation:
After removing the damaged material, affix the replacement screen material to the frame or casing using appropriate installation techniques. Ensure that the material is taut and free from wrinkles or irregularities to facilitate optimal image projection.
Read more: What Is Gain In A Projector Screen
Tensioning and Alignment:
Once the replacement material is in place, adjust the tension to achieve a flat and uniform projection surface. Verify that the screen is aligned correctly within the frame or casing to ensure consistent image quality across the entire viewing area.
Testing and Calibration:
After installing the replacement material, conduct thorough testing to verify the screen’s functionality and image quality. Make any necessary adjustments to the tension, alignment, and projection settings to optimize the viewing experience.
Professional Assistance:
If you encounter challenges during the replacement process or if you prefer expert guidance, consider engaging the services of qualified technicians or installation professionals. Their expertise can streamline the replacement process and ensure that the new screen material is seamlessly integrated for optimal performance.
By mastering the process of replacing the screen material, you can breathe new life into your projector screen, revitalizing your home theater setup and ensuring that every cinematic experience is presented with stunning clarity and precision.
Conclusion
Congratulations on completing the comprehensive journey of projector screen maintenance and repair. By mastering the art of assessing, cleaning, adjusting, repairing, and even replacing the screen material, you’ve equipped yourself with the essential knowledge and techniques to uphold the visual excellence of your home entertainment system.
Throughout this guide, we’ve explored the intricacies of projector screen care, emphasizing the importance of regular maintenance and prompt resolution of screen-related issues. Whether it’s banishing stubborn creases, addressing tears and holes, or ensuring optimal tension, your newfound expertise empowers you to preserve the immersive and captivating nature of your home theater experience.
As you embark on your ongoing journey with your projector screen, remember that a well-maintained screen is the gateway to unforgettable cinematic adventures, captivating presentations, and immersive gaming experiences. By incorporating the insights and techniques outlined in this guide into your maintenance routine, you’re poised to enjoy a seamless and visually stunning viewing experience for years to come.
So, as you dim the lights, settle into your favorite viewing spot, and embark on your next cinematic escapade, take pride in knowing that your projector screen stands as a testament to your dedication to visual excellence. With each projection, may the screen transport you to new realms of imagination and delight, enveloping you in the magic of the silver screen within the comfort of your own home.
Here’s to many more movie nights, captivating presentations, and exhilarating gaming sessions, all enhanced by the pristine and flawless canvas of your projector screen. Cheers to the art of projector screen maintenance and the unforgettable experiences it facilitates!
Frequently Asked Questions about How To Fix A Projector Screen
Was this page helpful?
At Storables.com, we guarantee accurate and reliable information. Our content, validated by Expert Board Contributors, is crafted following stringent Editorial Policies. We're committed to providing you with well-researched, expert-backed insights for all your informational needs.


0 thoughts on “How To Fix A Projector Screen”