Home>Technology>Home Entertainment Systems>How To Fix A Blurry Projector
Home Entertainment Systems
How To Fix A Blurry Projector
Modified: February 26, 2024
Learn how to fix a blurry projector for your home entertainment system. Follow our step-by-step guide to improve your viewing experience today!
(Many of the links in this article redirect to a specific reviewed product. Your purchase of these products through affiliate links helps to generate commission for Storables.com, at no extra cost. Learn more)
Introduction
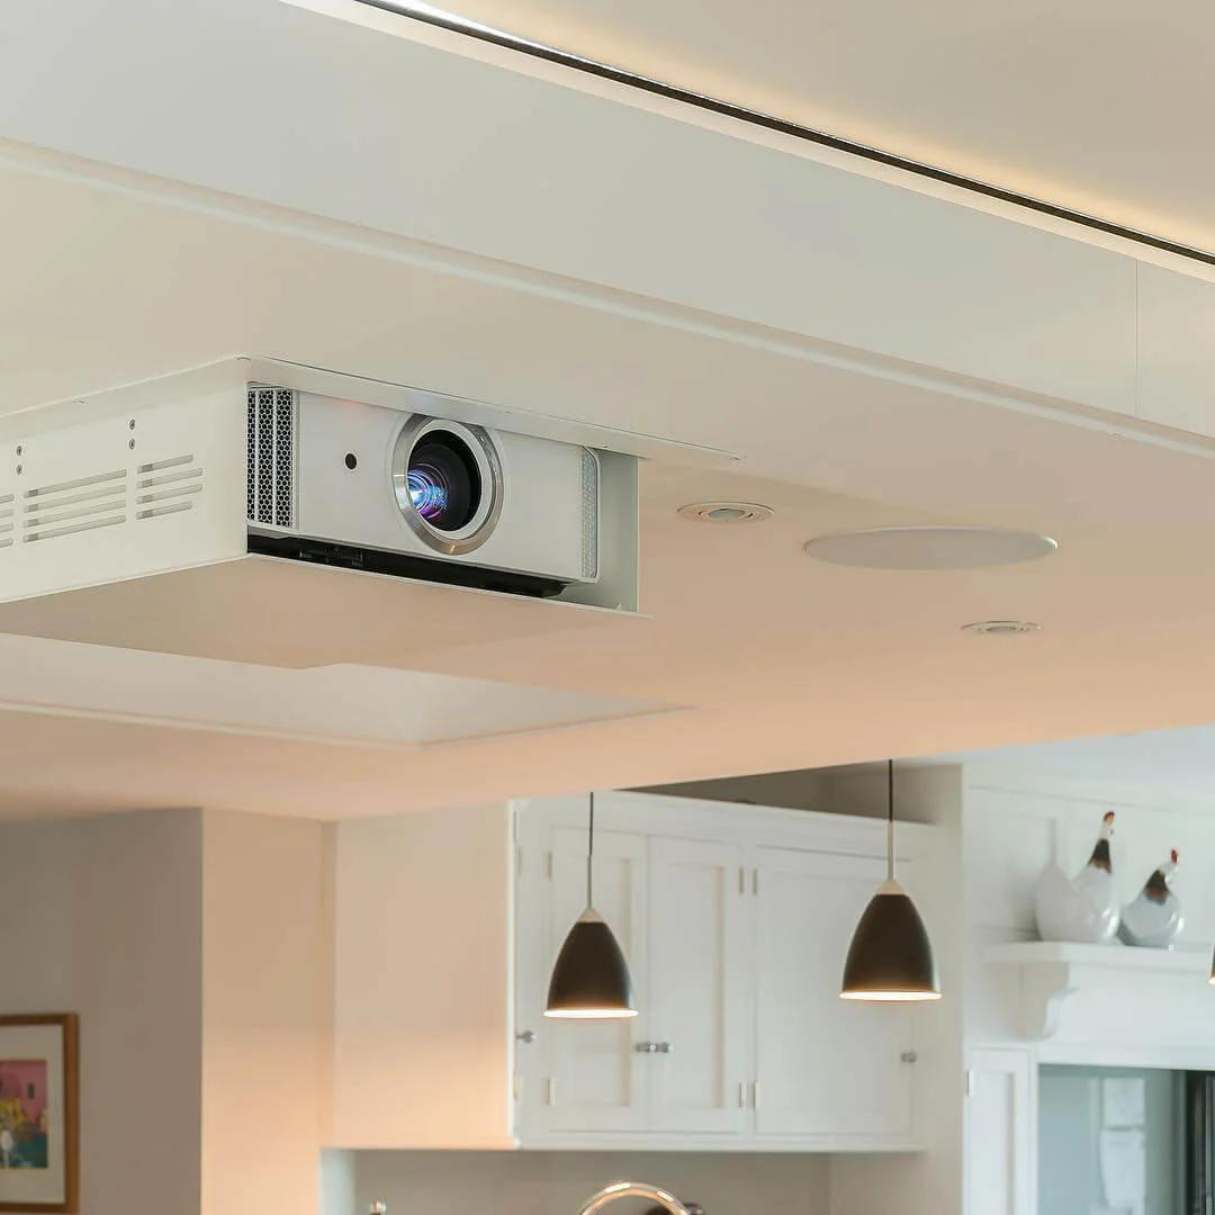
Welcome to the world of home entertainment systems, where the magic of cinema comes to life right in the comfort of your living room. Picture this: you've set the scene, dimmed the lights, and pressed play on your favorite movie, only to be met with a disappointing sight – a blurry projector image. Don't worry, though, because we've got you covered. In this guide, we'll walk you through the steps to fix a blurry projector and restore your viewing experience to its full, crystal-clear glory.
Whether you're a seasoned home theater enthusiast or a casual movie night host, dealing with a blurry projector can be a frustrating experience. However, with a bit of troubleshooting and some simple adjustments, you can often resolve the issue without needing to call in the professionals. So, grab your popcorn, get comfortable, and let's dive into the world of projector maintenance and troubleshooting.
A blurry projector image can be caused by a variety of factors, ranging from simple adjustments to more complex technical issues. By following the steps outlined in this guide, you'll be equipped with the knowledge and skills to identify the root cause of the blurriness and take the necessary corrective measures. Whether it's a dirty lens, a misaligned focus, or a faulty bulb, we'll explore the potential culprits and provide practical solutions to address each one.
So, if you're ready to bid farewell to the days of squinting at a fuzzy screen and embrace the crisp, high-definition visuals your projector is capable of delivering, then let's get started. By the end of this guide, you'll be well-versed in the art of fixing a blurry projector, and you'll be back to enjoying your favorite movies, TV shows, and presentations with the stunning clarity they deserve. Let's embark on this journey to restore sharpness and clarity to your projector display.
Key Takeaways:
- Keep your projector lens clean to avoid blurry images. Use a soft cloth and lens cleaning solution to remove dust, smudges, and fingerprints for optimal image quality.
- Adjust the focus, resolution, and input sources to ensure sharp and vibrant projector visuals. Regular maintenance and timely bulb replacement are key to a clear projection.
Read more: How To Fix A Projector Lens
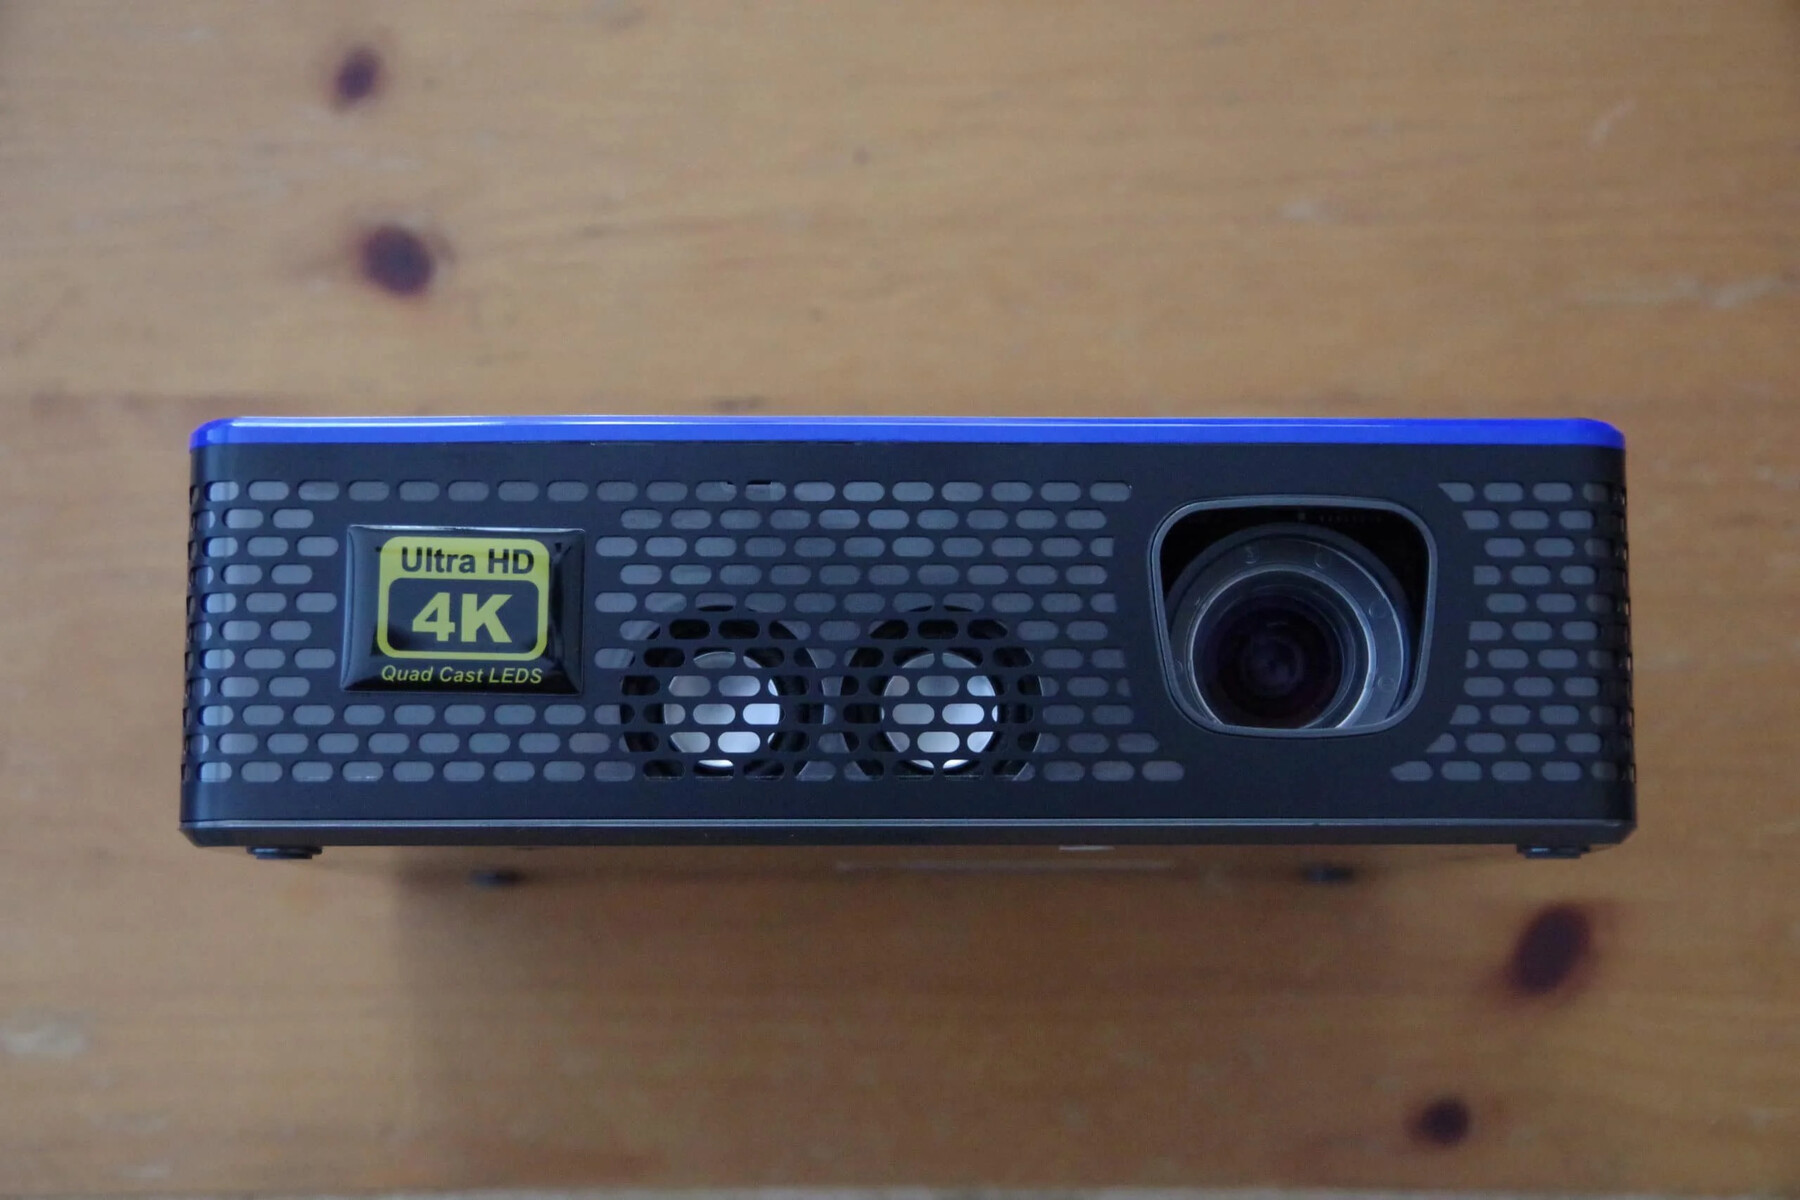
Check the Lens
When dealing with a blurry projector, the first step is to inspect the lens for any potential issues that could be causing the image distortion. Over time, dust, smudges, or fingerprints may accumulate on the lens, leading to a decrease in image clarity. To check the lens:
- Inspect for Dust and Debris: Use a soft, lint-free cloth to gently wipe the lens and remove any dust or debris that may have settled on its surface. Be cautious not to apply excessive pressure, as this could scratch the lens.
- Look for Smudges and Fingerprints: Carefully examine the lens for any smudges or fingerprints that could be obstructing the light path. If present, use a lens cleaning solution or lens wipes specifically designed for optical surfaces to gently remove the marks.
- Check for Scratches: Inspect the lens for any visible scratches or blemishes that could be affecting the image quality. If scratches are present, they may require professional attention or lens replacement.
By thoroughly examining the lens and addressing any cleanliness or damage issues, you can eliminate potential sources of blurriness and improve the overall image quality. Once the lens is clean and free from imperfections, proceed to the next steps to further refine the projector’s focus and settings.
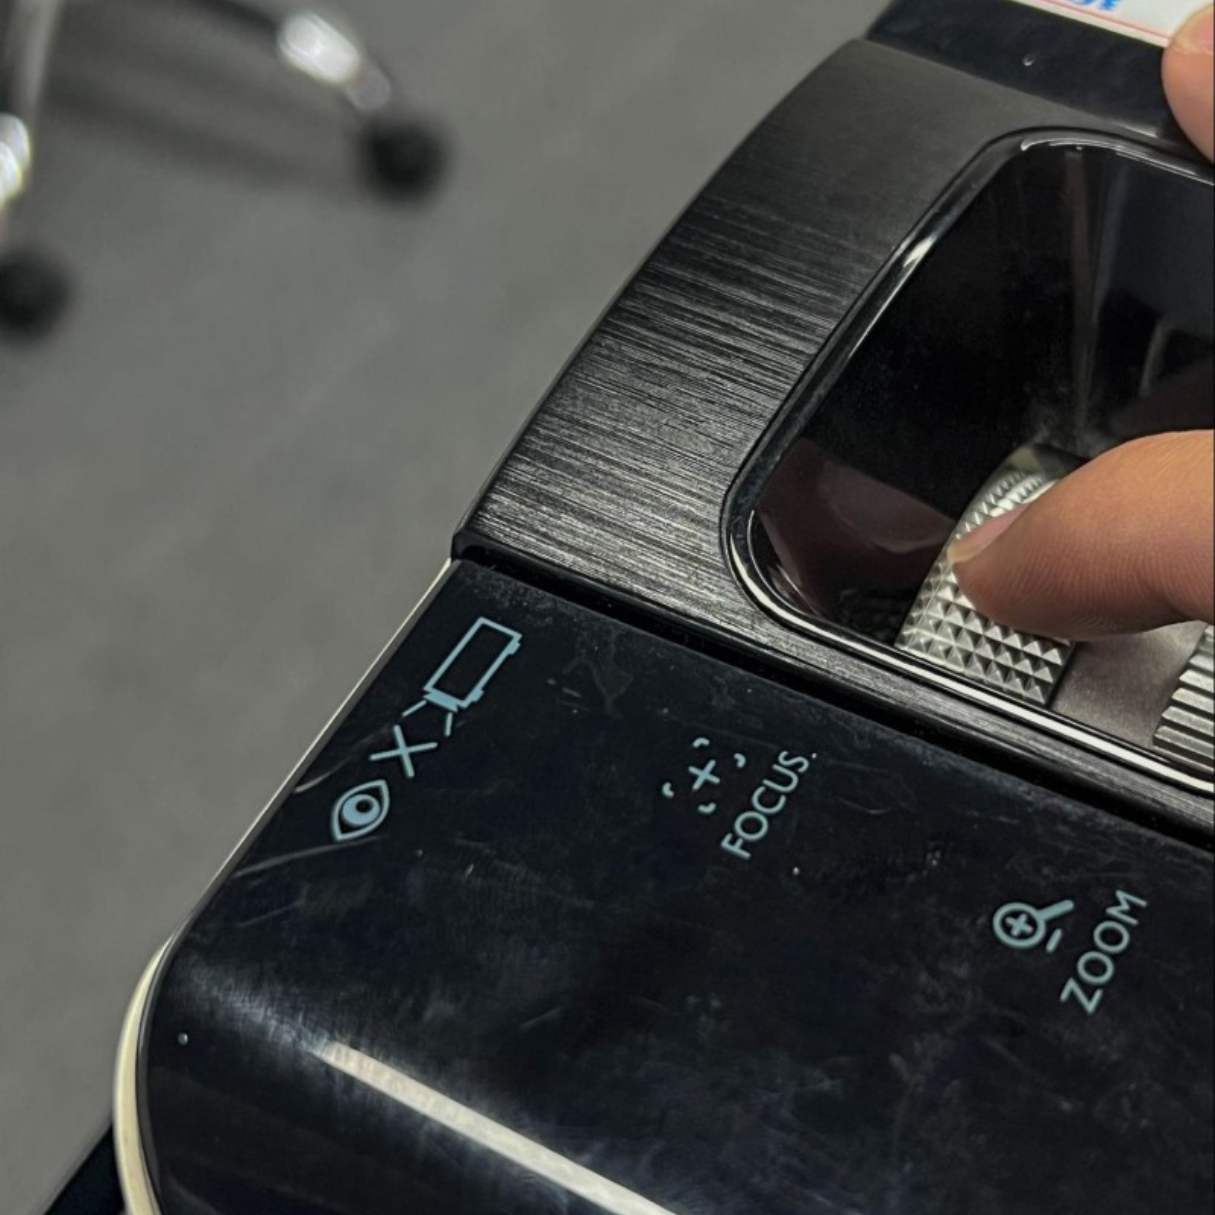
Adjust the Focus
After ensuring that the lens is clean and free from obstructions, the next step in resolving a blurry projector image is to adjust the focus. The focus adjustment allows you to sharpen the projected image, bringing it into clear and precise detail. Here’s how to adjust the focus:
- Access the Focus Controls: Locate the focus adjustment ring or control on your projector. This may be a physical ring around the lens or a digital focus control within the projector’s menu system.
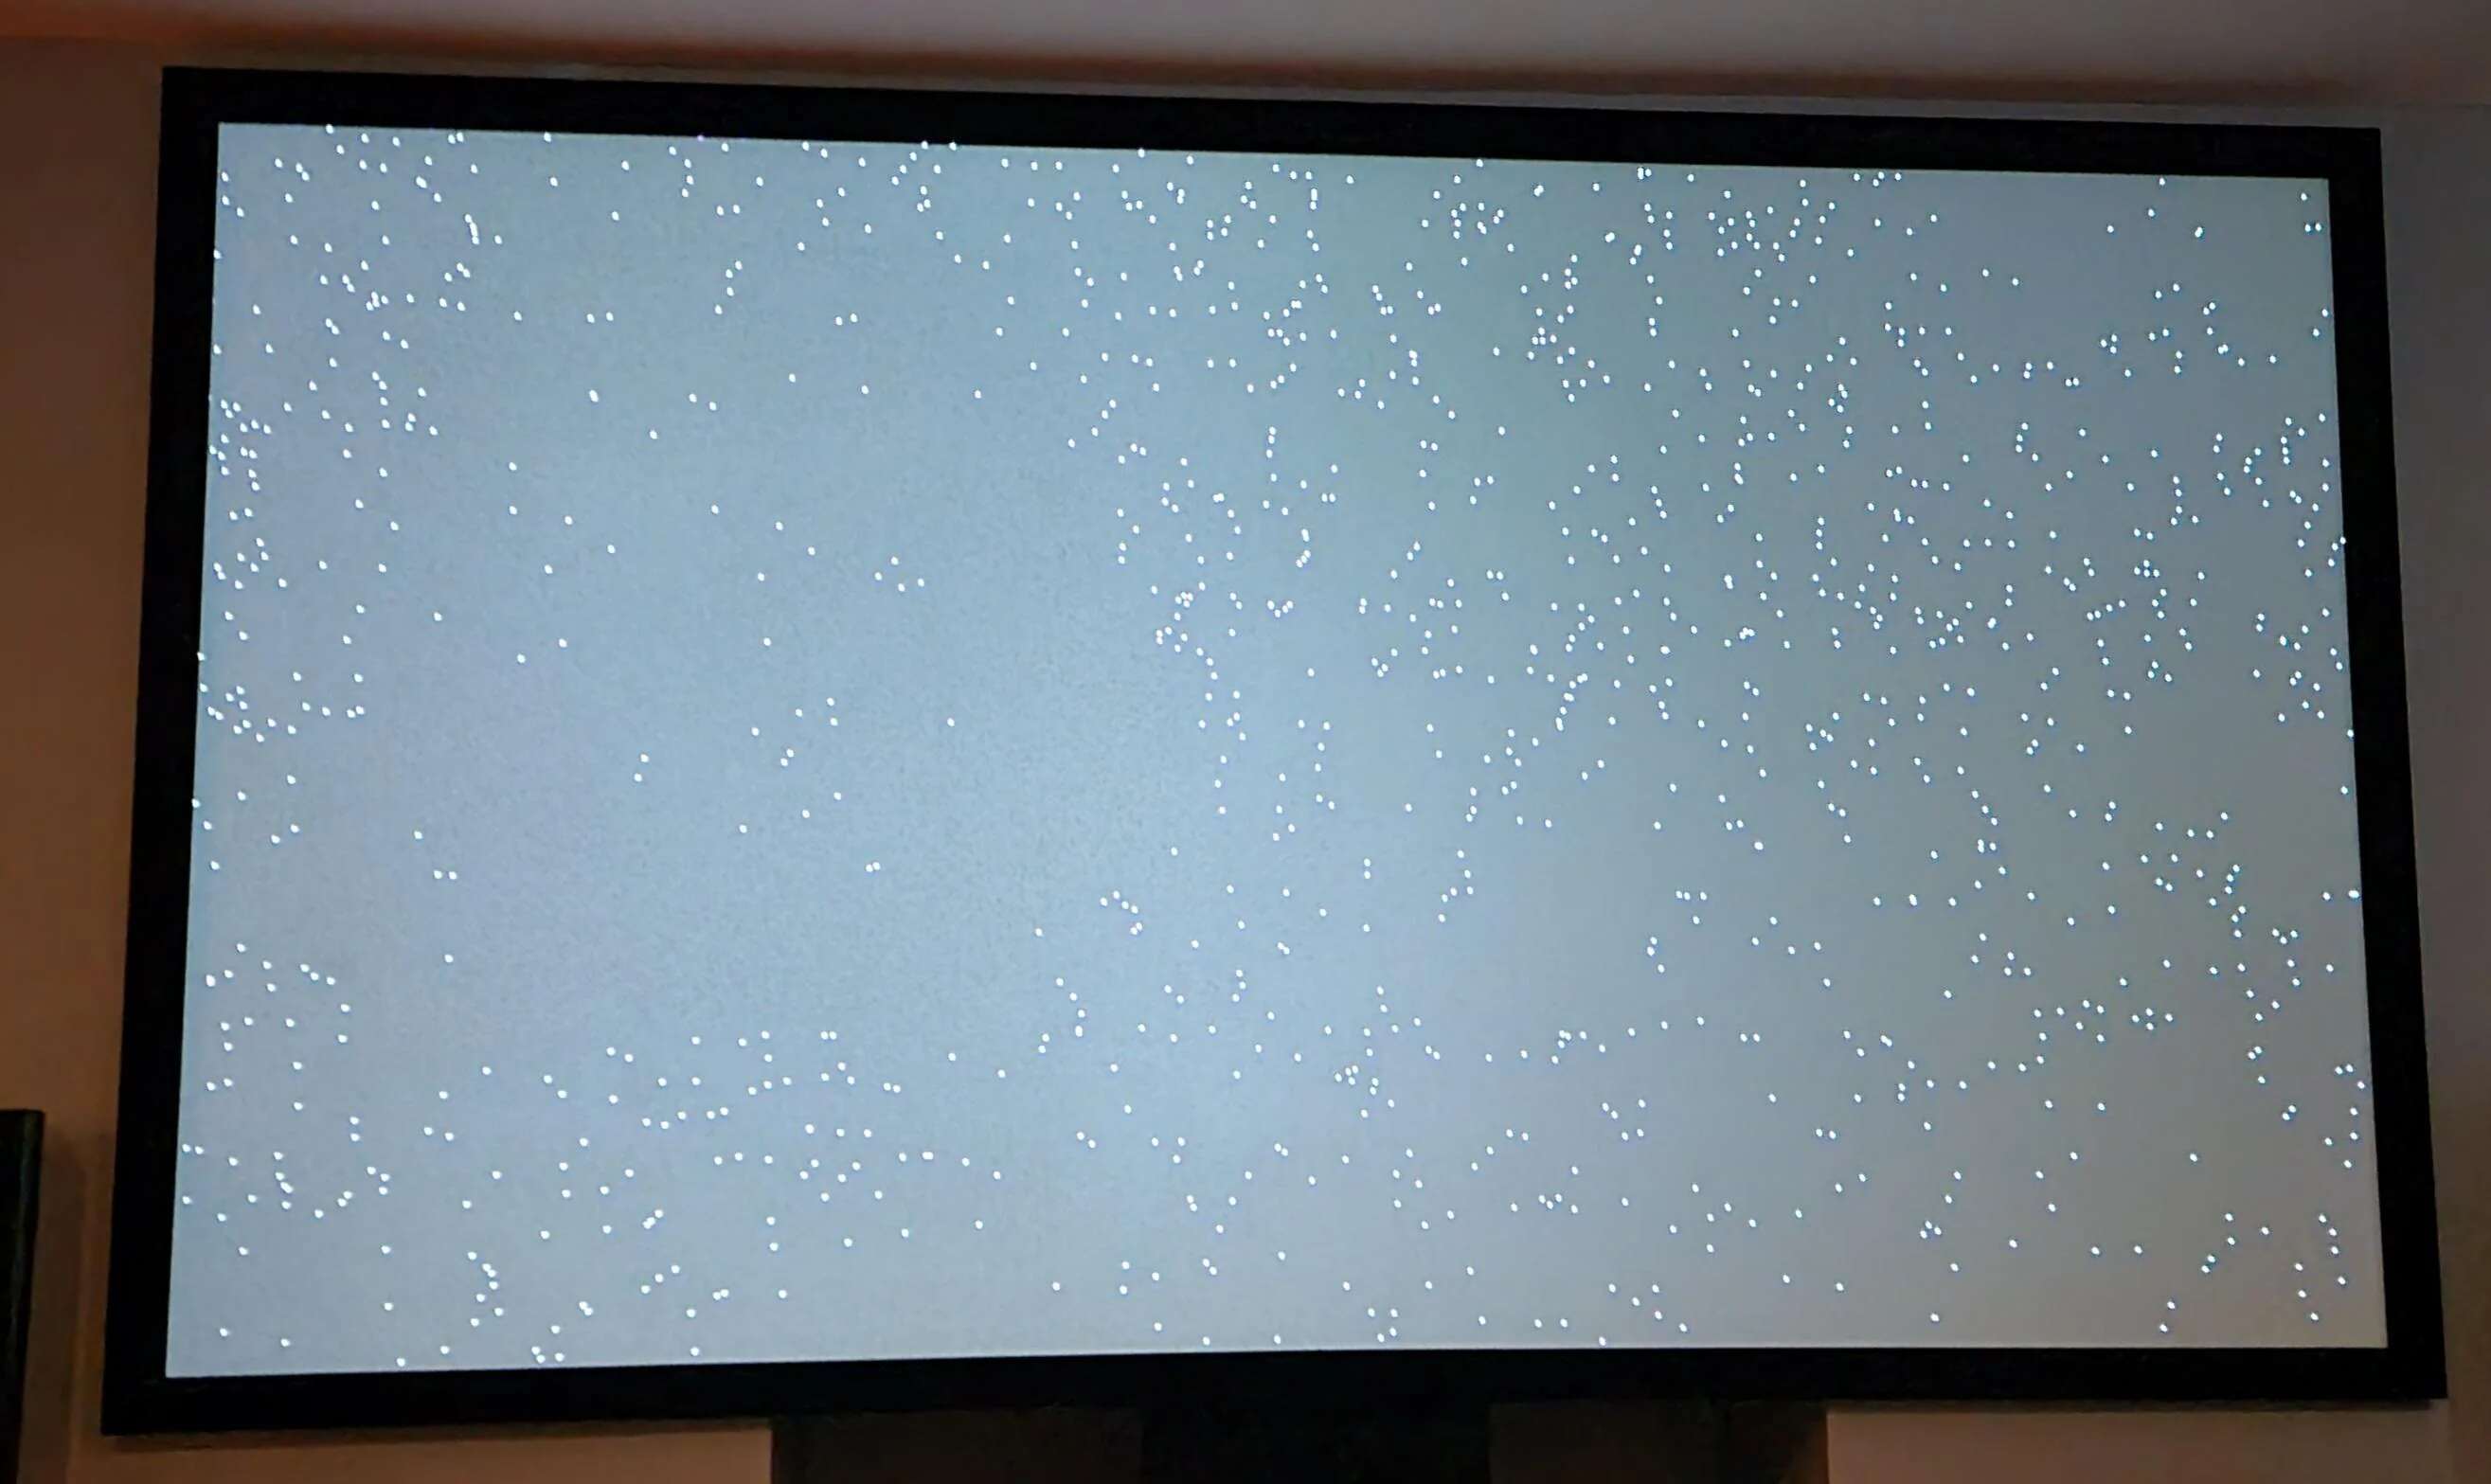
- Display a Test Image: Project a test image onto a flat surface, such as a blank wall or a projector screen, ensuring that the image is large enough to clearly observe any blurriness or distortion.
- Adjust the Focus: Gradually rotate the focus ring or navigate the on-screen focus controls to refine the sharpness of the projected image. Take your time with this adjustment, making small incremental changes and pausing to assess the impact on the image quality.
- Observe the Results: As you fine-tune the focus, pay close attention to the details and edges within the projected image. Aim to achieve a crisp and well-defined picture, free from any noticeable blurriness or softness.
By carefully adjusting the focus, you can optimize the clarity and sharpness of the projected image, bringing it to its full visual potential. Keep in mind that the optimal focus setting may vary based on the distance between the projector and the screen, so be prepared to make adjustments as needed to achieve the best results.
Once the focus has been refined, proceed to evaluate the overall cleanliness of the lens and consider additional factors that could contribute to a blurry projection, such as the projector’s resolution and input sources.
Clean the Lens
One of the most common culprits behind a blurry projector image is a dirty lens. Over time, dust, dirt, and other particles can accumulate on the lens surface, leading to a degradation in image quality. By cleaning the lens, you can often restore the clarity and sharpness of the projected image. Here’s how to clean the lens effectively:
- Gather Cleaning Supplies: Before proceeding, gather the necessary cleaning supplies, including a soft, lint-free cloth and a specialized lens cleaning solution designed for optical surfaces. Avoid using harsh or abrasive cleaning materials that could damage the lens.
- Power Off the Projector: Ensure that the projector is powered off and completely cooled down before attempting to clean the lens. This prevents accidental damage and ensures your safety during the cleaning process.
- Gently Wipe the Lens: Using the soft, lint-free cloth, gently wipe the lens surface in a circular motion to remove any loose particles and debris. Avoid applying excessive pressure, as this could scratch the lens.
- Apply Lens Cleaning Solution: If stubborn smudges or marks are present on the lens, apply a small amount of the lens cleaning solution to the cloth and gently wipe the affected areas to remove the impurities.
- Allow the Lens to Dry: After cleaning, allow the lens to air dry for a brief period to ensure that any residual cleaning solution evaporates completely before powering on the projector.
By thoroughly cleaning the lens, you can eliminate the visual impediments that contribute to a blurry projection, resulting in a sharper and more defined image. Regular maintenance of the lens can help prevent the accumulation of debris and preserve the optimal image quality of your projector over time.
Once the lens is clean, proceed to assess the projector’s focus and settings to further refine the image quality and address any remaining blurriness.
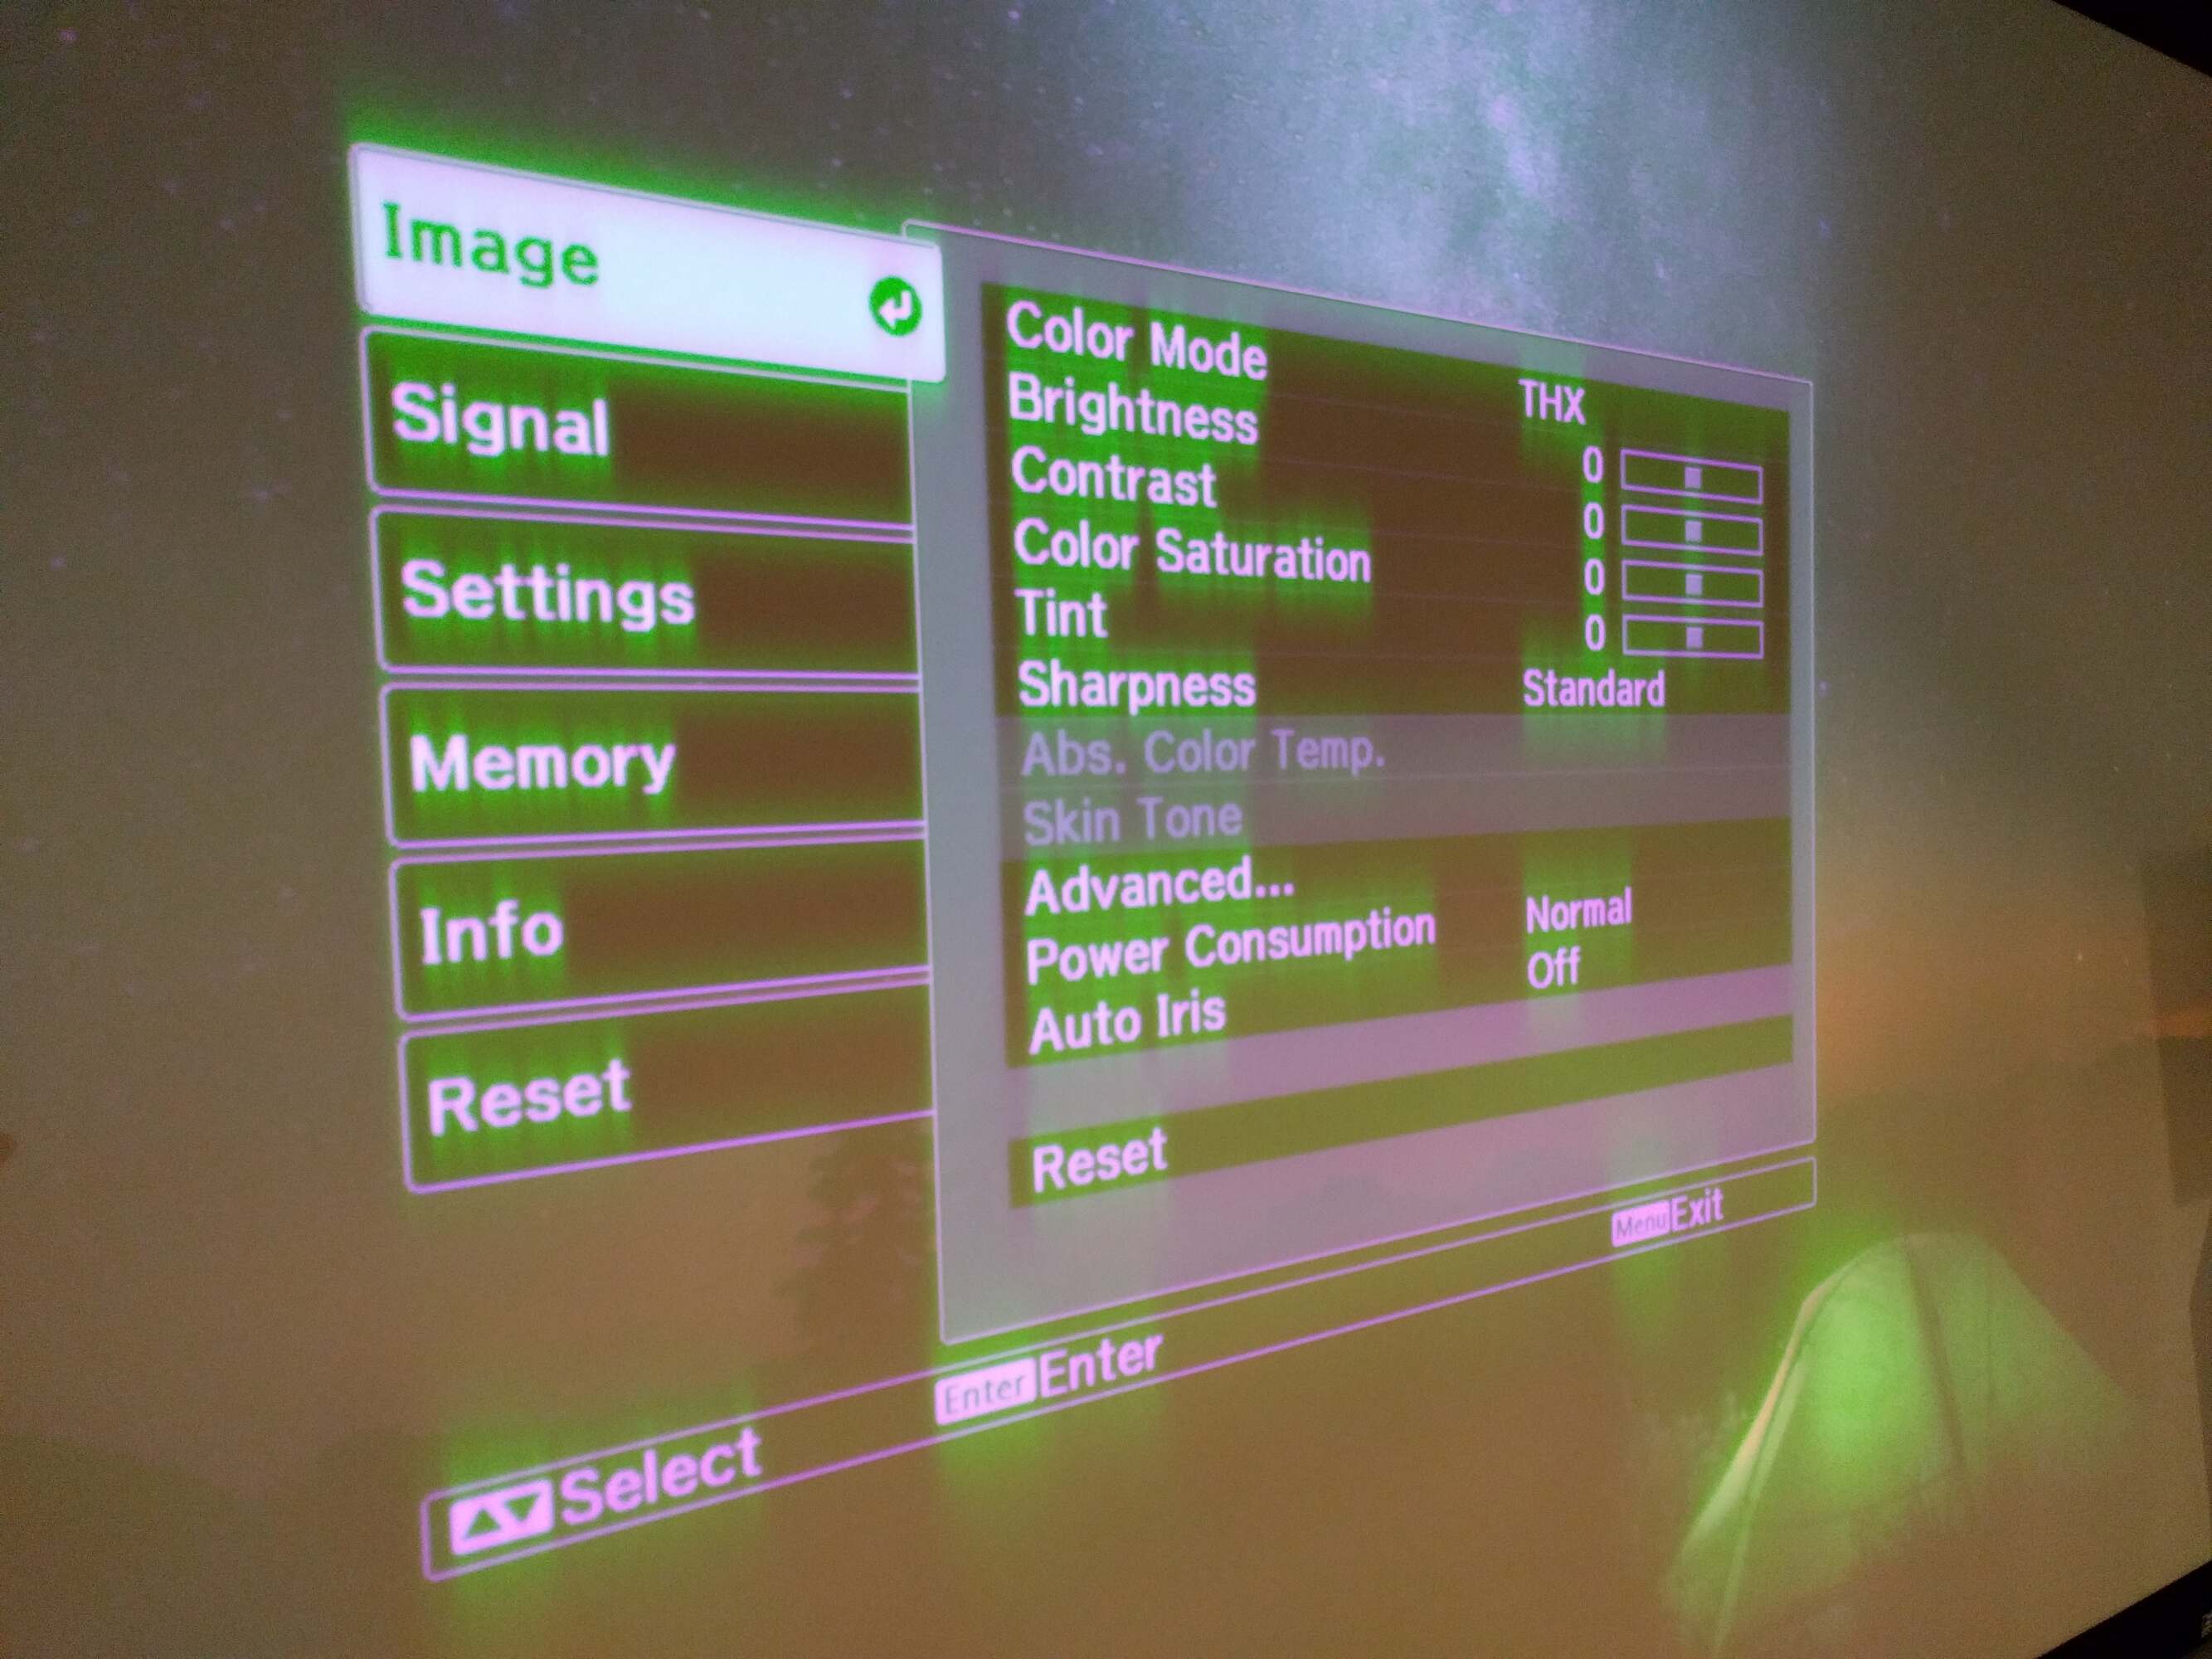
Check the Projector Resolution
When troubleshooting a blurry projector, it’s essential to consider the projector’s resolution as a potential factor impacting image clarity. The resolution of a projector refers to the number of pixels used to create the projected image, with higher resolutions offering finer detail and sharper visuals. Here’s how to check and optimize the projector’s resolution:
- Review the Native Resolution: Determine the native resolution of your projector, which represents the optimal resolution at which the projector is designed to display images. This information can typically be found in the projector’s user manual or specifications.
- Adjust the Input Source Resolution: Ensure that the input source, such as a media player, computer, or gaming console, is configured to output a resolution that matches or is compatible with the projector’s native resolution. Mismatched resolutions can result in a loss of image clarity and detail.
- Access the Projector’s Settings: Navigate the projector’s menu system to locate the display or resolution settings. Here, you can verify the current resolution settings and make adjustments as needed to align with the native resolution.
- Optimize Display Settings: Fine-tune additional display settings, such as aspect ratio and scaling options, to ensure that the projected image maintains its intended proportions and clarity without distortion or blurriness.
By confirming and optimizing the projector’s resolution settings, you can maximize the visual fidelity of the projected images, resulting in sharper details and a more immersive viewing experience. Additionally, ensuring consistency between the input source’s resolution and the projector’s native resolution can prevent potential compatibility issues that may impact image quality.
Once the resolution has been verified and adjusted as necessary, proceed to assess the input sources connected to the projector and consider their potential impact on the projected image’s clarity.
Check the focus ring on the projector lens and adjust it until the image becomes clear. If that doesn’t work, clean the lens and check the projector’s resolution settings.
Read more: How To Fix Black Spot On Projector
Check the Input Source
When troubleshooting a blurry projector image, it’s important to consider the input sources connected to the projector, as they can directly impact the quality of the projected visuals. Issues related to input sources, such as cable connections, signal compatibility, and content resolution, can contribute to a perceived blurriness in the projected image. Here’s how to check and address potential issues with the input sources:
- Inspect Cable Connections: Ensure that the cables connecting the input sources to the projector are securely plugged in and free from damage. Loose or faulty connections can result in signal degradation and visual artifacts, including blurriness.
- Verify Signal Quality: Check the signal quality of the input sources, such as media players, streaming devices, or computers, to ensure that they are delivering a clear and stable signal to the projector. Unstable or low-quality signals can manifest as blurry images.
- Assess Content Resolution: Consider the resolution and quality of the content being played through the input sources. Lower-resolution content or compressed media files may appear blurry when projected onto a larger screen, especially if the projector’s native resolution exceeds the content’s resolution.
- Test Alternate Input Sources: If possible, test the projector with alternate input sources to determine if the blurriness persists across different devices. This can help identify whether the issue is specific to a particular input source or cable.
By thoroughly evaluating the input sources and their associated connections, you can identify and address potential factors contributing to a blurry projector image. Ensuring stable and high-quality signal transmission from the input sources to the projector can significantly improve the overall image clarity and sharpness.
Once any issues related to the input sources have been addressed, proceed to consider additional adjustments, such as keystone correction and bulb replacement, to further refine the projector’s image quality and address any remaining blurriness.
Adjust the Keystone Correction
When striving to resolve a blurry projector image, it’s essential to consider the impact of keystone distortion on the projected visuals. Keystone distortion occurs when the projected image appears skewed or trapezoidal, often leading to a perceived blurriness or lack of sharpness. Fortunately, many projectors are equipped with keystone correction features that allow you to rectify this distortion. Here’s how to adjust the keystone correction:
- Access the Keystone Correction Settings: Navigate the projector’s menu or settings to locate the keystone correction adjustments. Depending on the projector model, this may be available as manual keystone adjustments or digital keystone correction within the menu system.
- Observe the Image Geometry: Project a test image onto a flat surface and observe the geometry of the projected image, paying attention to any noticeable trapezoidal distortion or asymmetry that could contribute to blurriness.
- Apply Keystone Corrections: Utilize the keystone correction controls to gradually adjust the horizontal and vertical keystoning, aligning the projected image to its intended rectangular shape and minimizing any distortion that may impact image clarity.
- Refine the Image Alignment: Fine-tune the keystone adjustments to achieve a visually balanced and geometrically accurate projection, ensuring that lines and edges appear straight and parallel without any apparent skewing or blurriness.
By effectively applying keystone correction, you can rectify the trapezoidal distortion and geometric irregularities in the projected image, ultimately enhancing its sharpness and visual integrity. This adjustment is particularly beneficial when projecting onto surfaces that are not perfectly aligned with the projector or when dealing with unconventional projection angles.
Once the keystone correction has been optimized, proceed to consider the condition of the projector’s bulb and its potential impact on the image quality, as well as the need for bulb replacement.
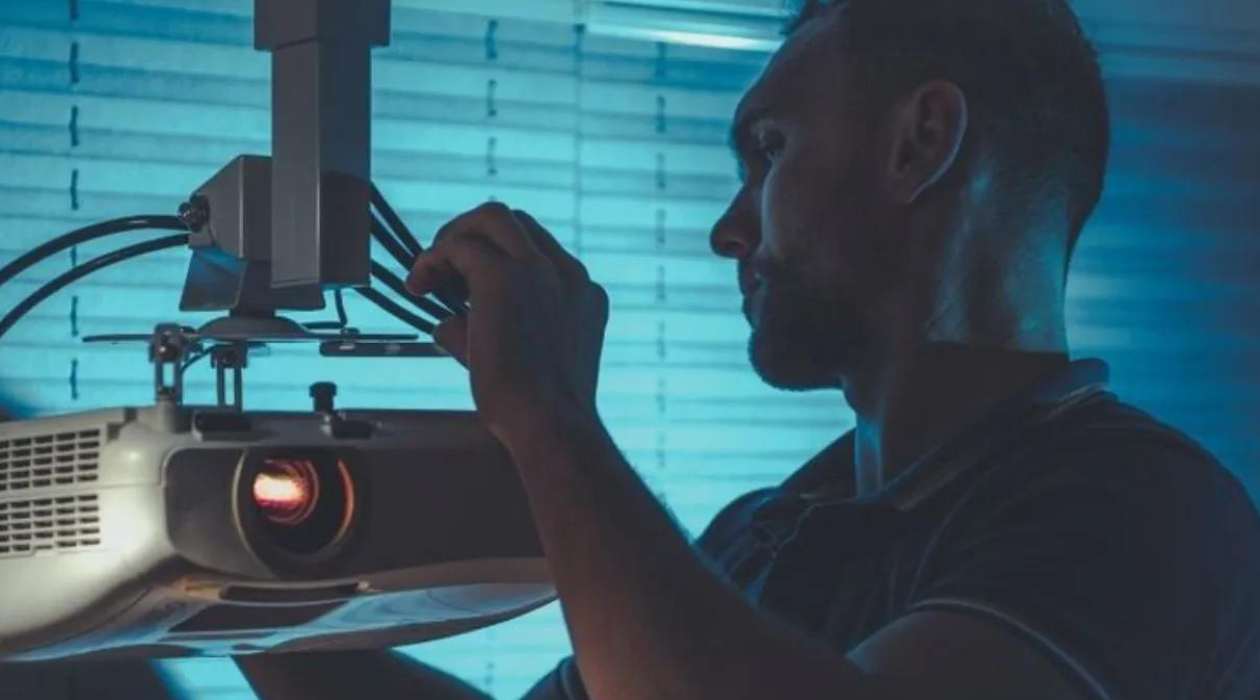
Replace the Bulb
When troubleshooting a blurry projector image, it’s crucial to consider the condition of the projector’s bulb, as it plays a significant role in determining the quality and clarity of the projected visuals. Over time, projector bulbs can experience a decrease in brightness and performance, leading to a dim or blurry projection. Here’s how to assess and replace the bulb as needed:
- Check the Bulb Life: Consult the projector’s user manual or settings to review the estimated bulb life and usage hours. If the bulb has been in use for an extended period, it may be approaching the end of its lifespan, impacting the quality of the projected image.
- Assess the Projection Brightness: Observe the brightness and clarity of the projected image, paying attention to any noticeable dimness or lack of vibrancy. Diminished brightness can contribute to a perceived blurriness in the projection.
- Replace the Bulb: If the bulb has surpassed its recommended lifespan or if a significant decrease in brightness is observed, consider replacing the bulb with a new, compatible replacement bulb. Follow the manufacturer’s guidelines for safe bulb replacement procedures.
- Reset the Bulb Timer: After installing a new bulb, reset the projector’s bulb timer or usage hours counter to ensure accurate tracking of the new bulb’s lifespan and performance.
By replacing the bulb with a fresh and fully functional unit, you can restore the projector’s brightness and luminance, thereby improving the overall clarity and sharpness of the projected images. Regular bulb maintenance and timely replacements are essential for maintaining optimal image quality and preventing issues related to dim or blurry projections.
Once the bulb has been replaced, proceed to power on the projector and assess the visual quality to confirm the improvements in image clarity and sharpness. With a new bulb in place, you can expect a revitalized projection experience with vibrant and well-defined visuals.
Conclusion
Congratulations! You’ve embarked on a journey to restore the brilliance and clarity of your projector’s image, and armed with the knowledge and techniques outlined in this guide, you’ve successfully navigated through the troubleshooting process. By addressing potential causes of blurriness and implementing targeted solutions, you’ve taken significant strides toward reclaiming the stunning visual performance of your projector. Let’s recap the essential steps and insights gained along the way:
- Inspecting the Lens: By checking for dust, smudges, and scratches on the lens, you’ve ensured that the primary optical component of the projector is in optimal condition for producing clear and sharp images.
- Adjusting the Focus: Fine-tuning the focus settings has allowed you to sharpen the projected image, bringing it into precise and detailed clarity for an immersive viewing experience.
- Cleaning the Lens: Through careful cleaning and maintenance of the lens, you’ve eliminated visual impediments and preserved the optimal image quality of your projector.
- Checking the Projector Resolution: By verifying and optimizing the projector’s resolution settings, you’ve maximized the visual fidelity of the projected images, ensuring sharper details and vibrant visuals.
- Assessing the Input Sources: By evaluating and addressing potential issues with the input sources, you’ve guaranteed stable and high-quality signal transmission, contributing to improved image clarity.
- Adjusting the Keystone Correction: Through precise keystone adjustments, you’ve rectified trapezoidal distortion and geometric irregularities, enhancing the sharpness and visual integrity of the projection.
- Replacing the Bulb: By recognizing the impact of bulb condition on image quality and undertaking a timely replacement, you’ve revitalized the projector’s brightness and luminance, resulting in clearer and more vibrant visuals.
As you’ve navigated through these steps, you’ve not only resolved the blurriness of your projector’s image but also gained valuable insights into the maintenance and optimization of home entertainment systems. Keep in mind that regular maintenance and periodic checks are essential for preserving the optimal performance of your projector and ensuring a consistently exceptional viewing experience.
With your newfound expertise in troubleshooting and maintaining projectors, you’re well-equipped to enjoy countless hours of immersive movie nights, captivating presentations, and thrilling gaming sessions with the stunning clarity and sharpness your projector is capable of delivering. So, sit back, relax, and revel in the visual splendor of your rejuvenated projector – you’ve mastered the art of fixing a blurry projector, and the cinematic world is yours to explore.
Here’s to a future filled with crystal-clear projections and unforgettable viewing experiences. Happy projecting!
Frequently Asked Questions about How To Fix A Blurry Projector
Was this page helpful?
At Storables.com, we guarantee accurate and reliable information. Our content, validated by Expert Board Contributors, is crafted following stringent Editorial Policies. We're committed to providing you with well-researched, expert-backed insights for all your informational needs.


0 thoughts on “How To Fix A Blurry Projector”